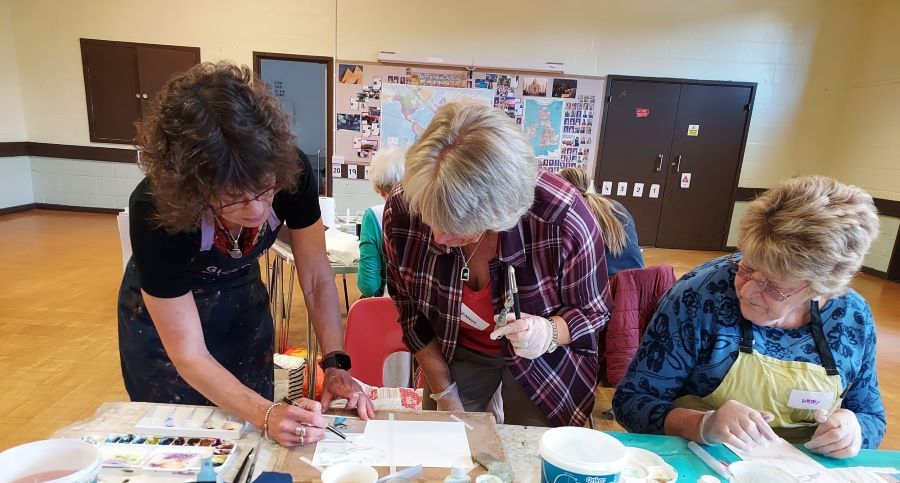
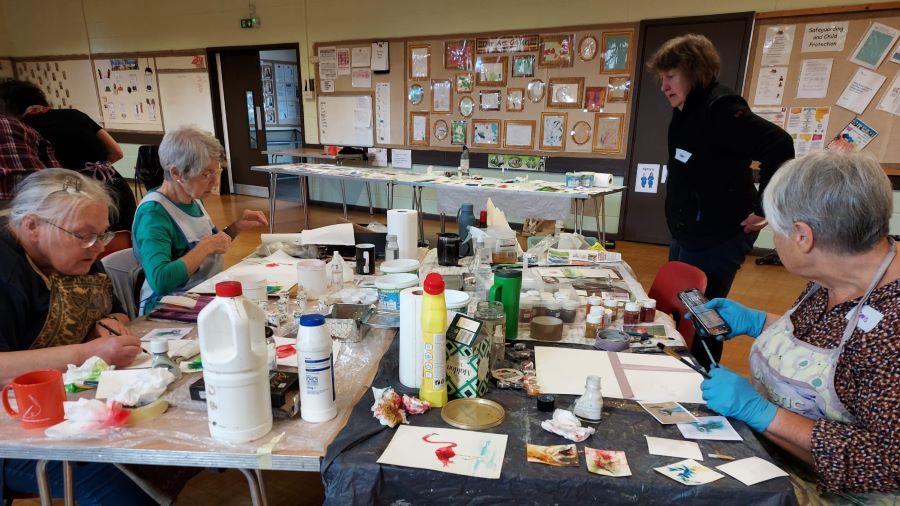
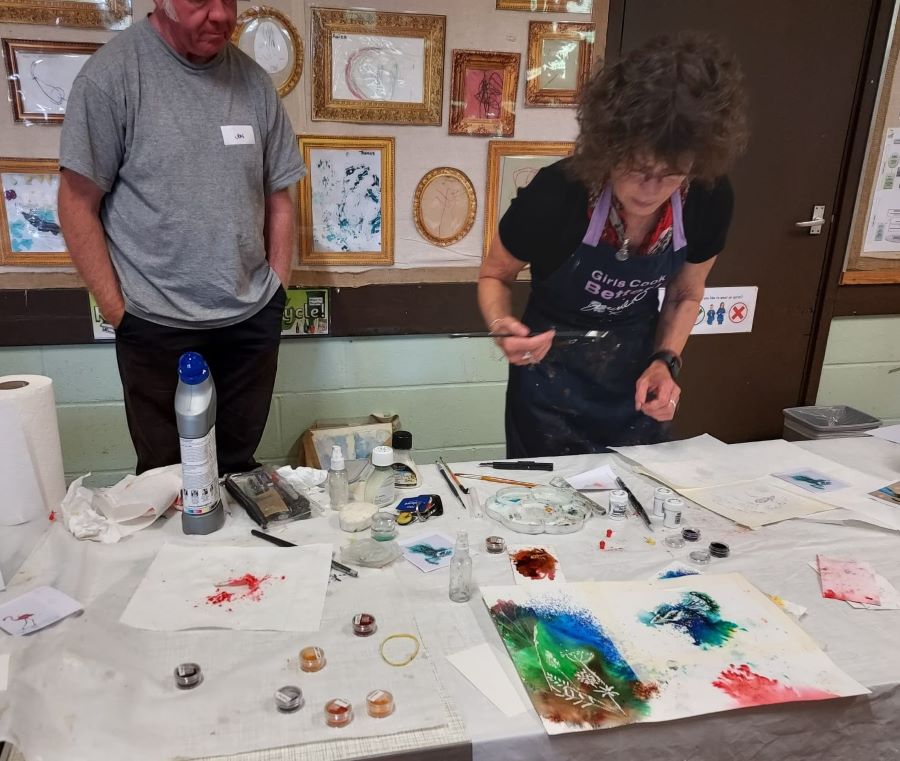
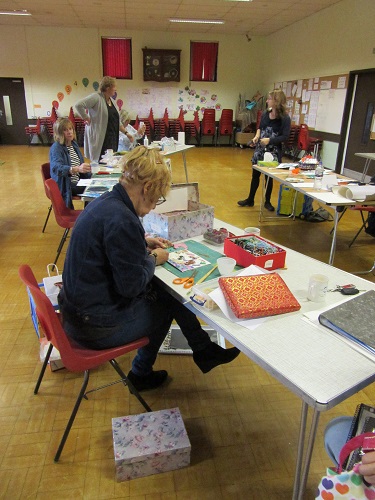
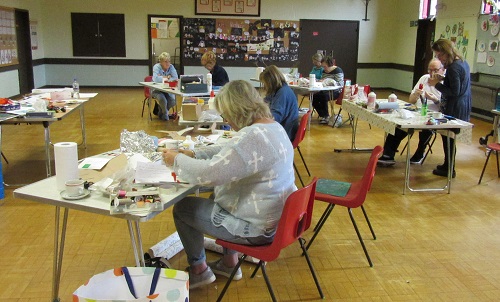
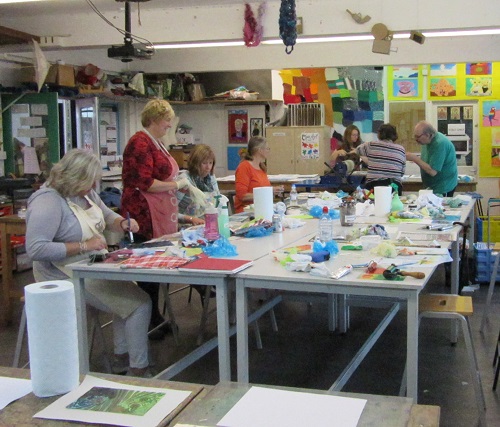
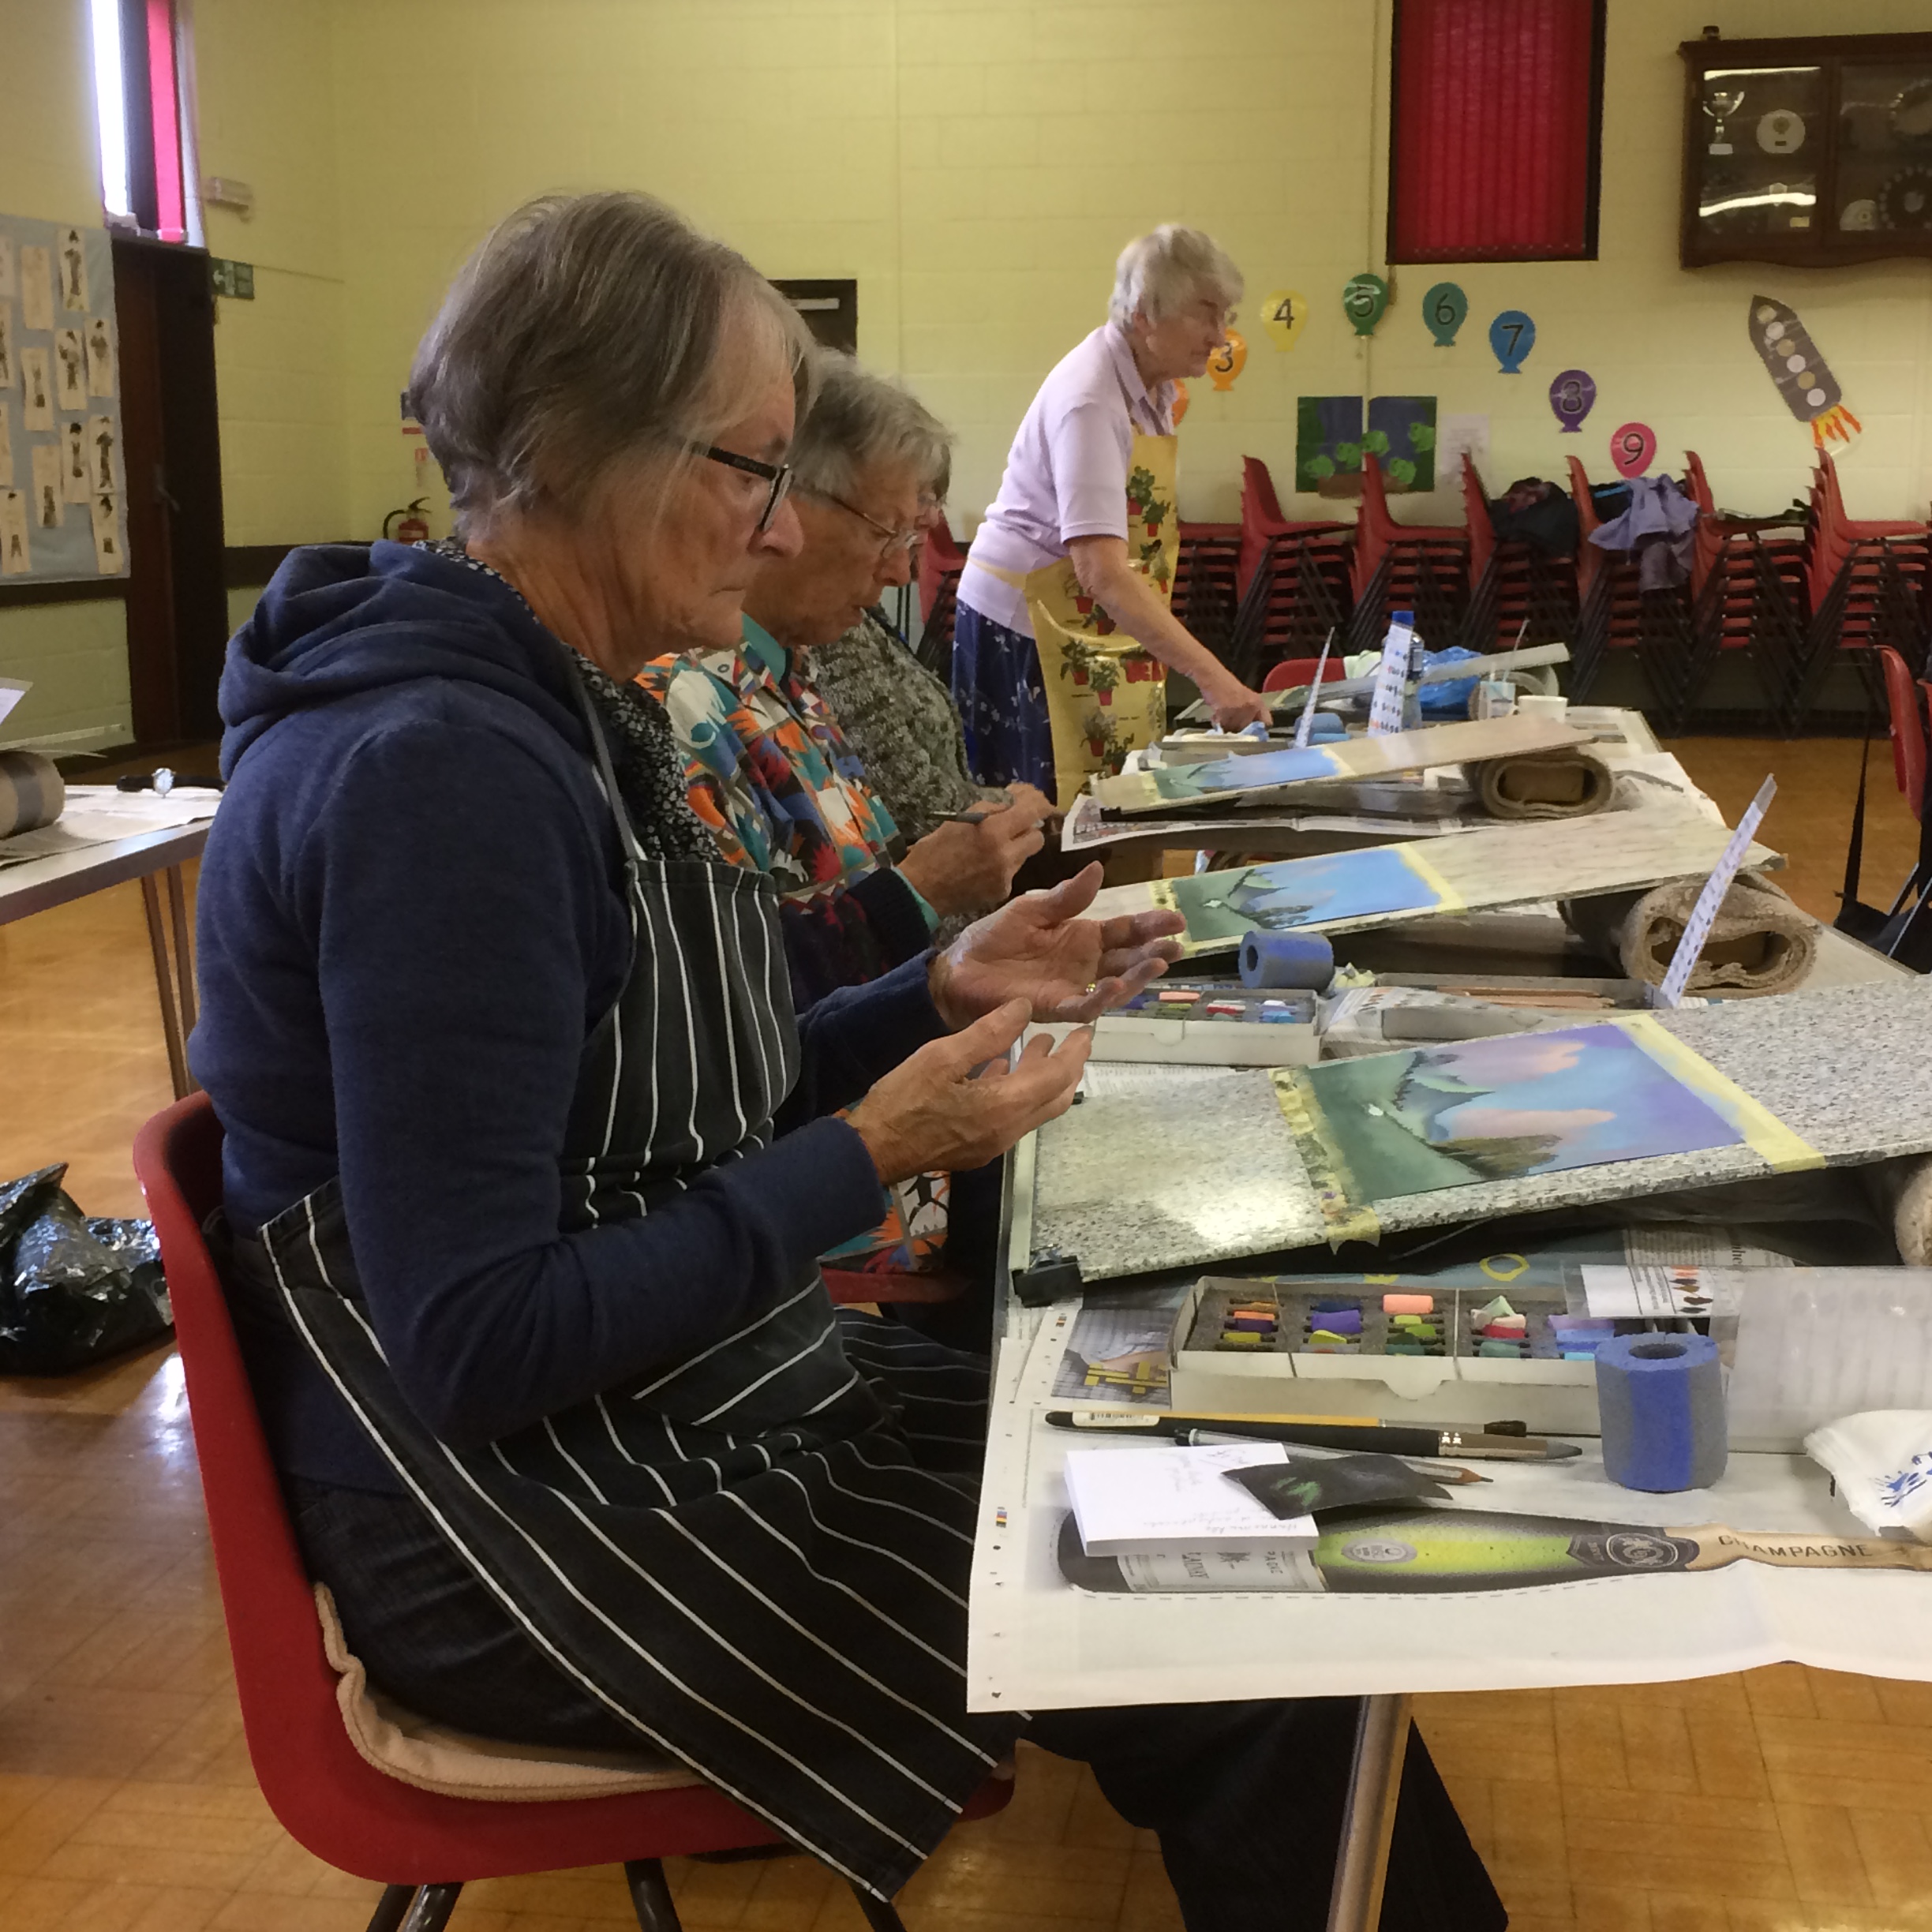
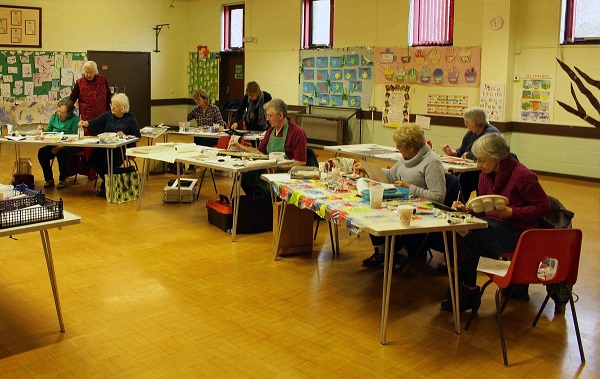
WORKSHOP GALLERY
These are the pieces of art created by our members during each workshop
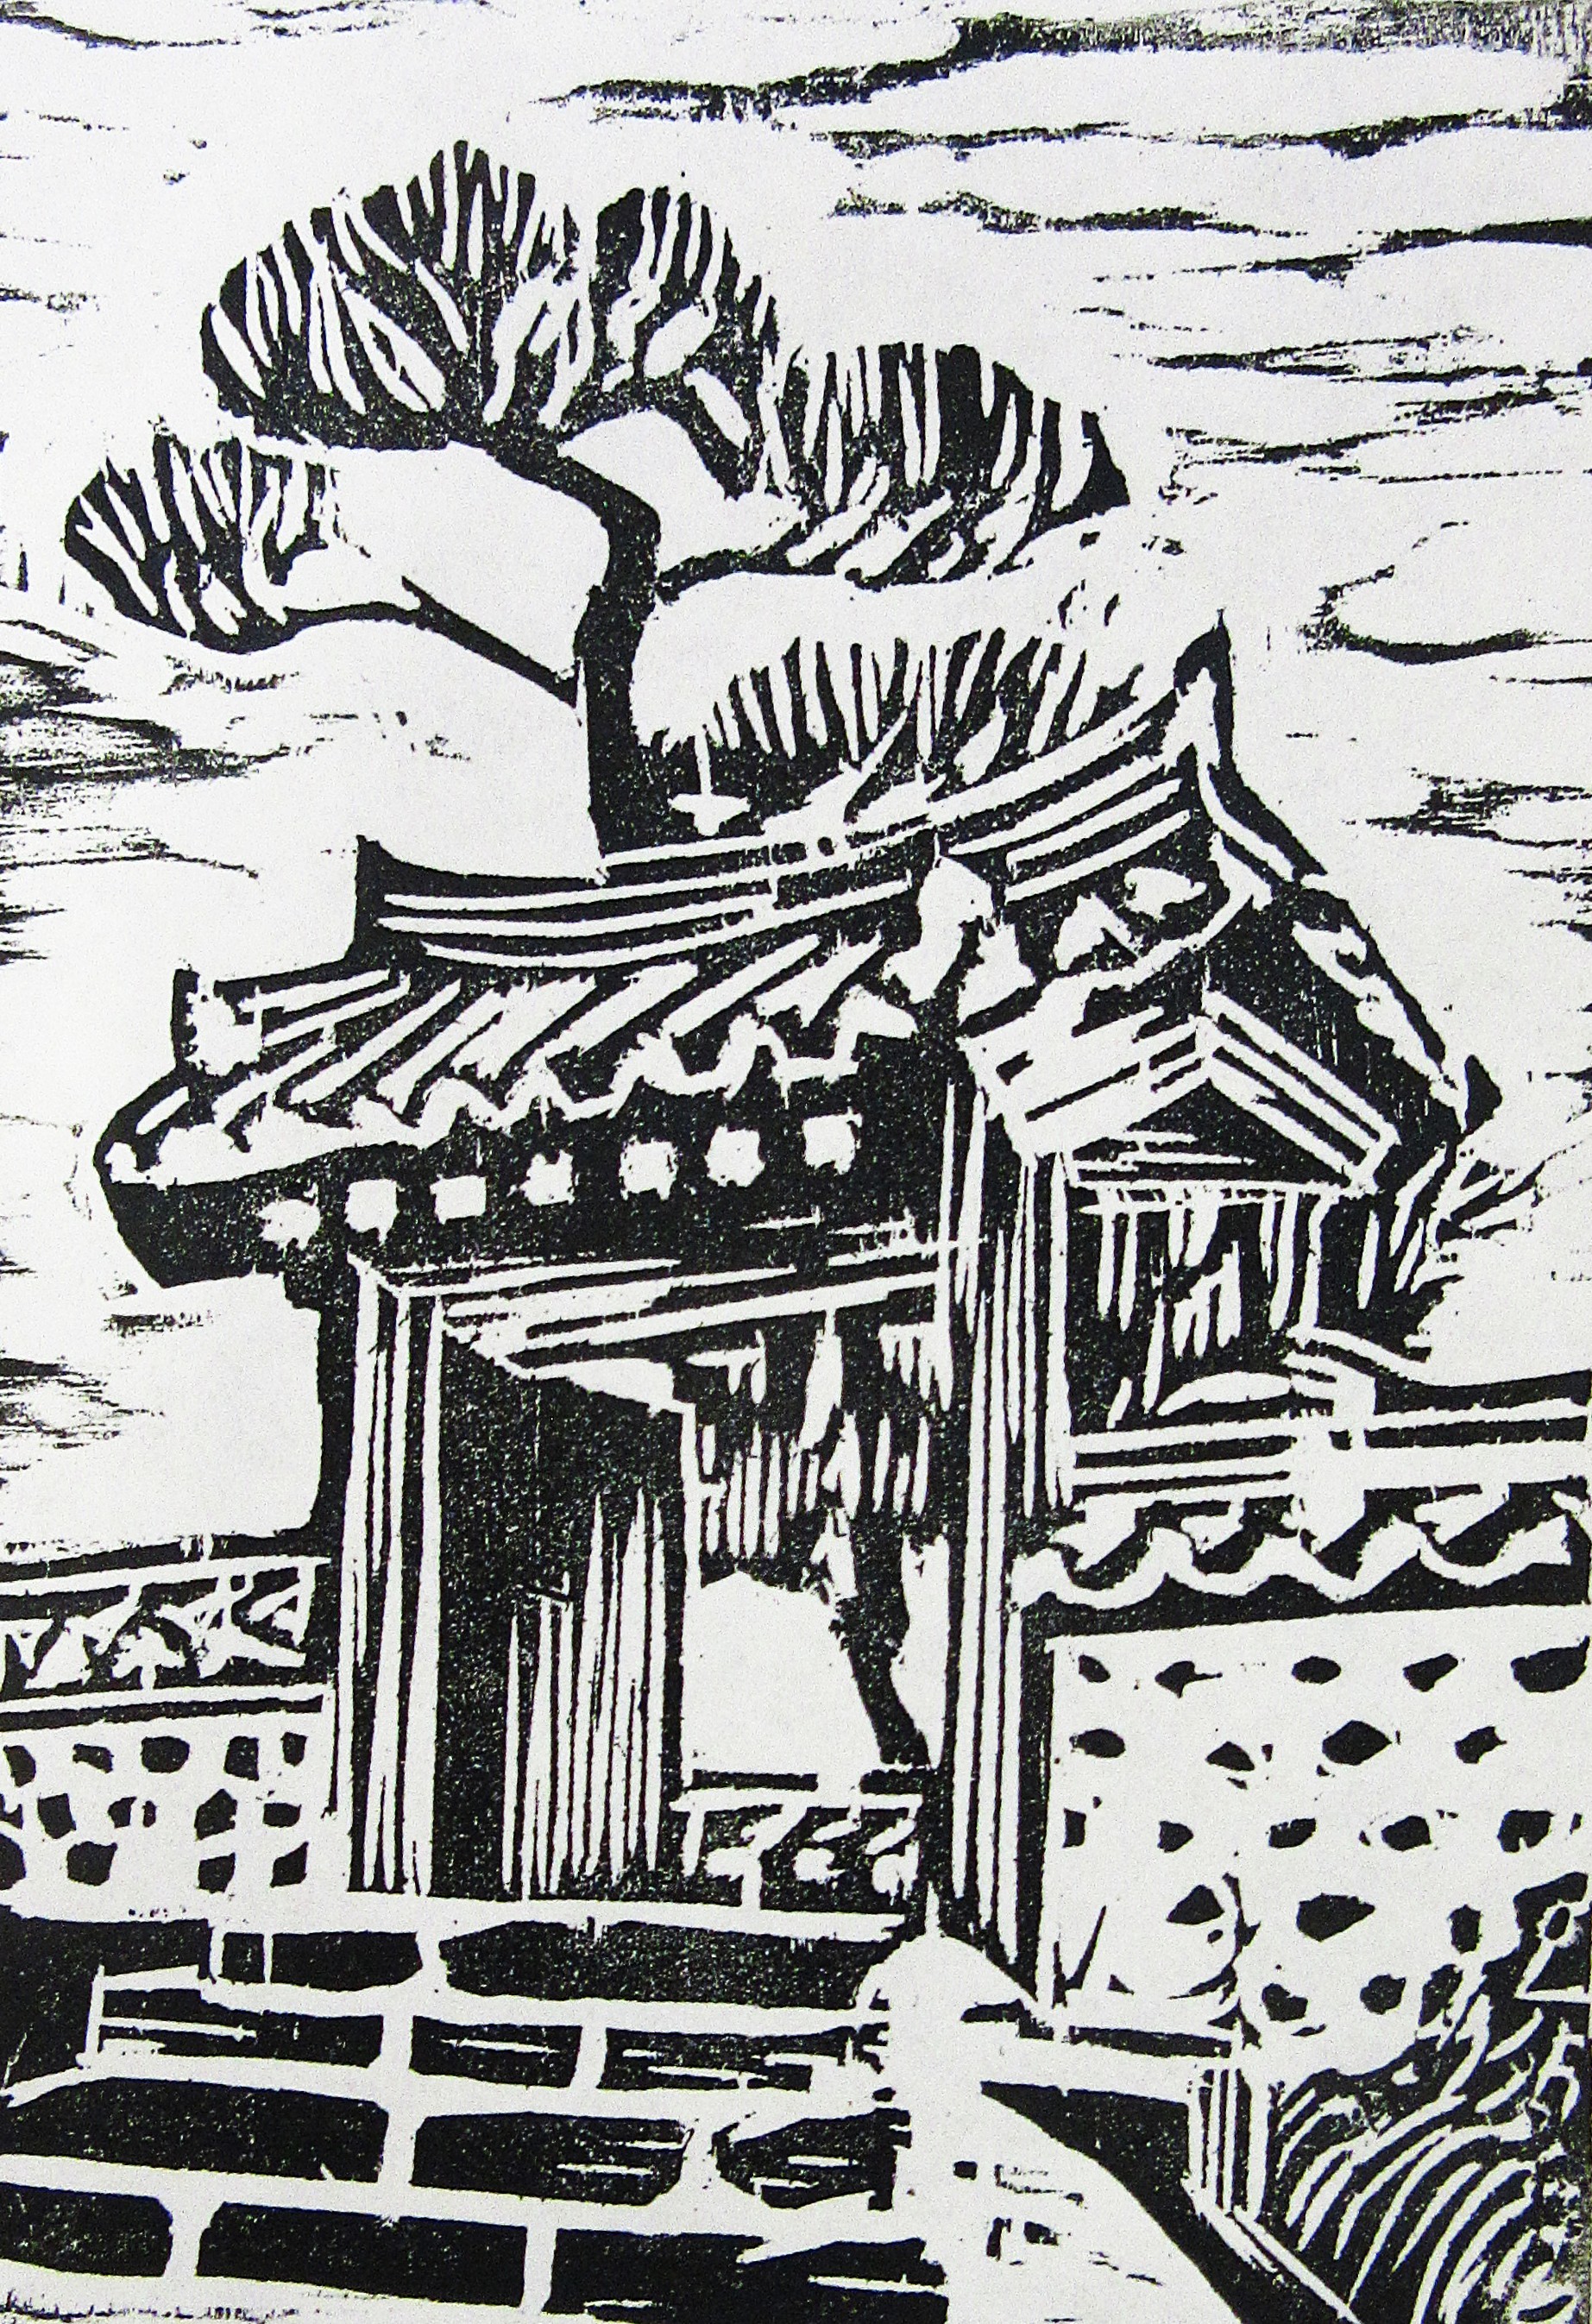
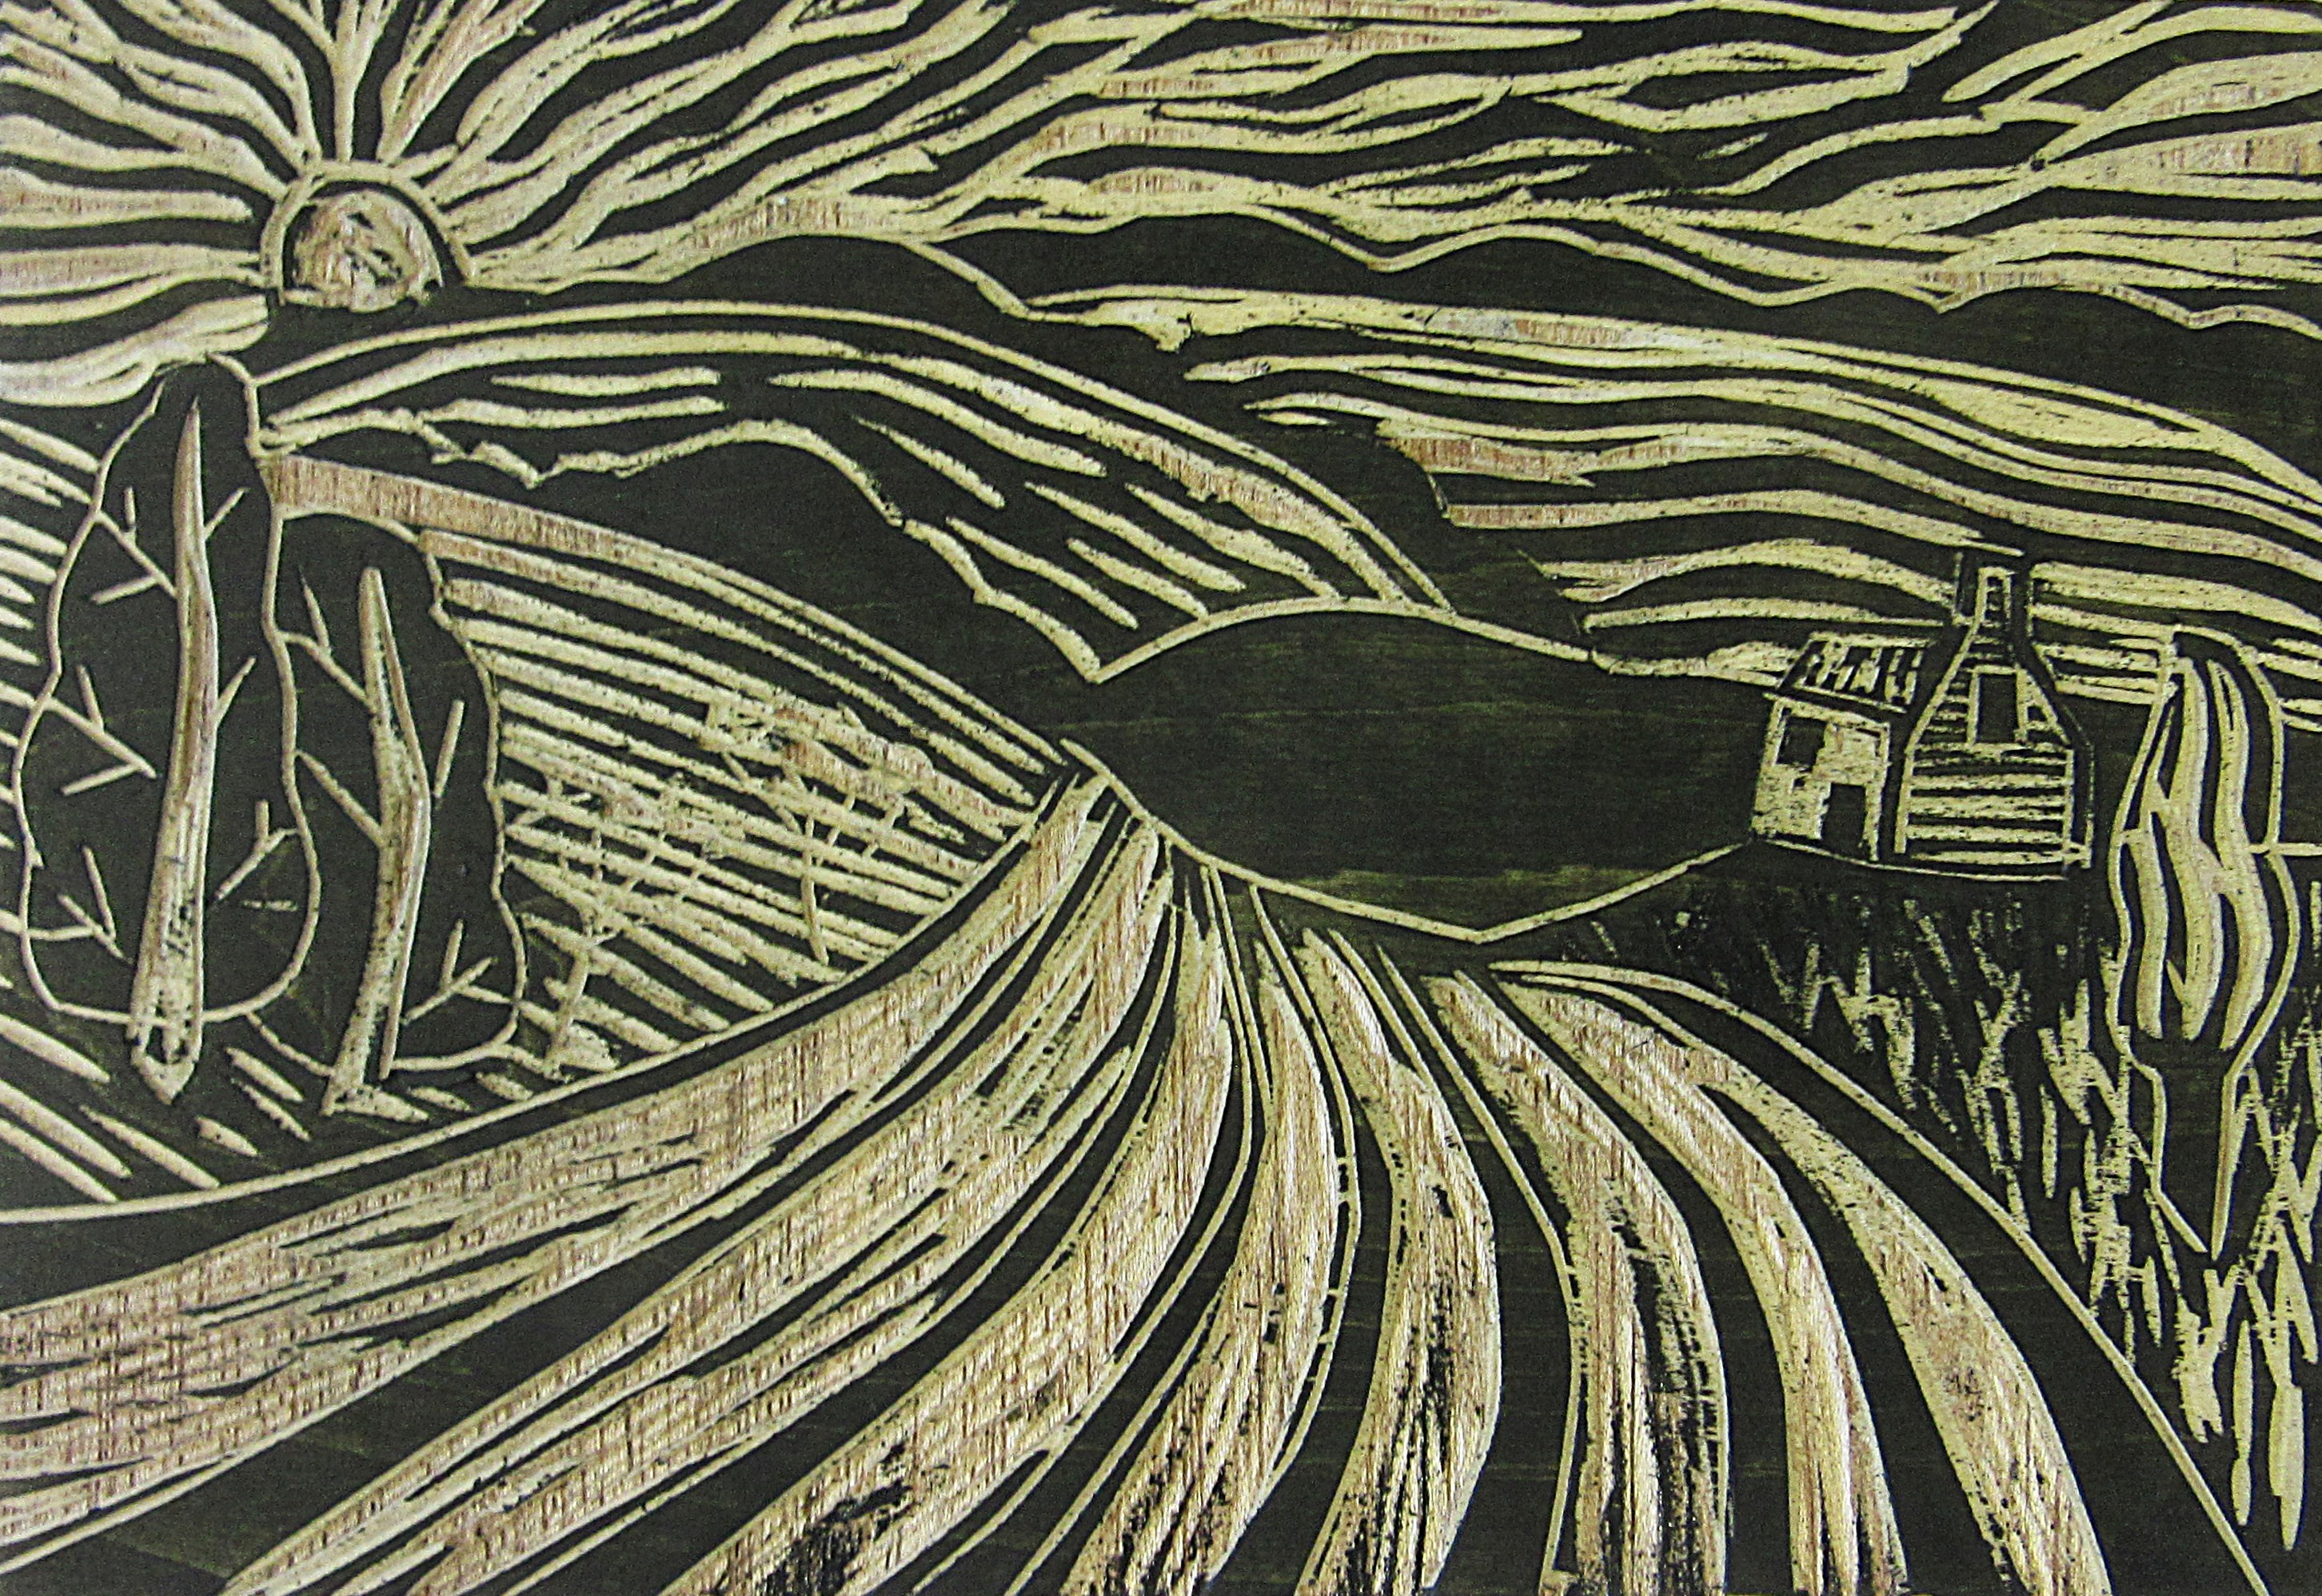
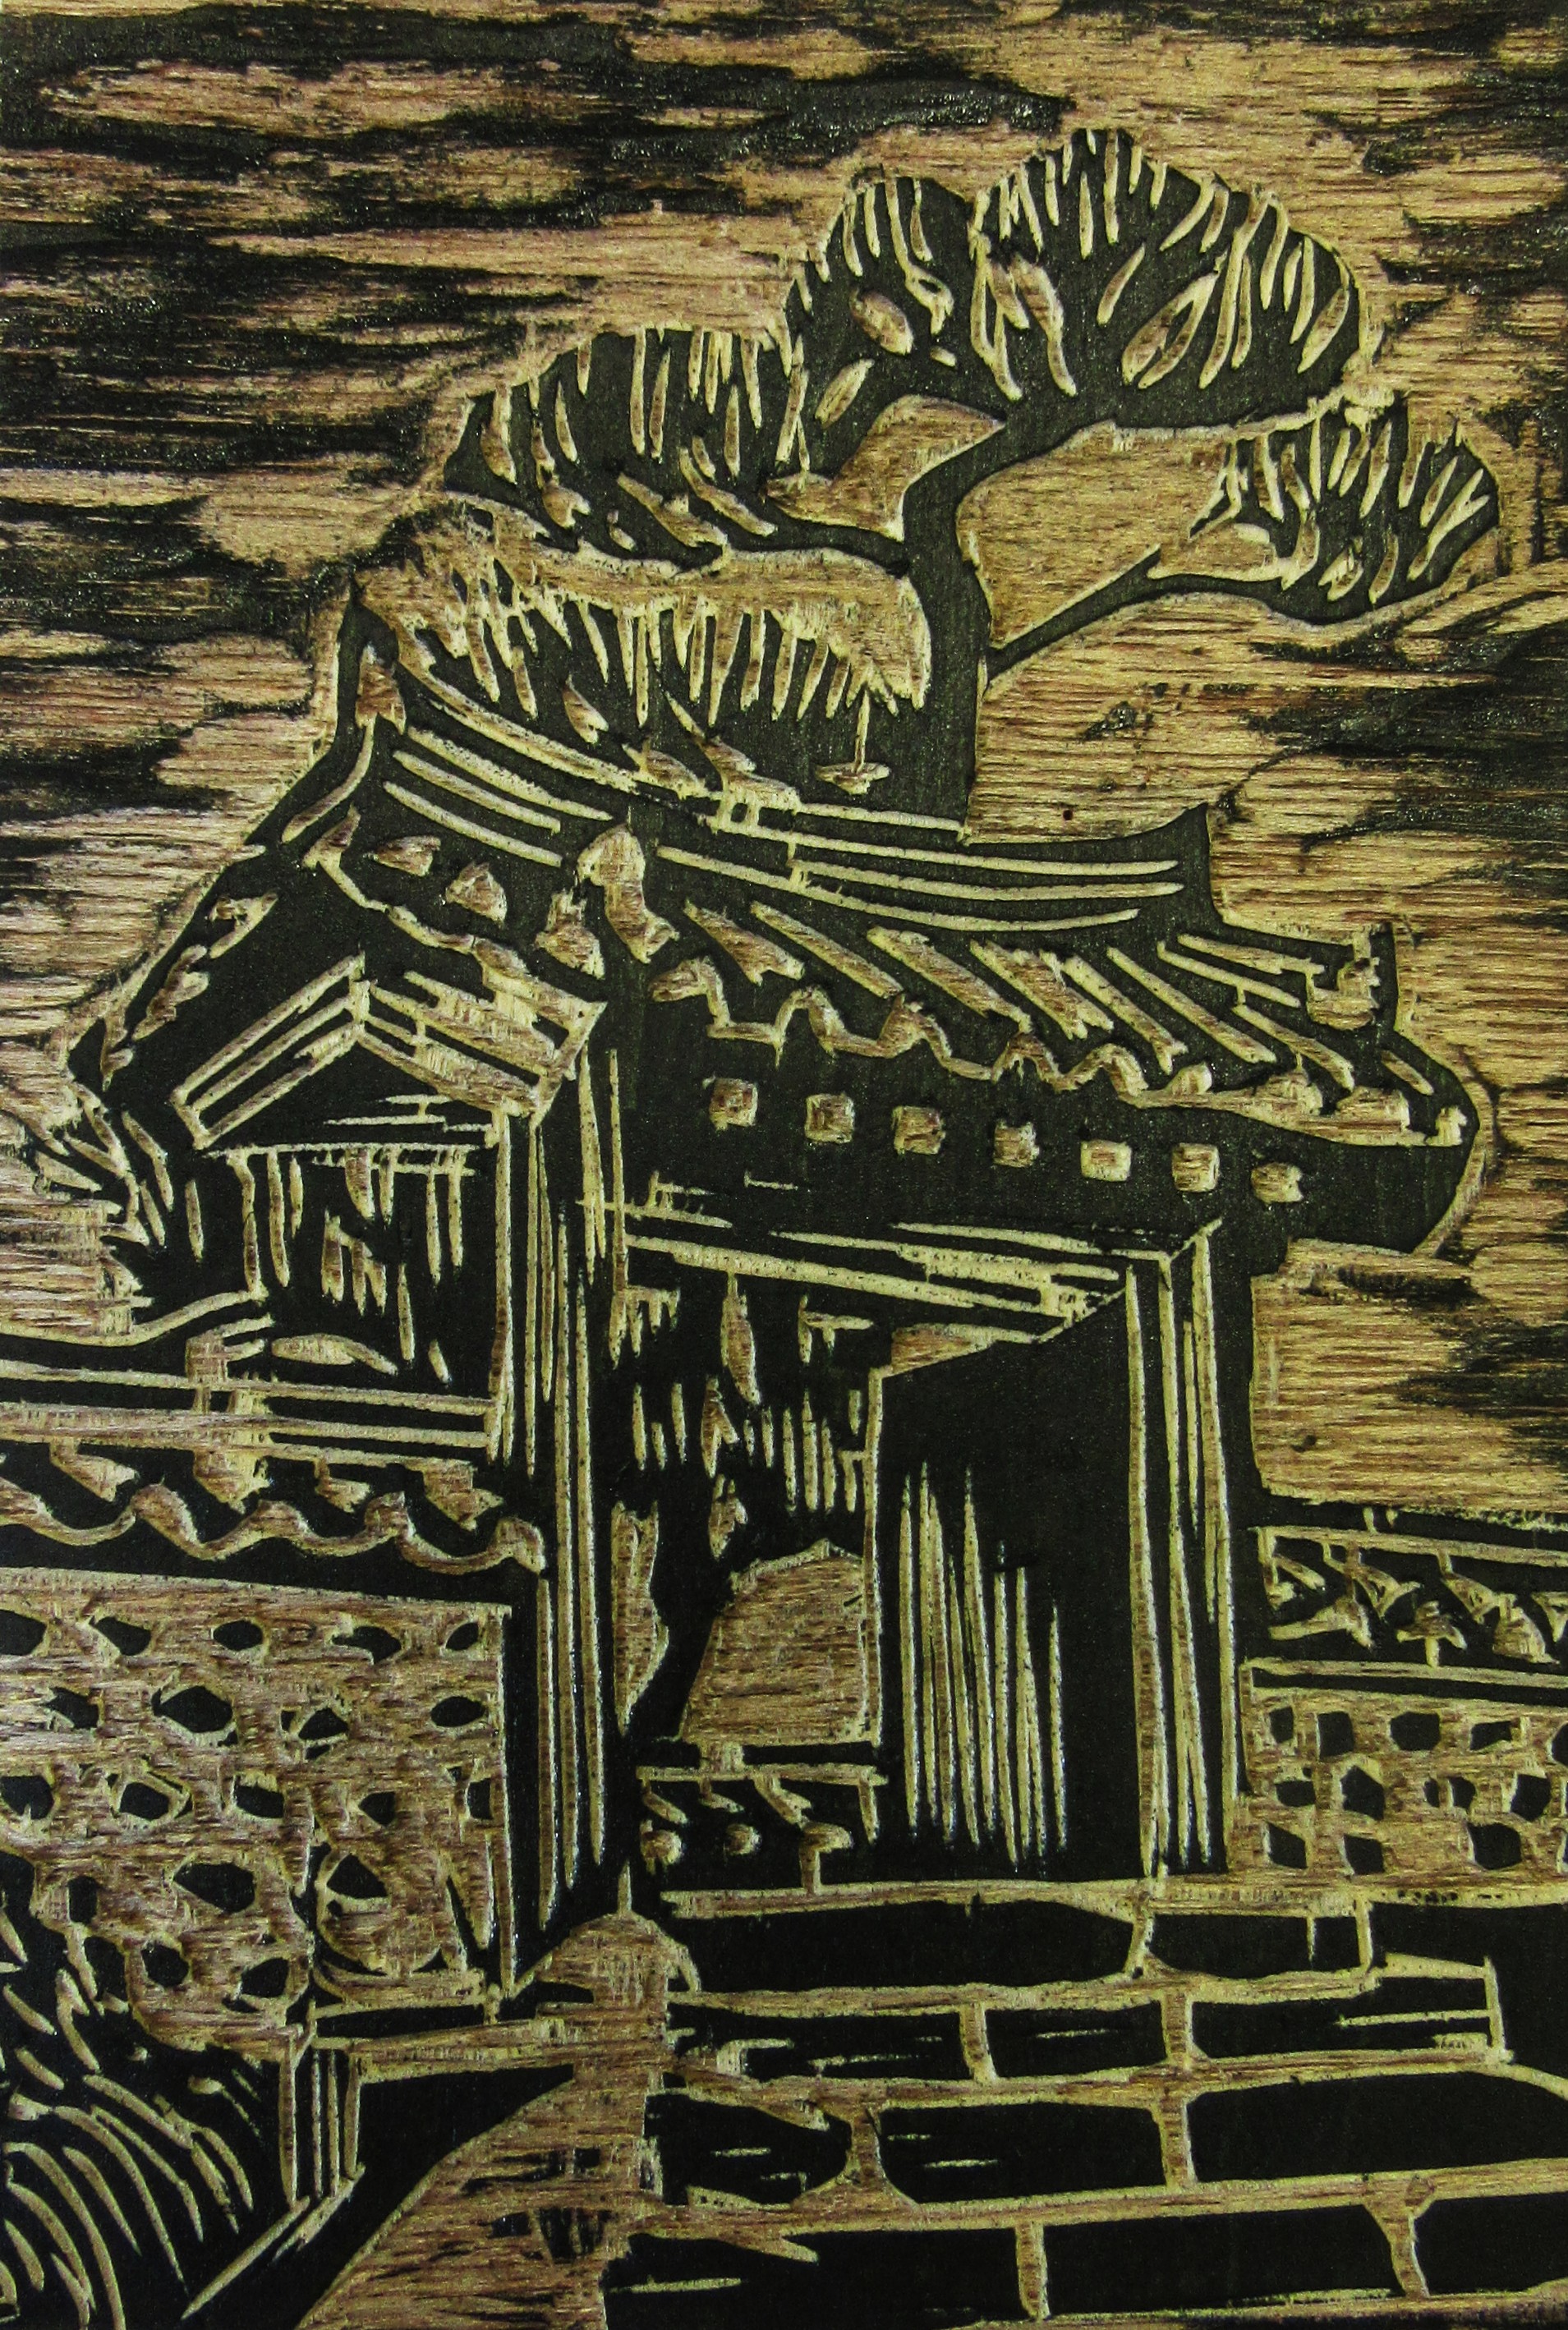
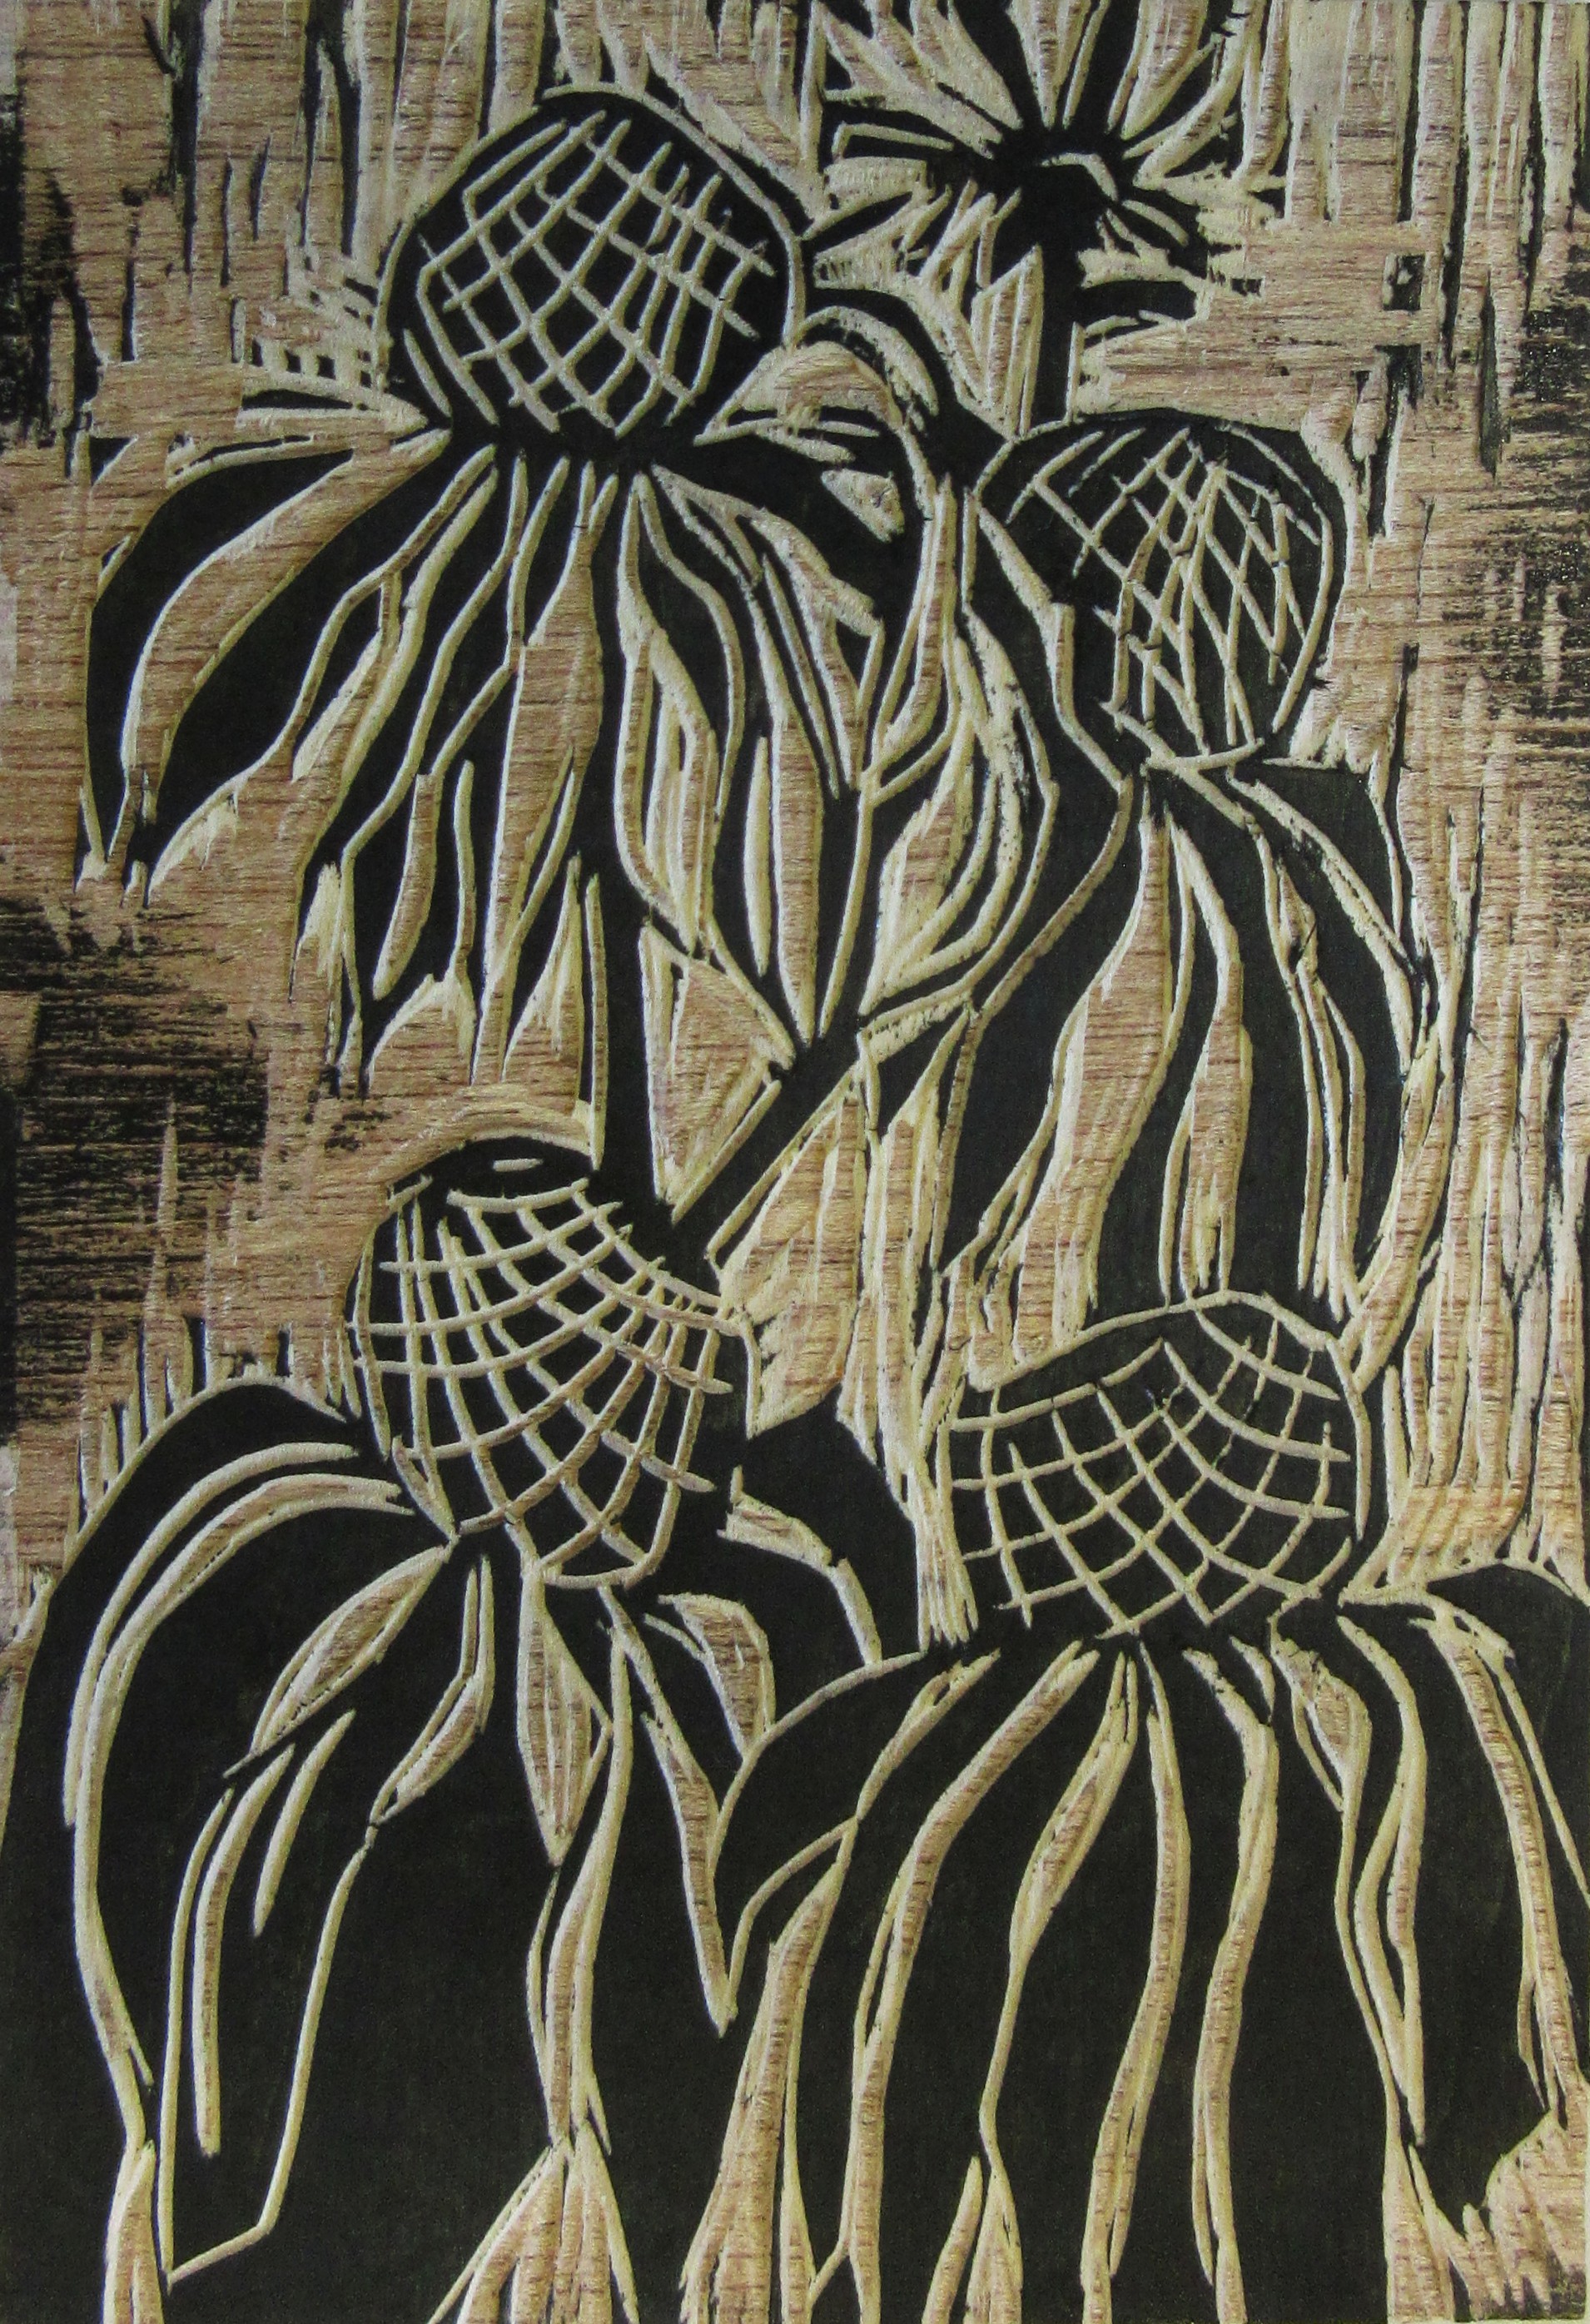
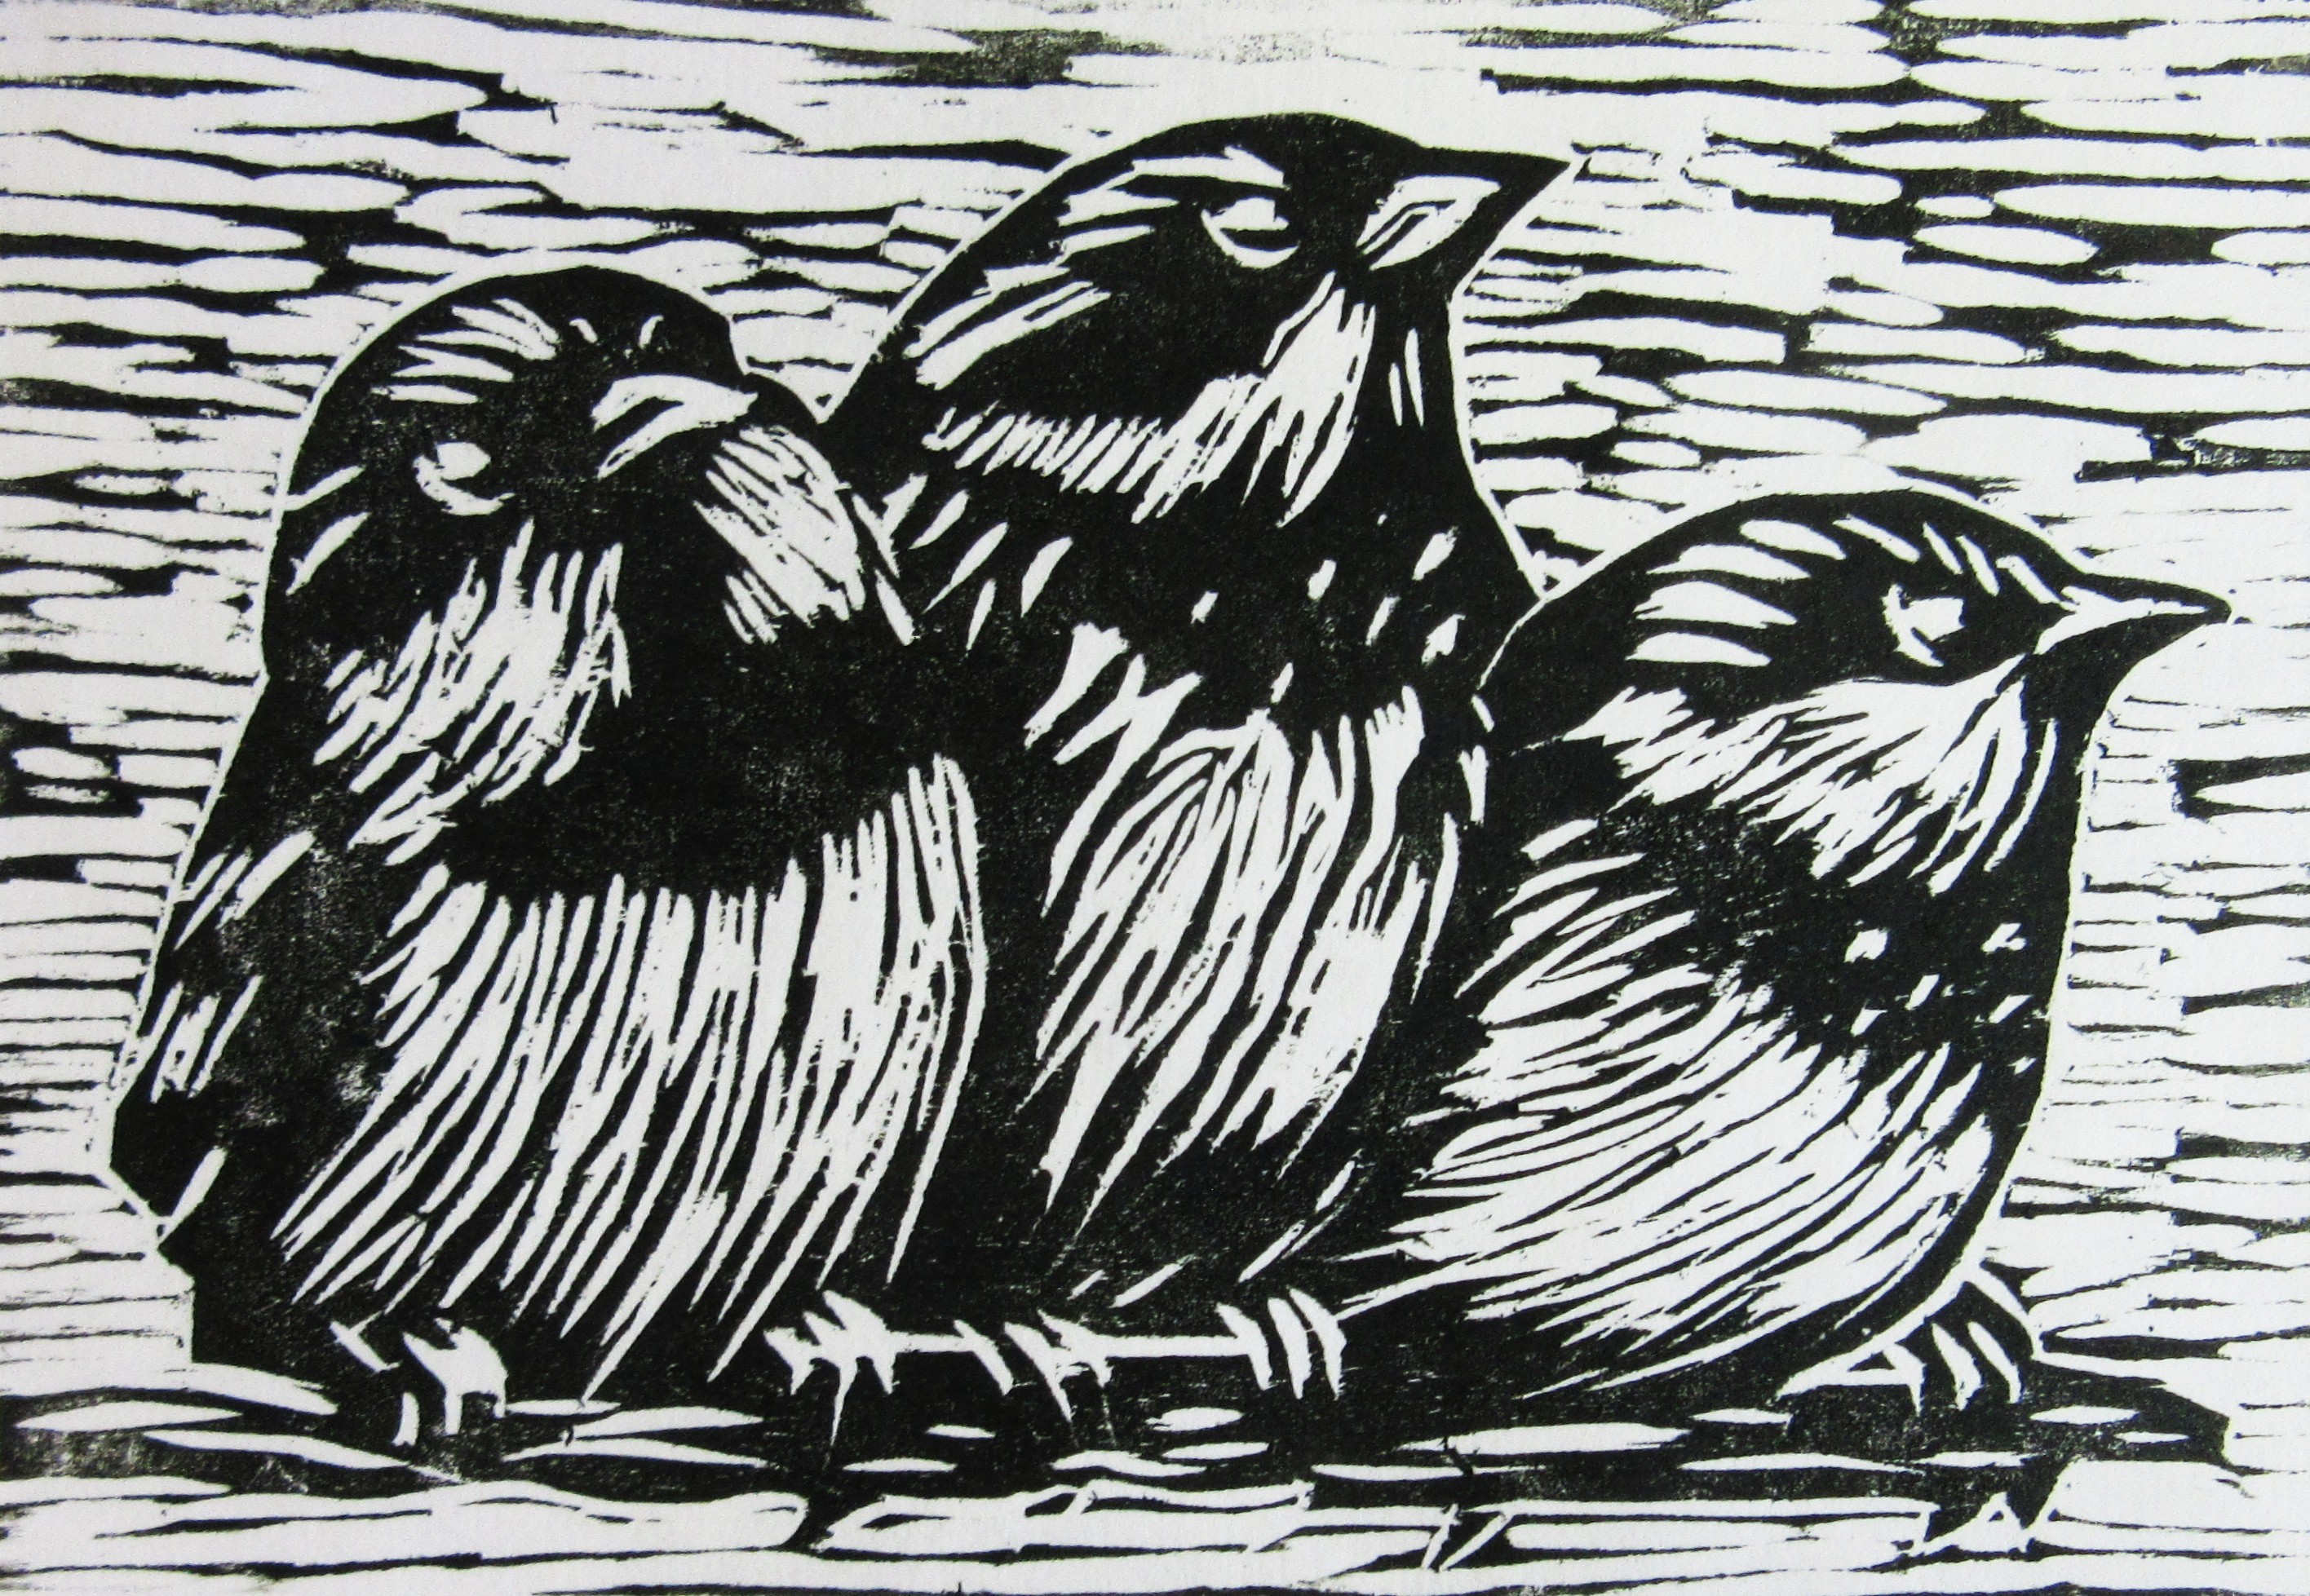
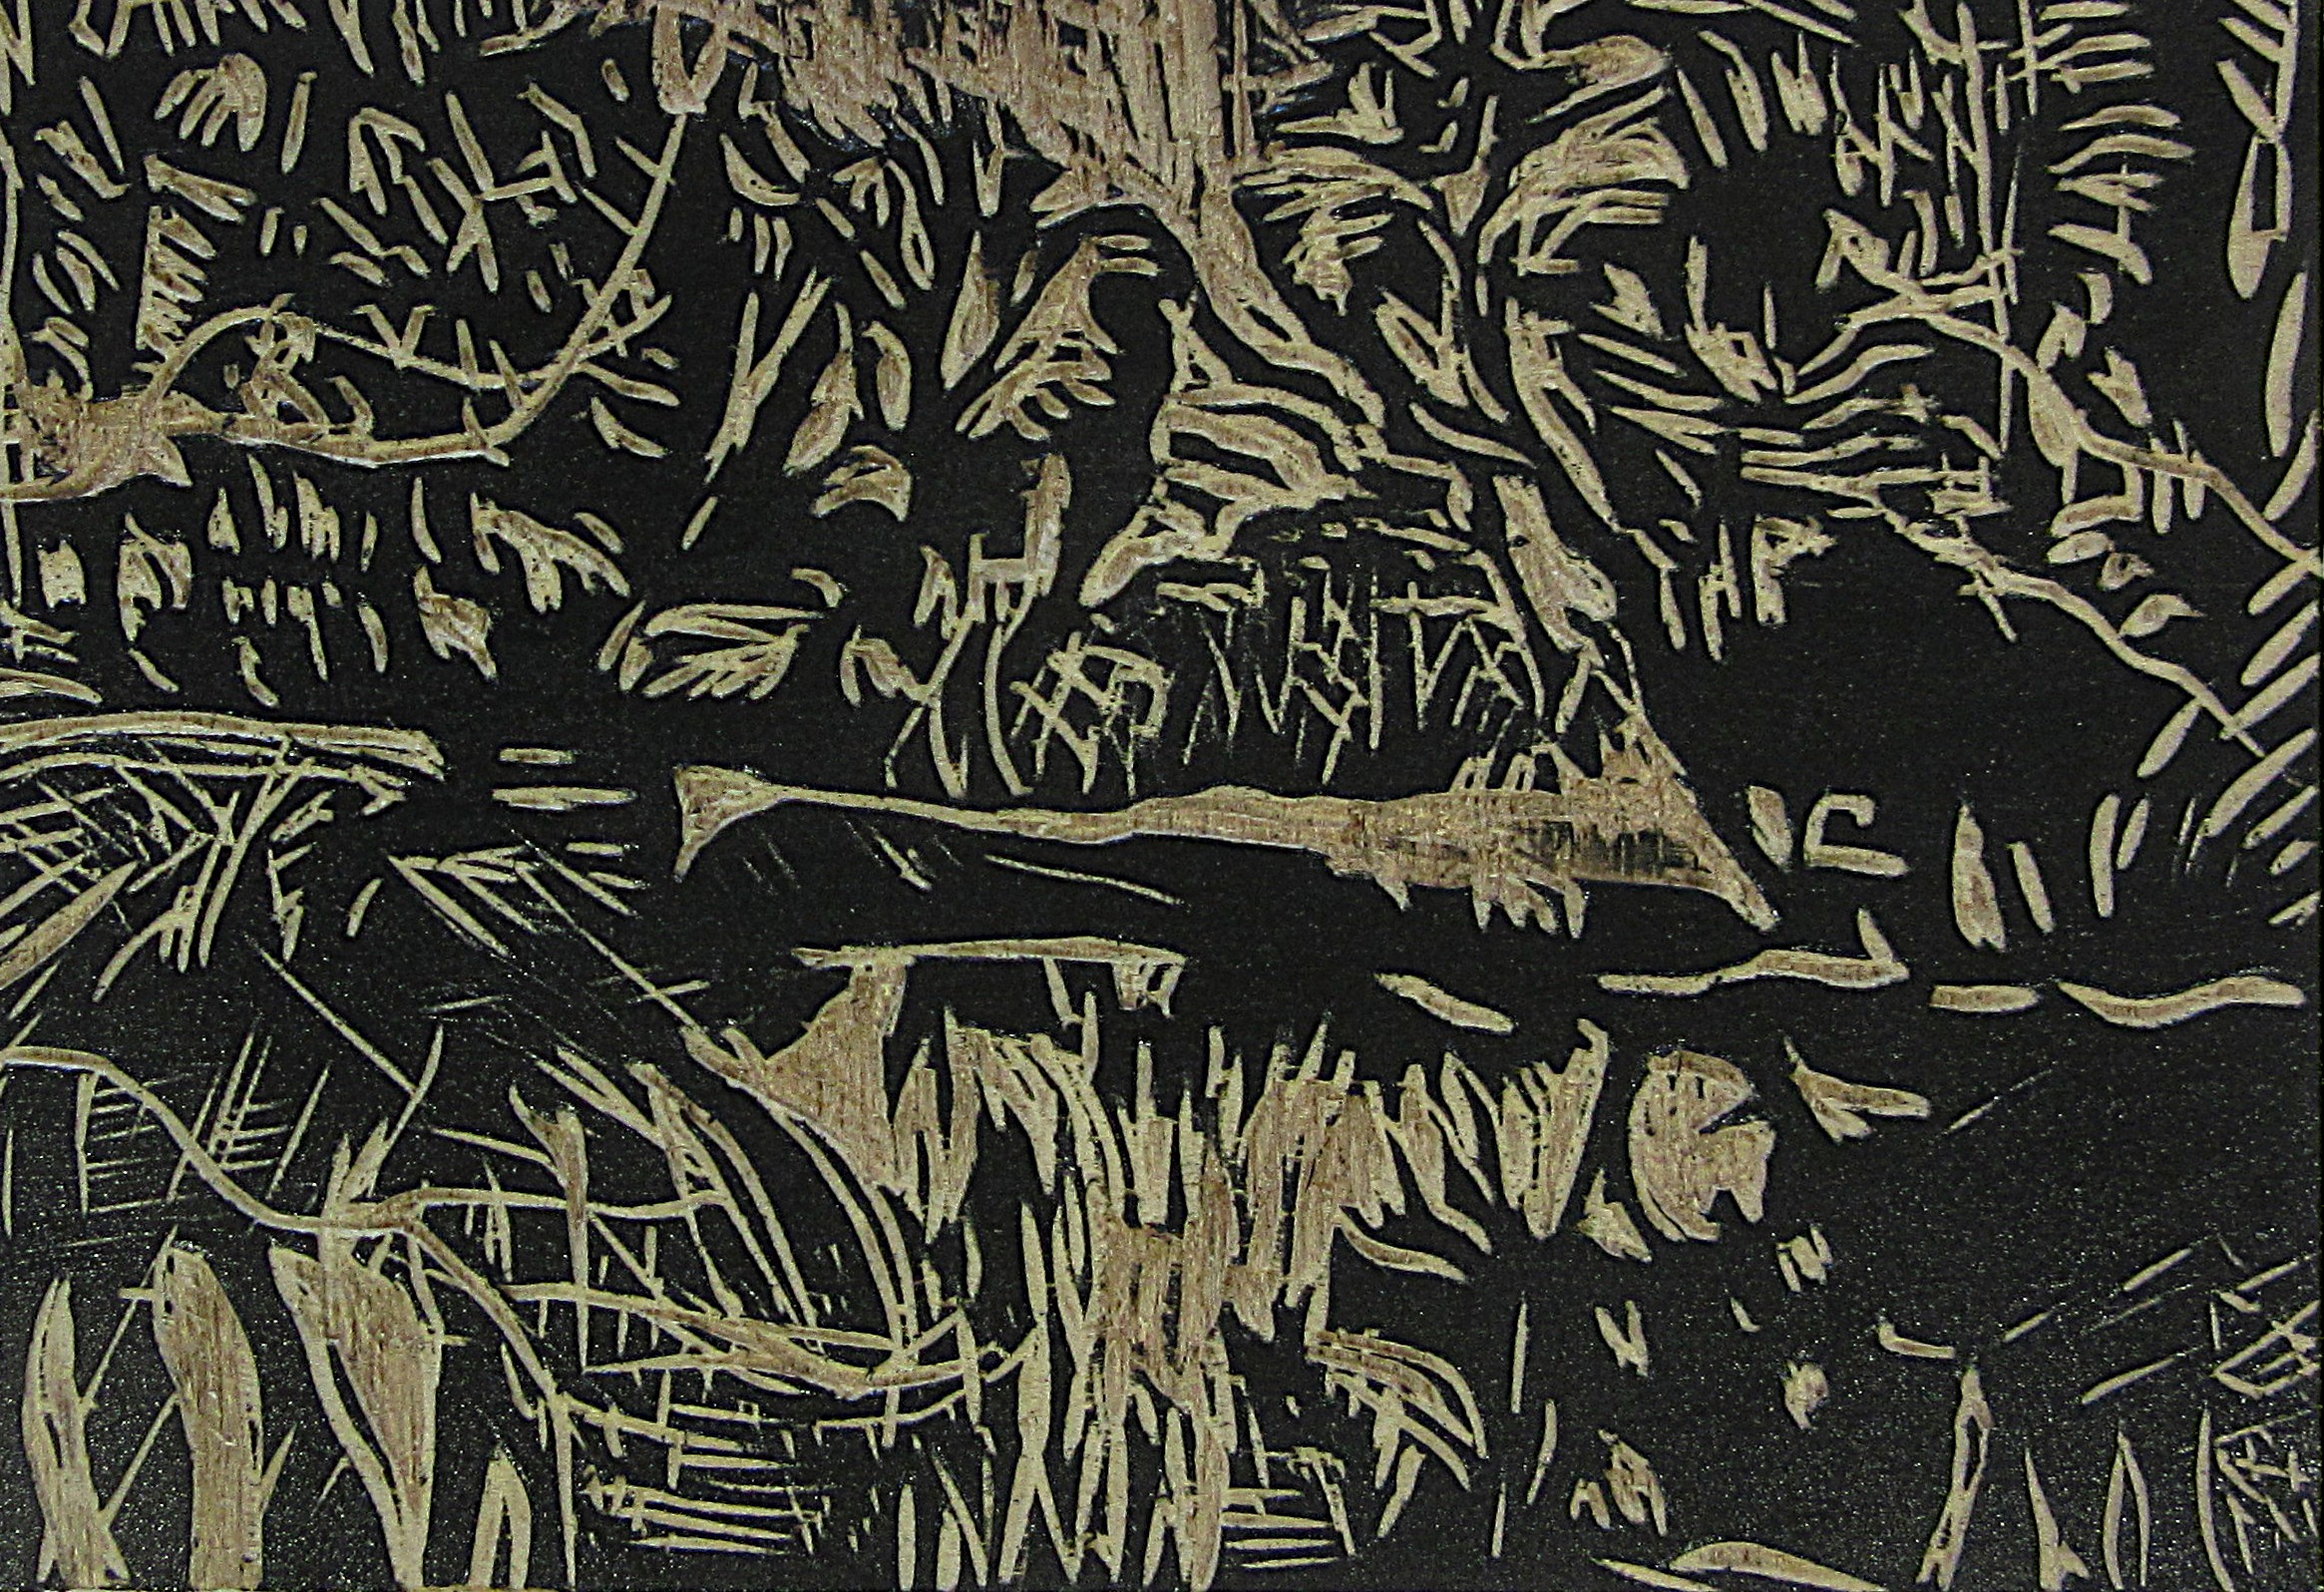
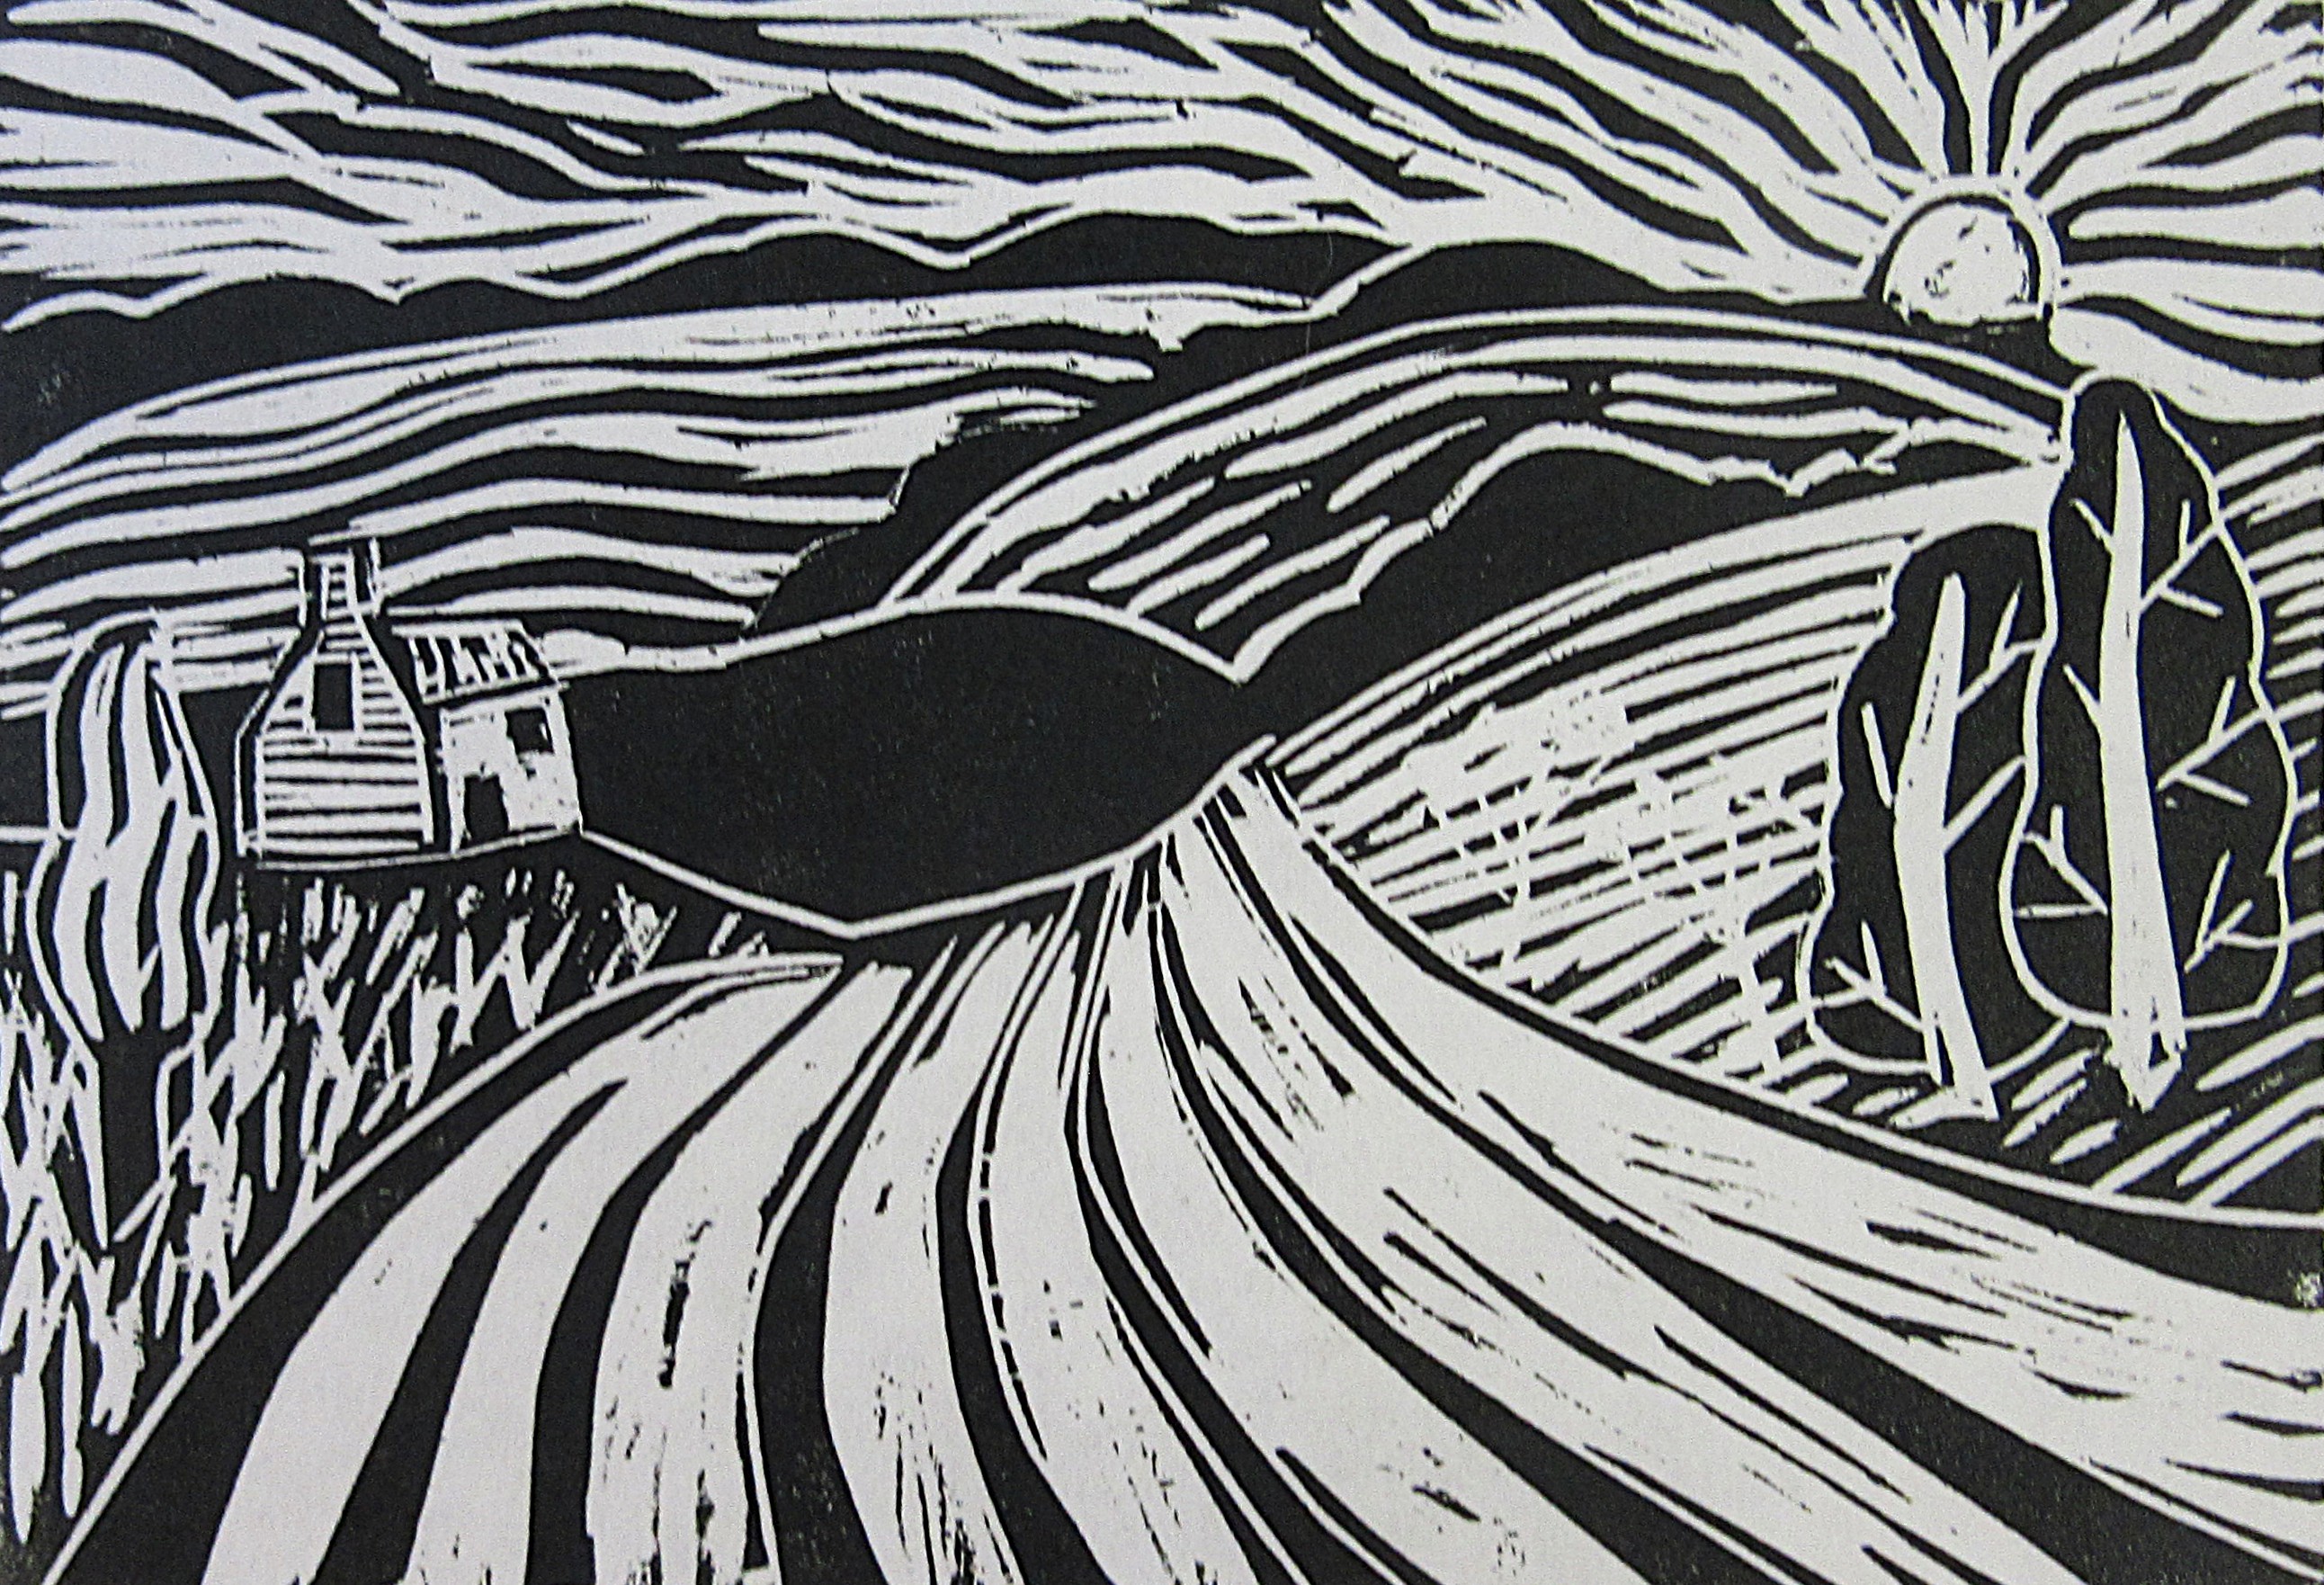
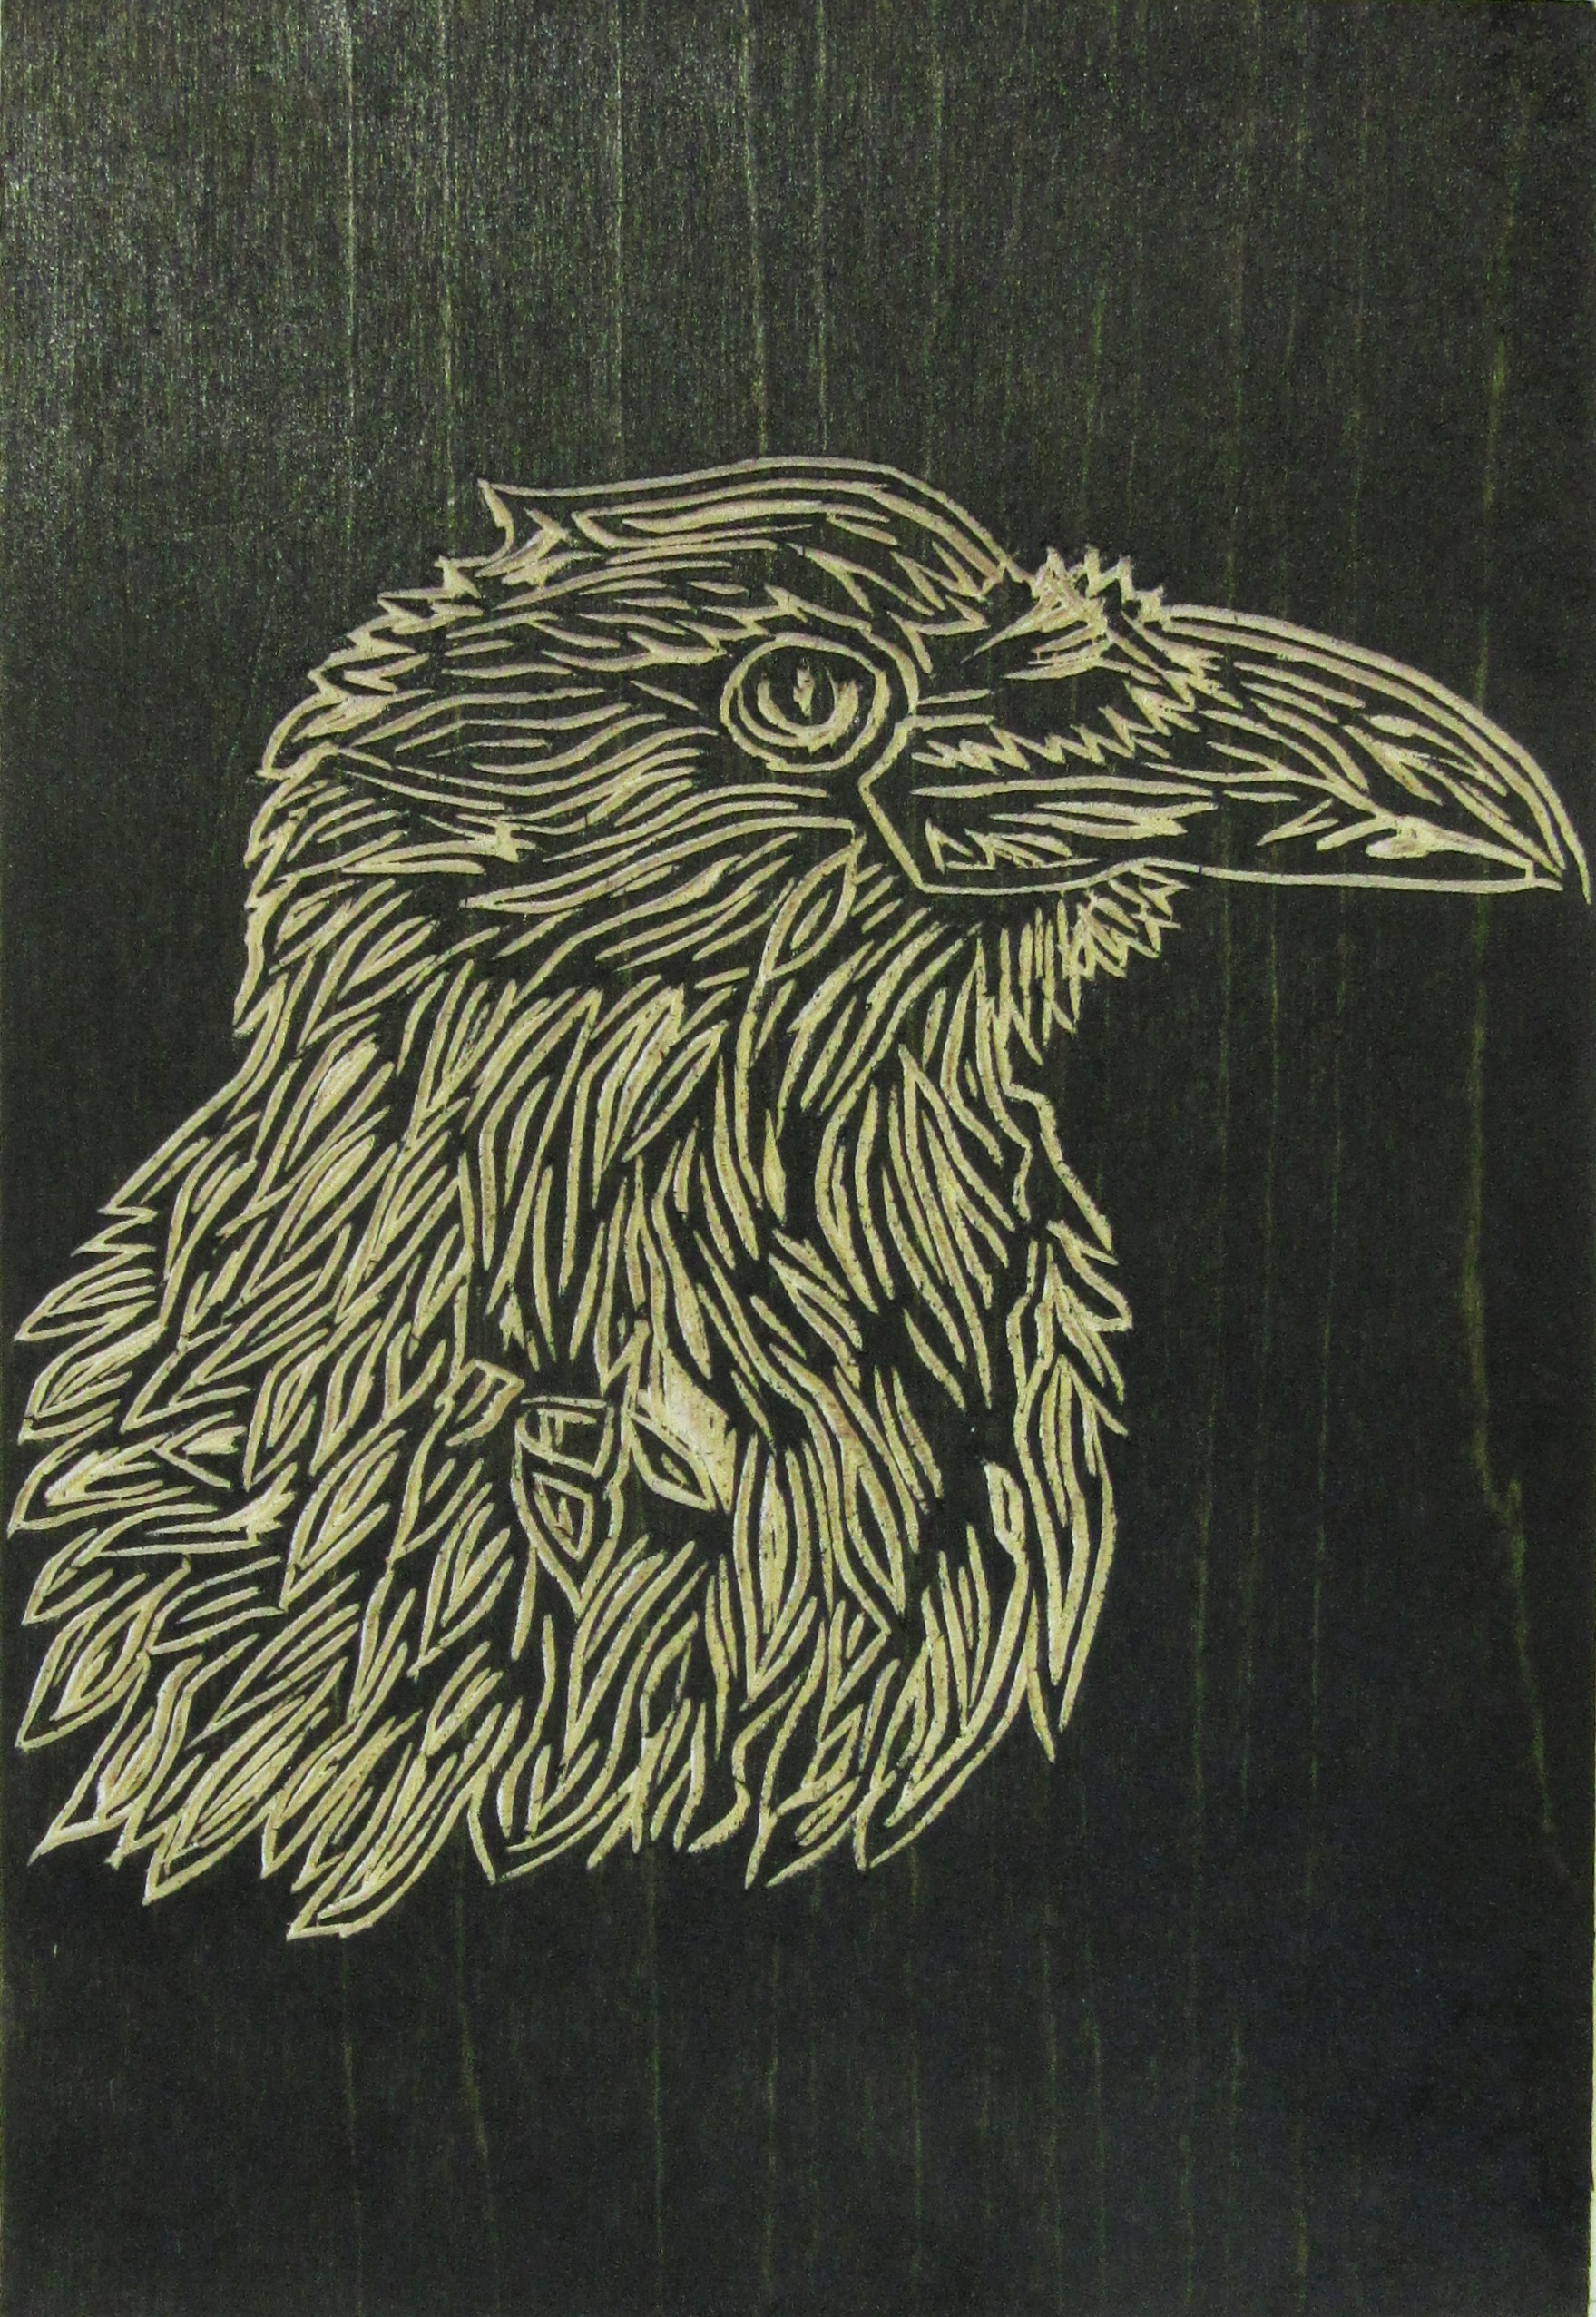
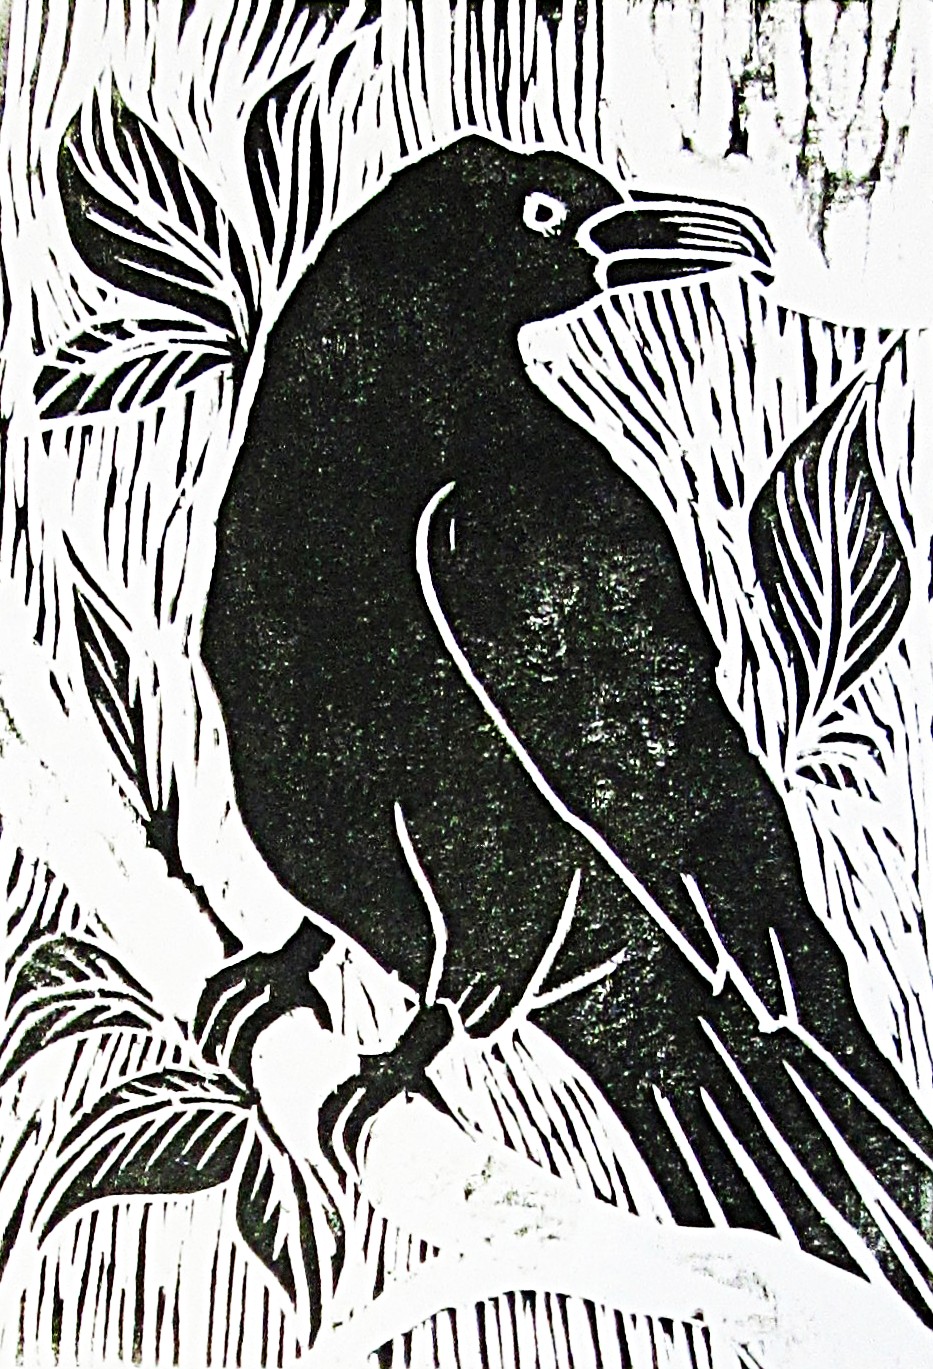
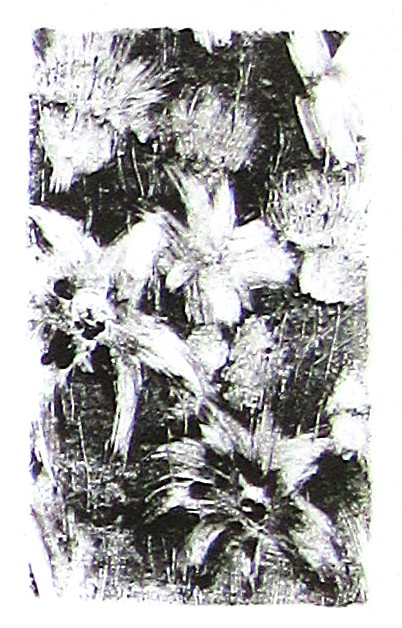
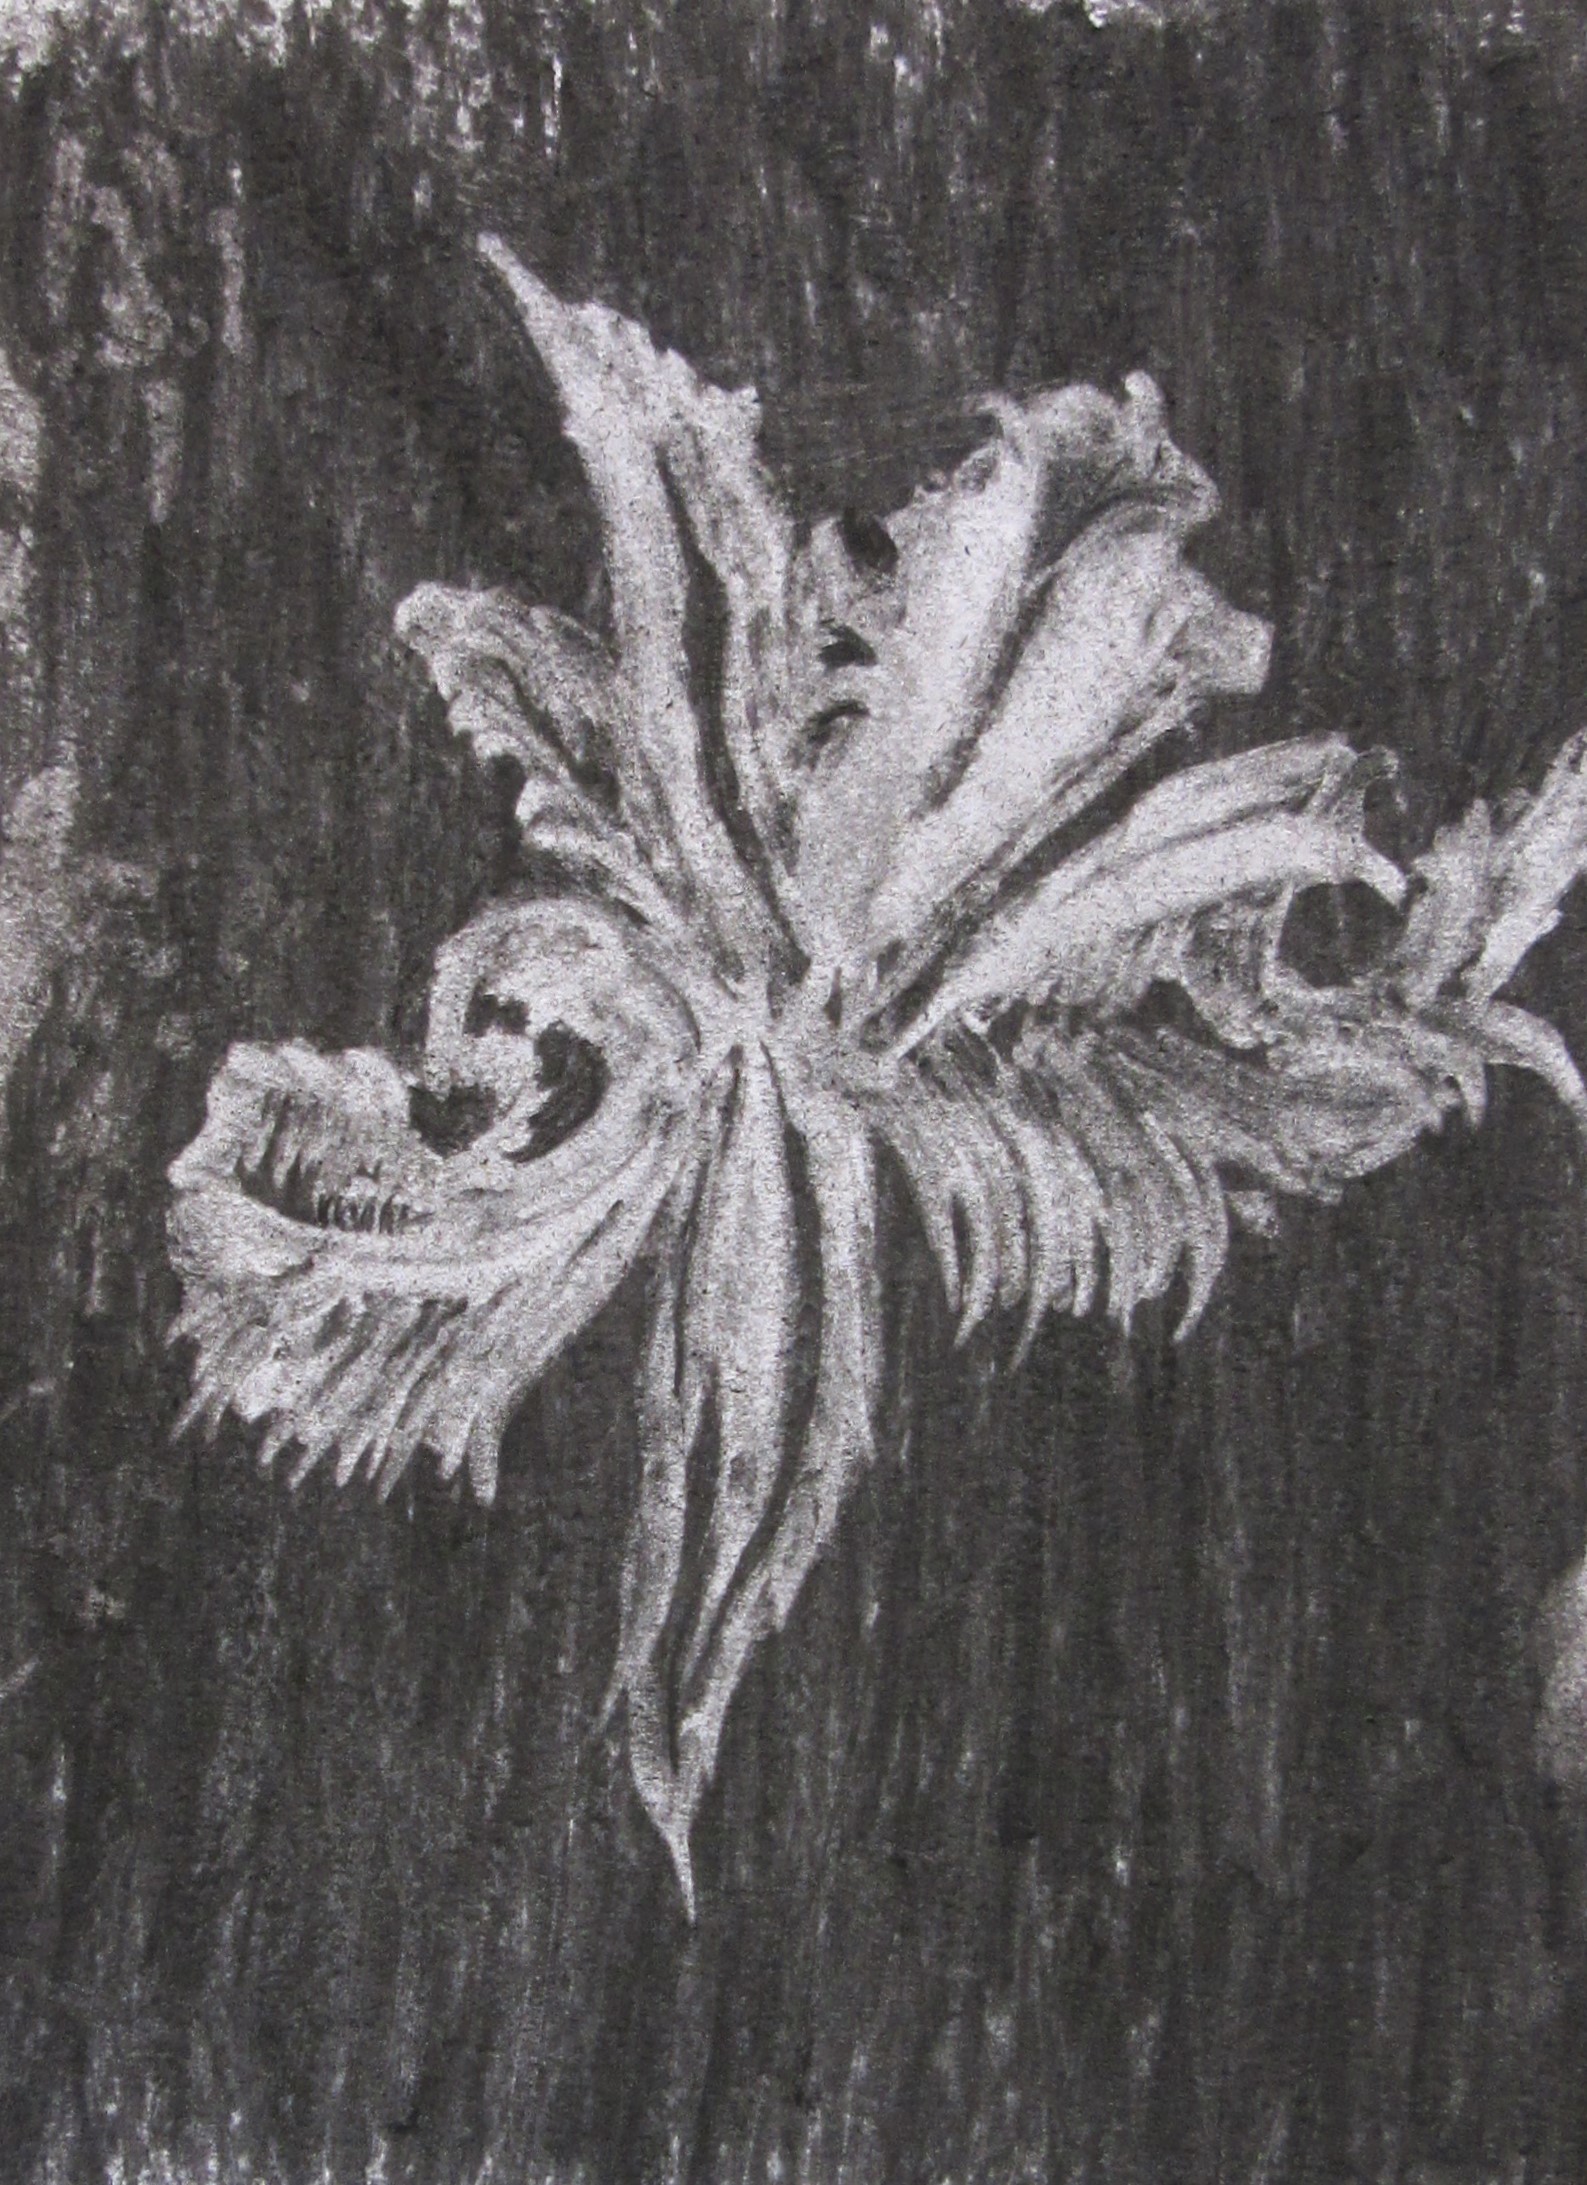
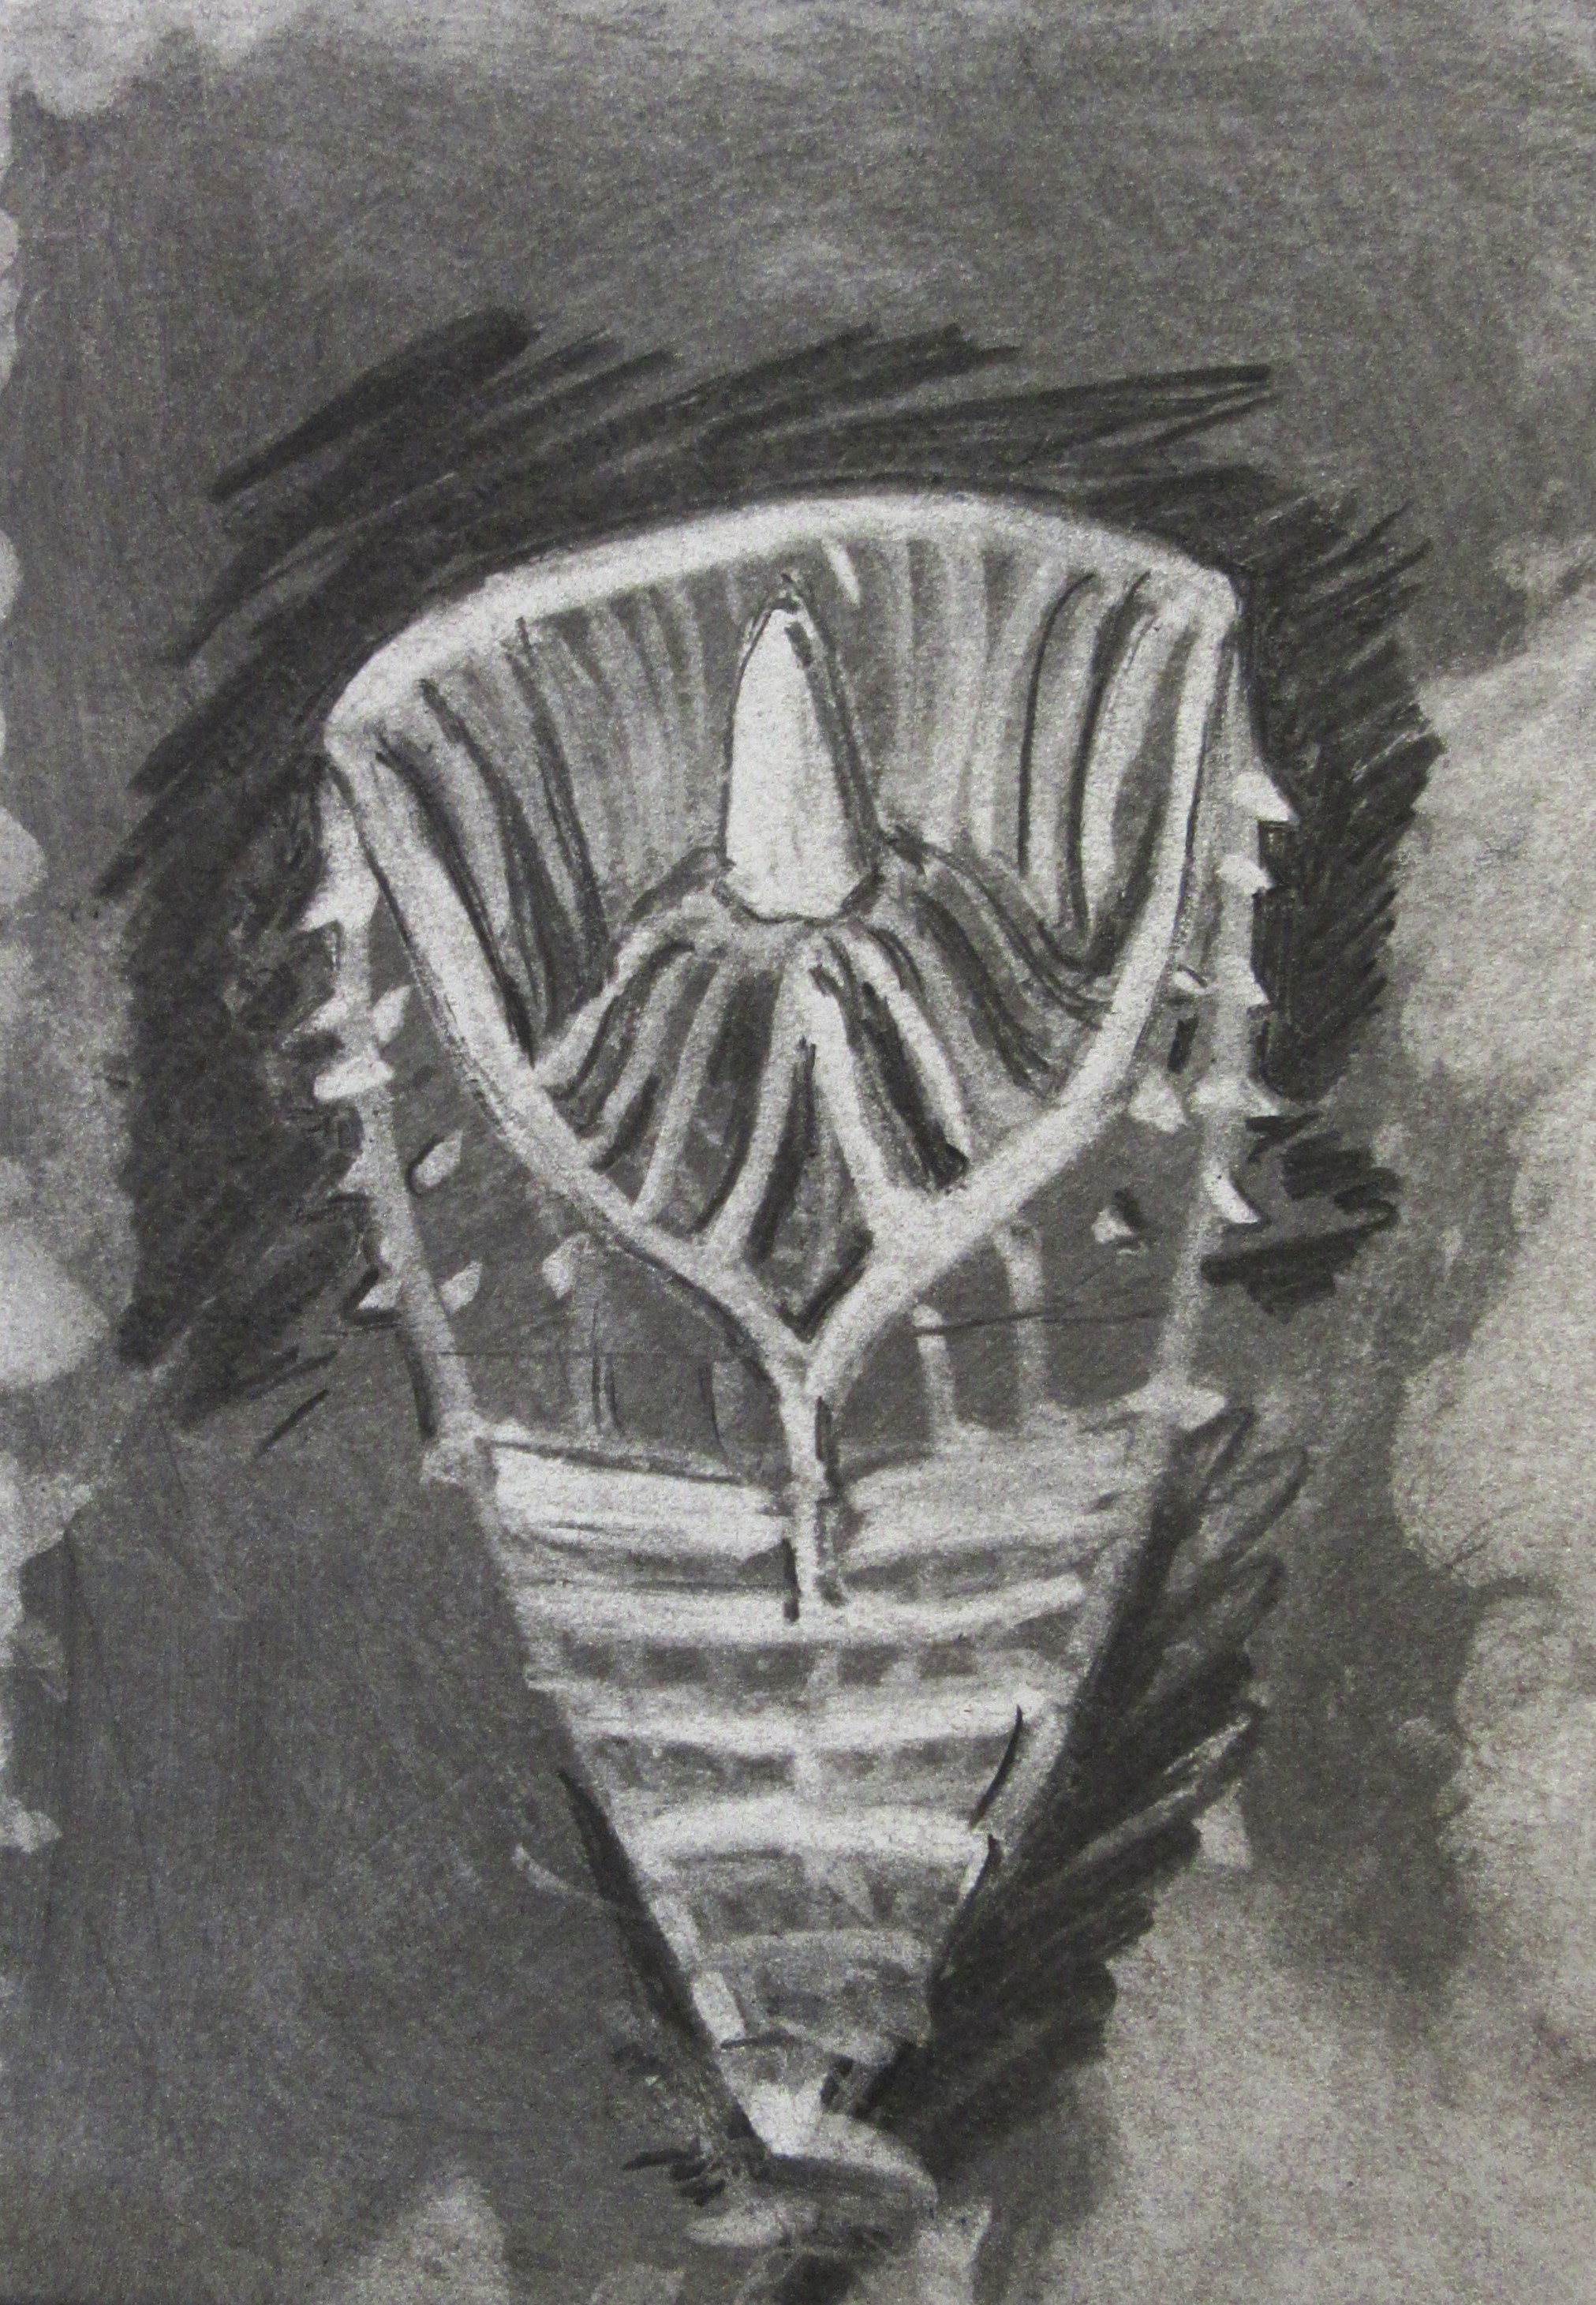
 Lisa Takahashi – Dynamic woodcutting
A superb workshop, learning how to use the tools and medium for wood cutting. Everybody created something really special as you can see in the photographs below.


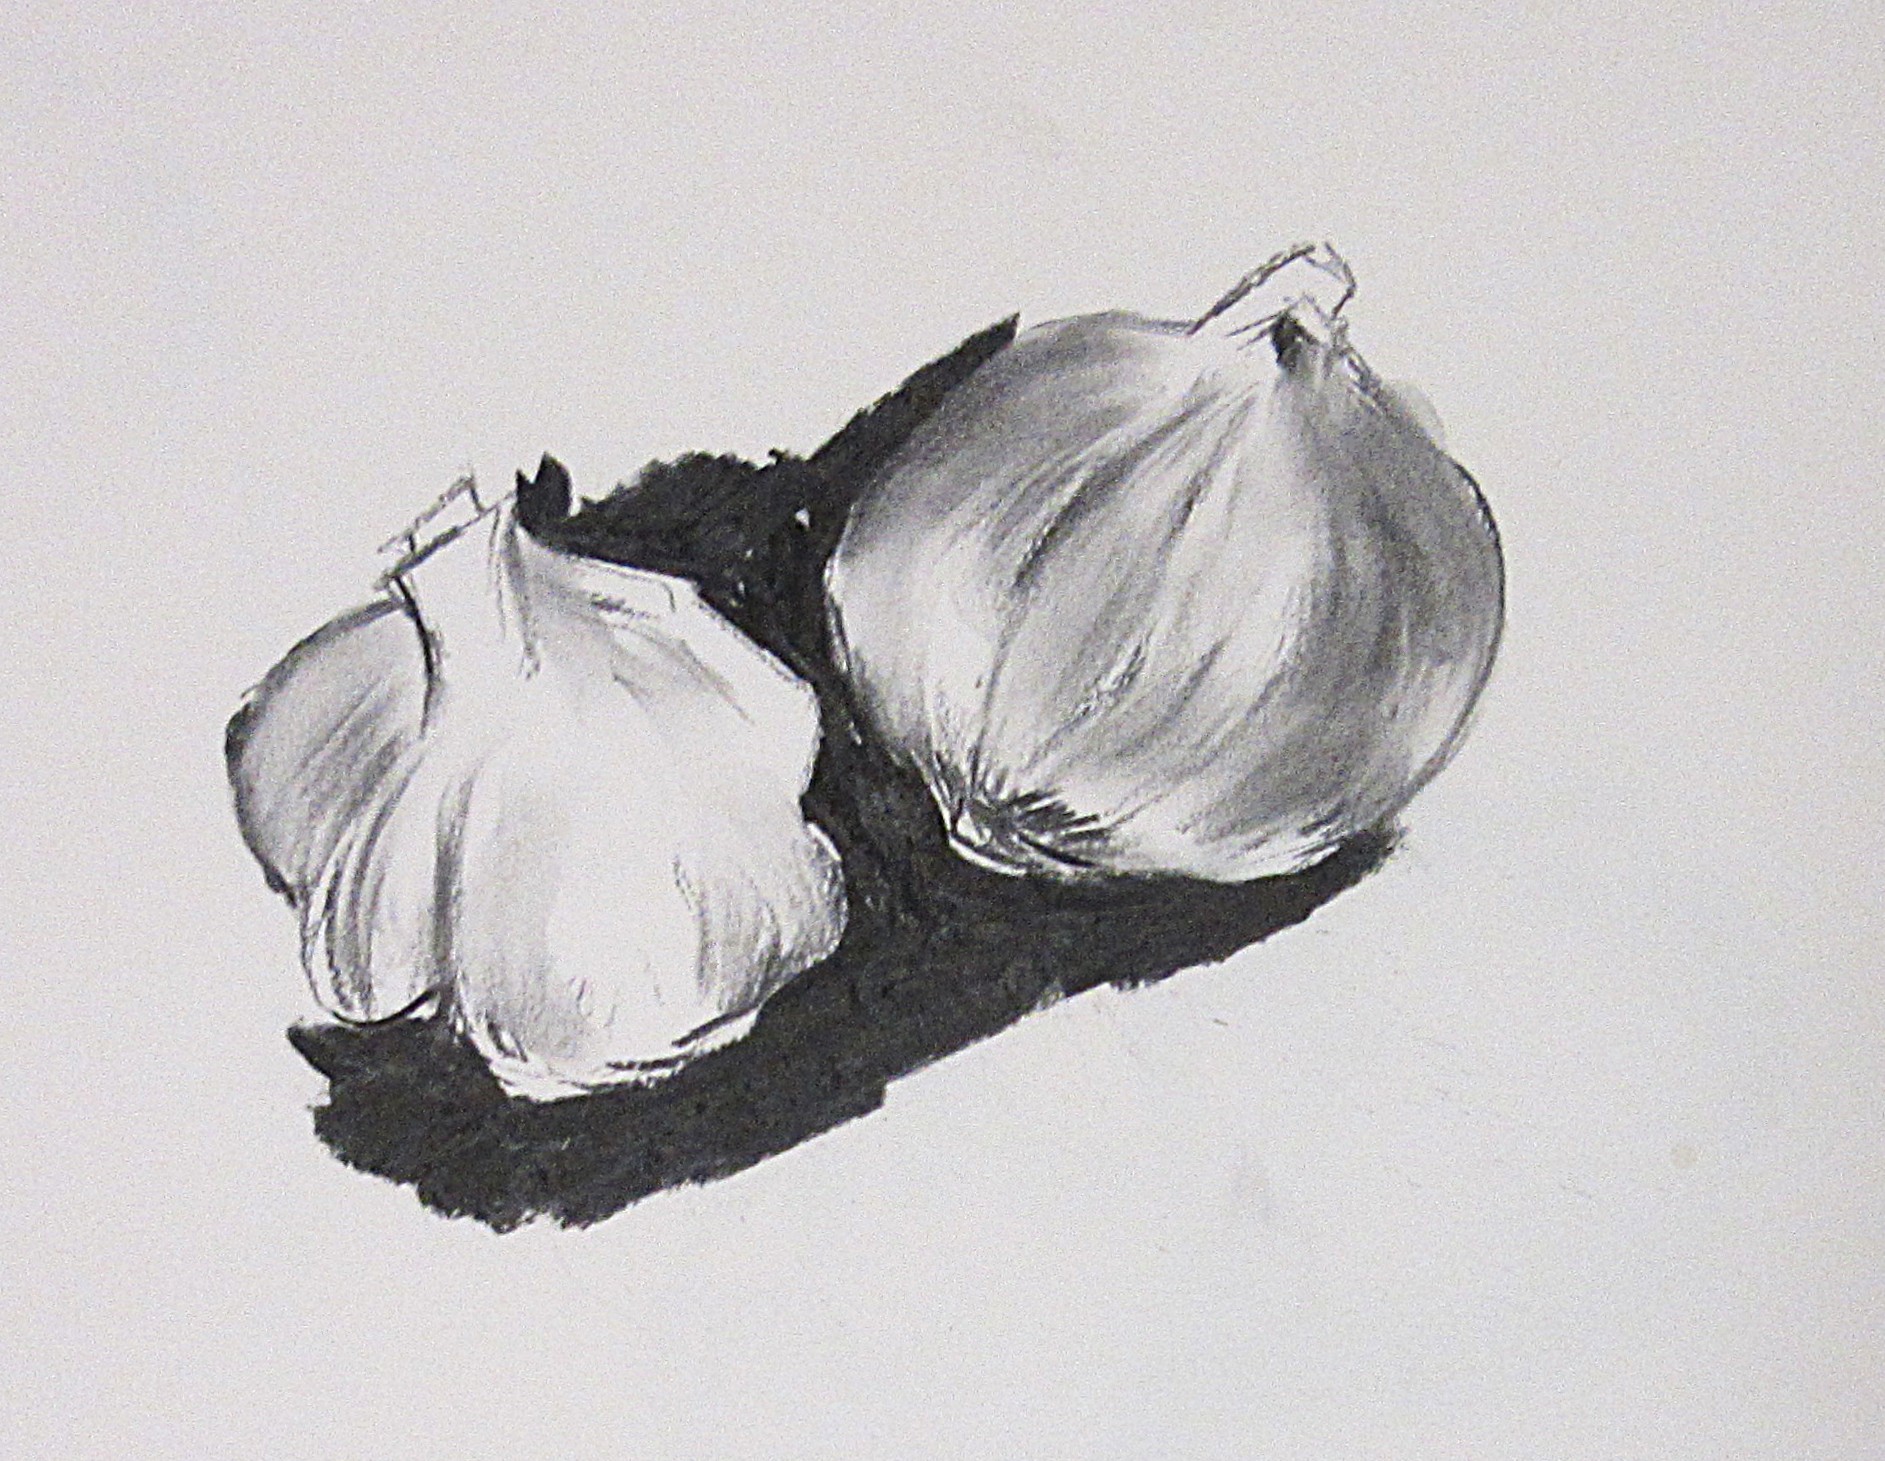
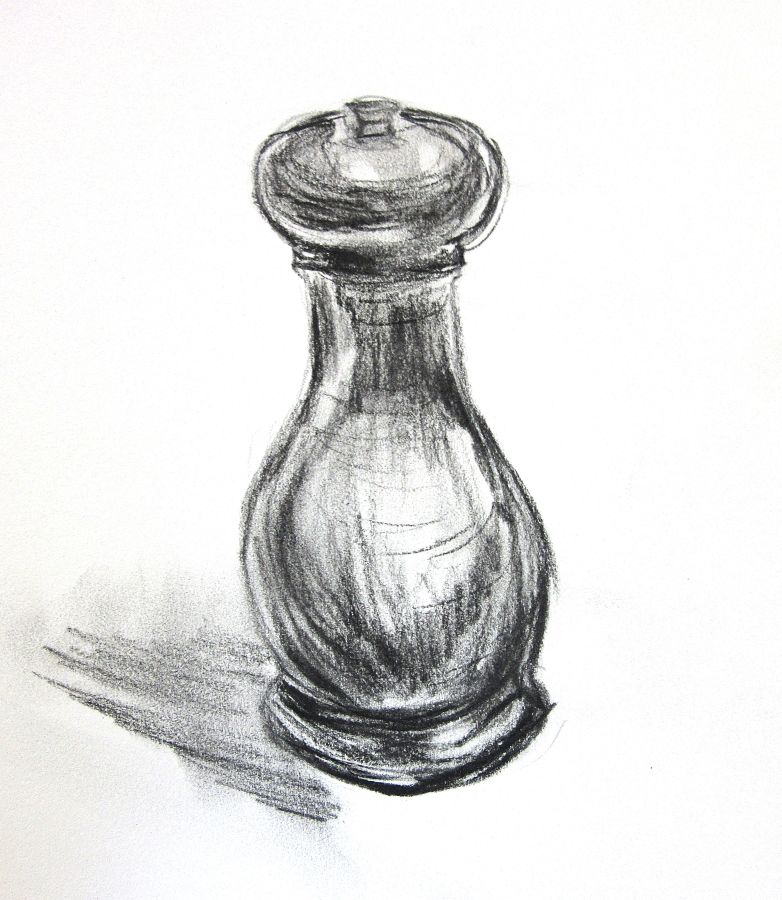
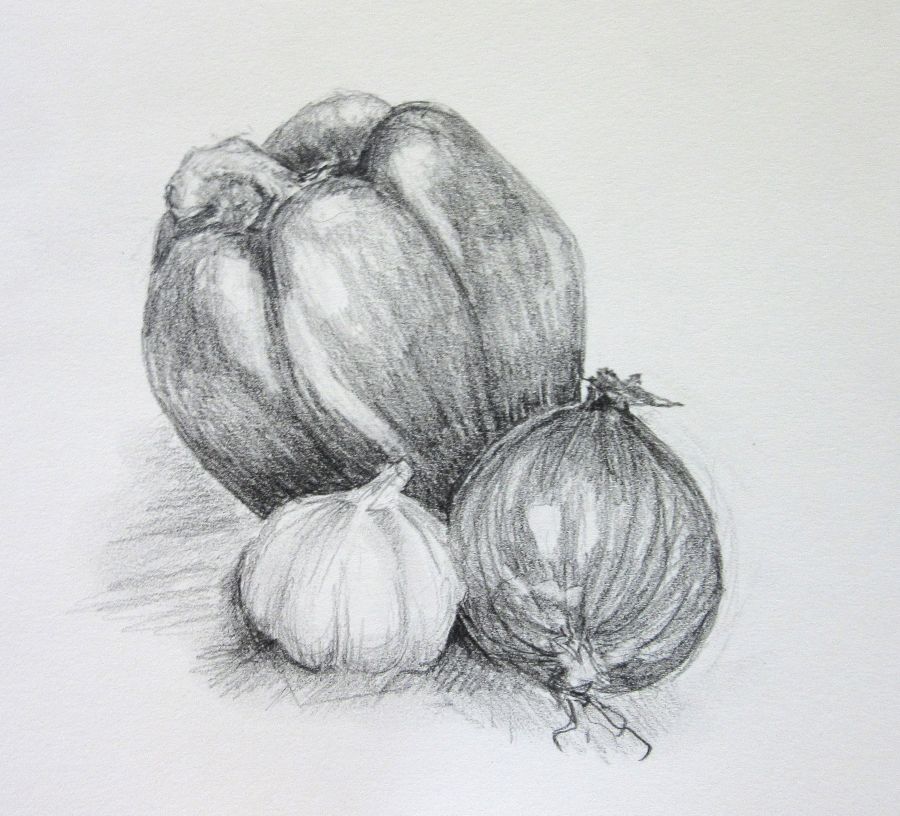
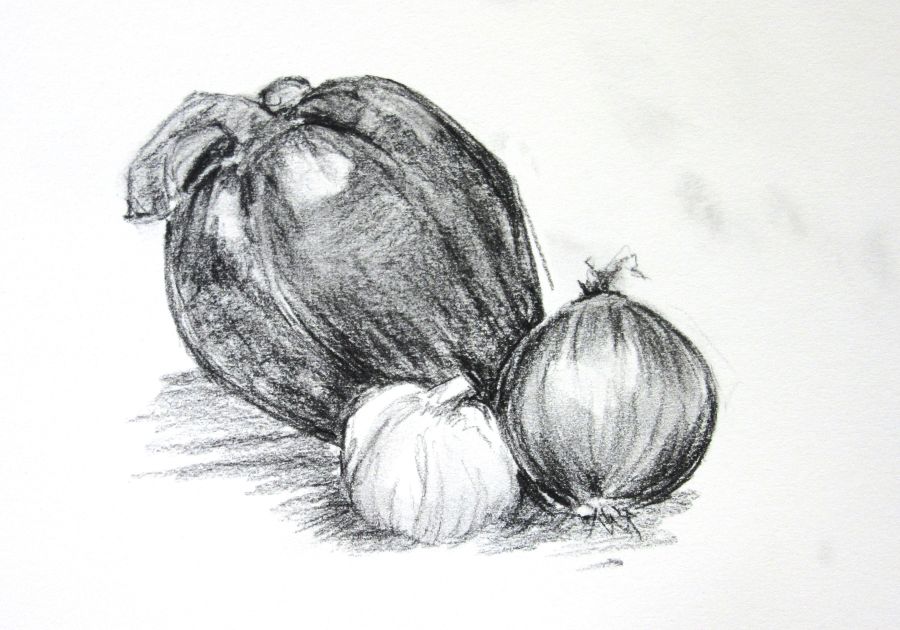
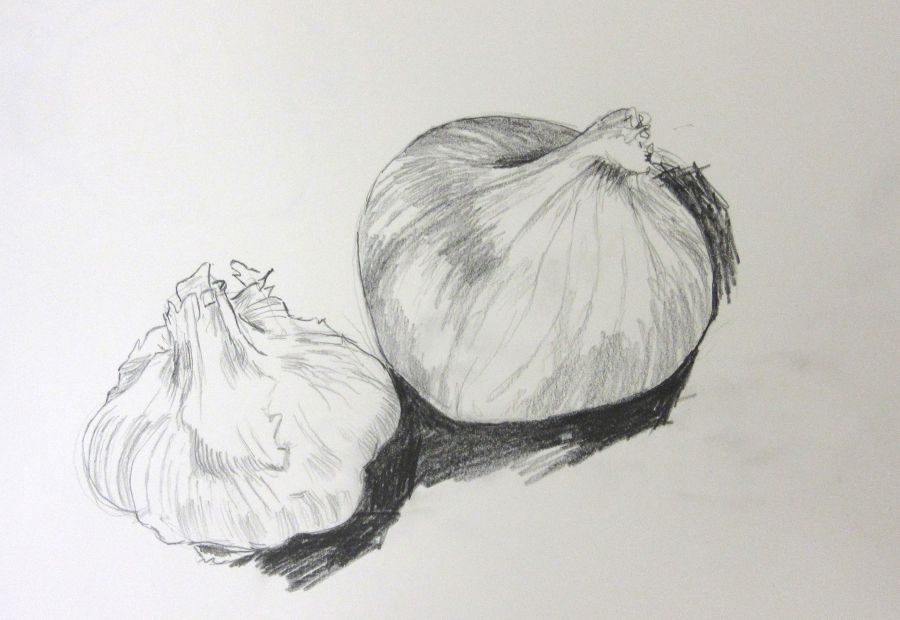
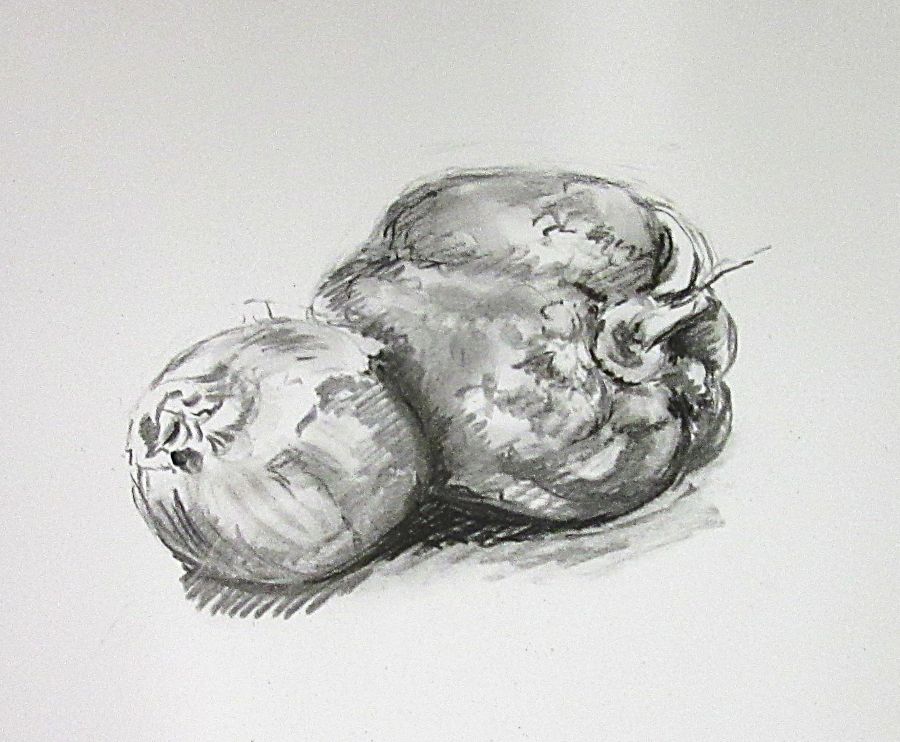
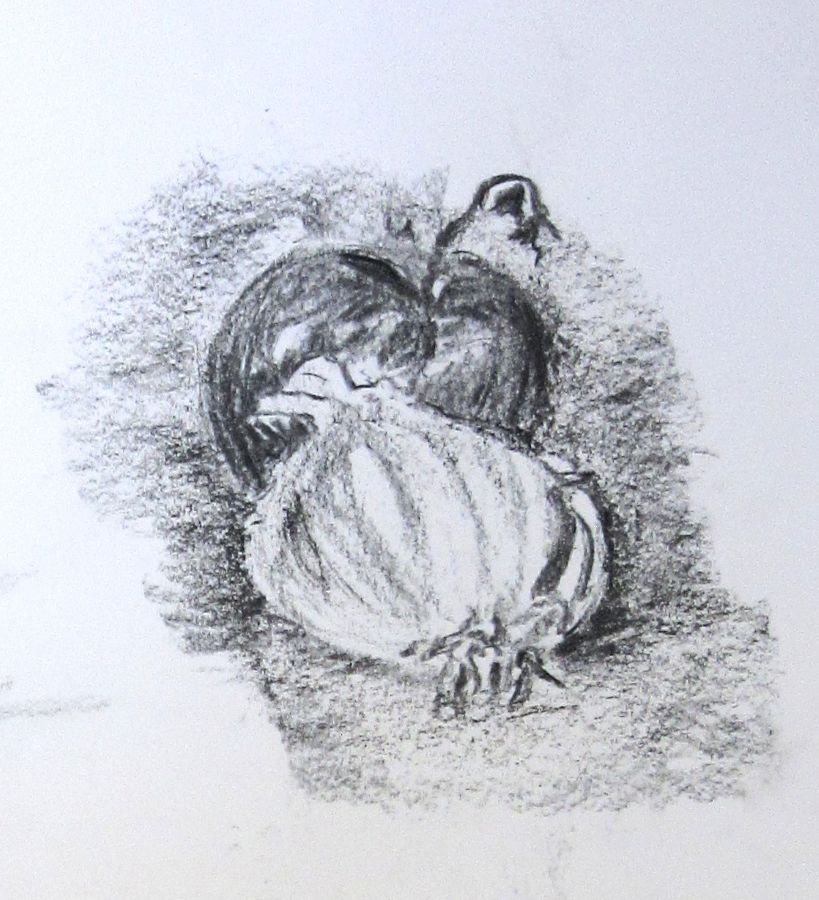
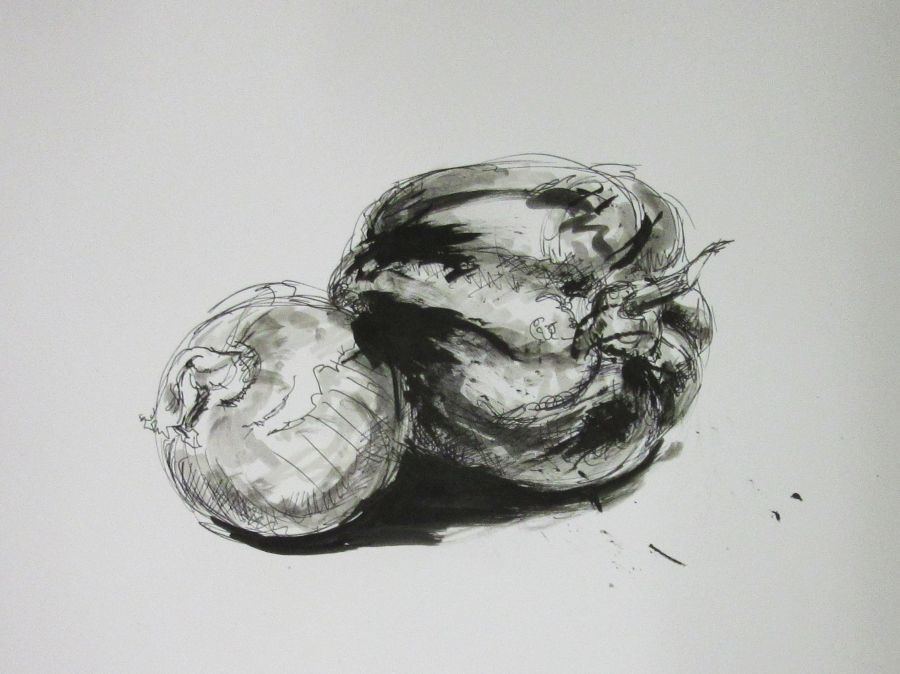
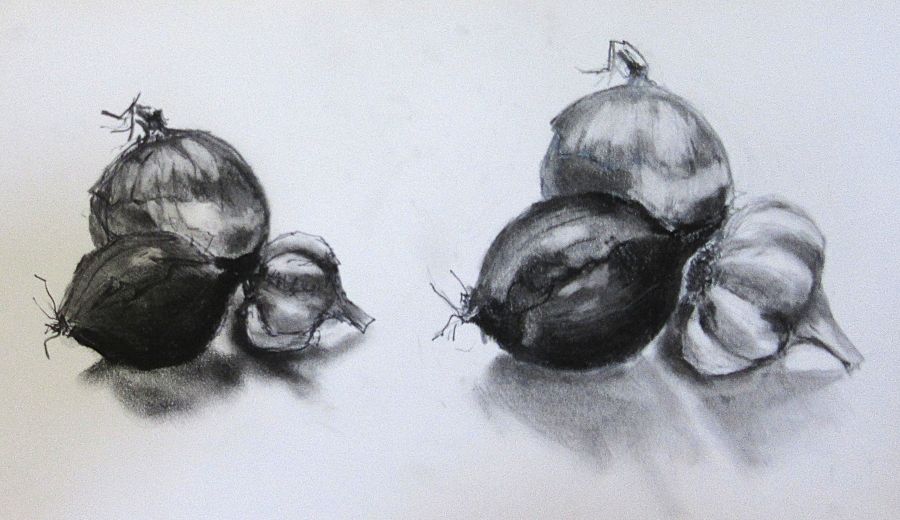
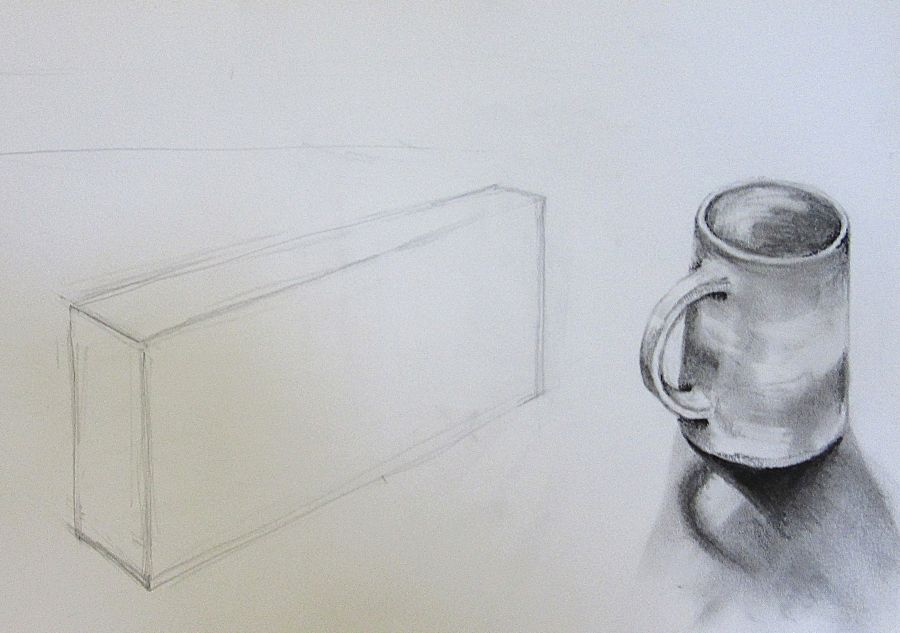
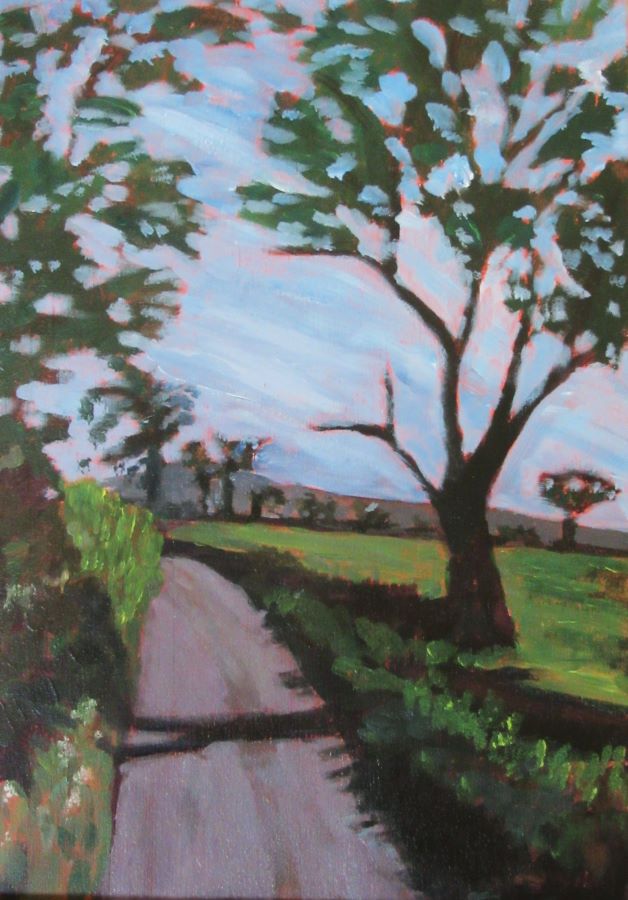
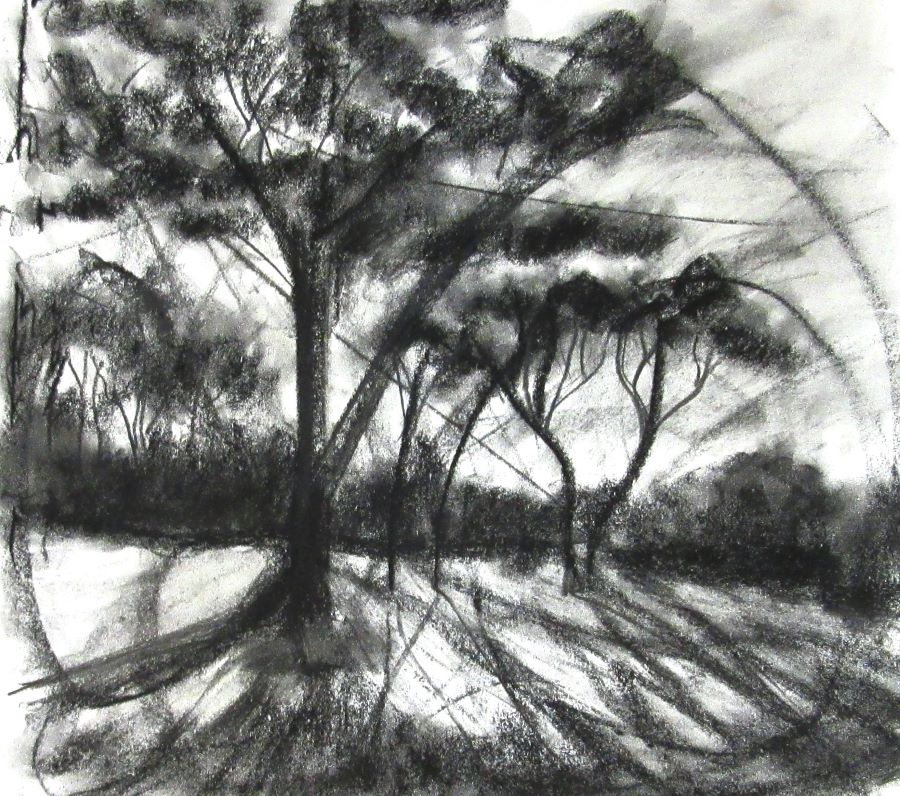
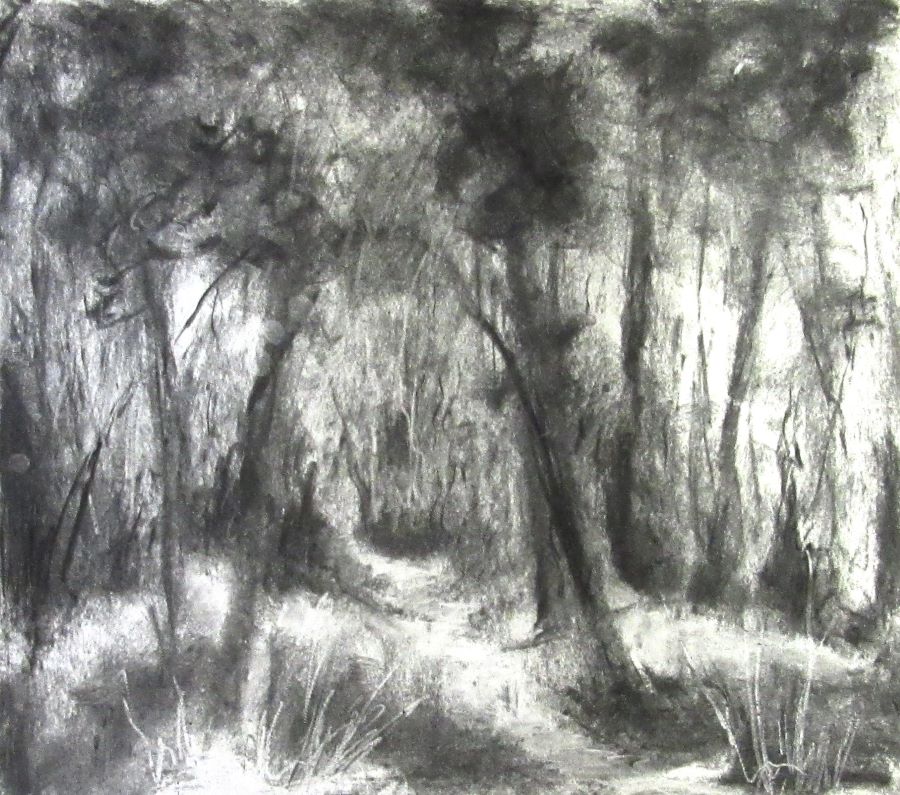
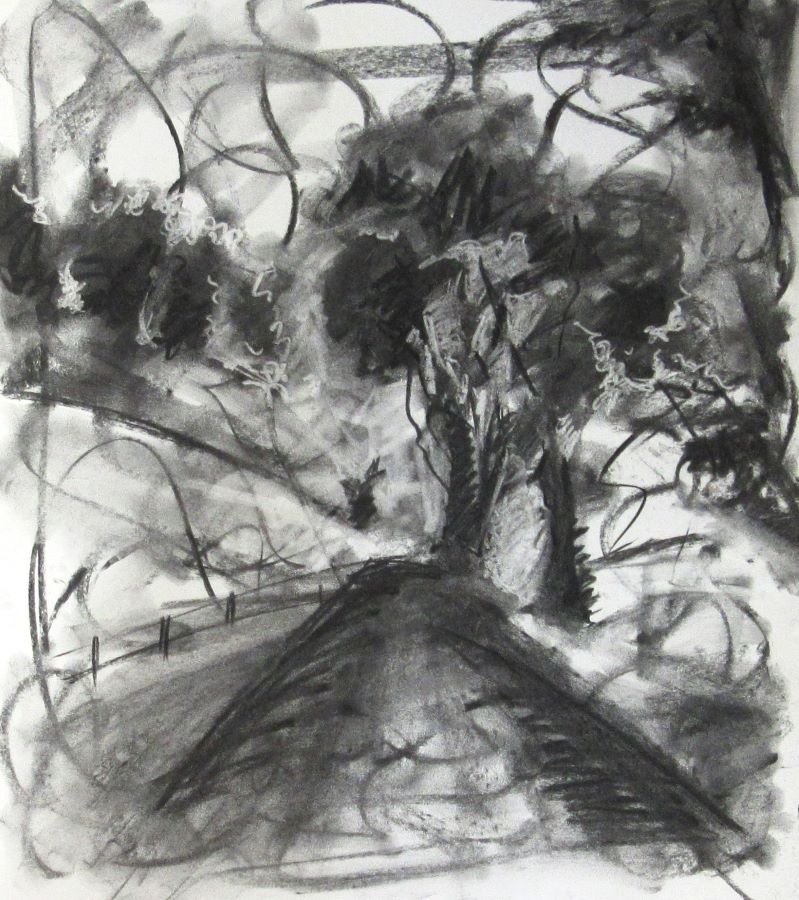
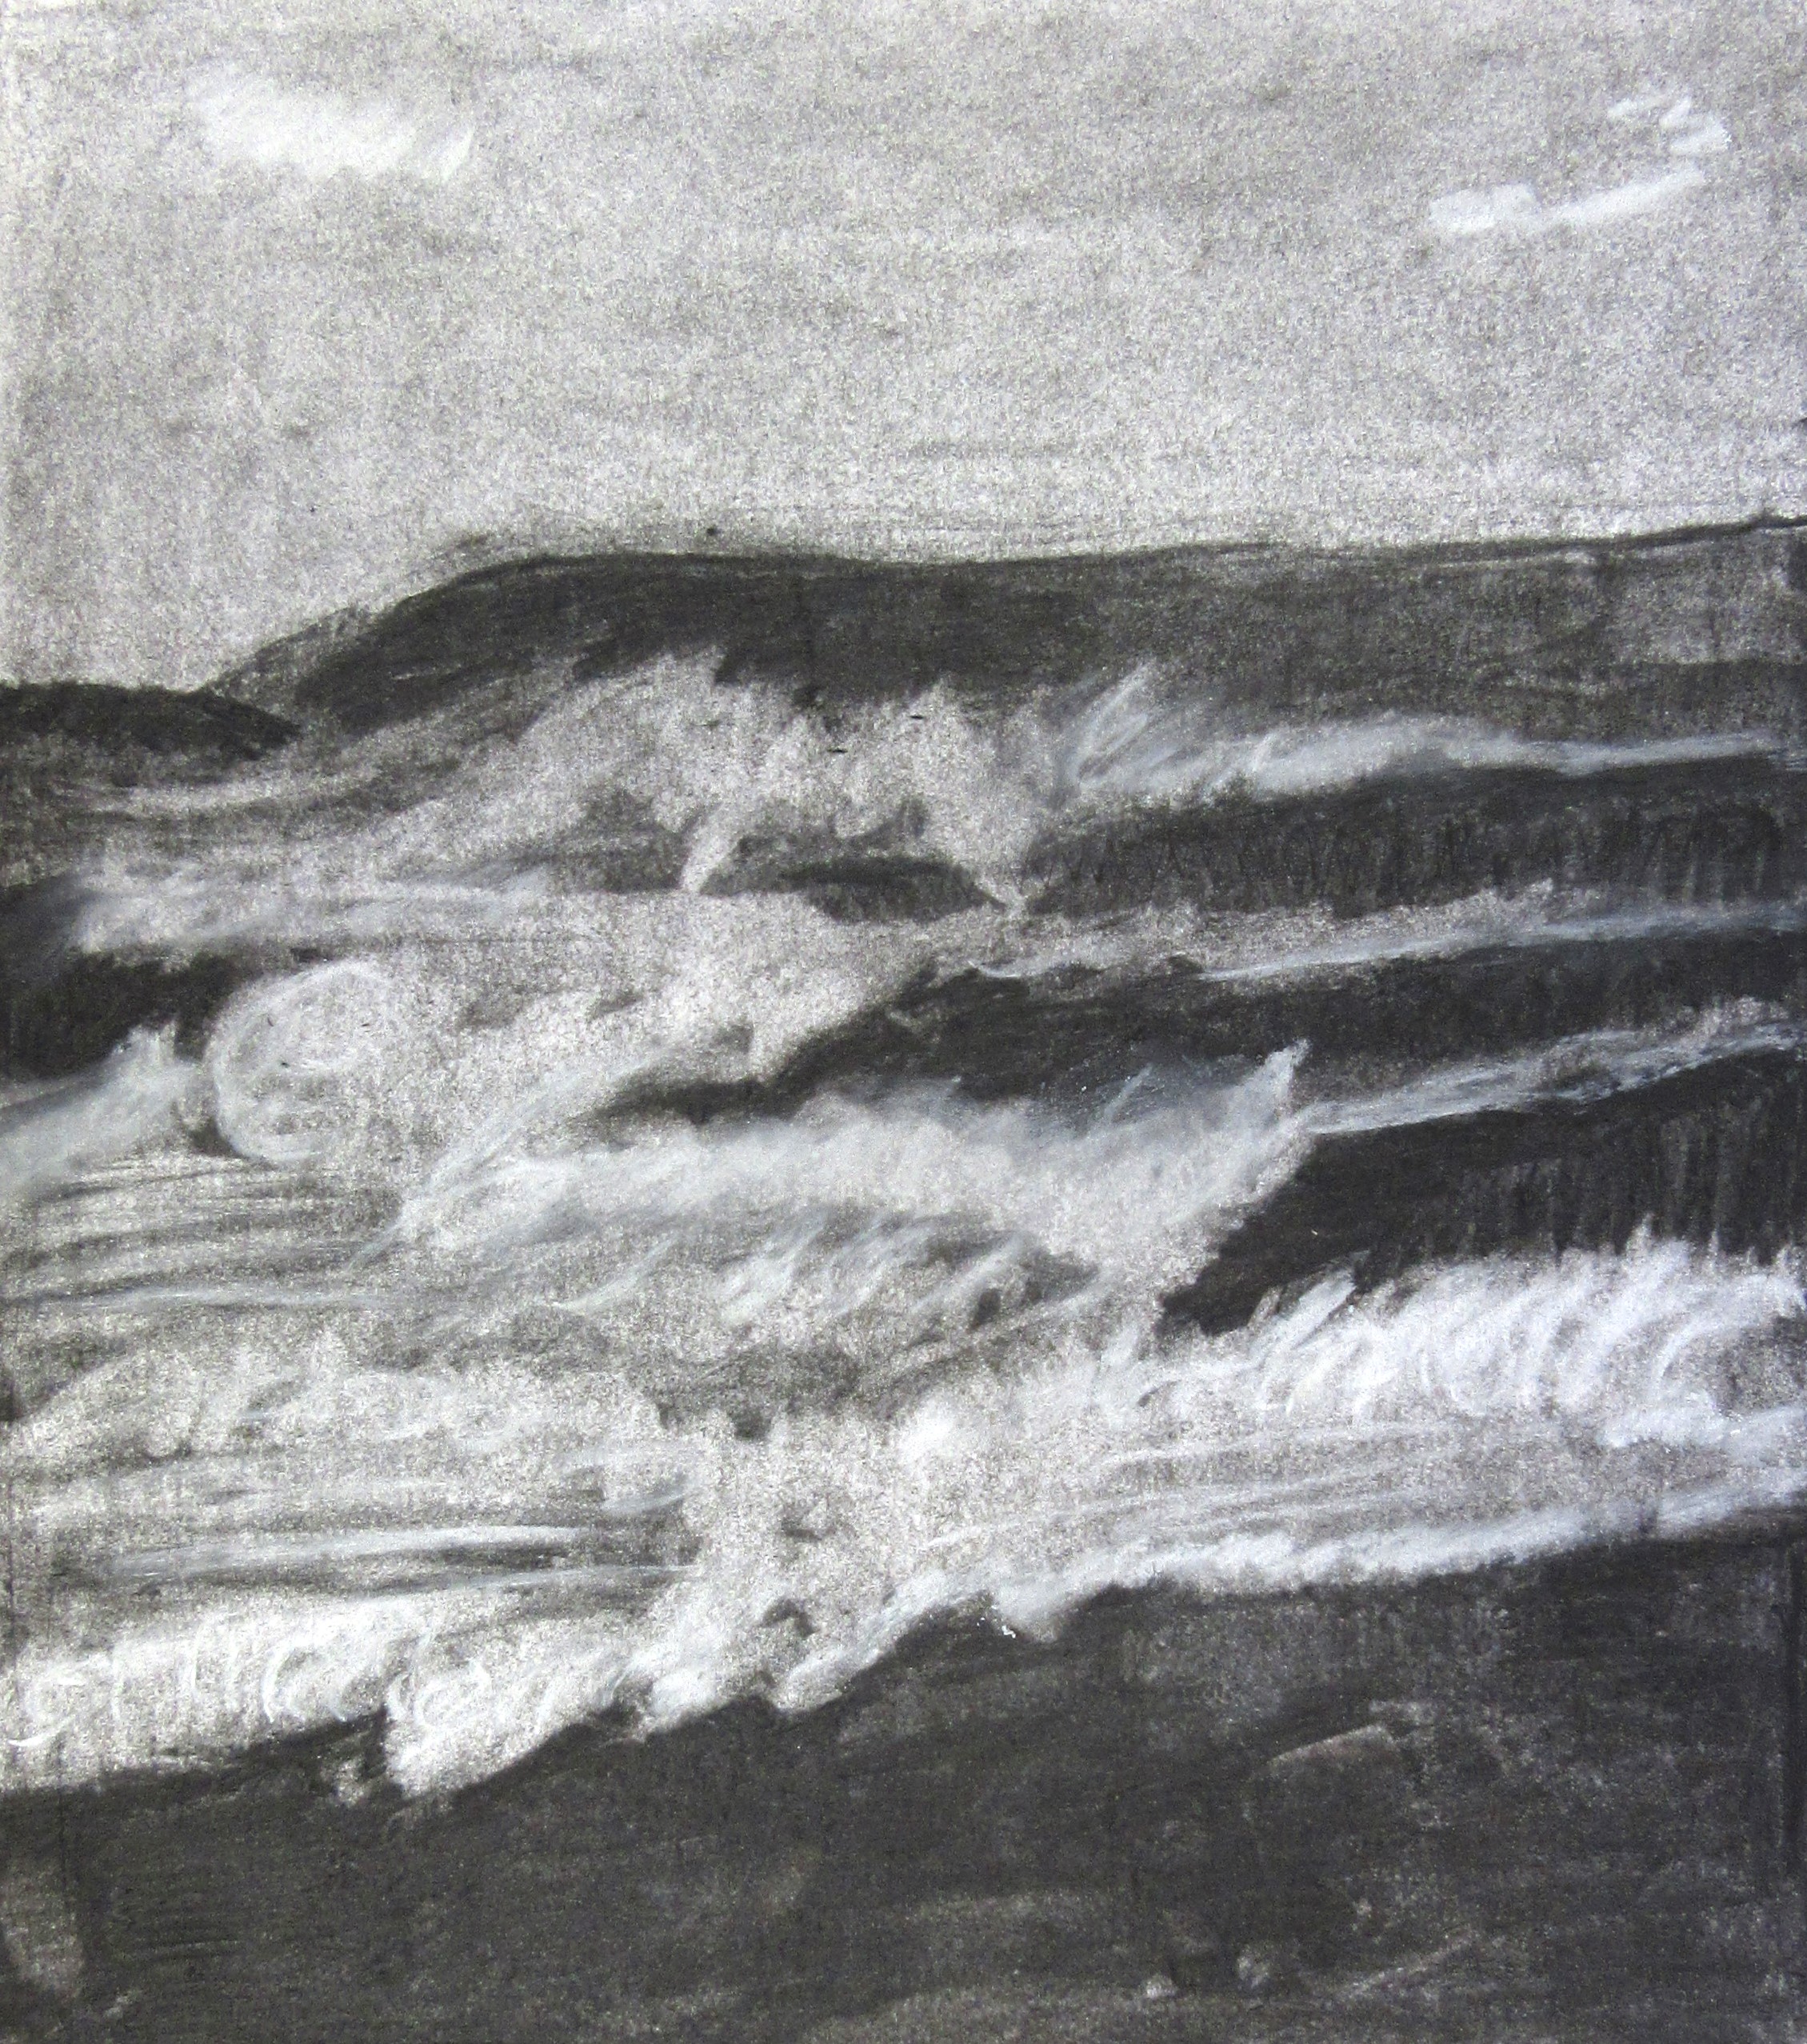
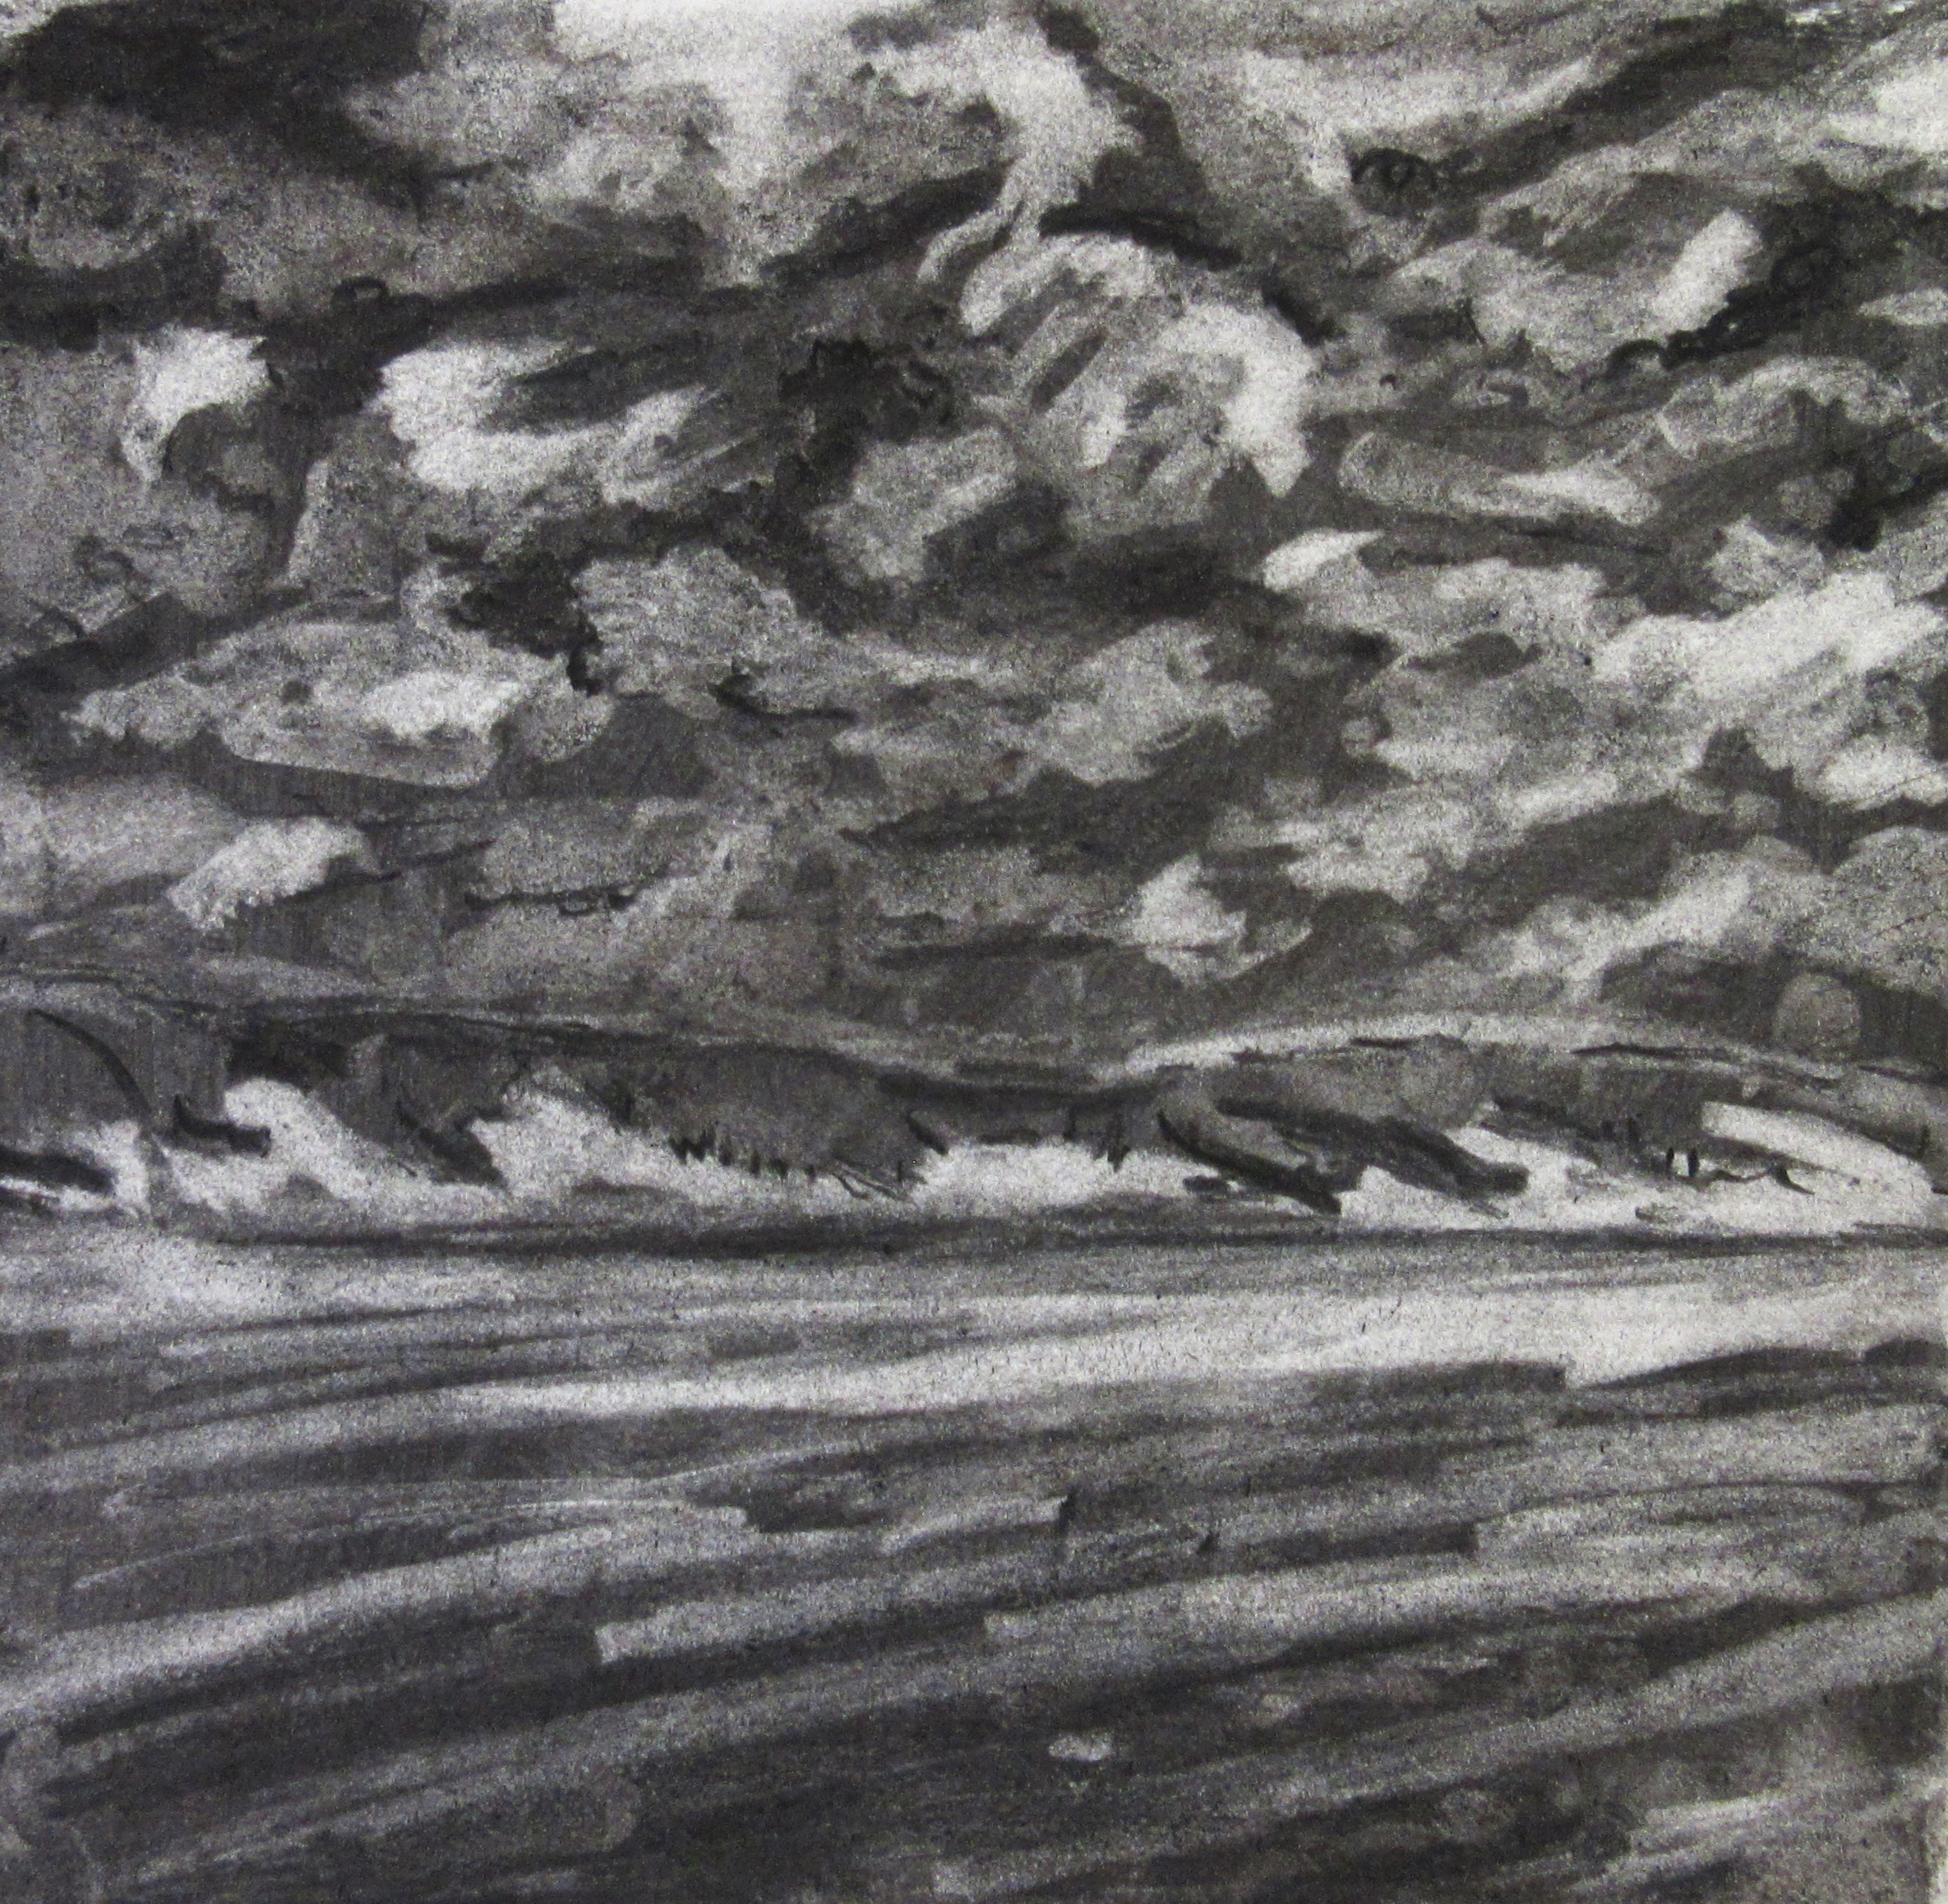
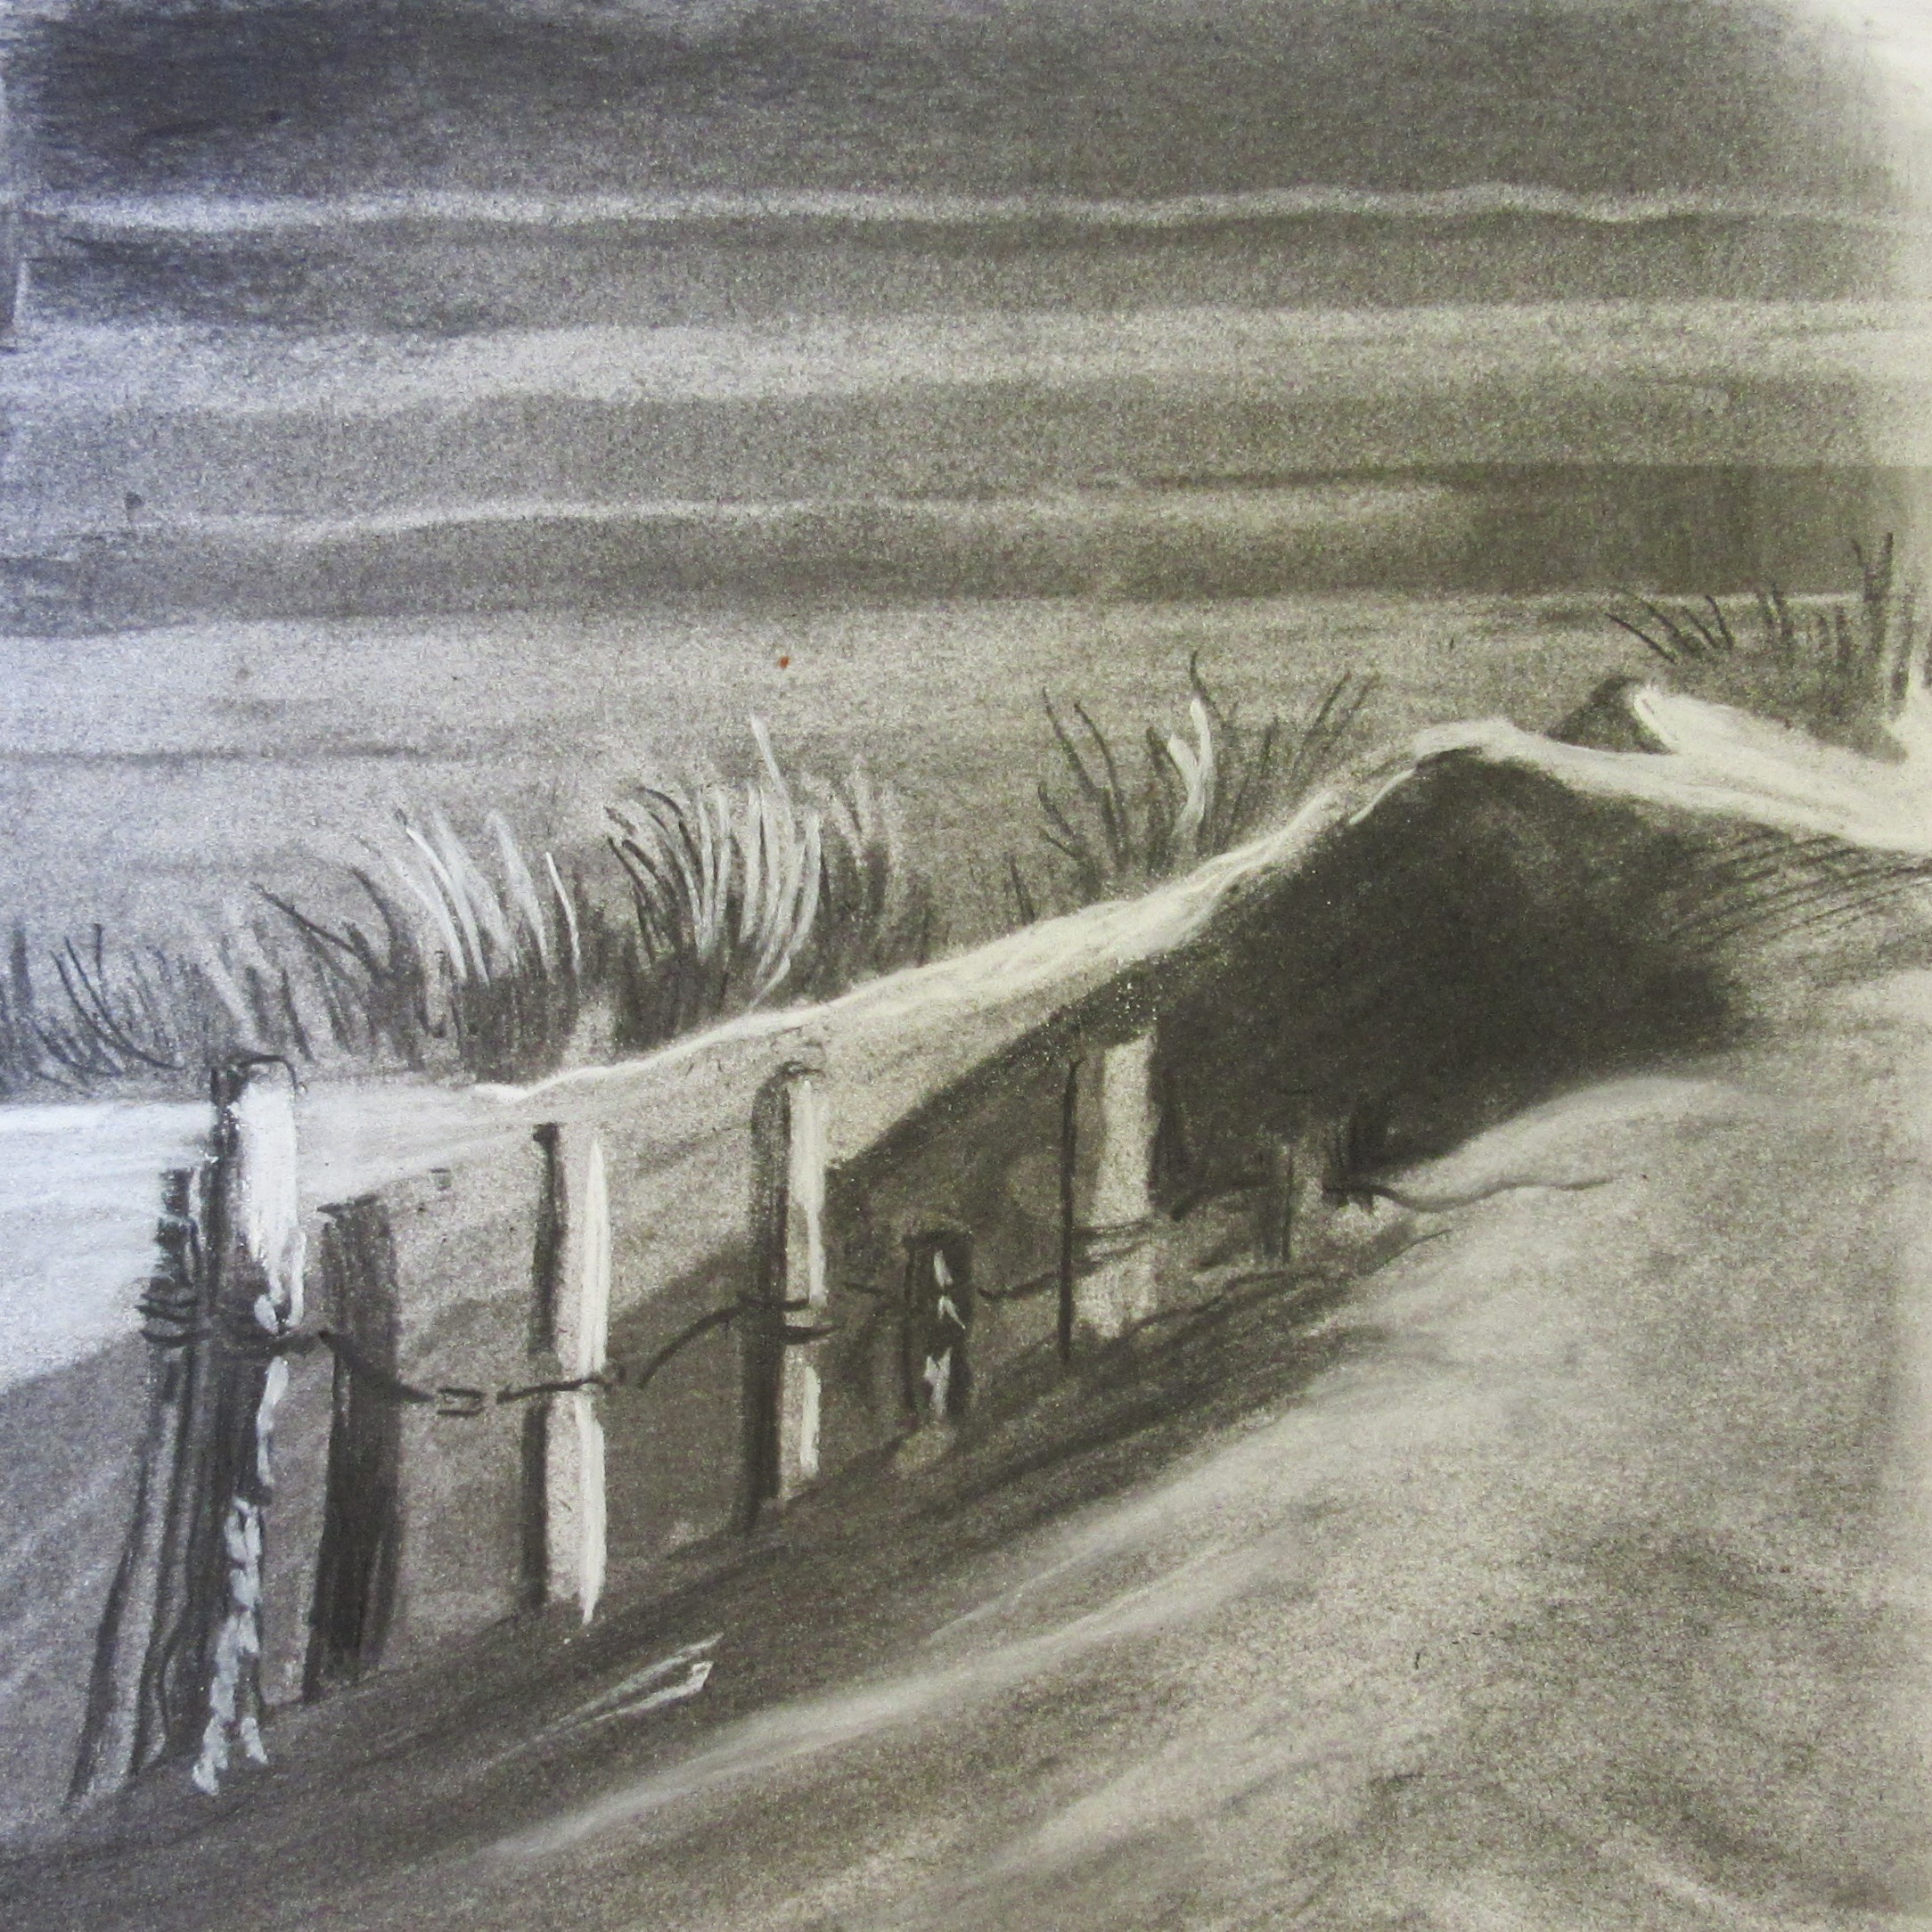
 Paul Weaver – Discovering subjects through sketching and drawing.
Tackling various new mediums and perspective in this very informative workshop. It was hard work but we learned soo much at this workshop.


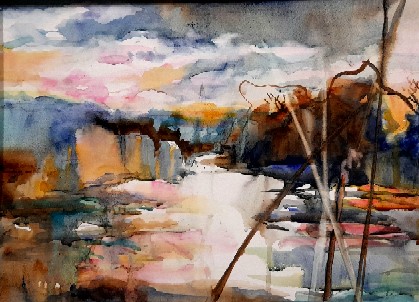
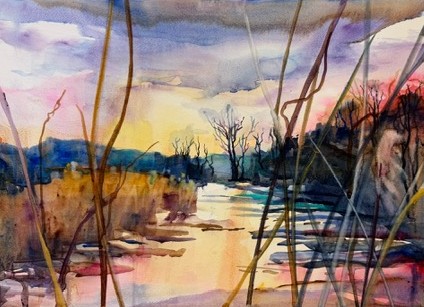
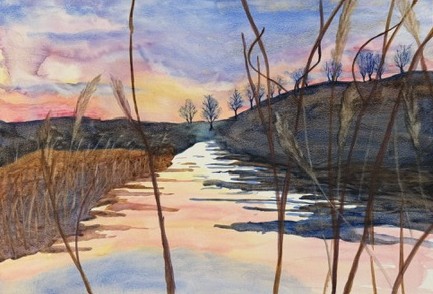
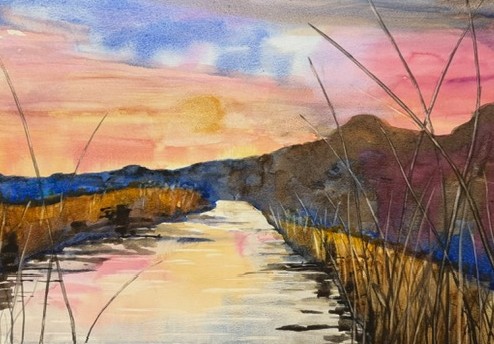
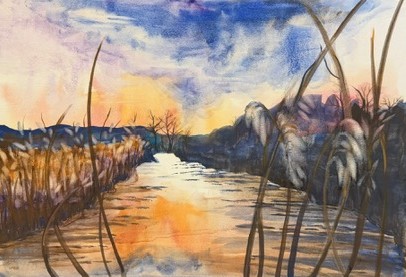
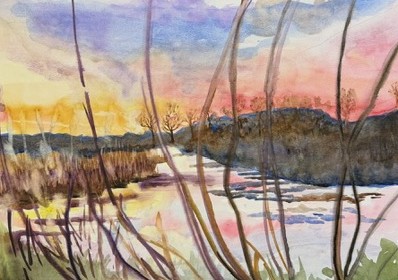
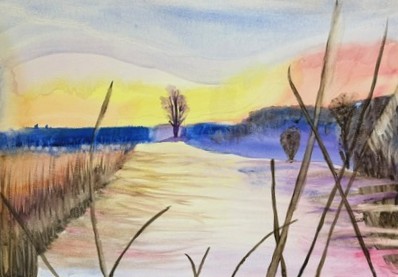
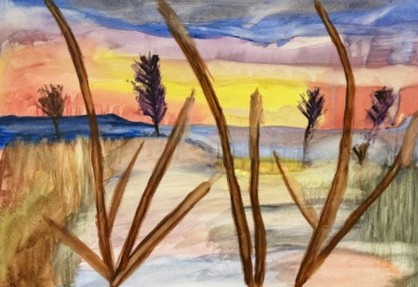
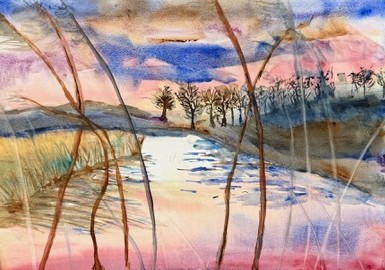
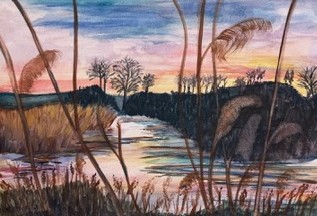
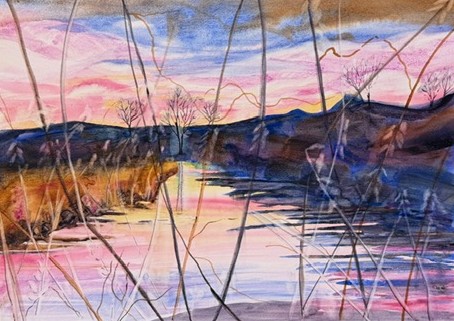
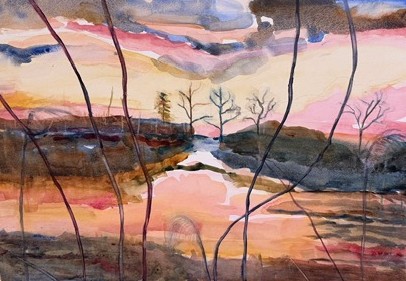
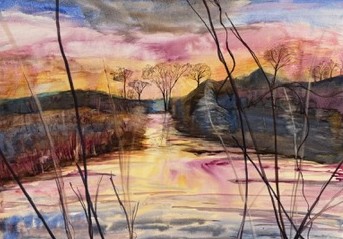
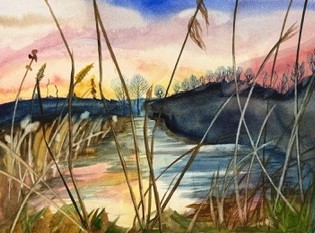
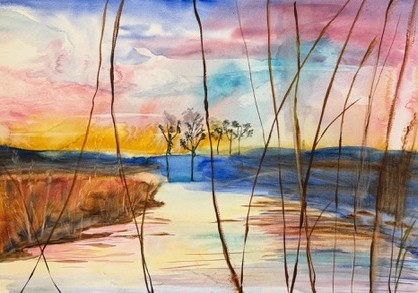
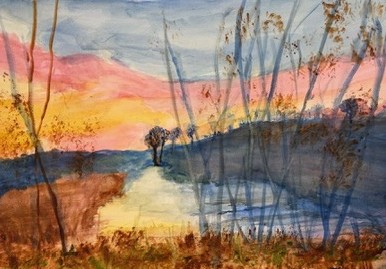
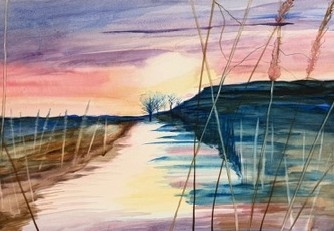
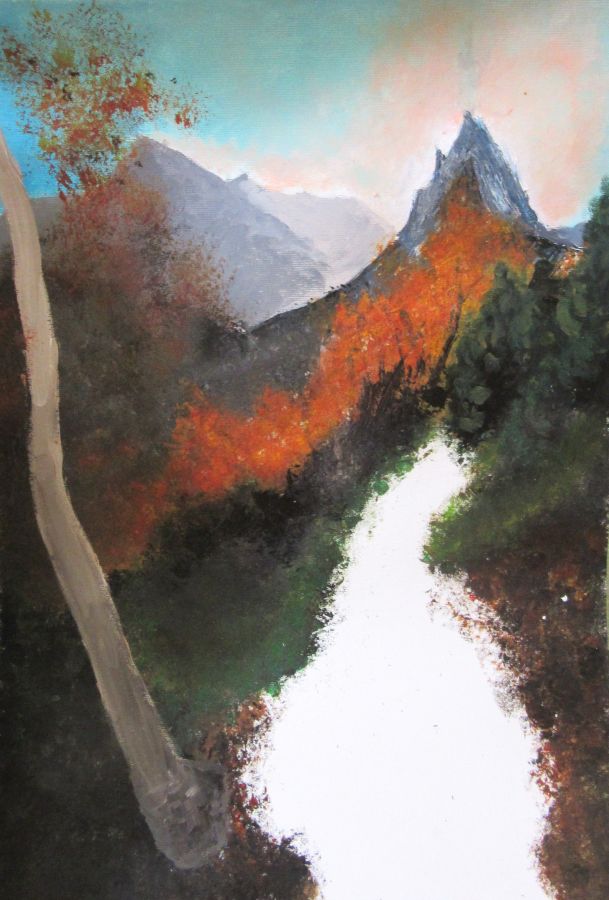
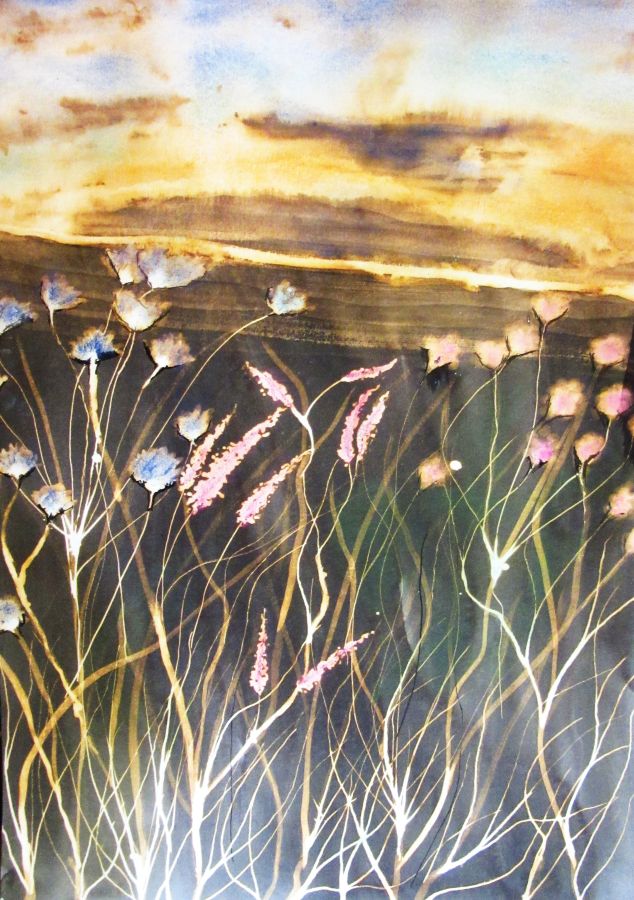
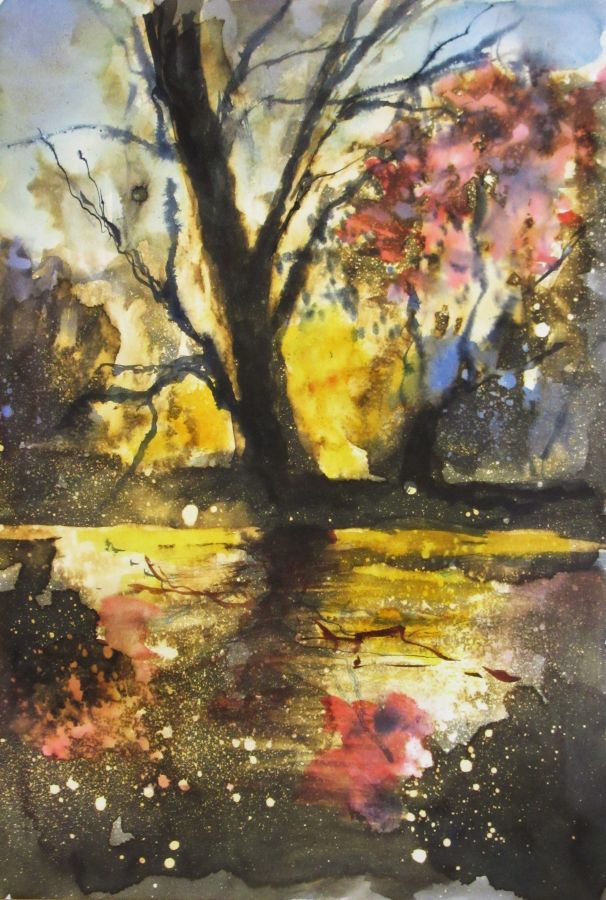
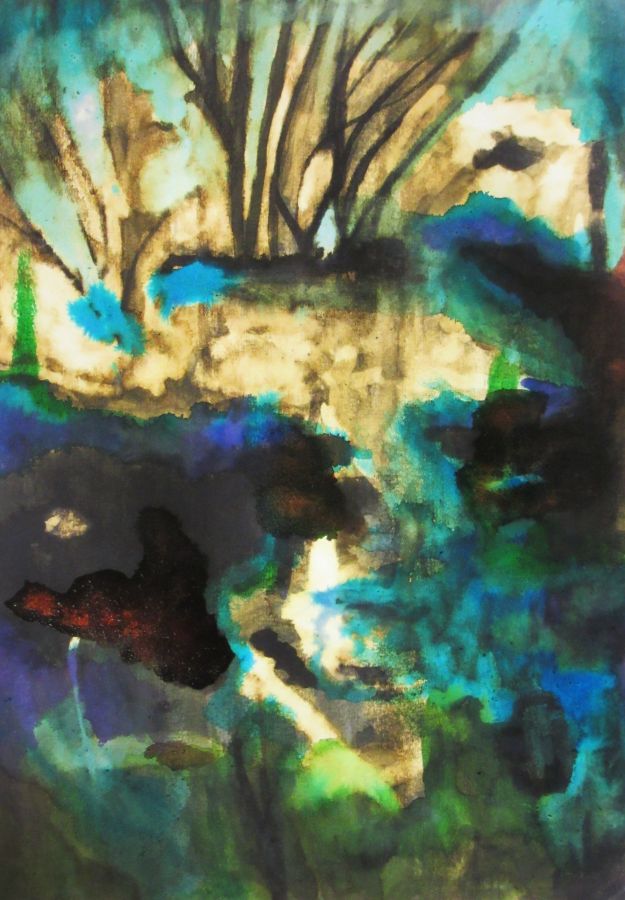
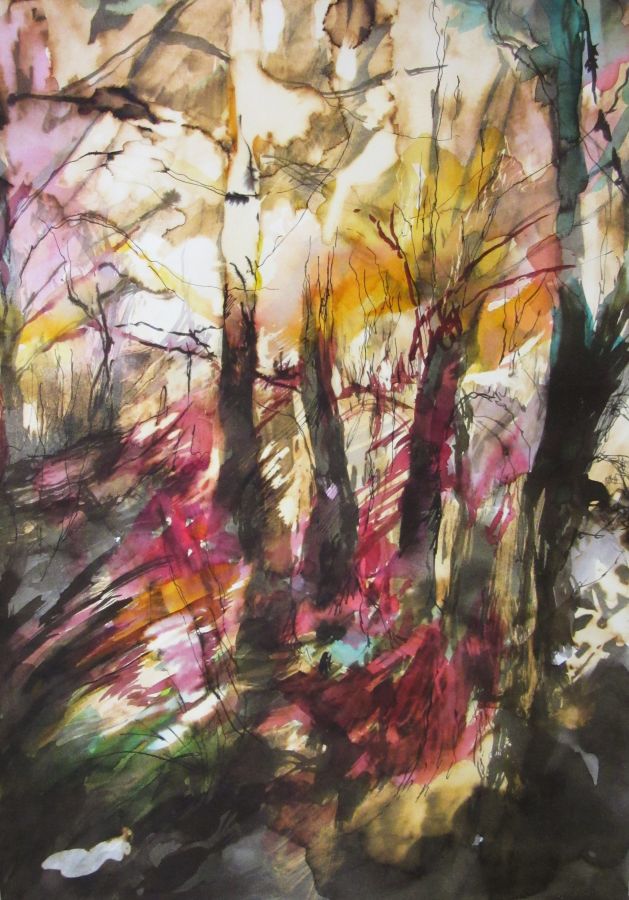
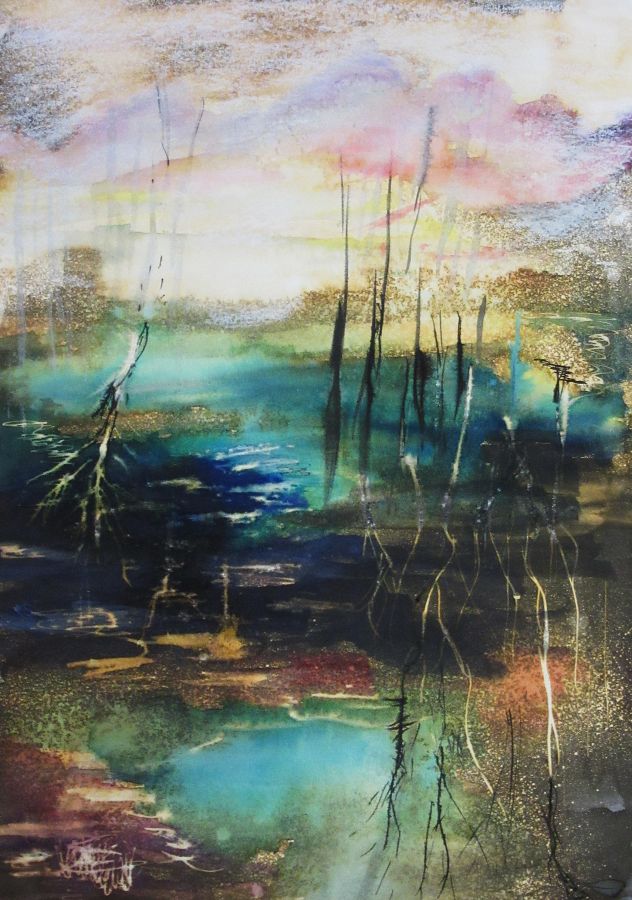
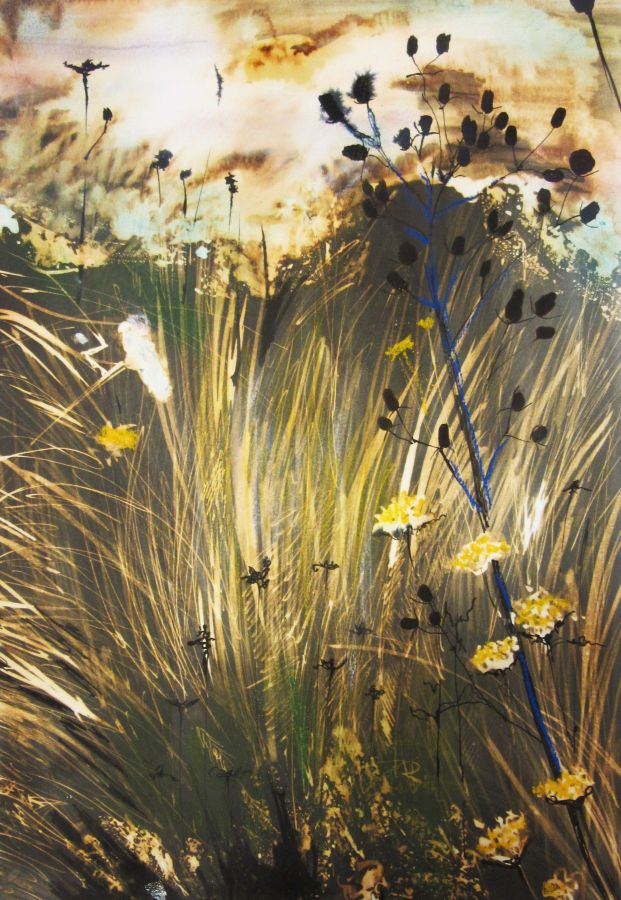
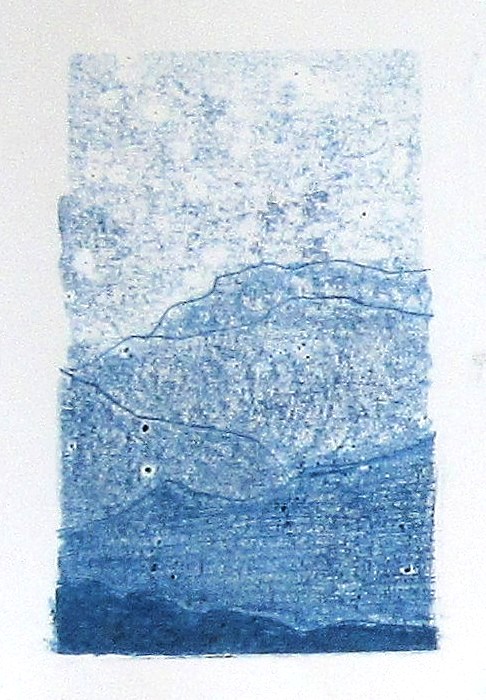
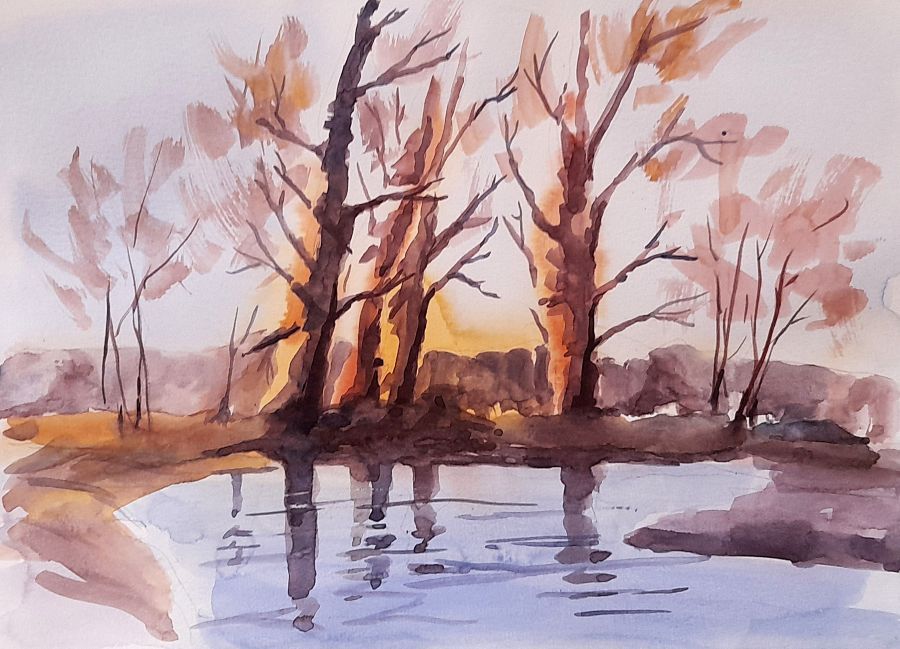
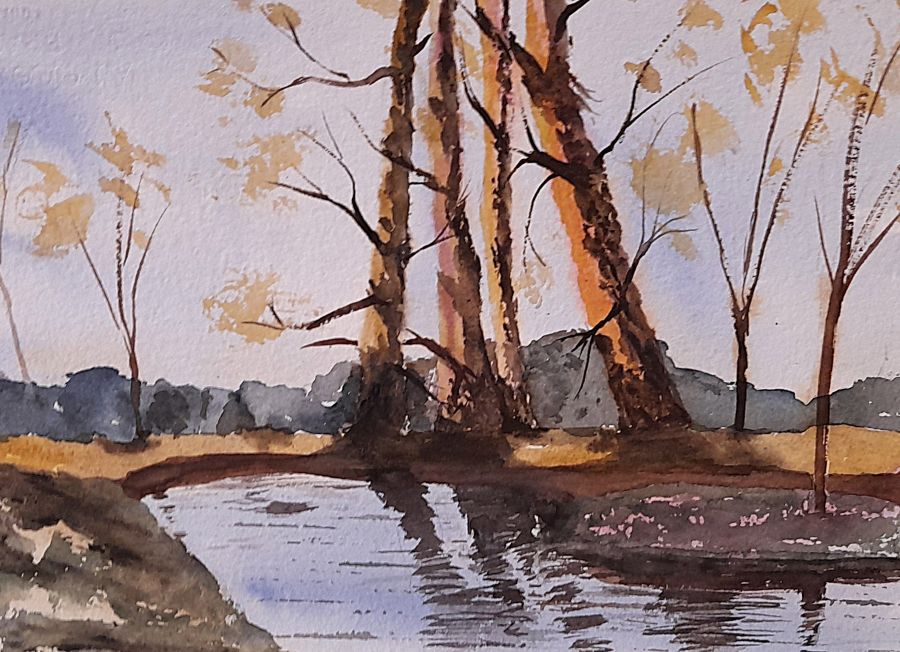
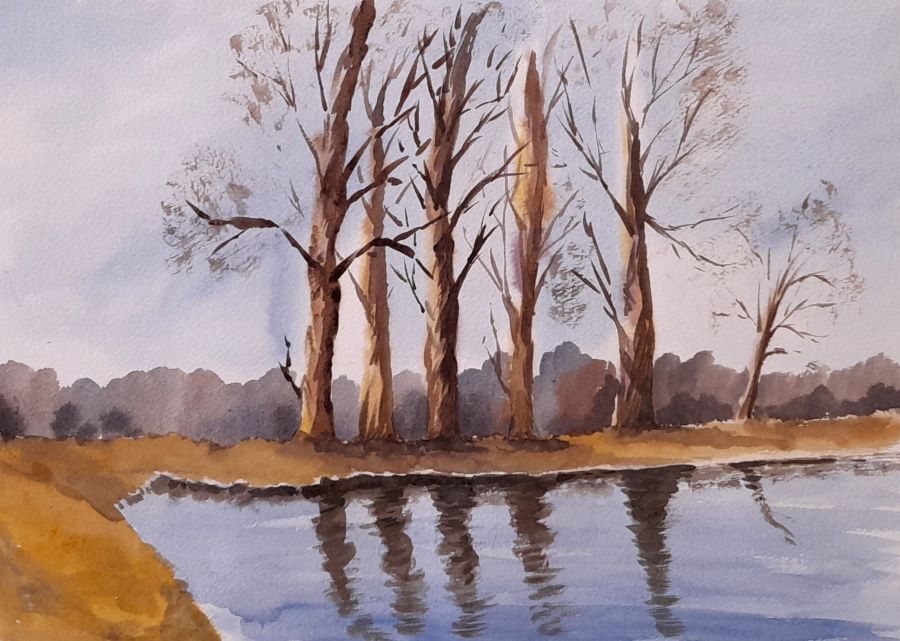
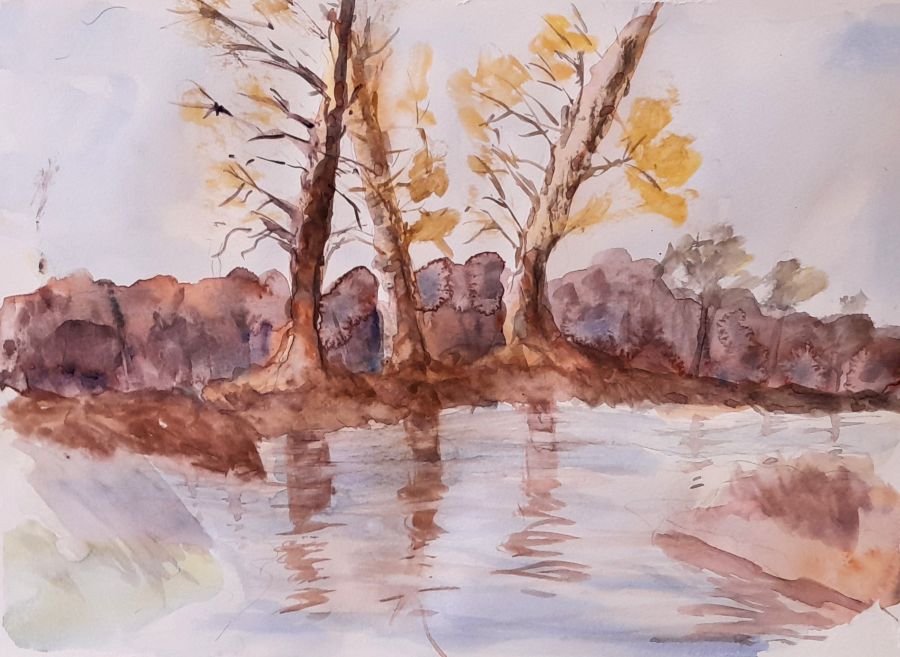
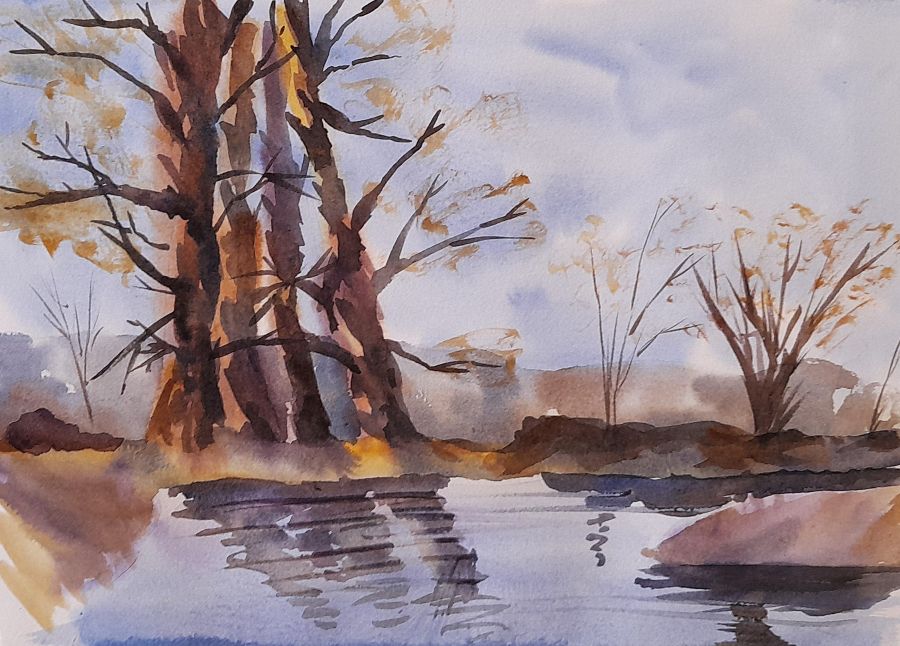
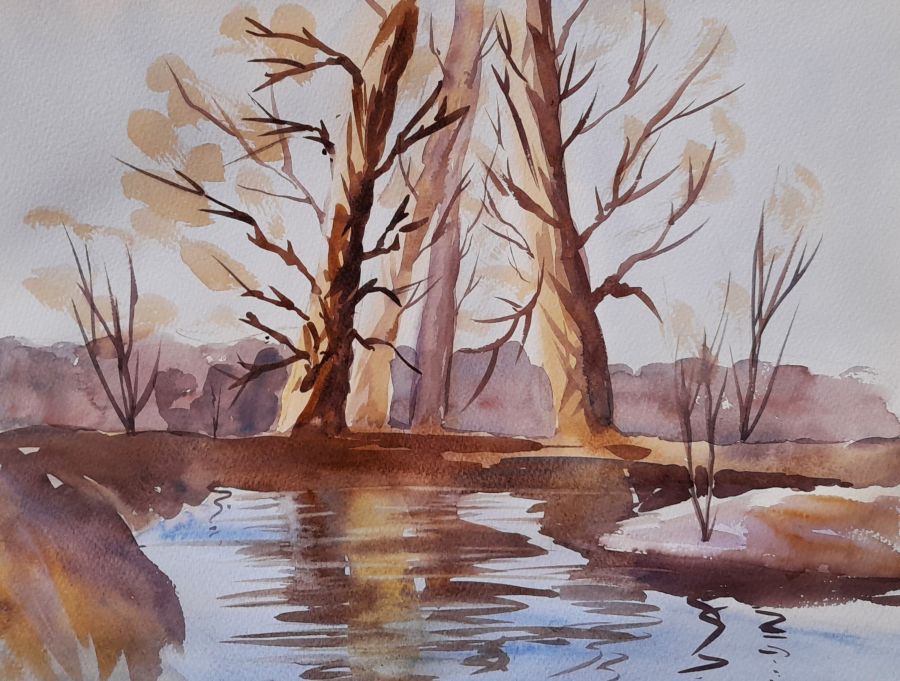
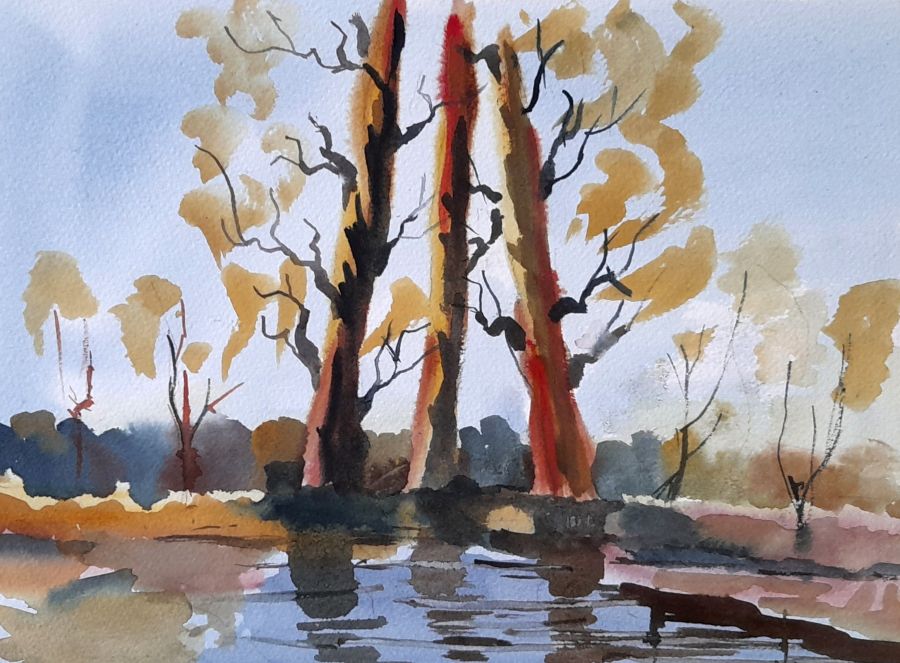
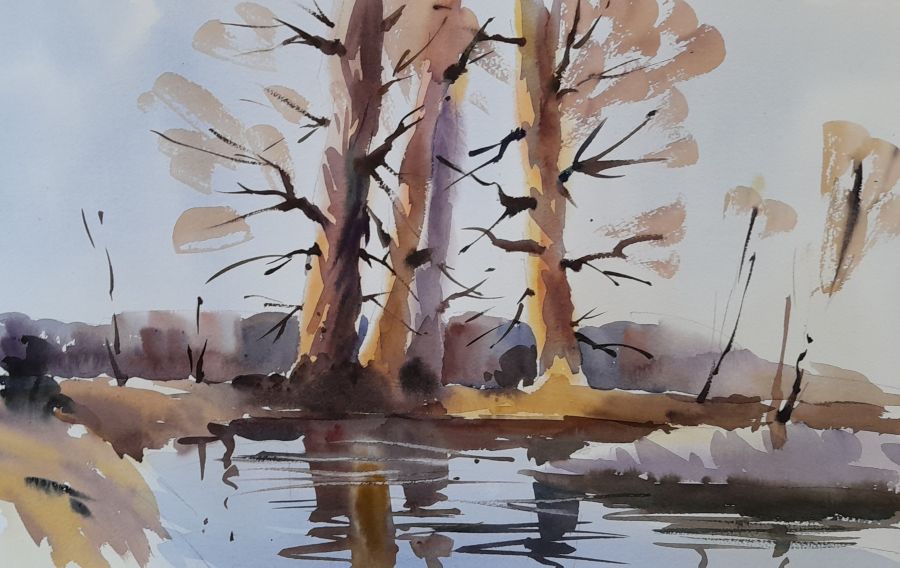
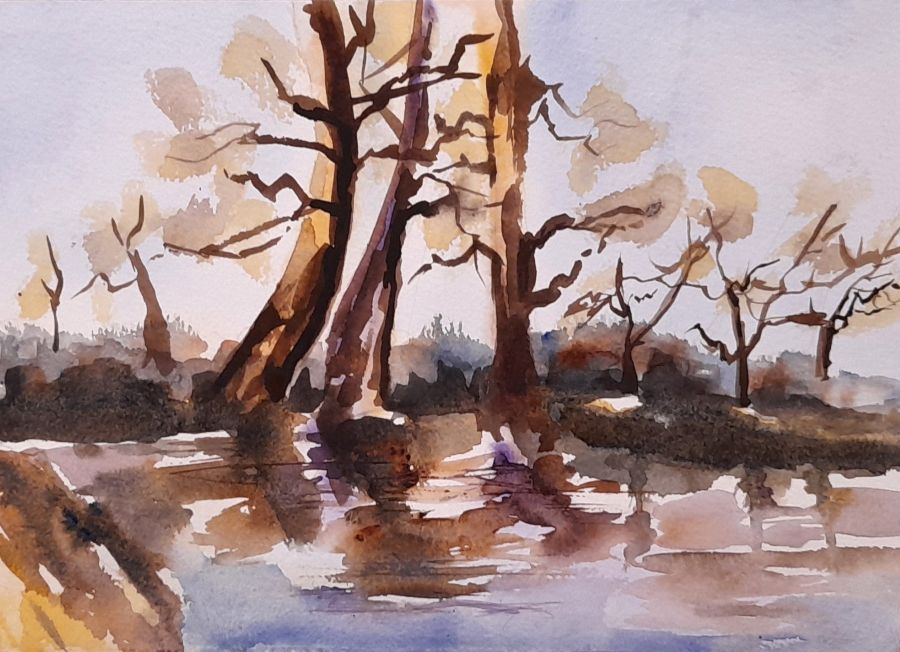
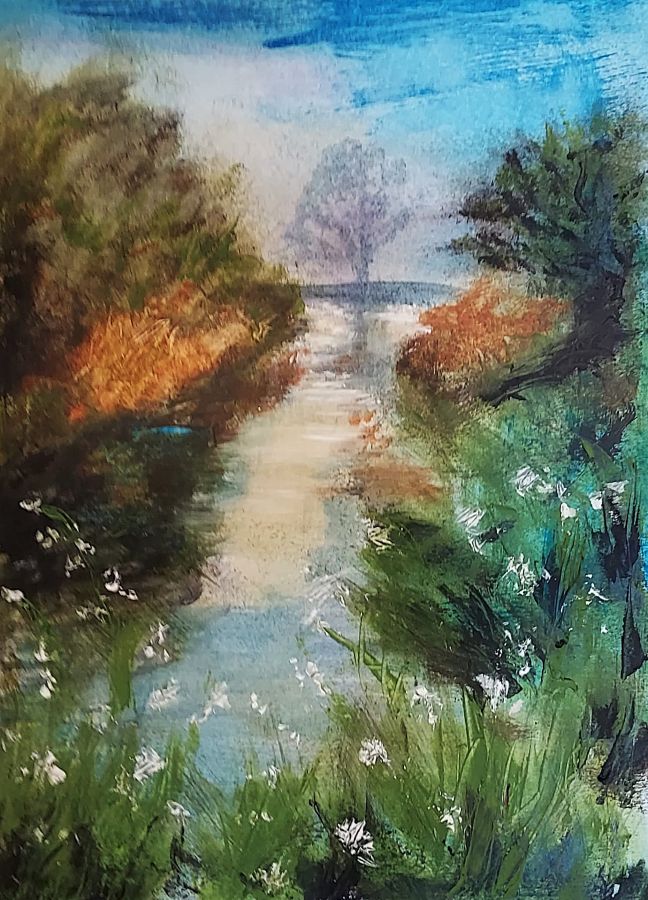
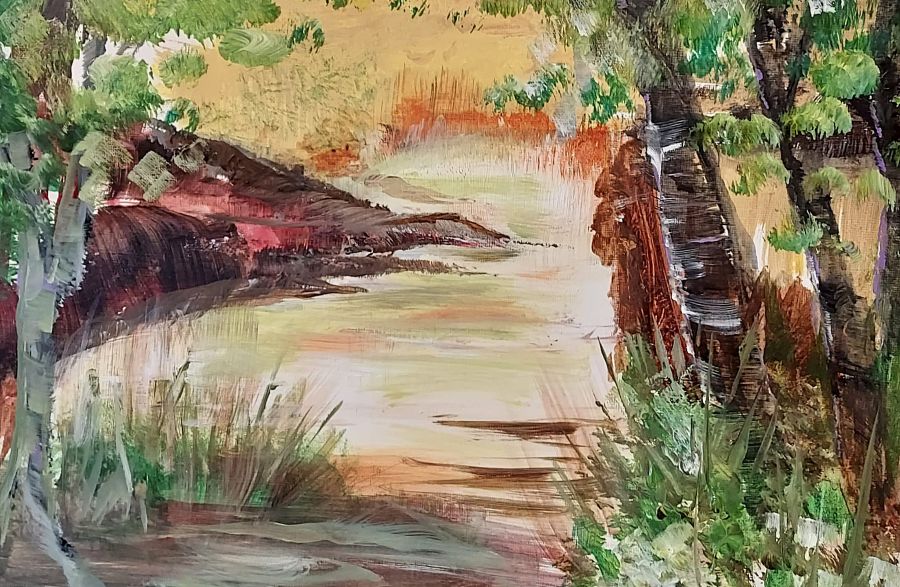
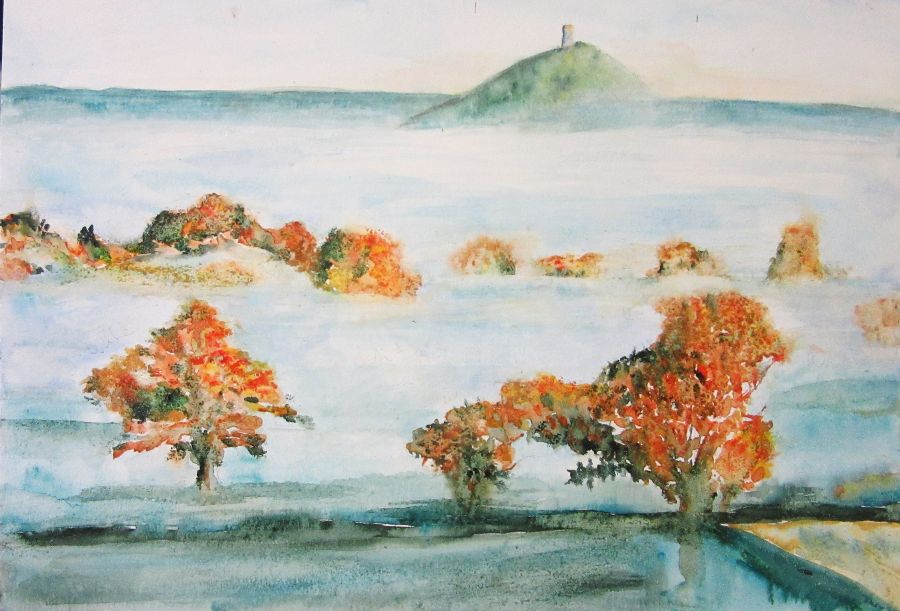
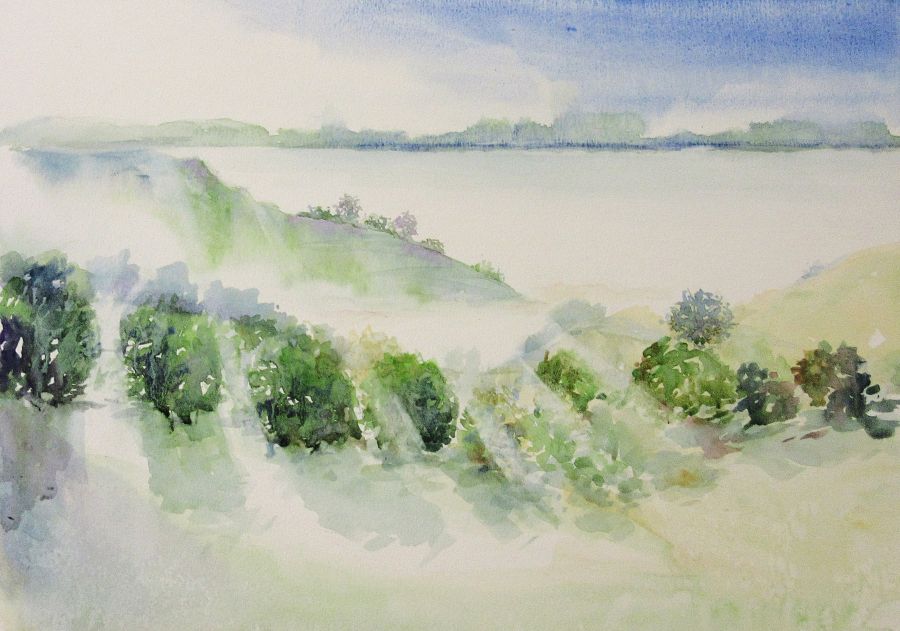
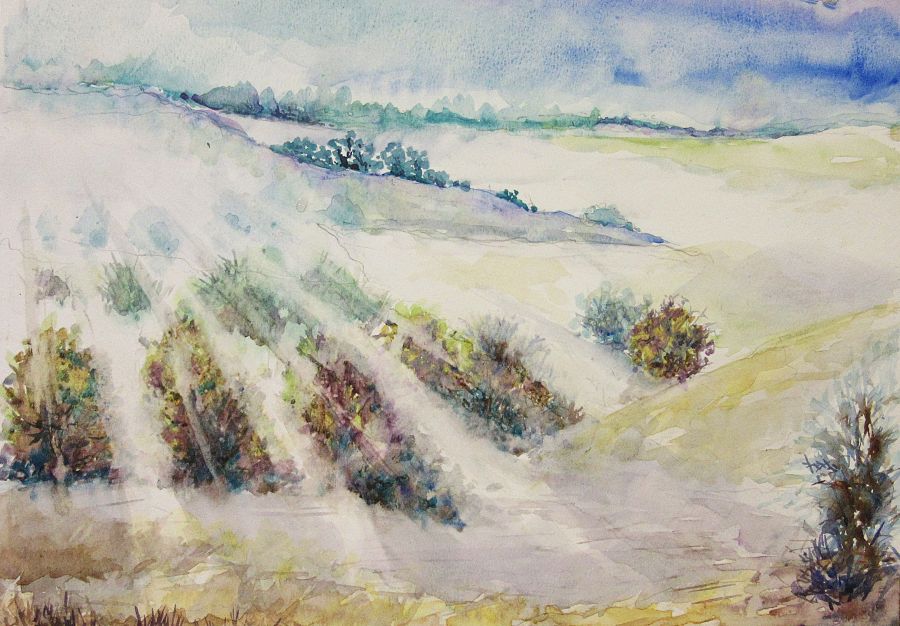
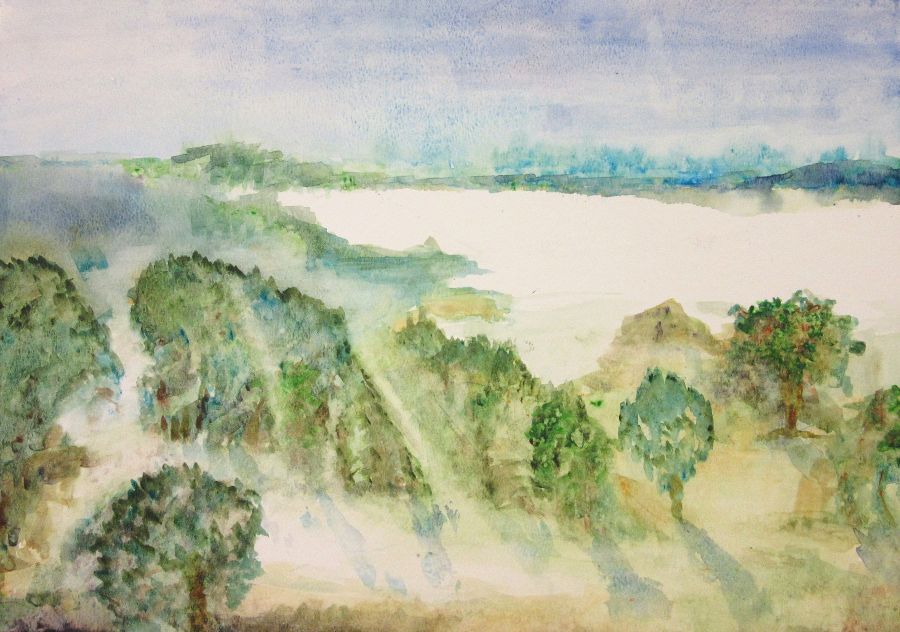
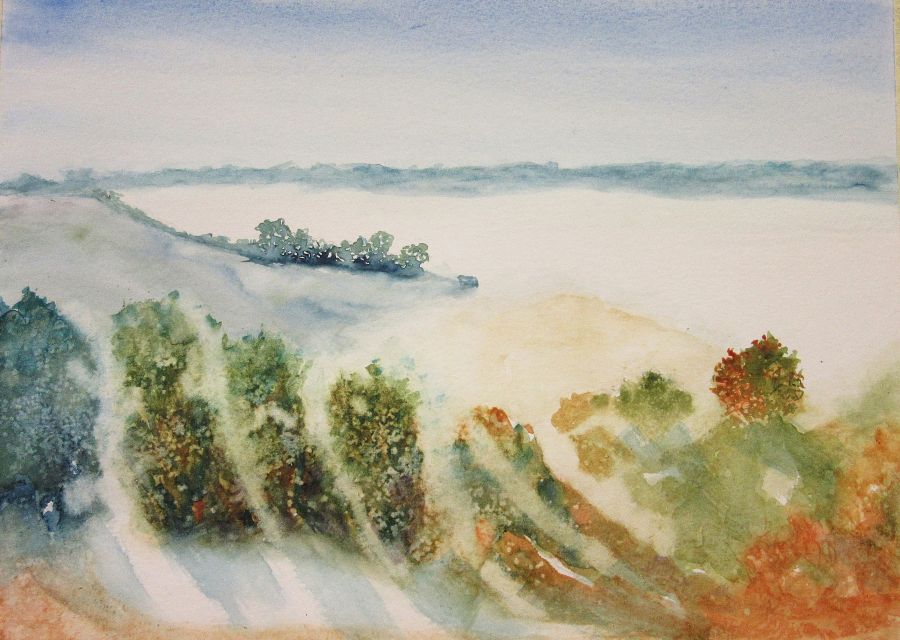
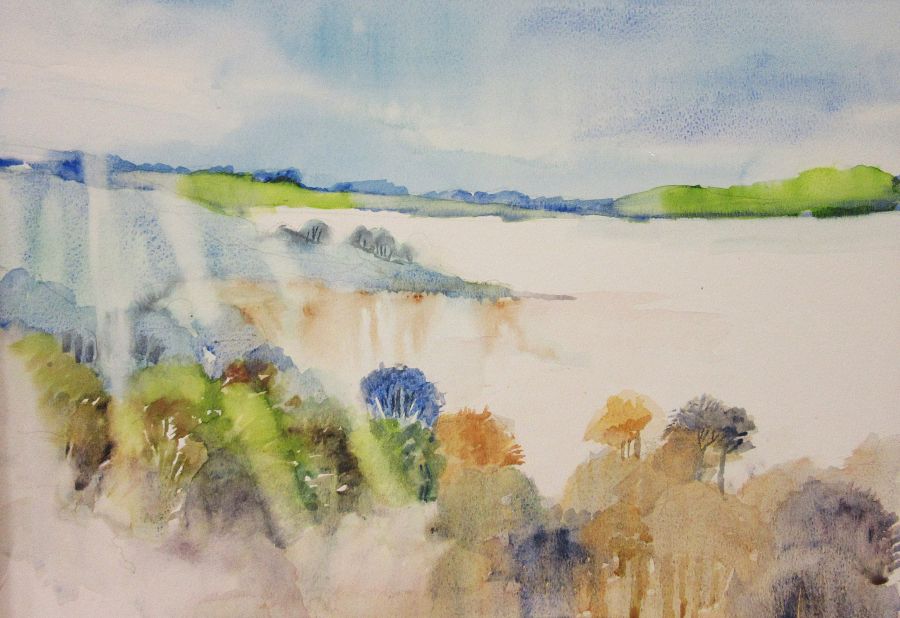
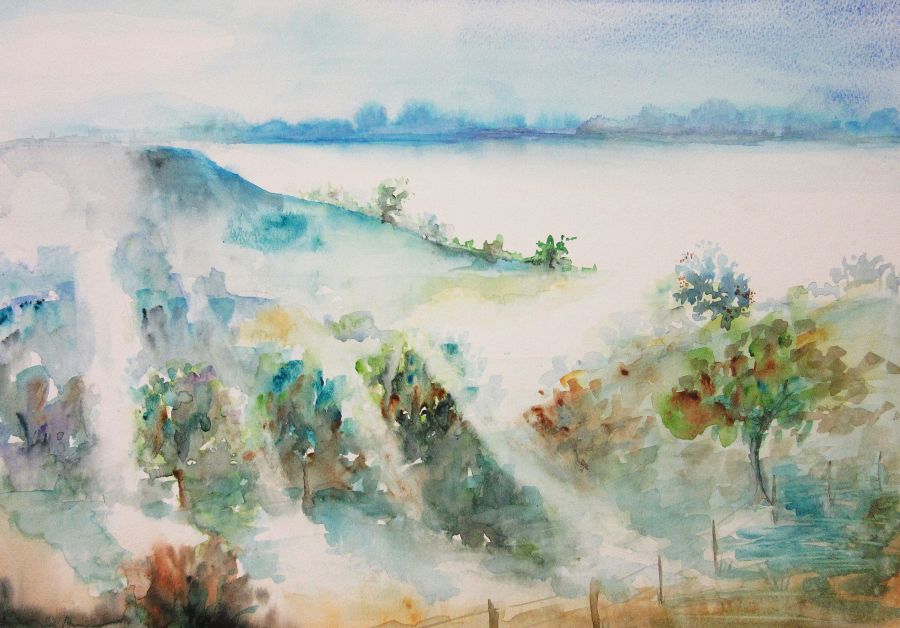
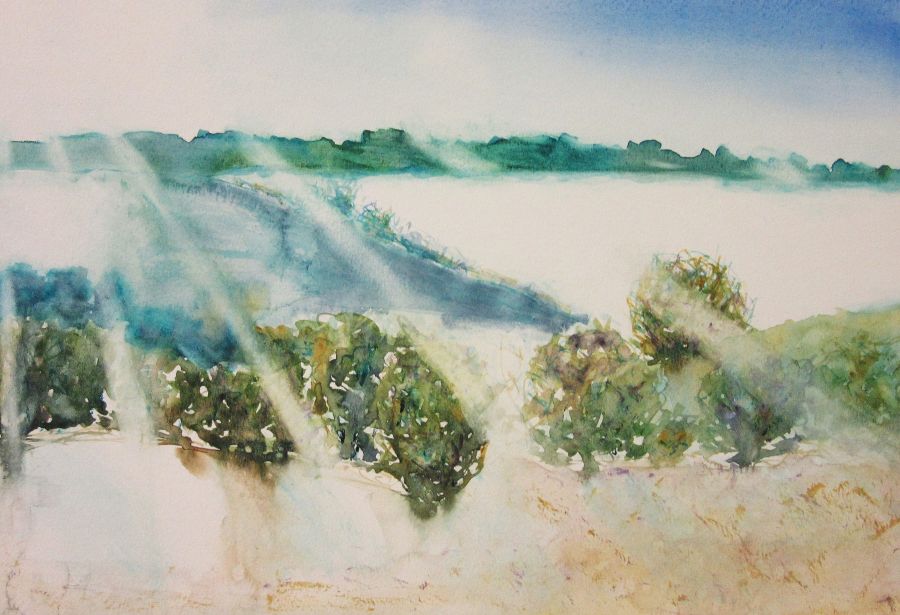
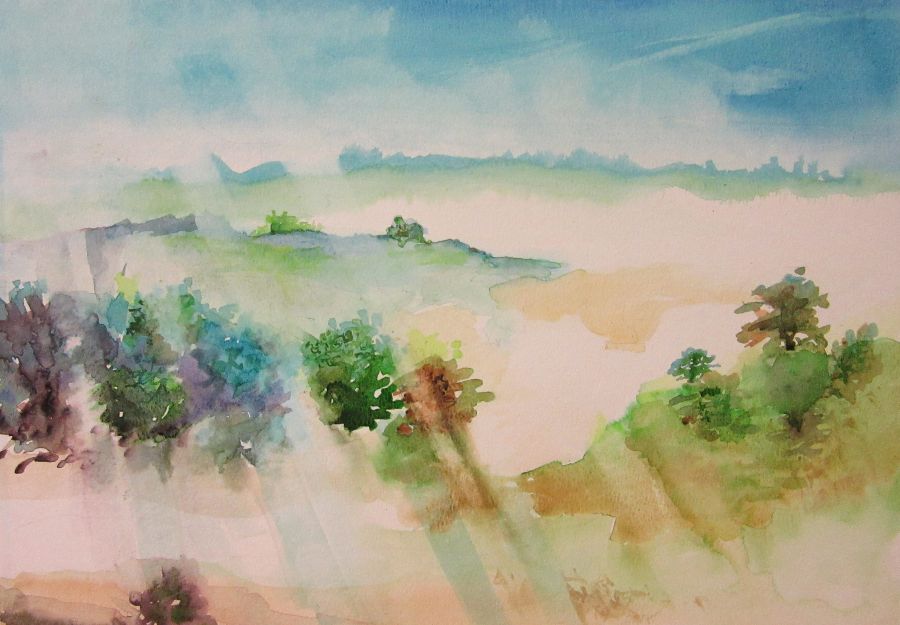
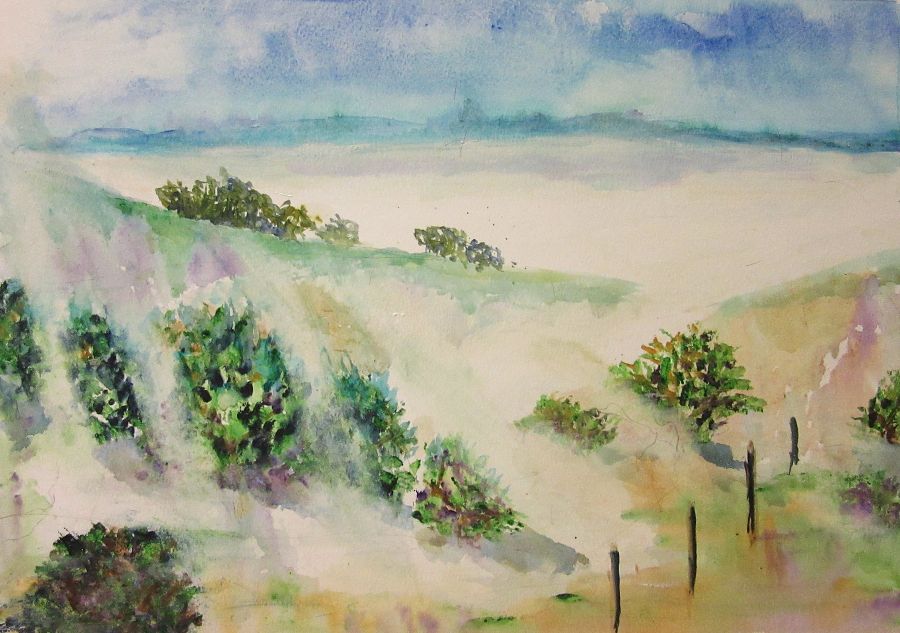
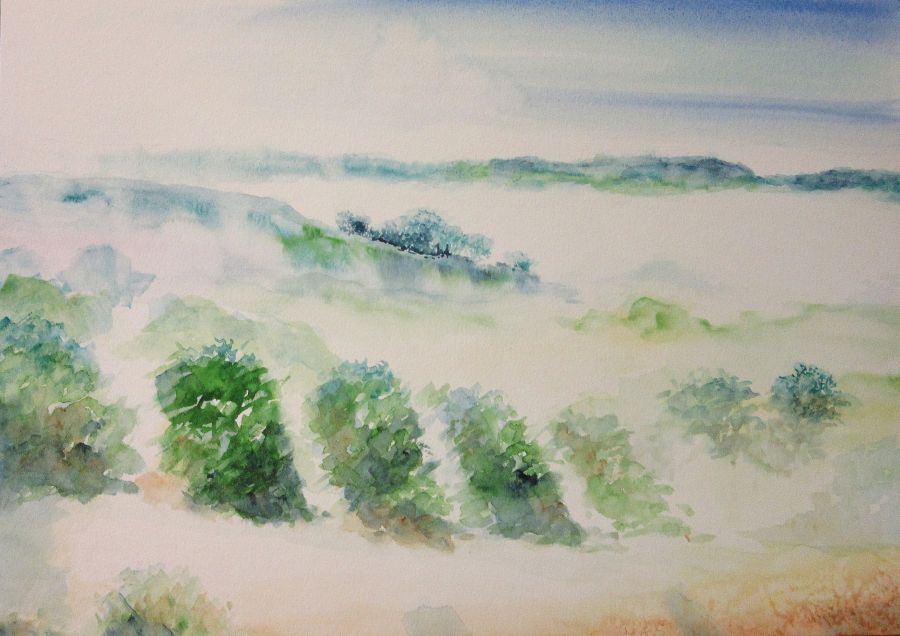
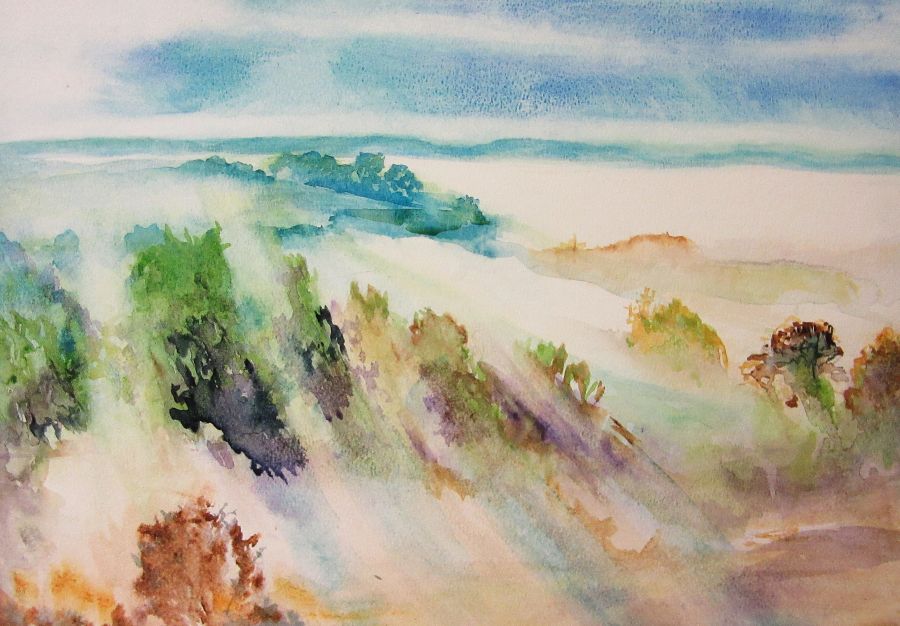
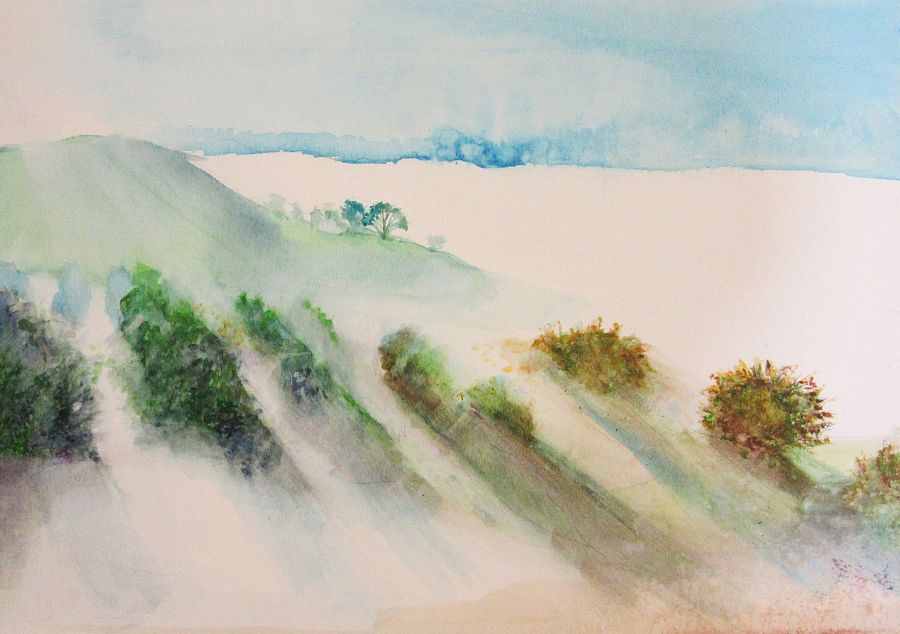
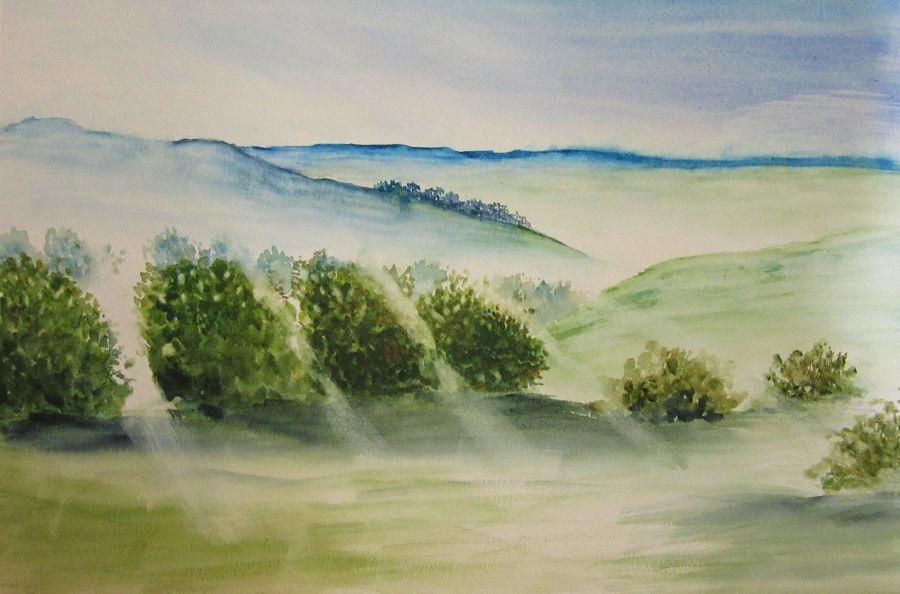
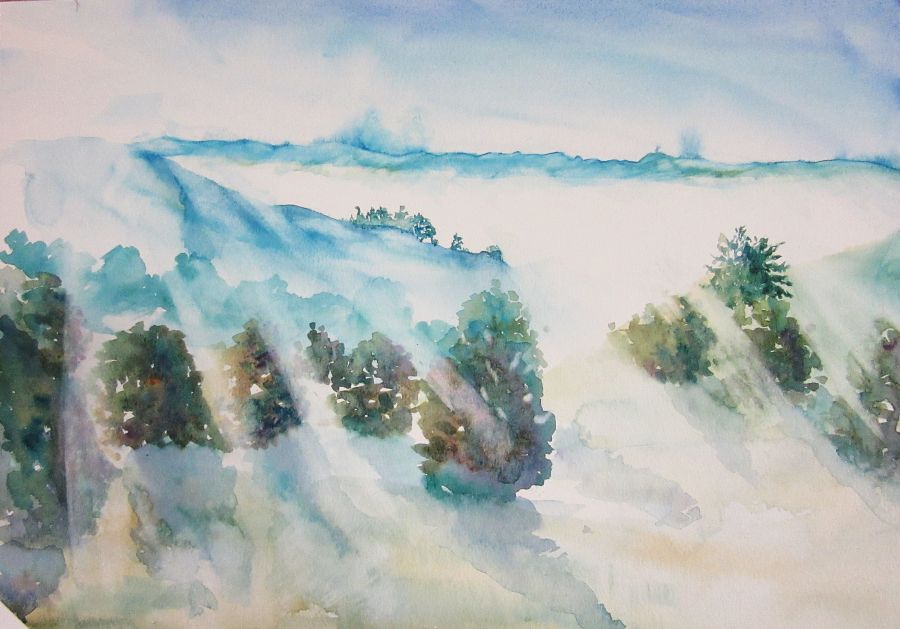
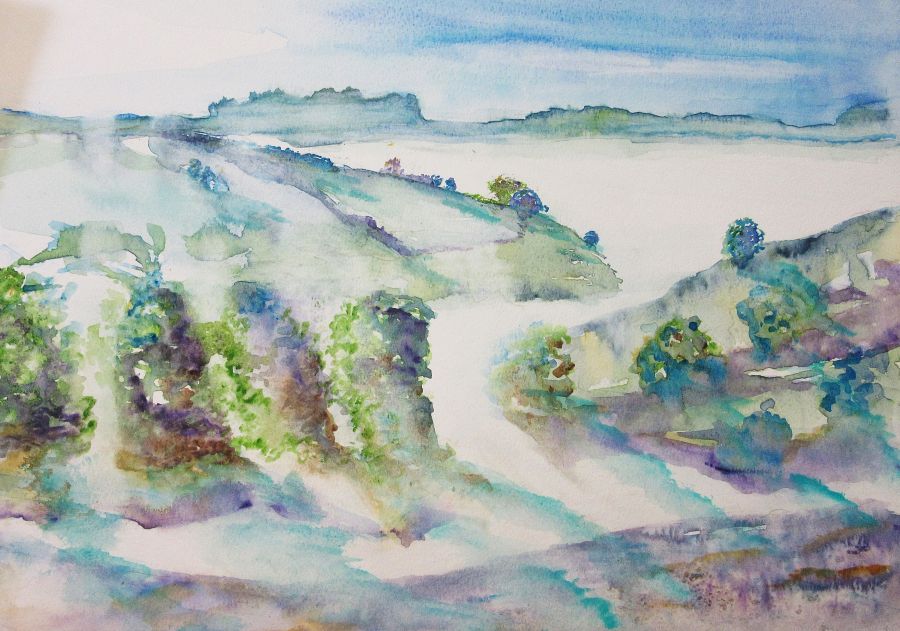
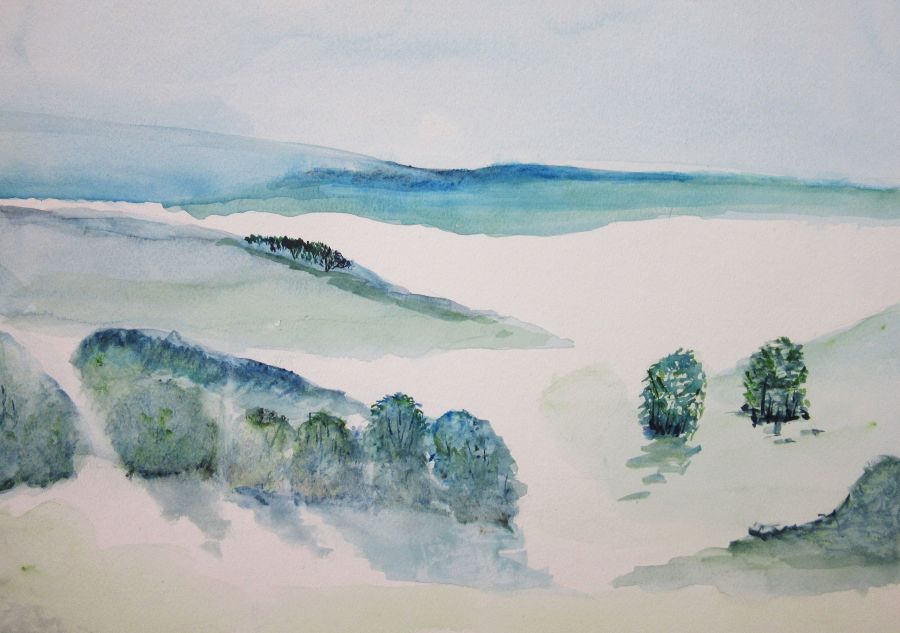
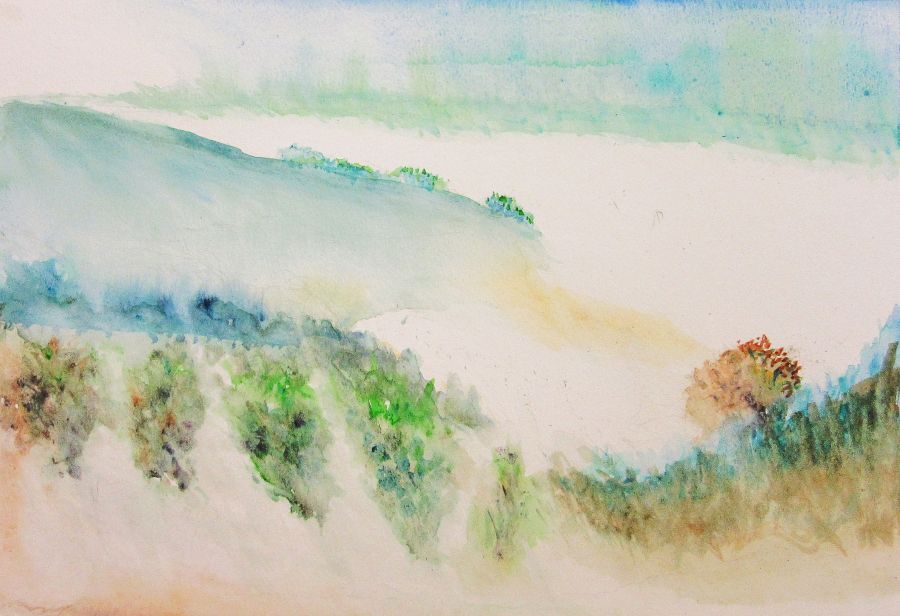
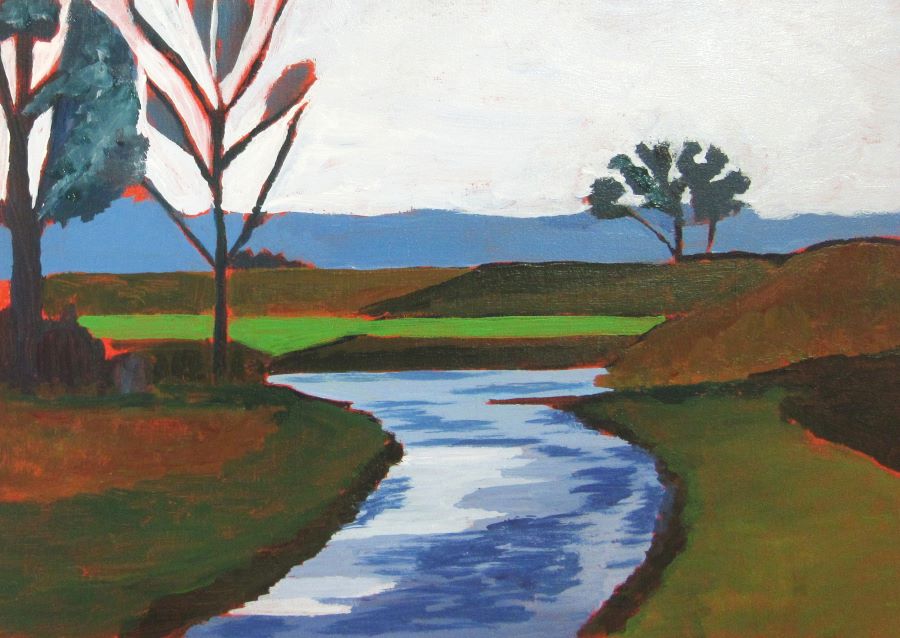
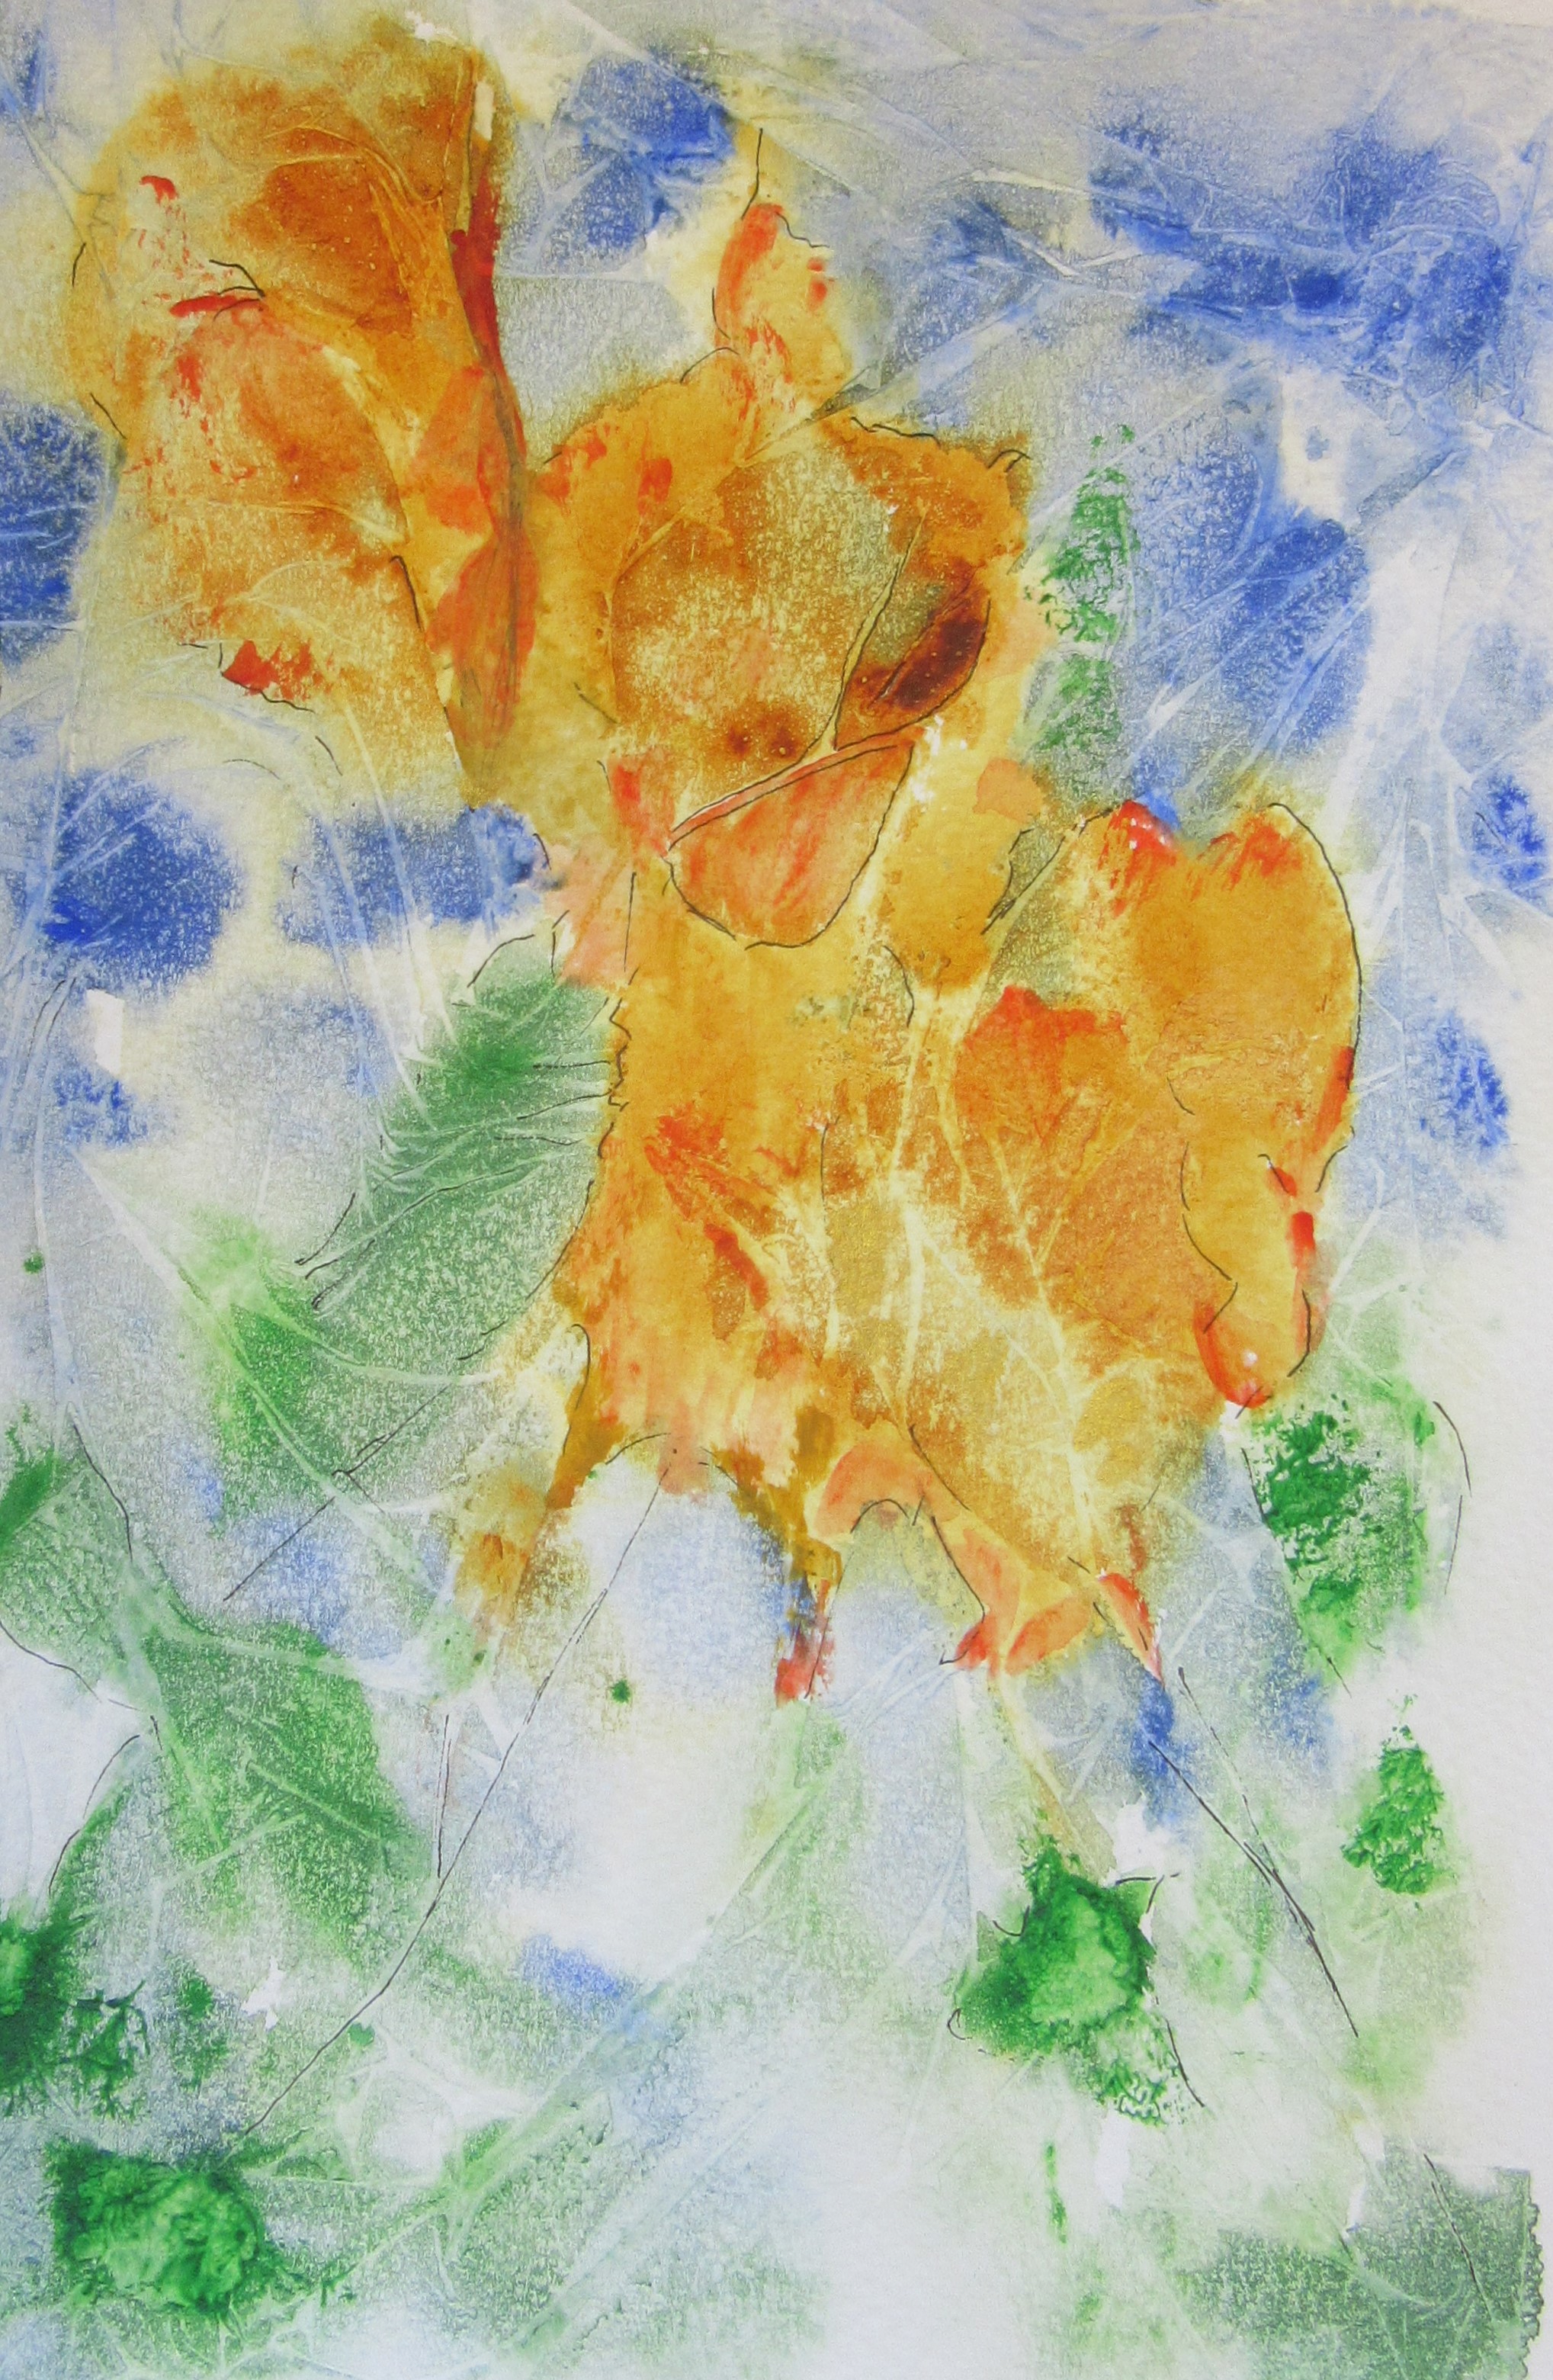
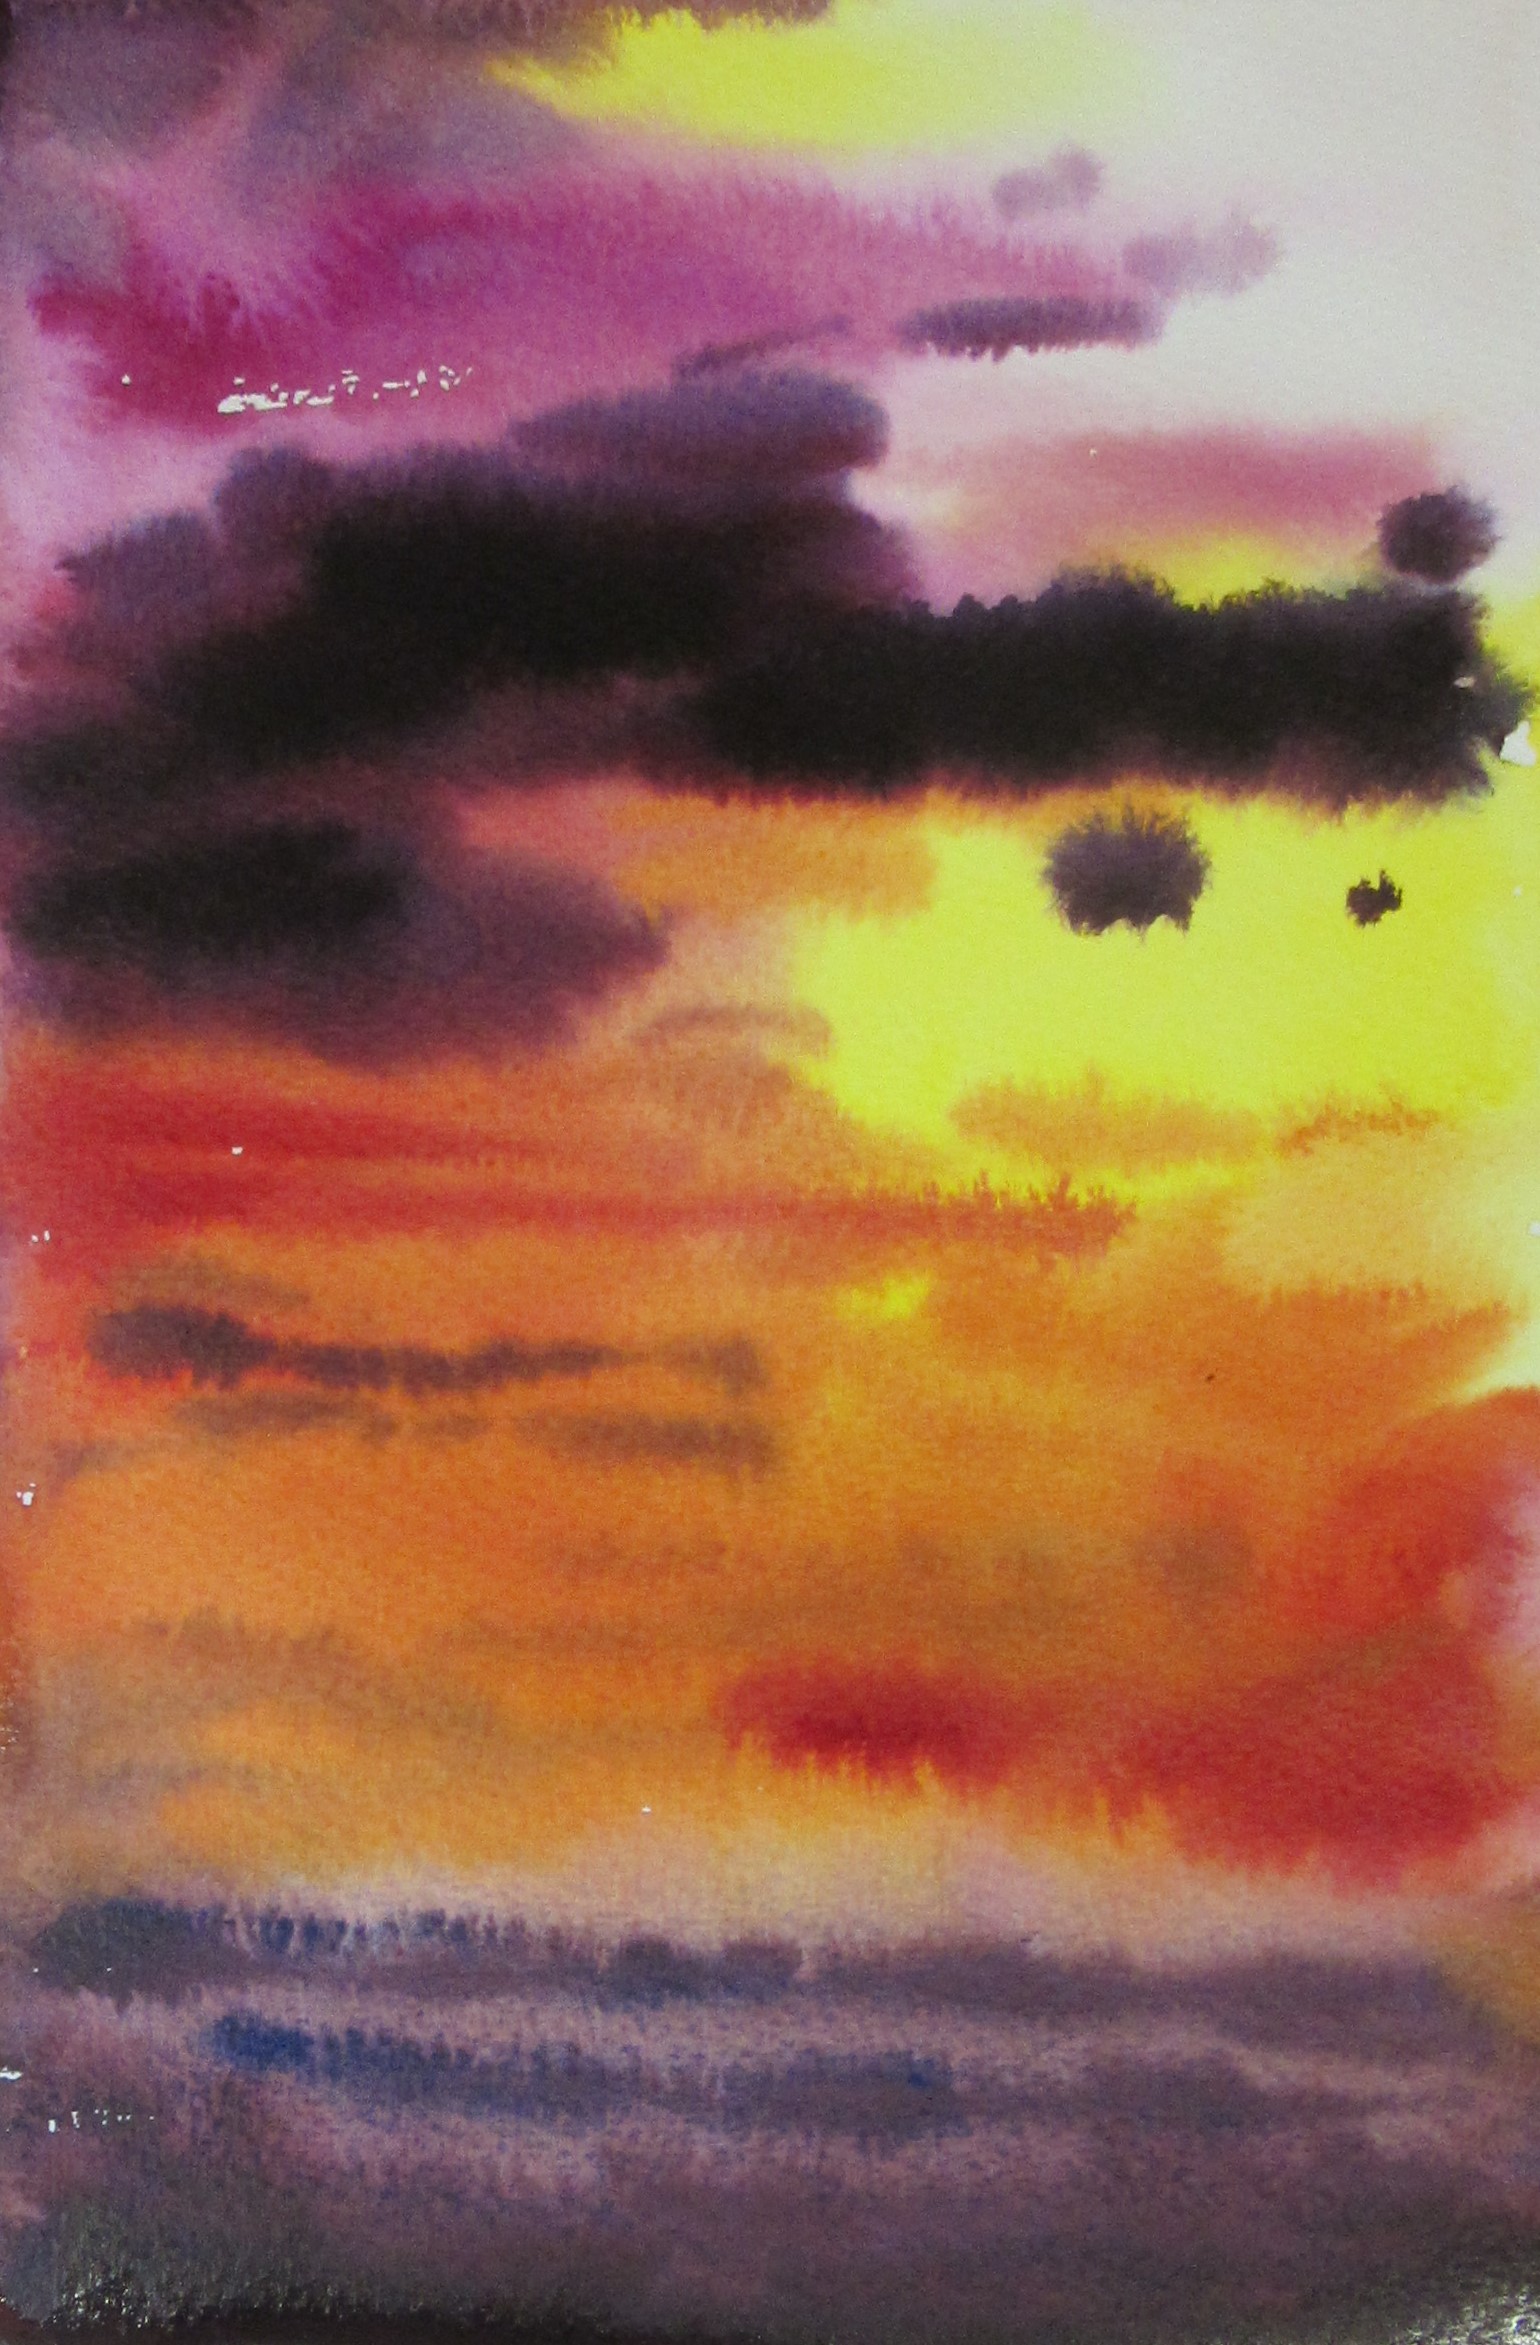
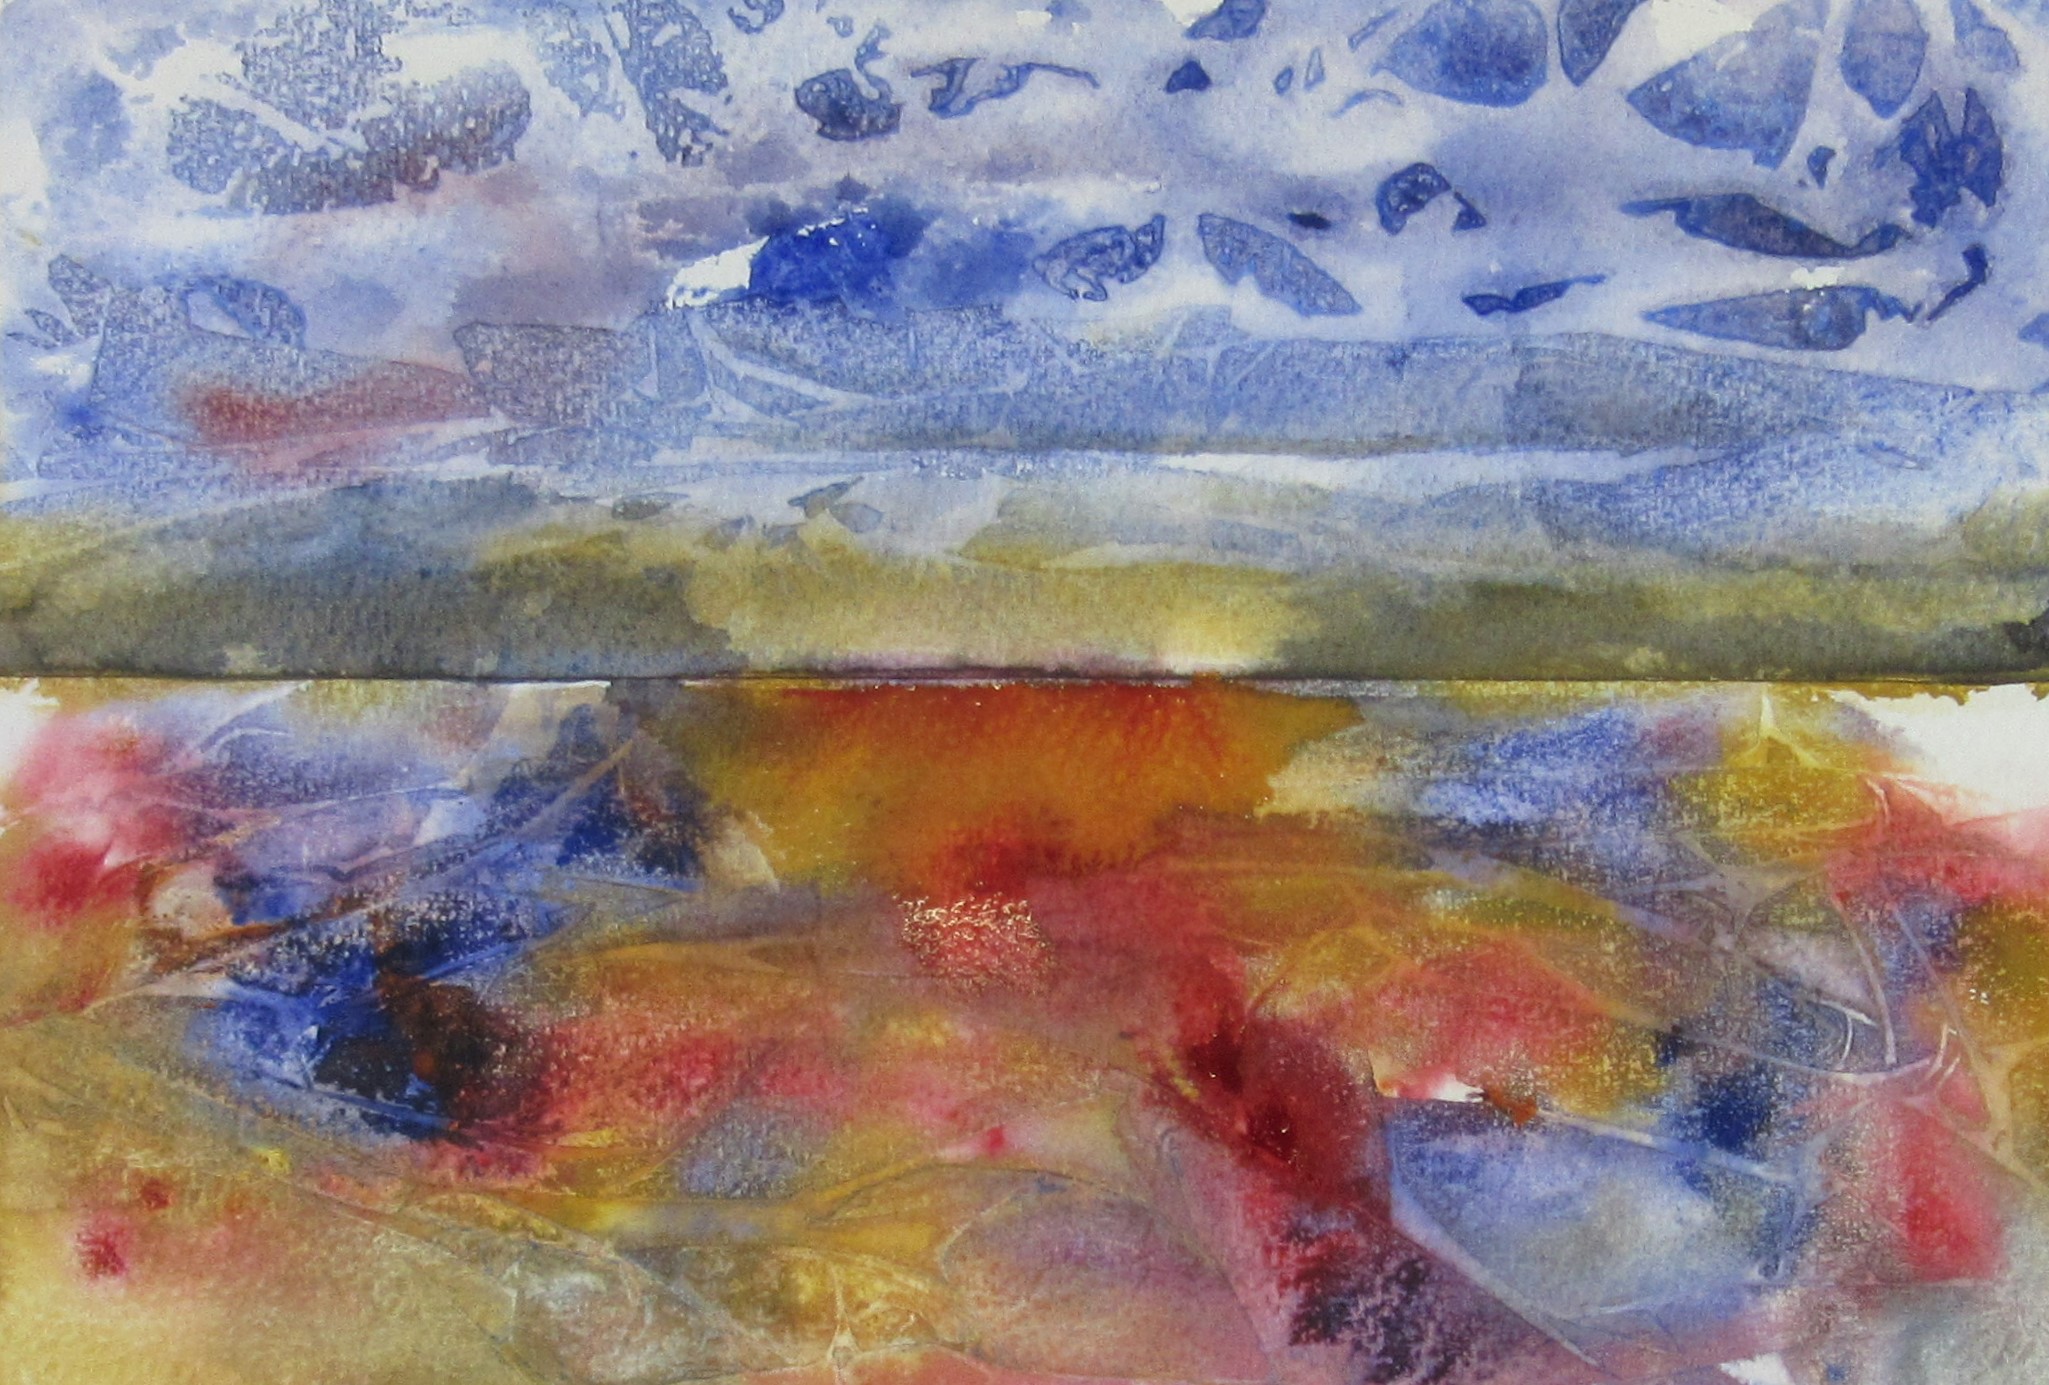
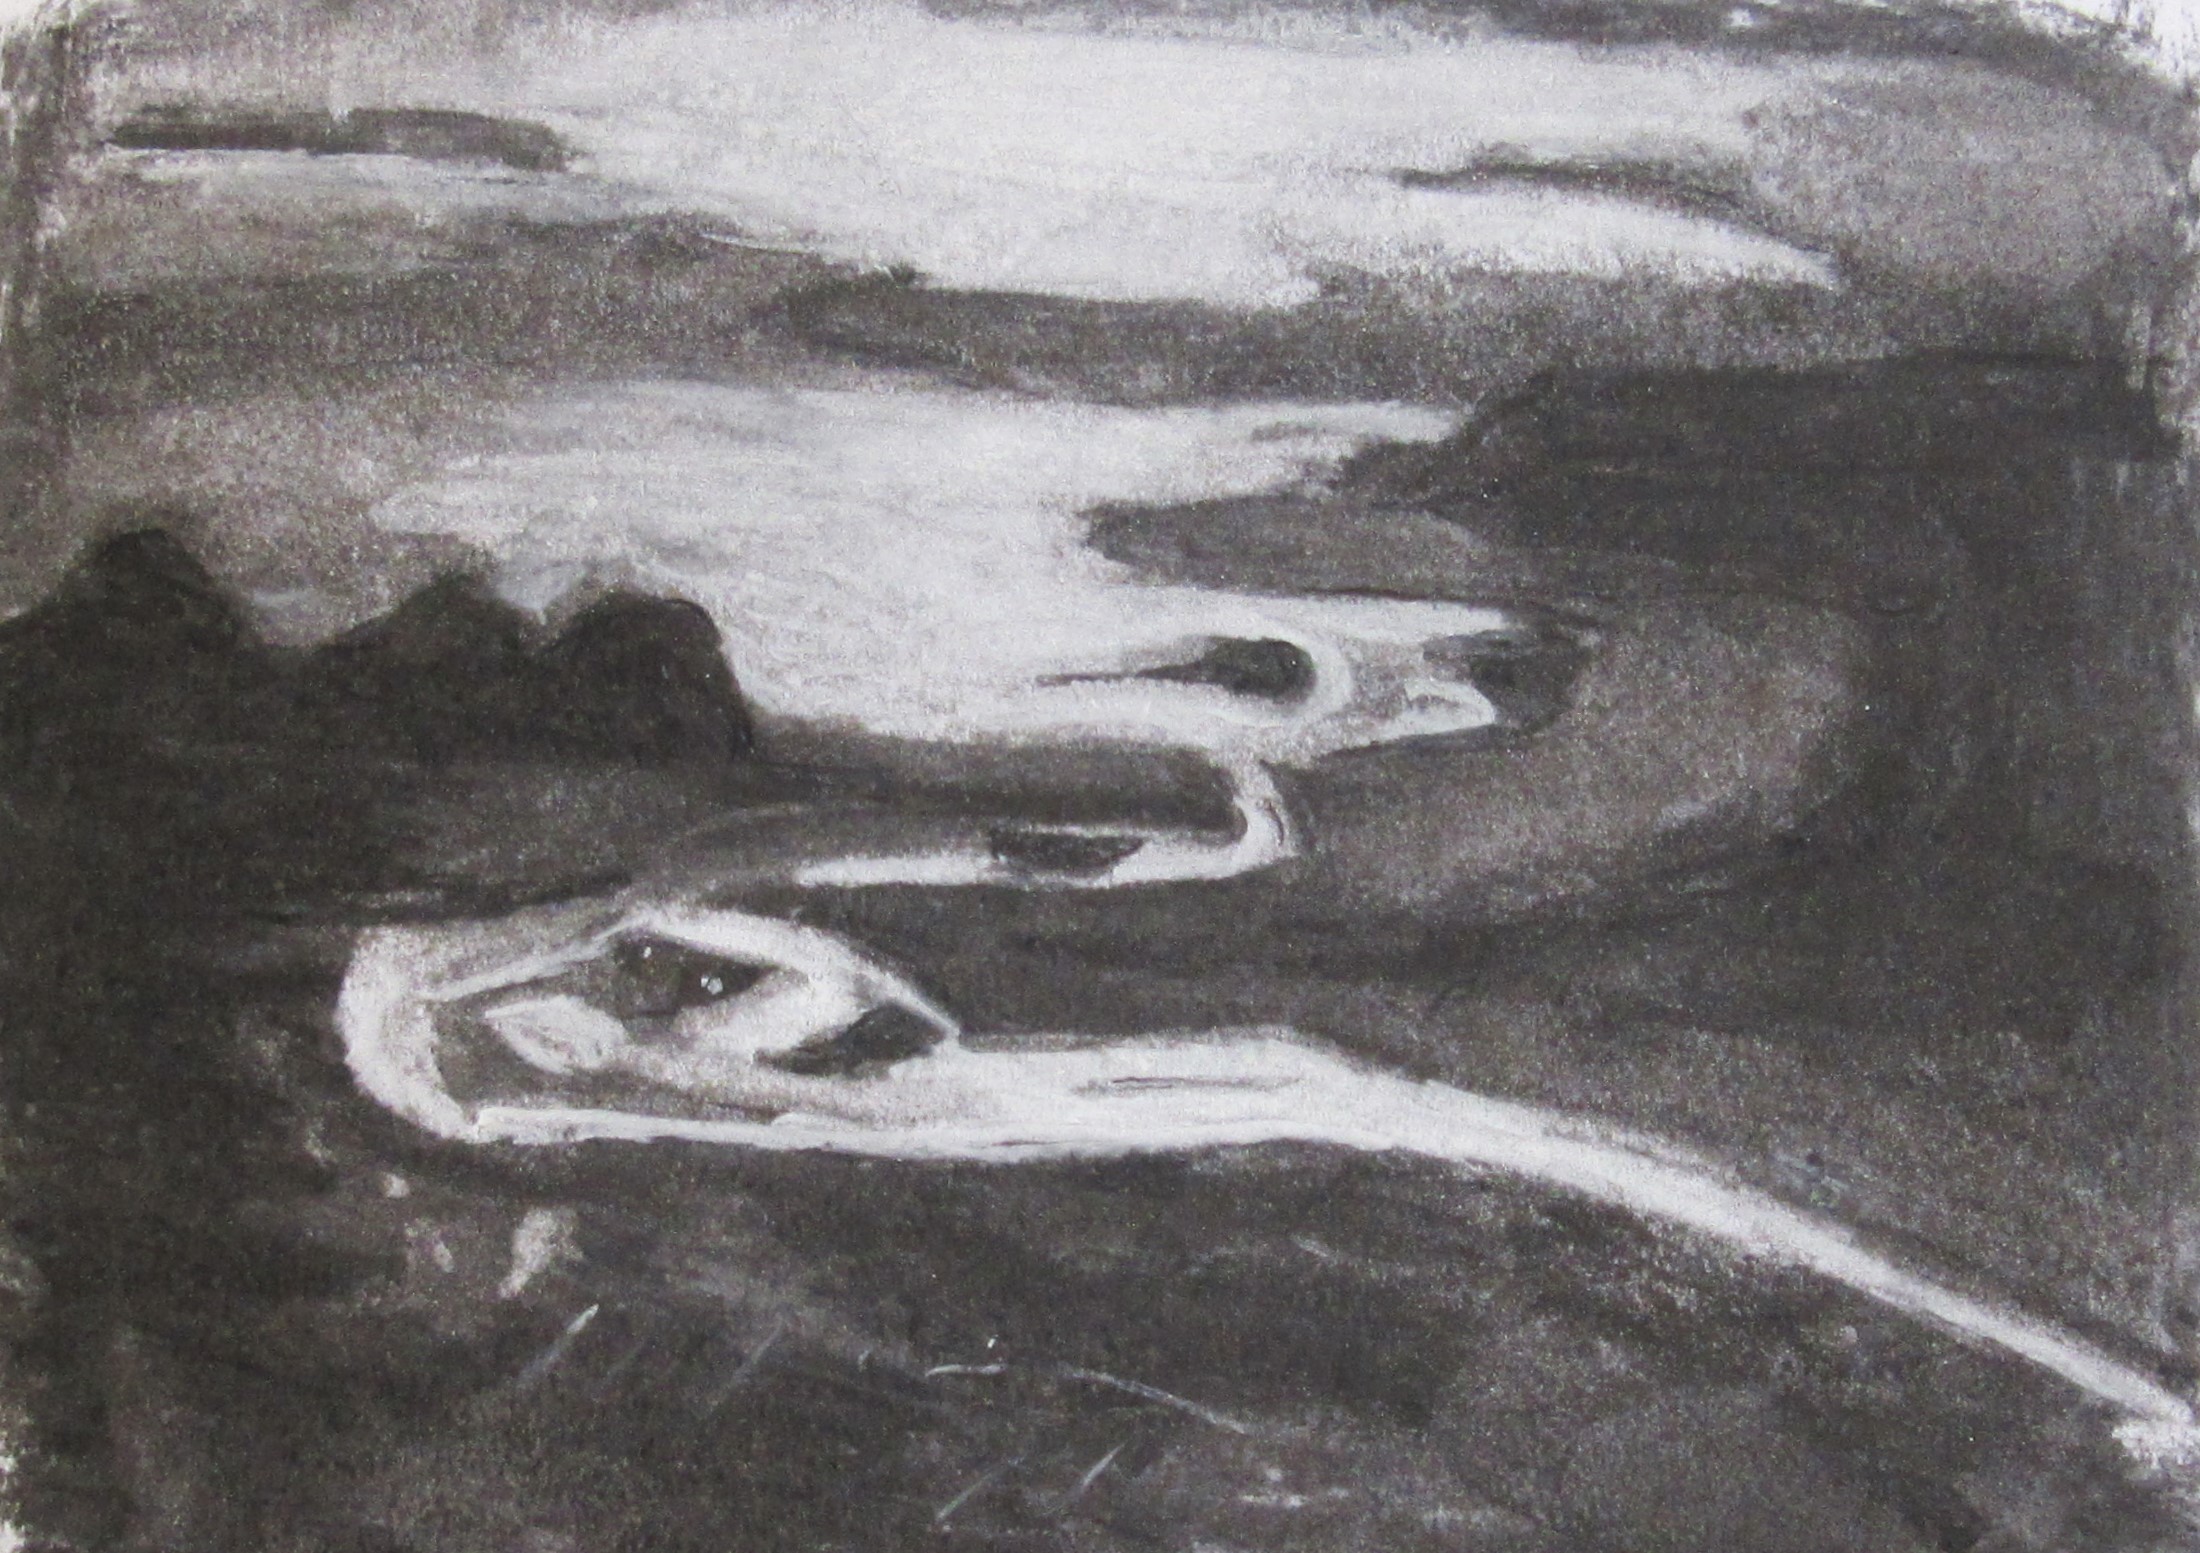
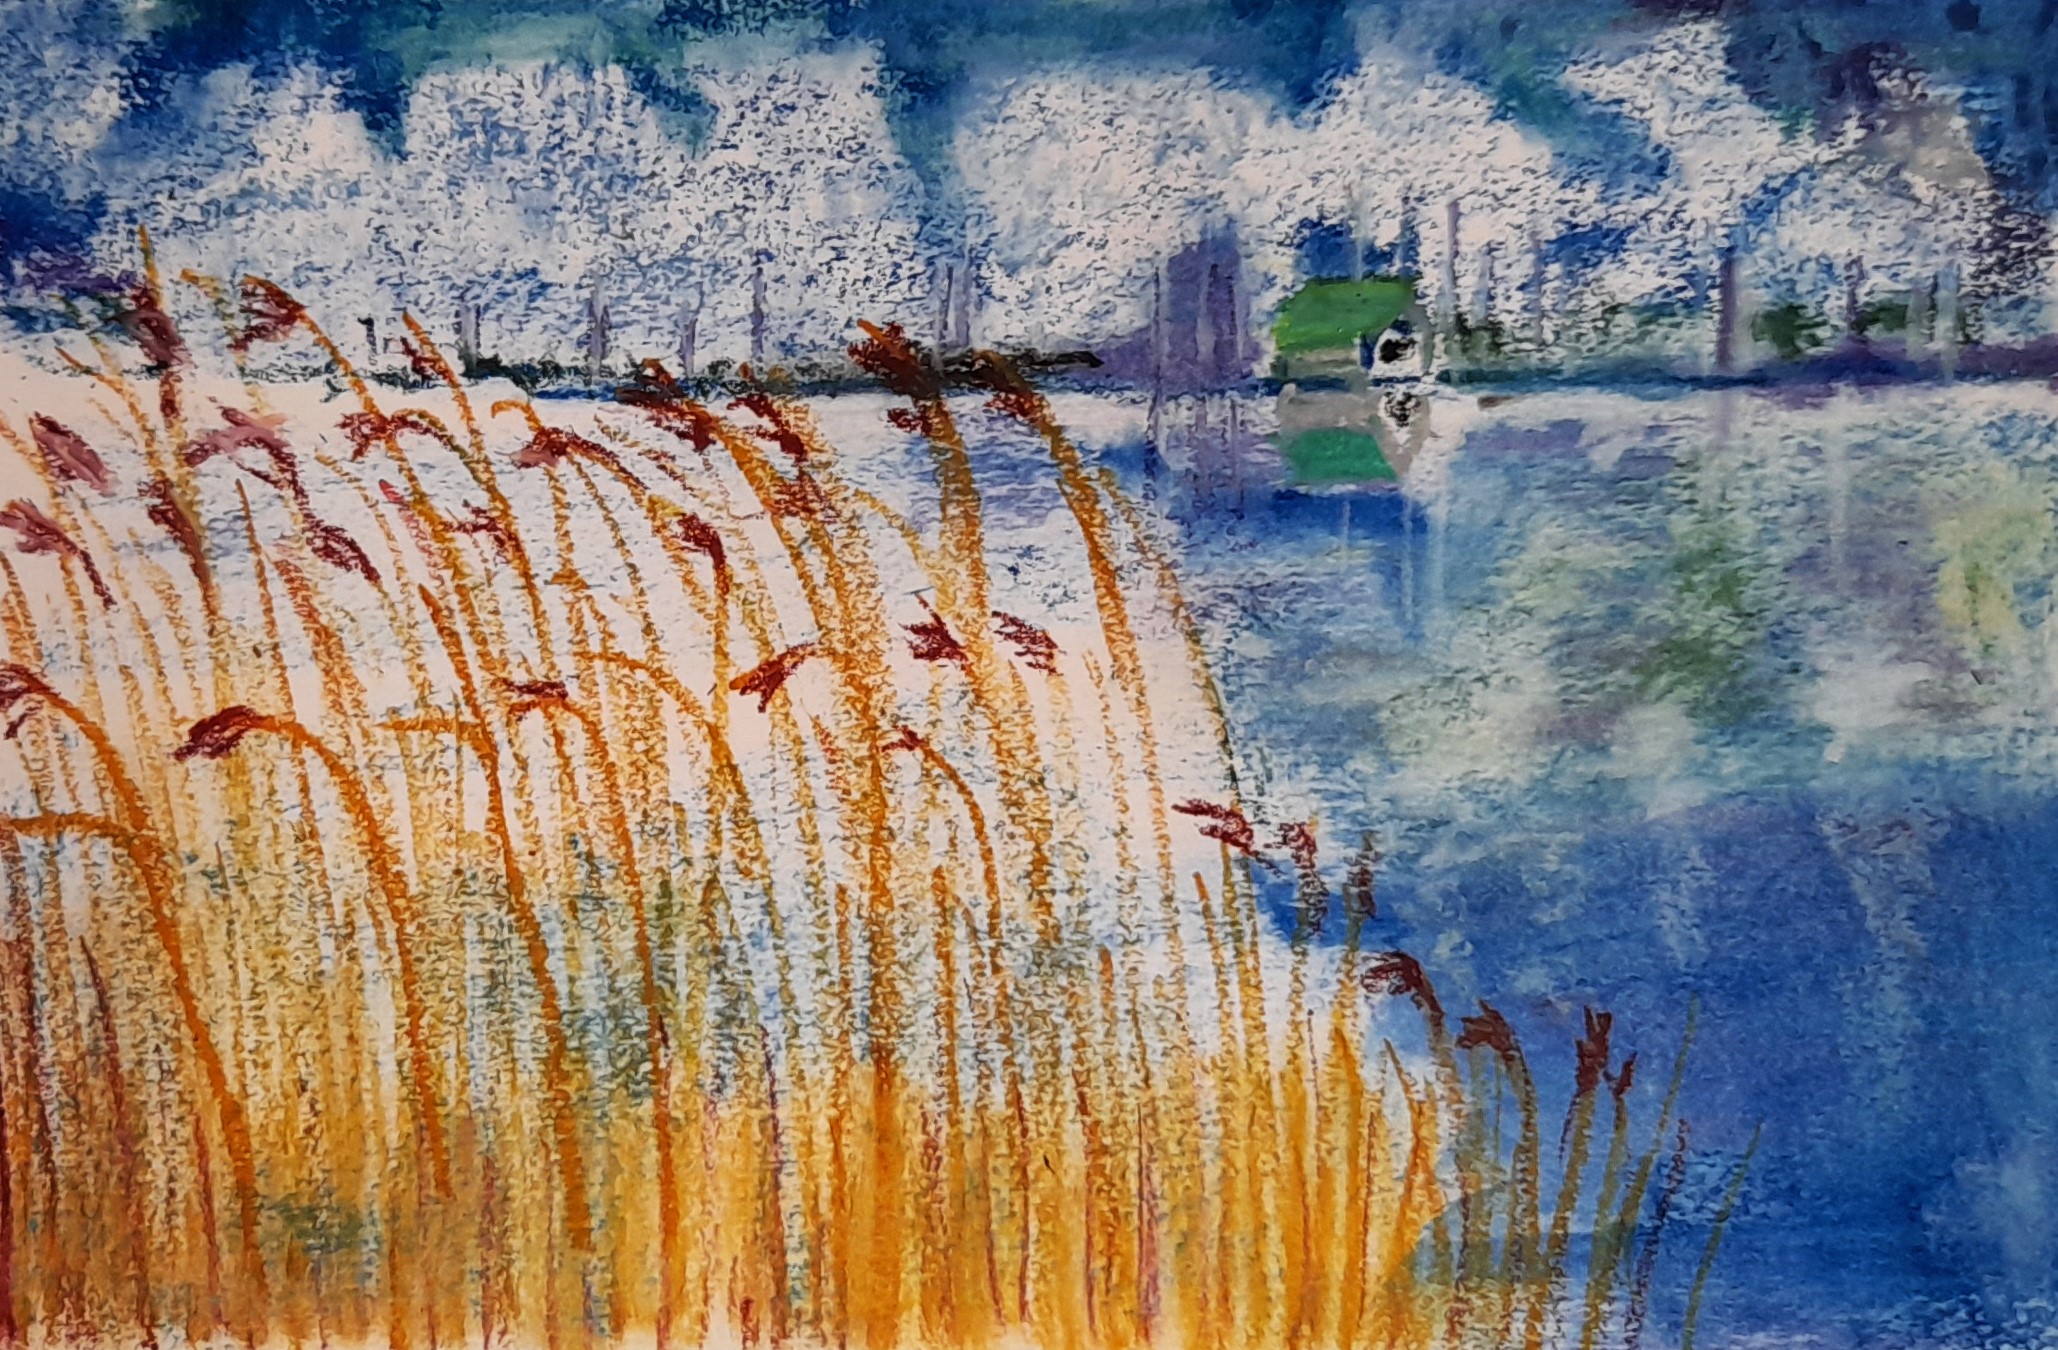
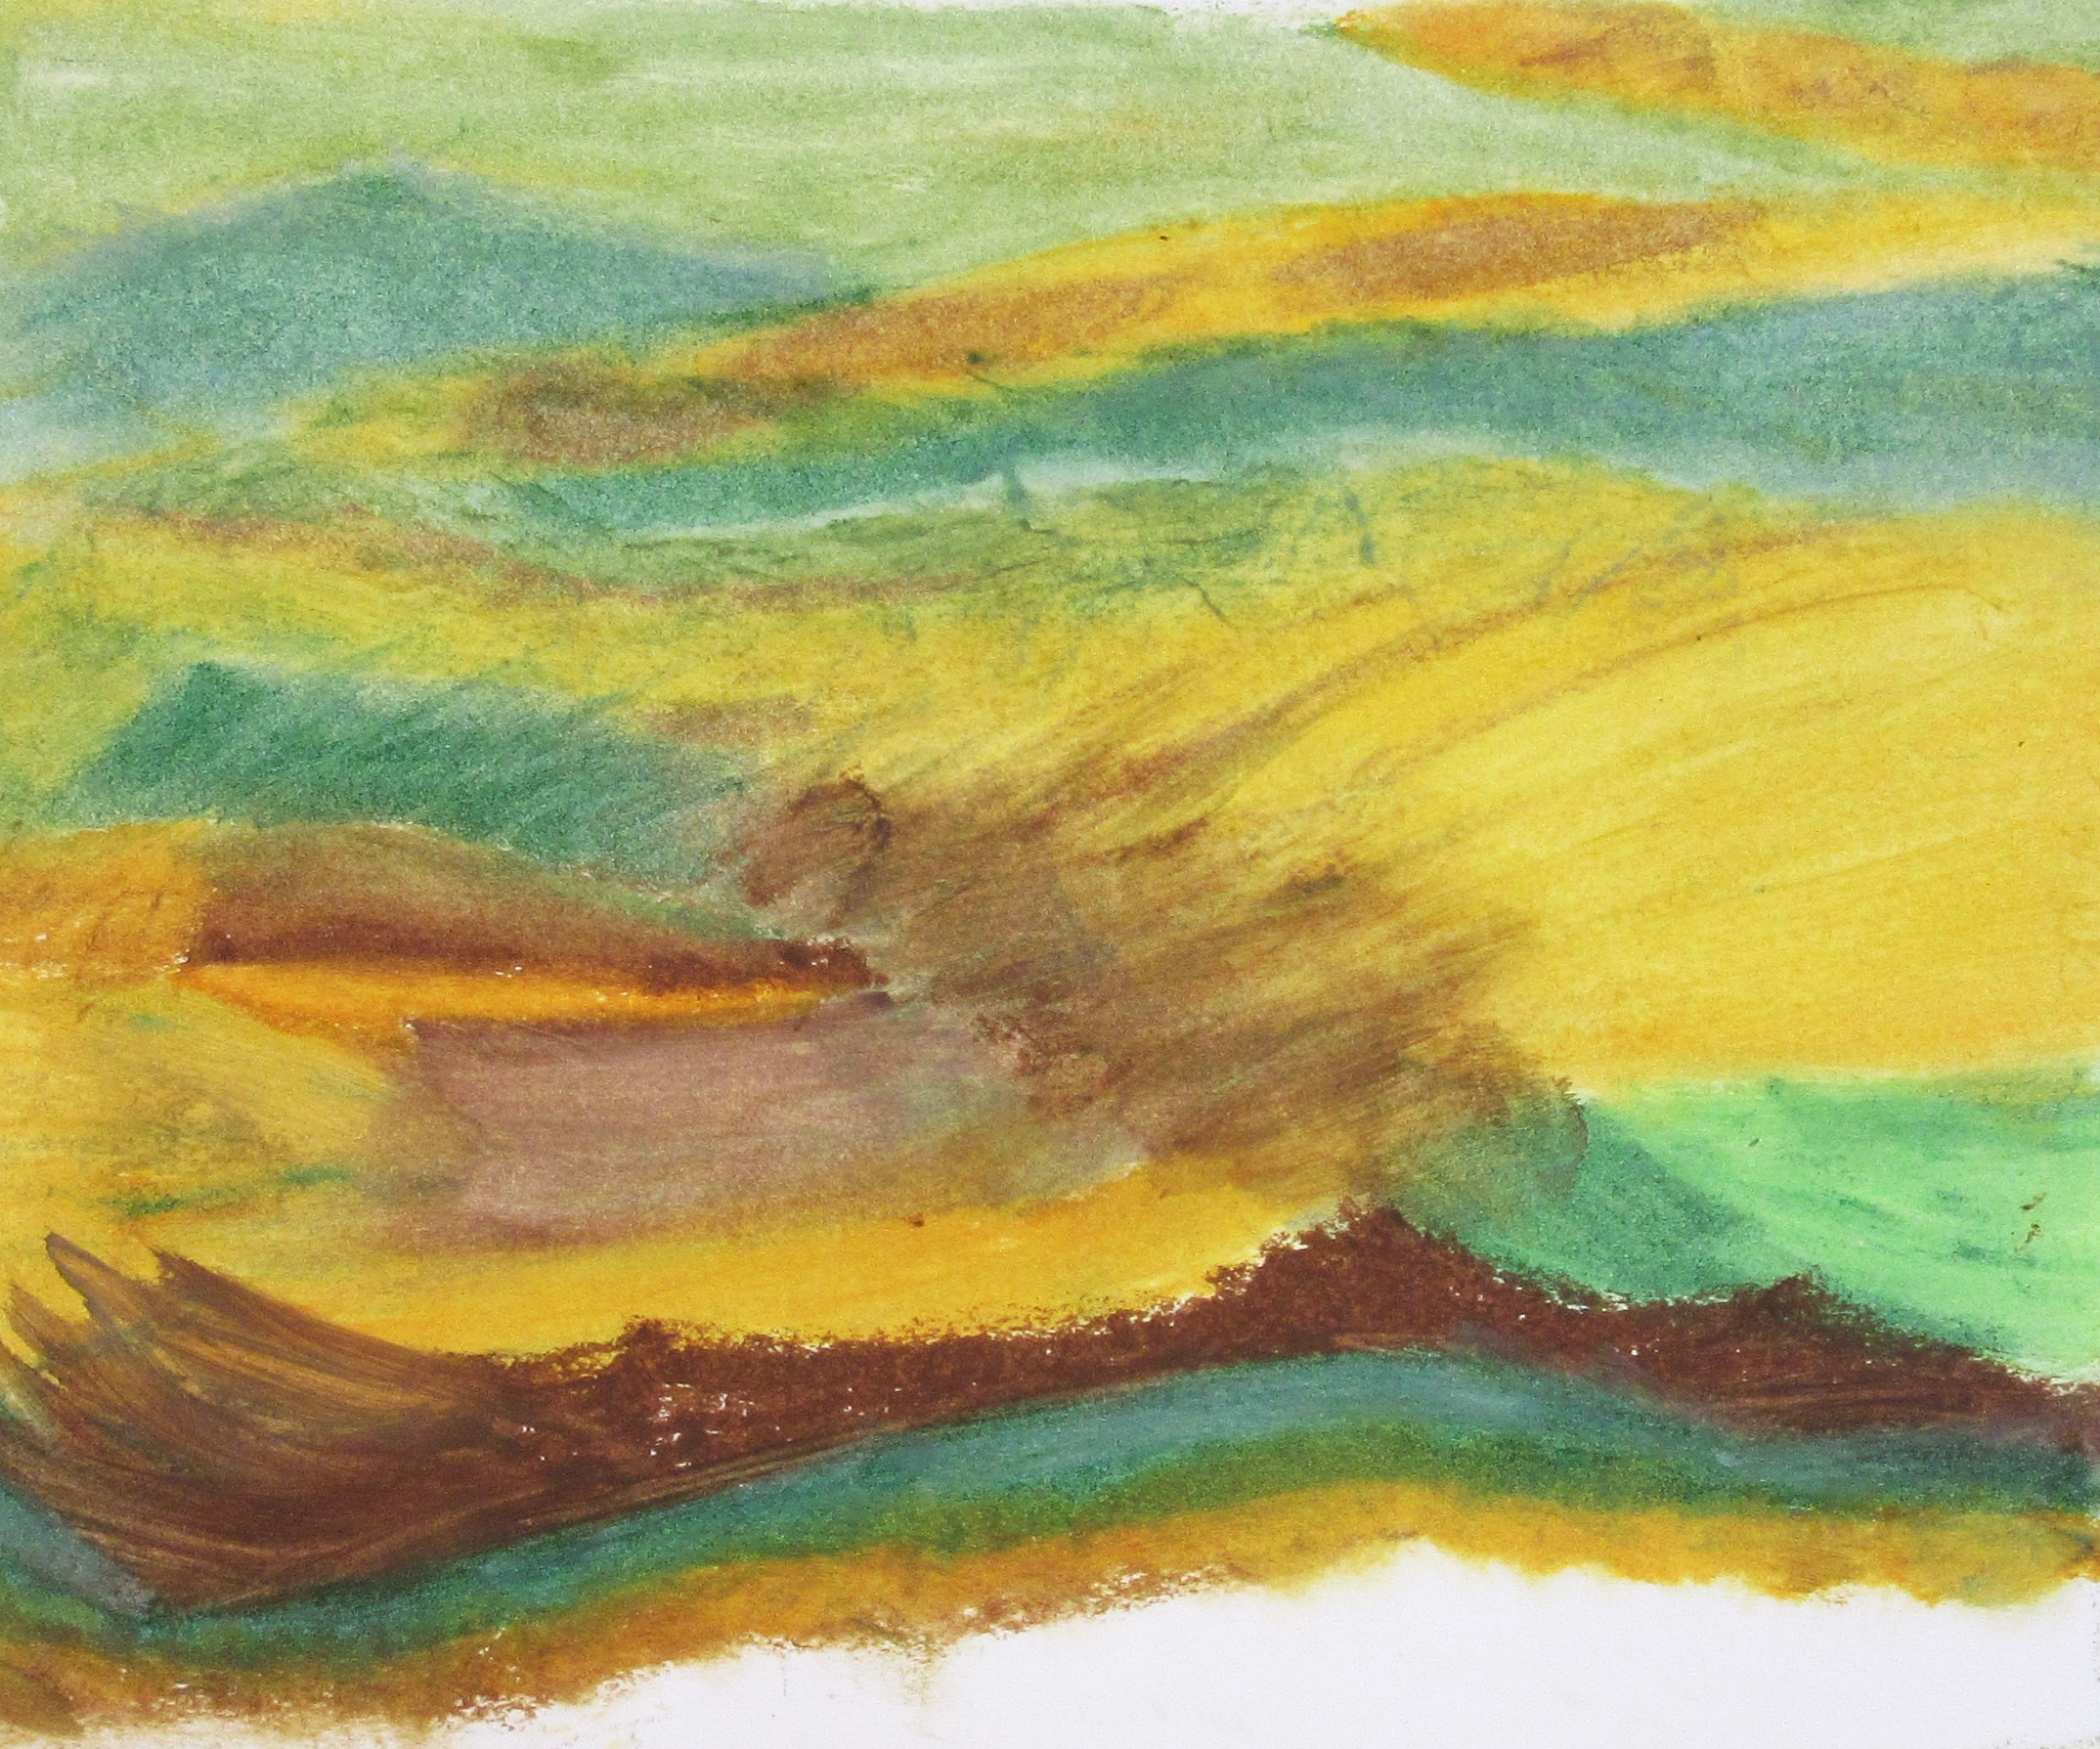
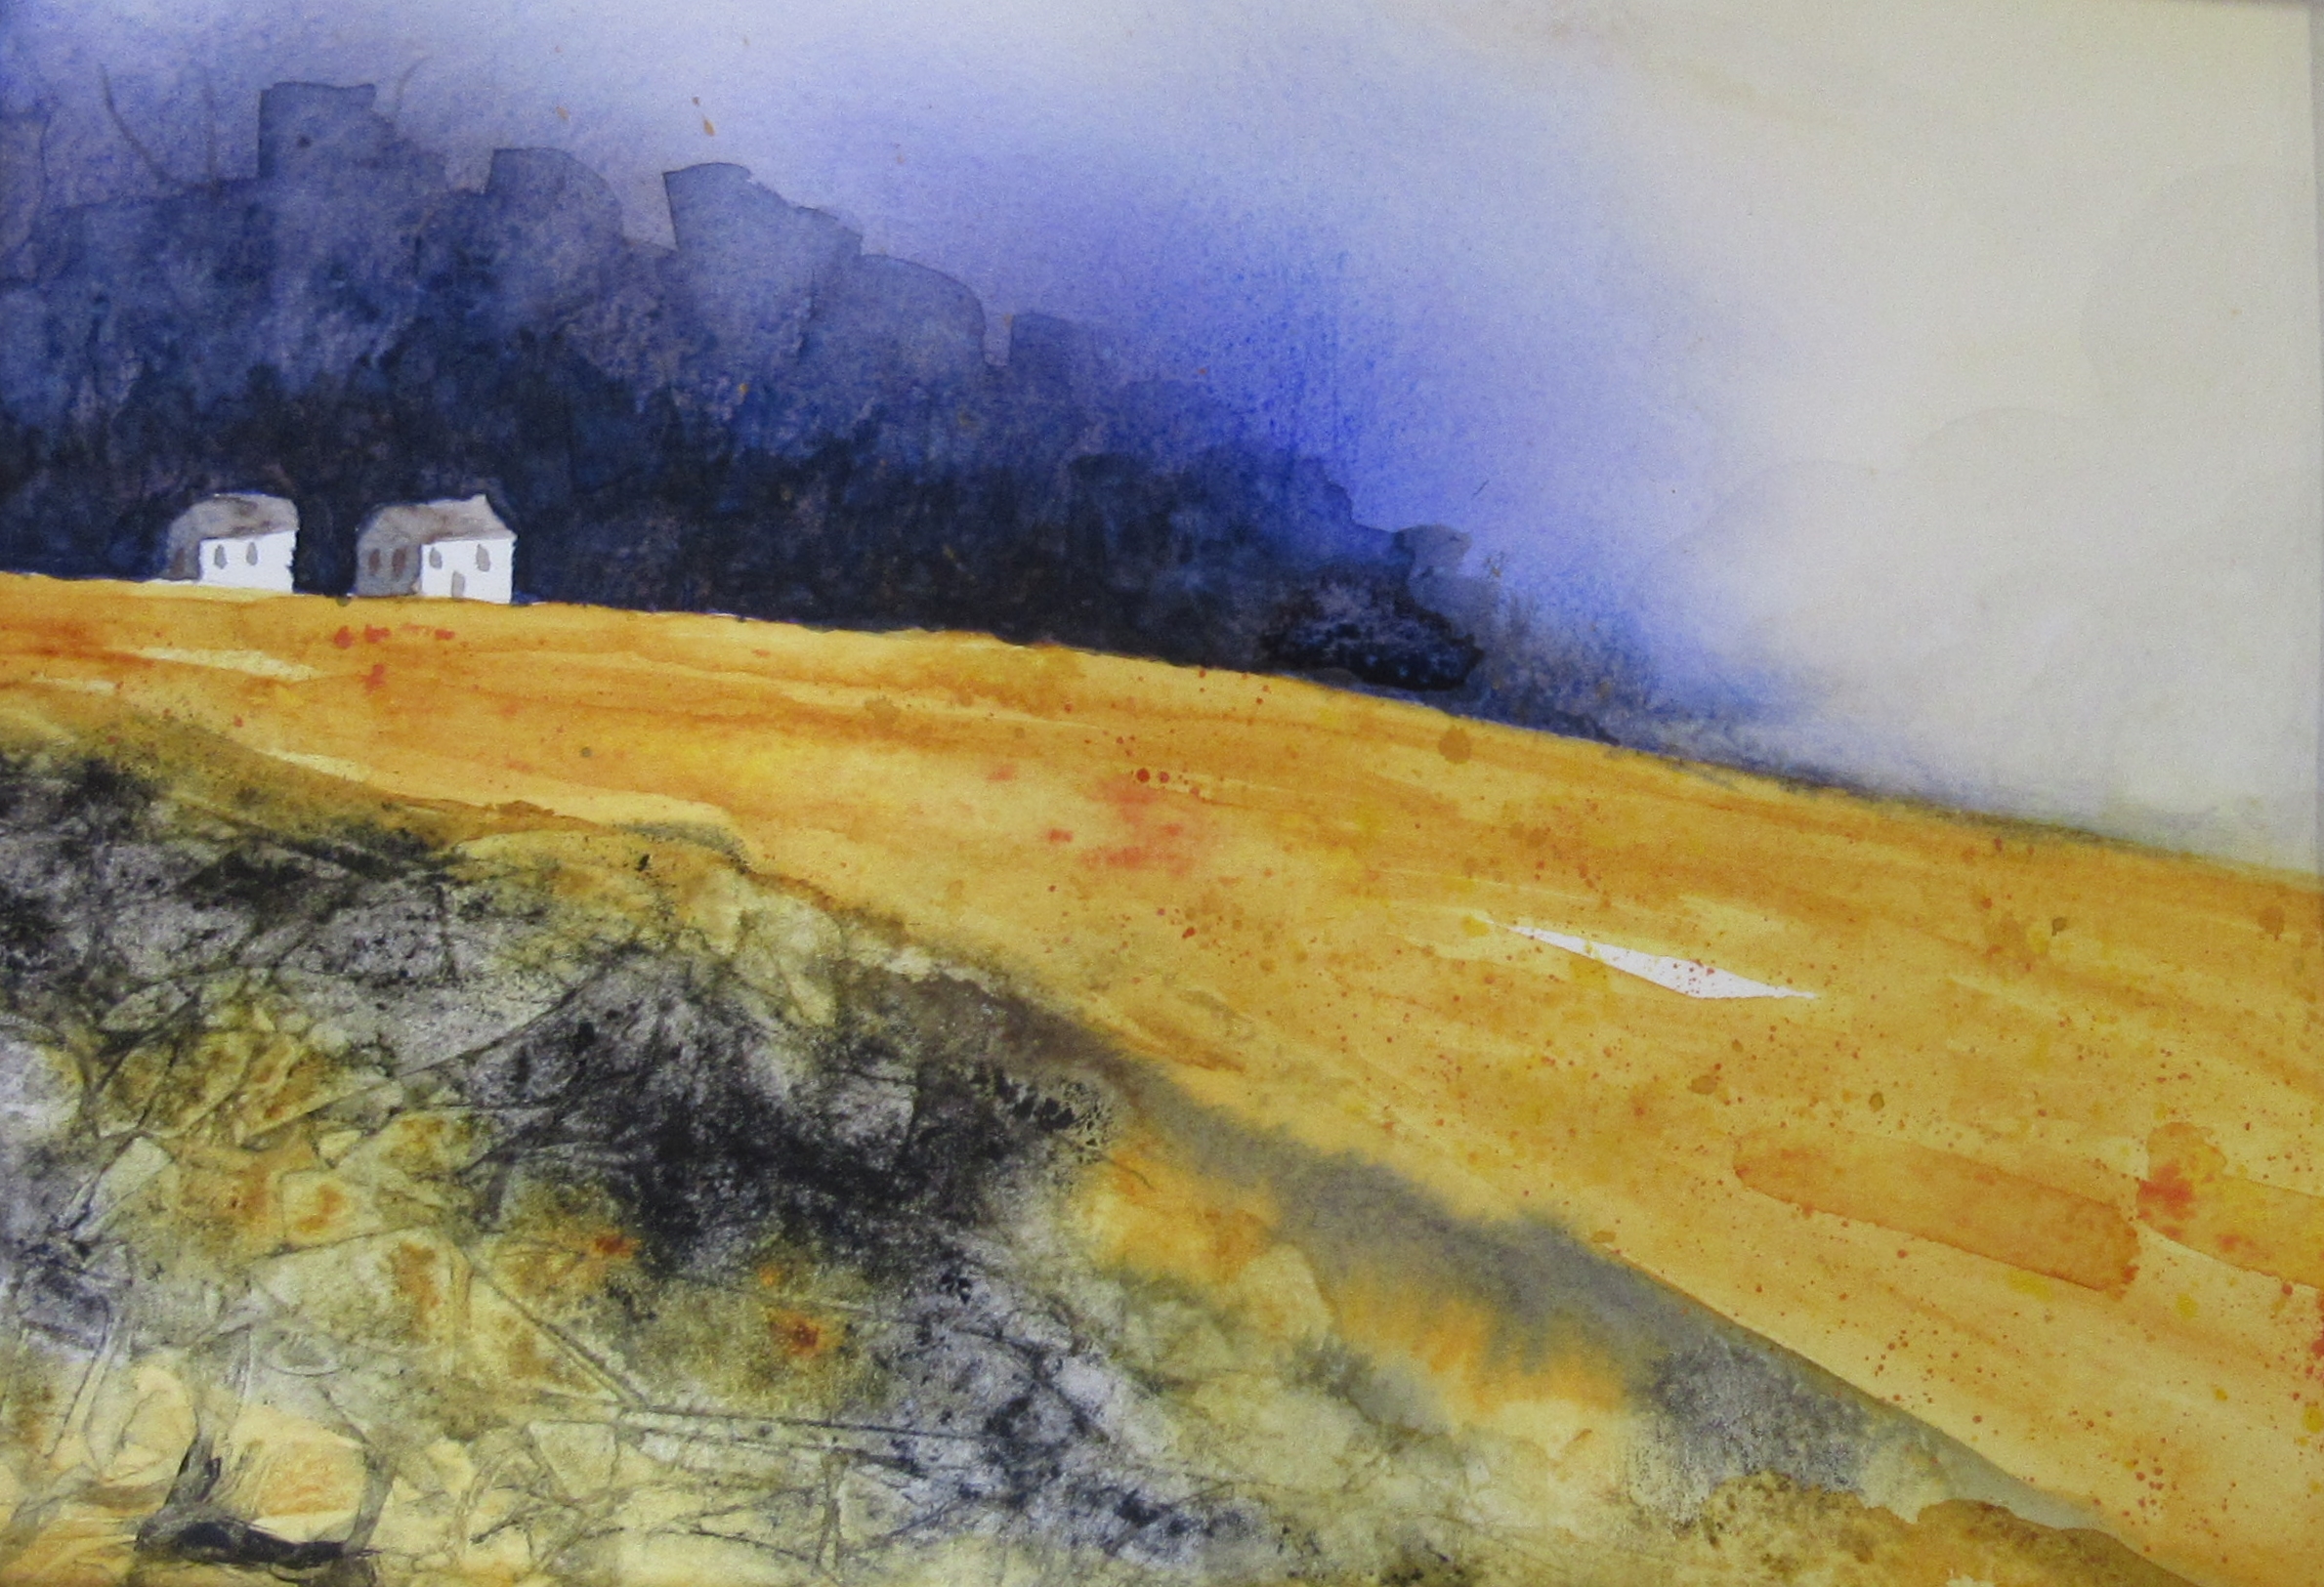
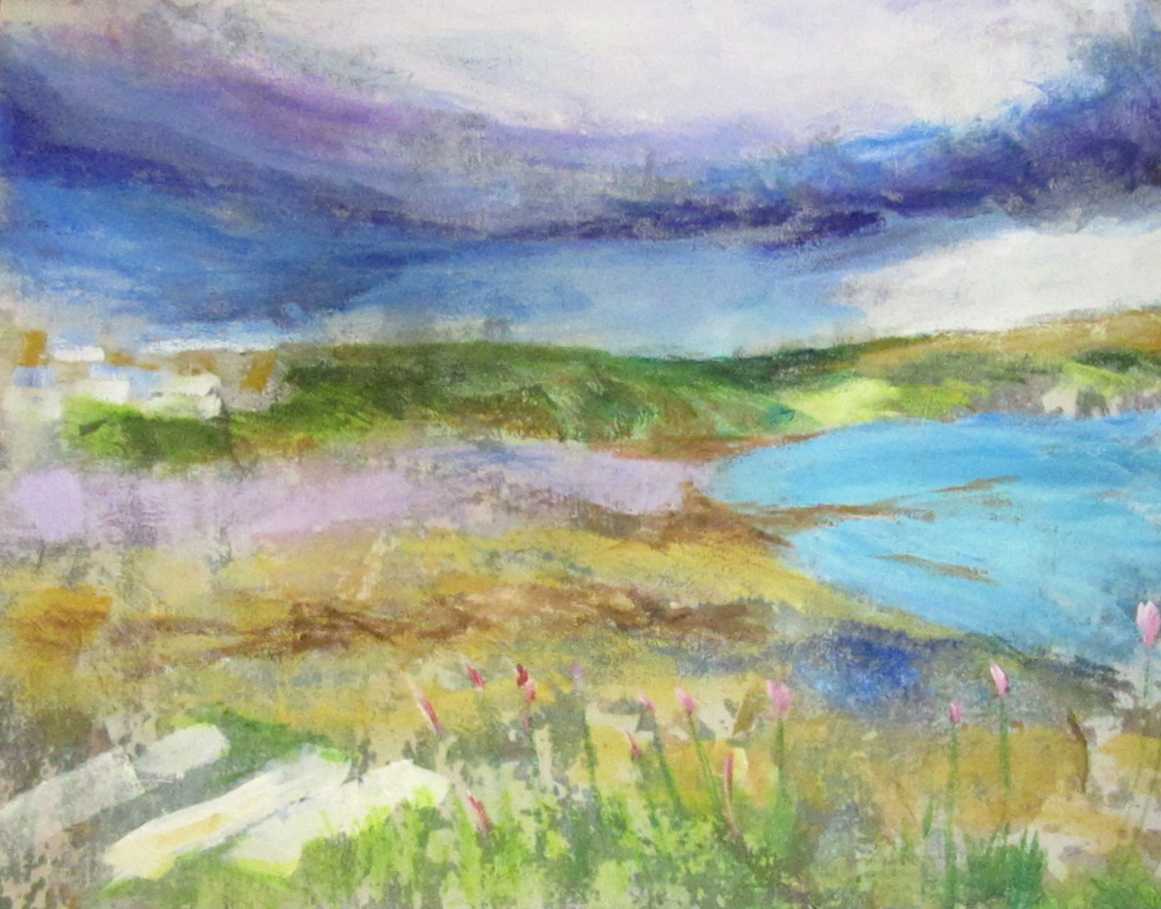
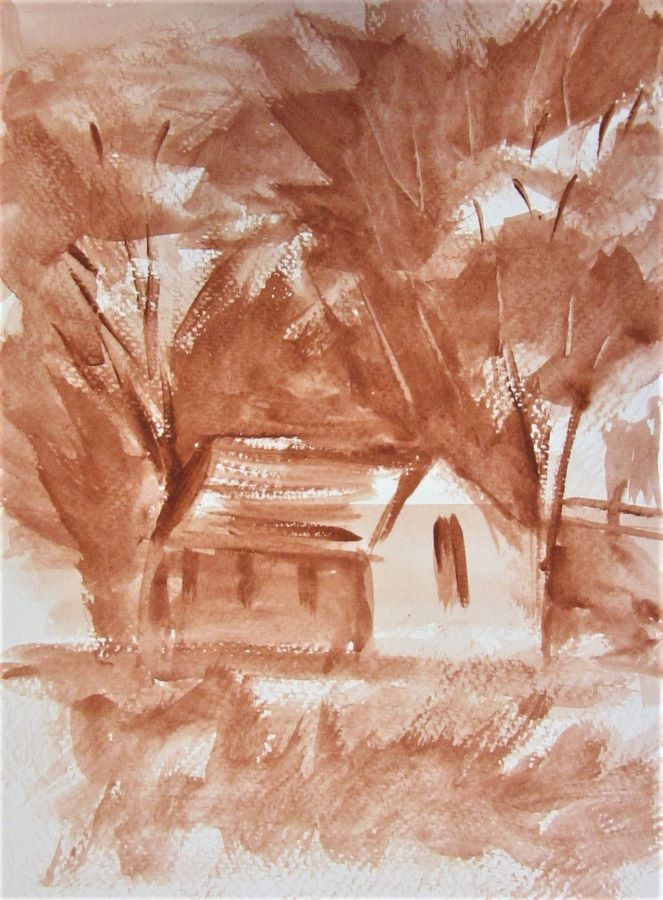
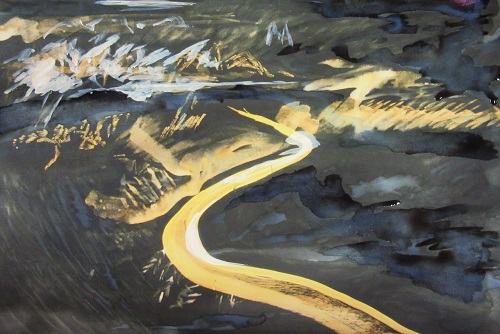
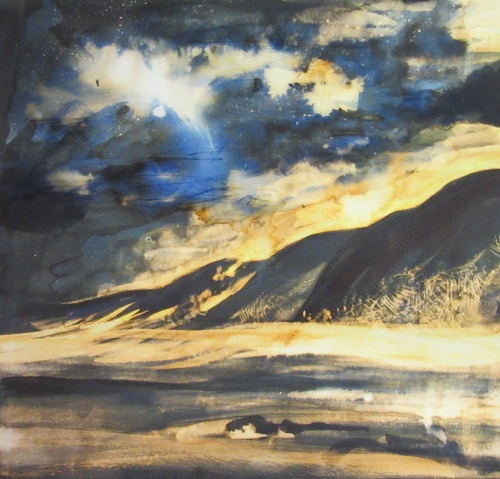
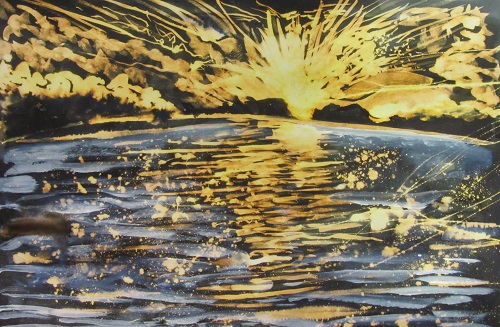
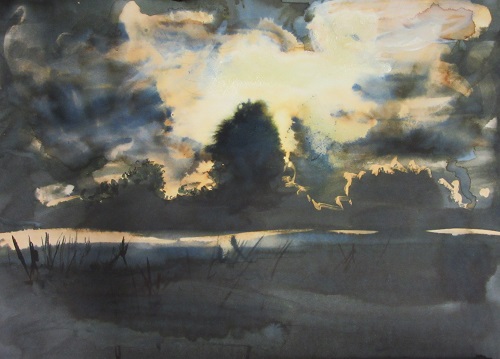
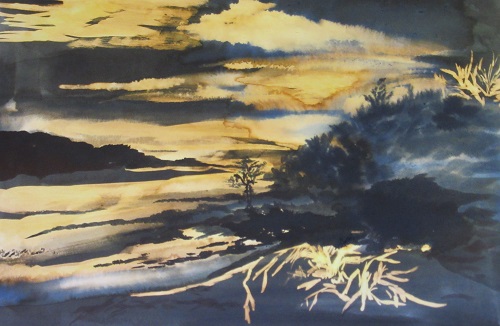
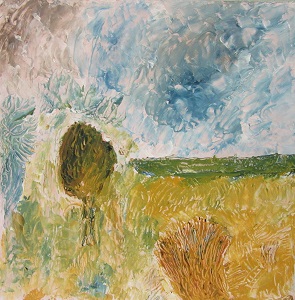
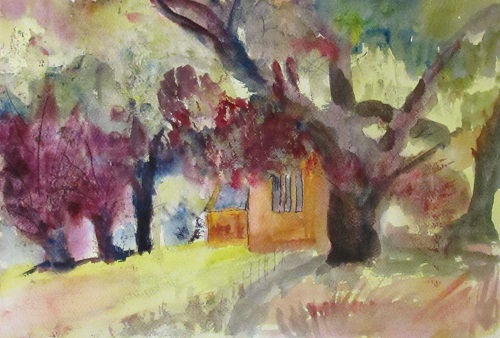
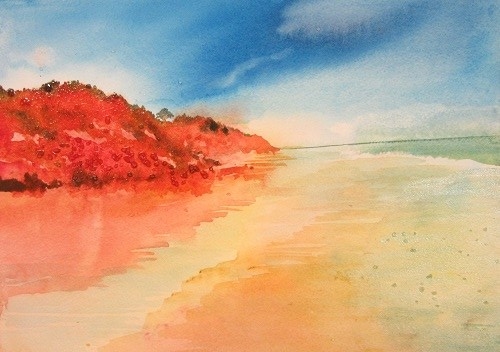
 Catherine Beale – Wetlands Ham Wall nature reserve in watercolours
Catherine guided us through creating a fiery landscape using bright and exciting colours. We all created something quite exciting.
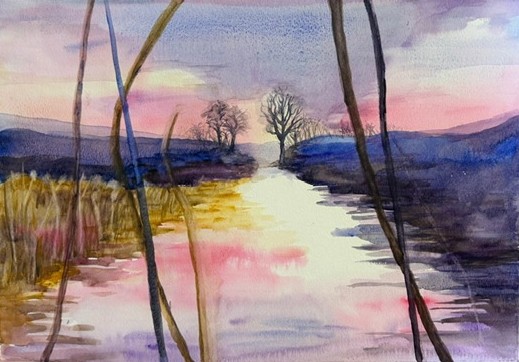
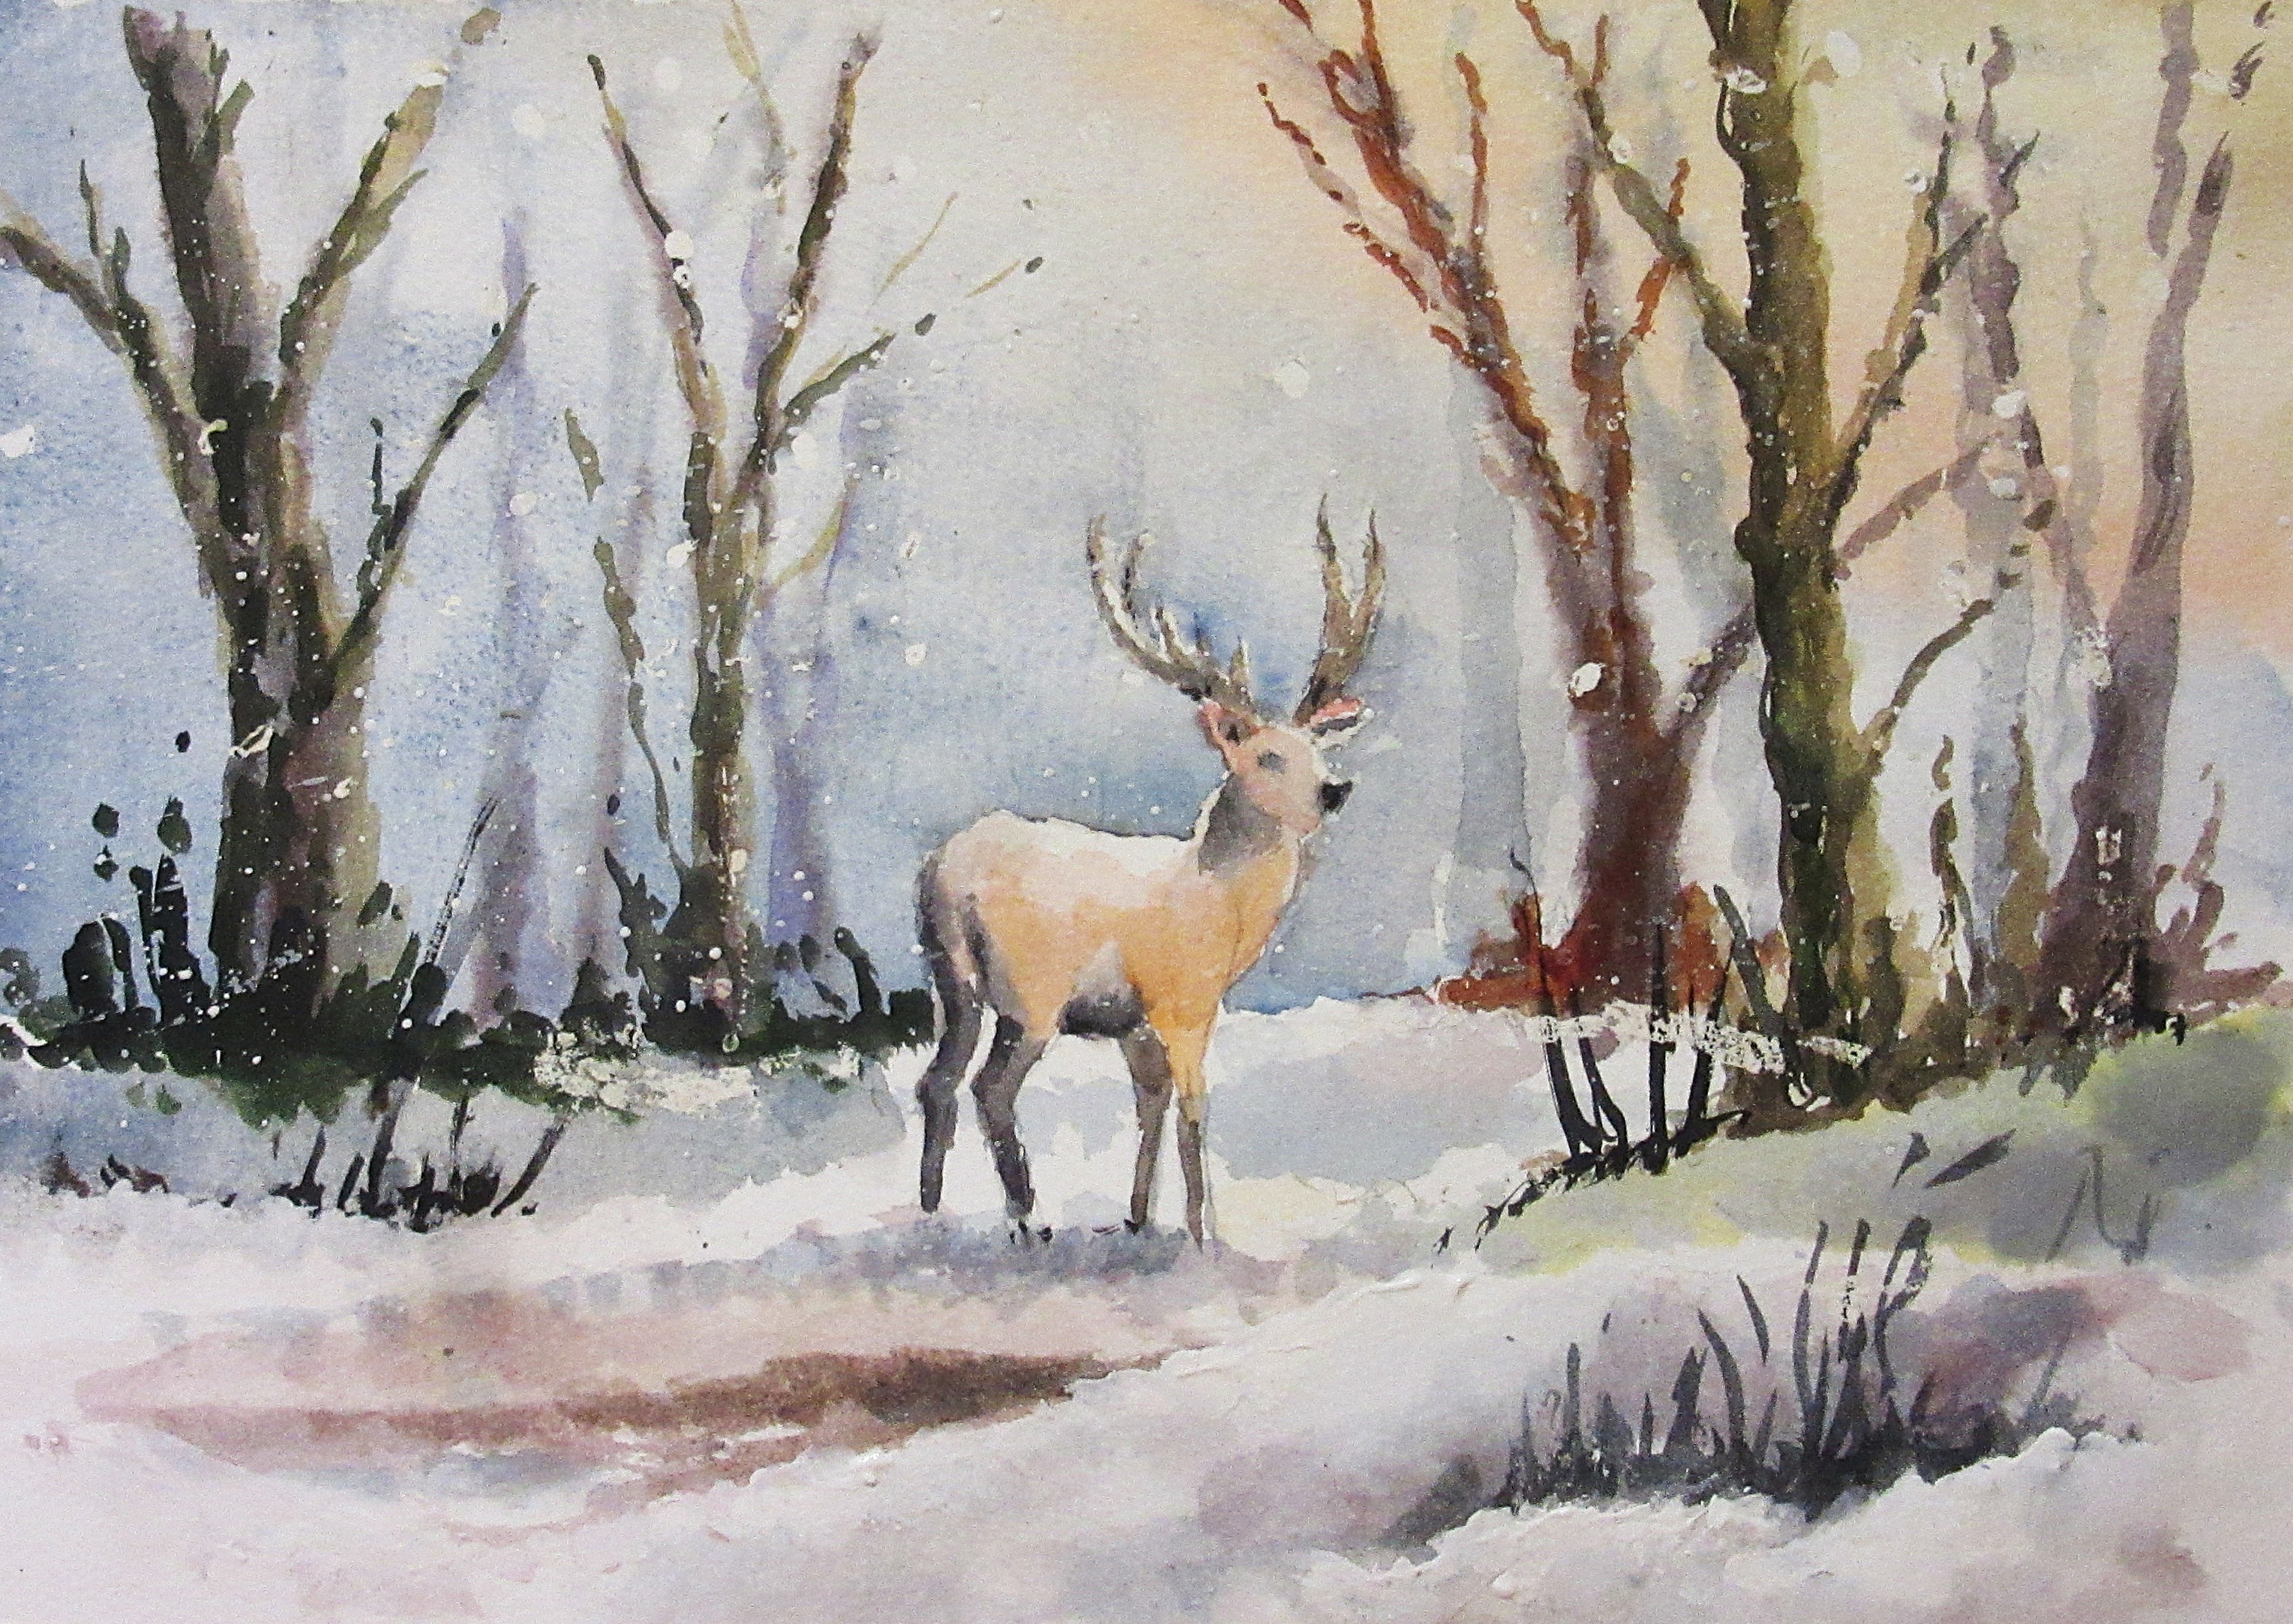
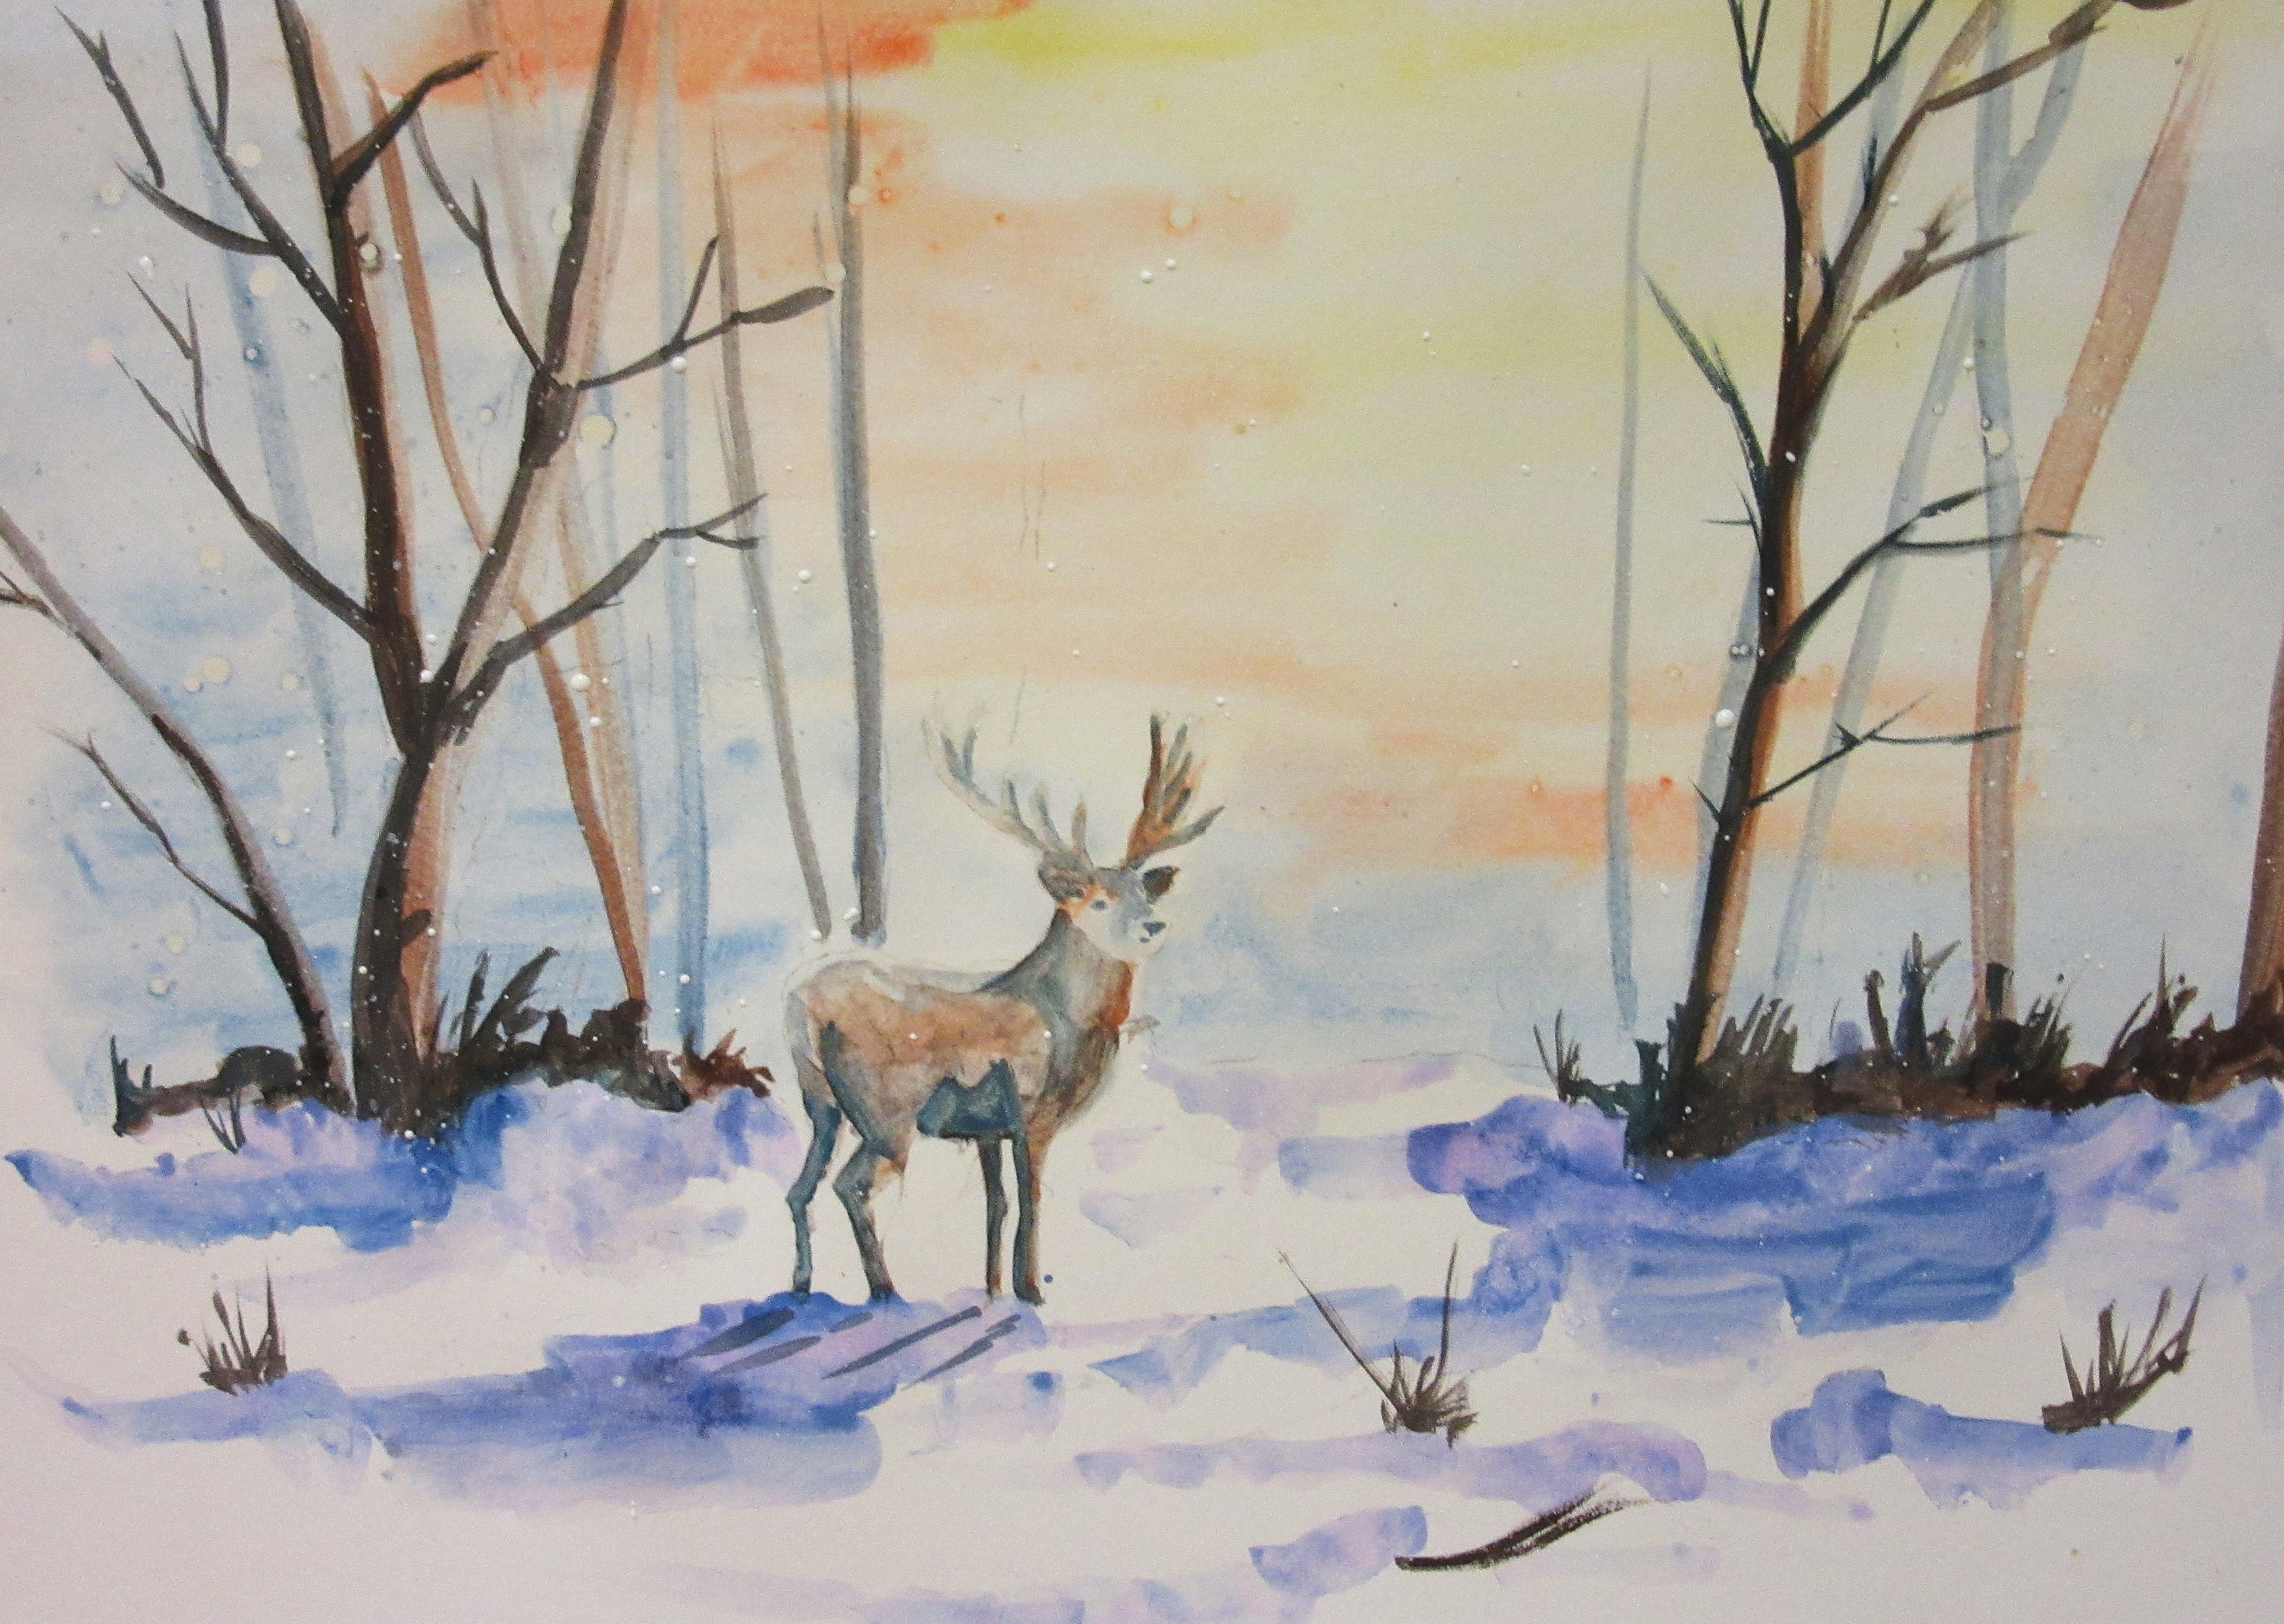
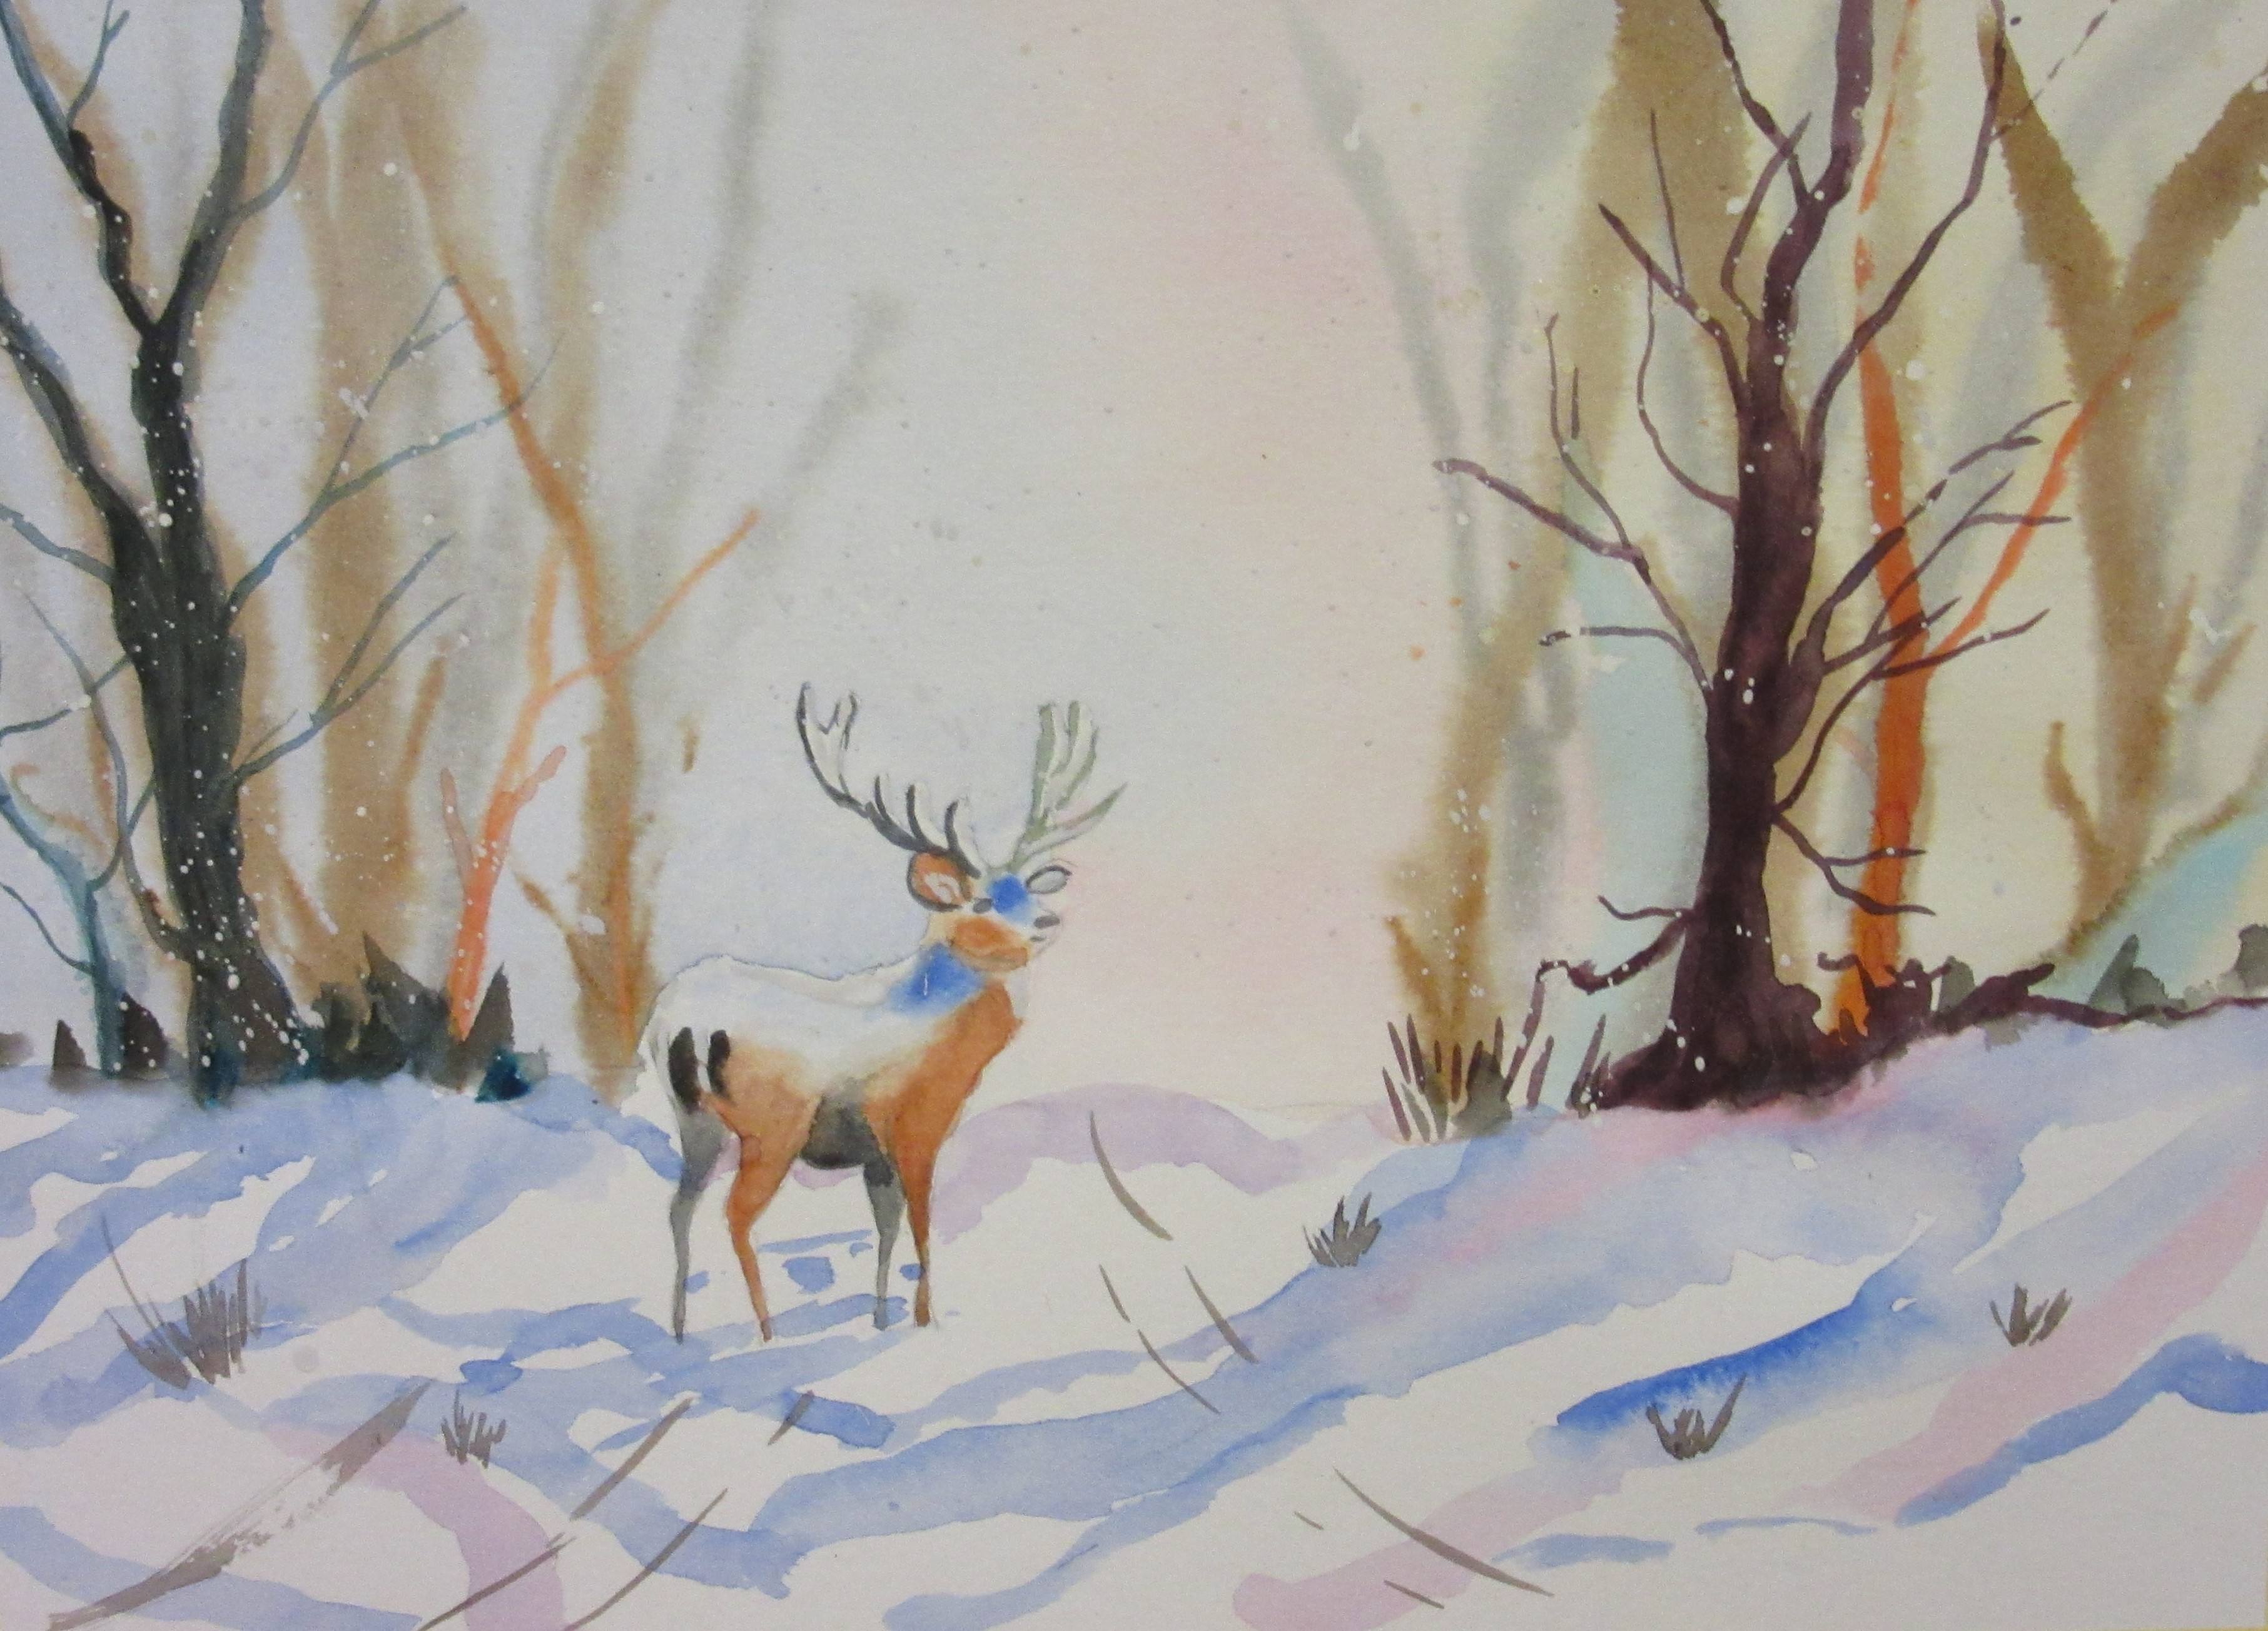
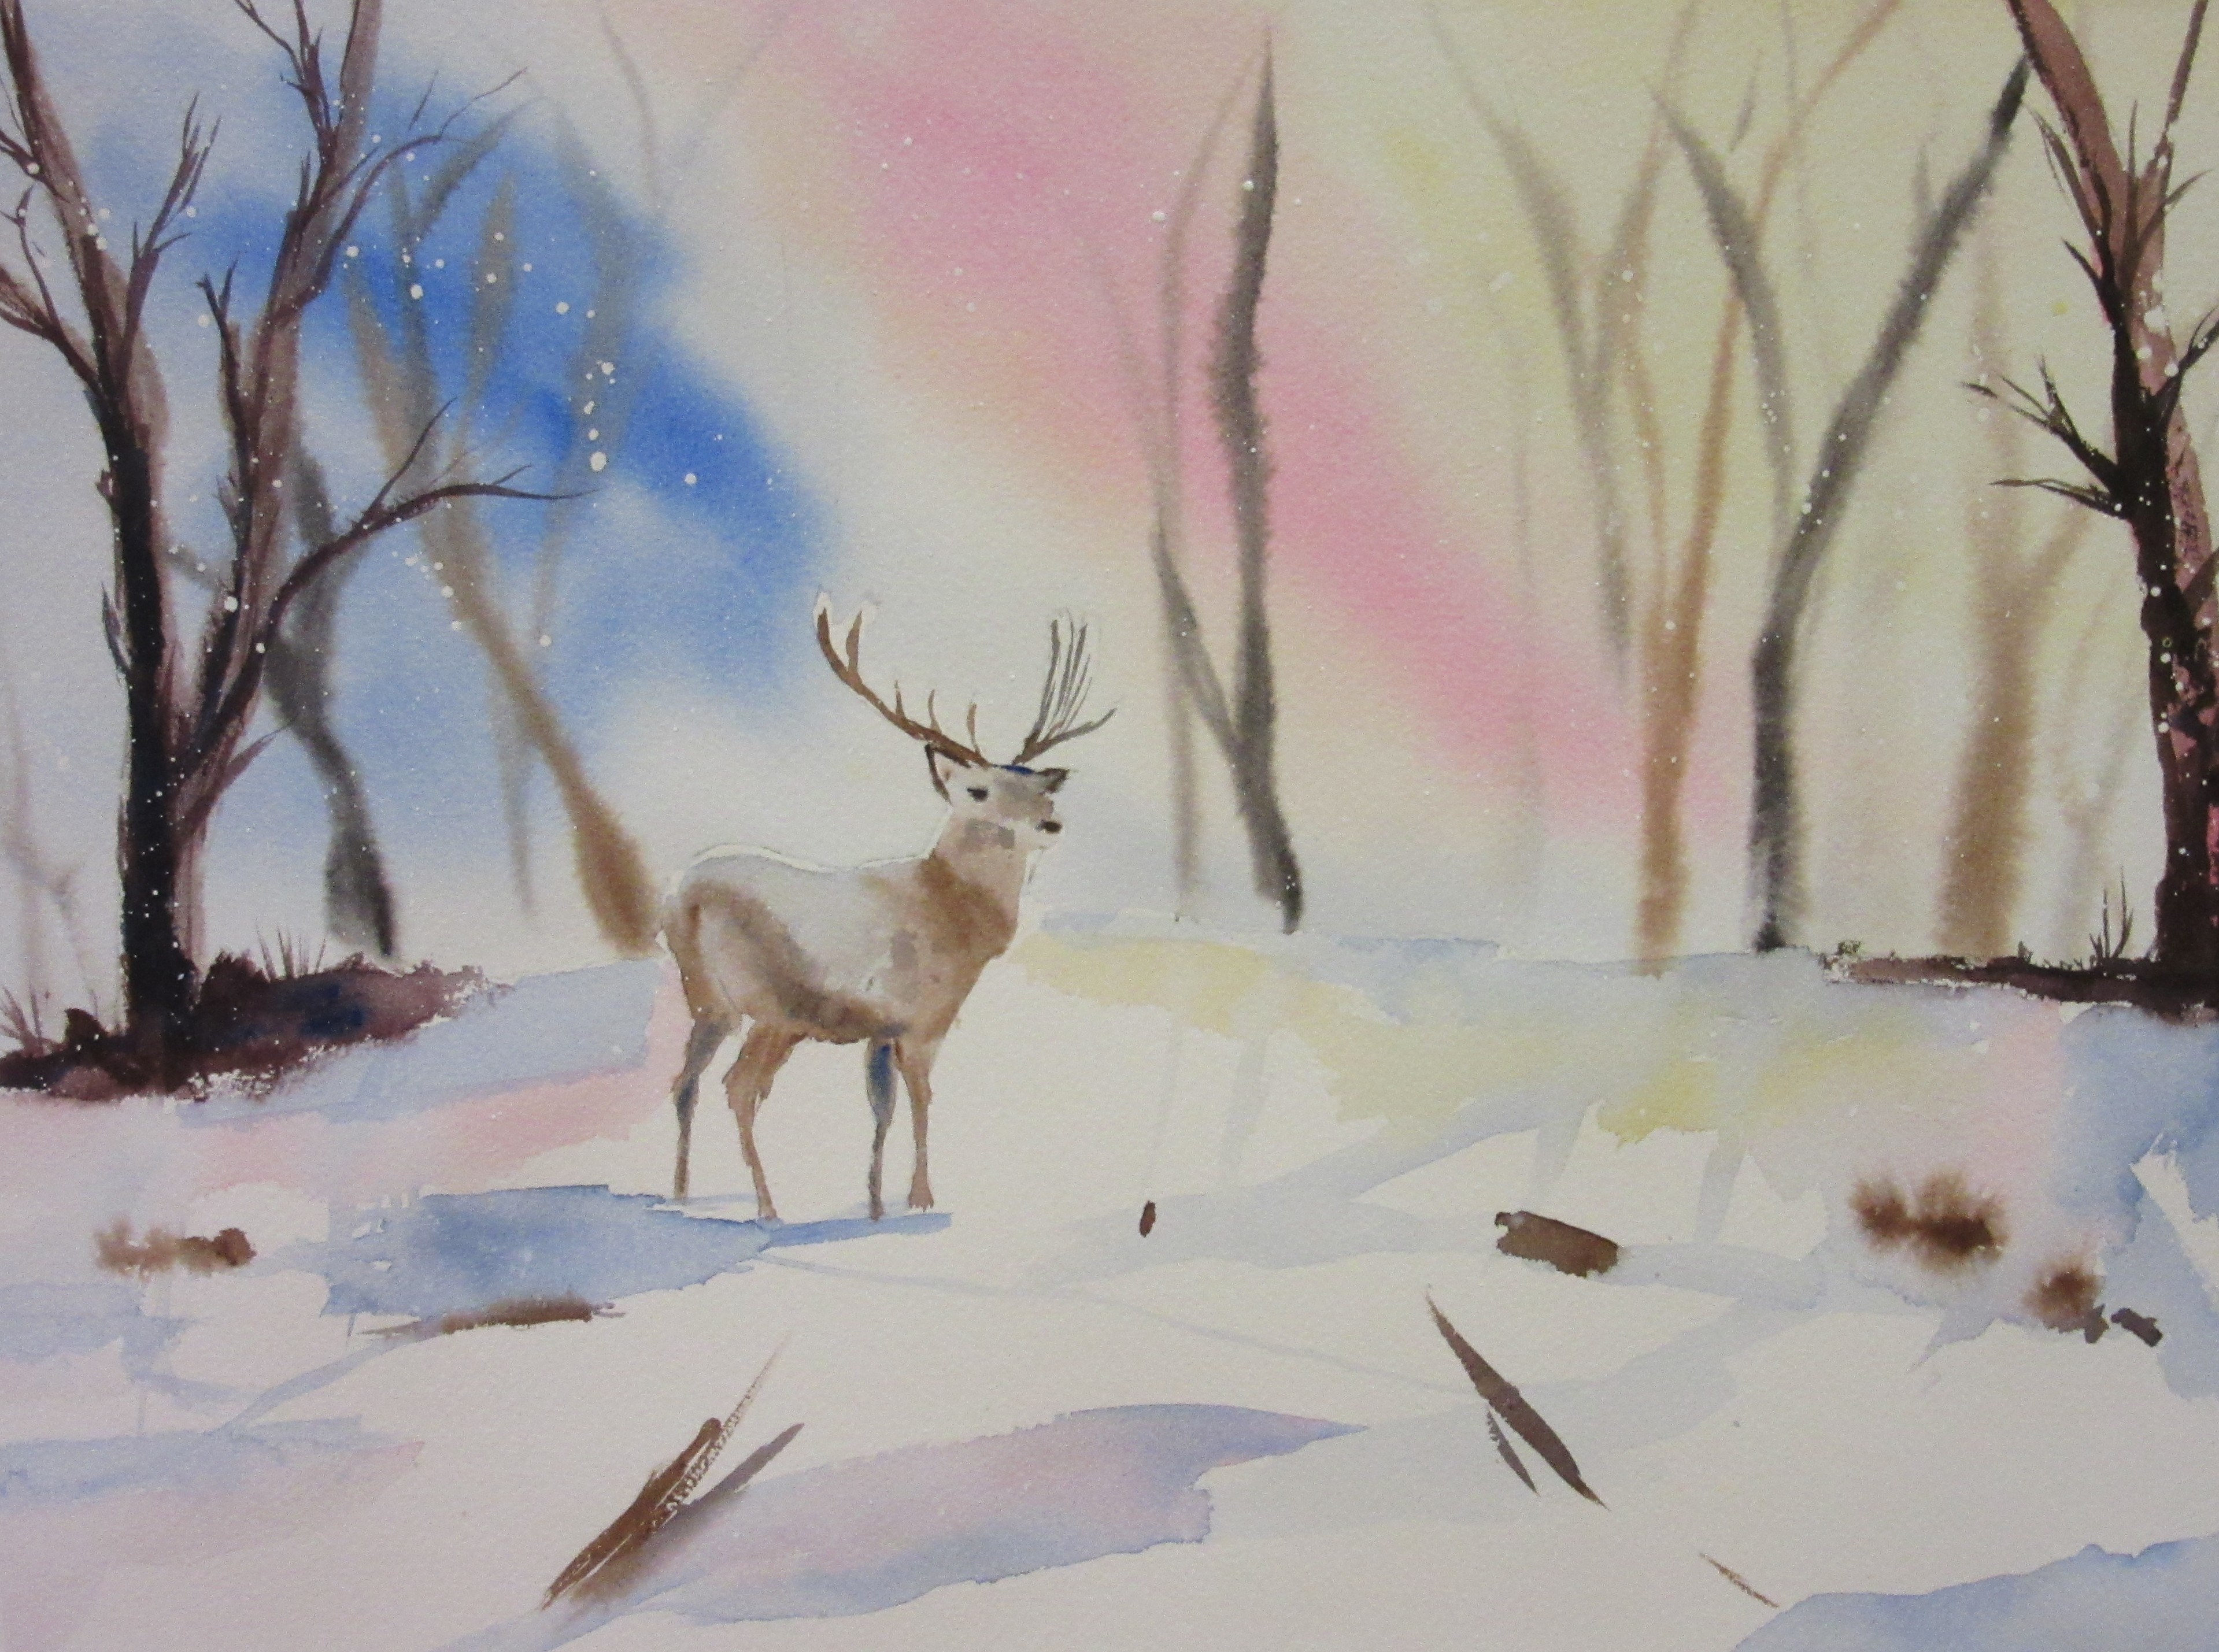
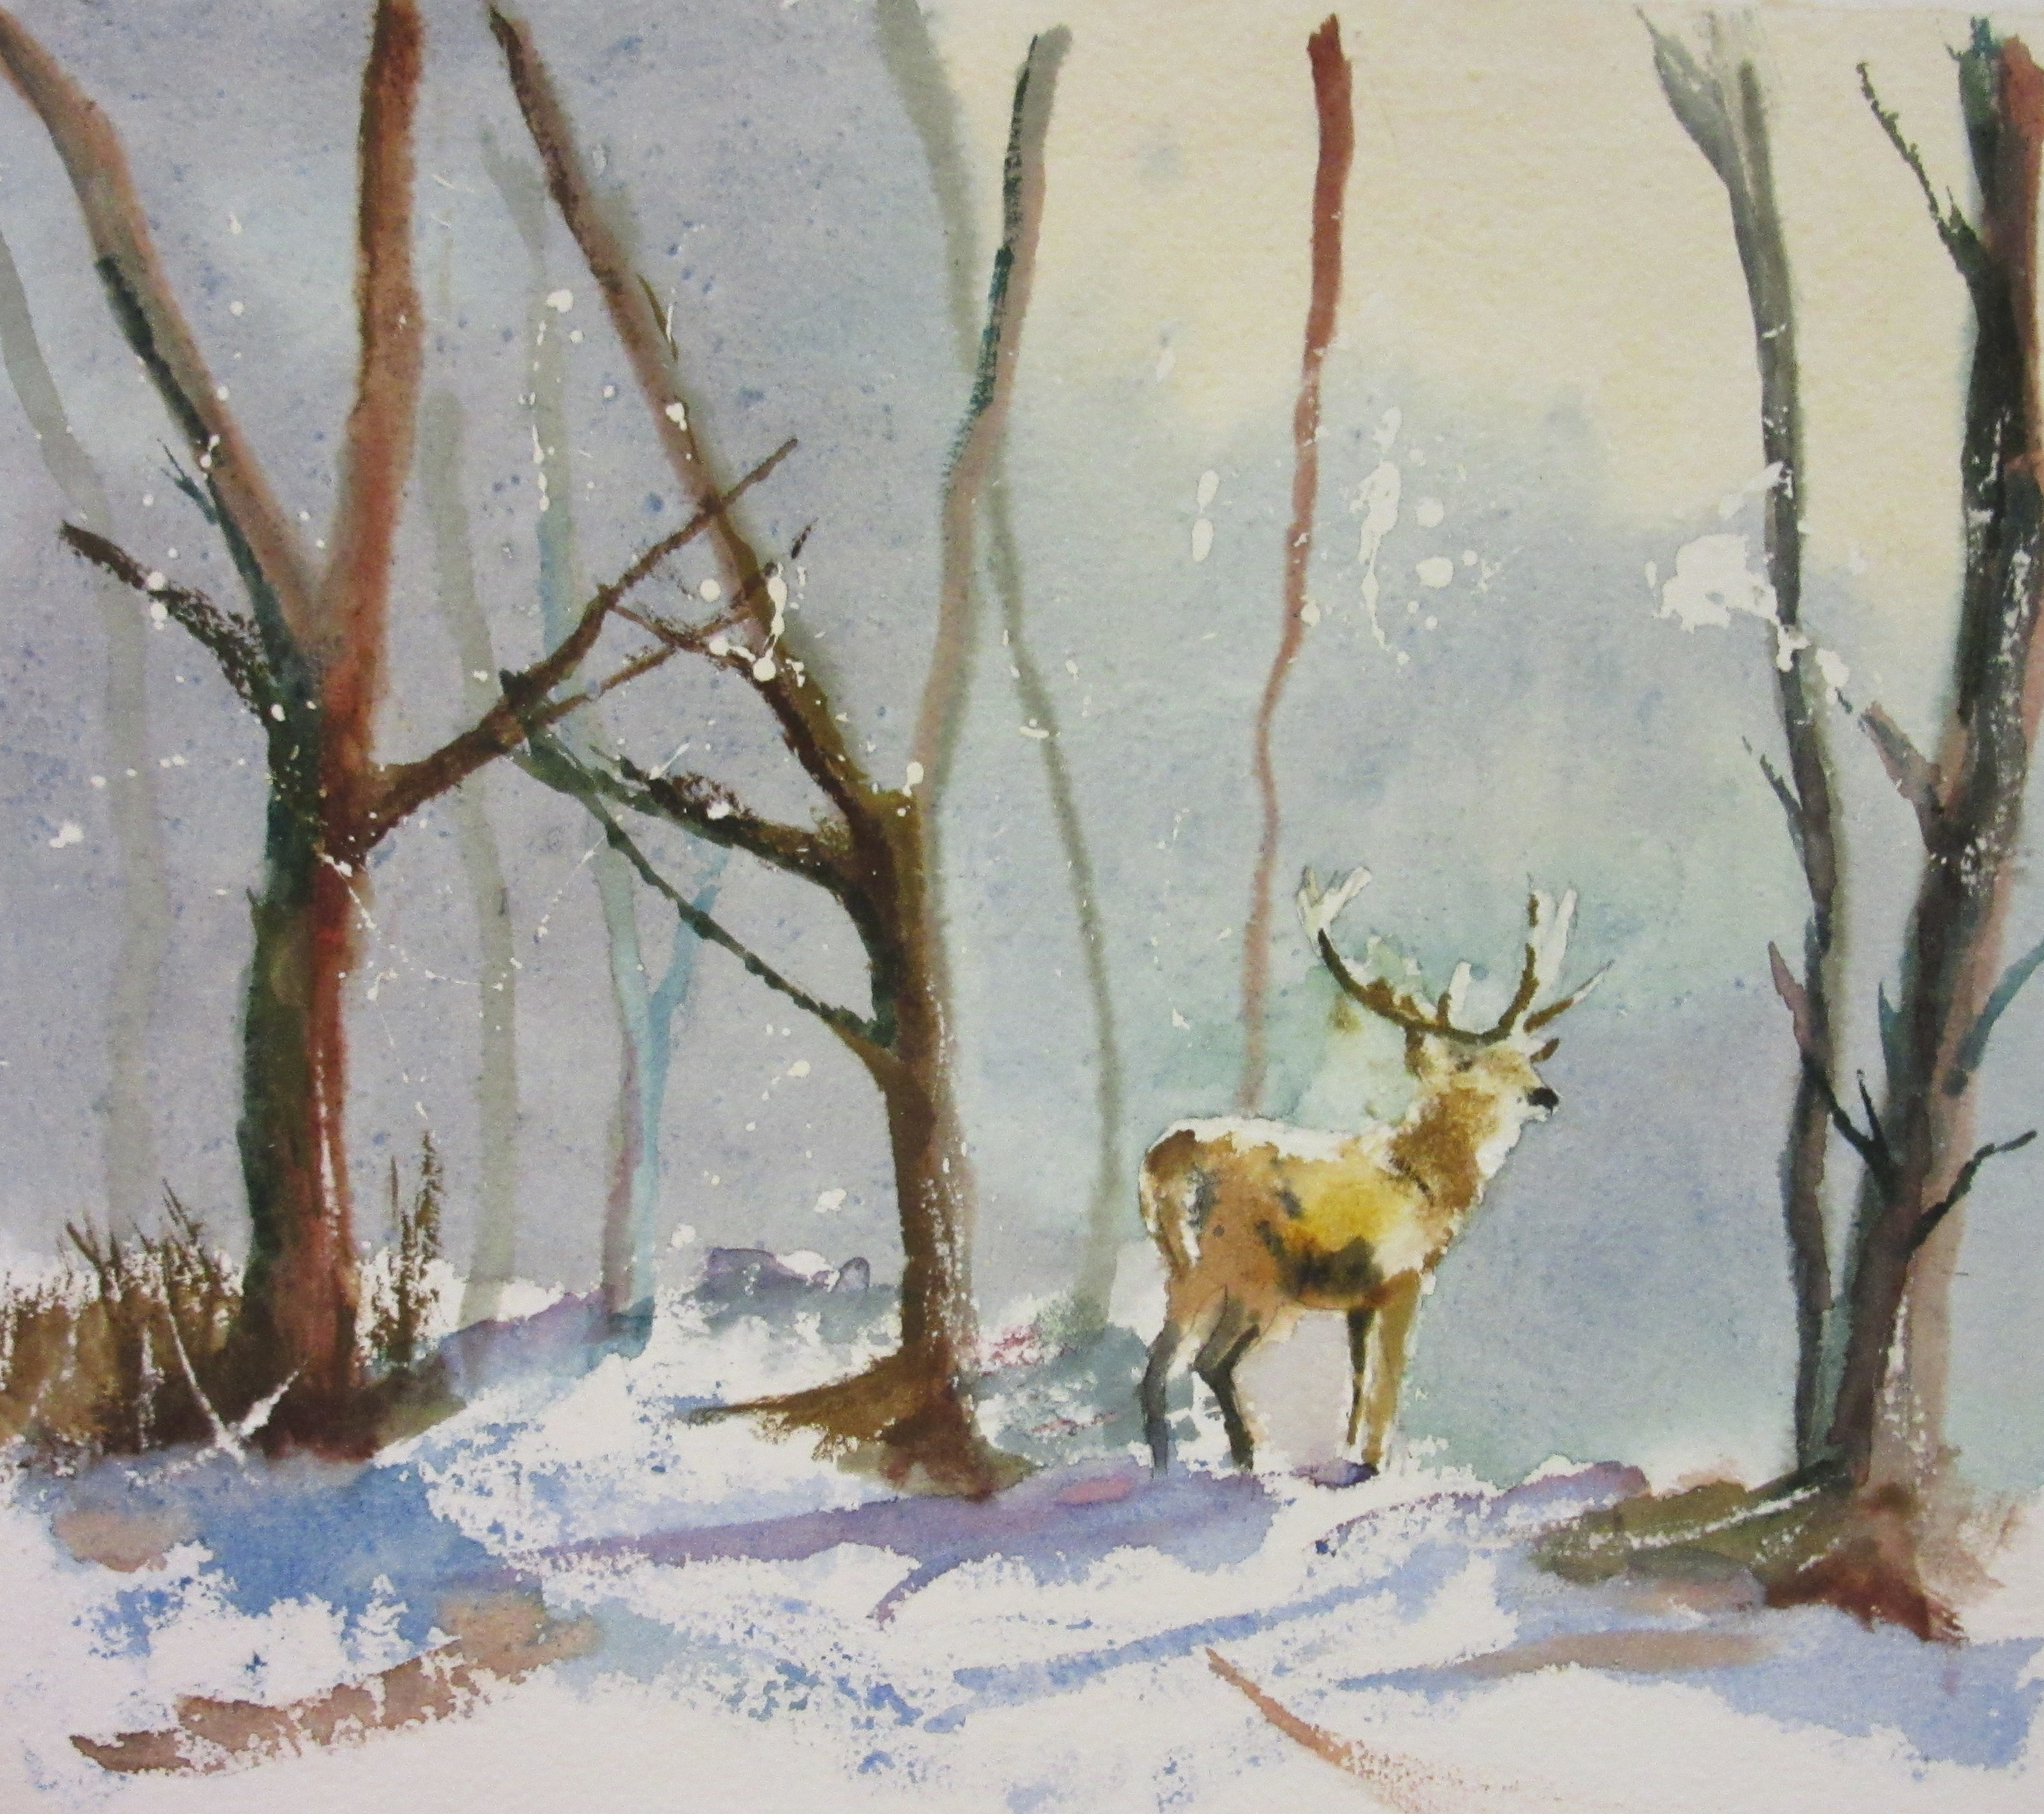
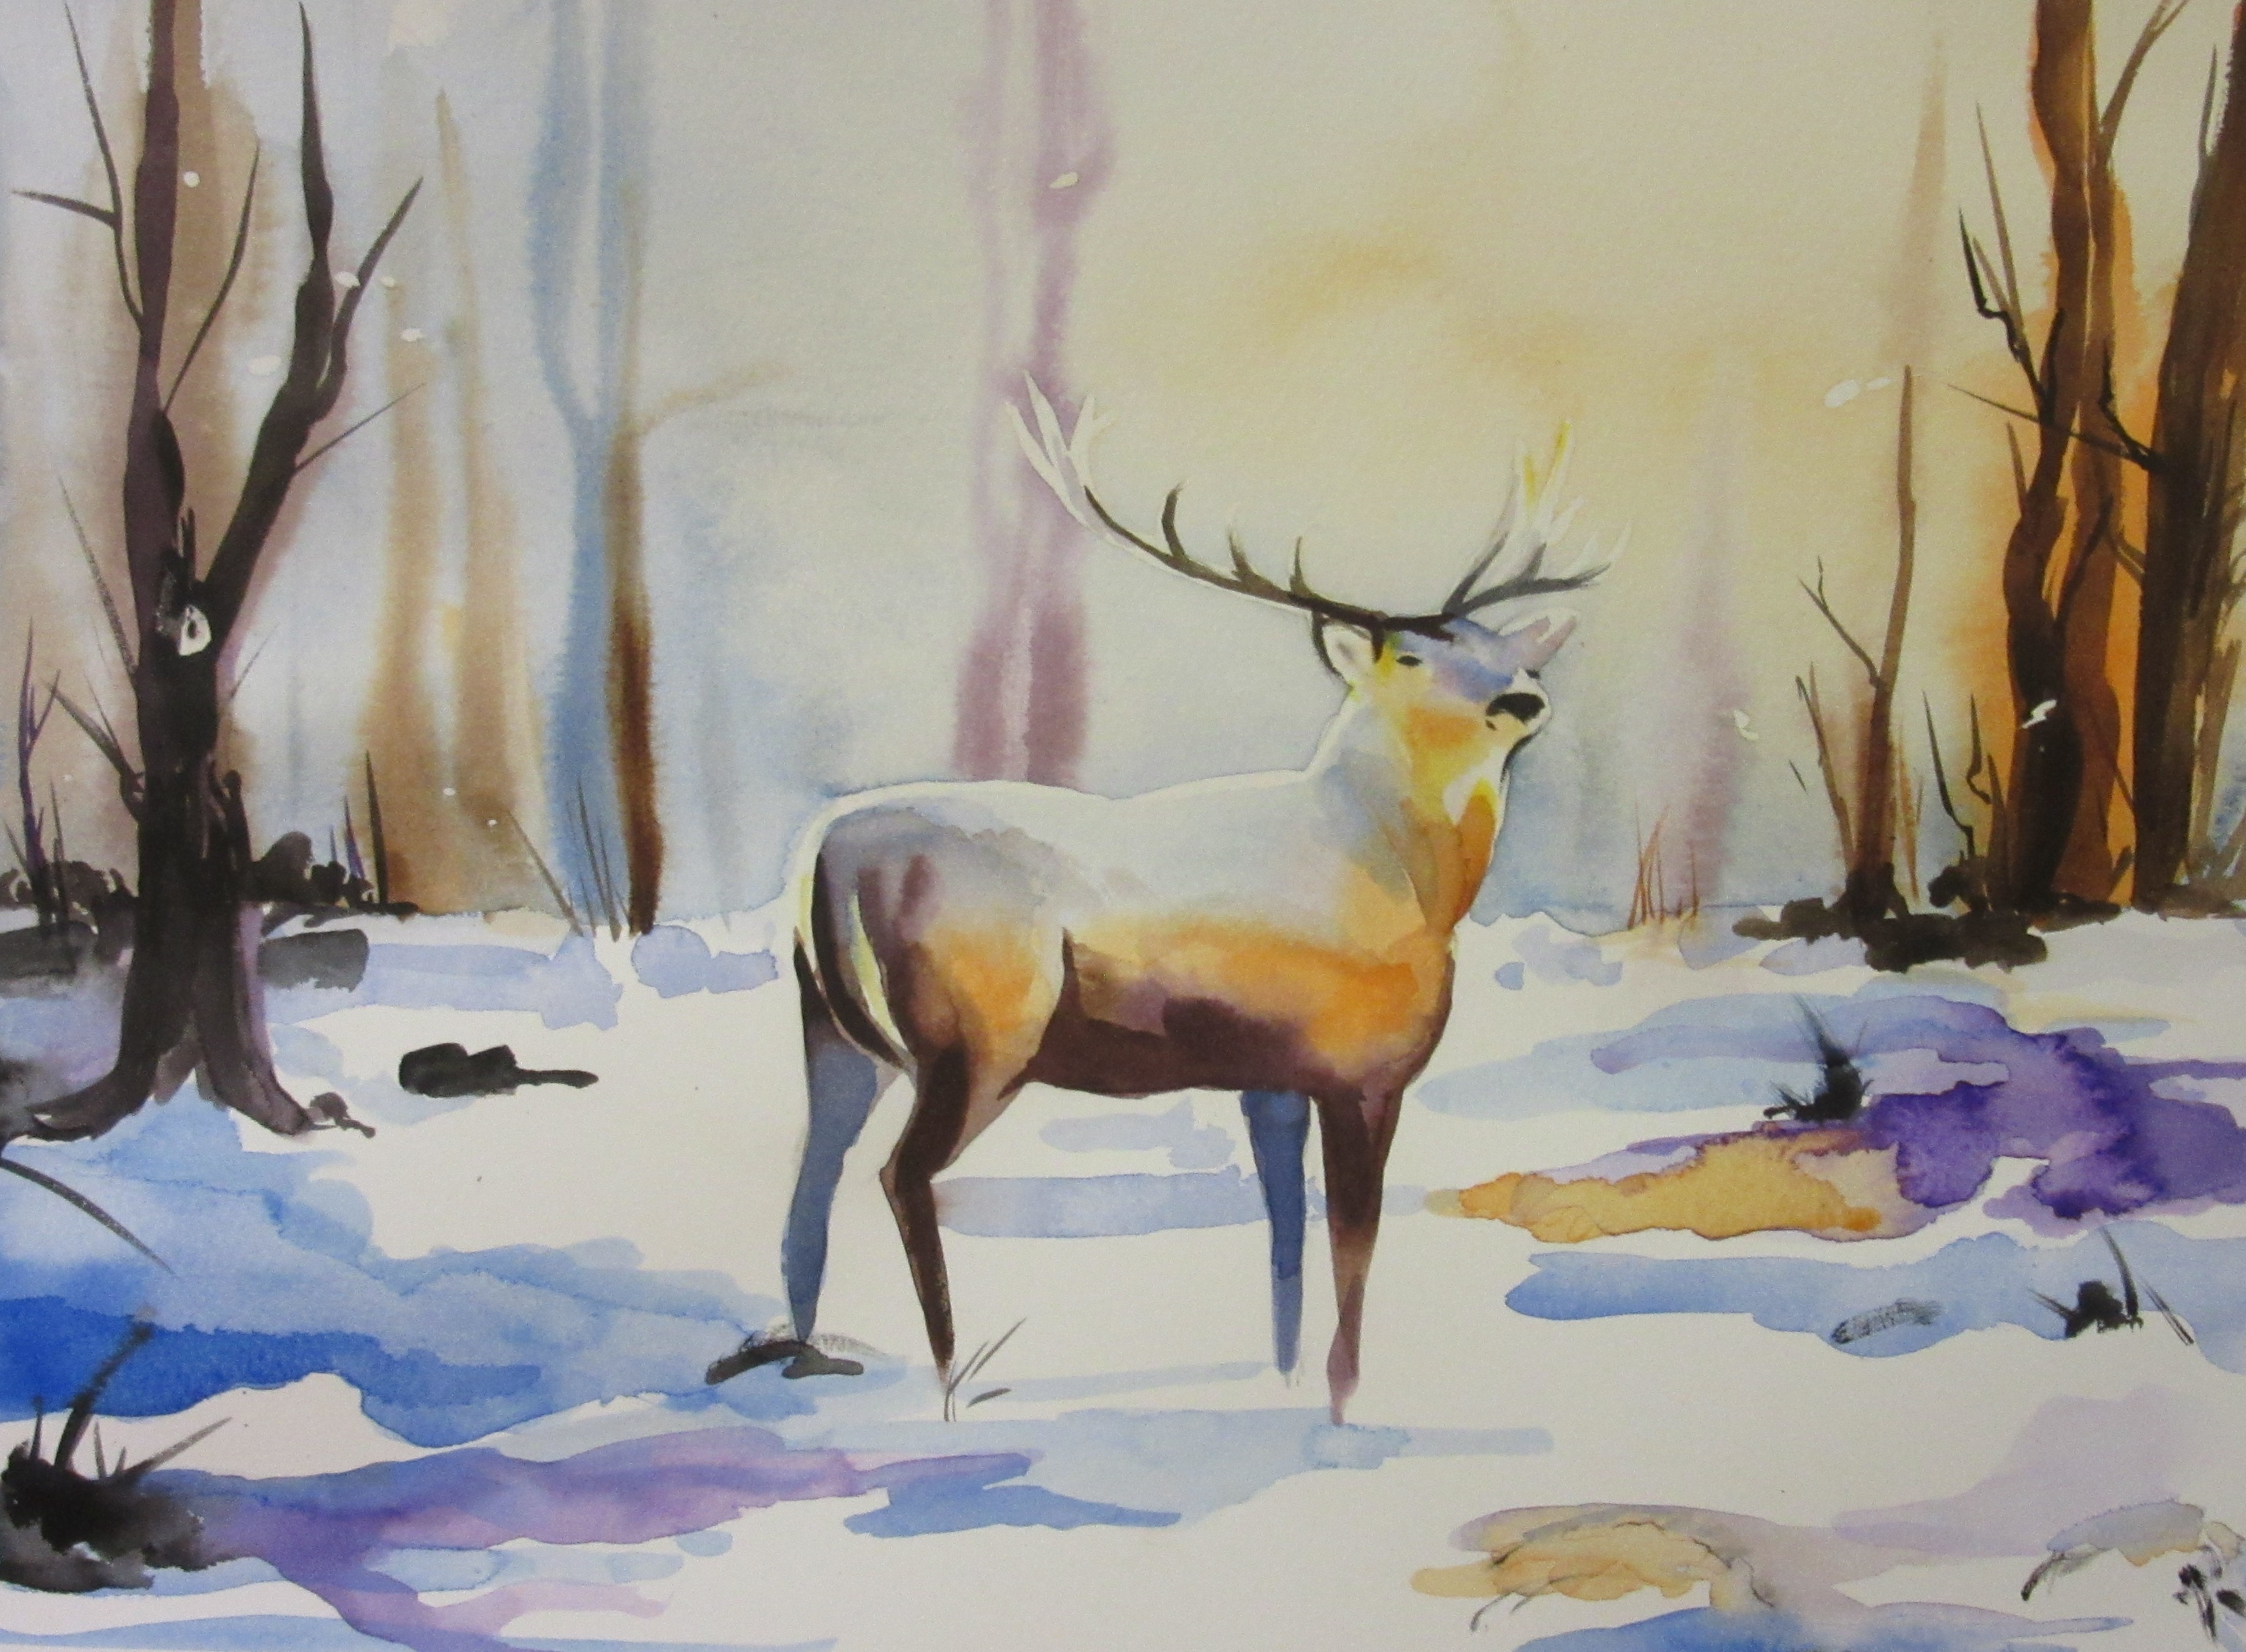
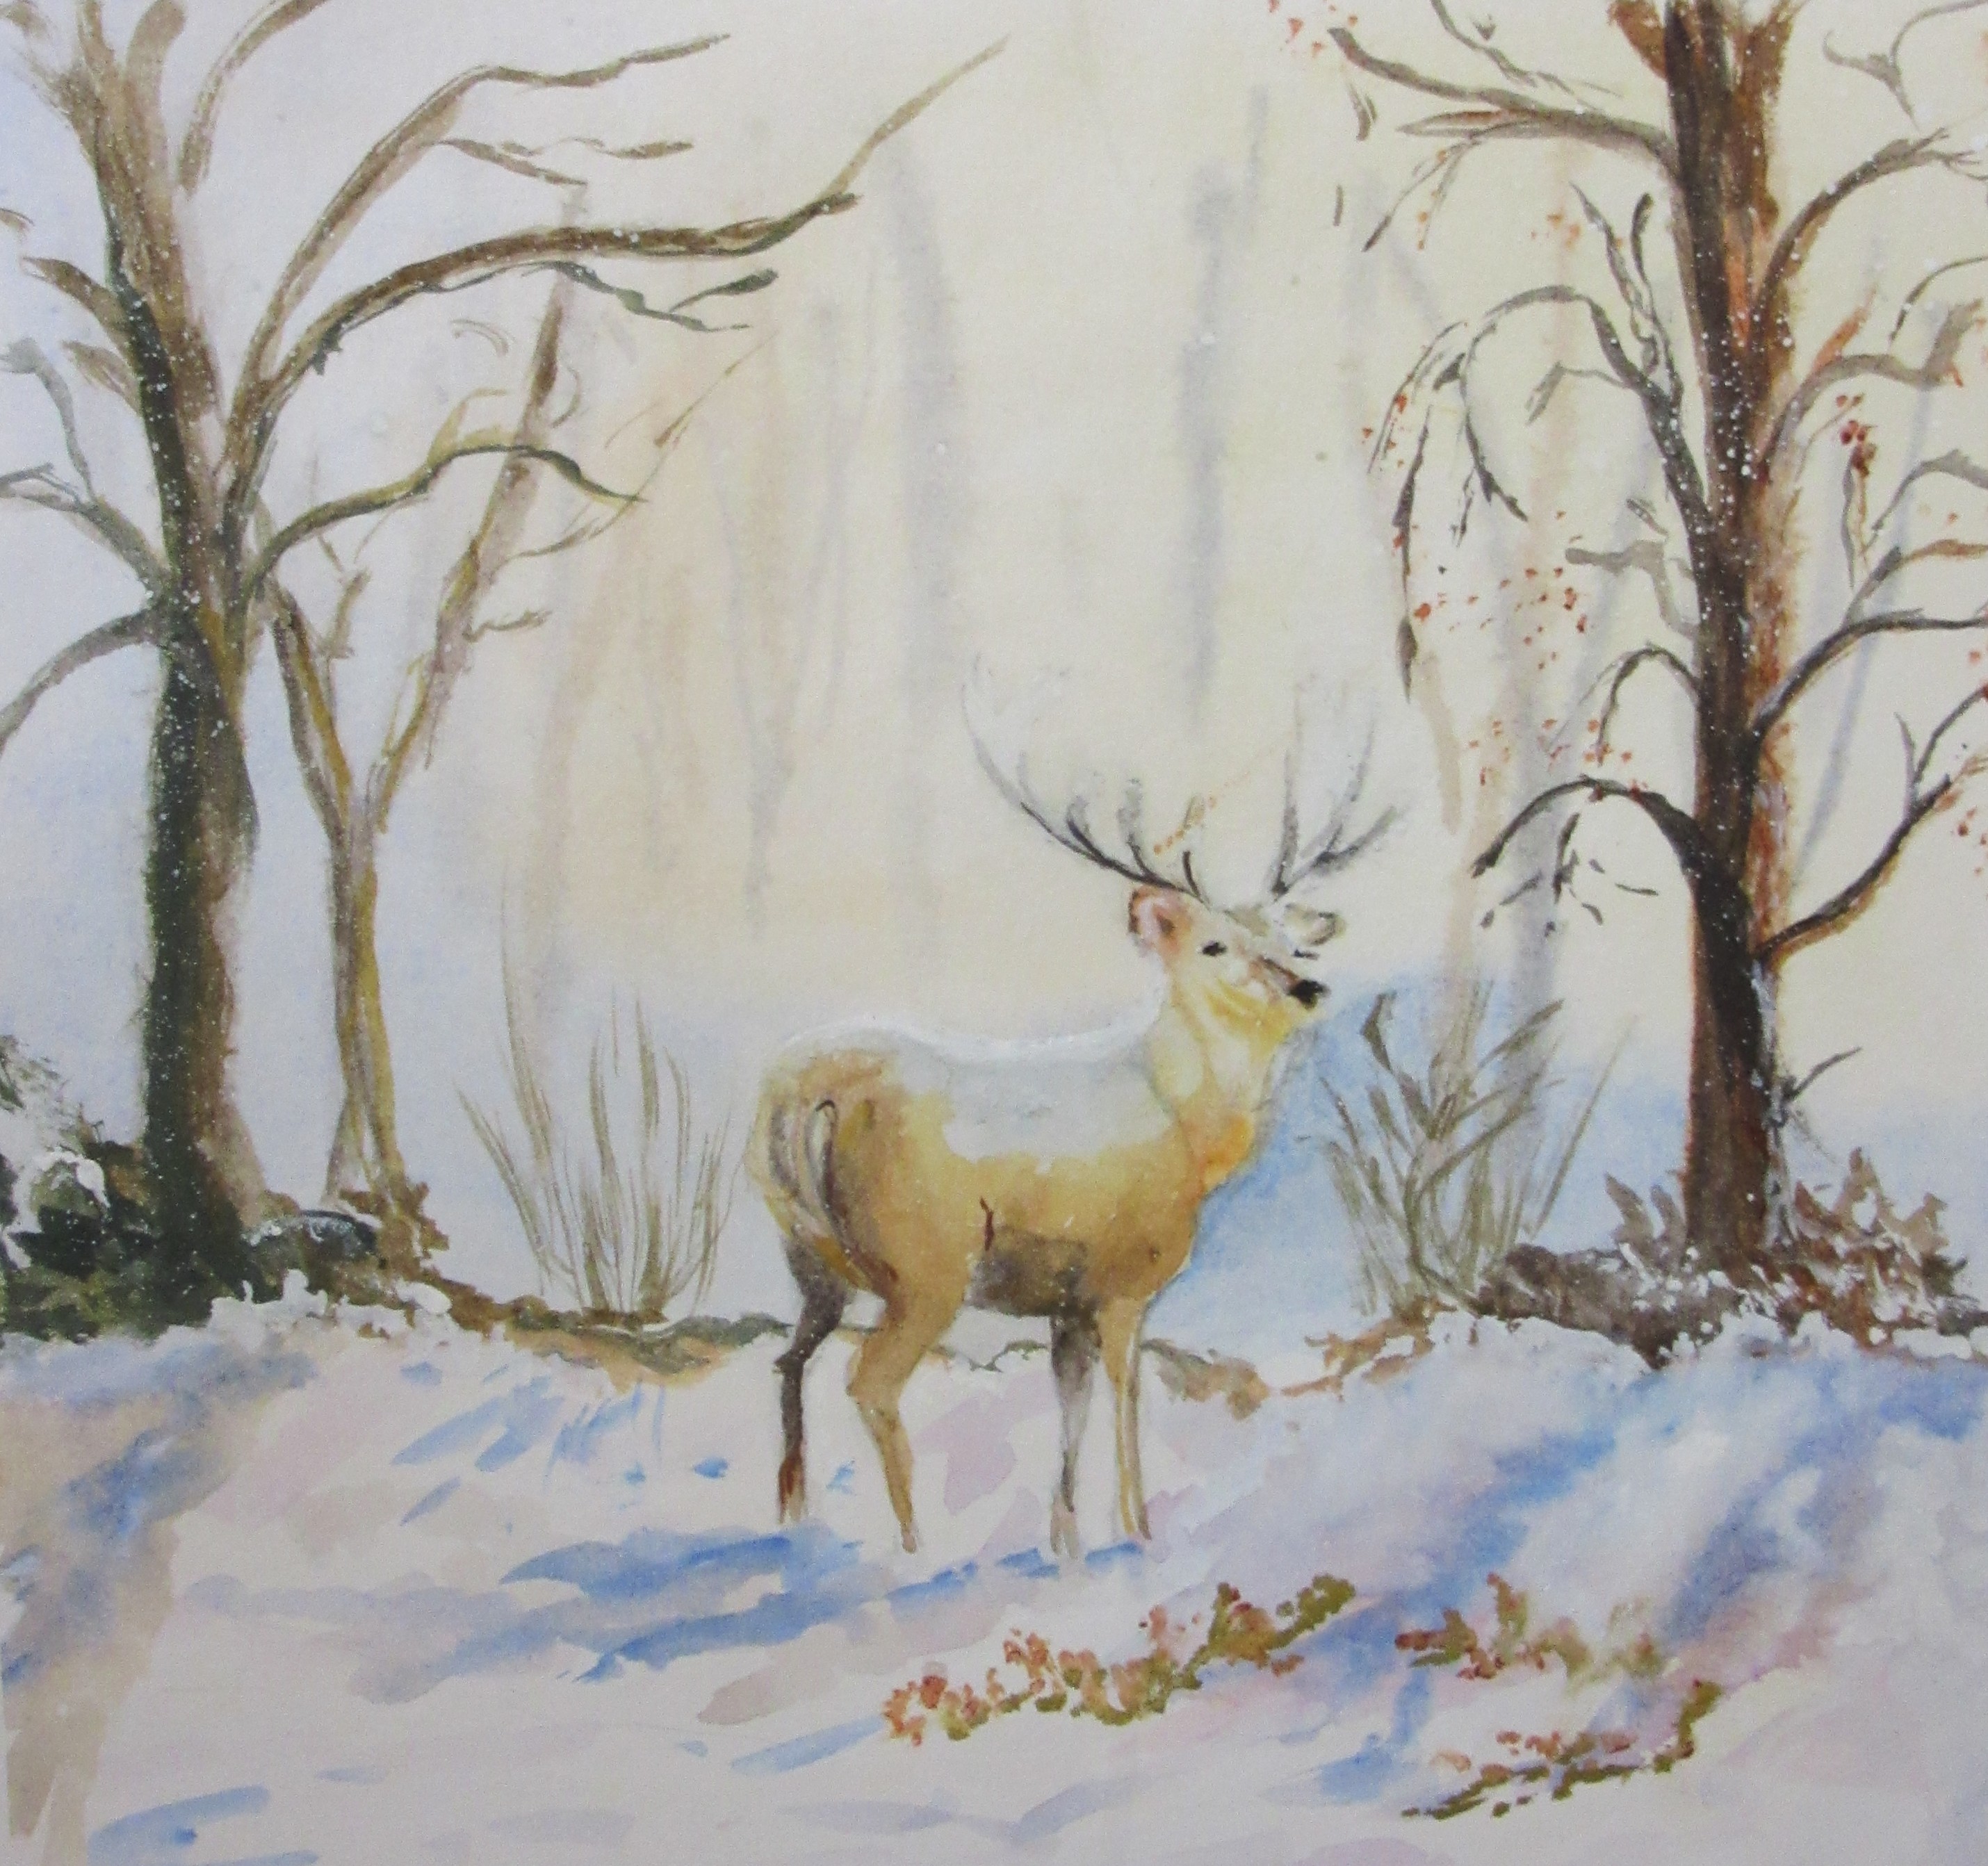
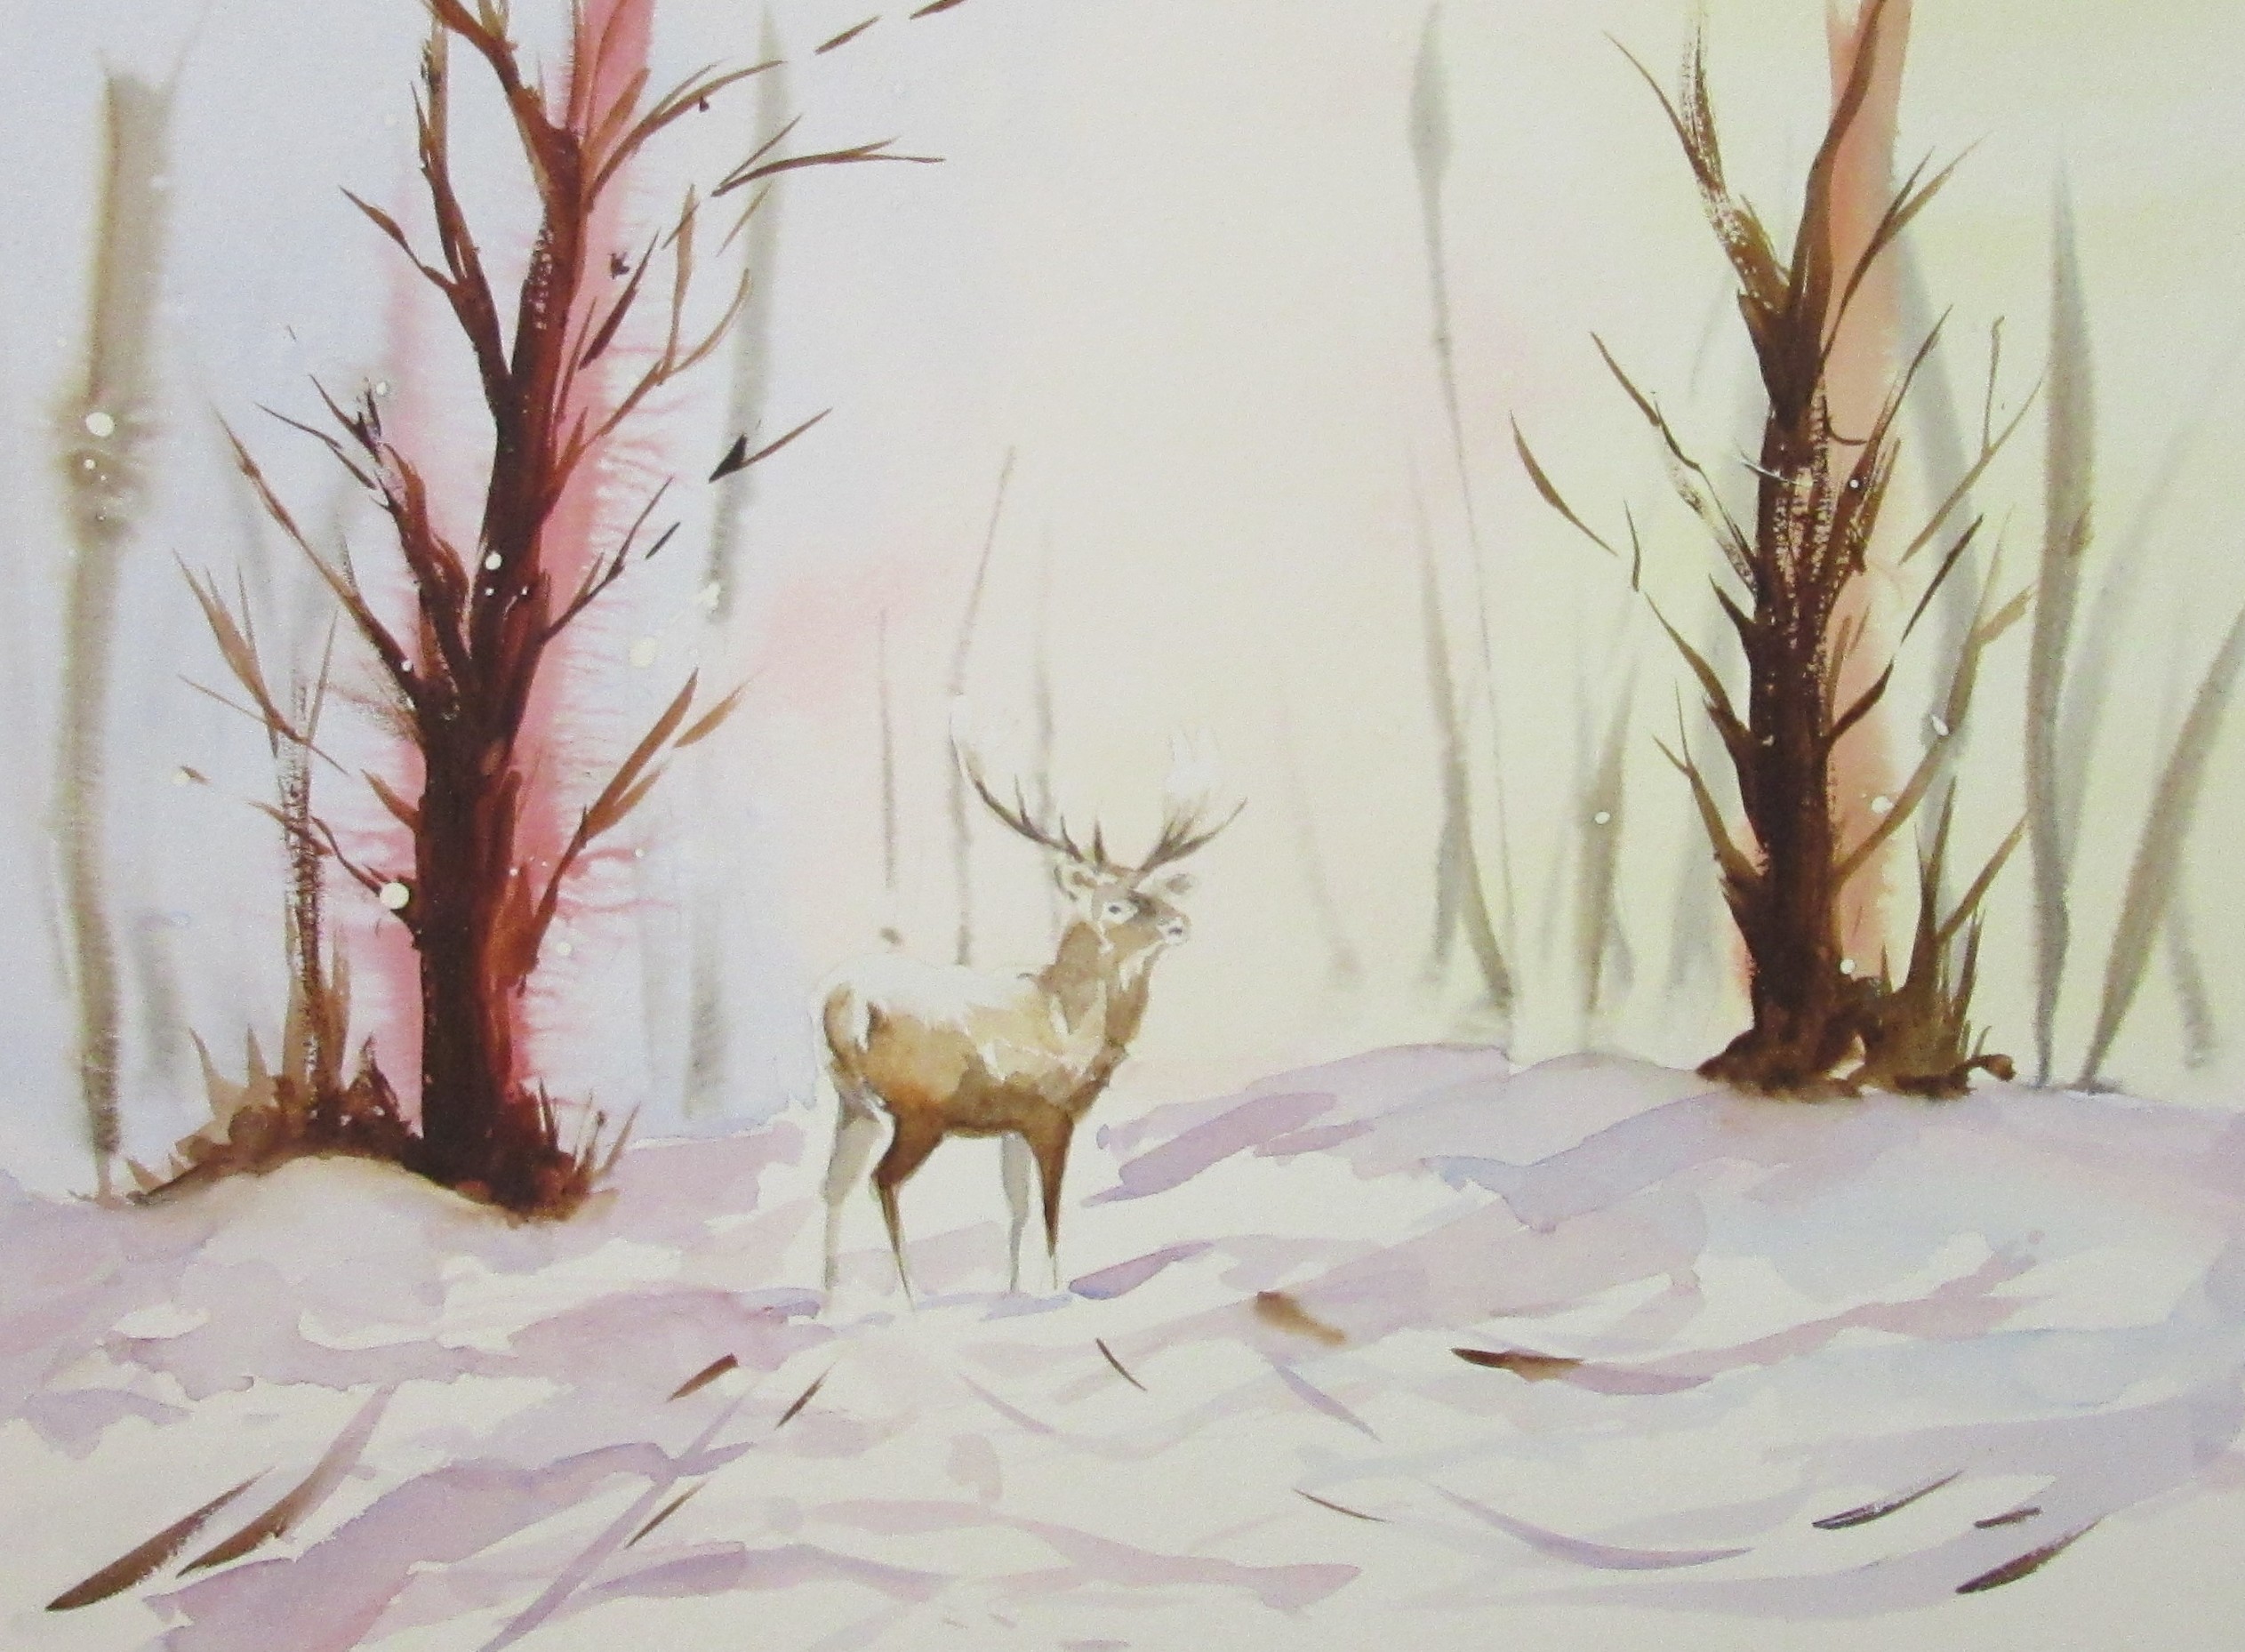
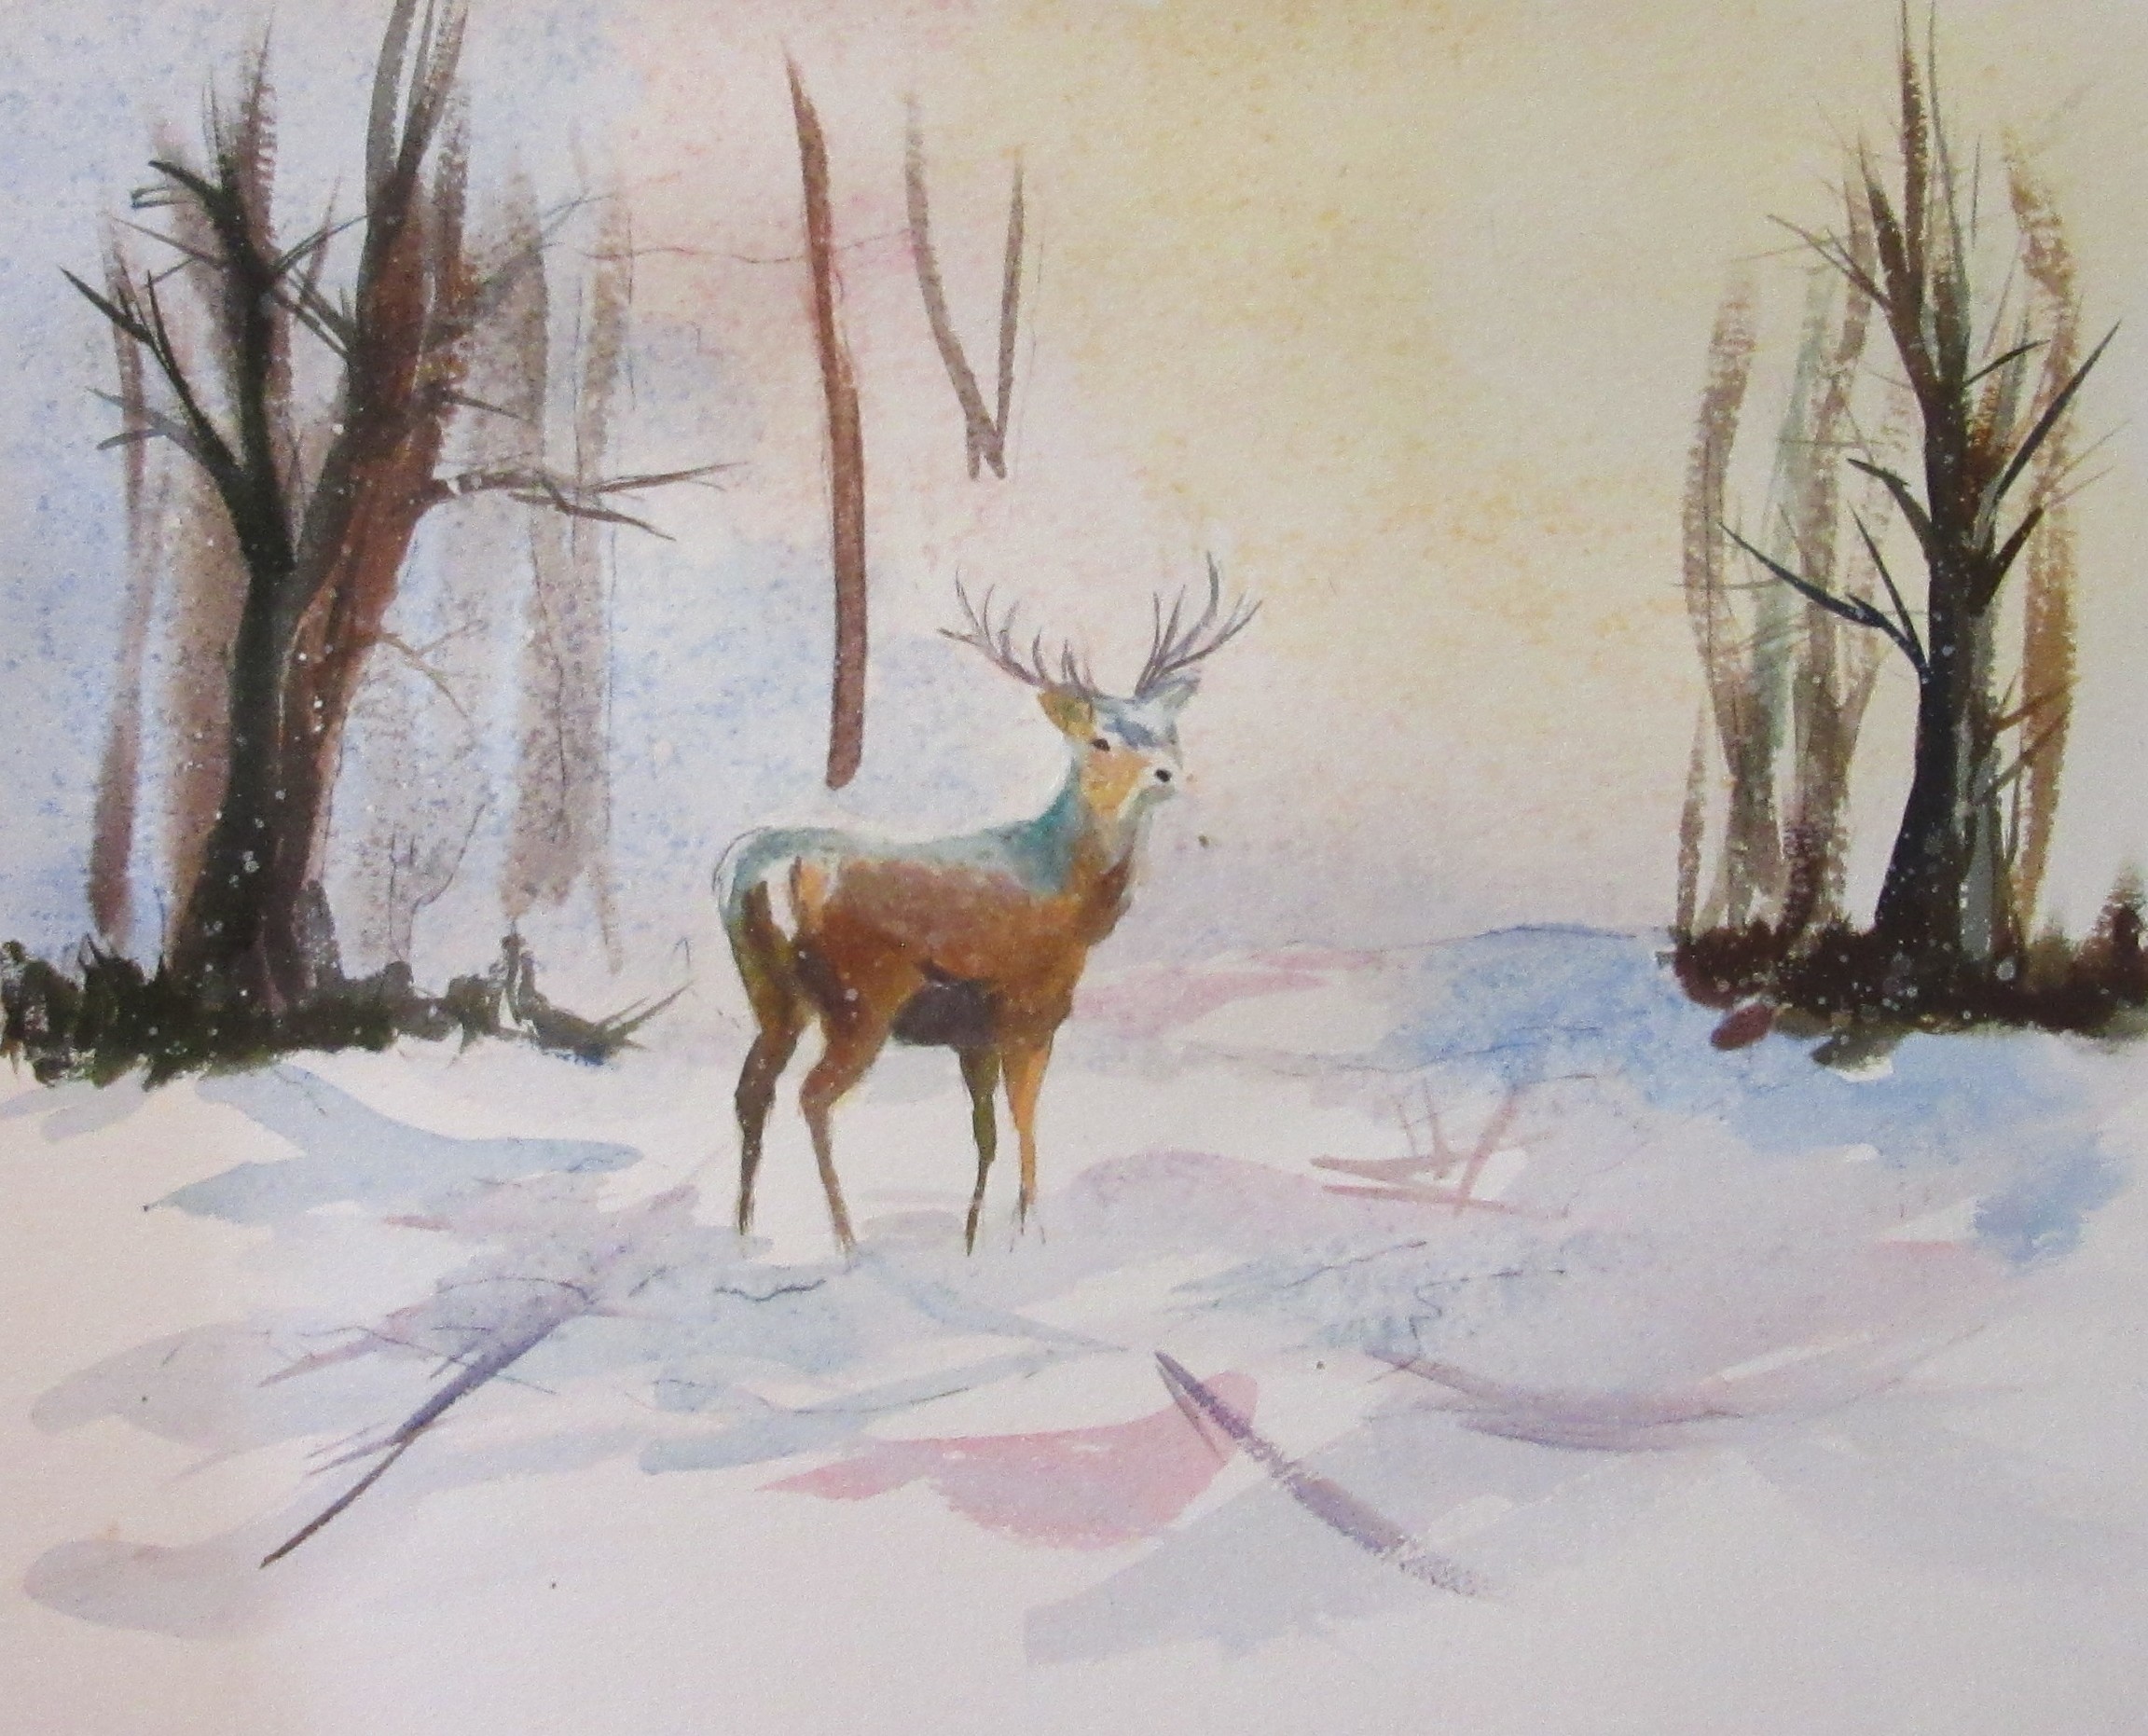
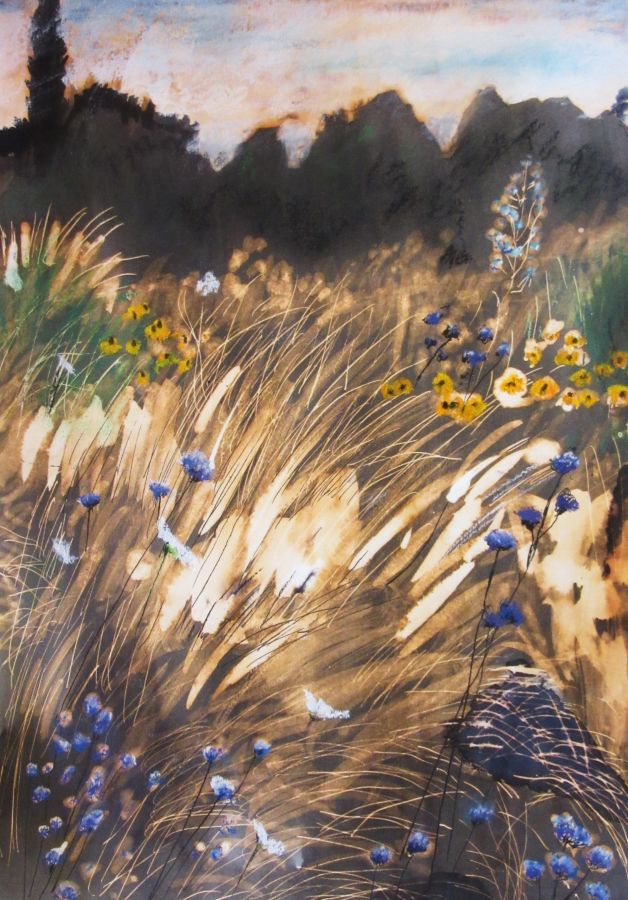
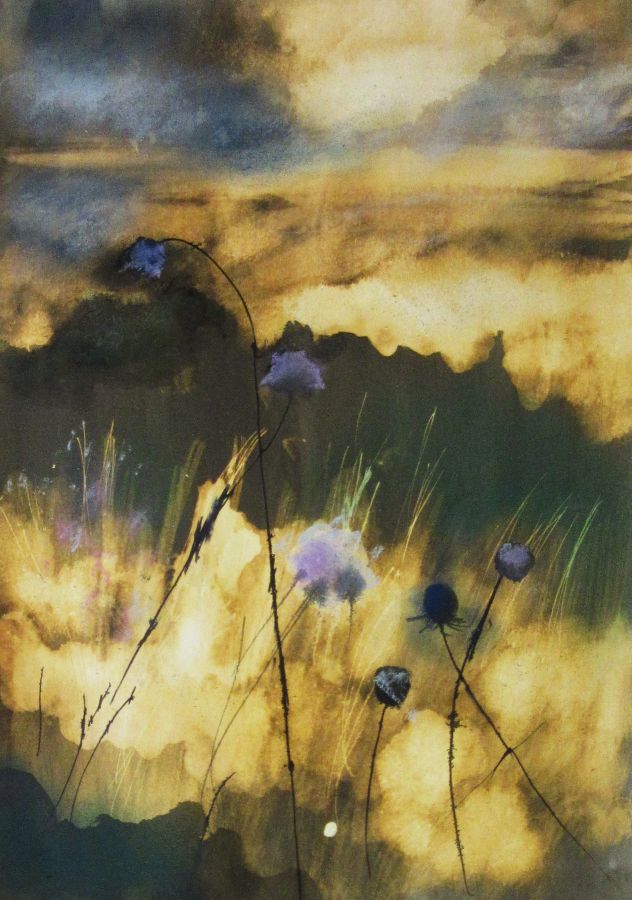
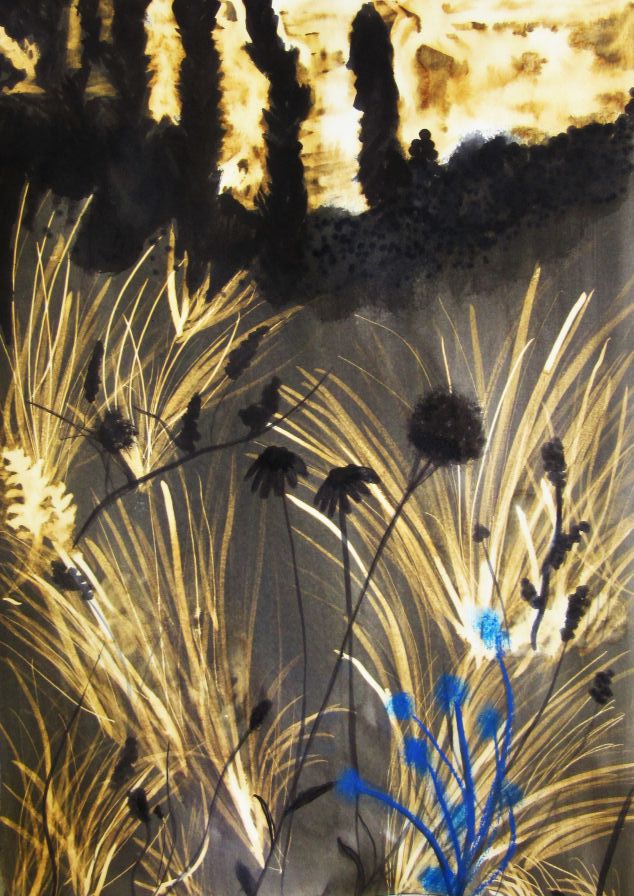
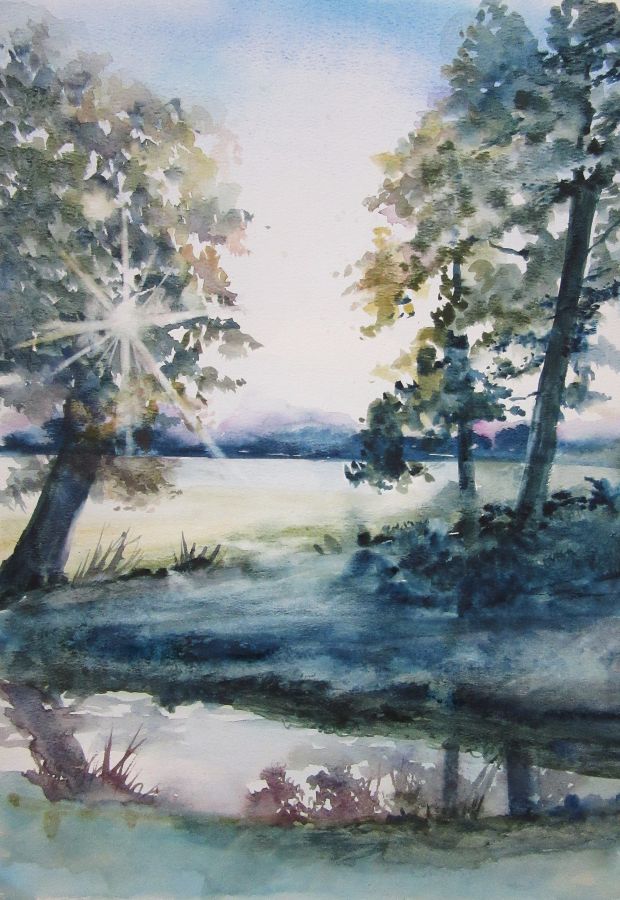
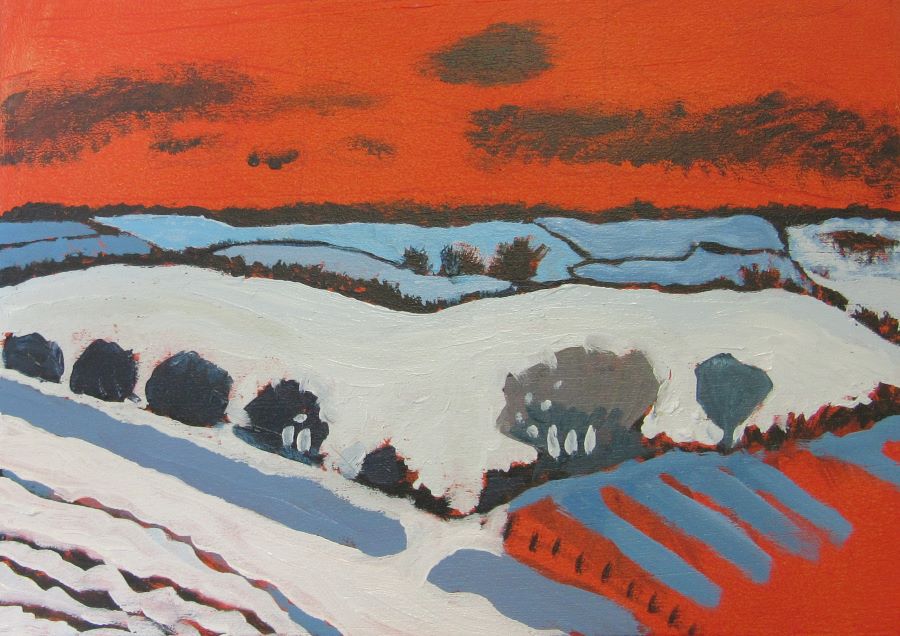
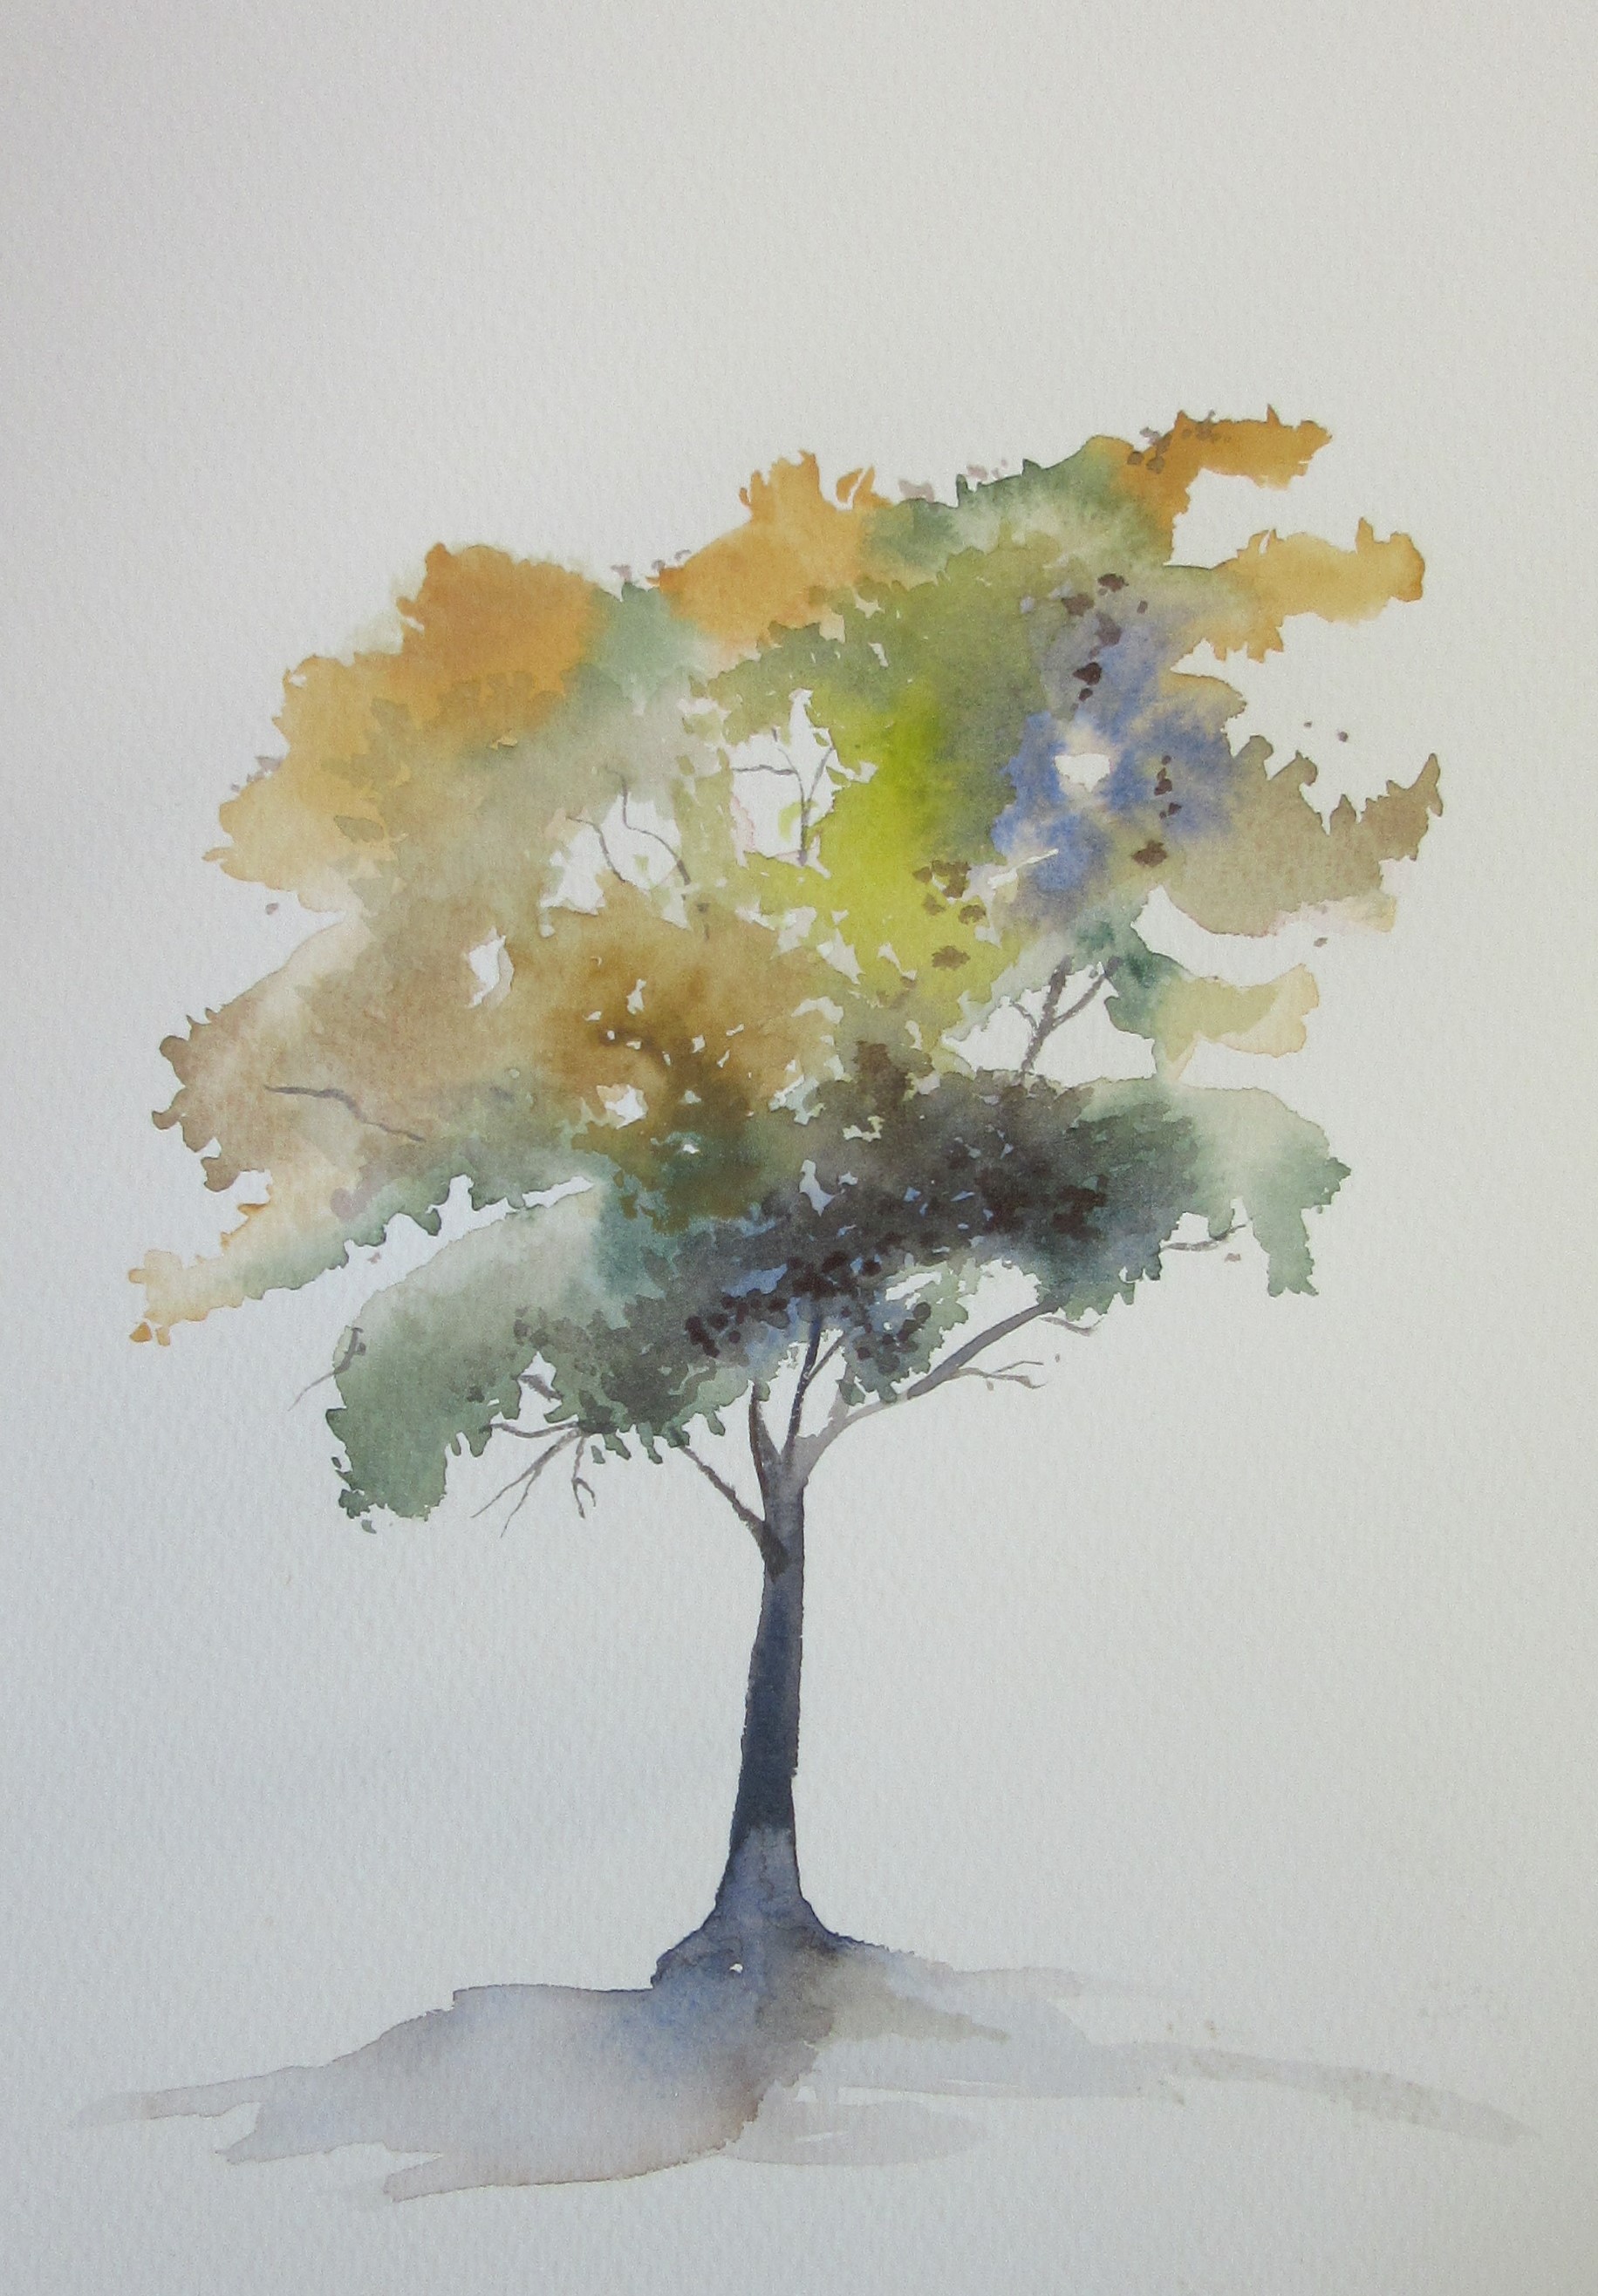
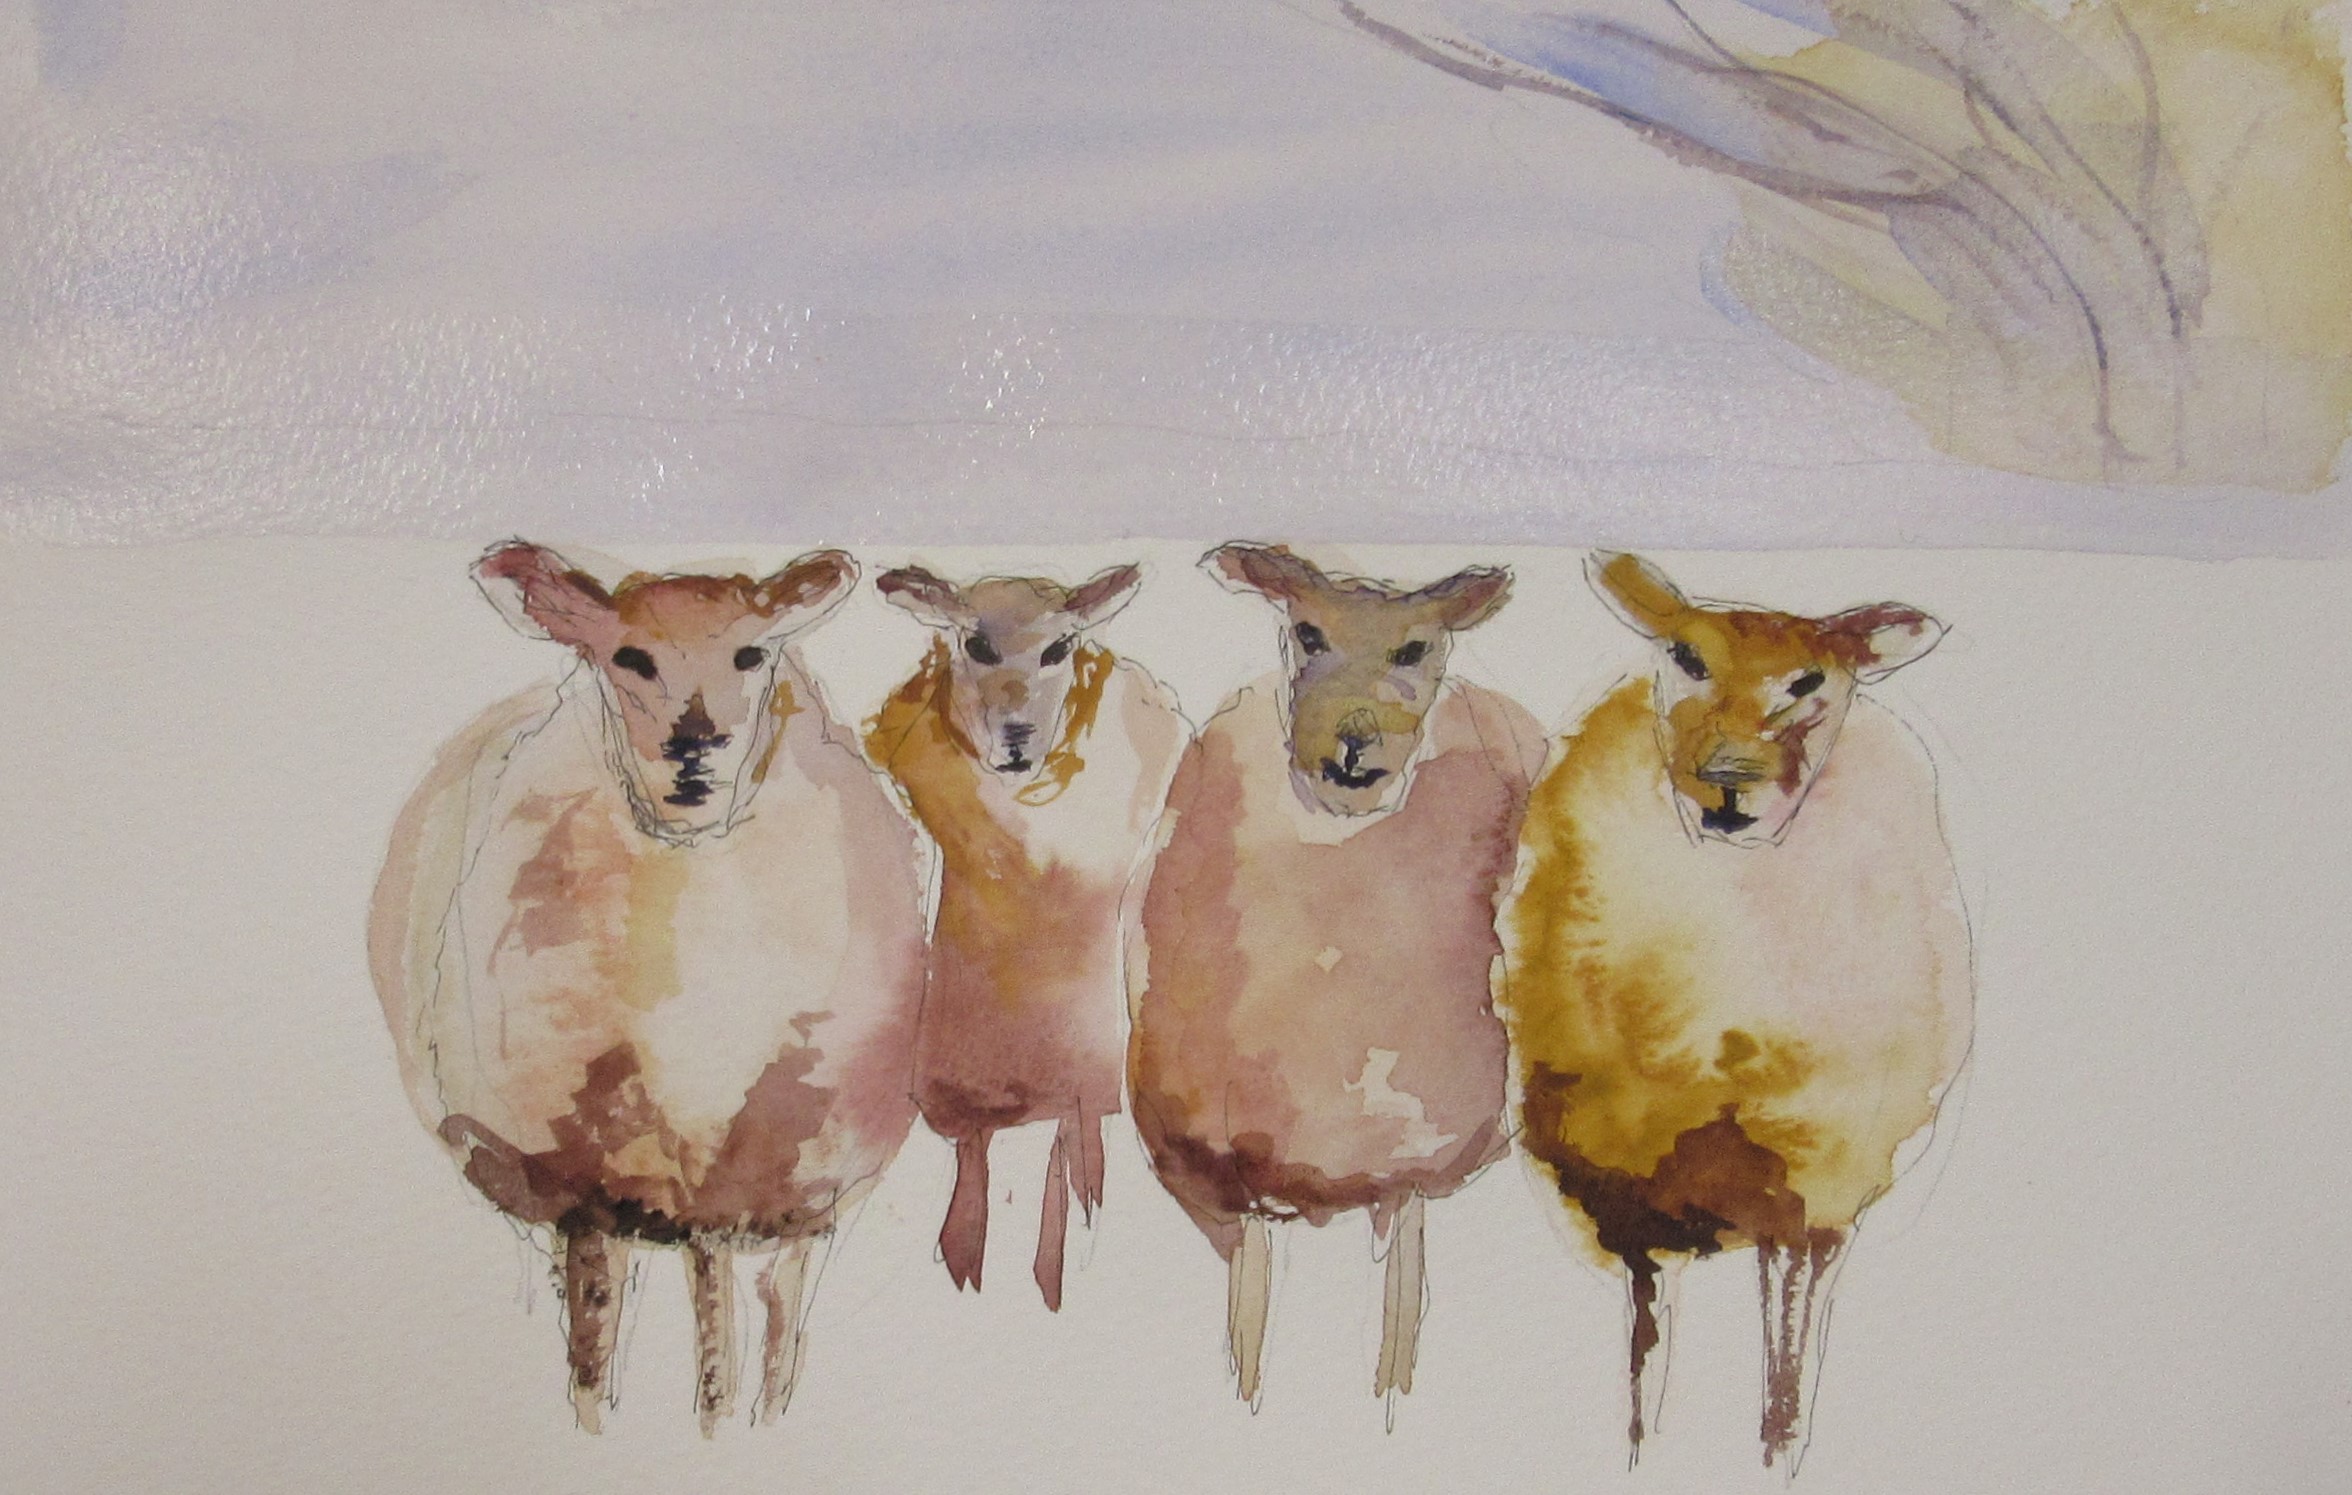
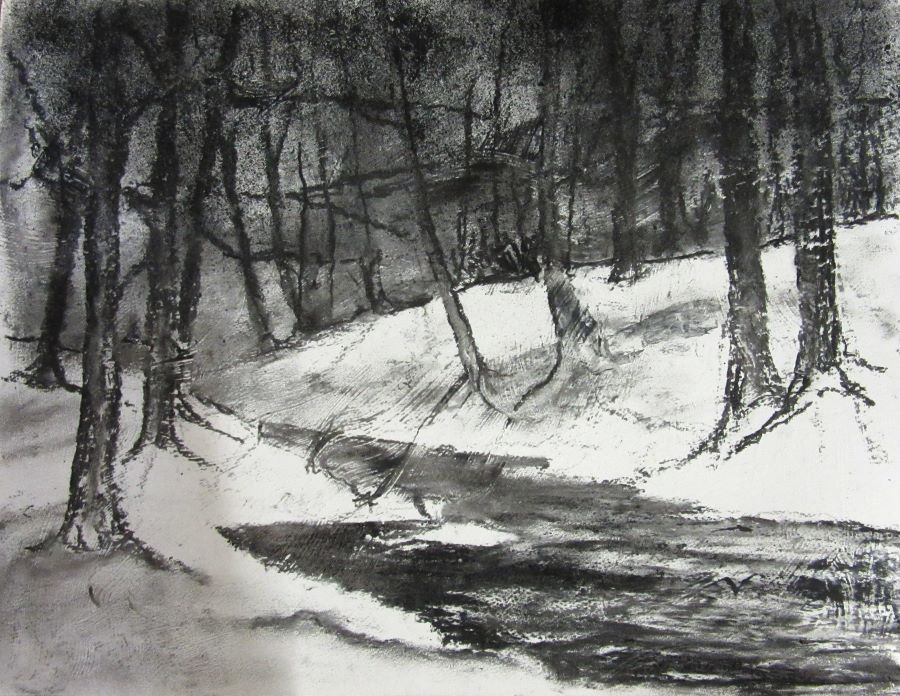
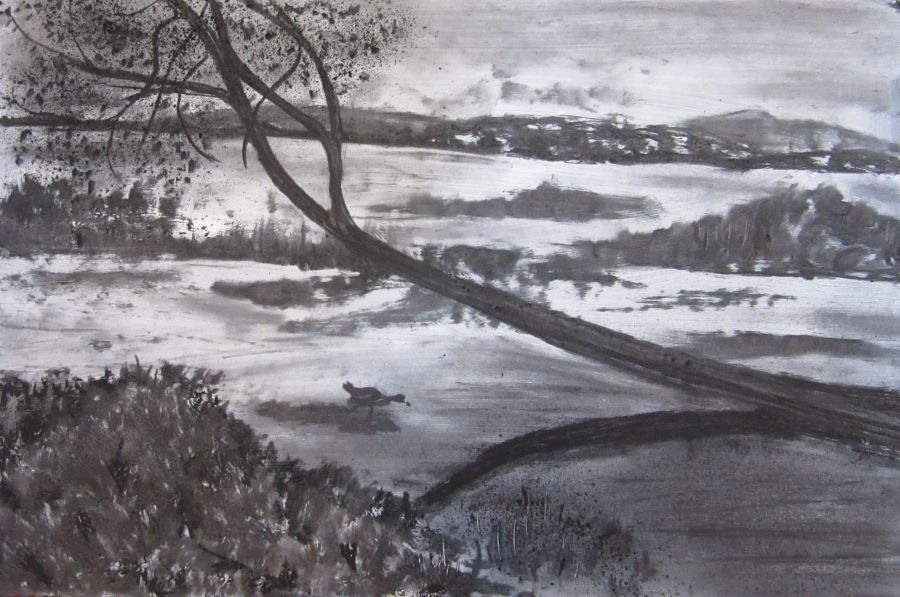
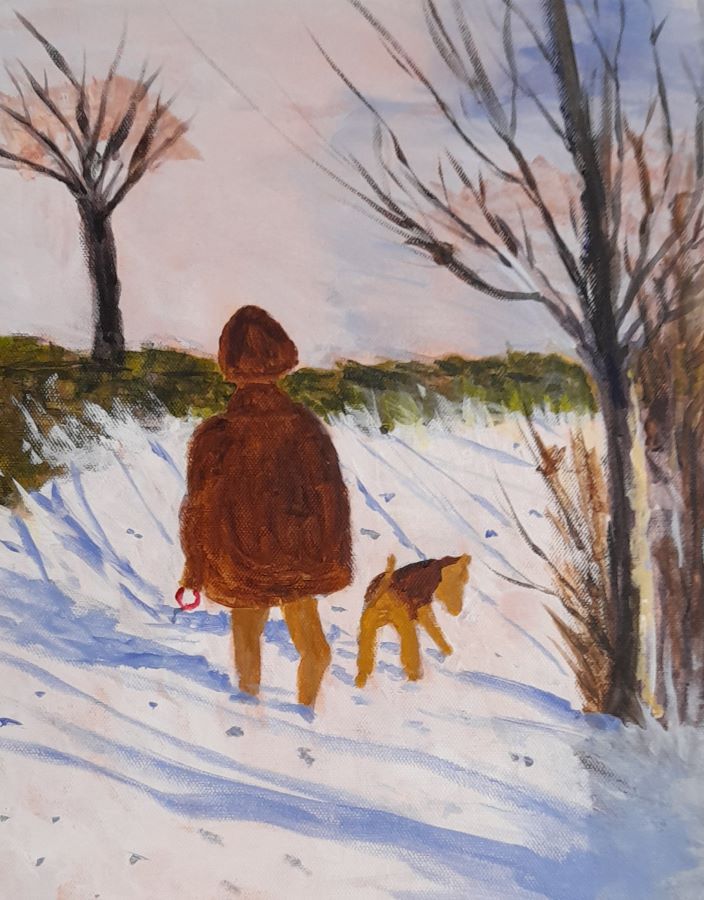
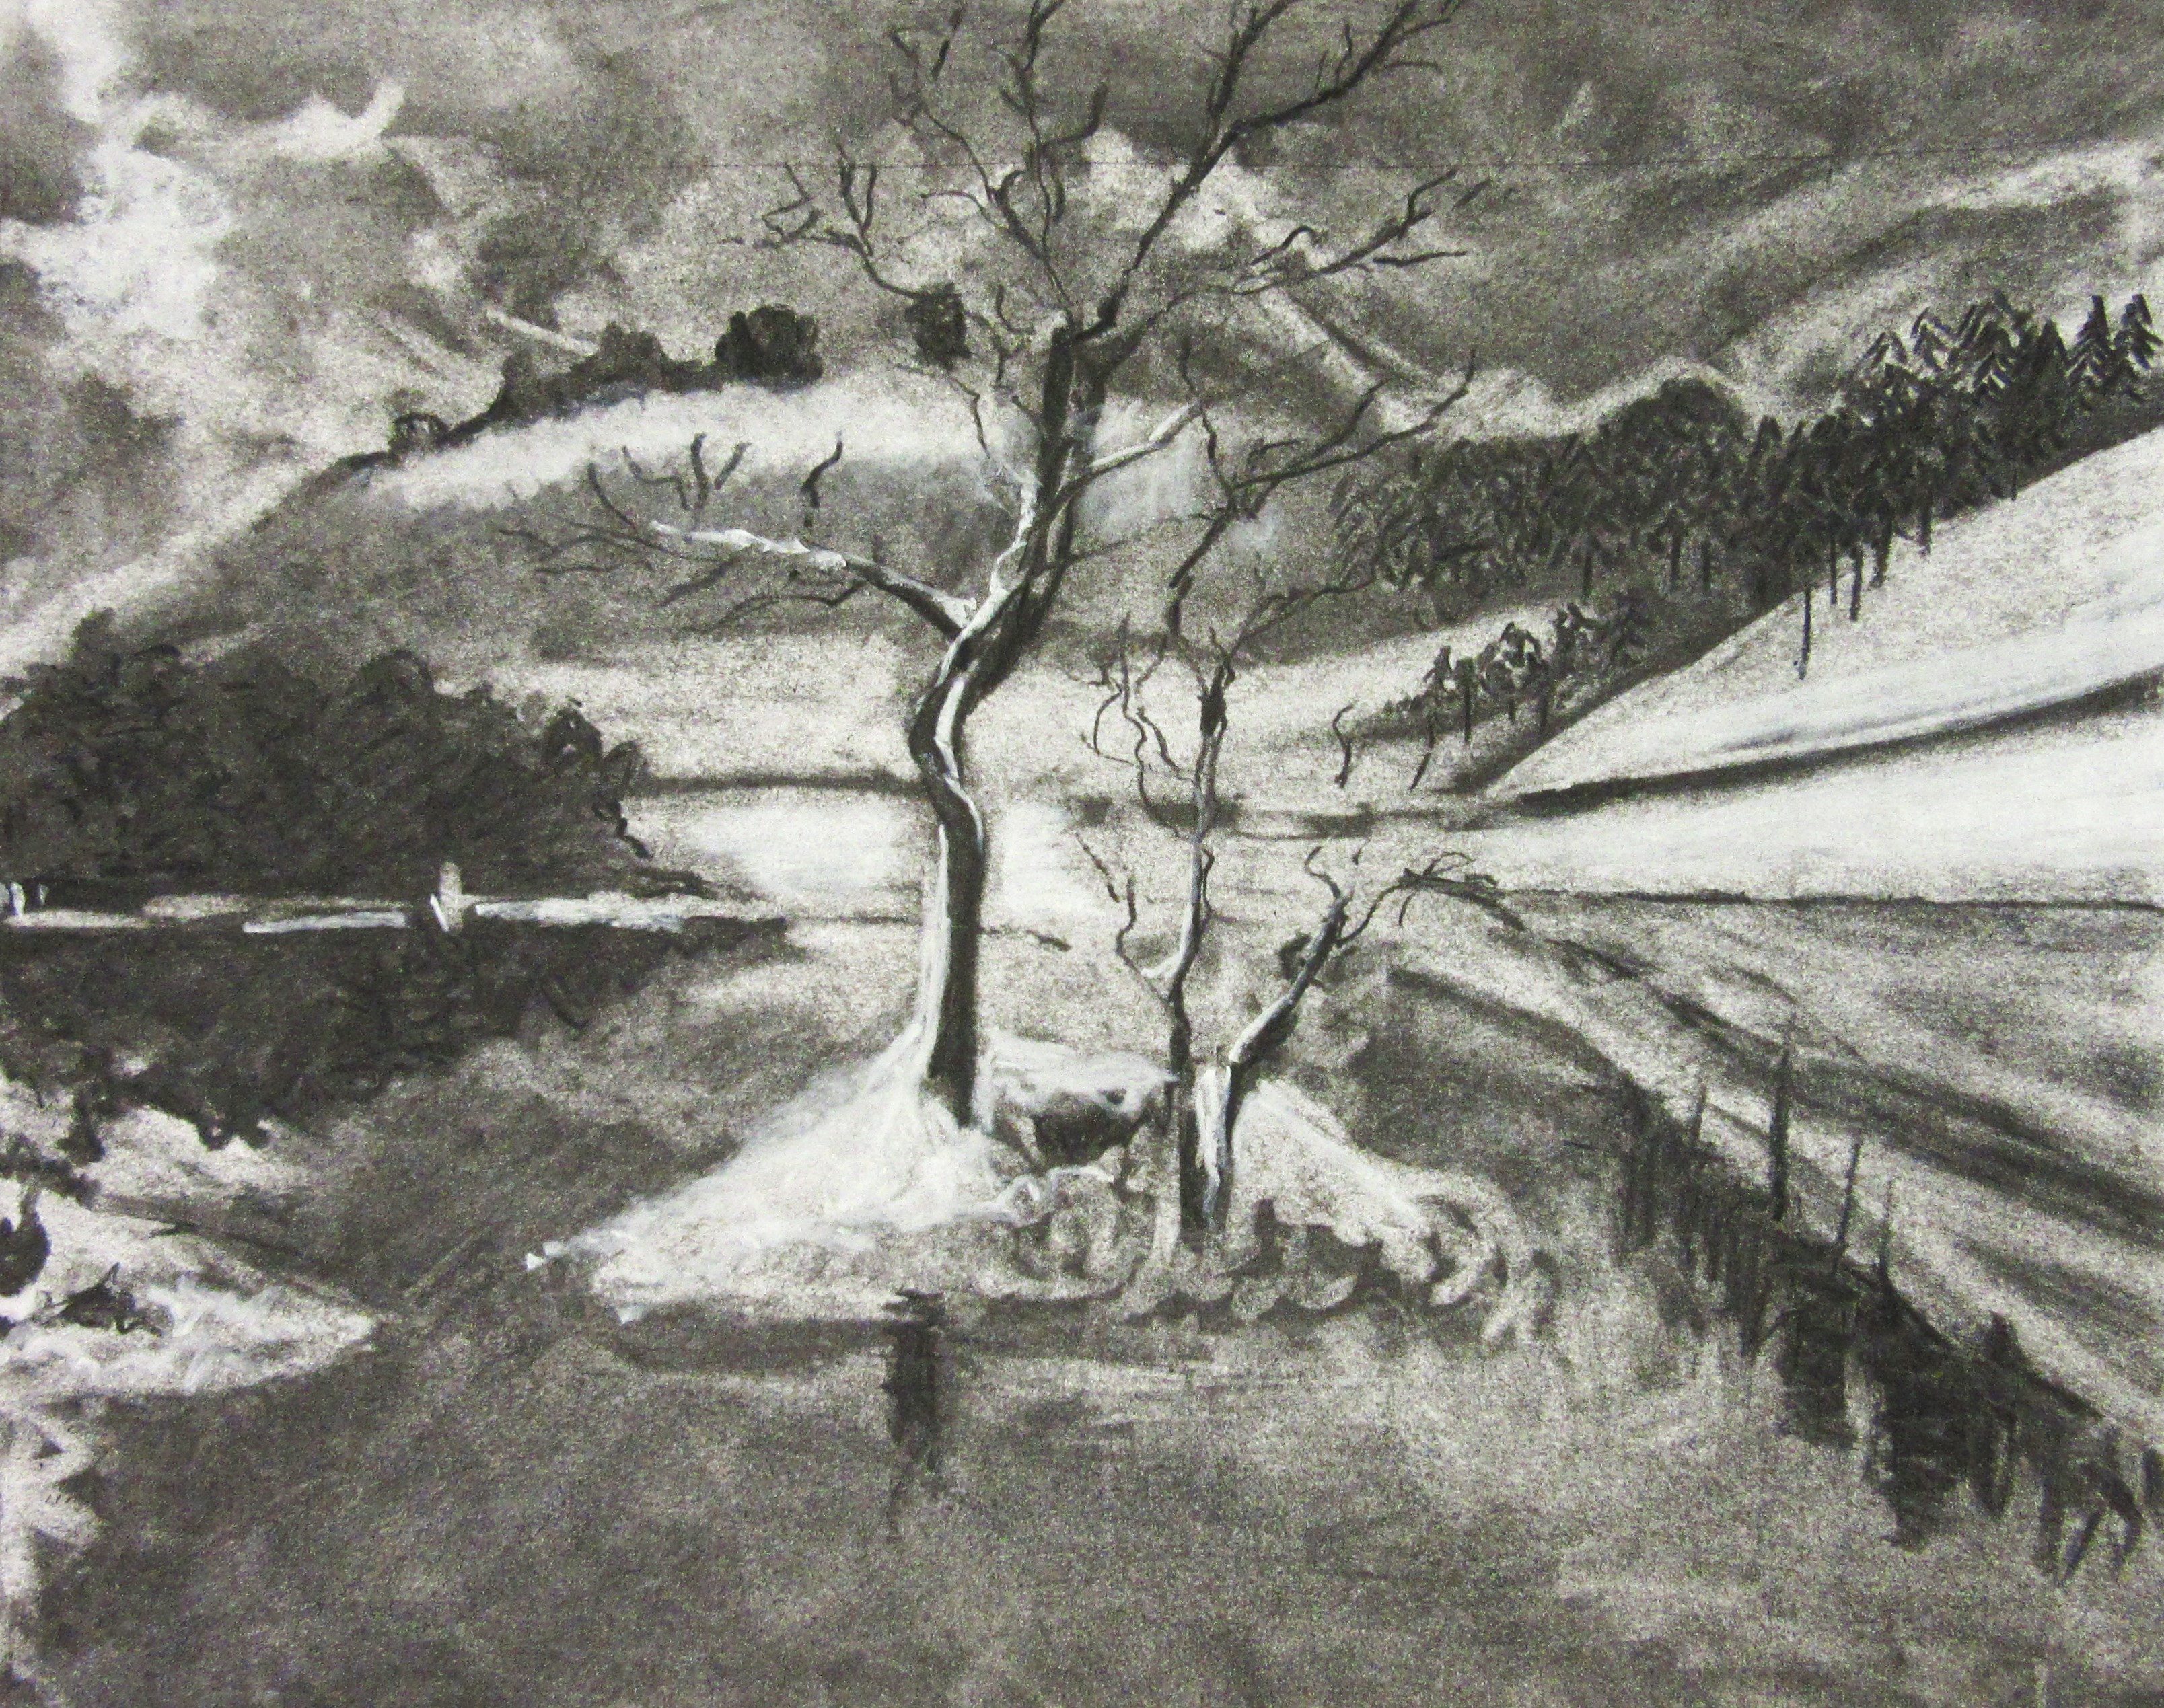
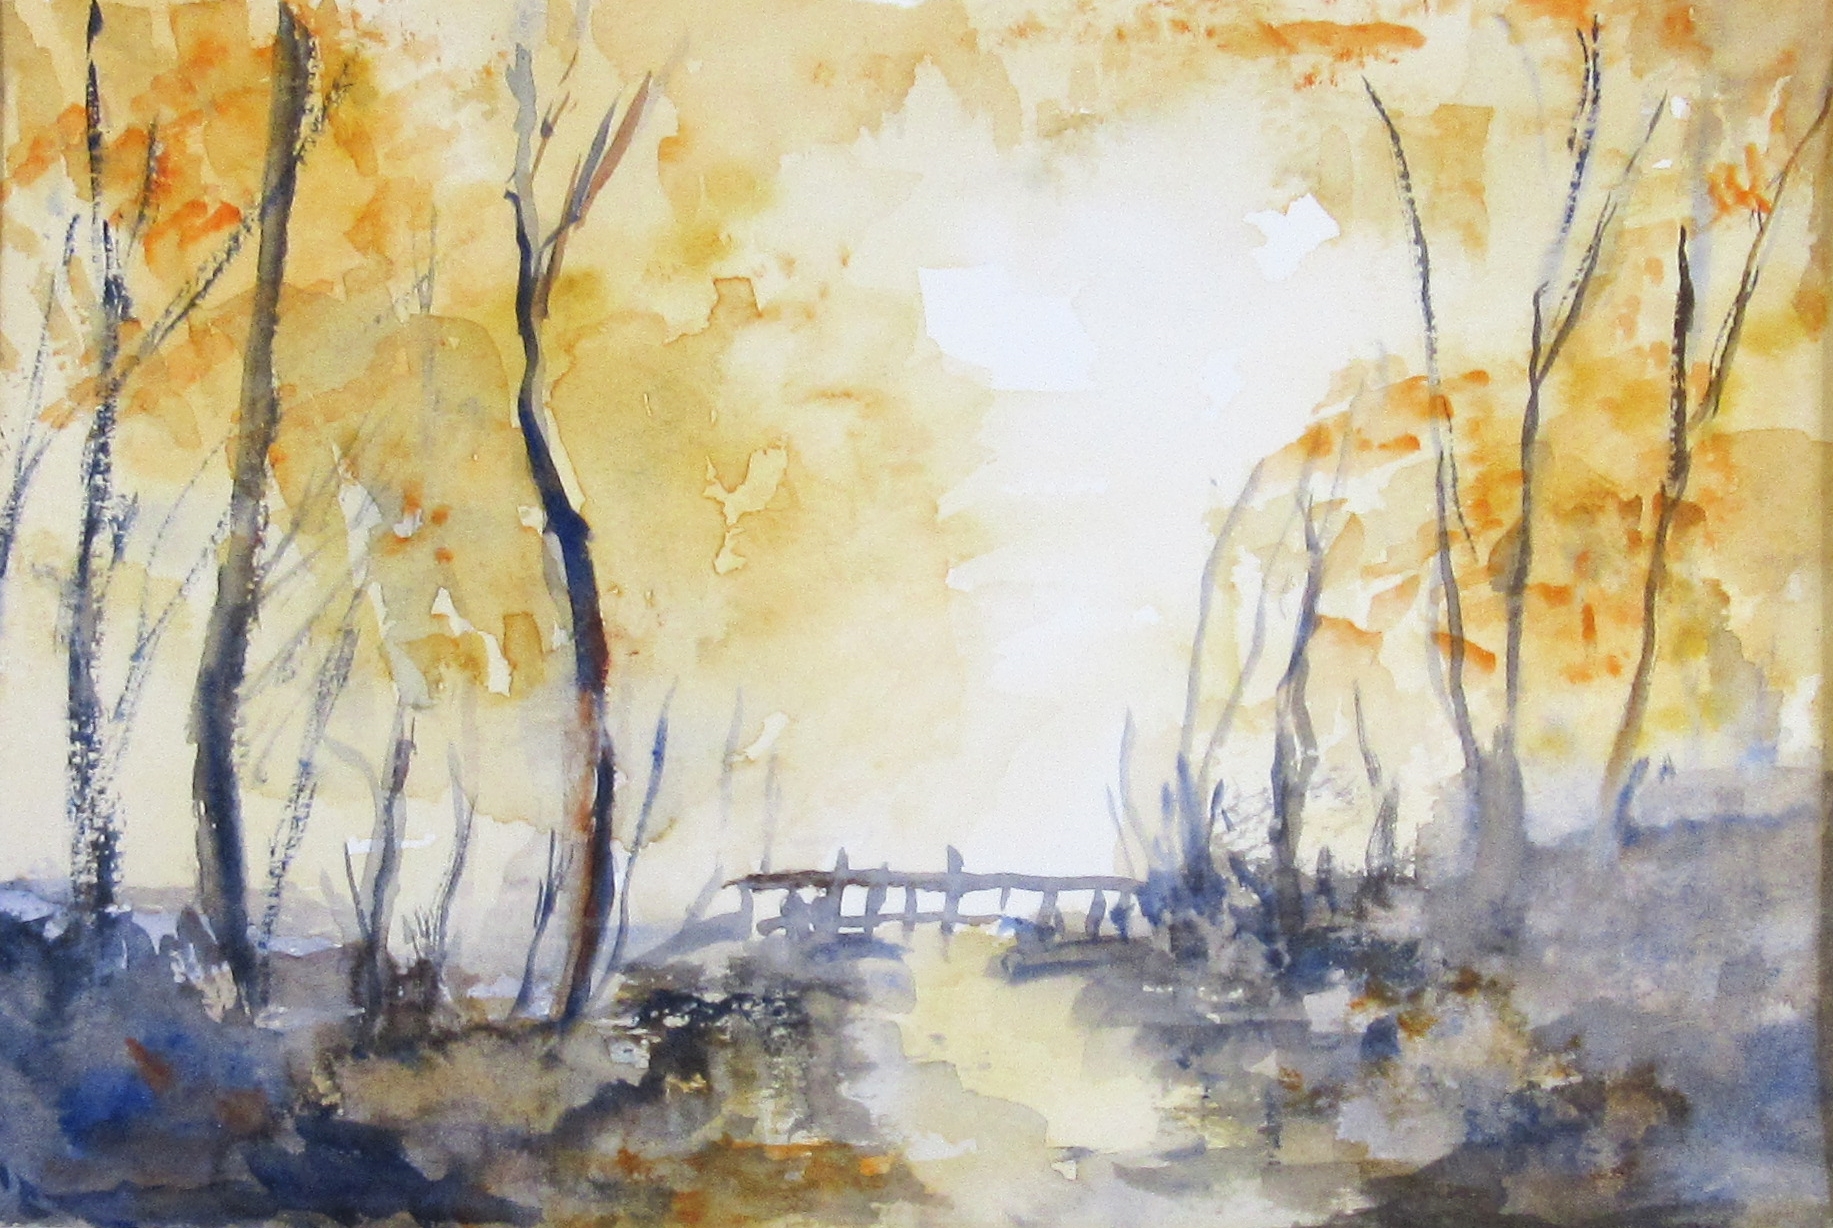
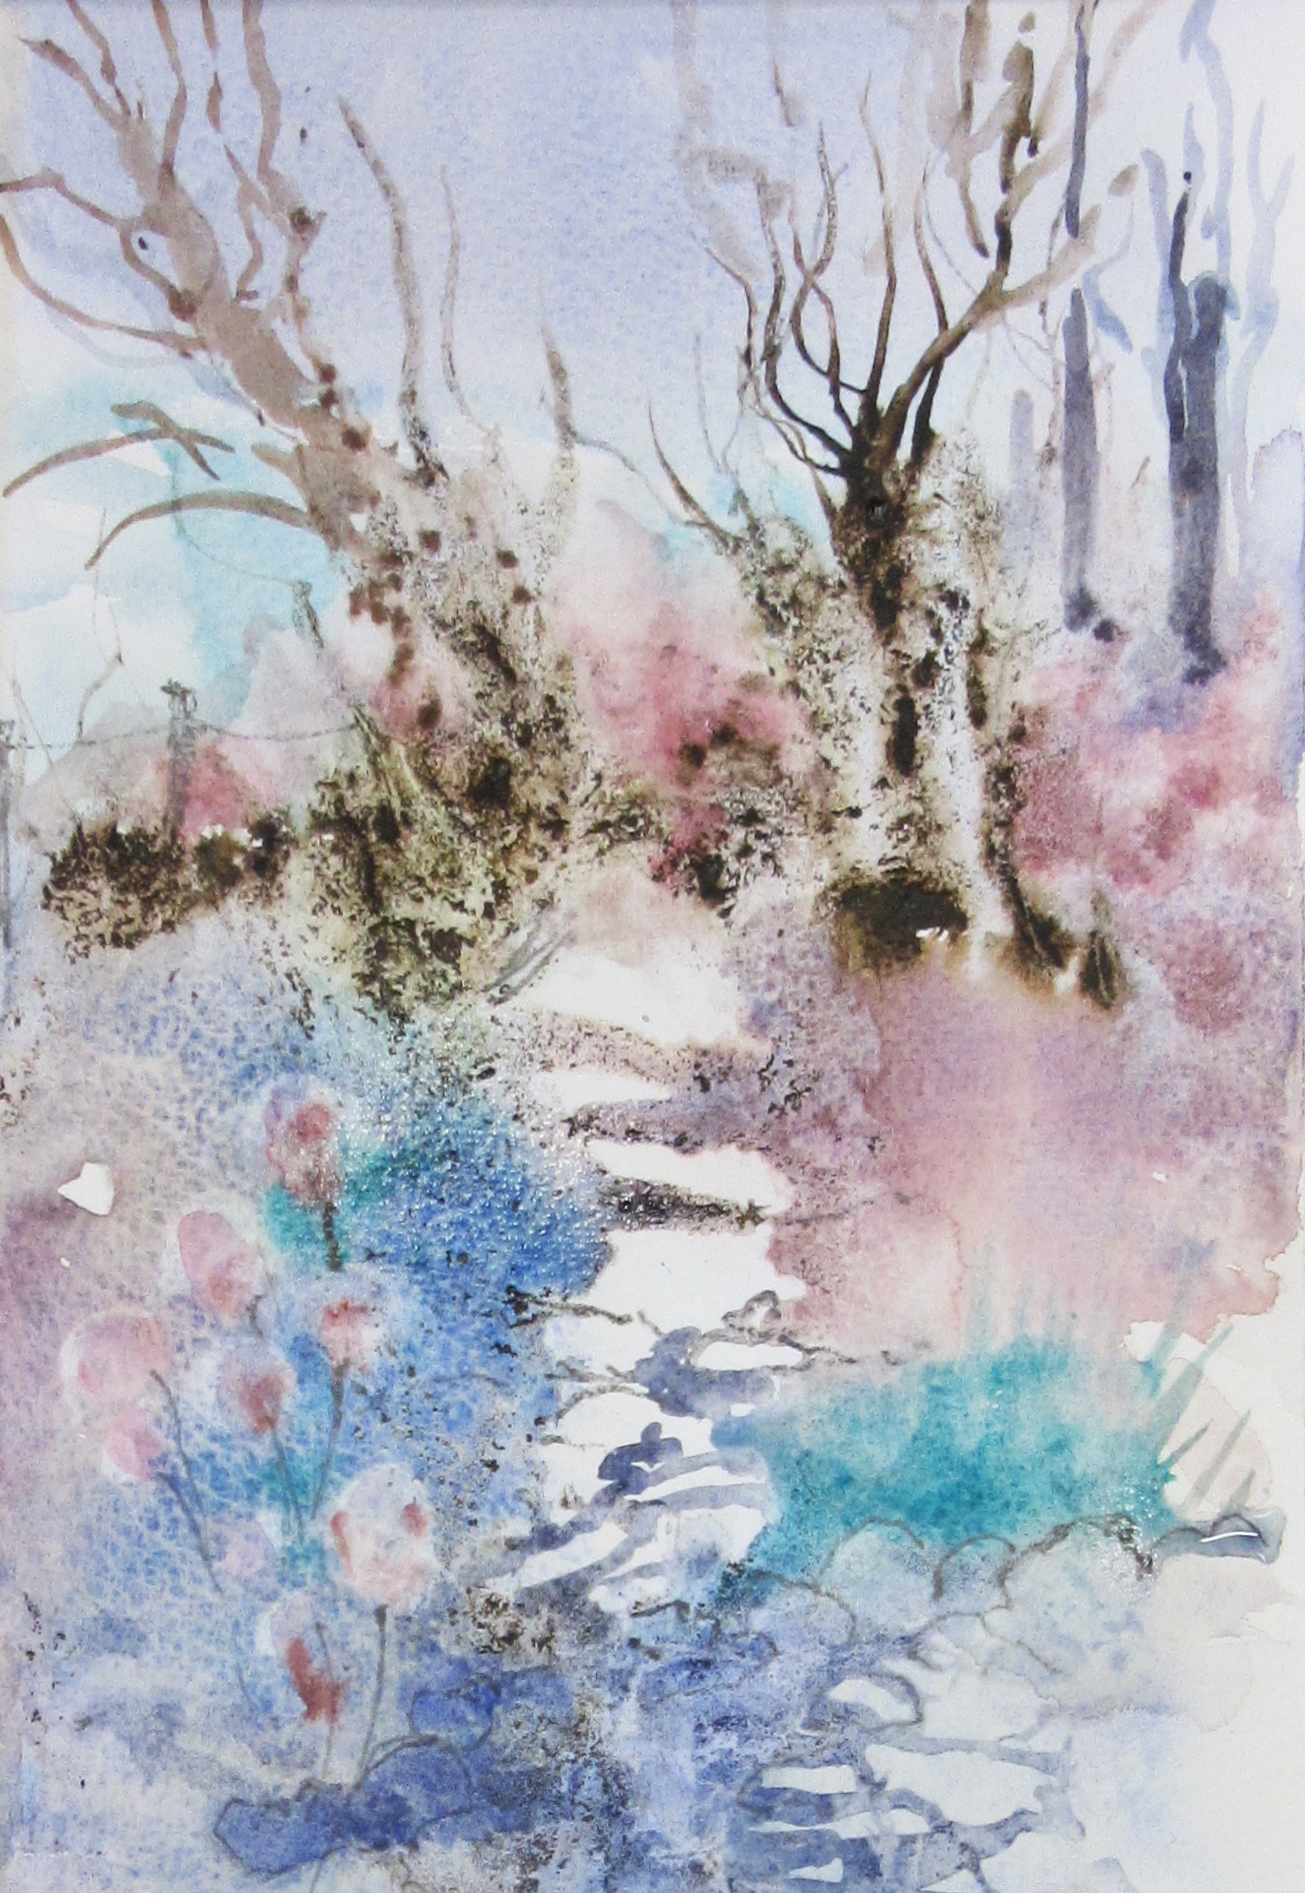
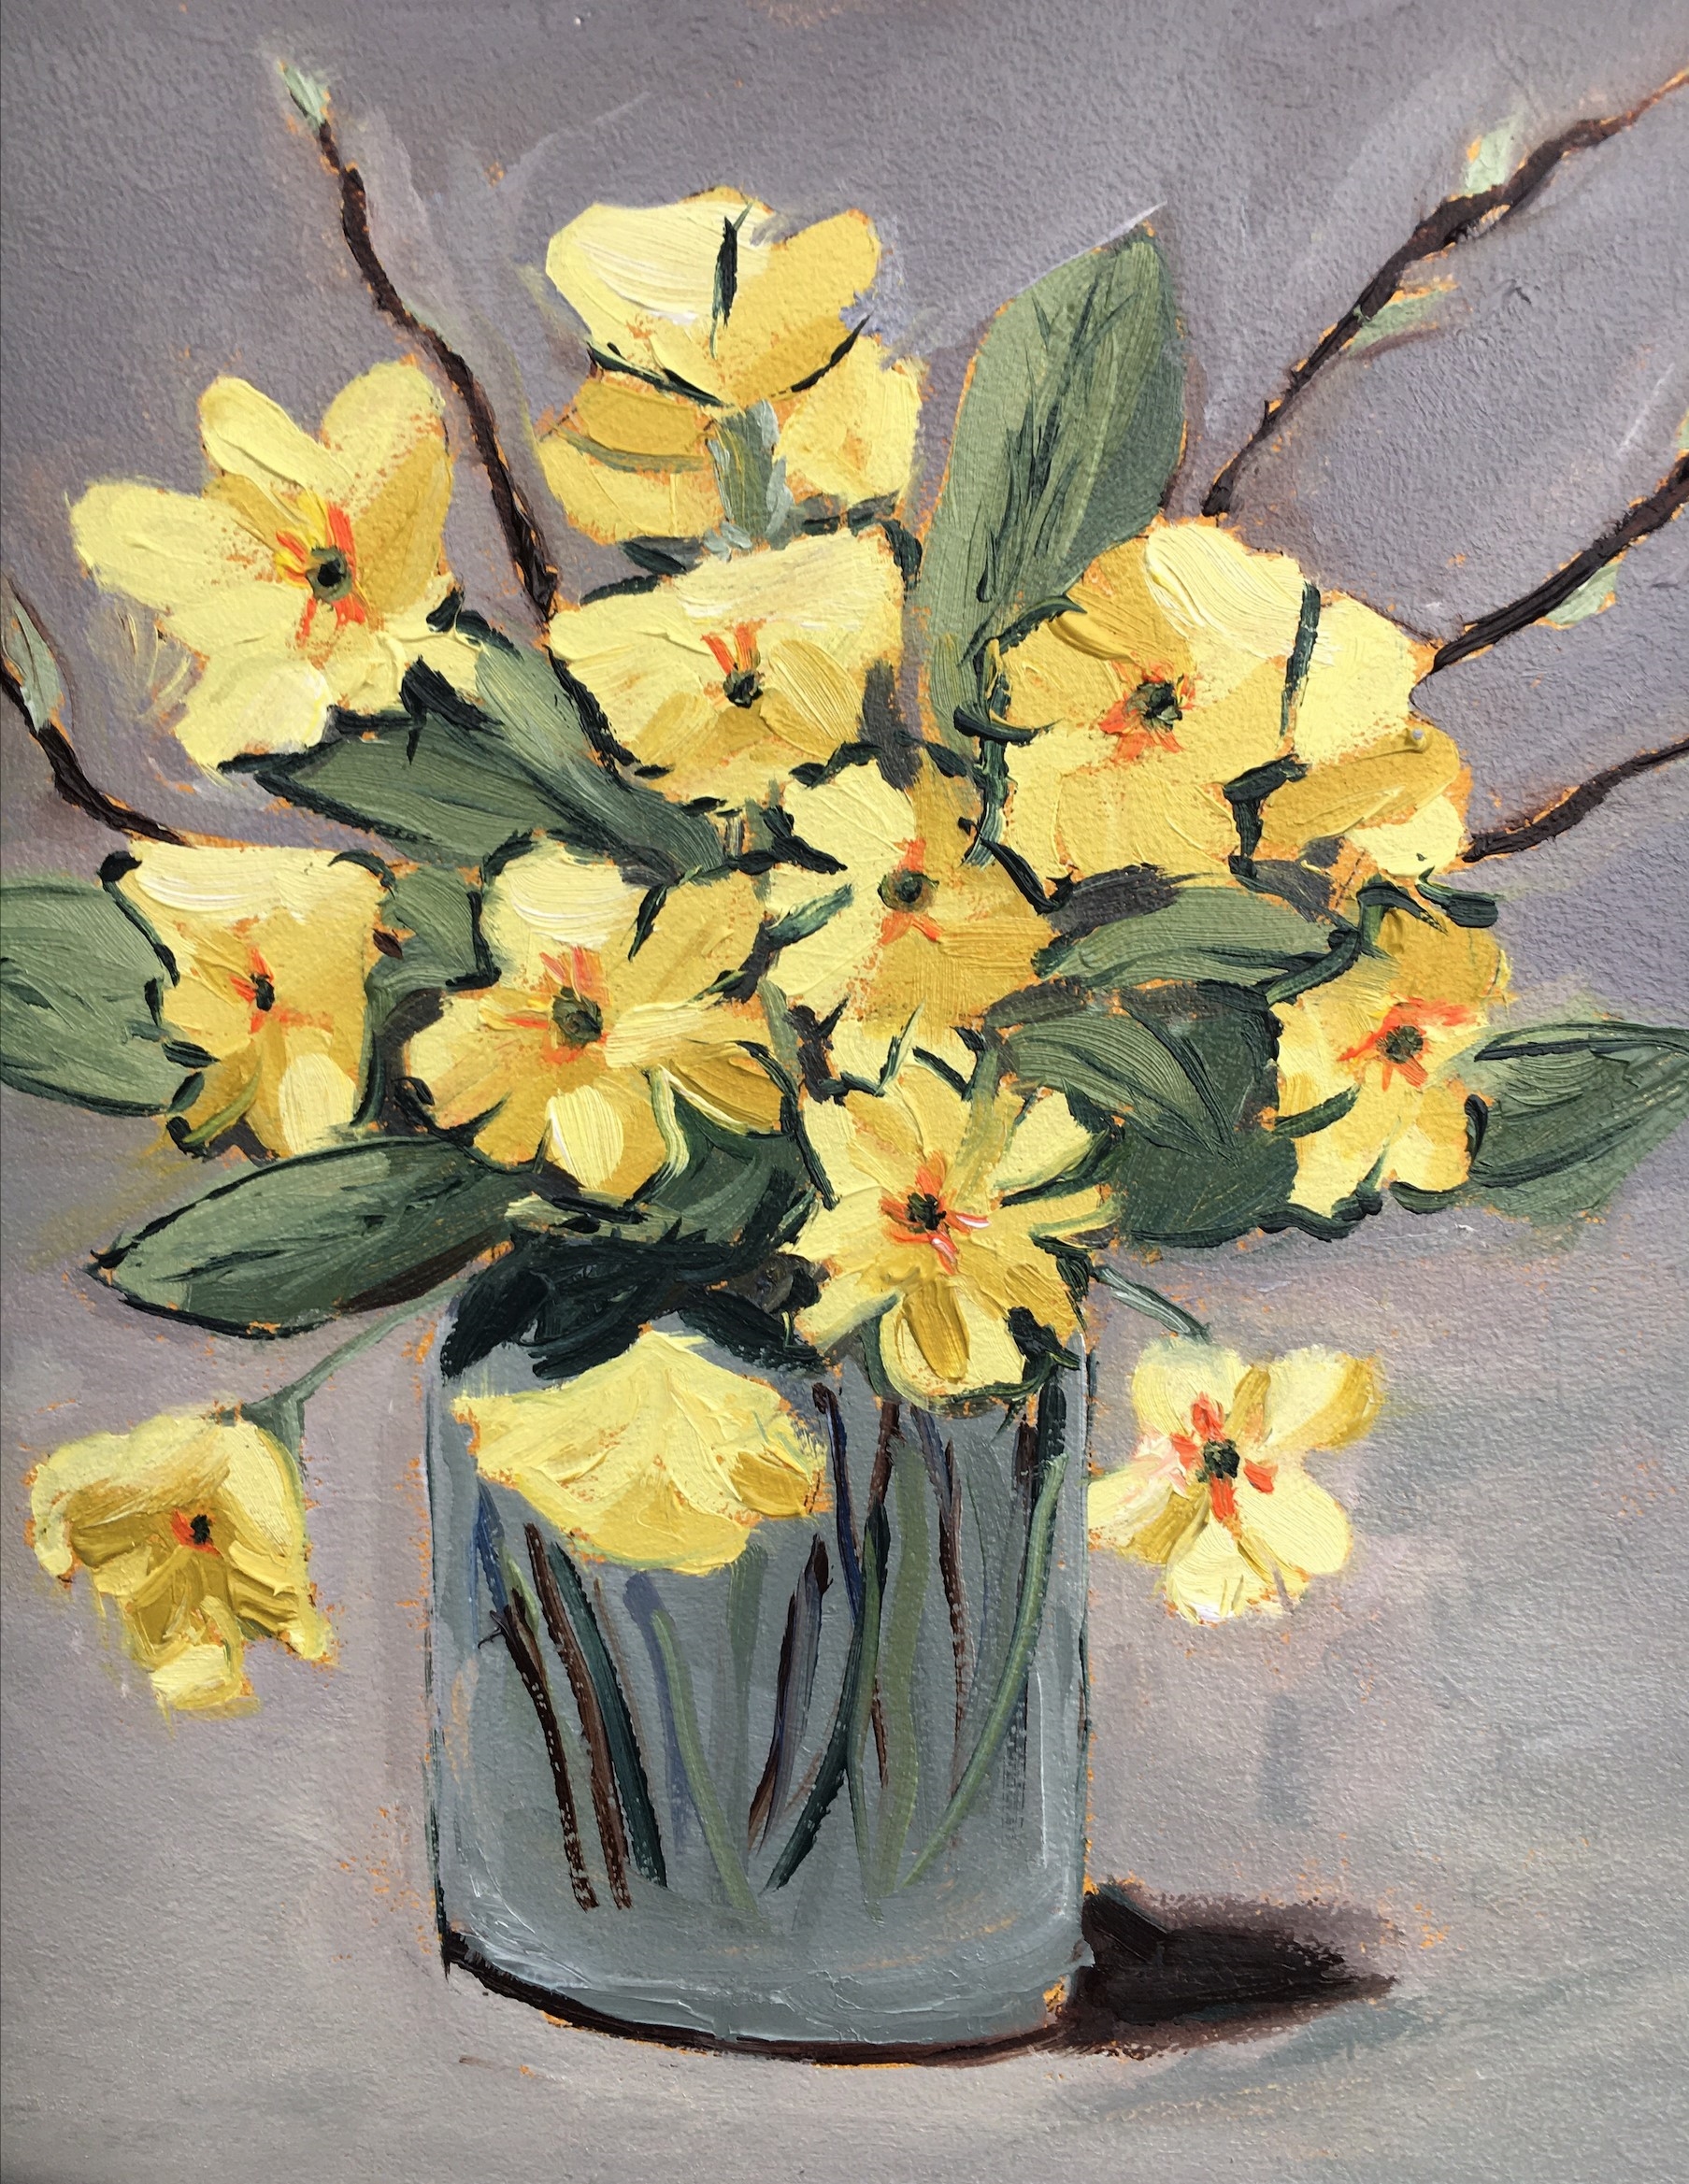
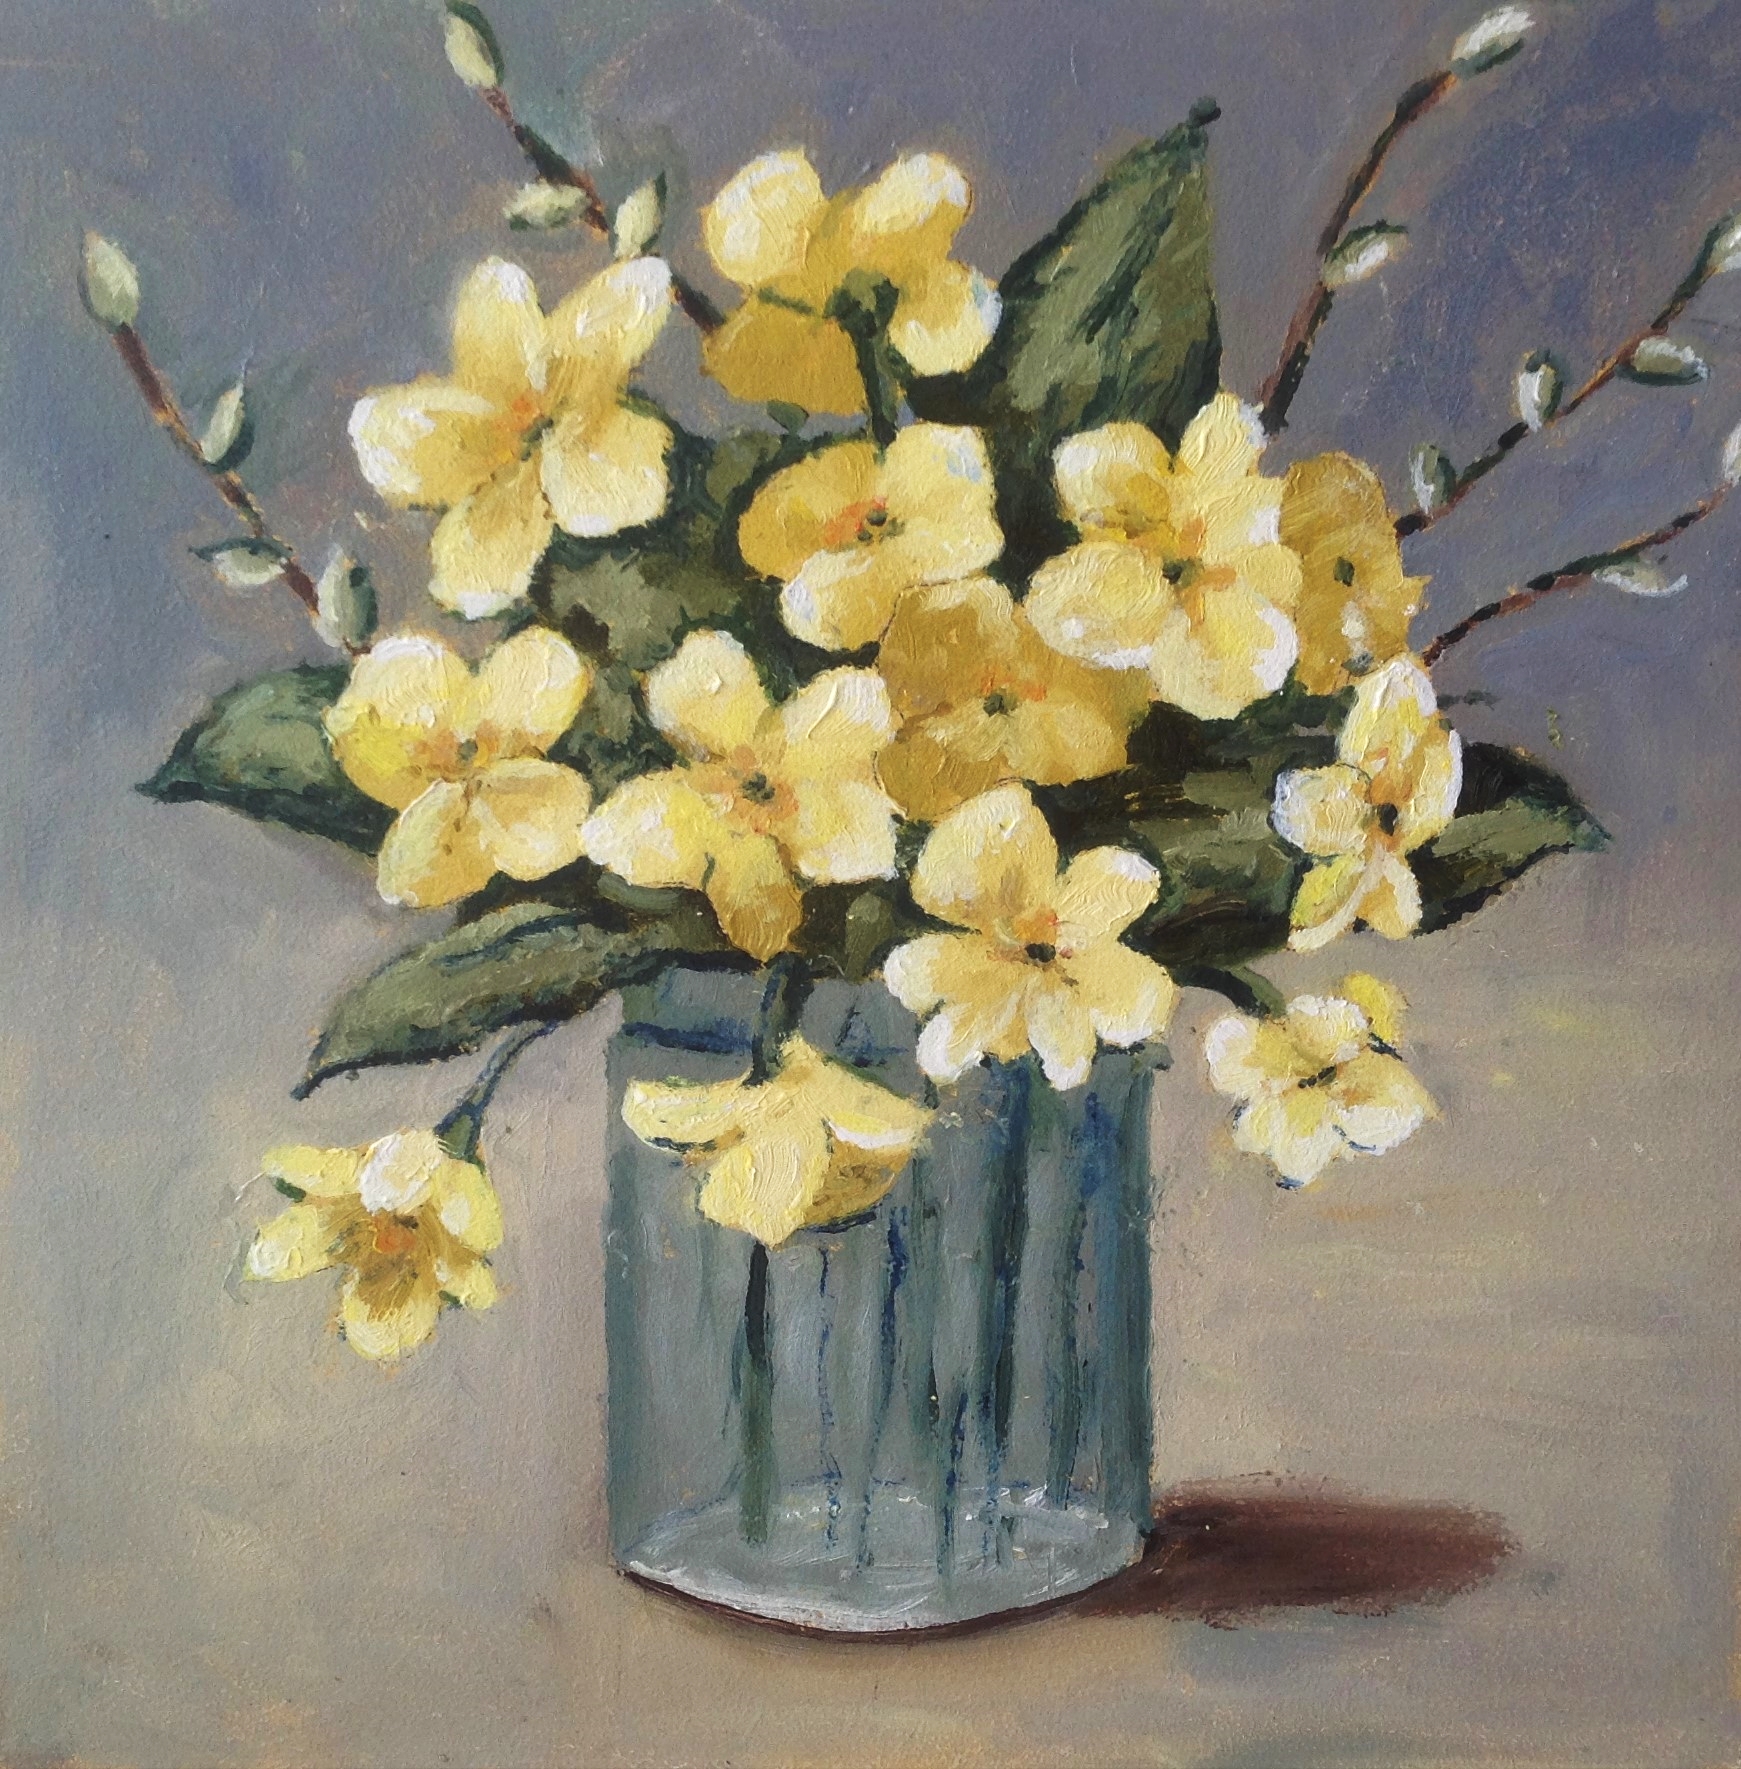
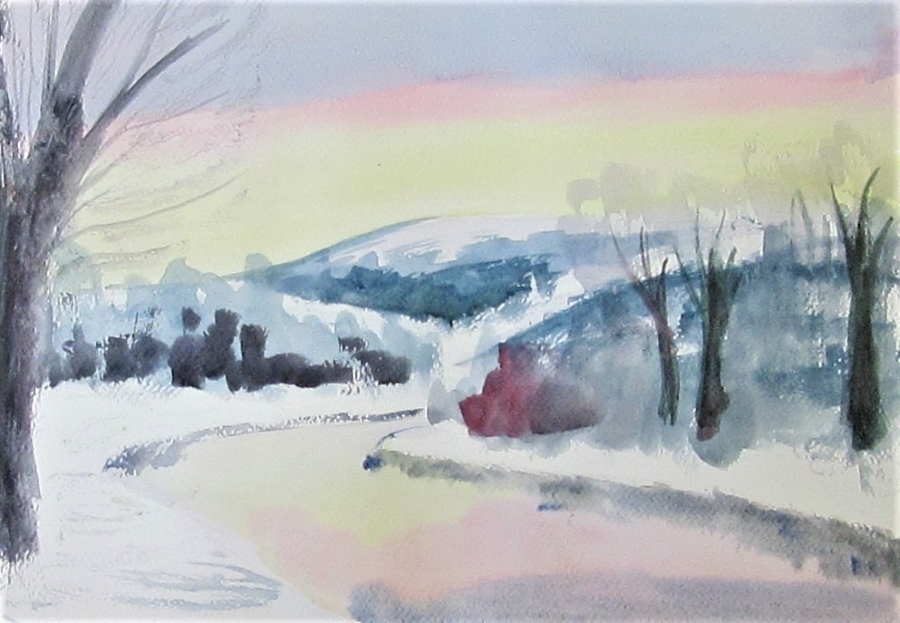
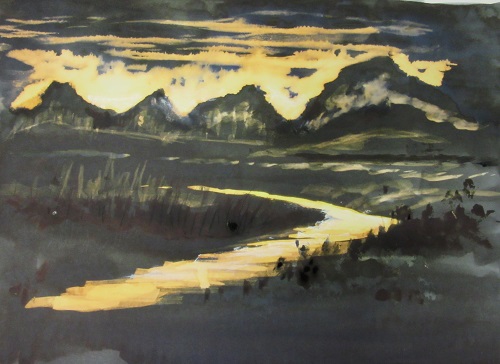
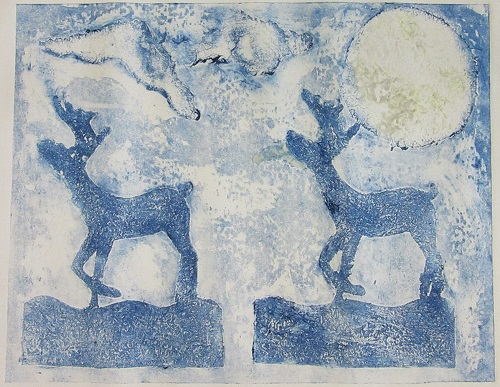
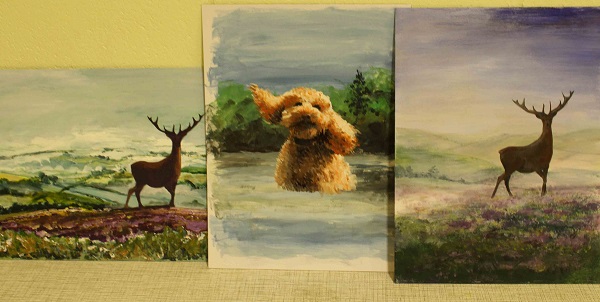
 Jake Winkle – Snowscene in watercolours
We had the pleasure of Jake again showing us how to use different washes to create a cold snowy landscape with stag.


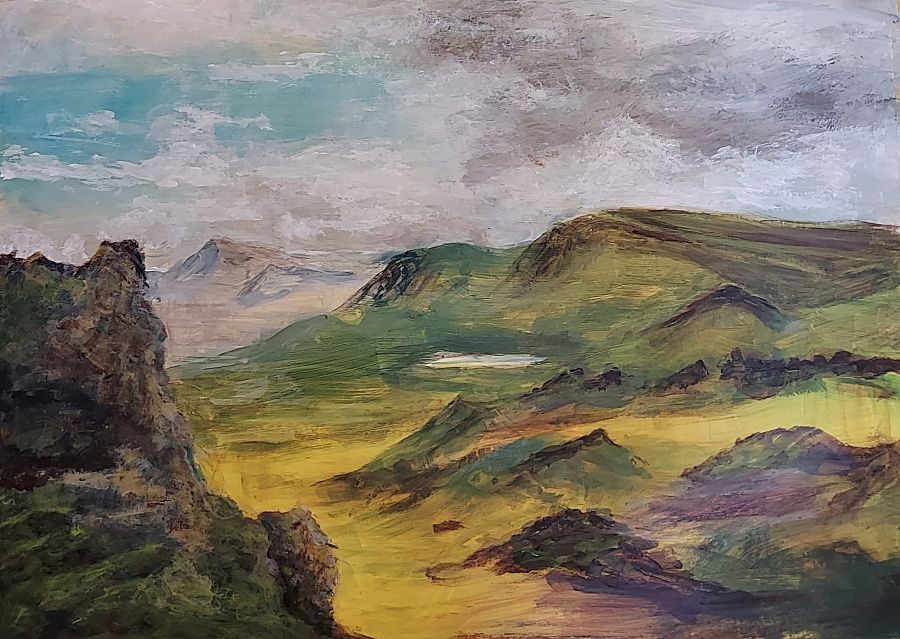
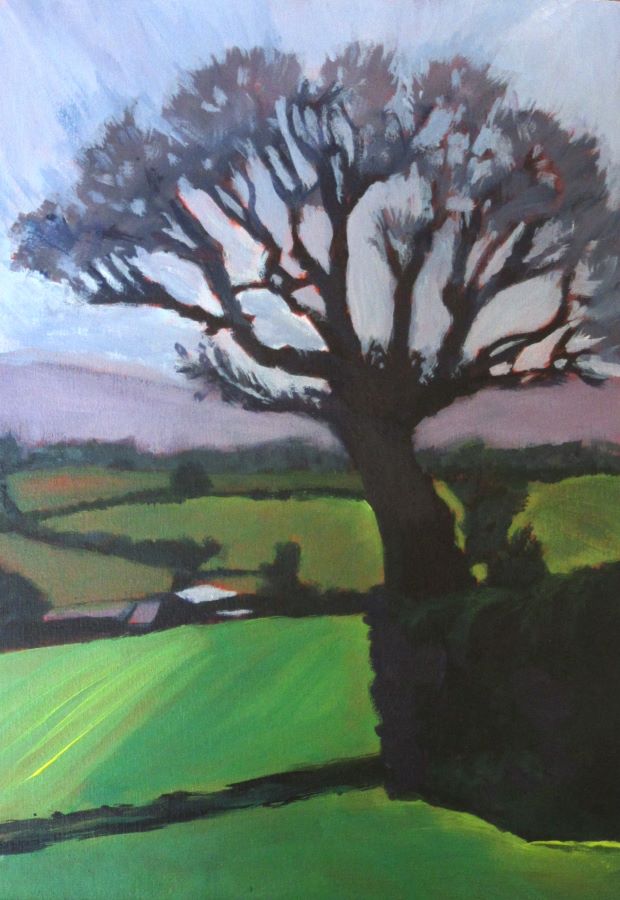
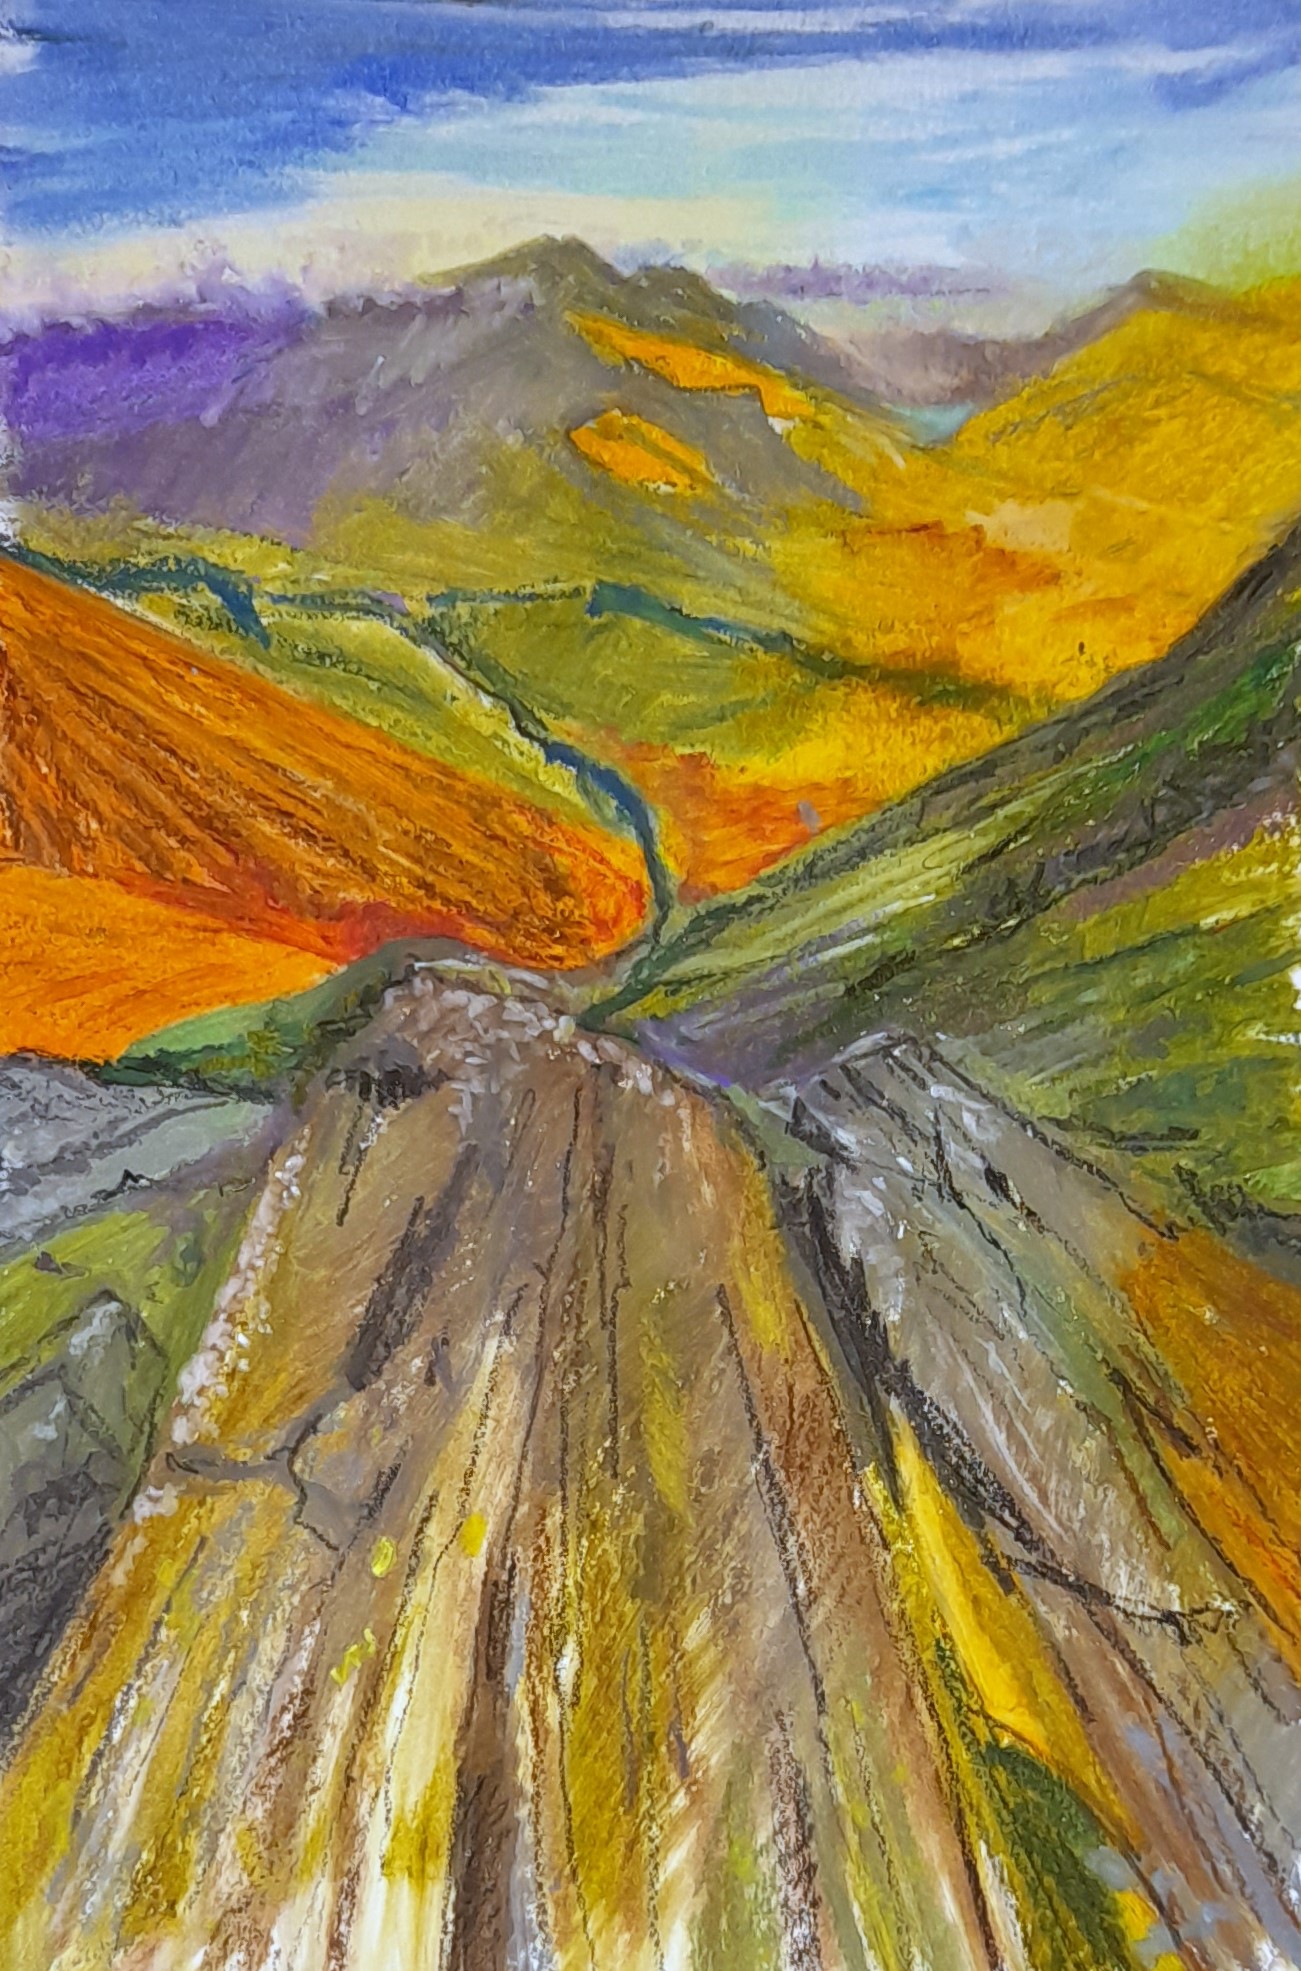
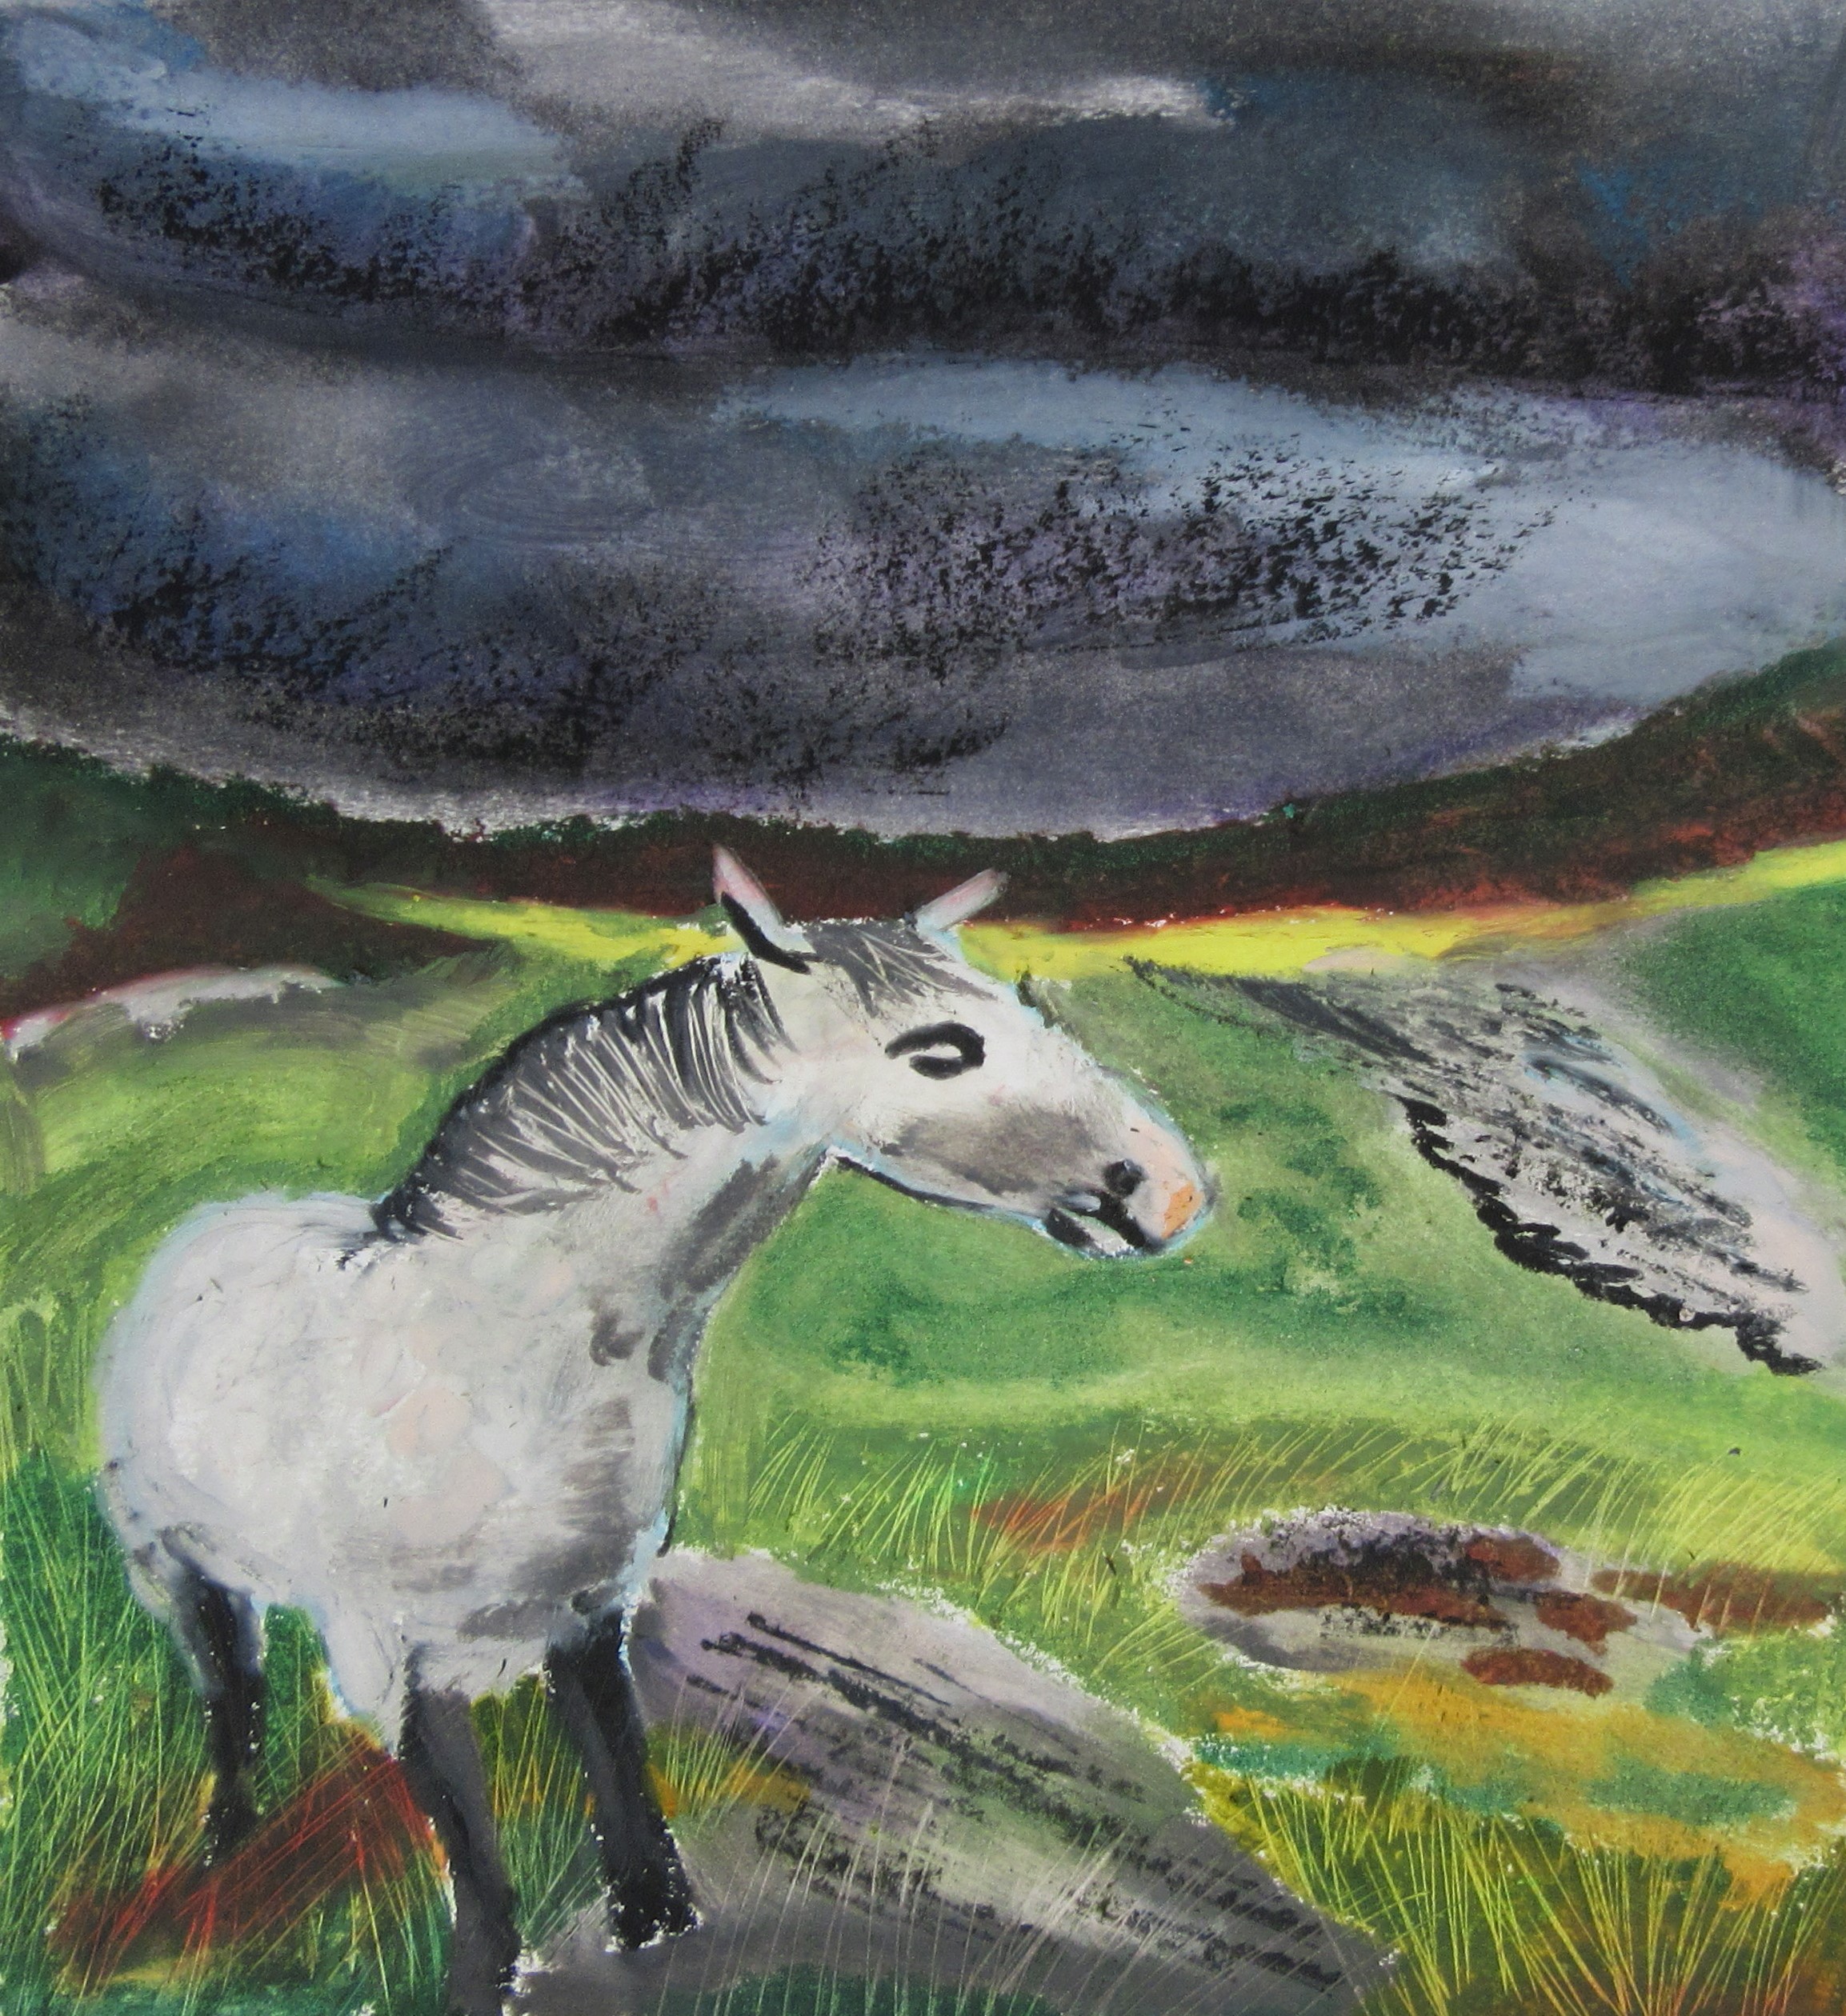
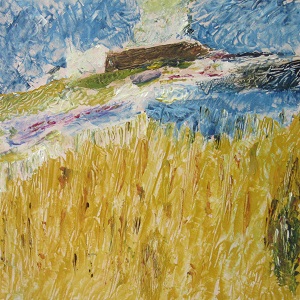
 Innes Davis – Beauty of Exmoor in composition and colour in acrylics
Innes enjoyed the workshop as much as we did. We made our artwork using various layers before adding details. It was a very relaxing workshop and we all made something to be proud of.


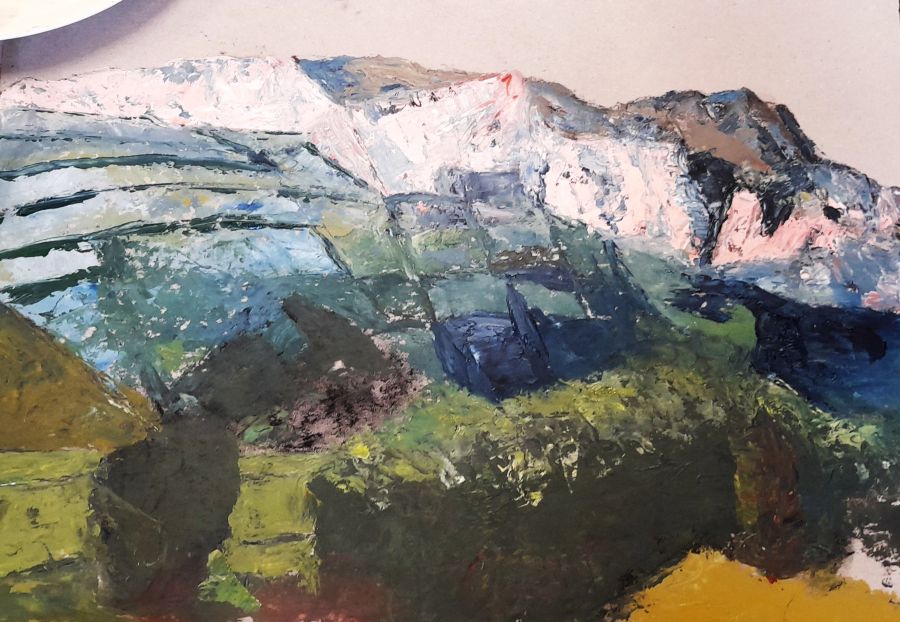
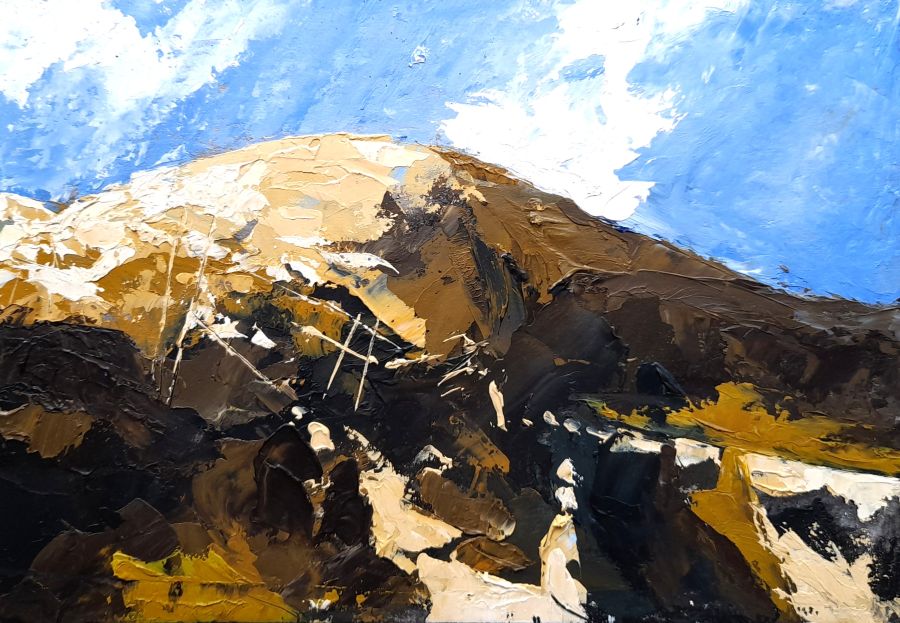
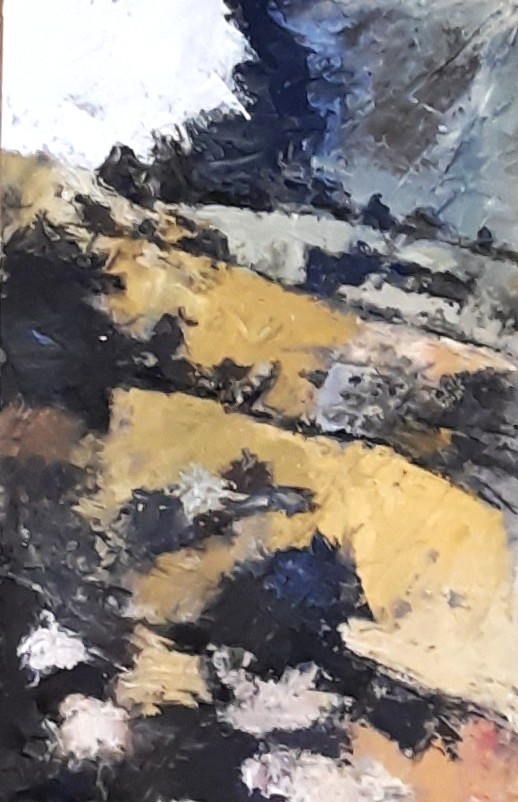
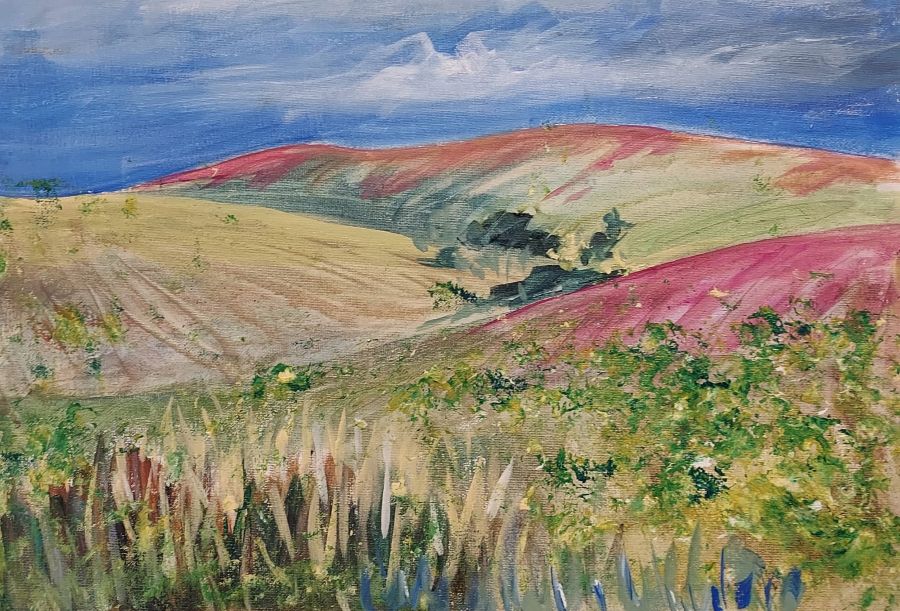
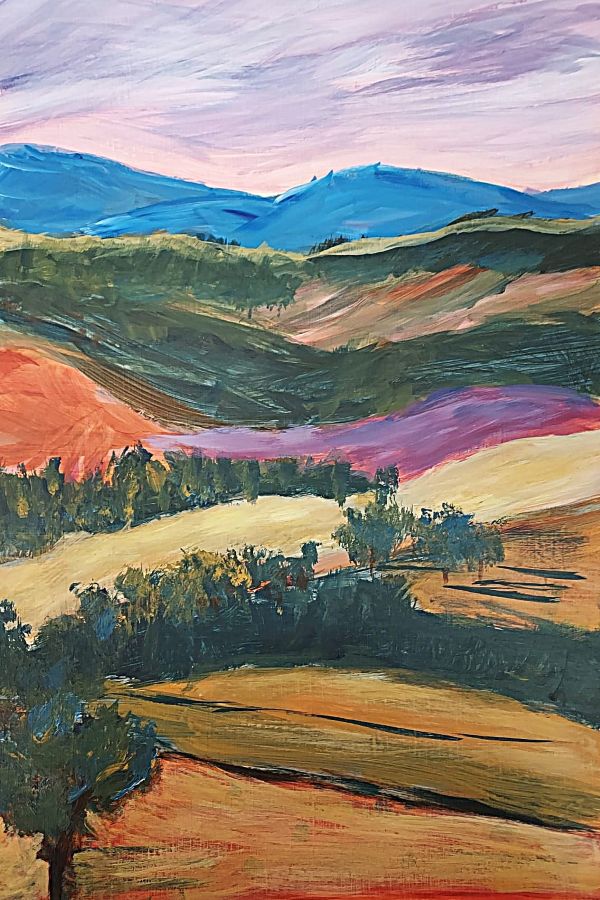
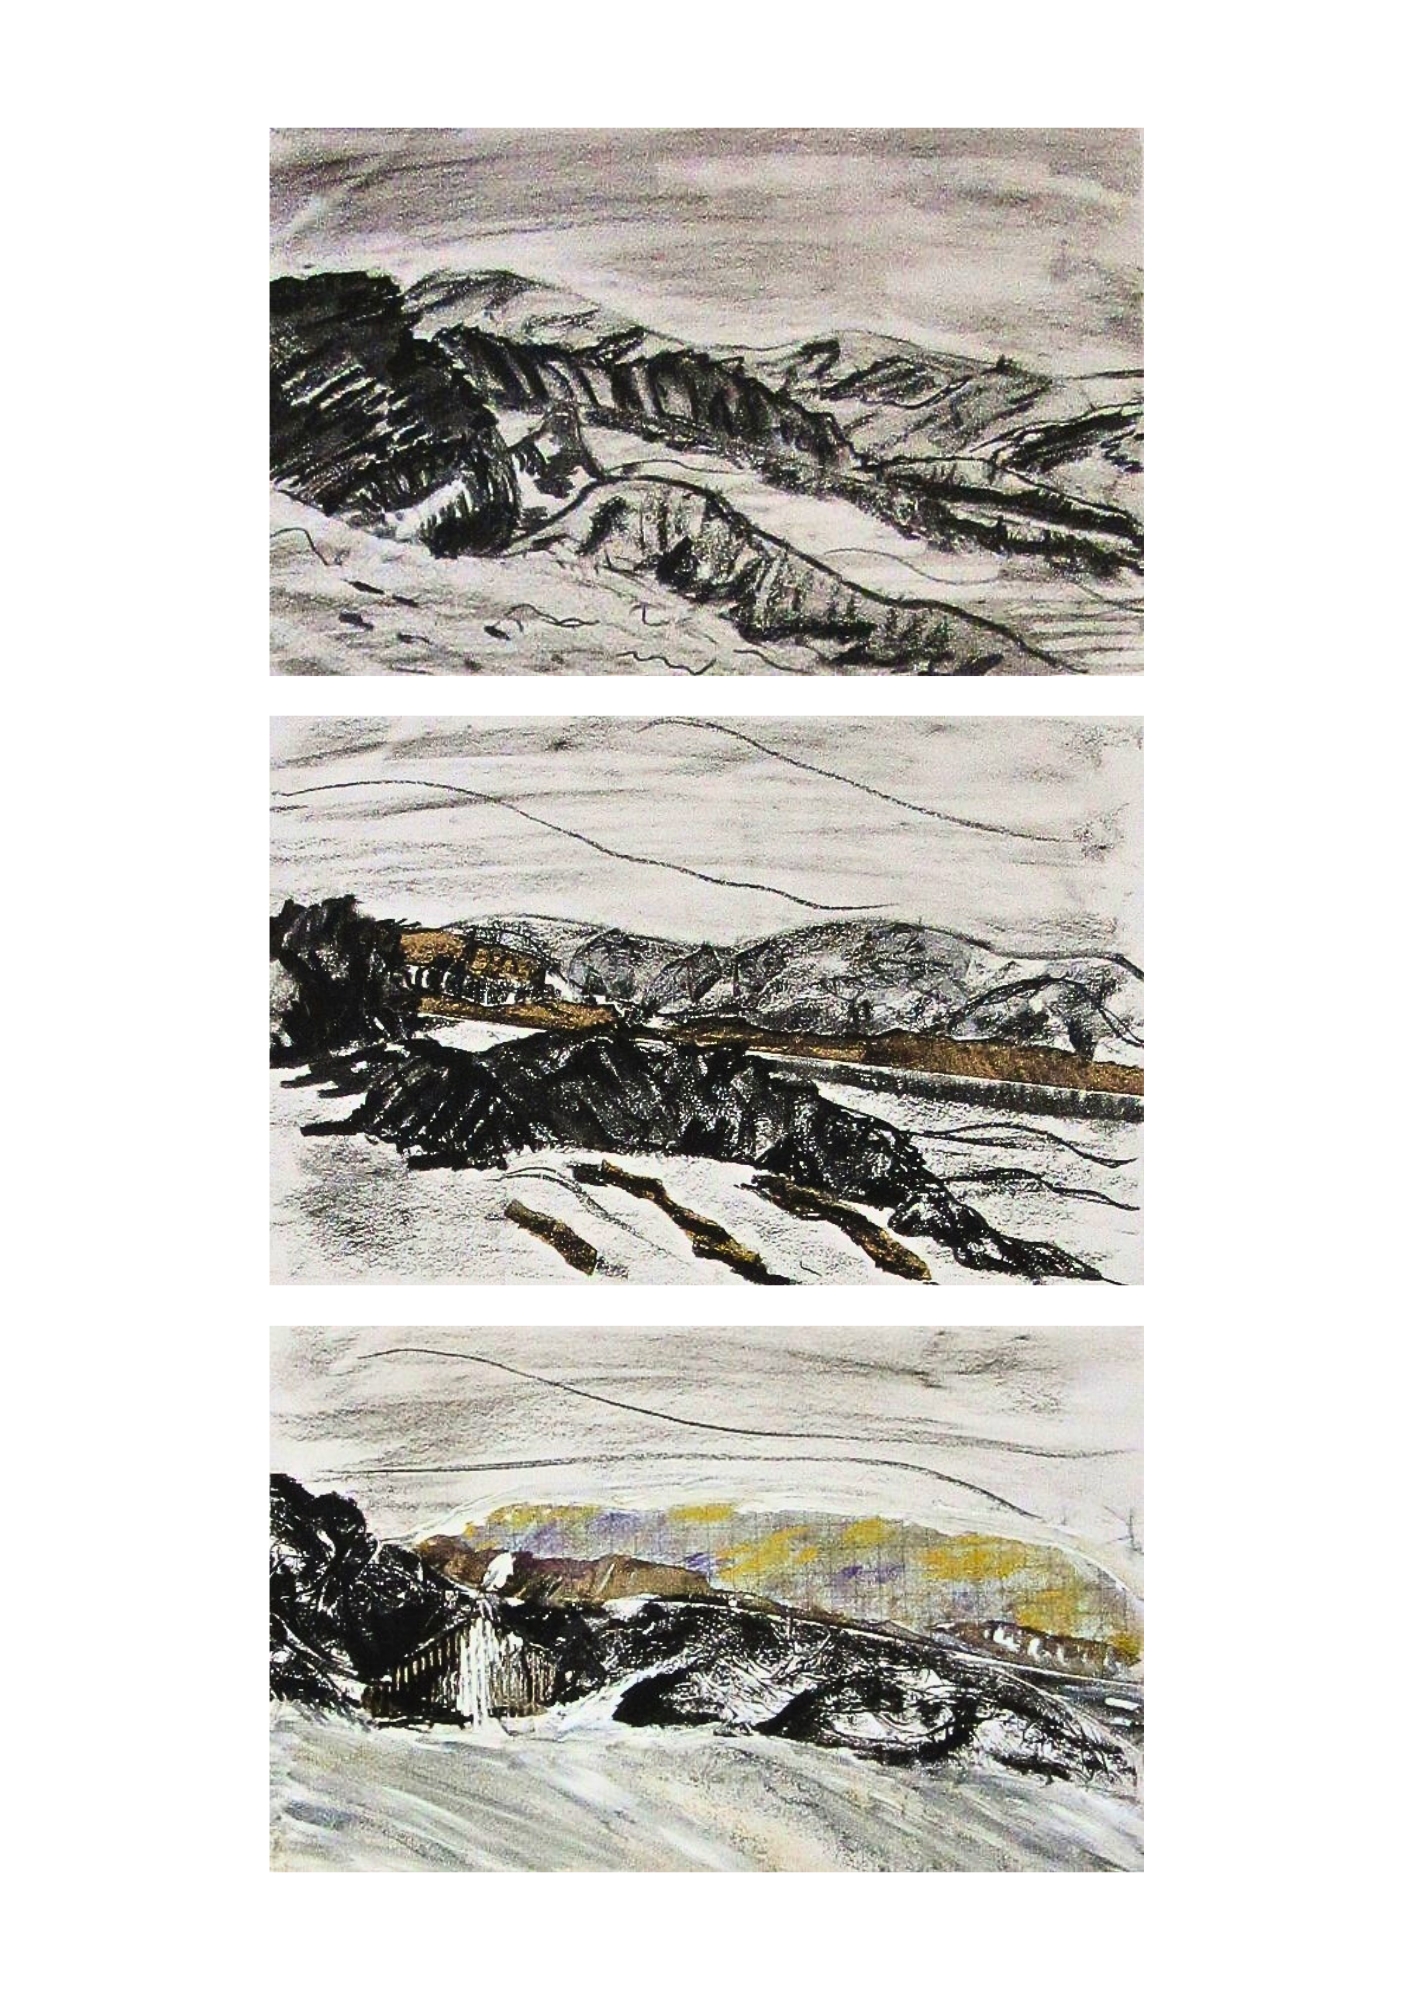
 Annie Musgrove – Blackdown Hills in oils
What a super workshop this was, we started with sketches in charcoal and then after fixing them painted over them with oil paints using palette knives before making our final artwork. Very interesting and learned quite a few new techniques.


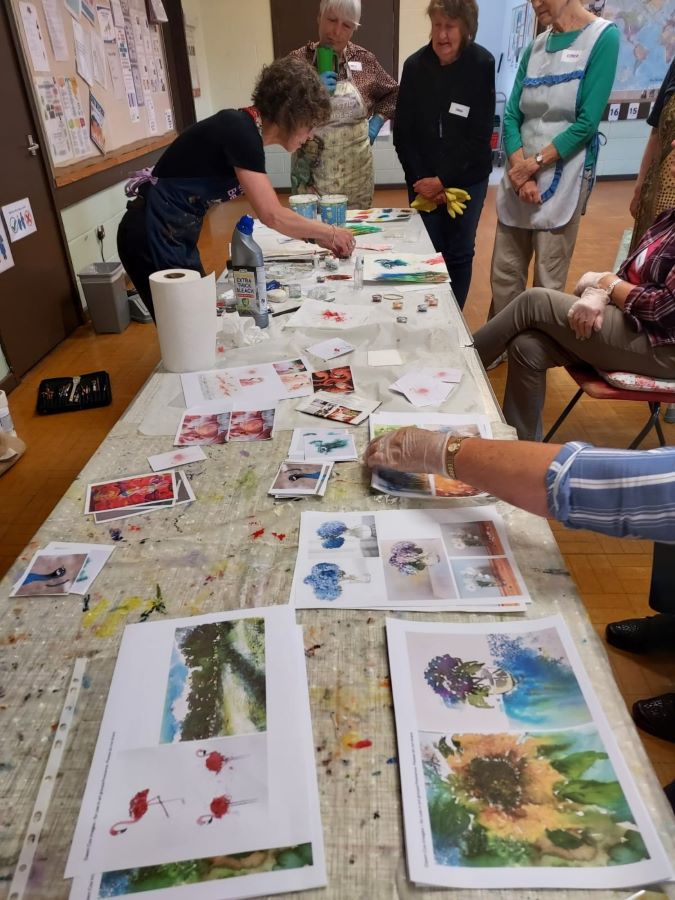
 Claire Western – Painting with bleach
Claire put us to work to create a garden scene using bleach and pastels. We then created a second artwork using bleach and Koh-I-Noor dyes and finished the workshop with simple landscapes using tools to scrape and bleed the bleach and dye. We had fun at this workshop.


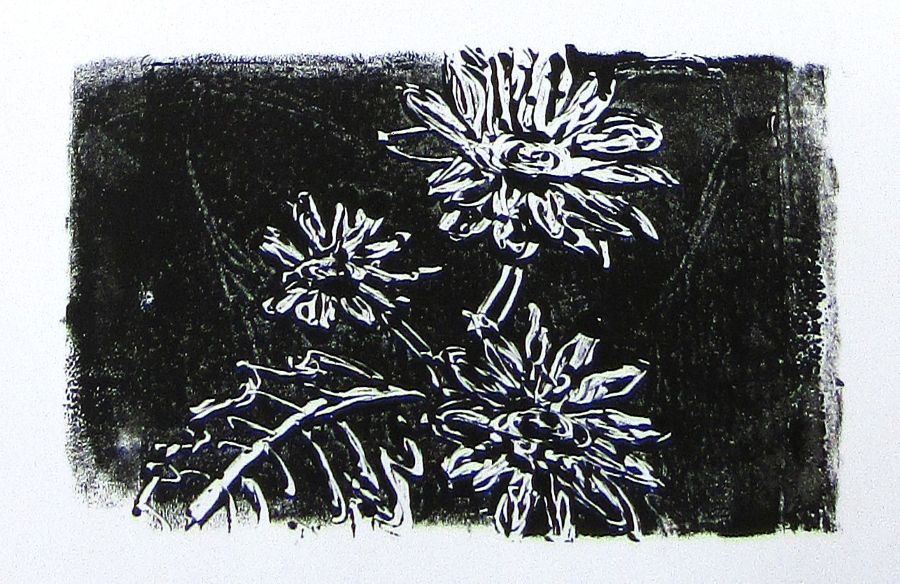
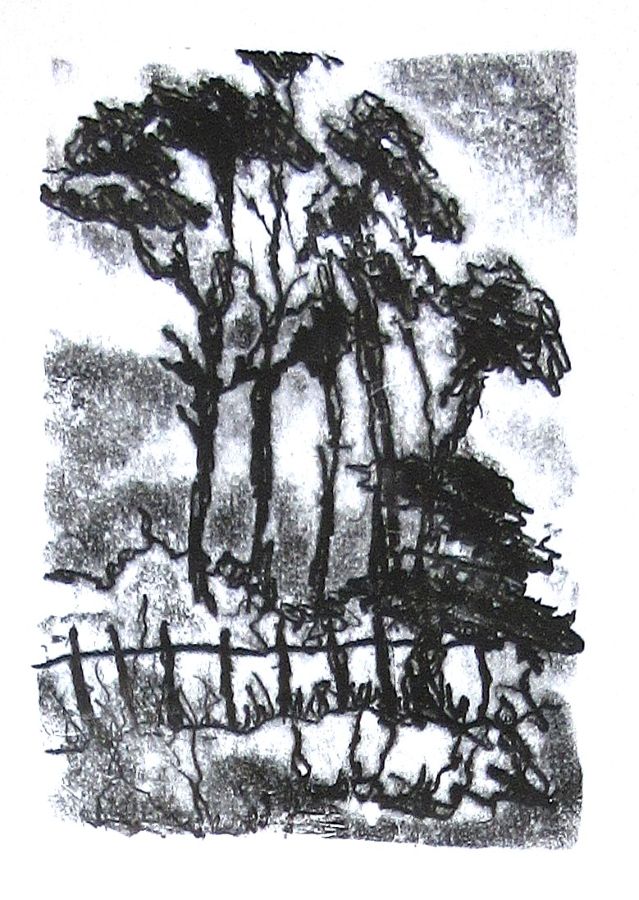
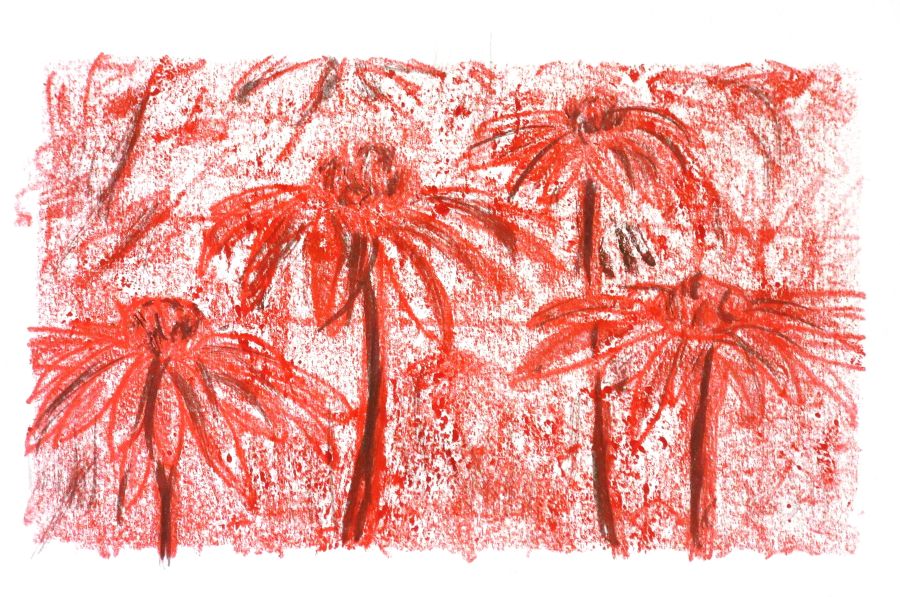
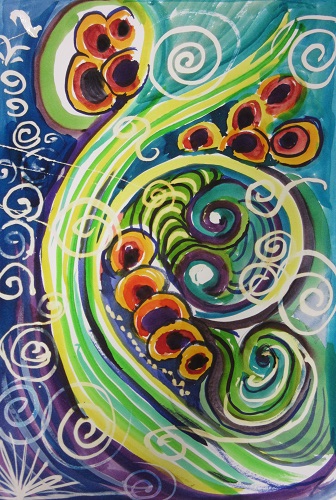
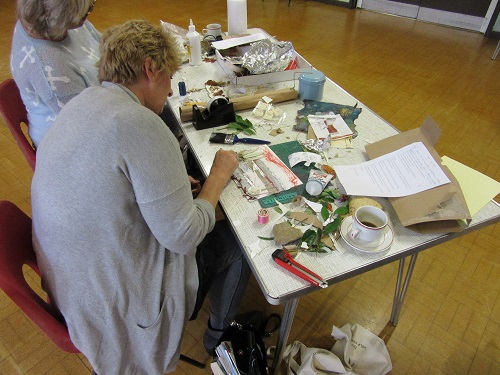
Lisa Takahashi – Monotypes
Lisa didn’t disappoint, we learned 3 new printing techniques and it was a very entertaining workshop. We made sooo many prints on the day – check the slideshow below , suffice to say we enjoyed ourselves.


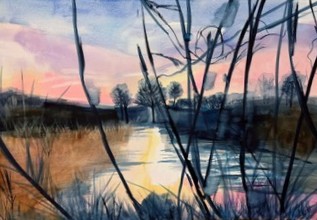
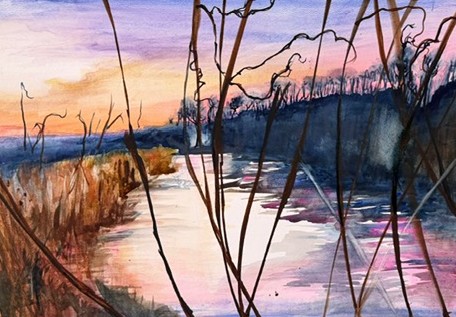
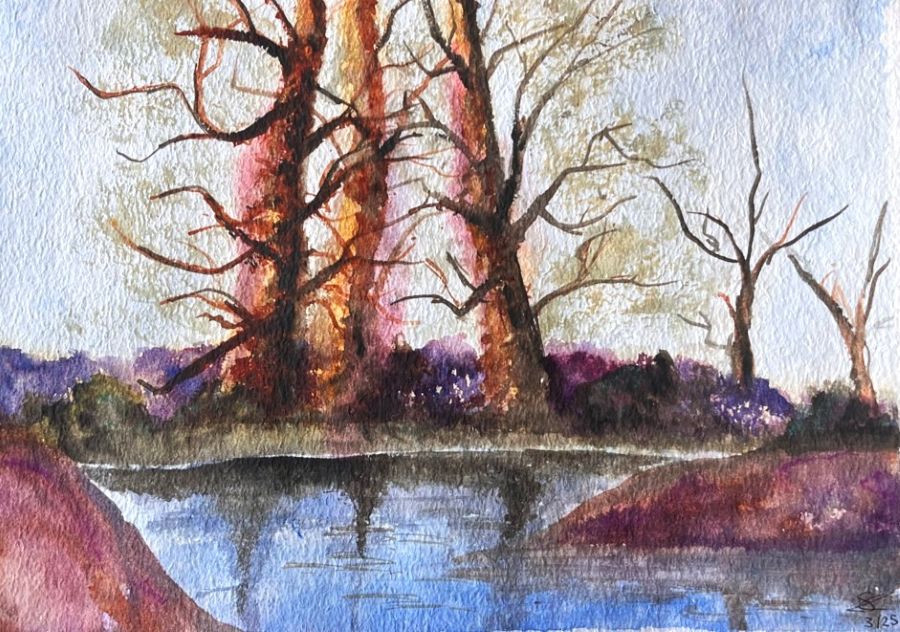
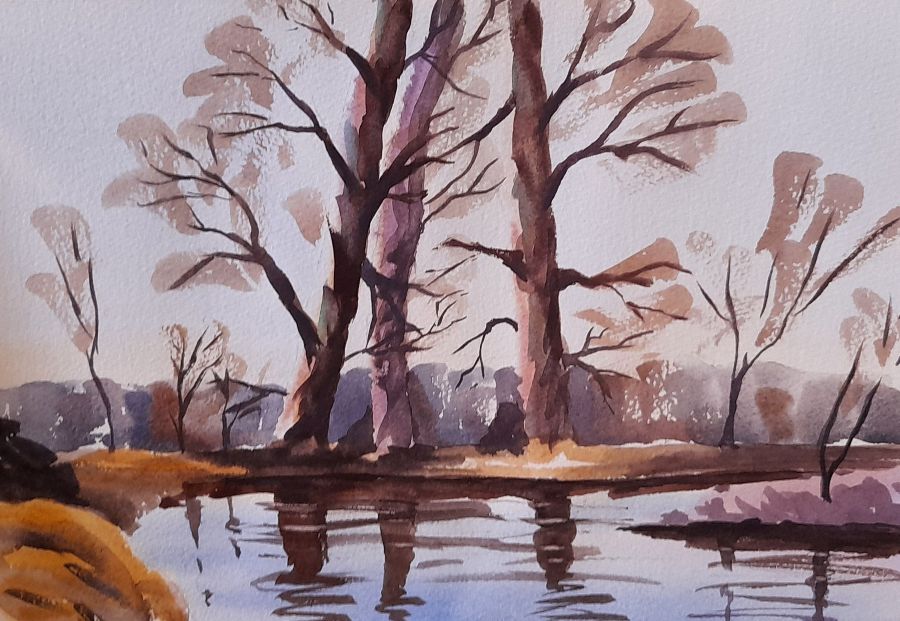
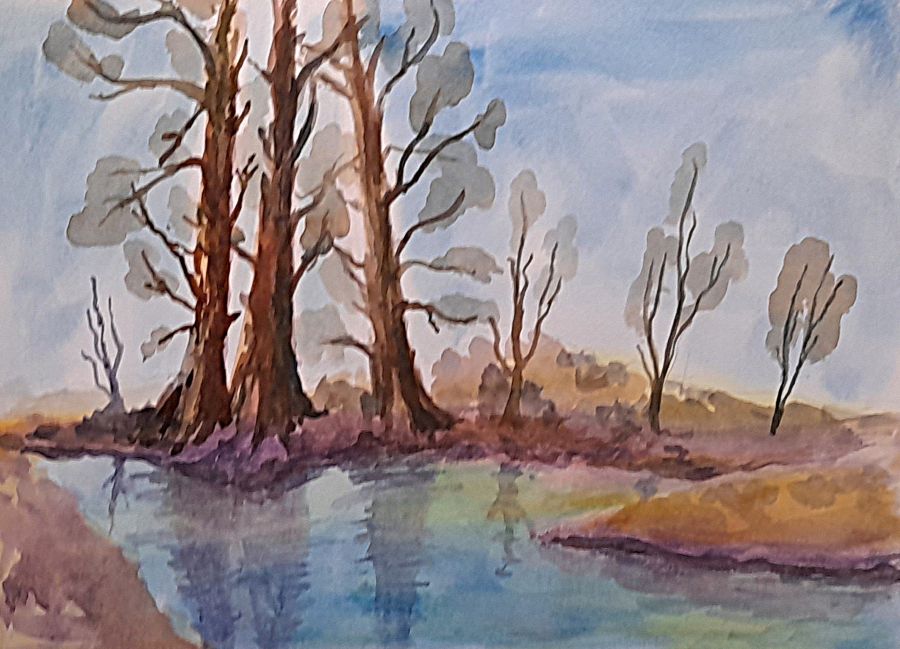
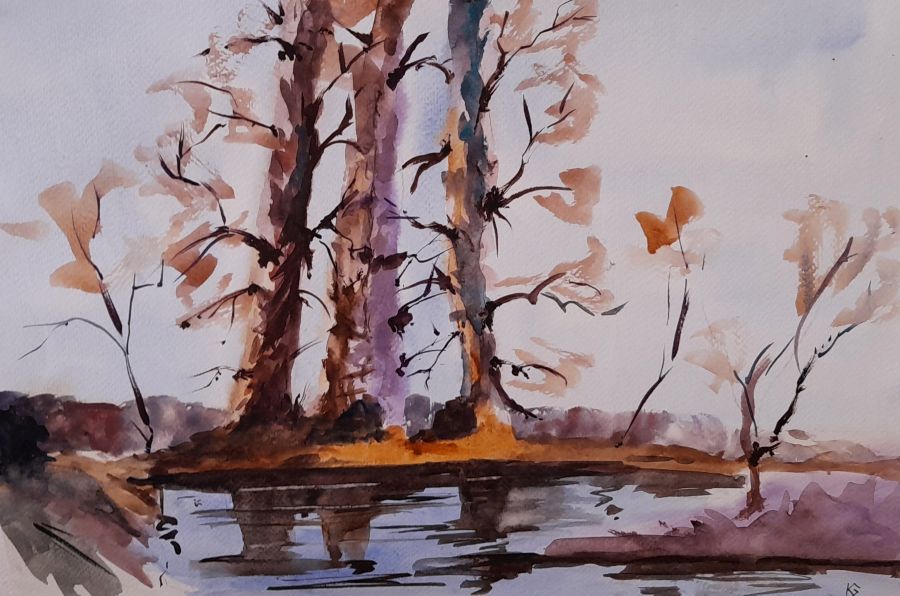
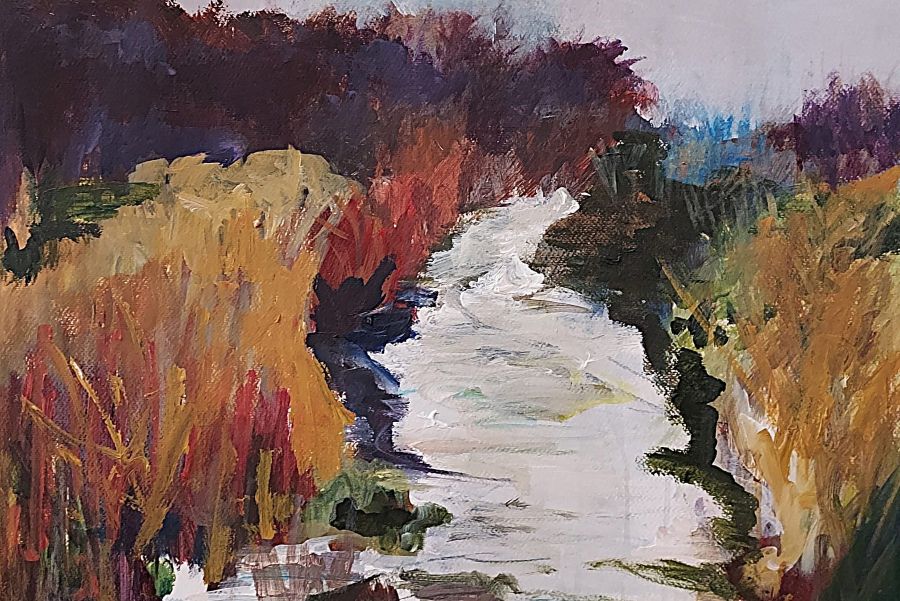
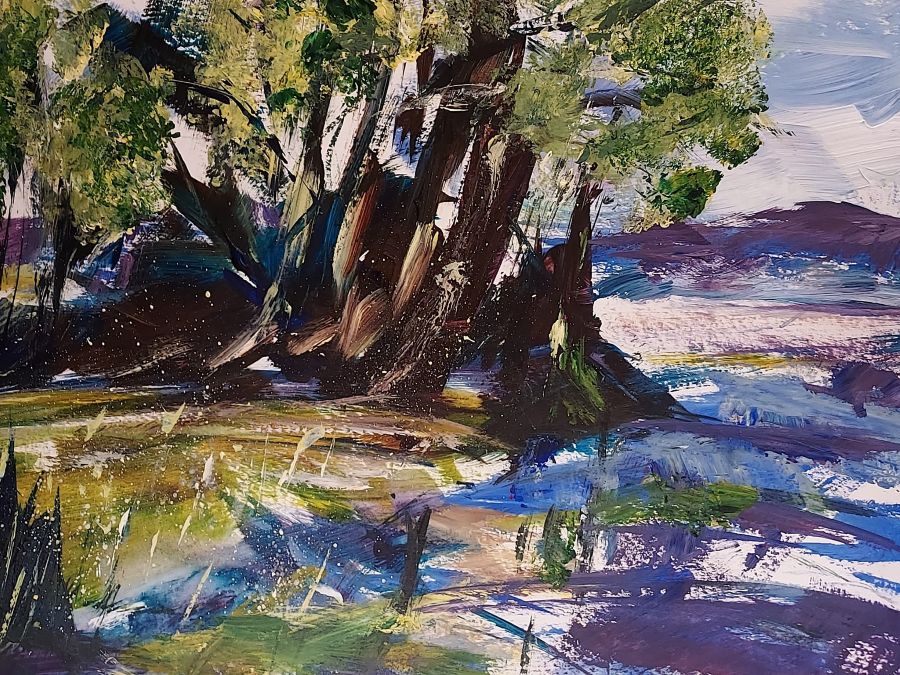
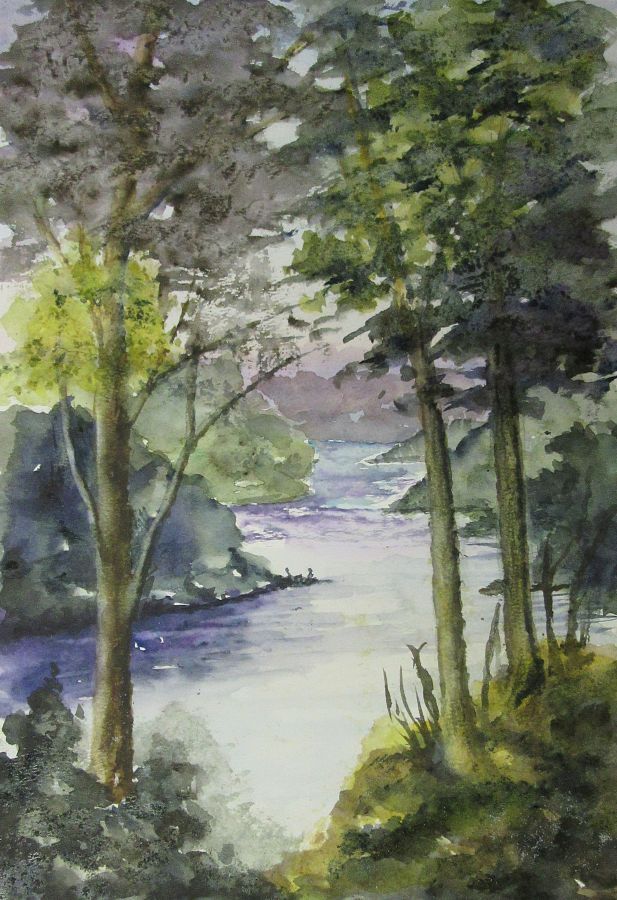
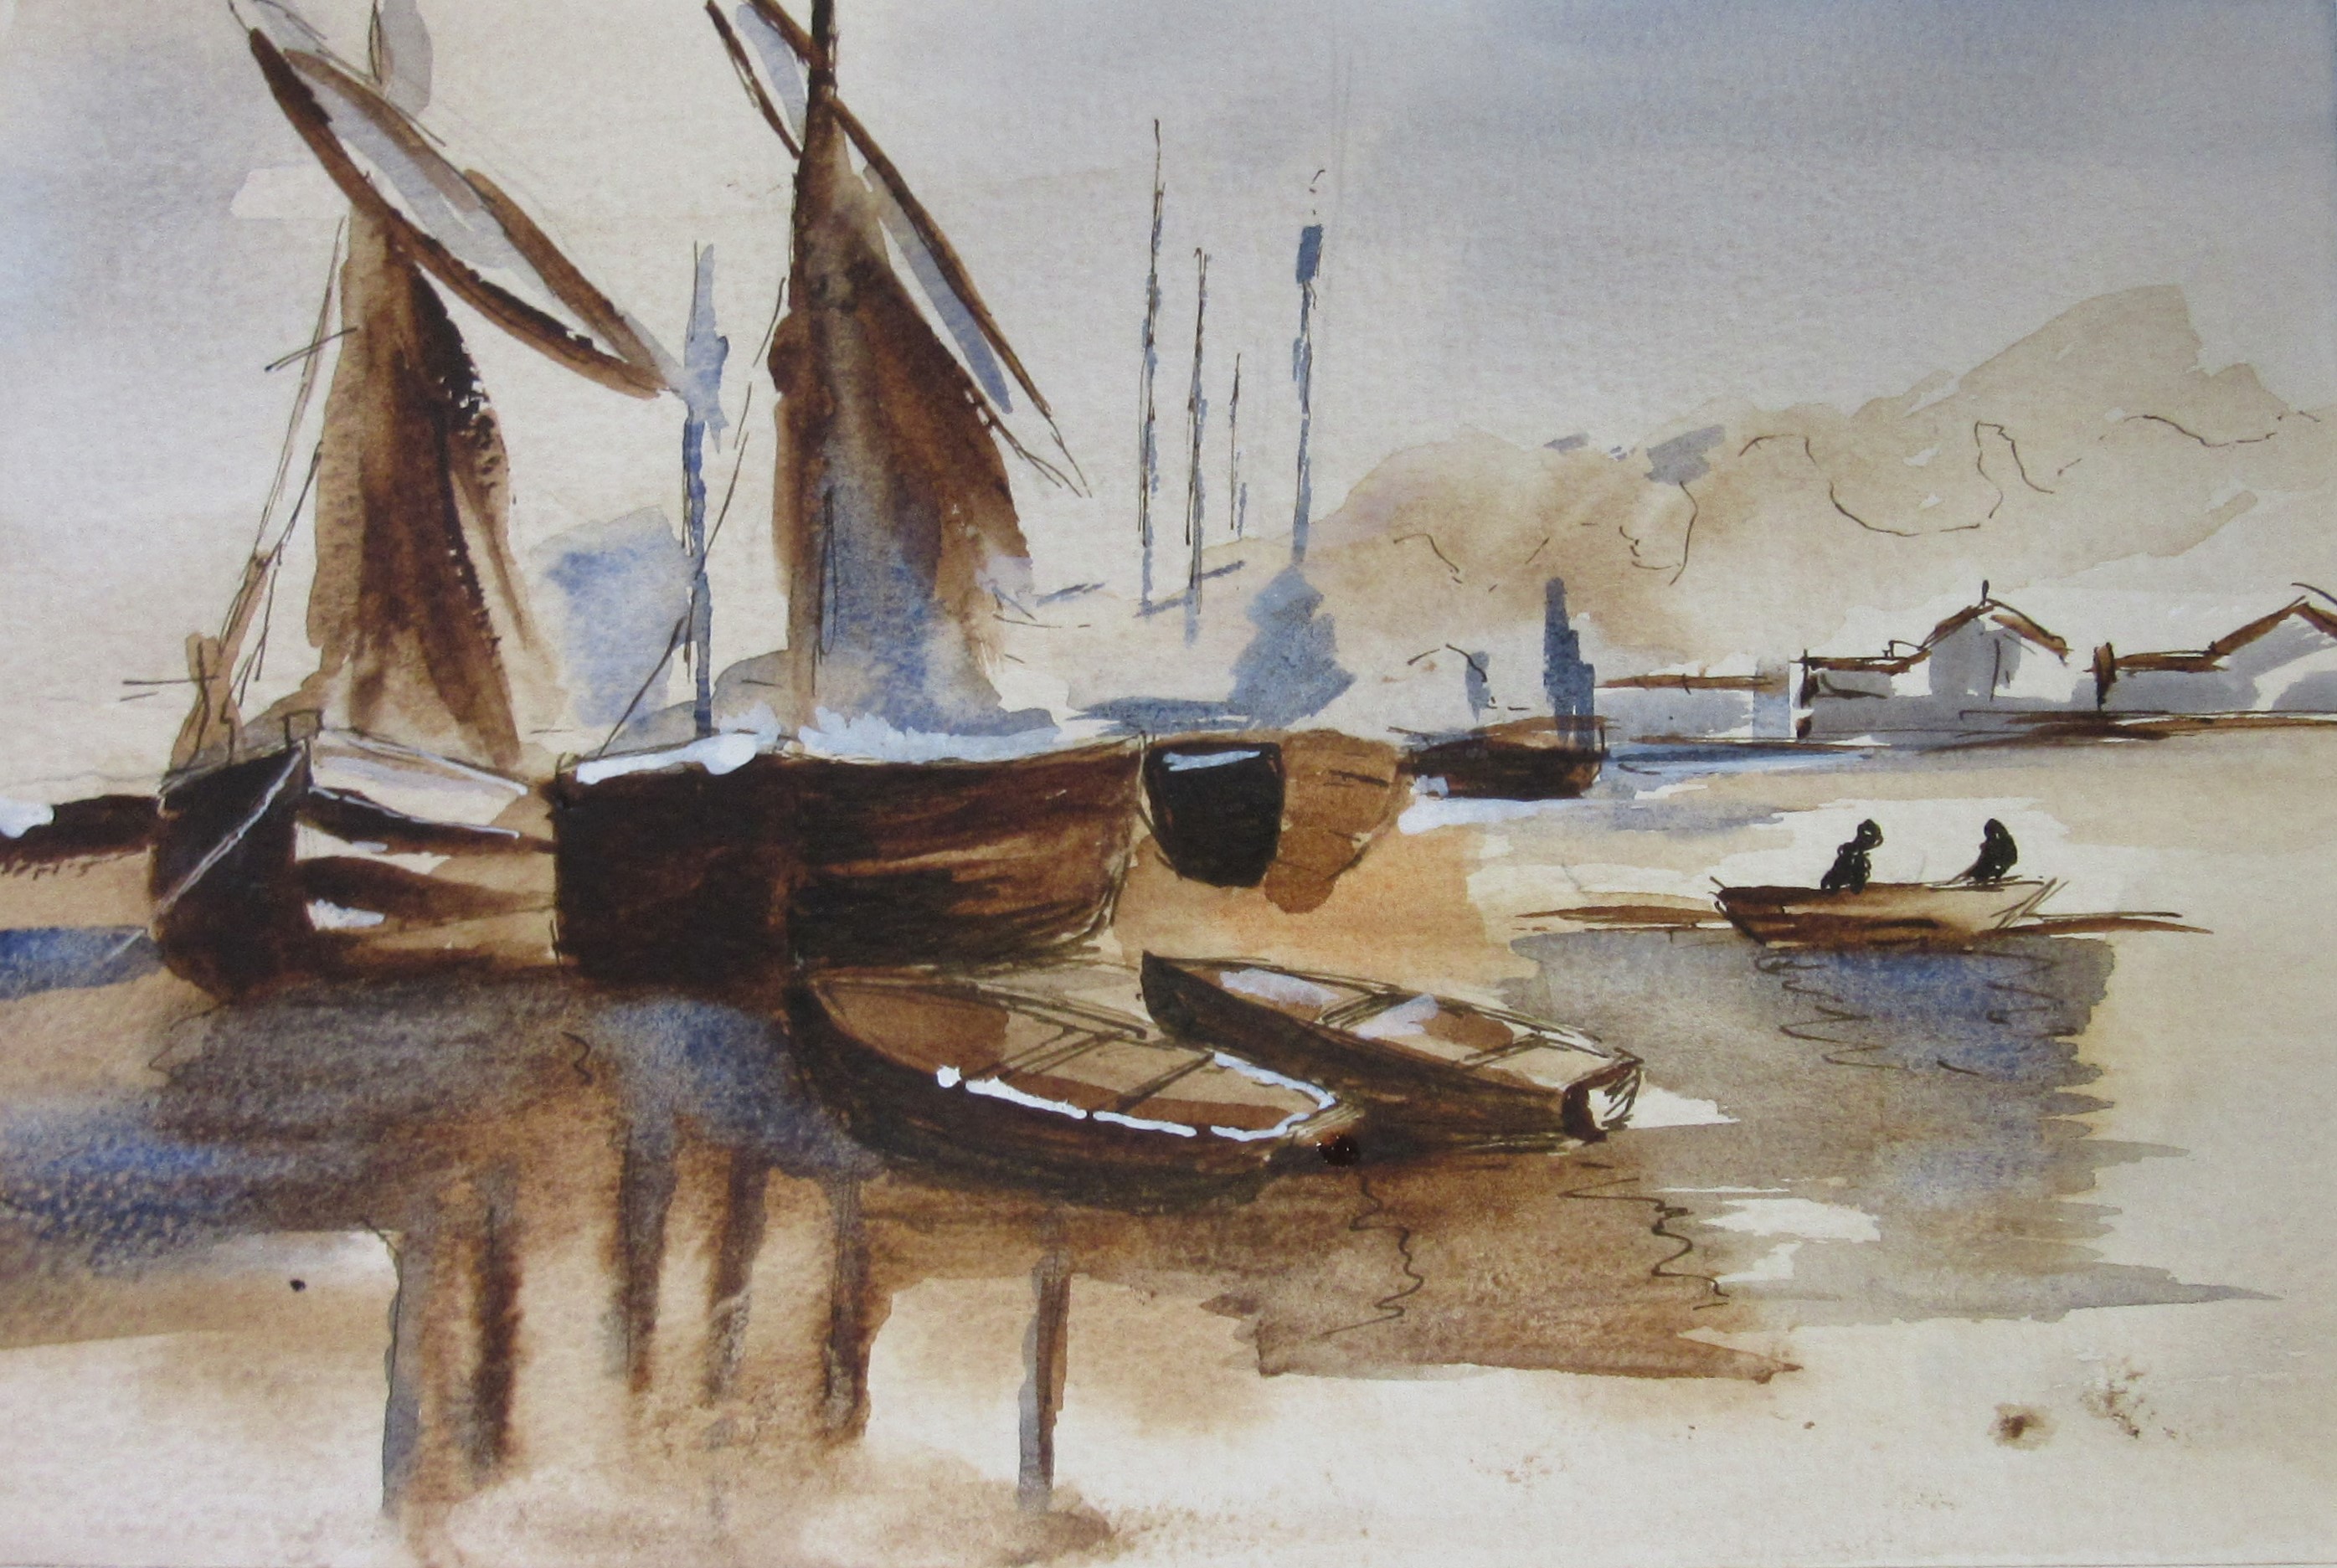
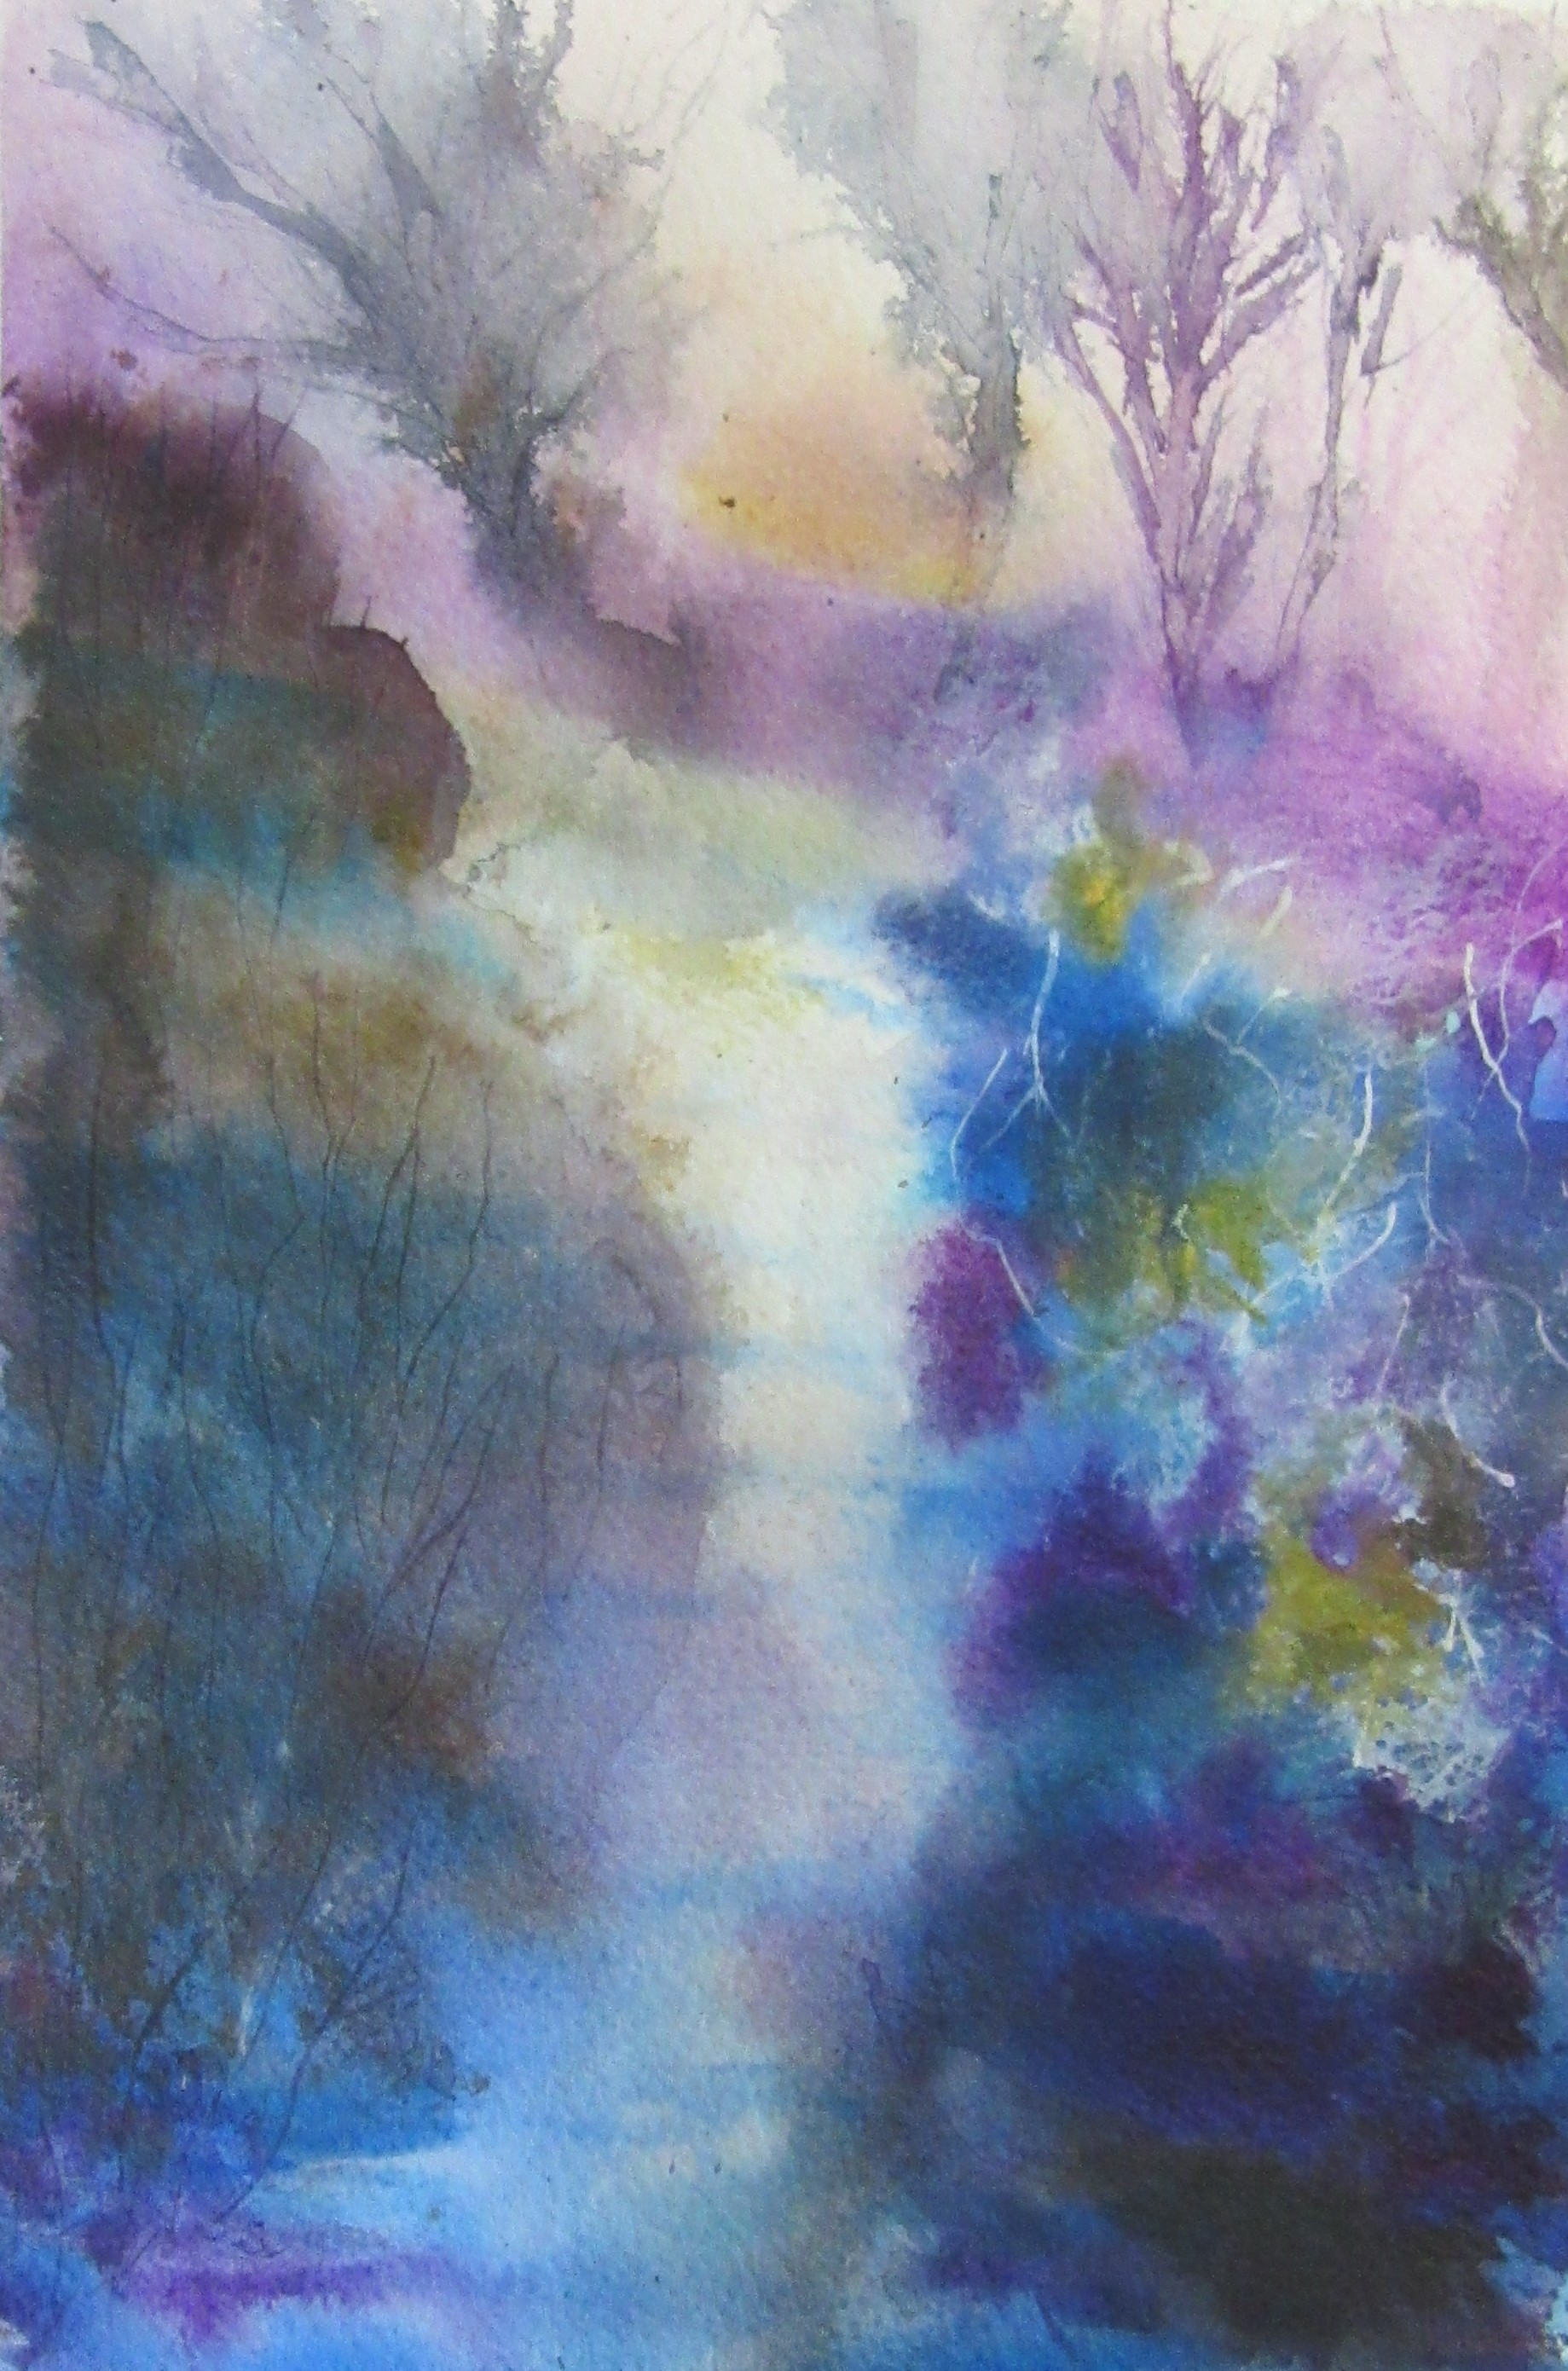
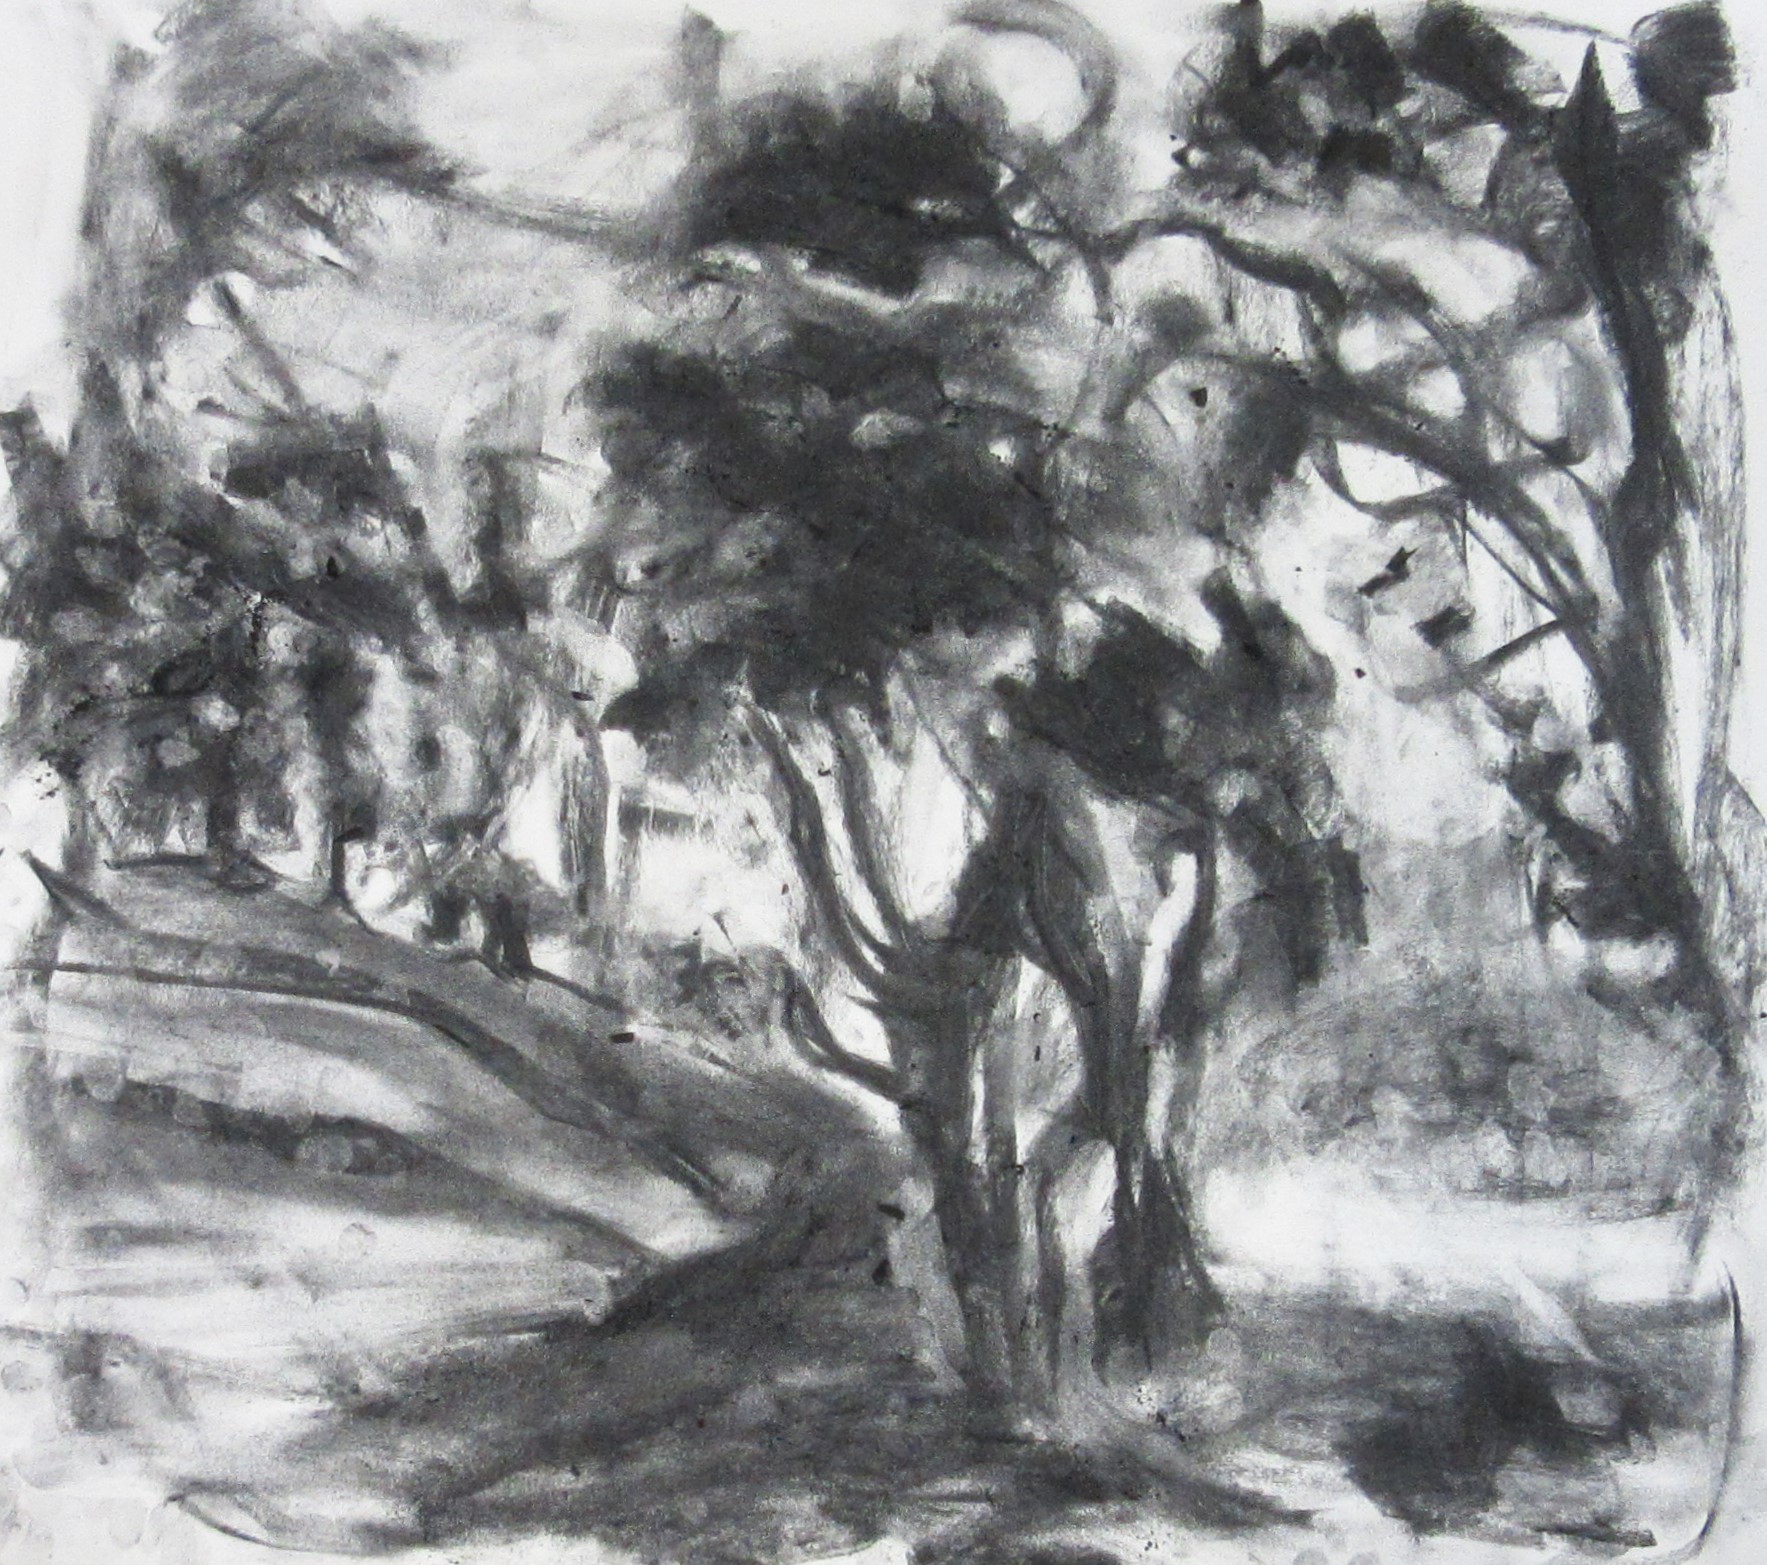
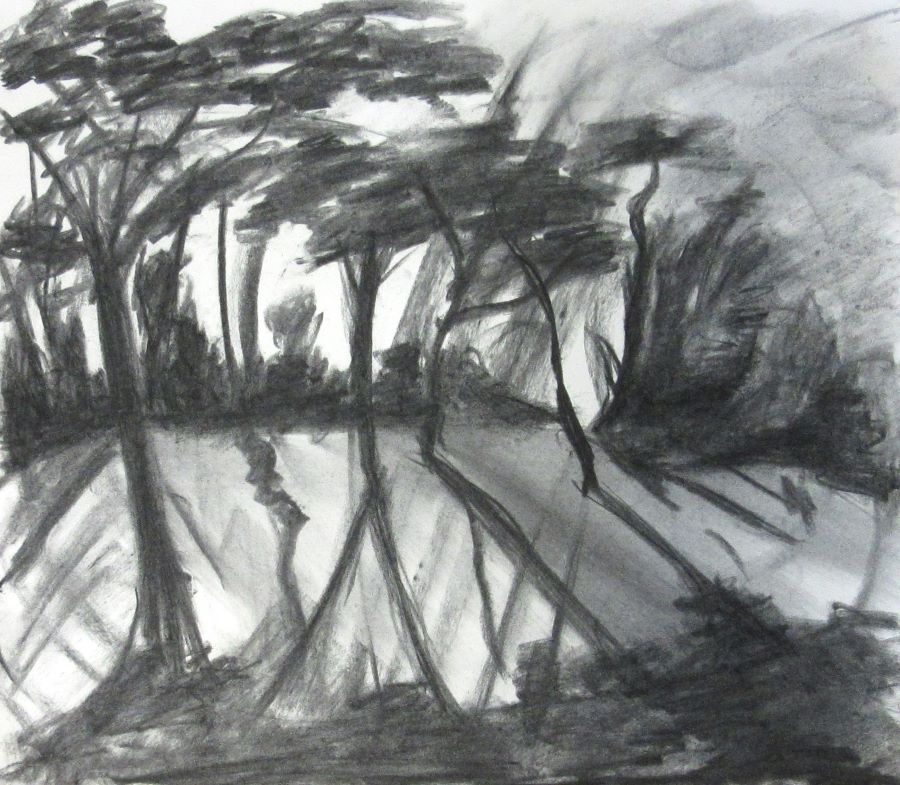
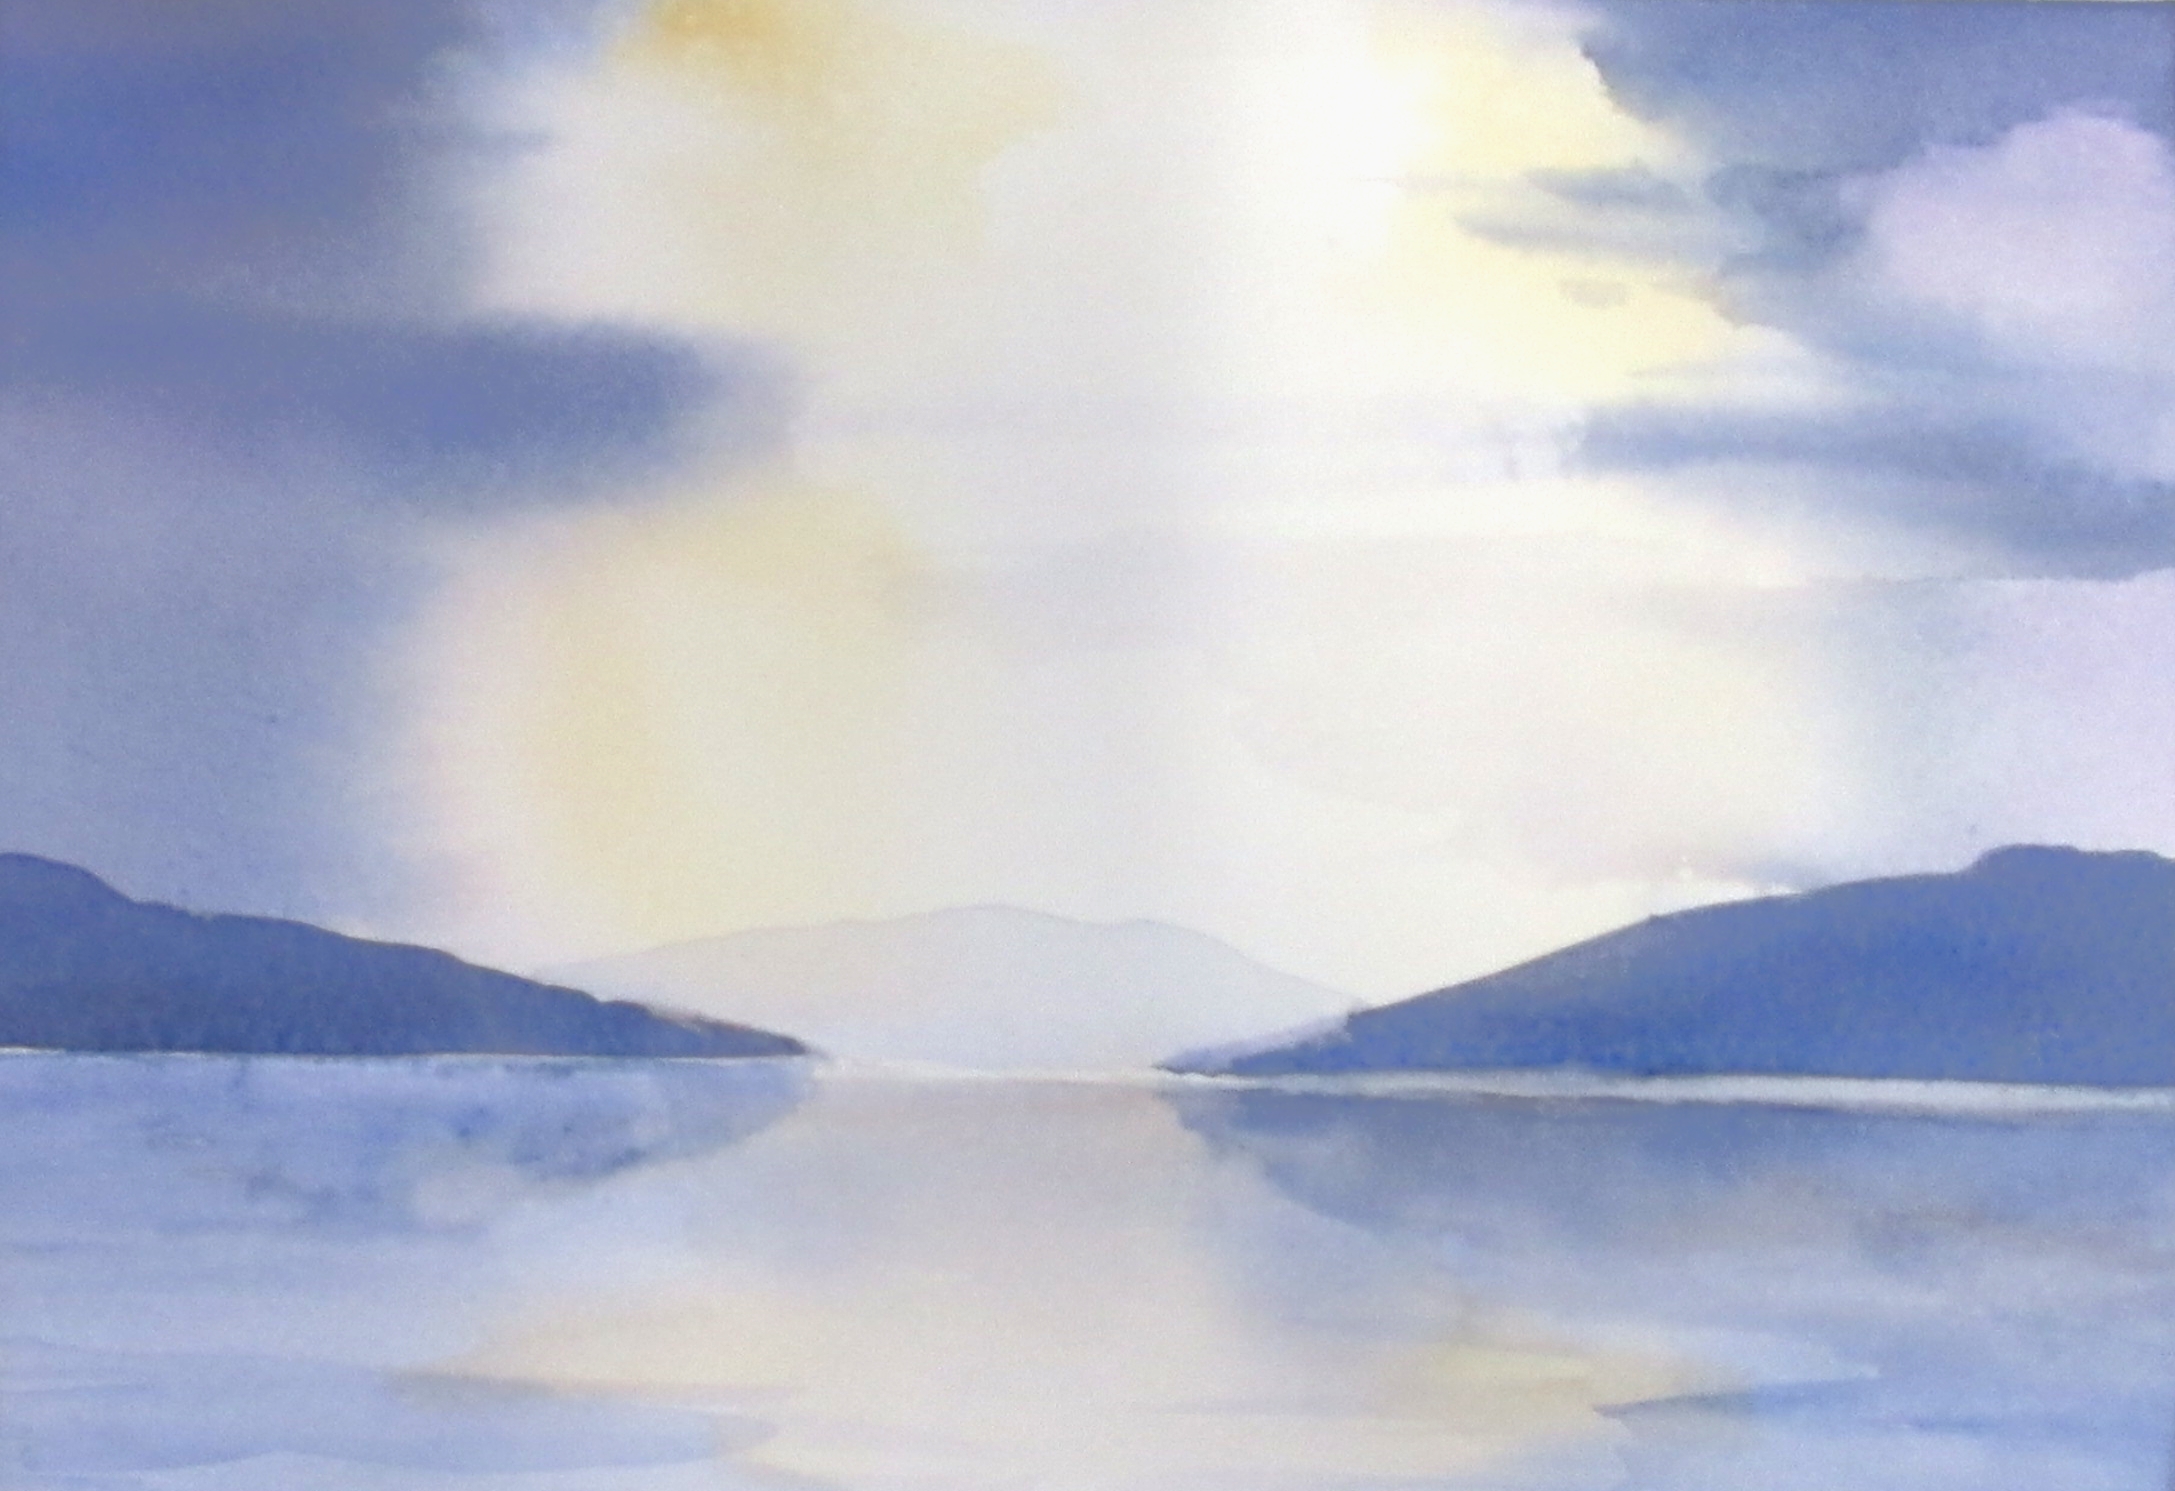
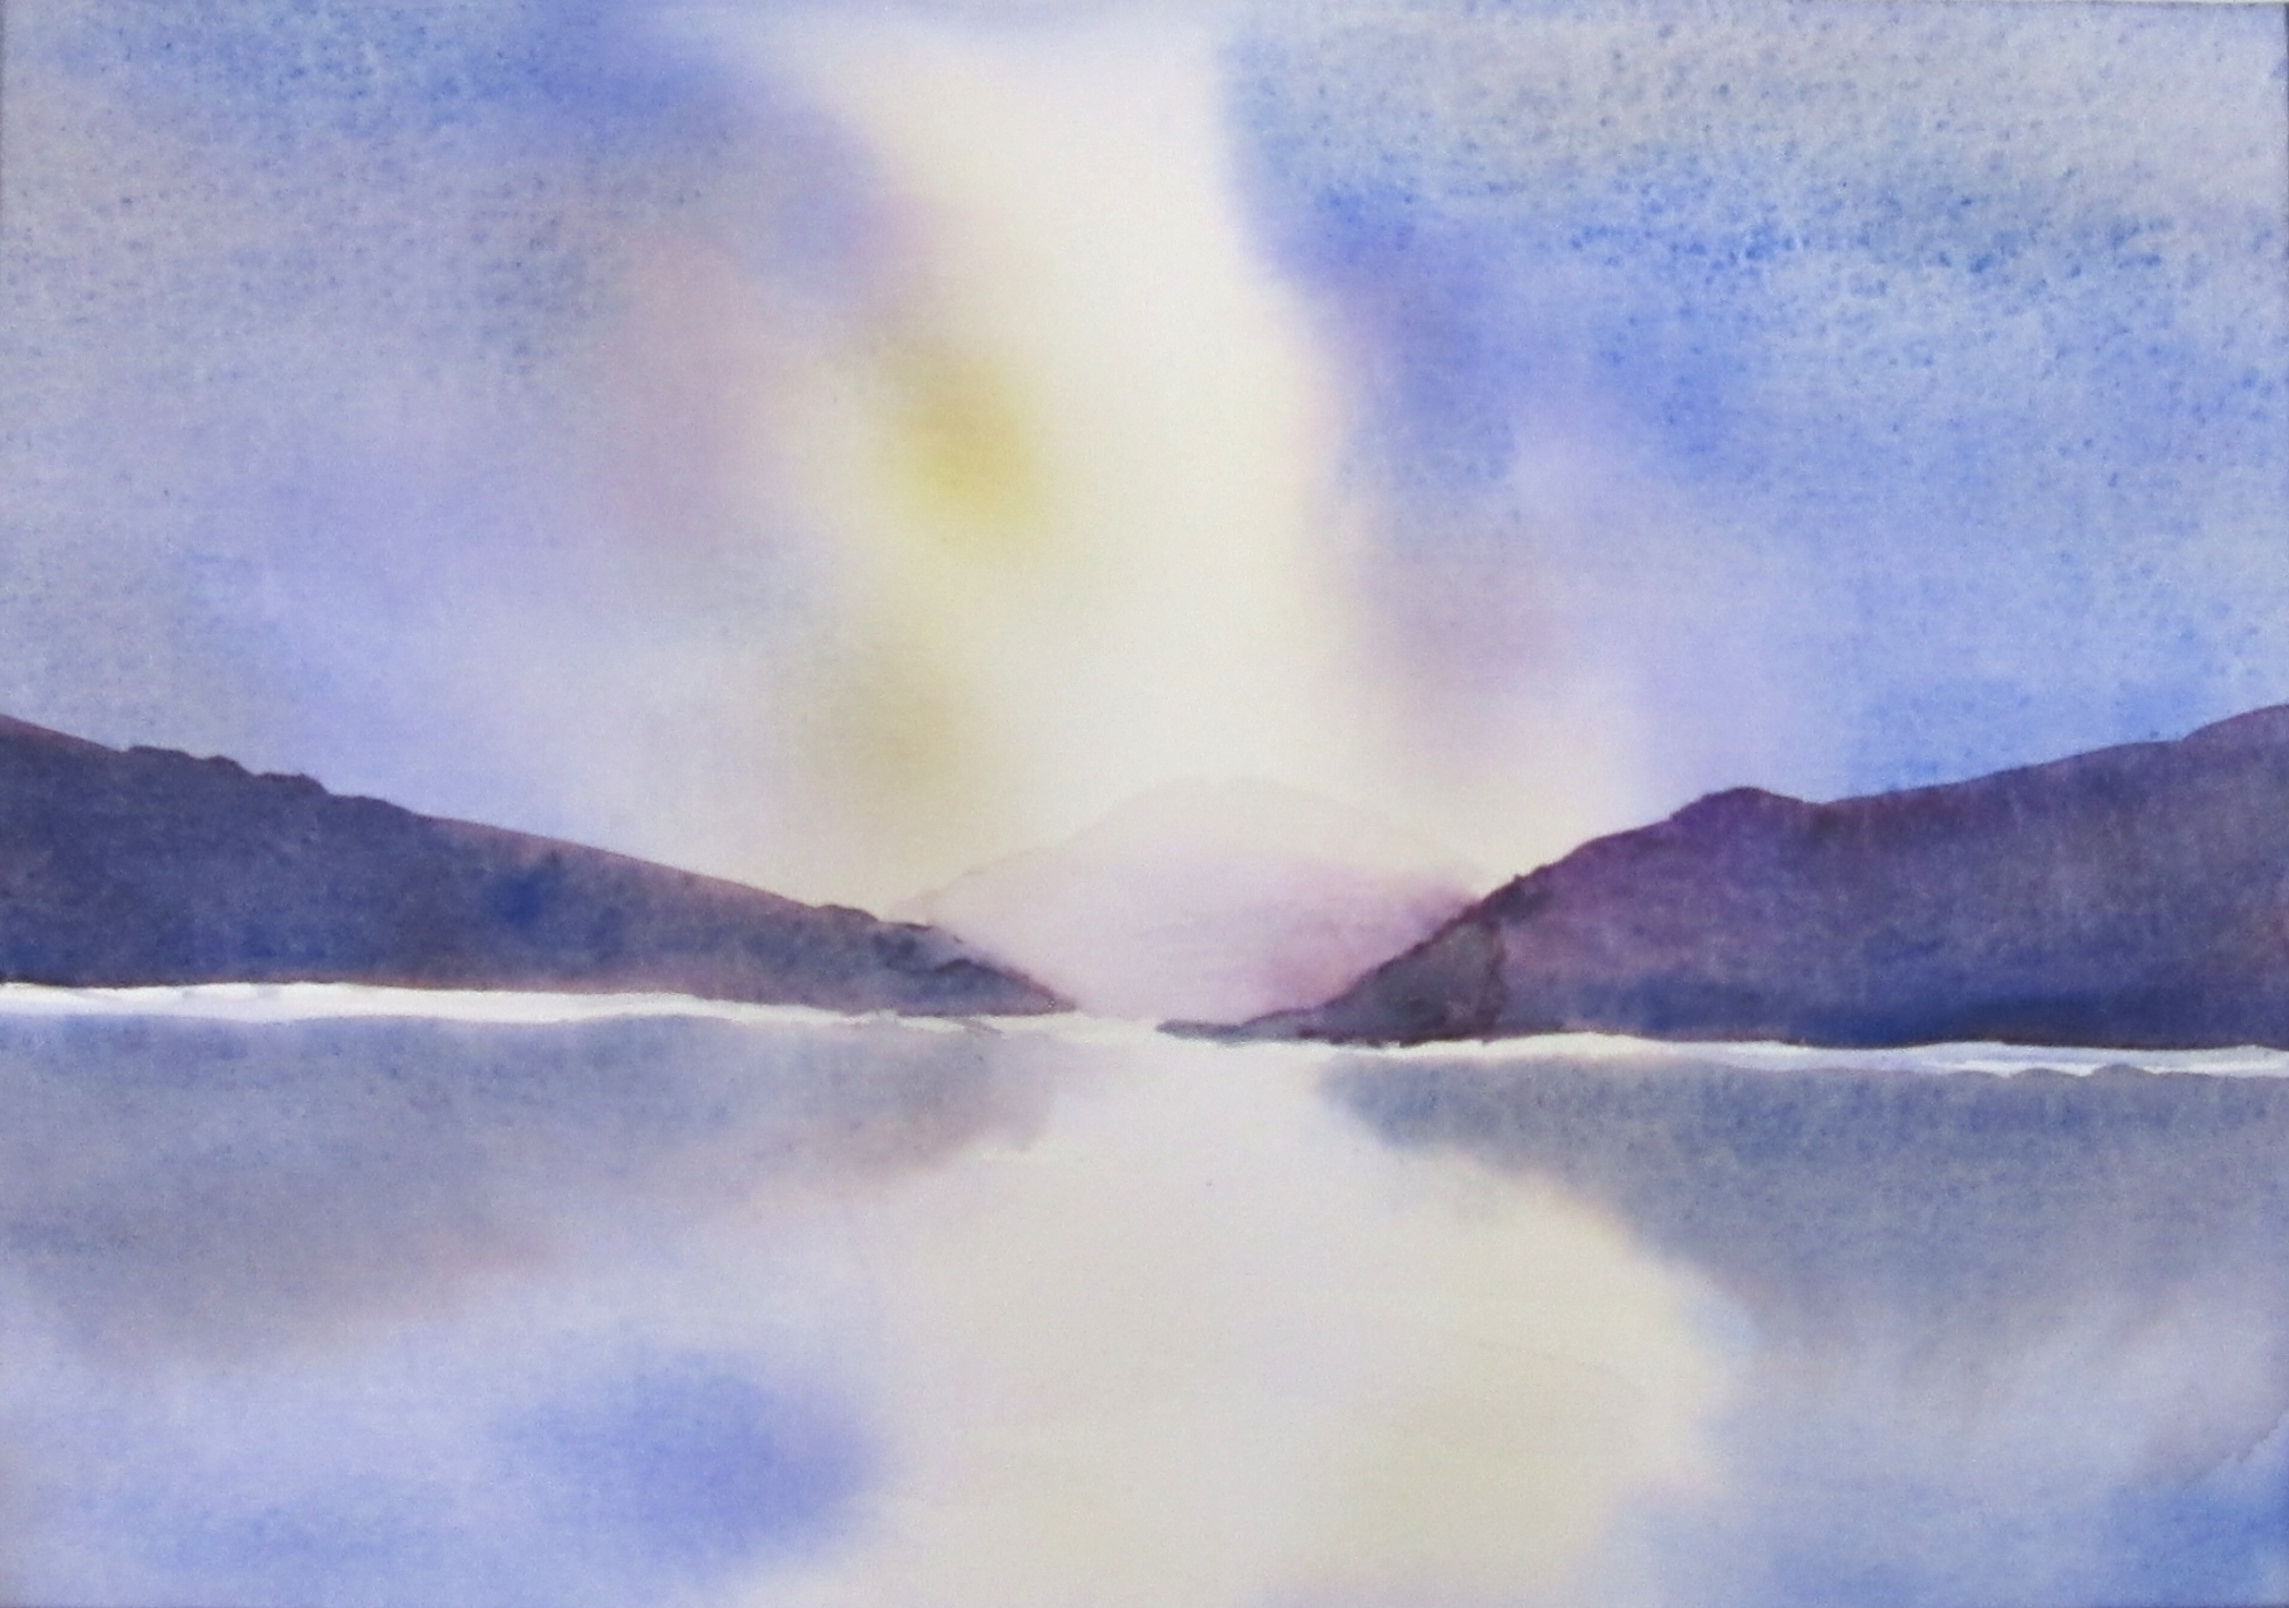
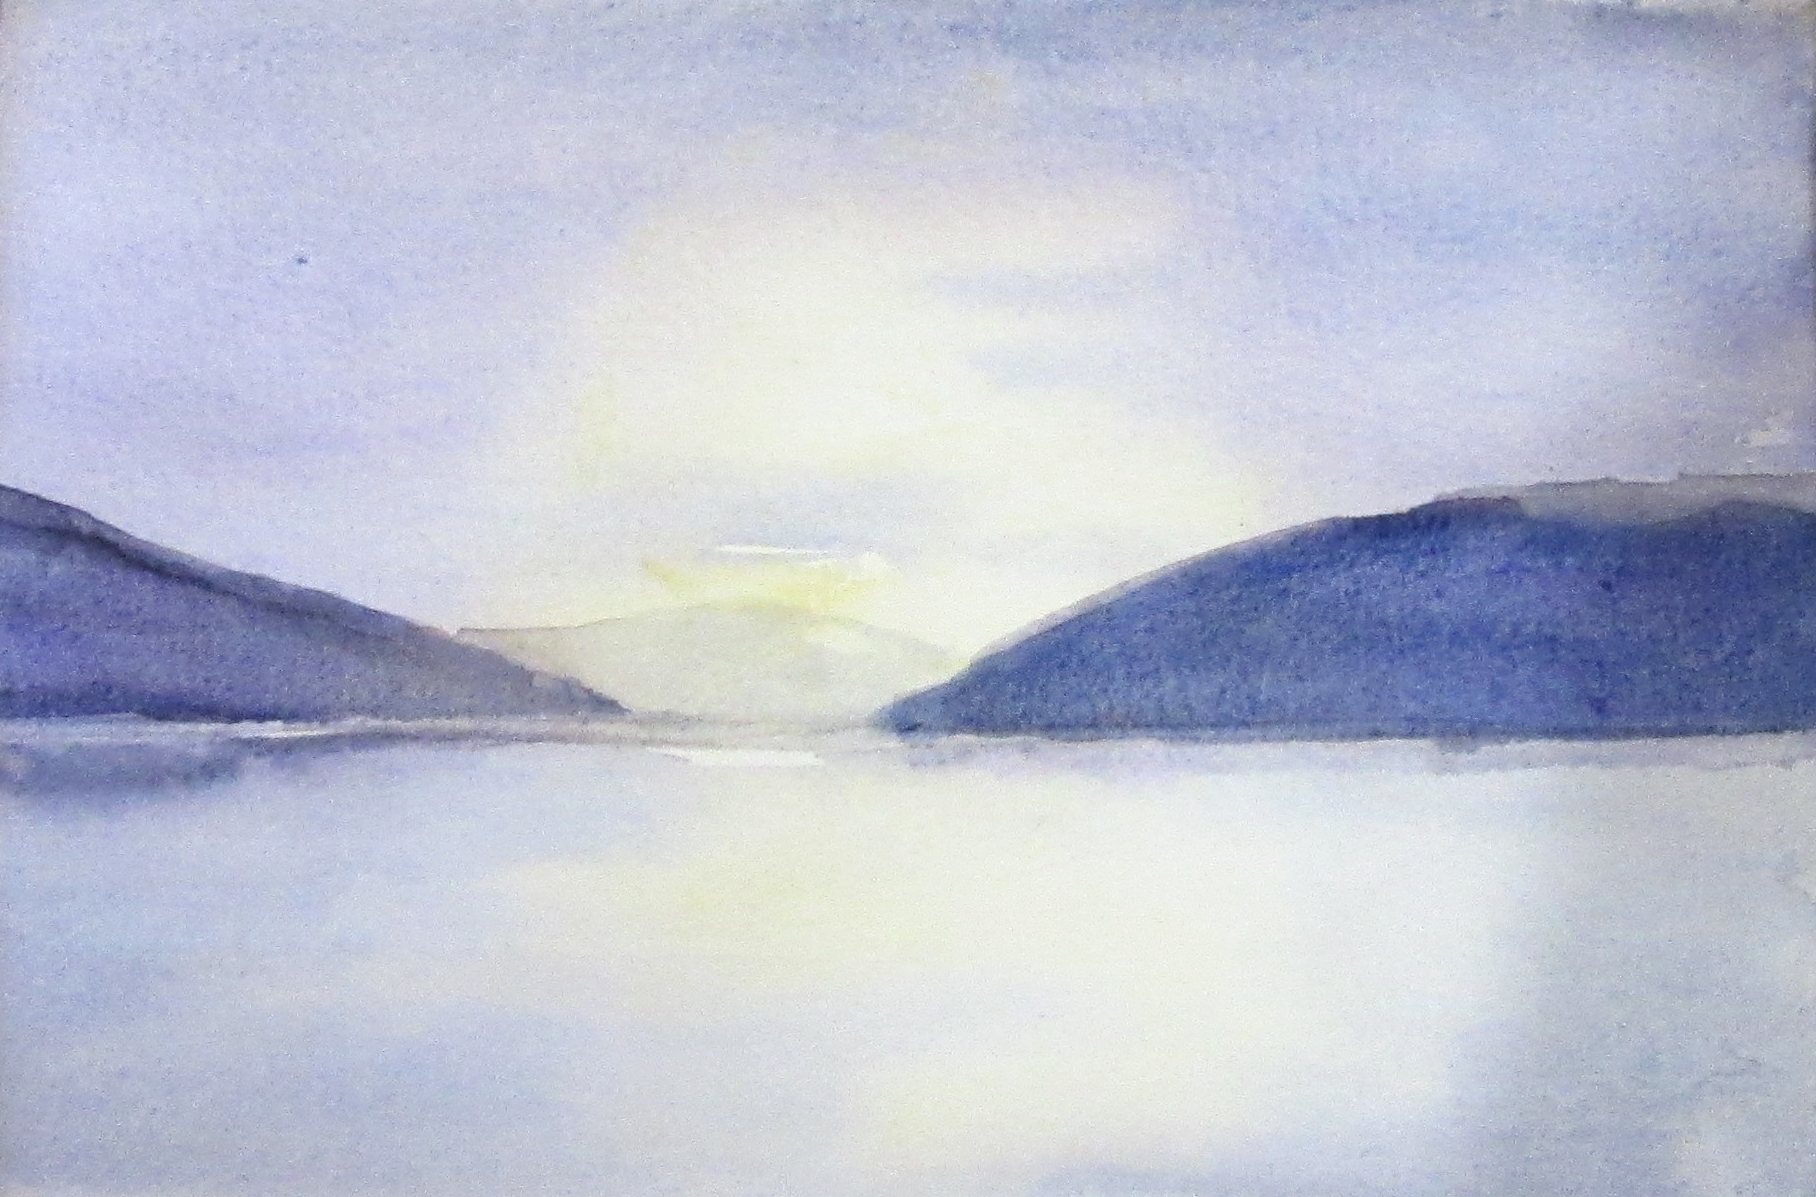
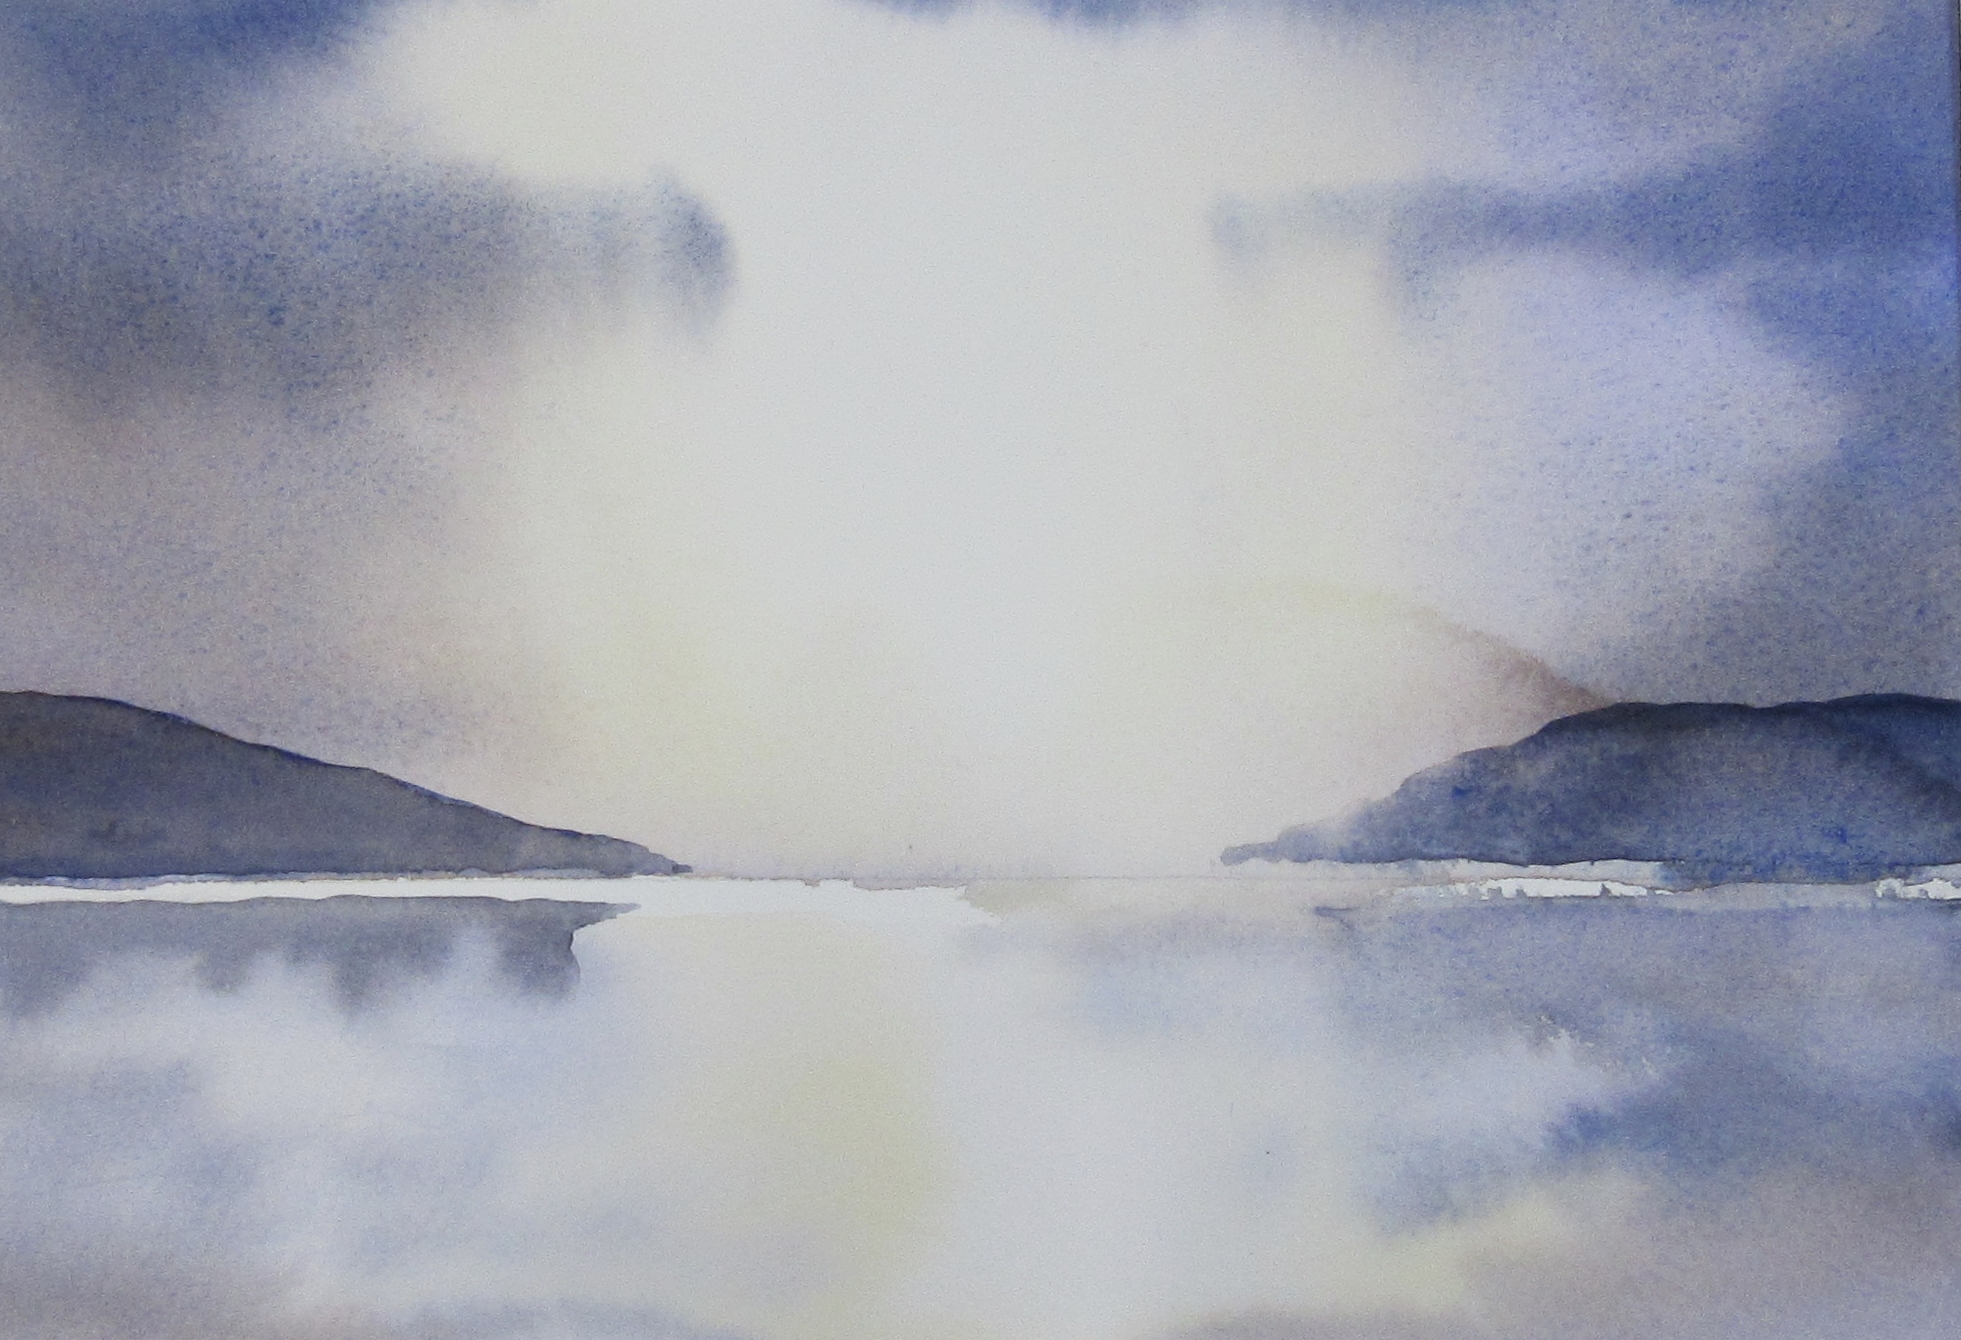
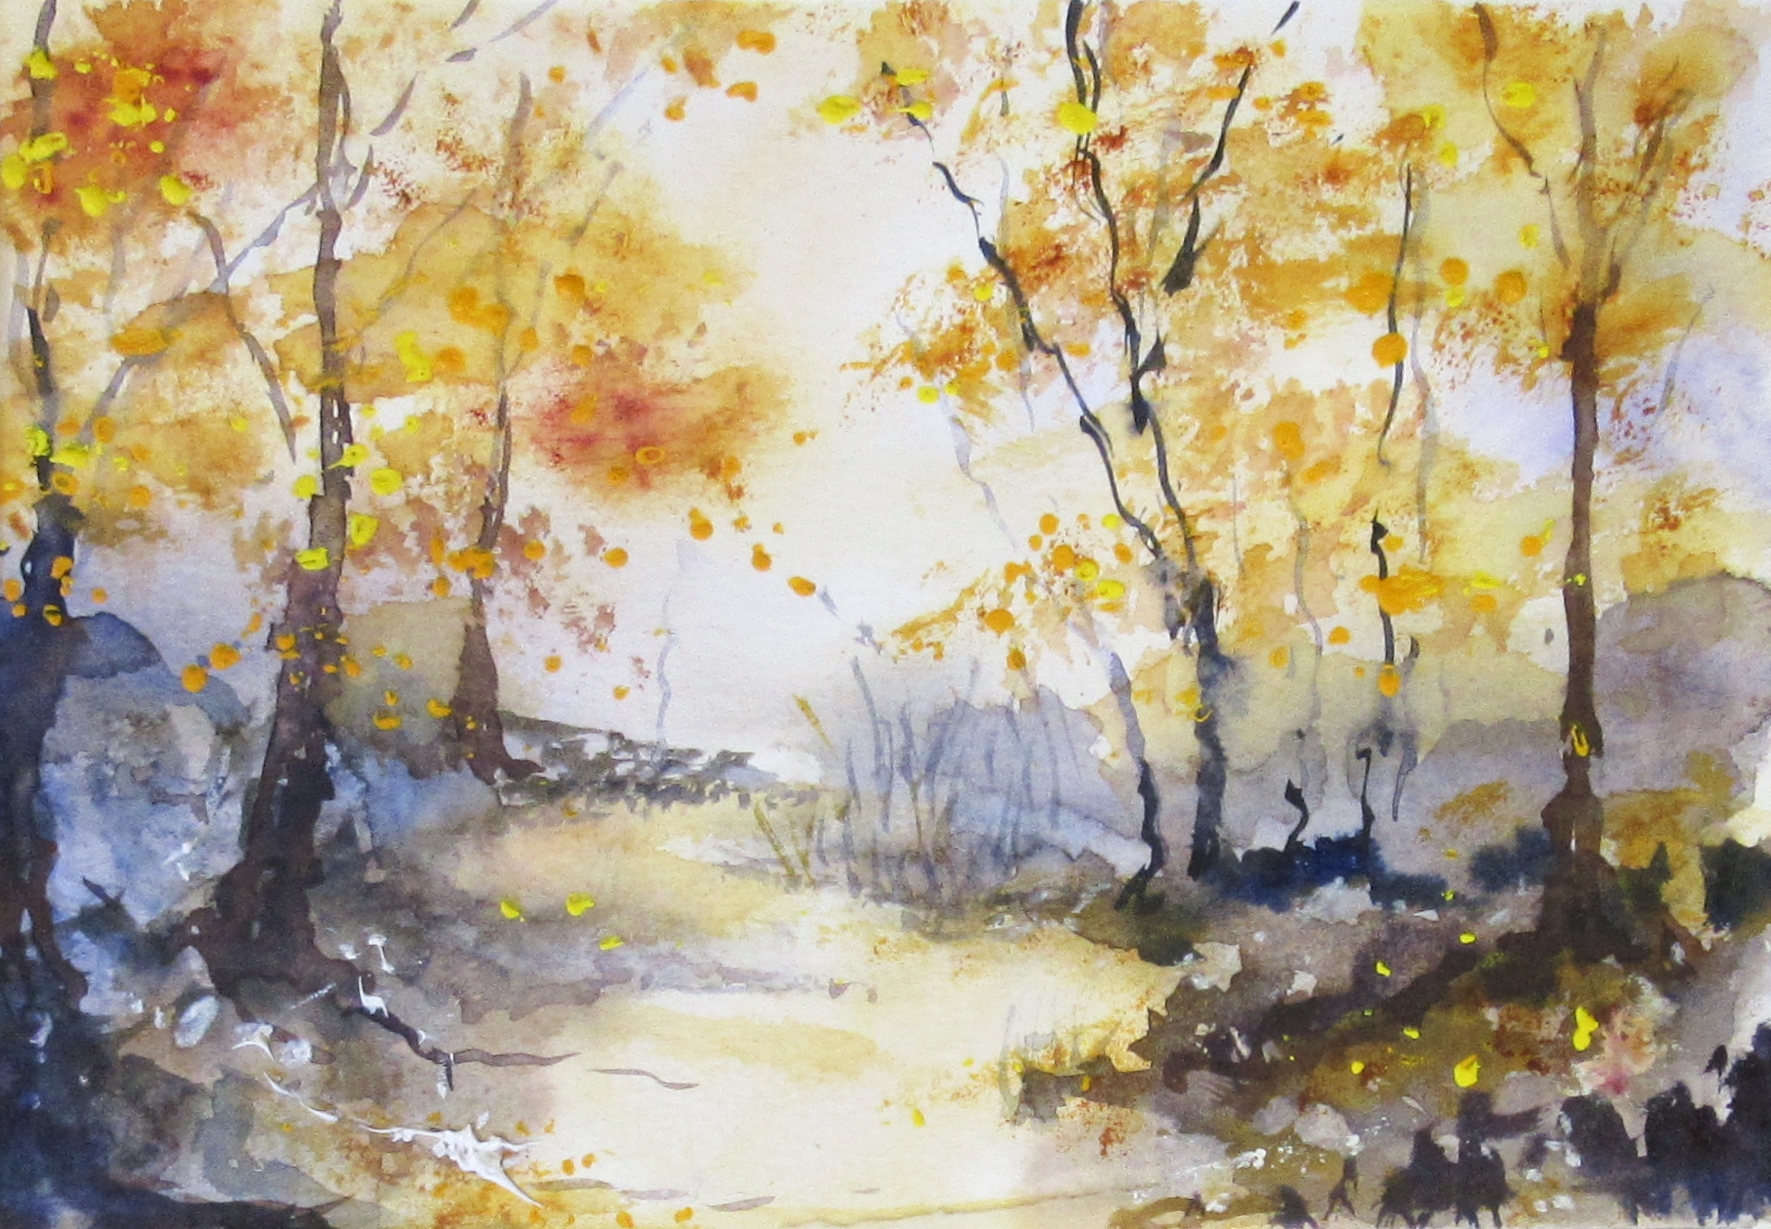
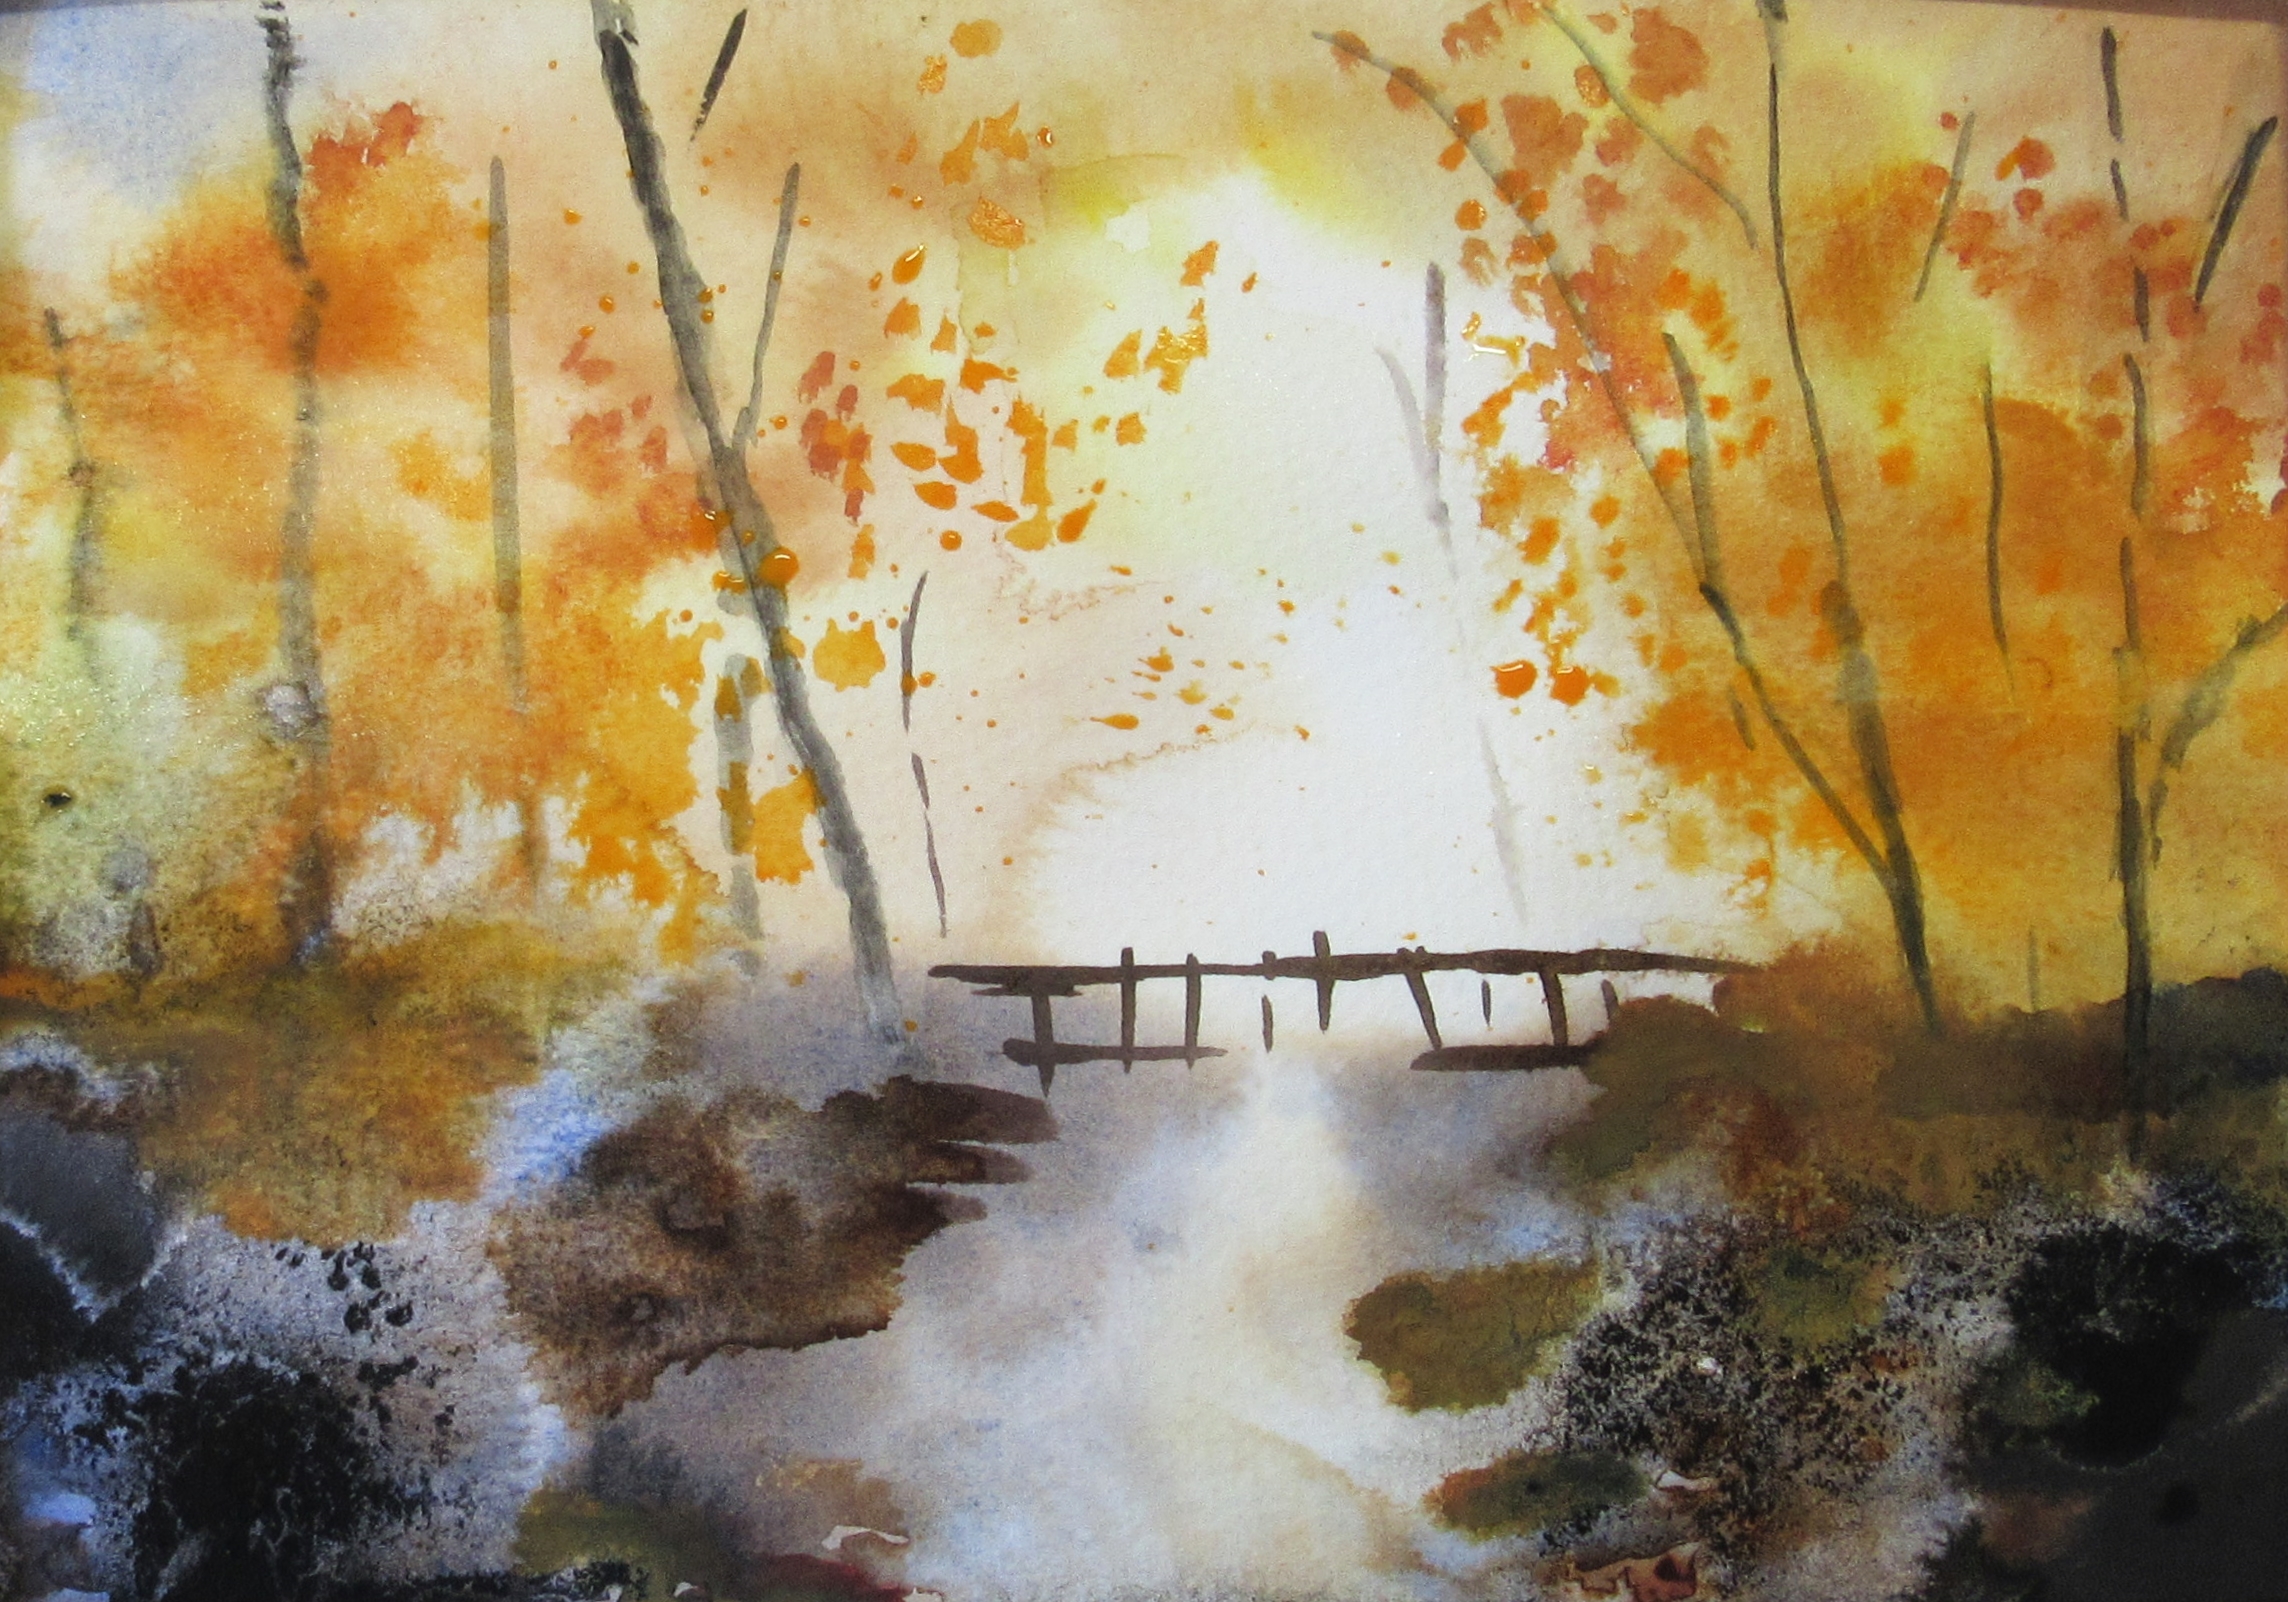
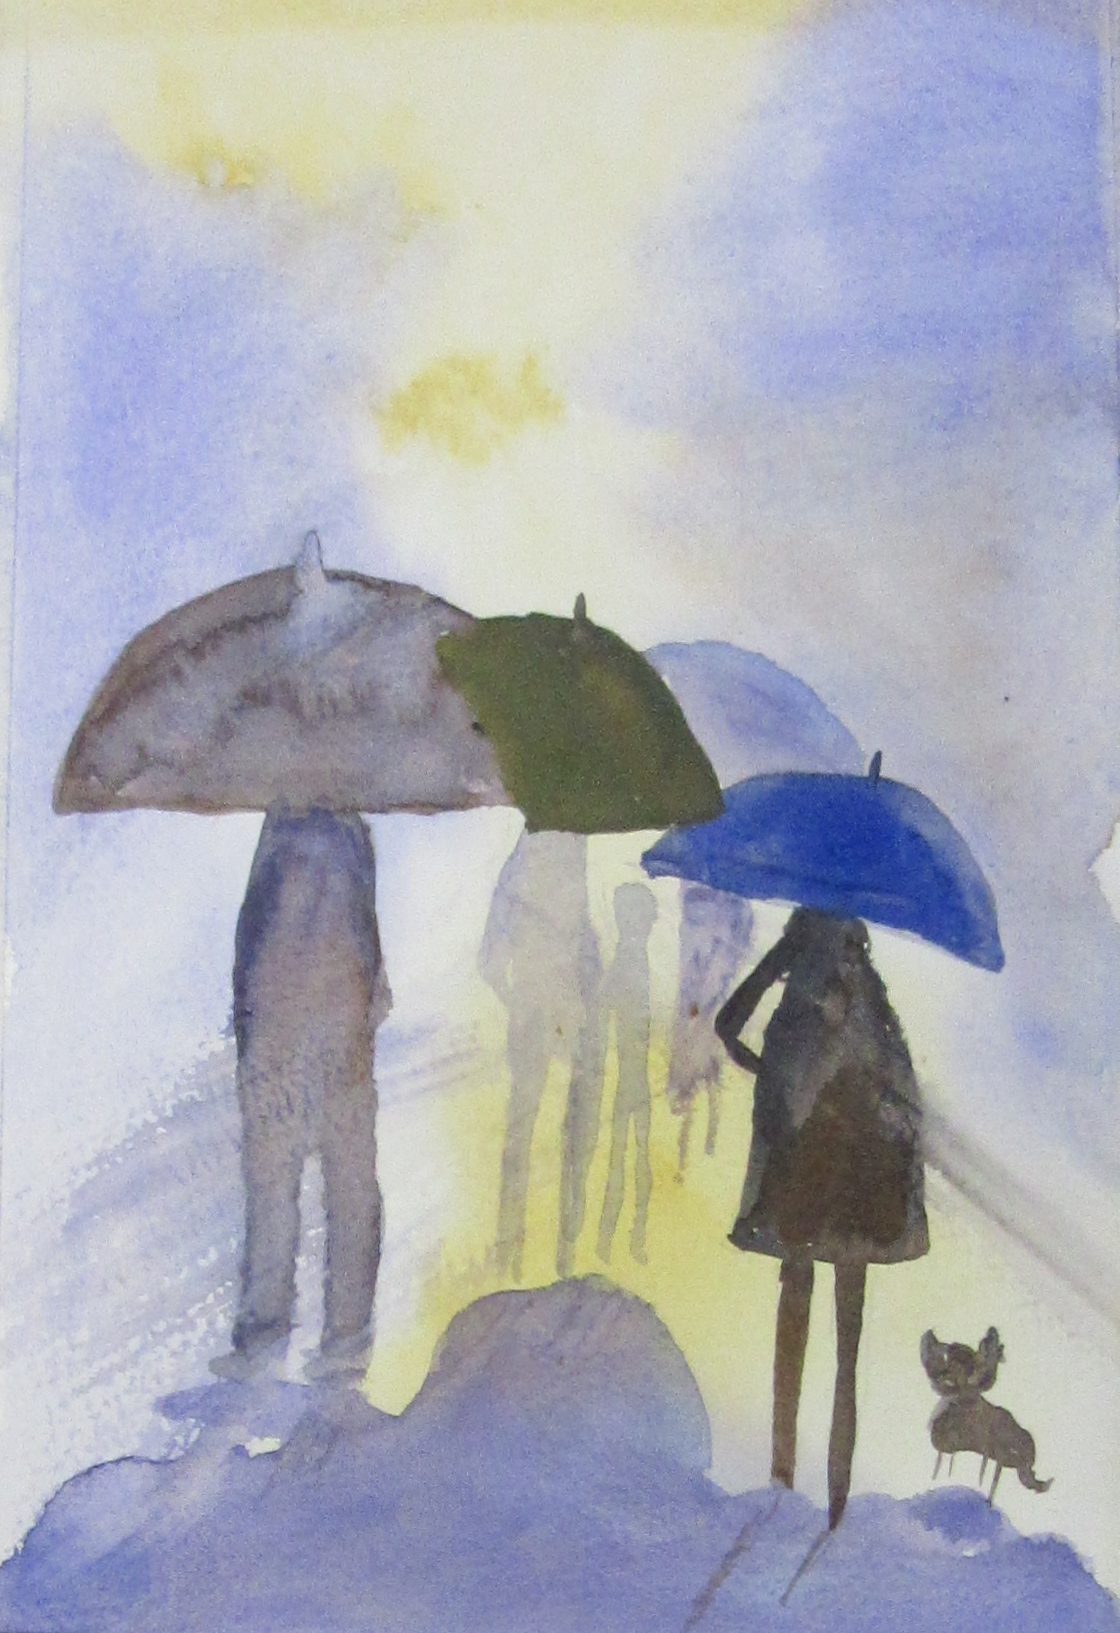
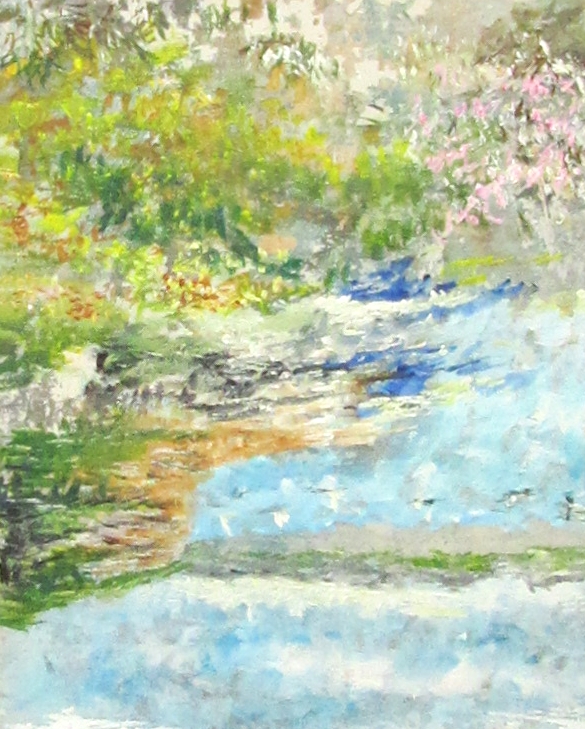
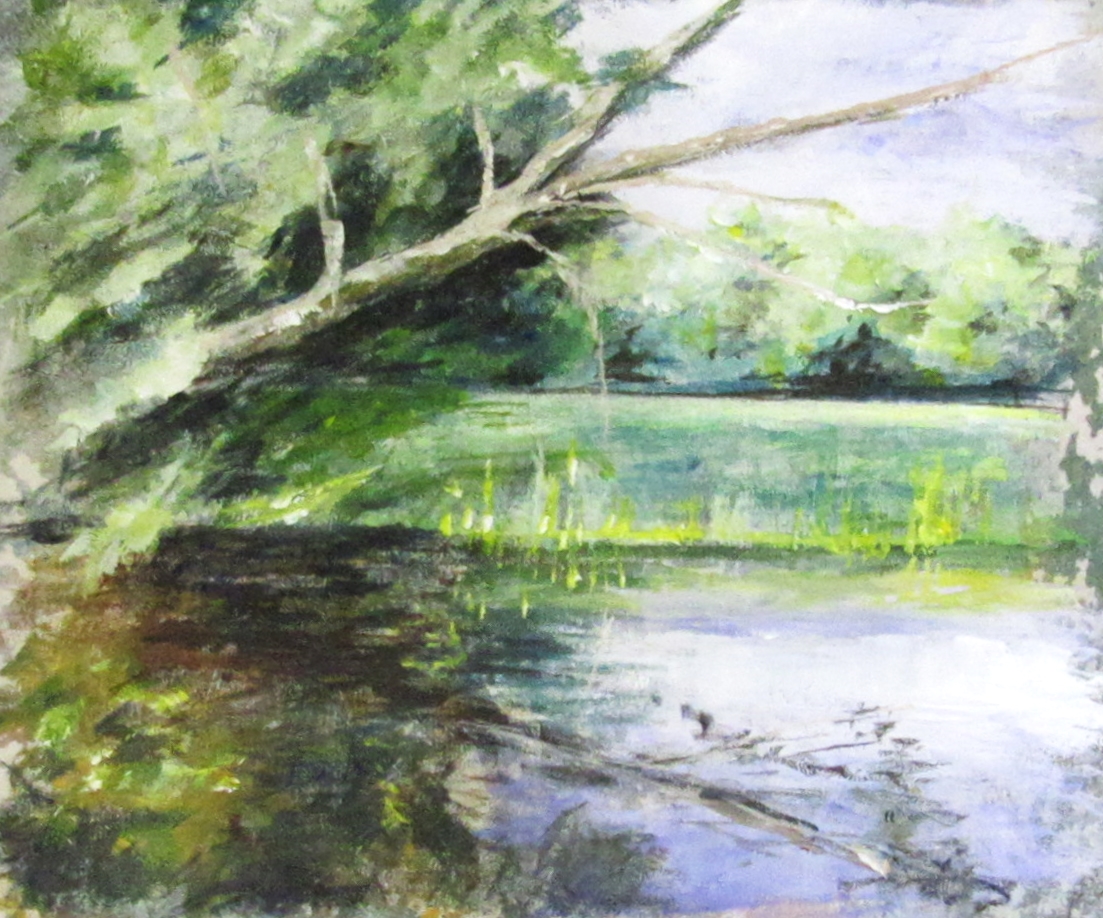
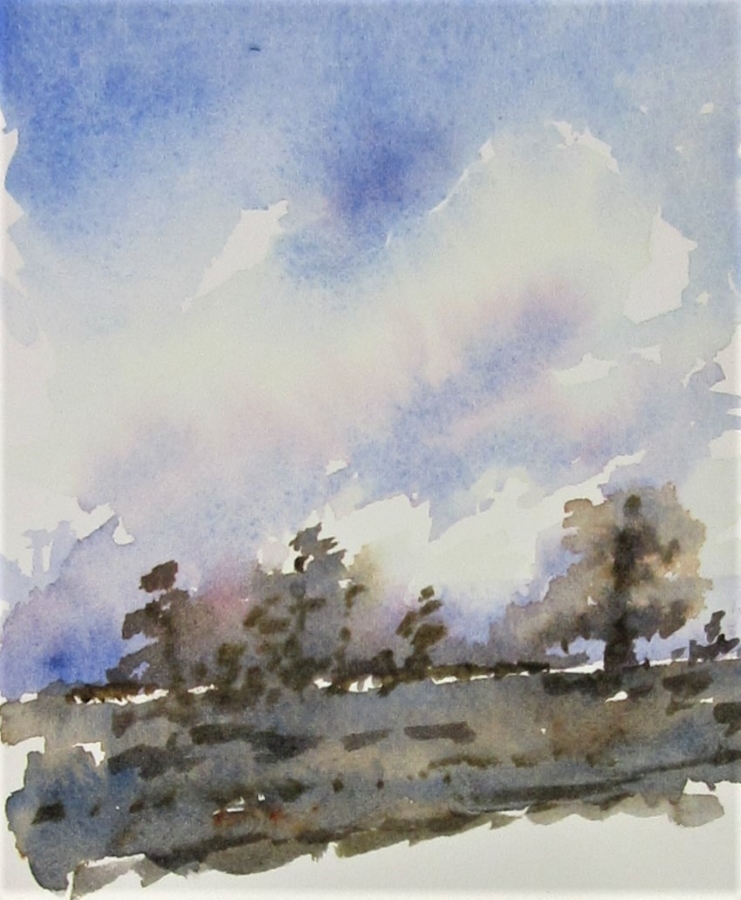
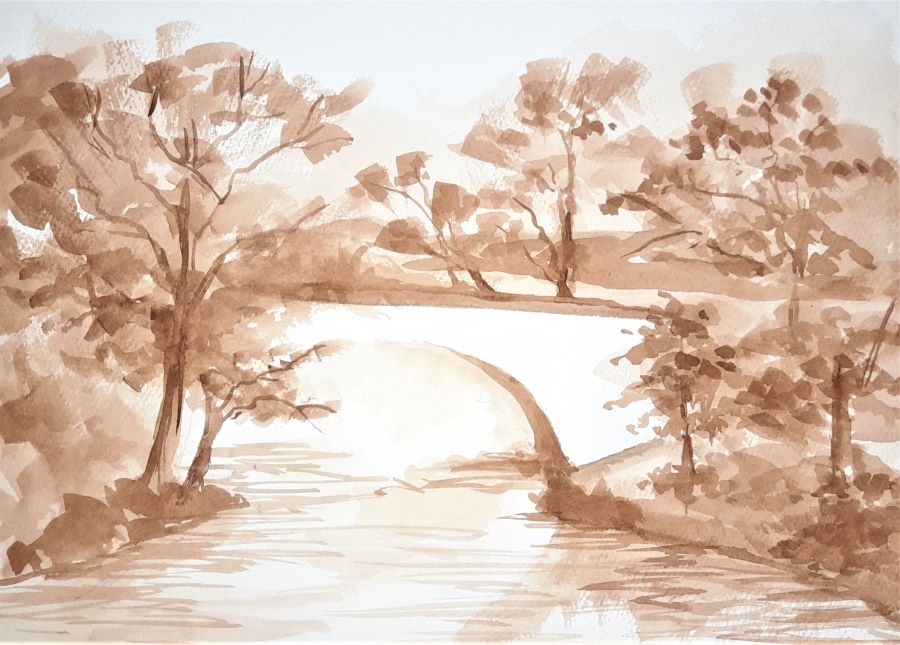
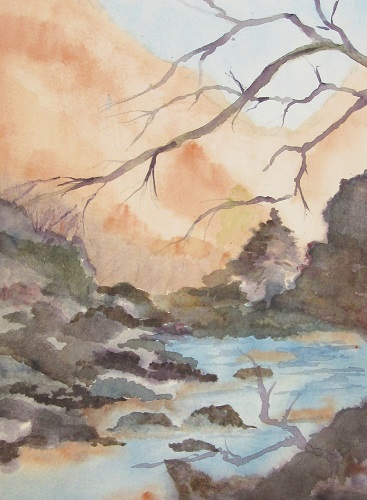
Jake Winkle – Reflections in watercolour
Another super workshop with Jake creating tree reflections. Everybody learned some new techniques and made an artwork to be proud off.


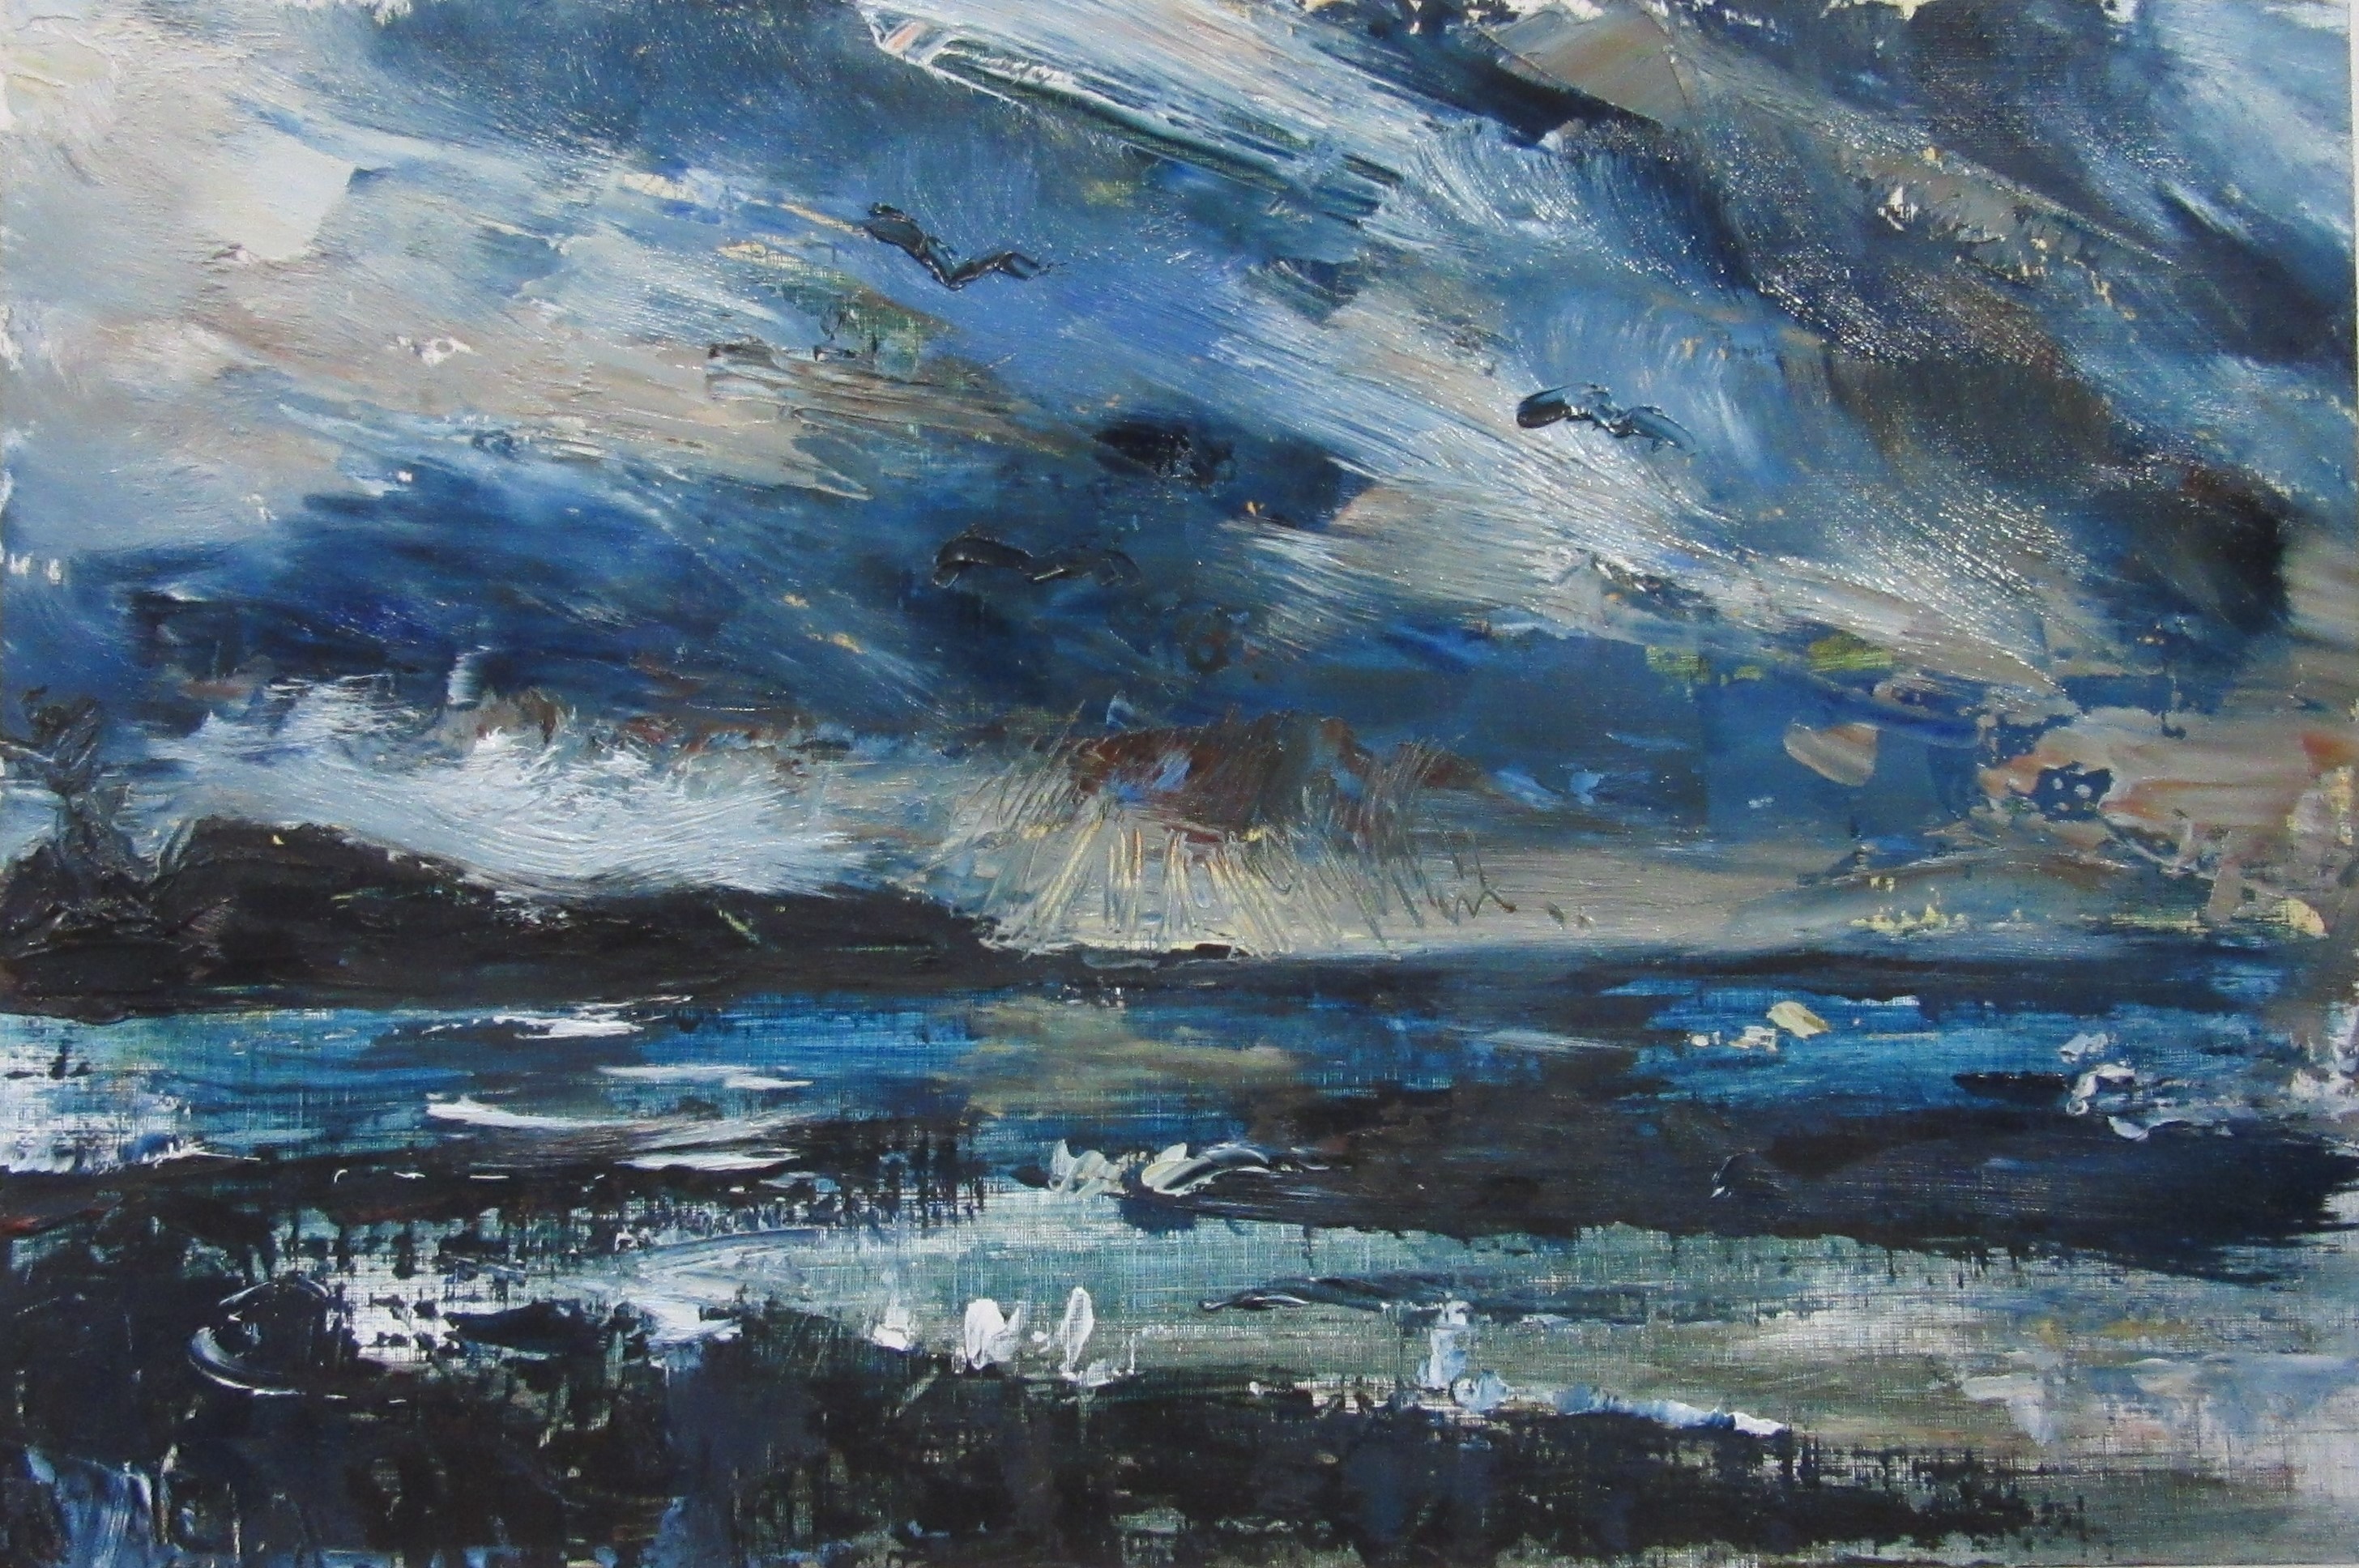
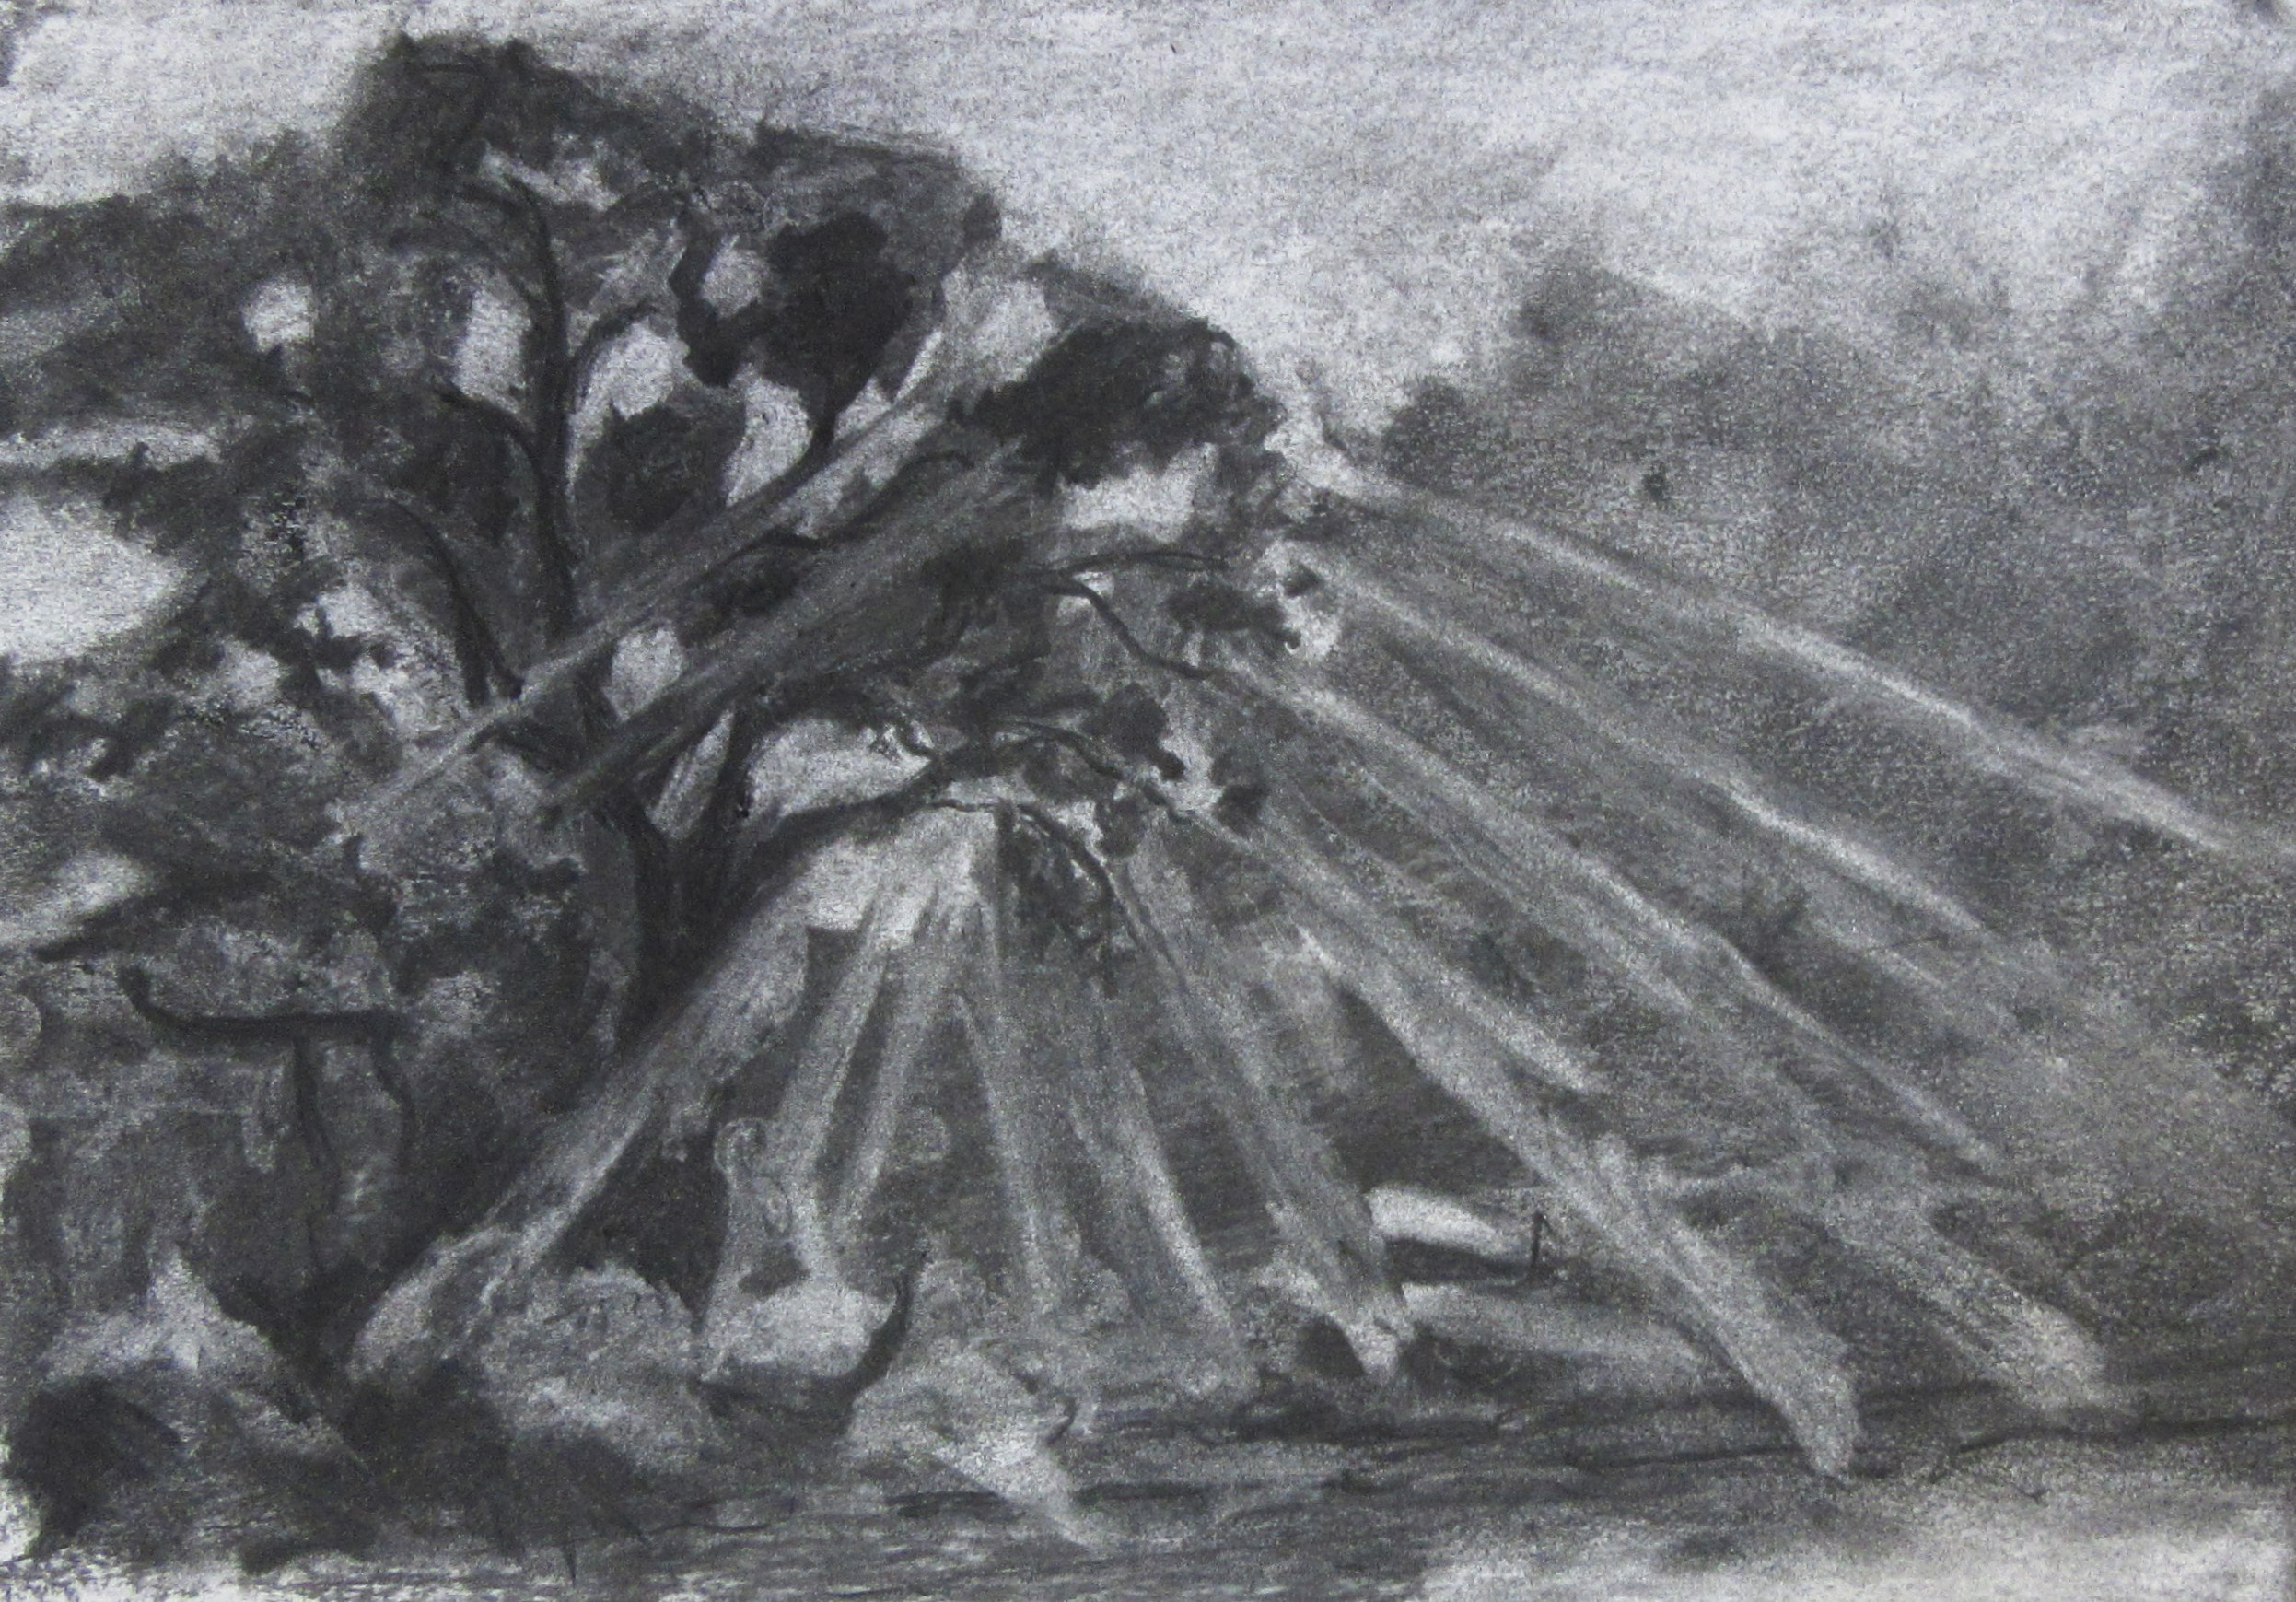
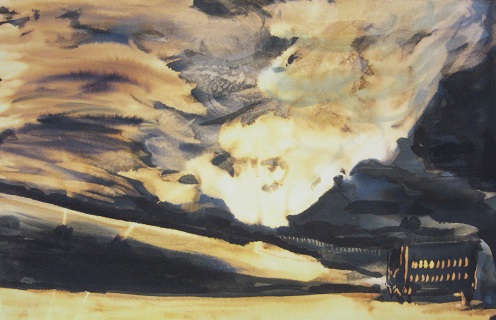
 James Tatum – Landscapes as power & emotion
As expected this workshop was brimming with energy and creativity. We all made some fabulous artworks and we all enjoyed James’s flamboyant style of painting.


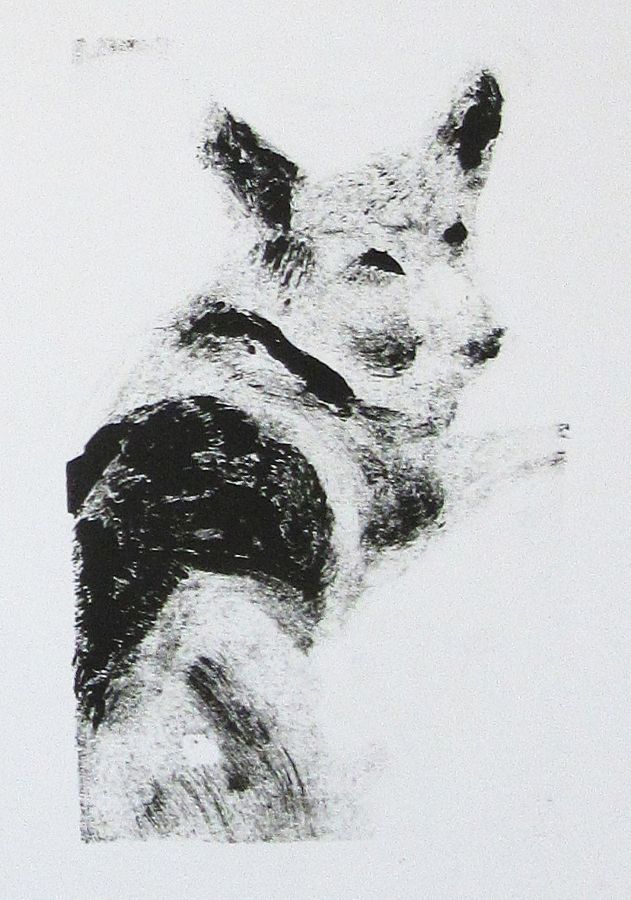
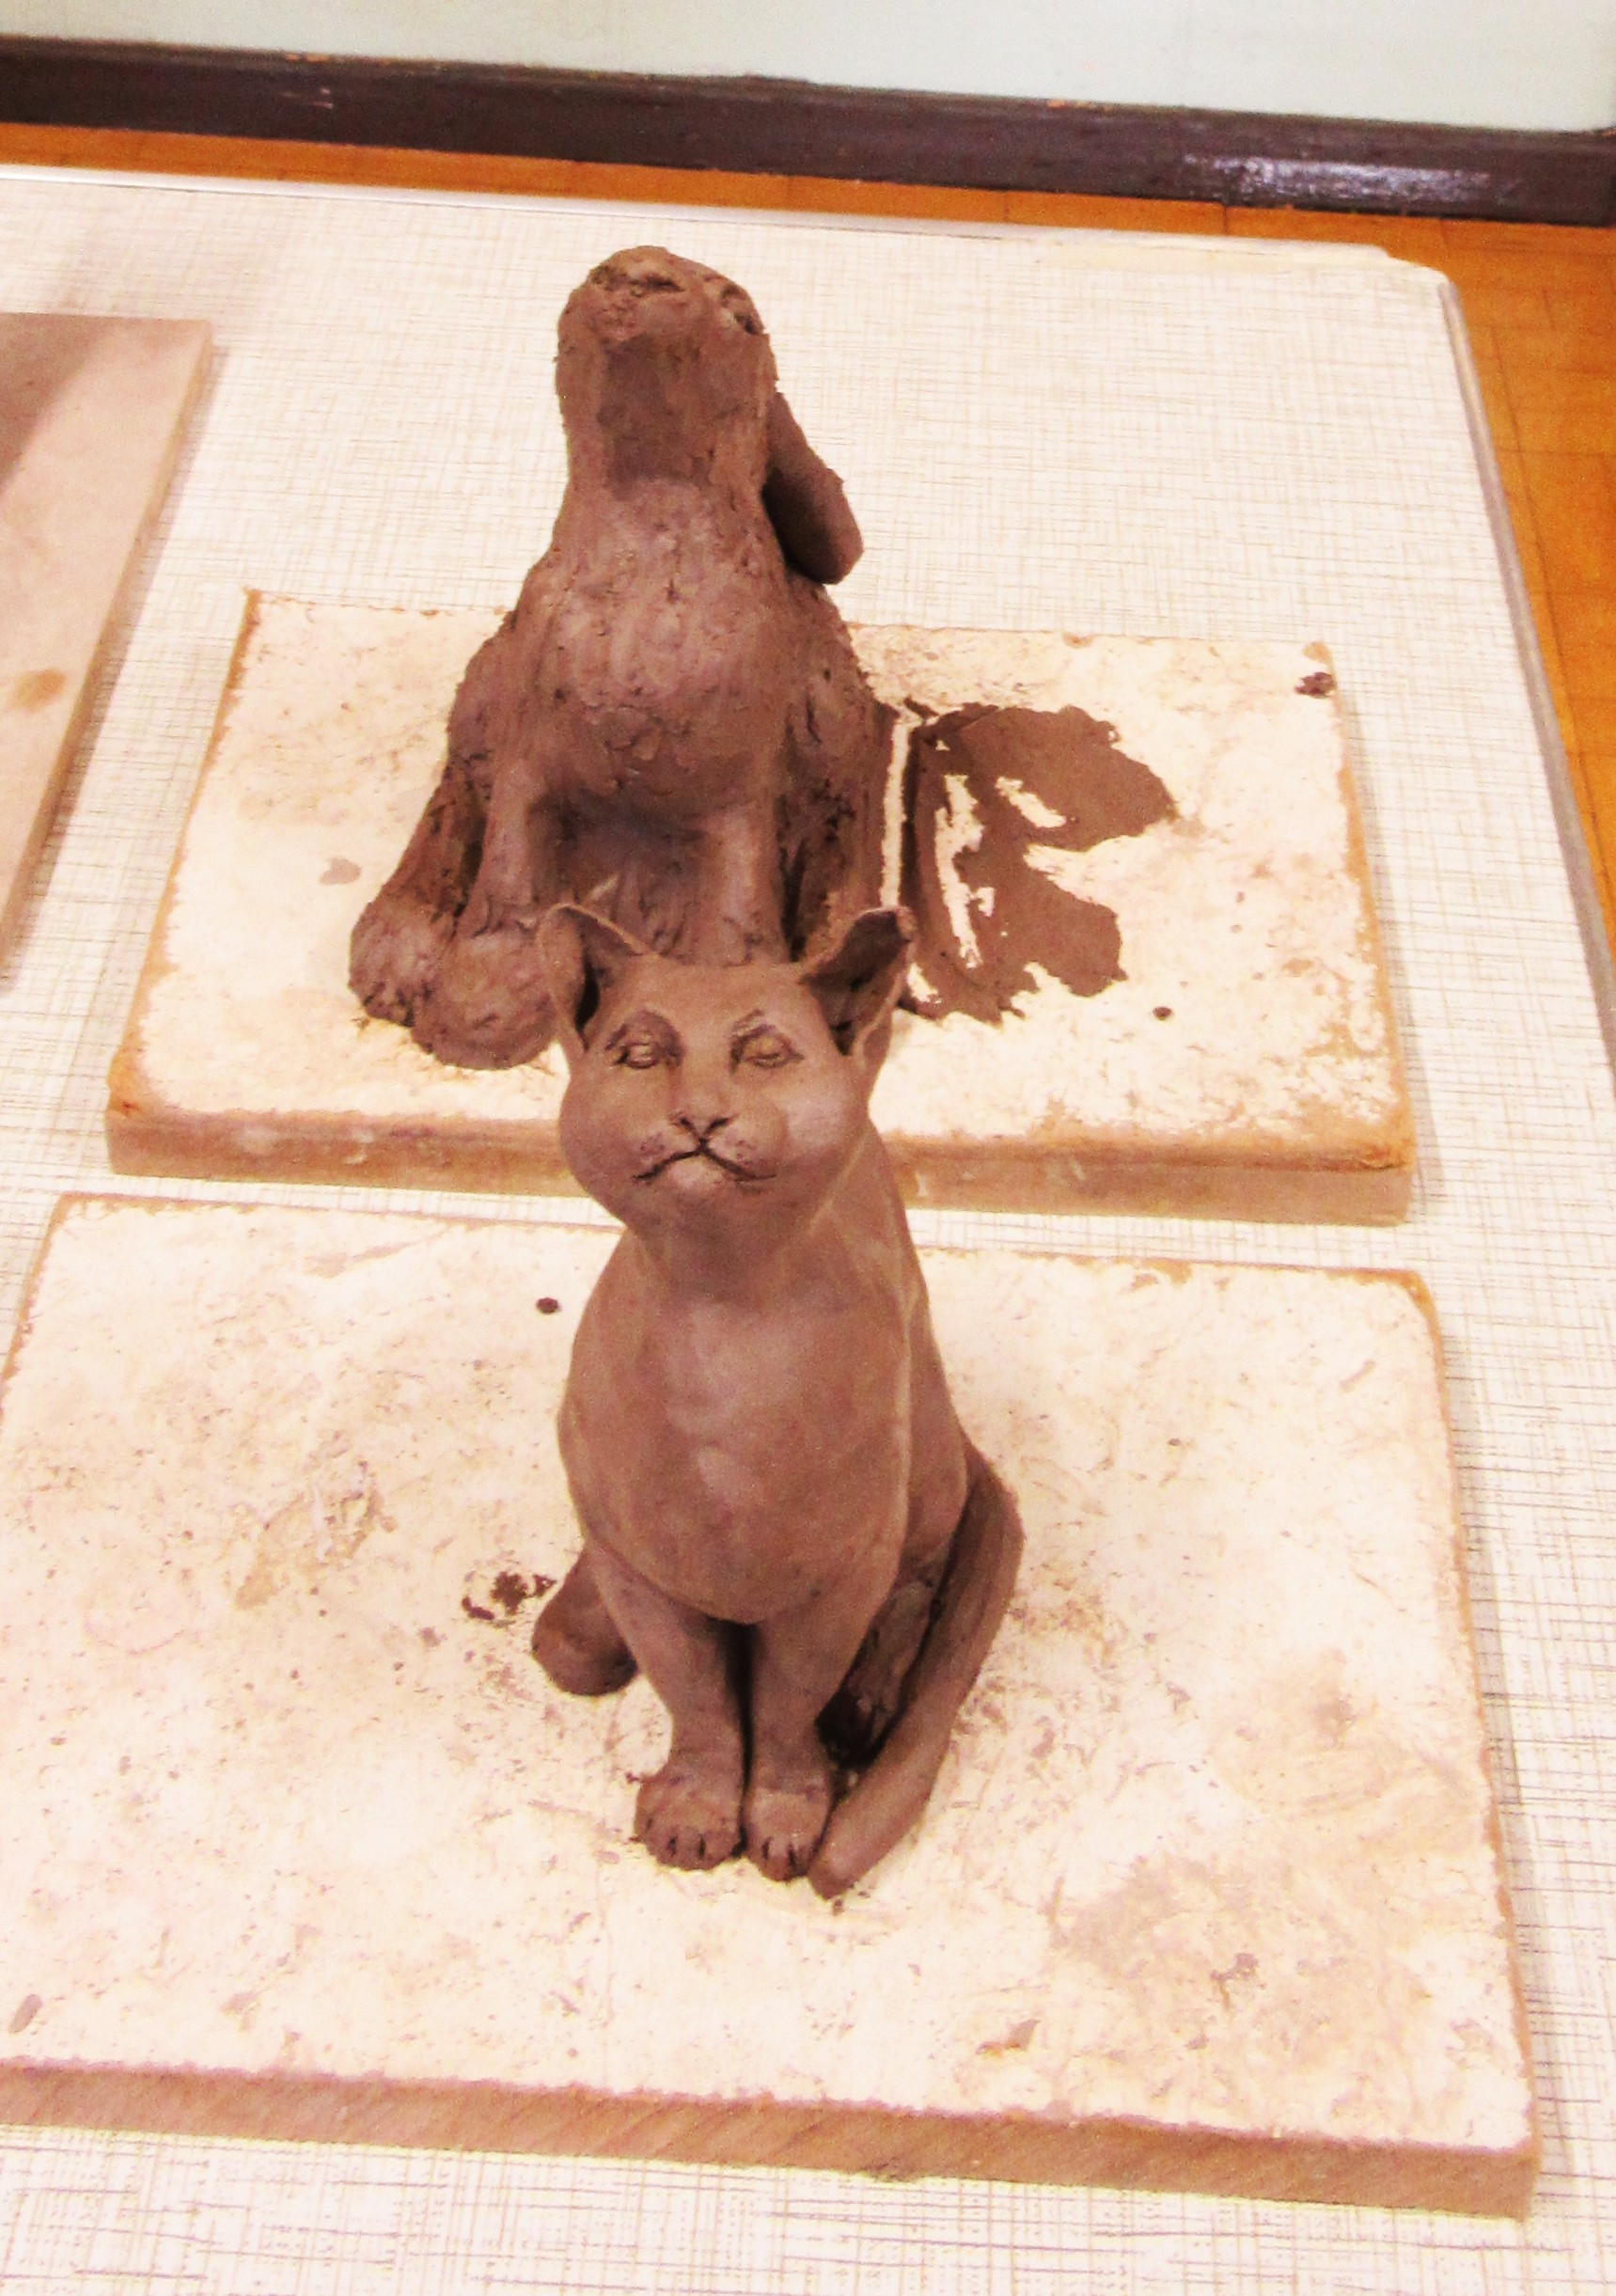
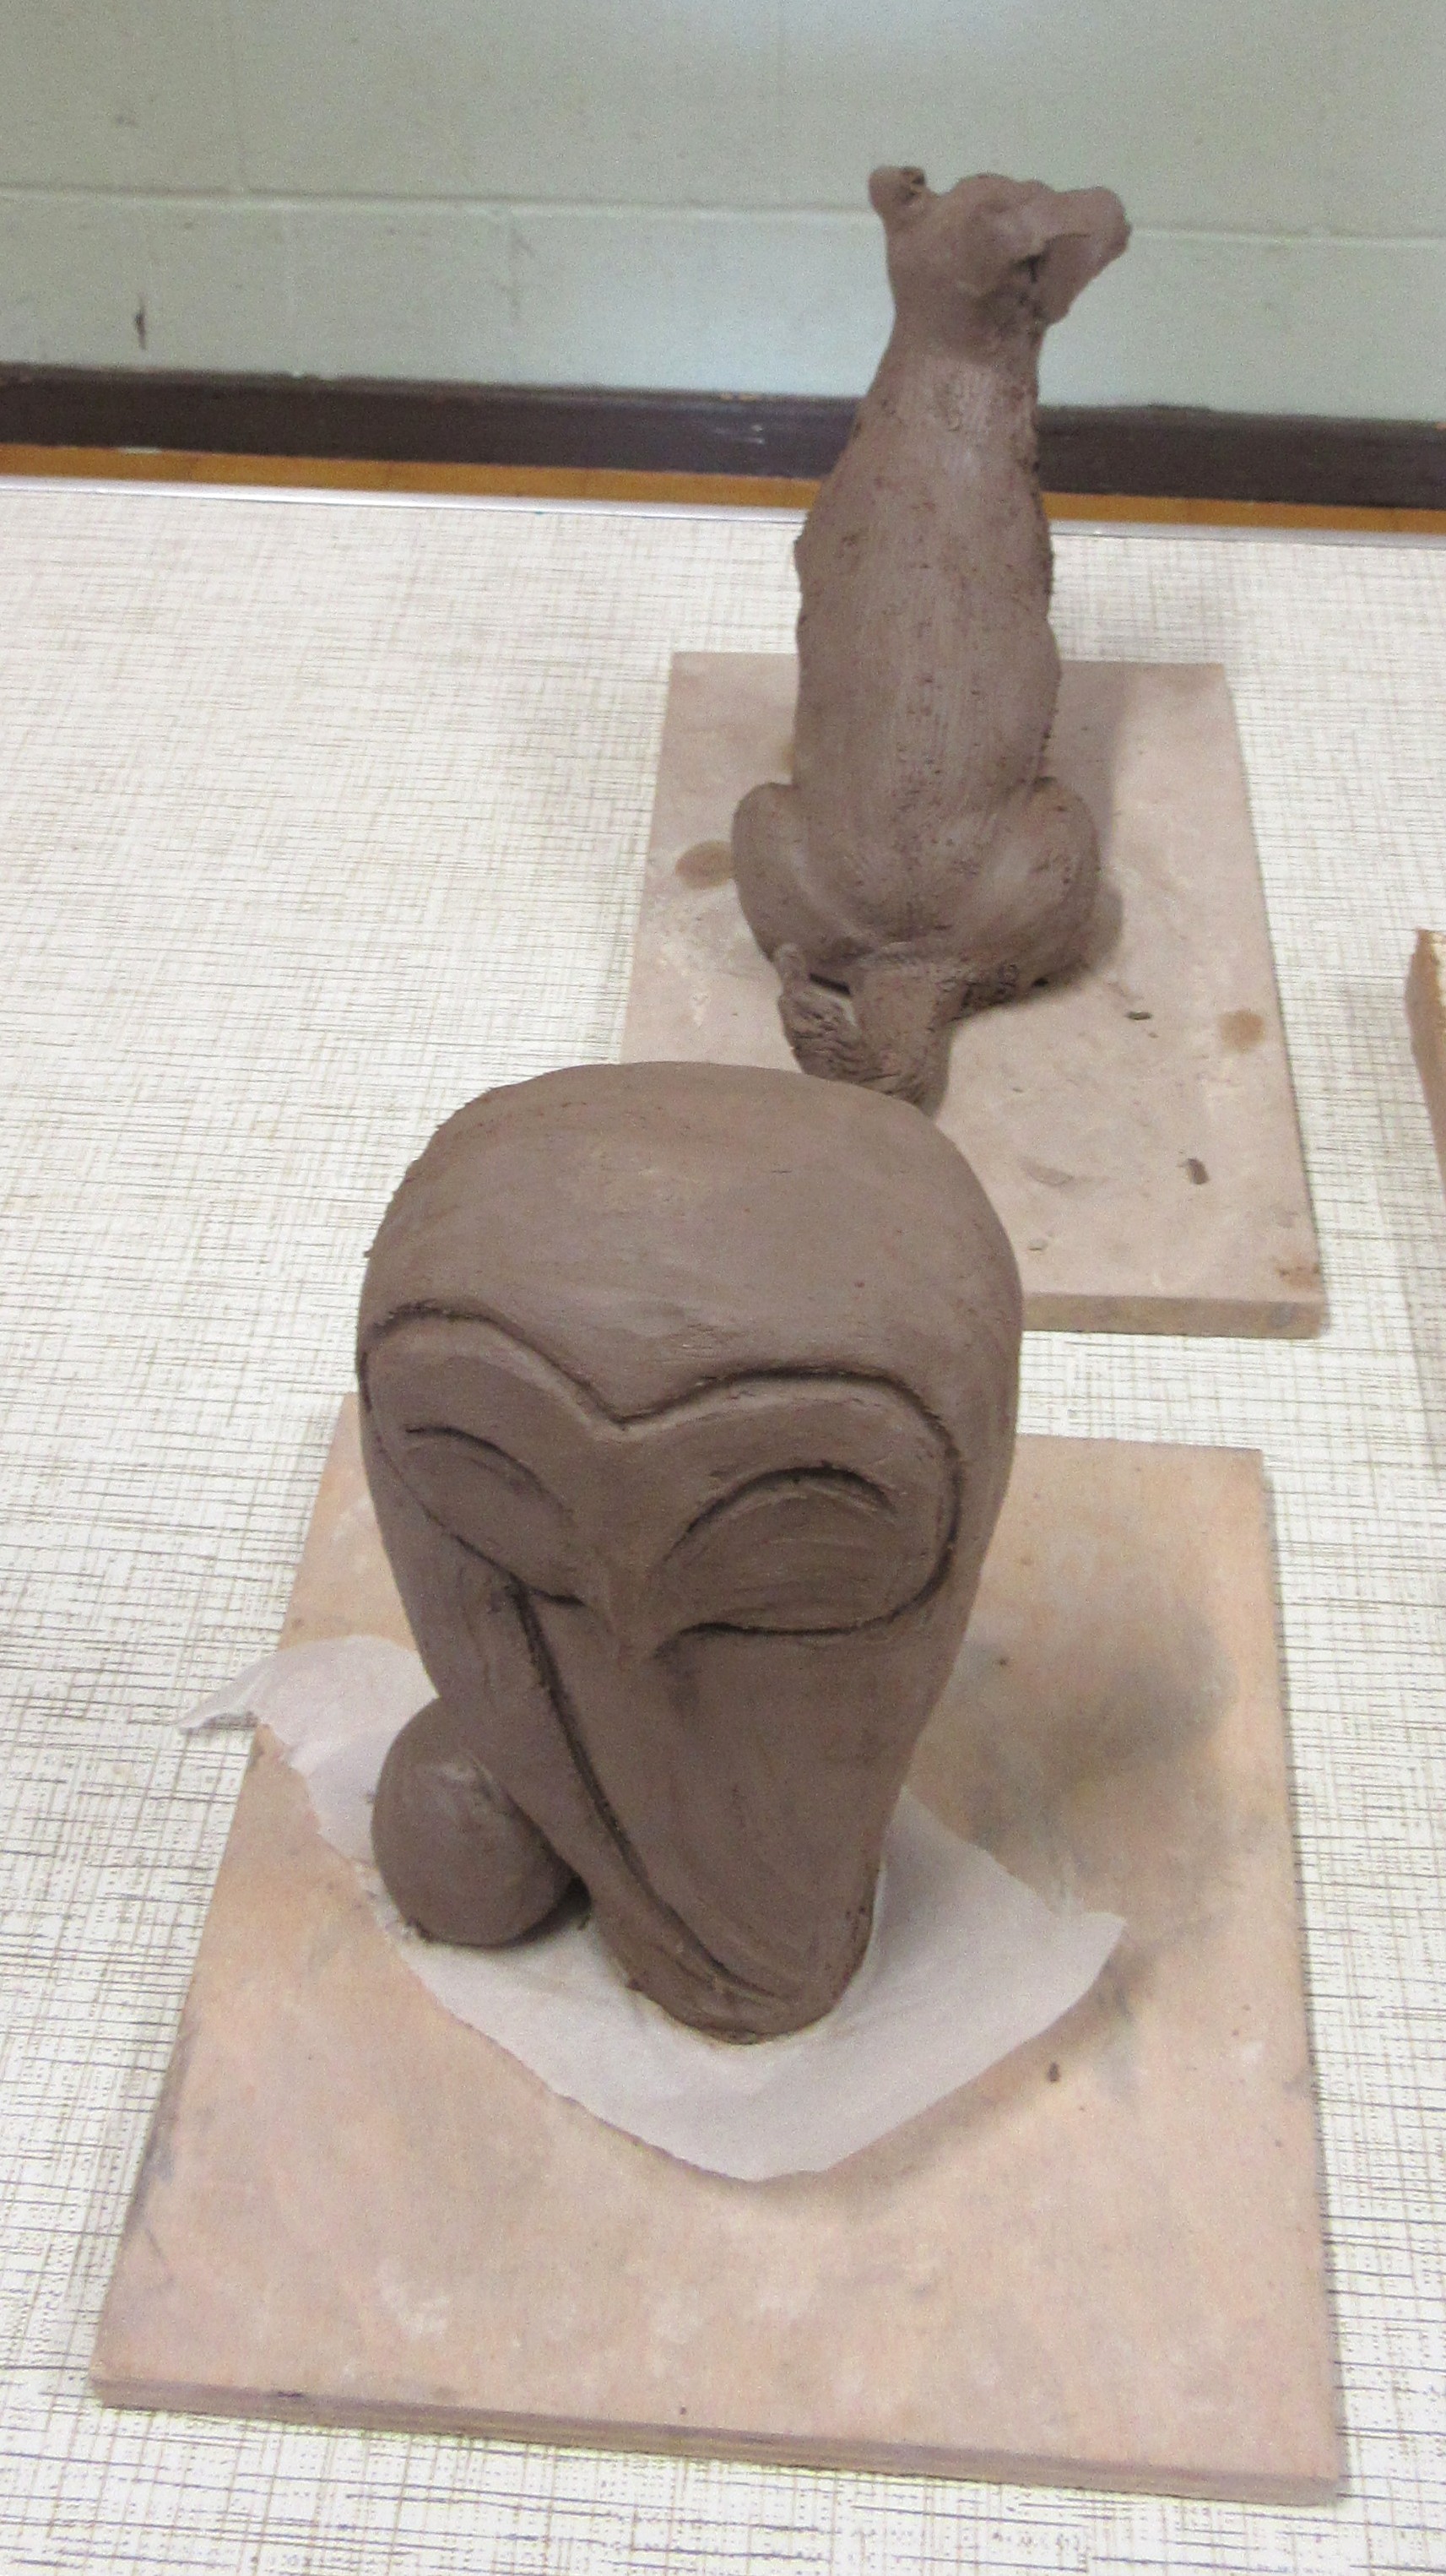
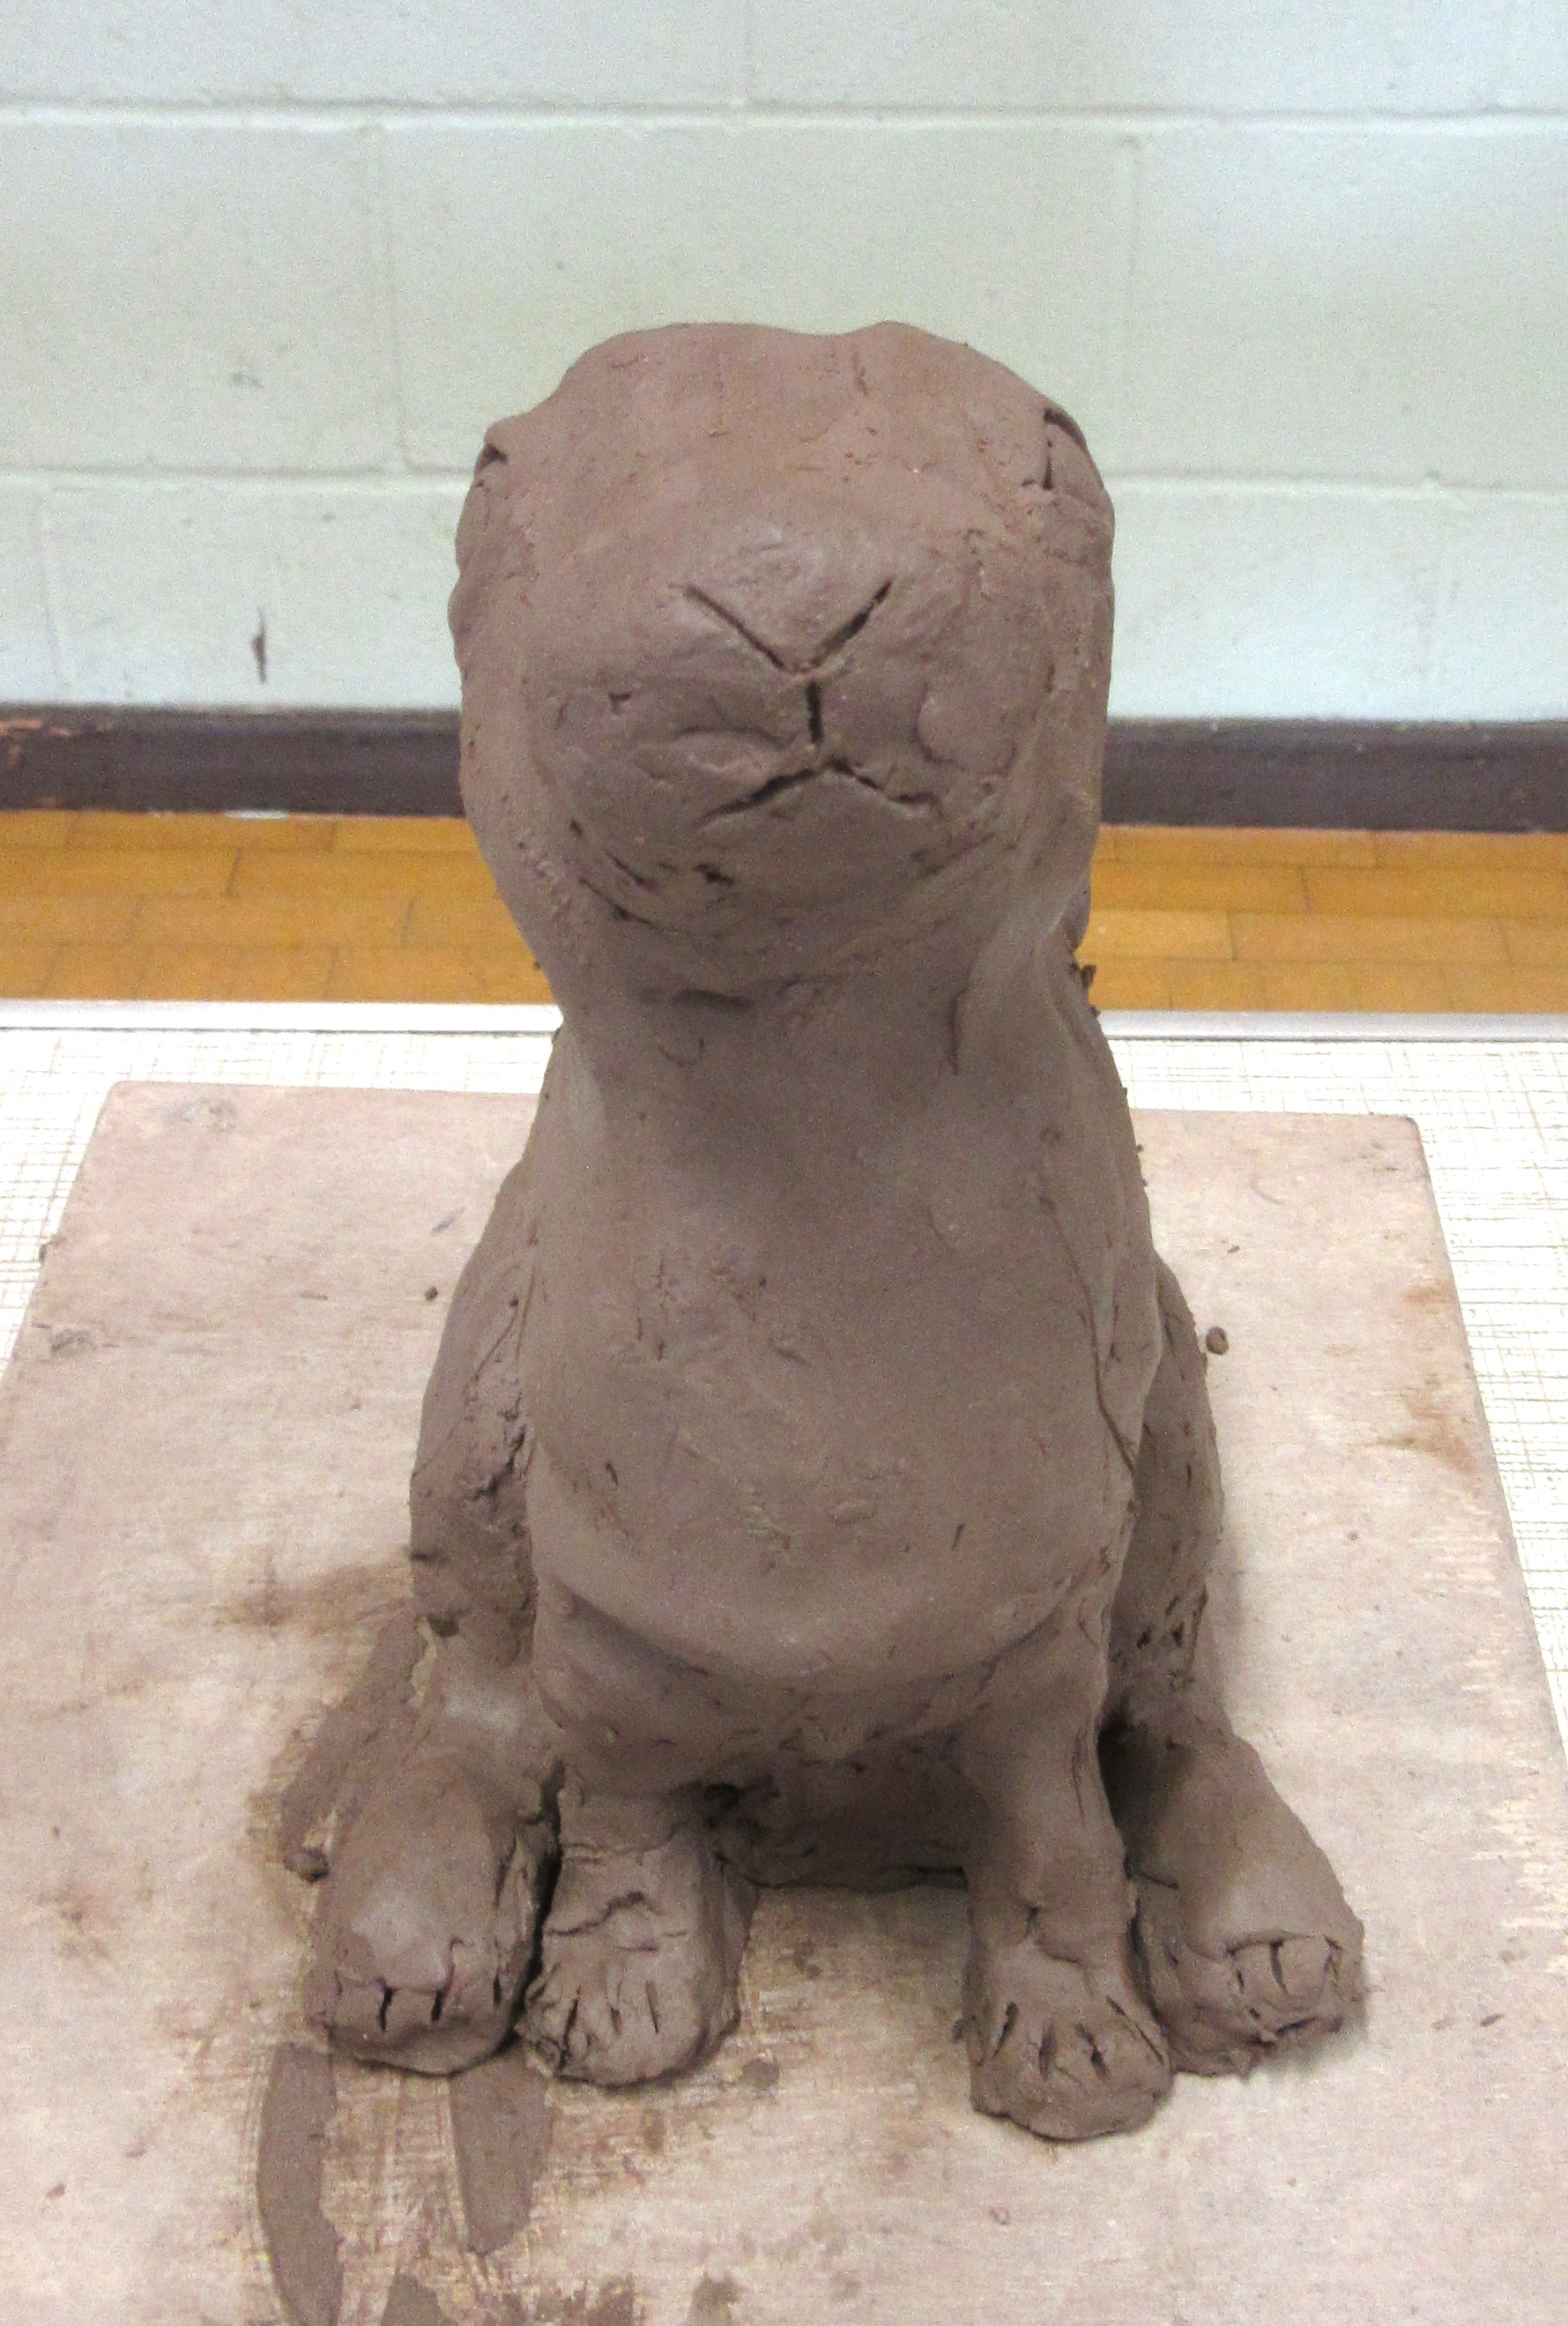
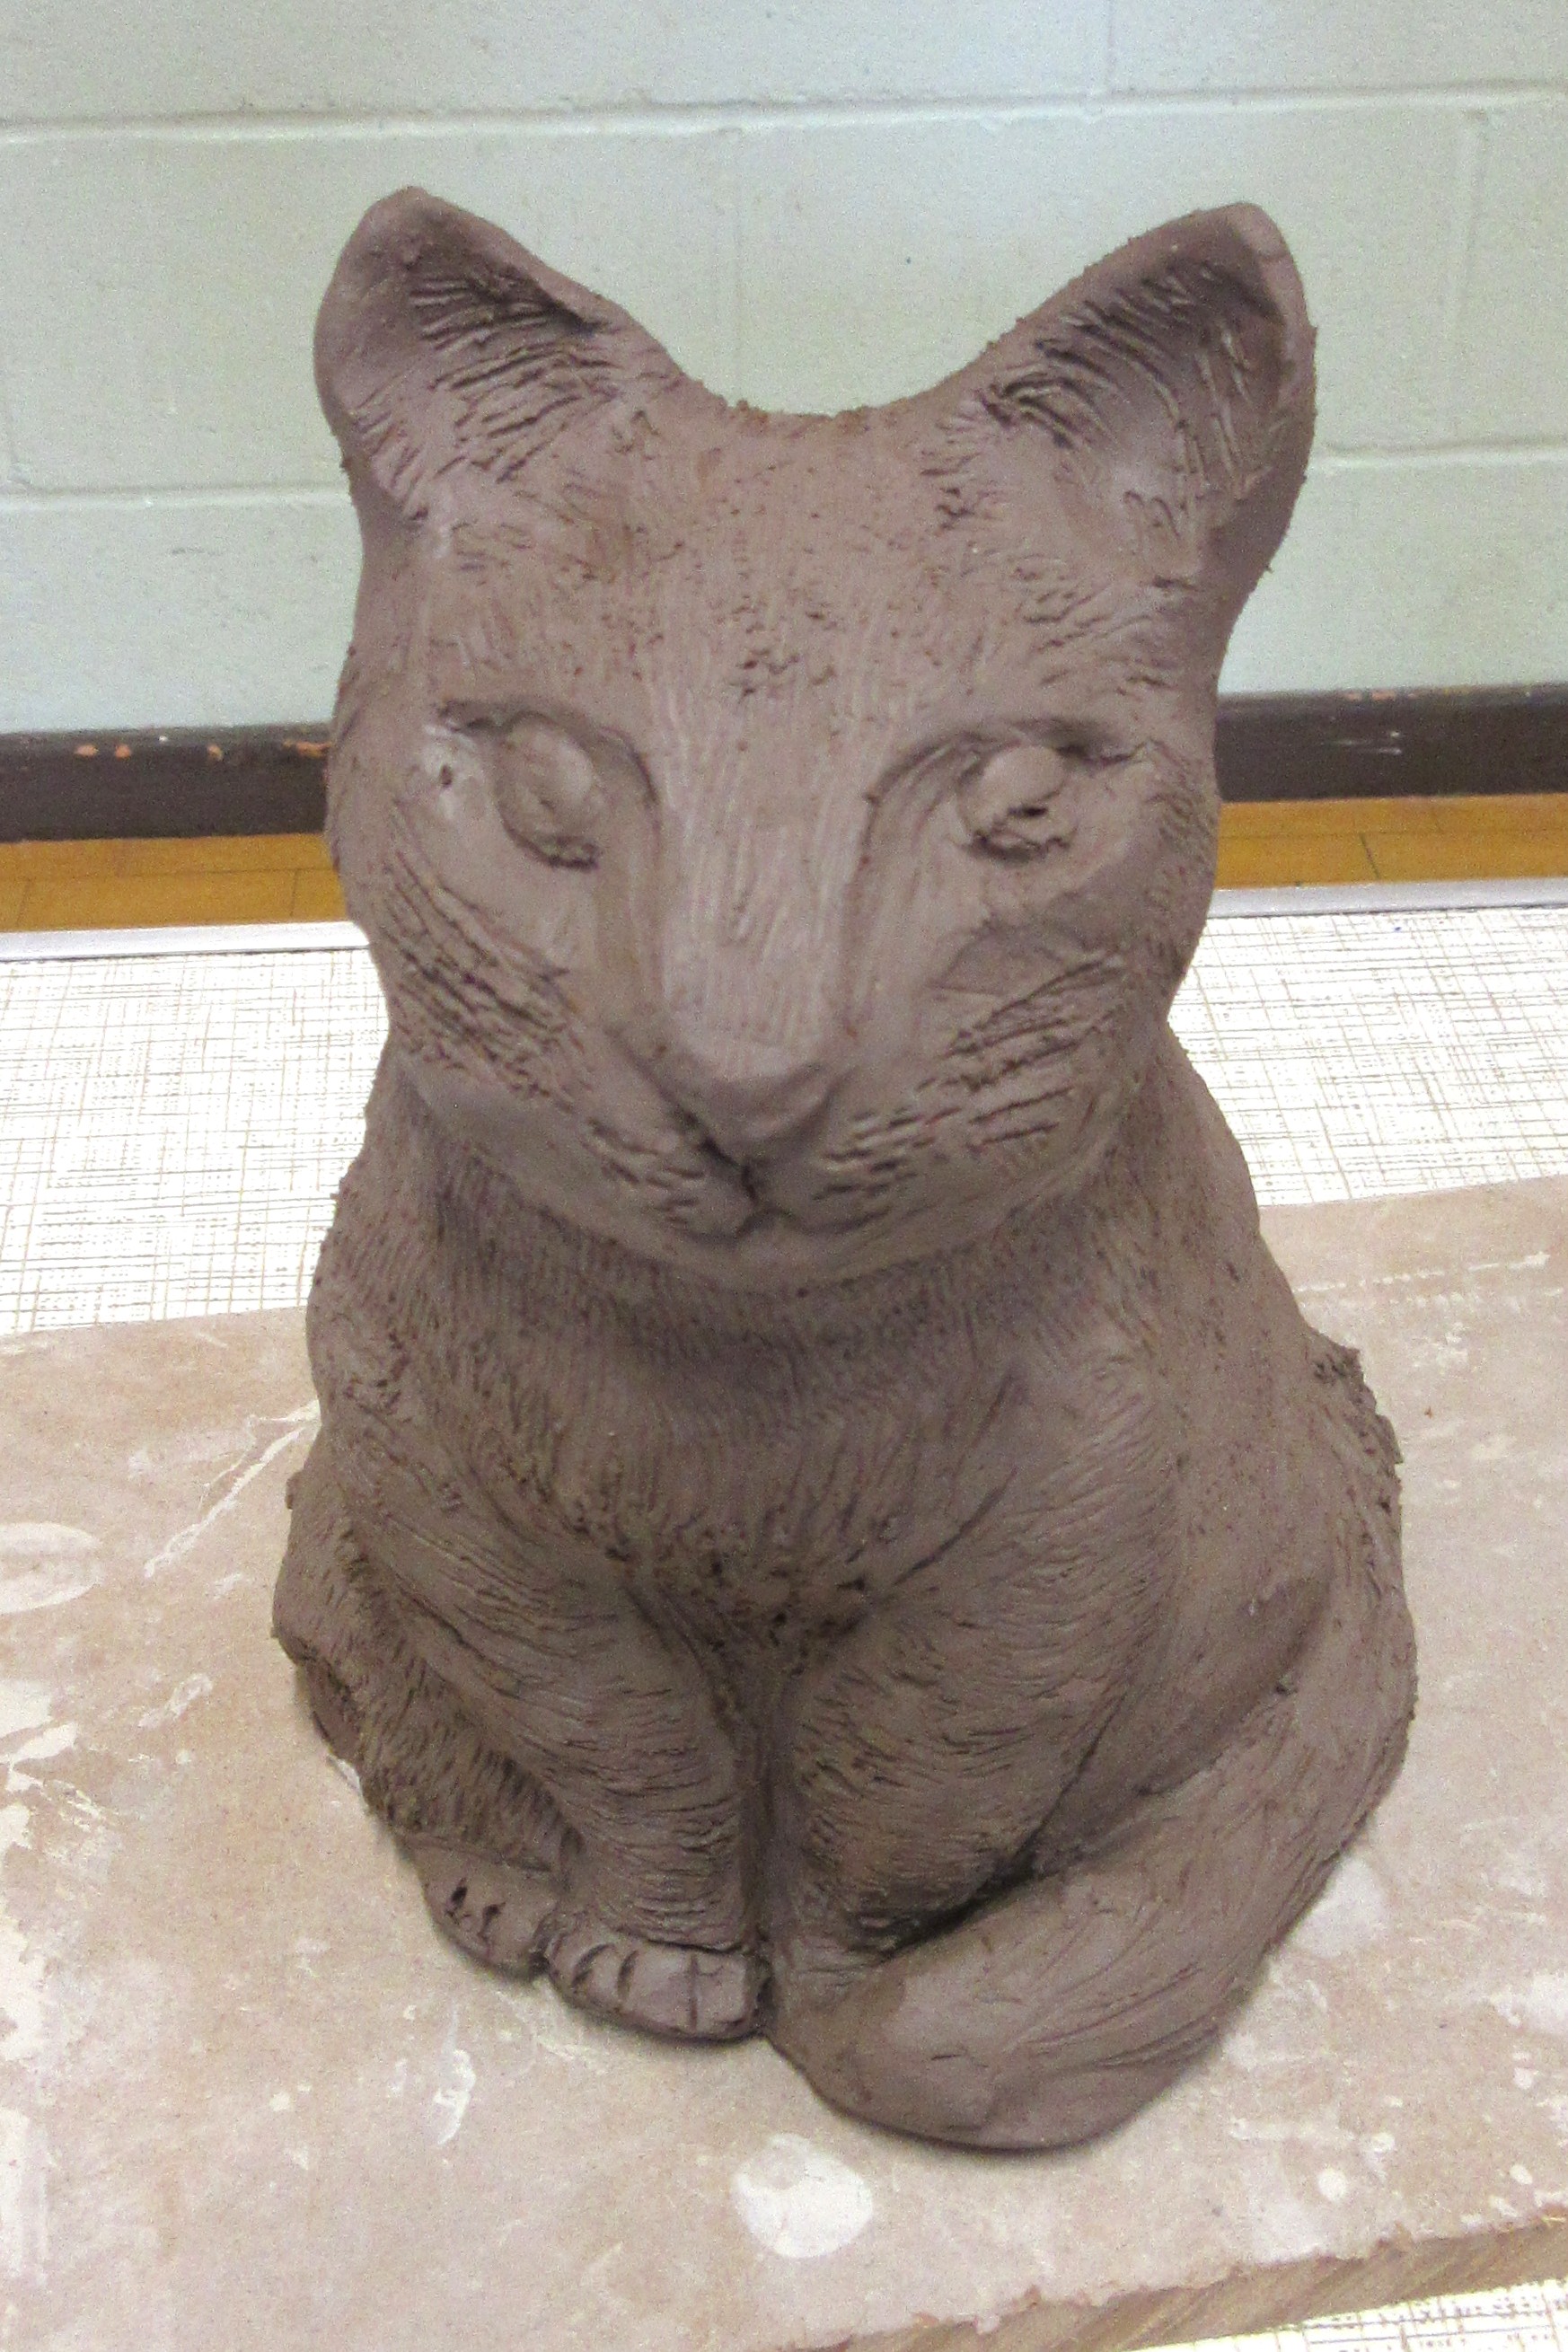
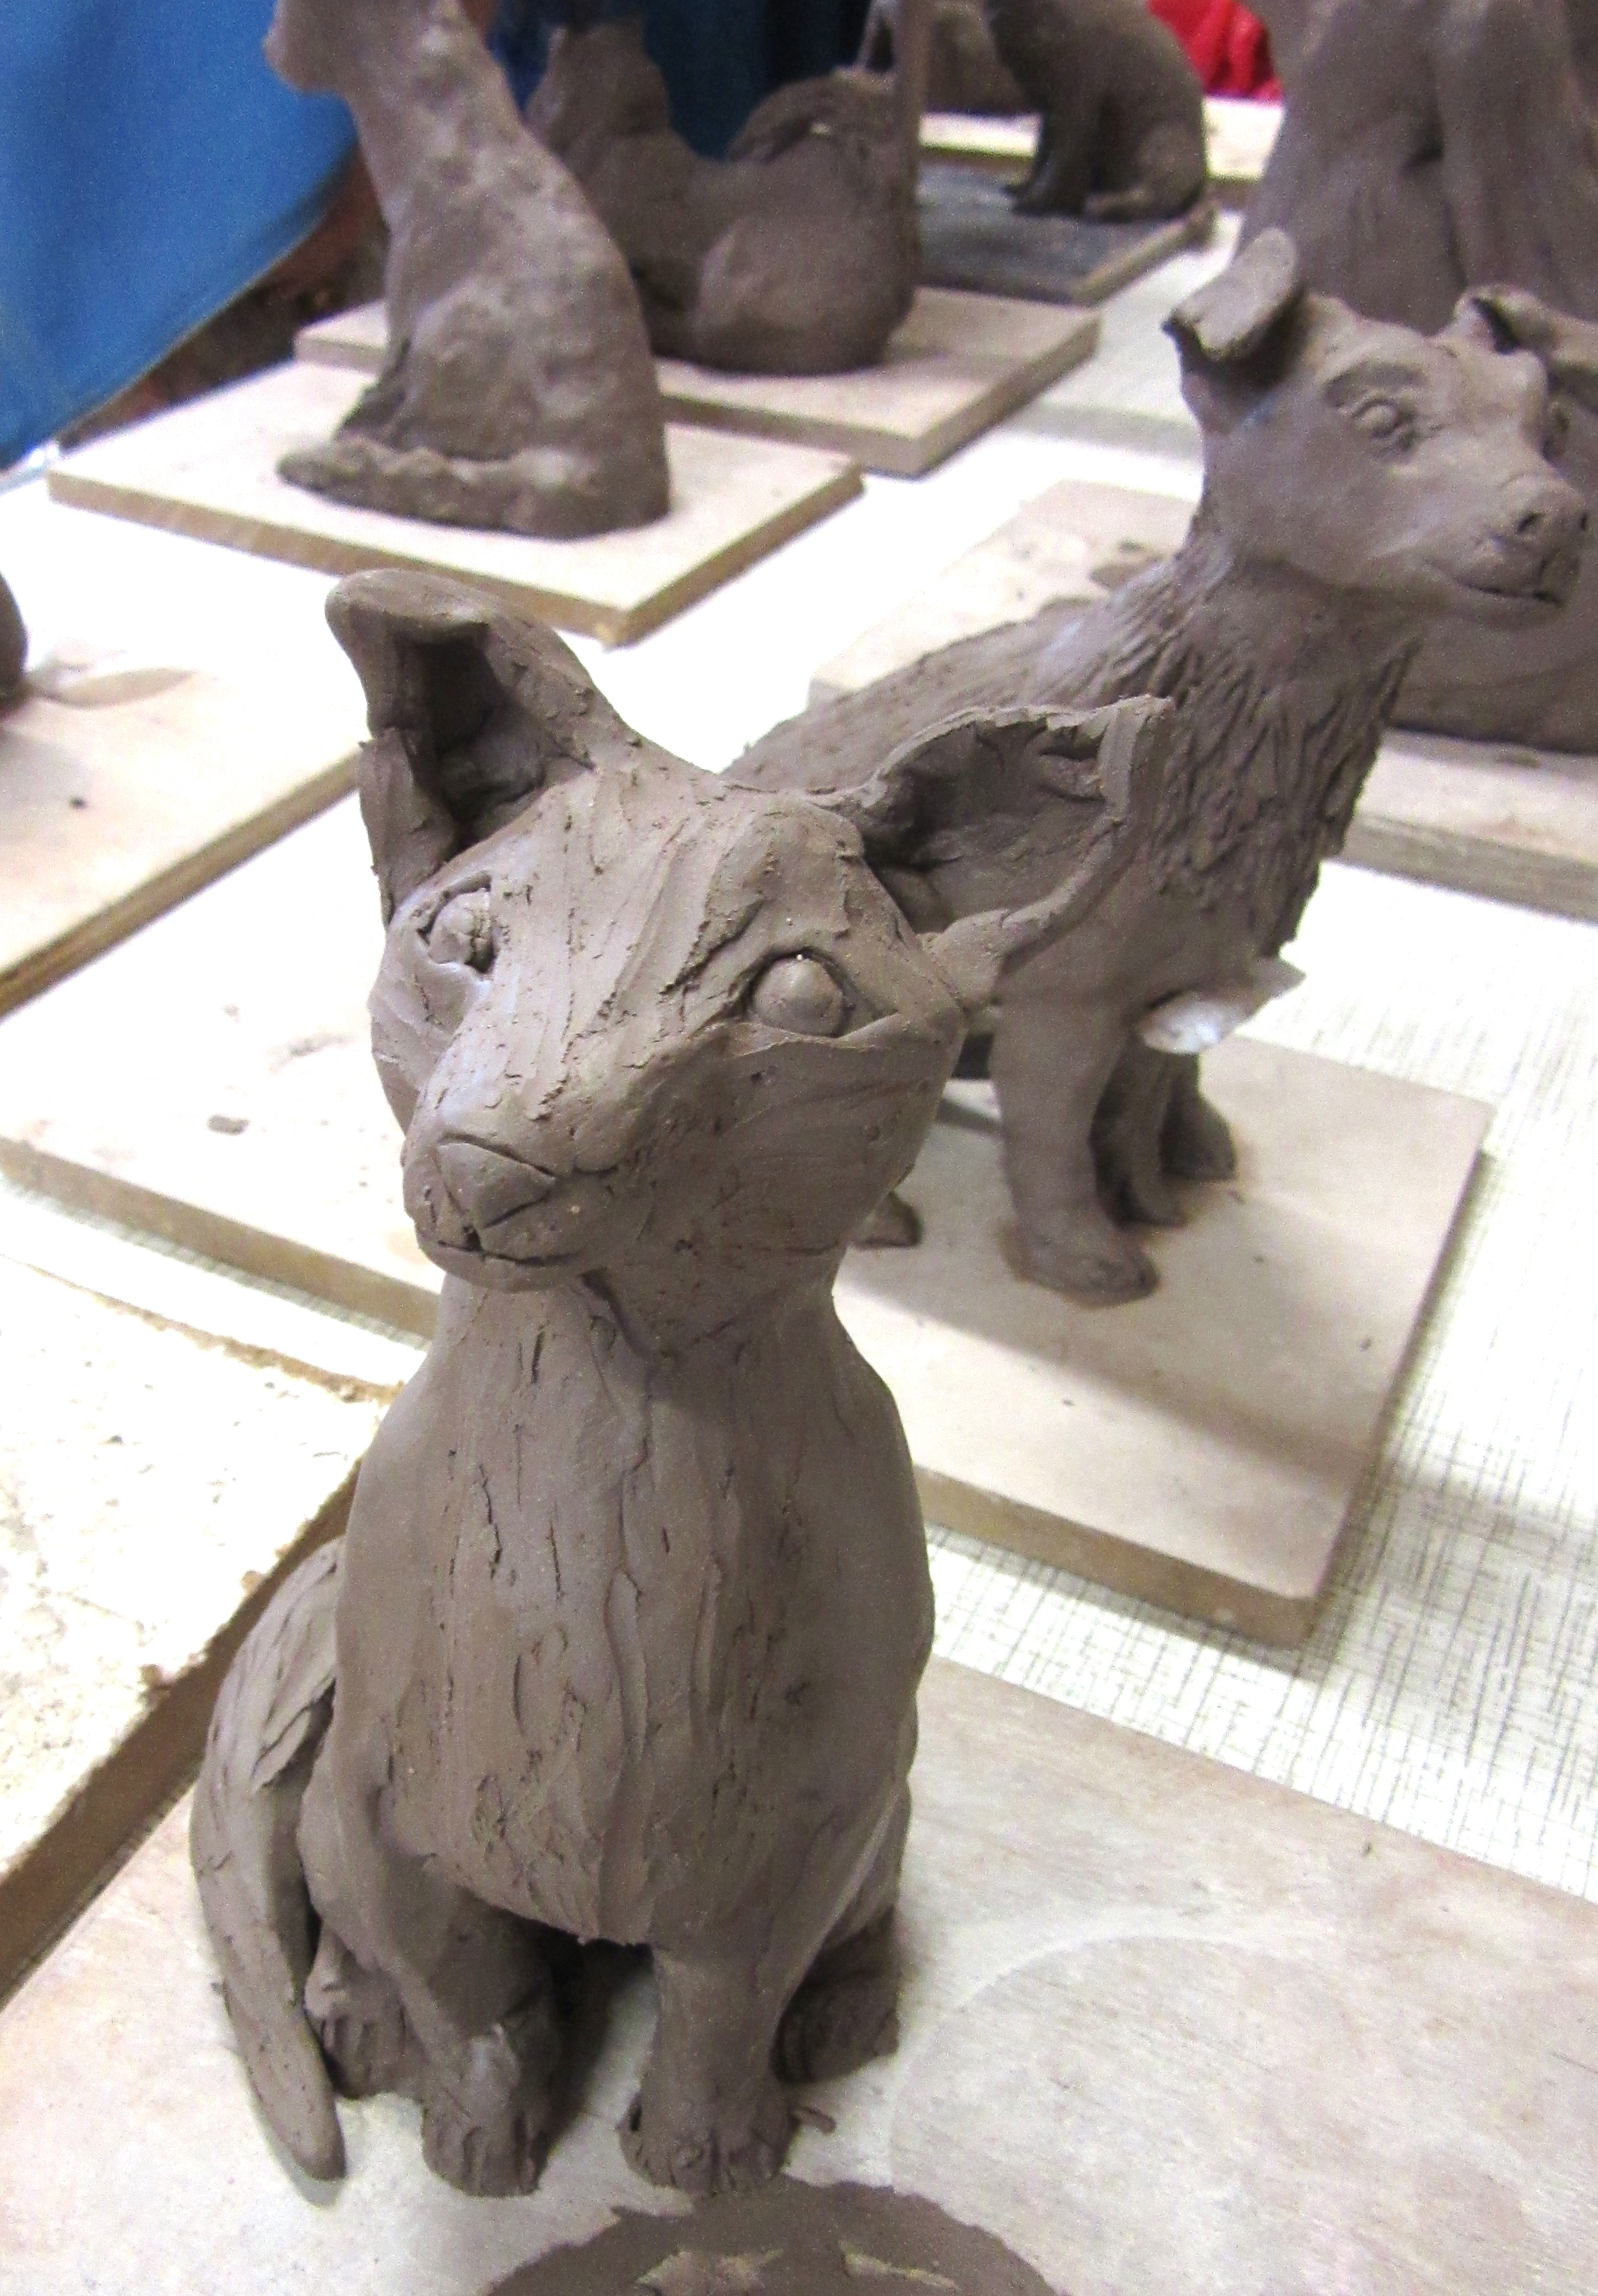
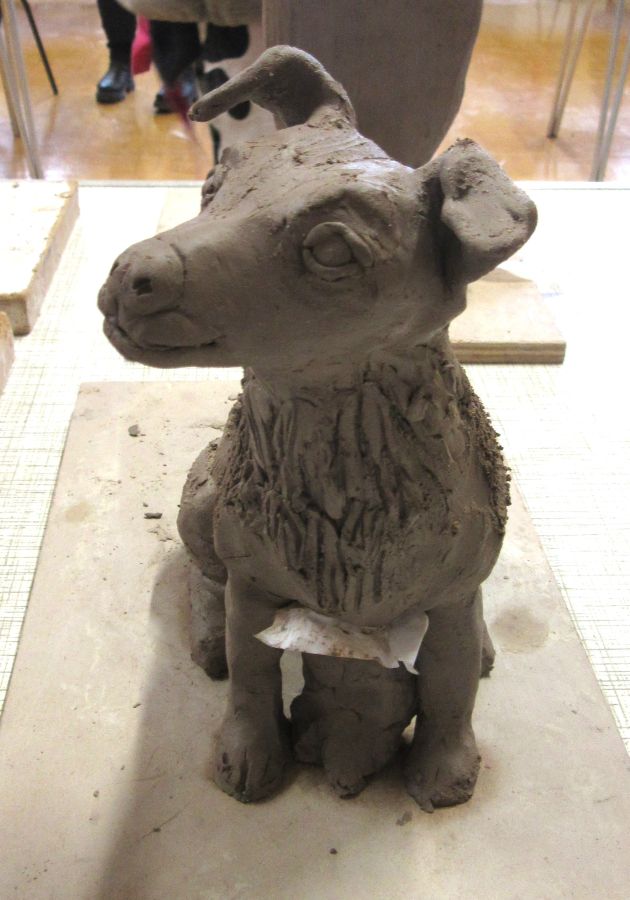
 Hayley Webb – Animal sculpture in clay
We had a brilliant time creating our animals. It got a bit scary when we had to hollow them out which meant we had to cut our animals in two and glue them back together again after hollowing them out.


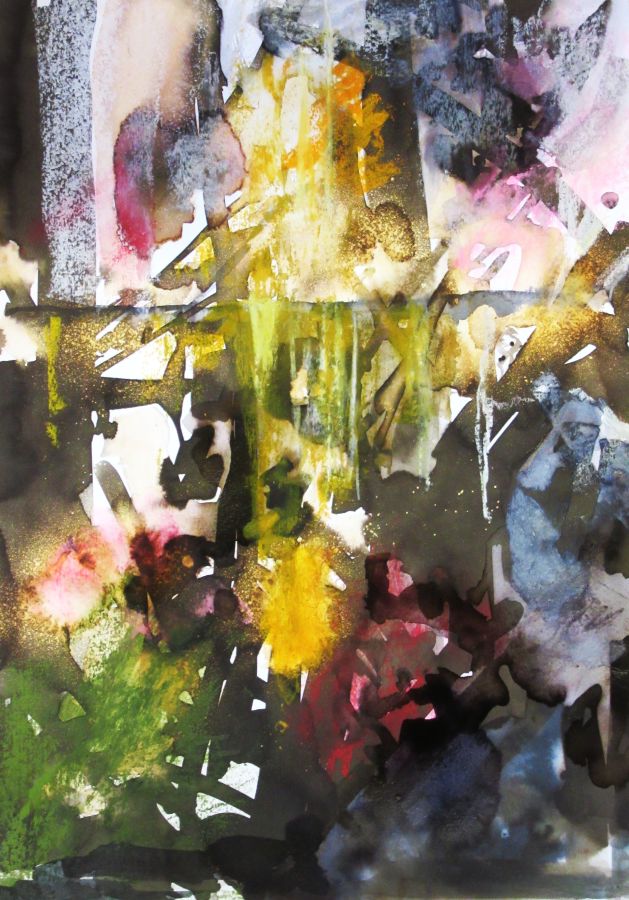
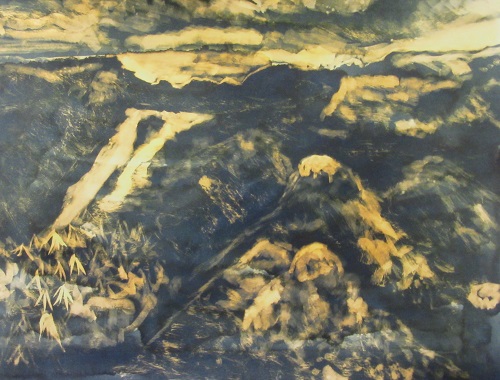
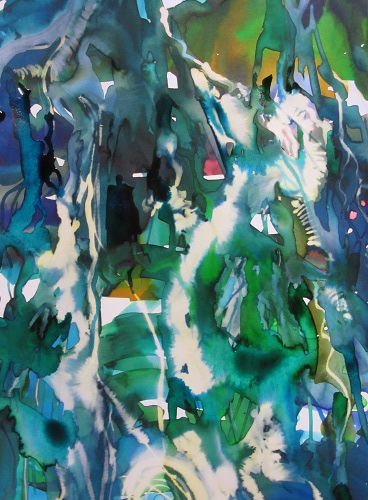
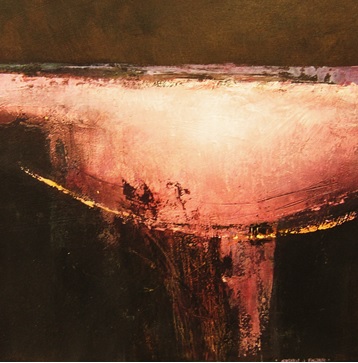
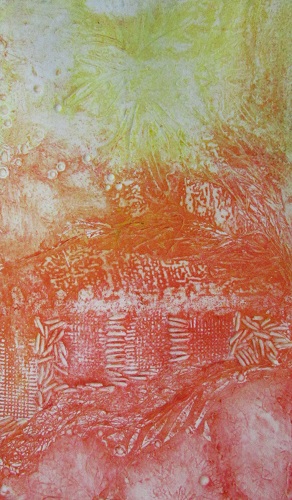
 Catherine Beale – Gravity painting
What great fun this workshop was. We have learned so many new techniques with Catherine our heads were spinning but everybody managed to create something to be proud off. A super workshop and thank you to Catherine covering 22 applicants in one go :-).
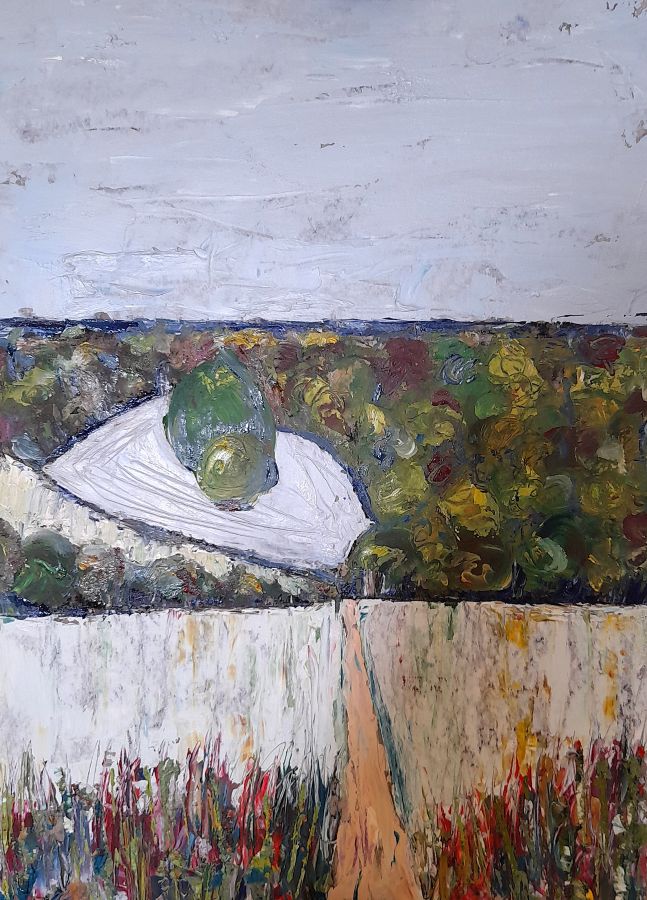
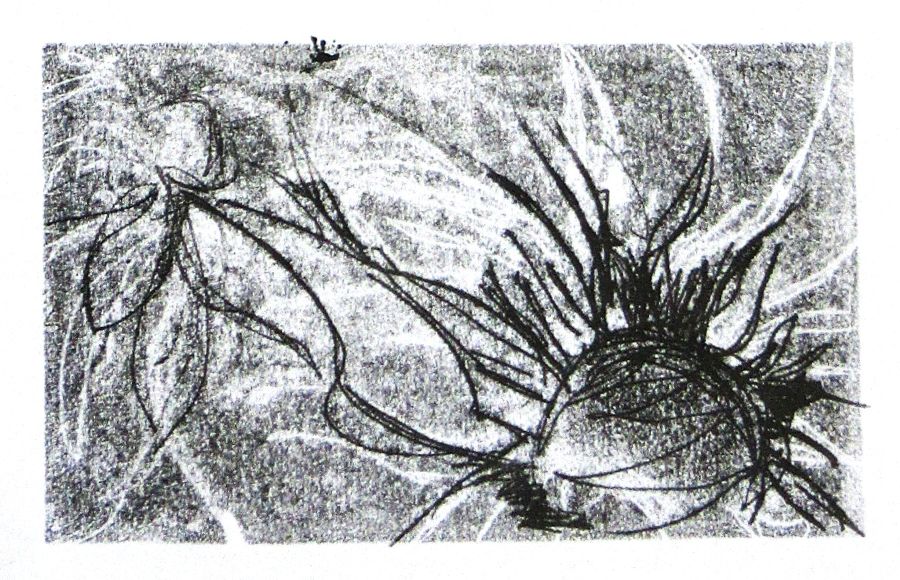
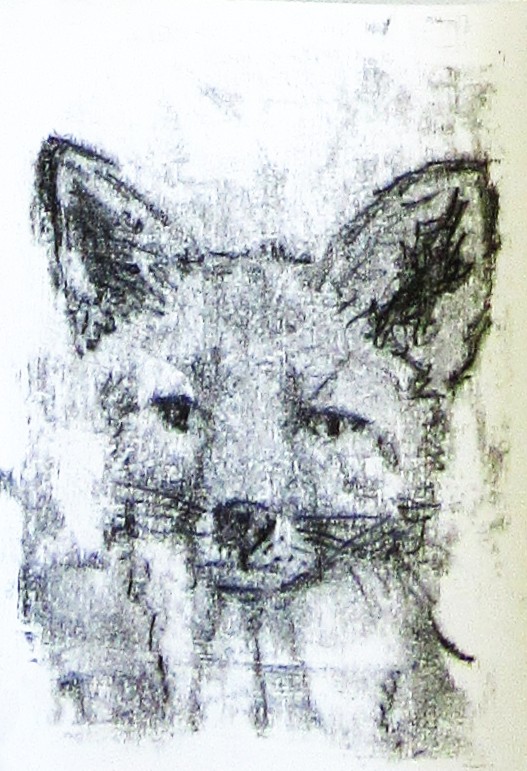
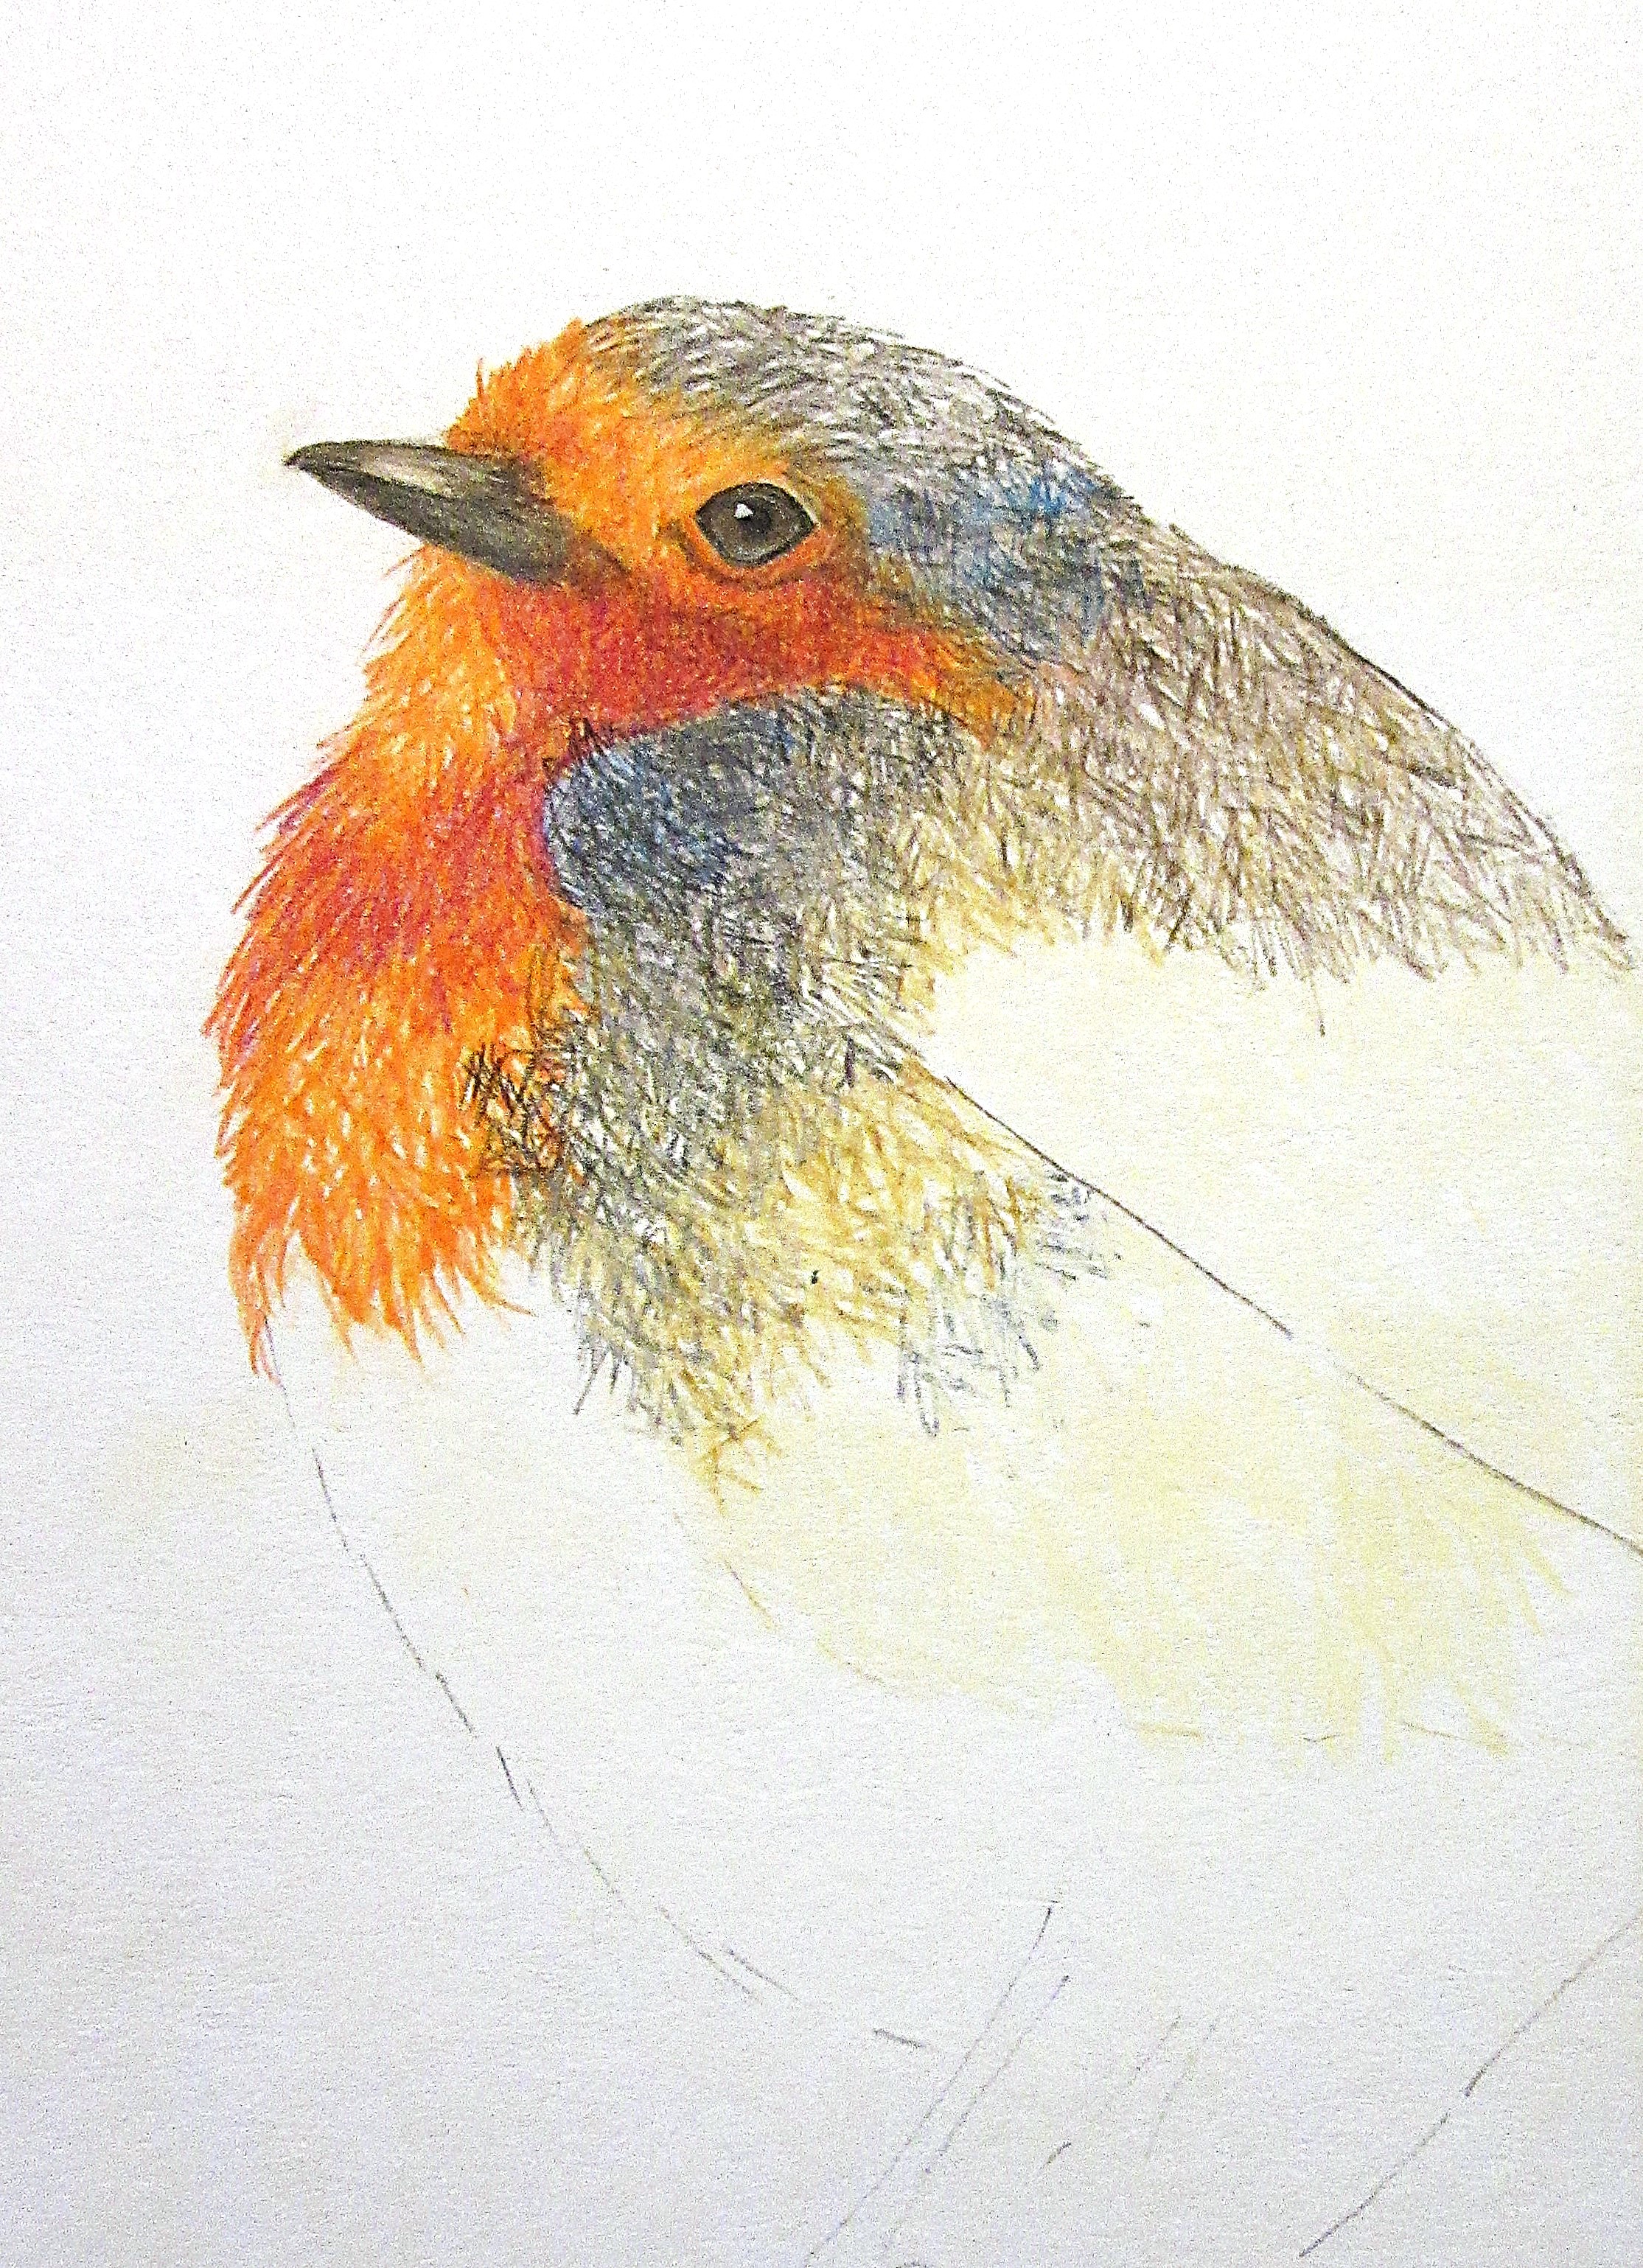
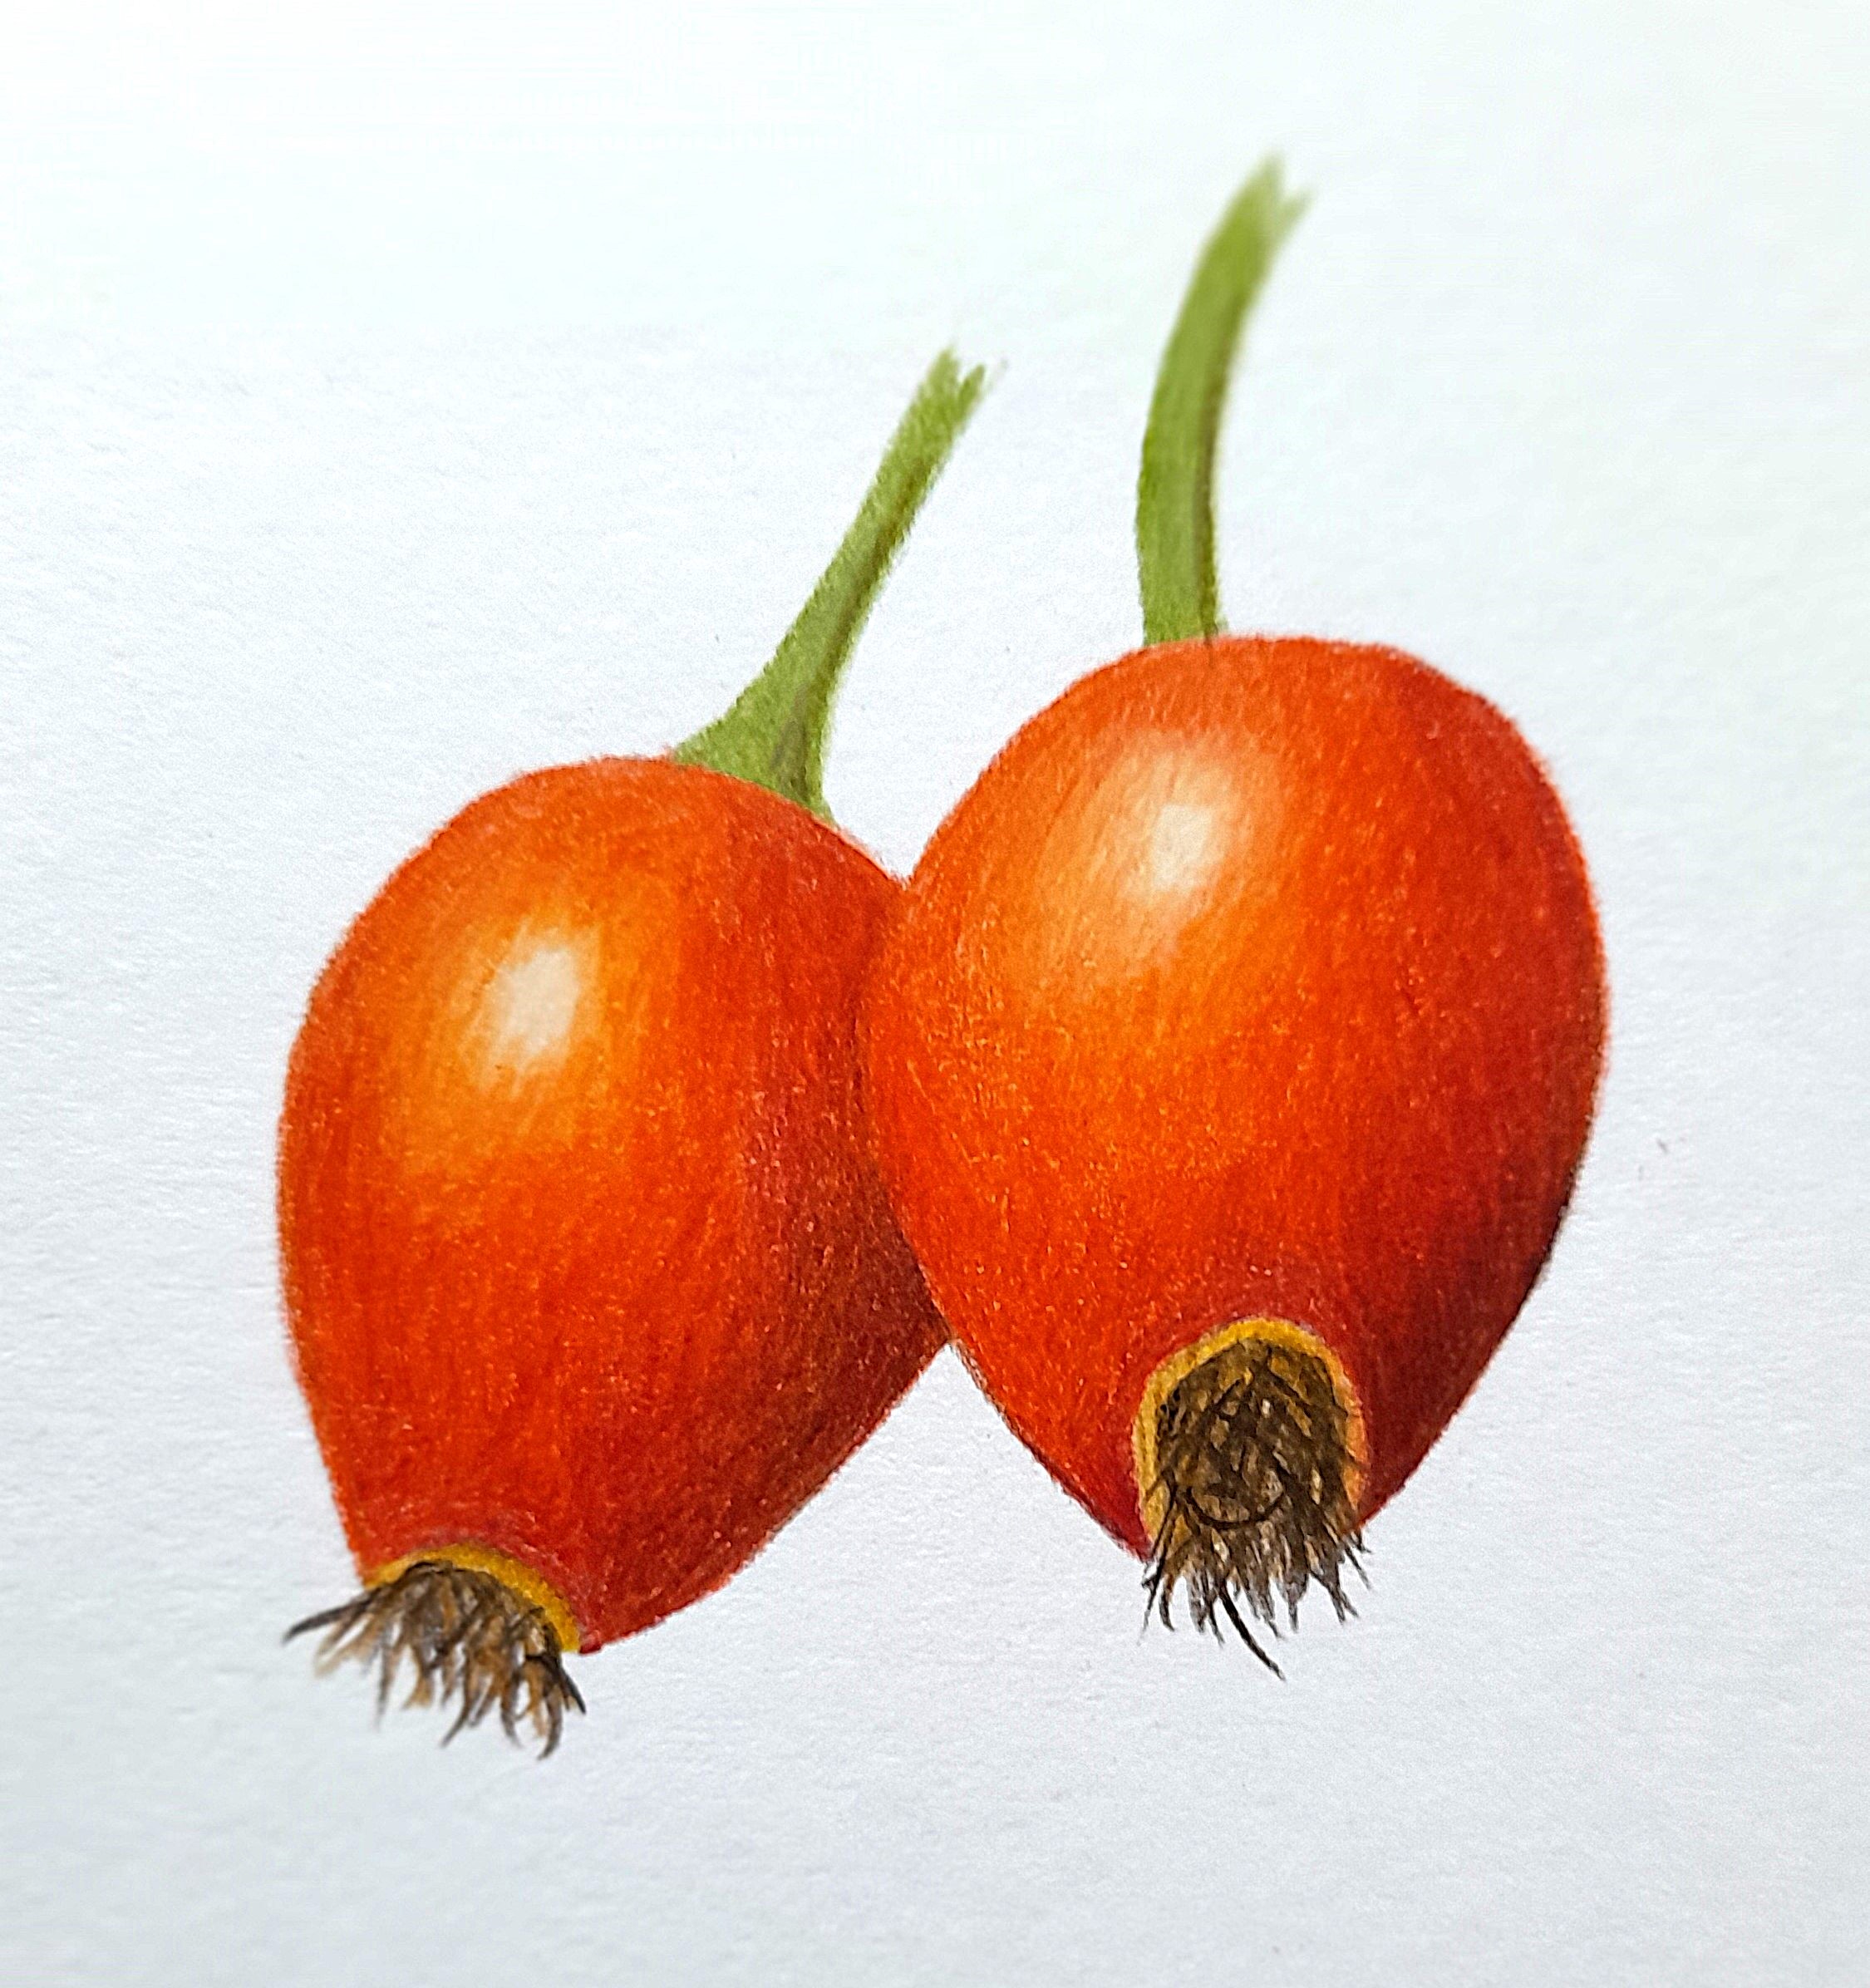
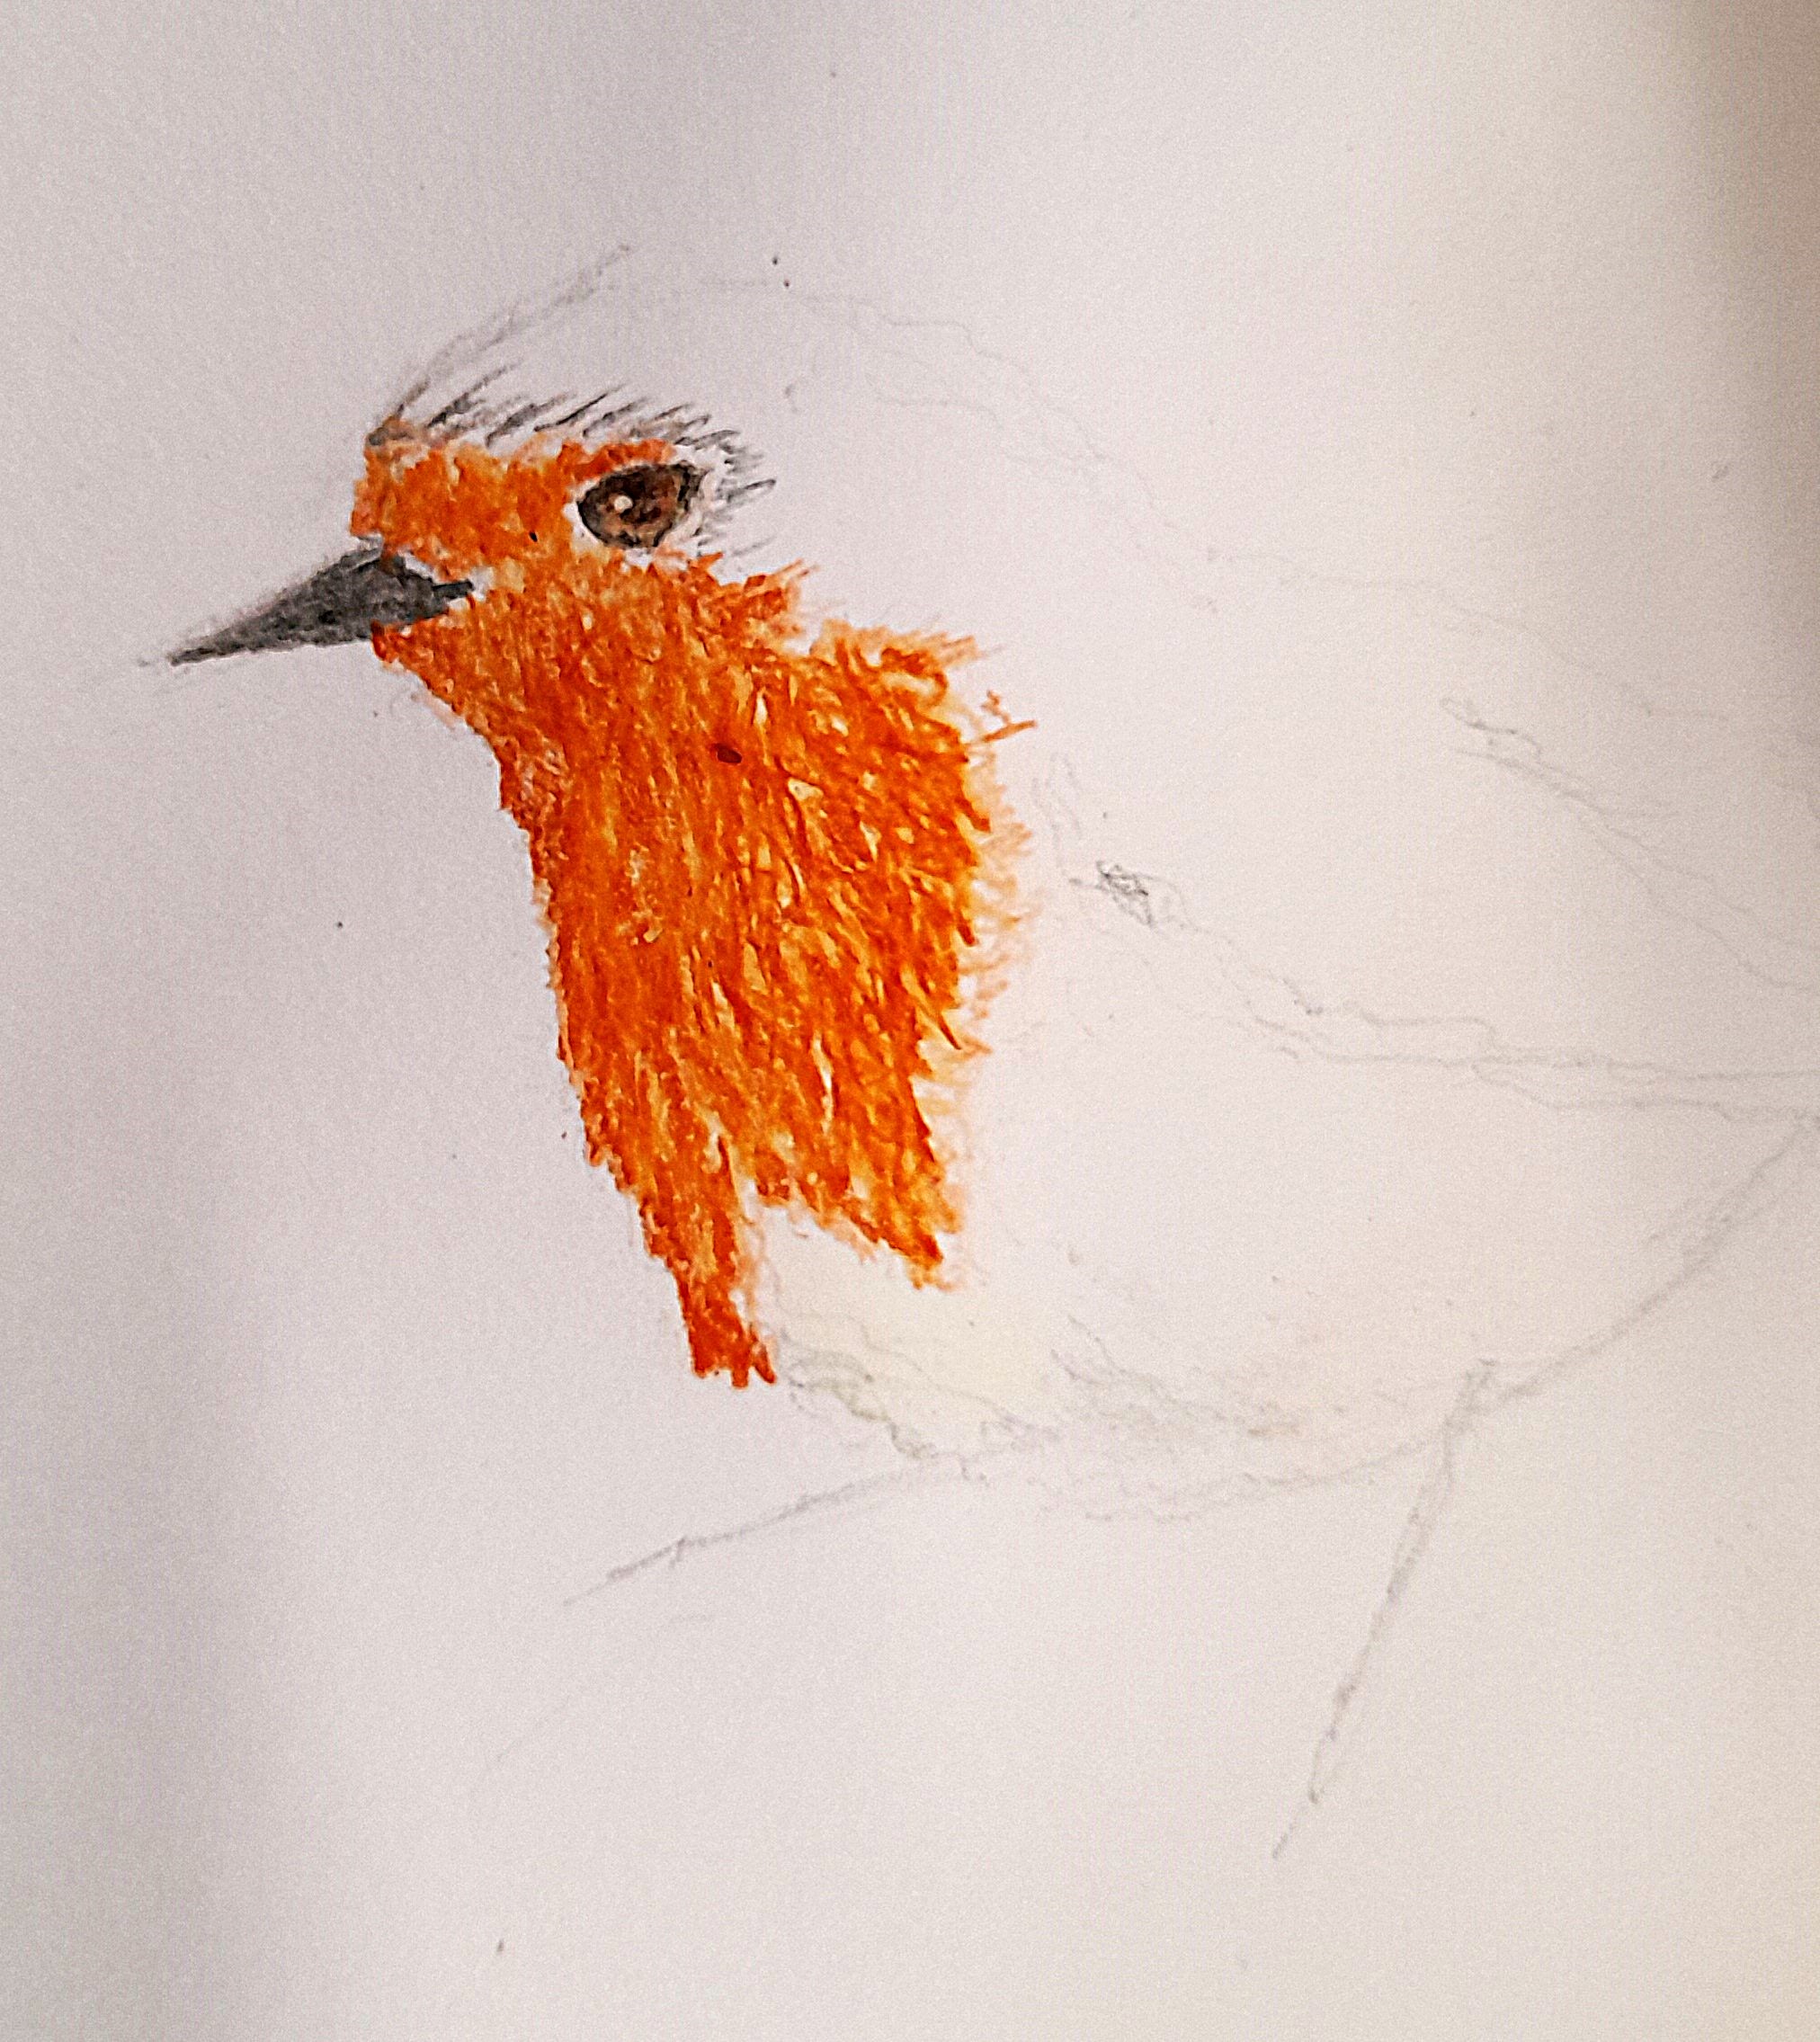
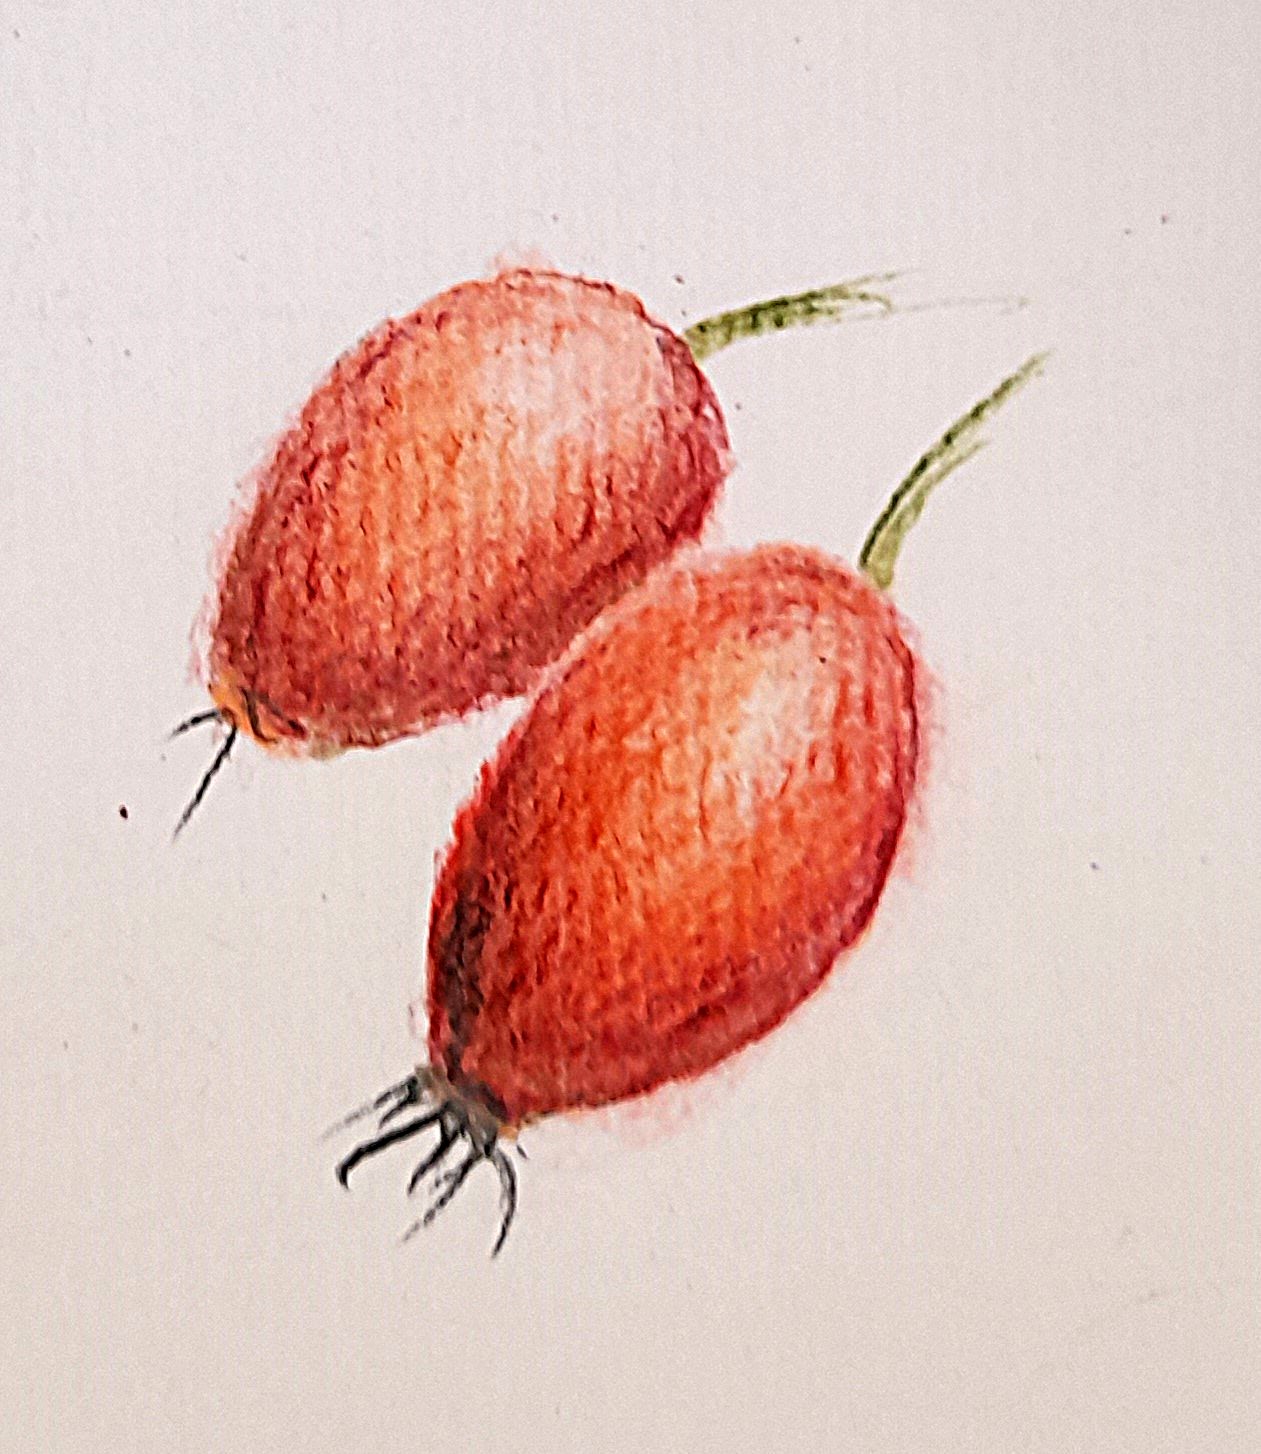
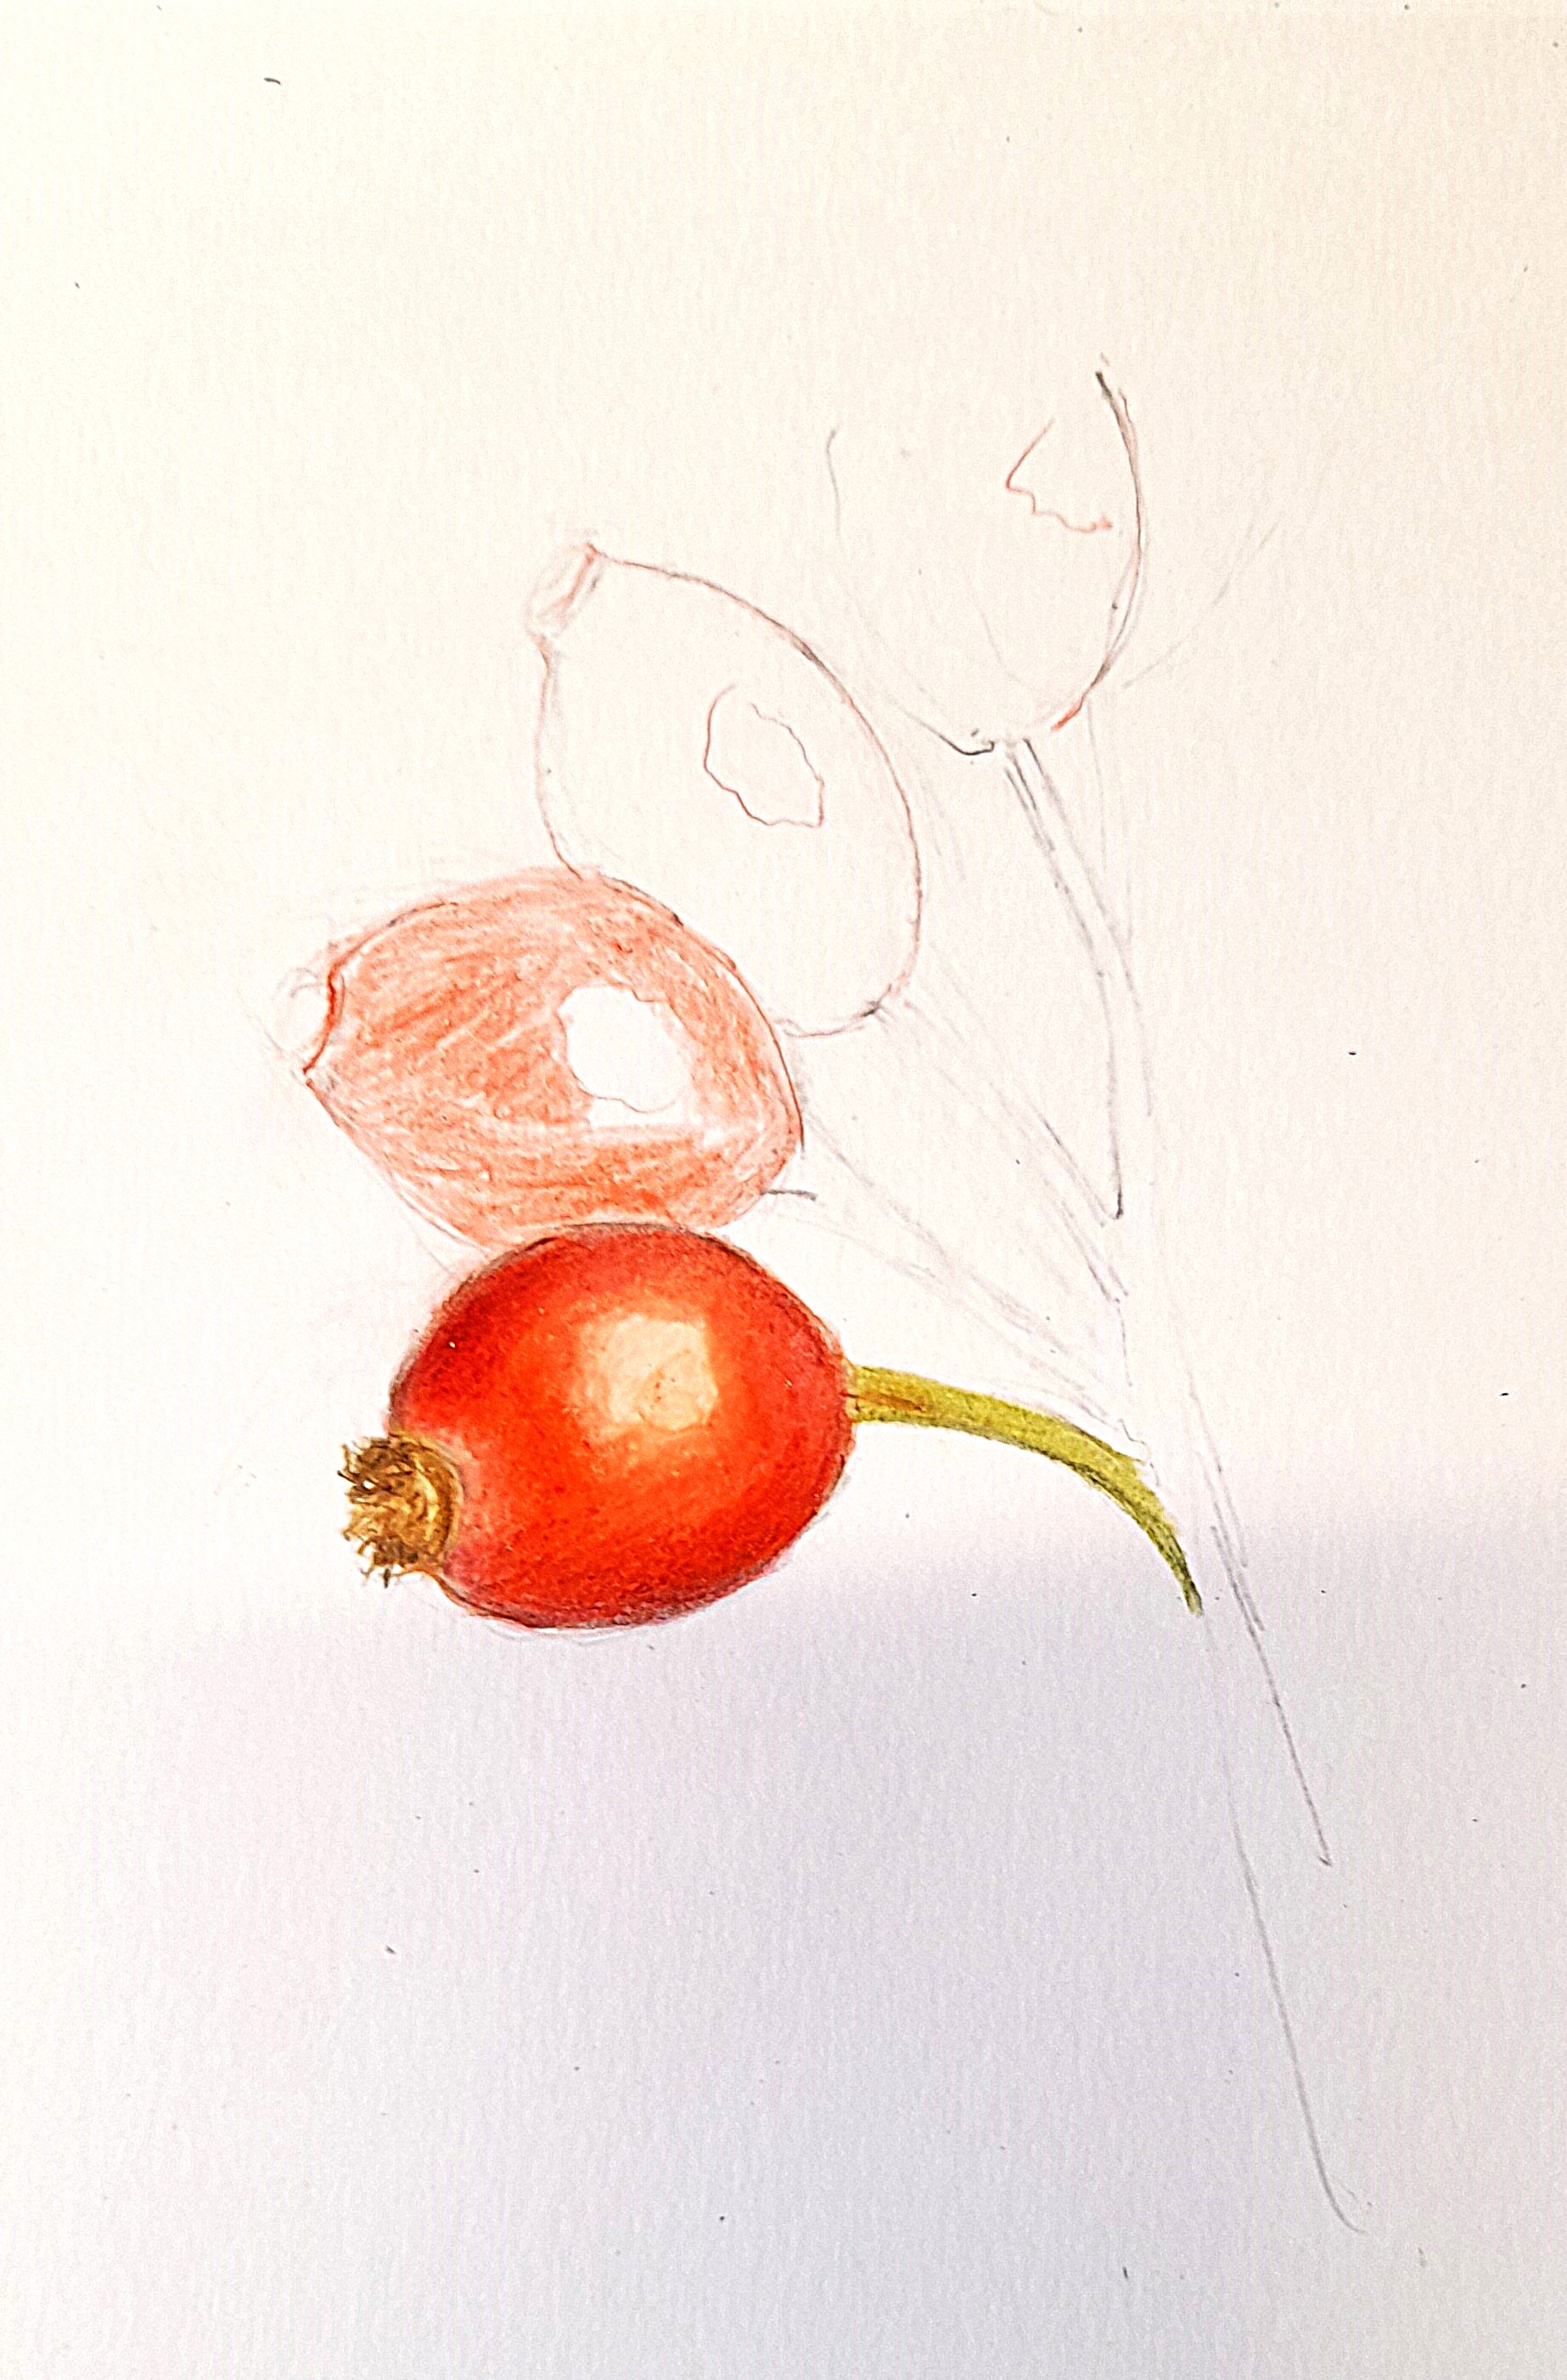
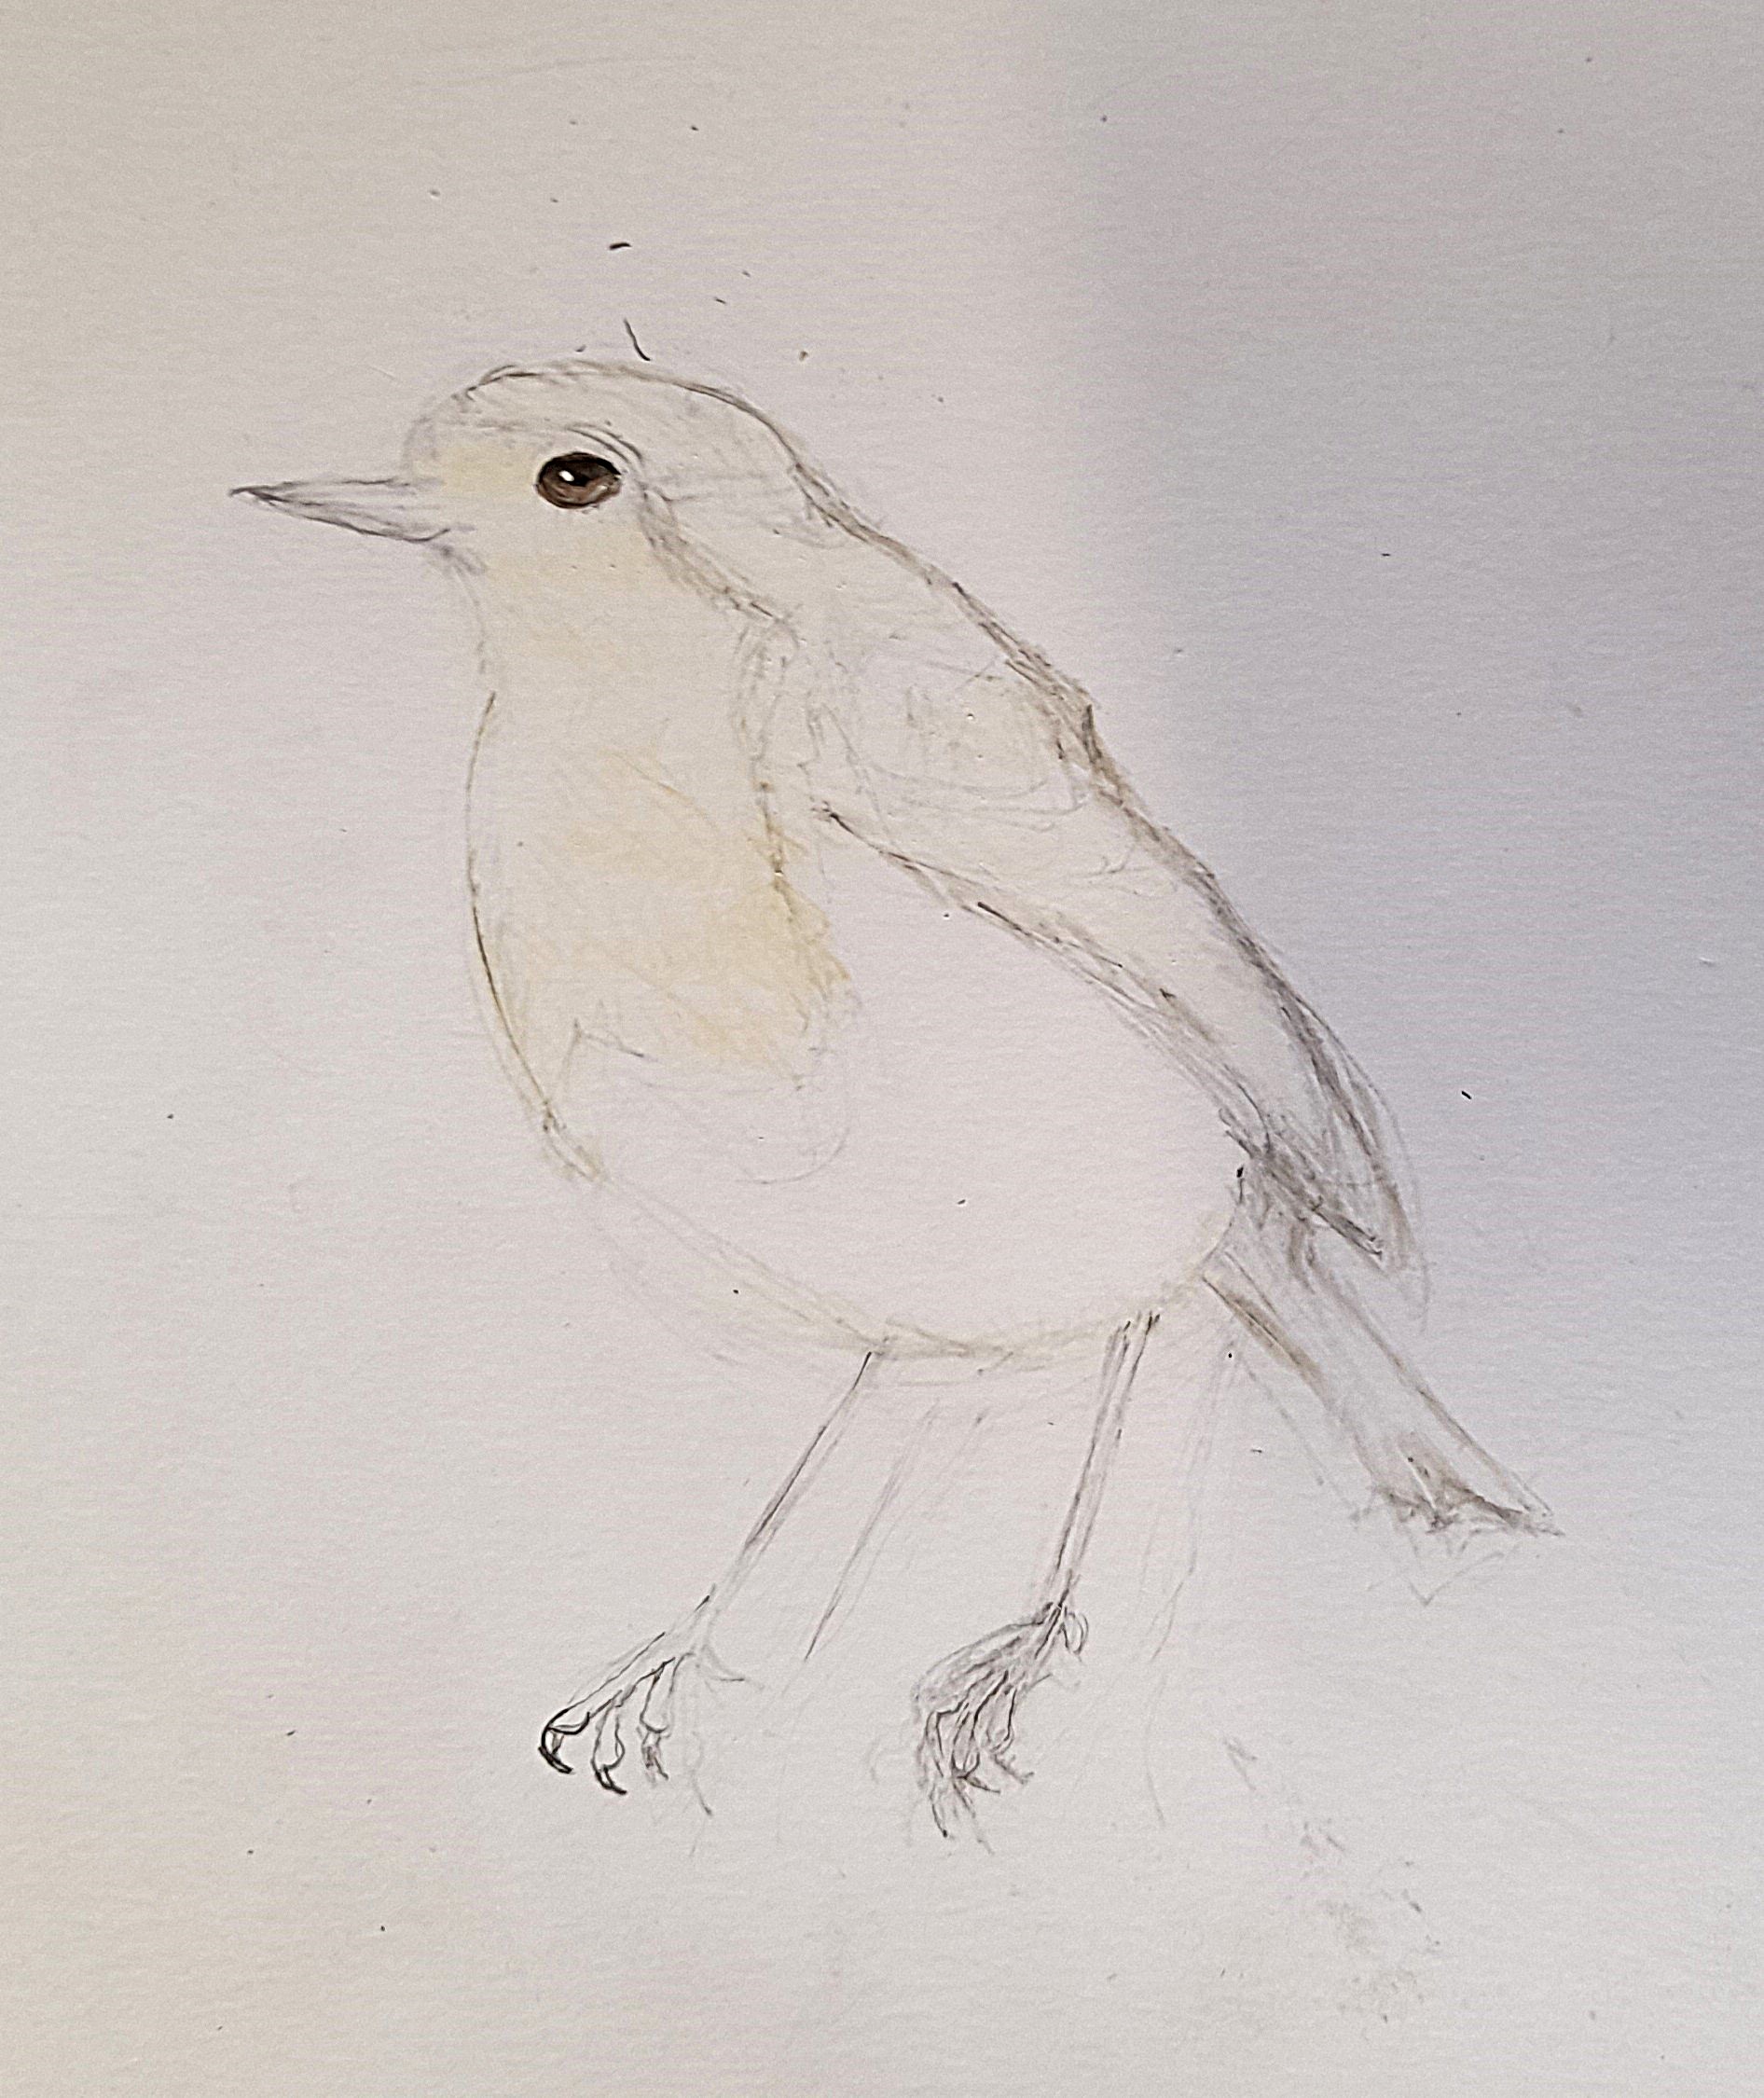
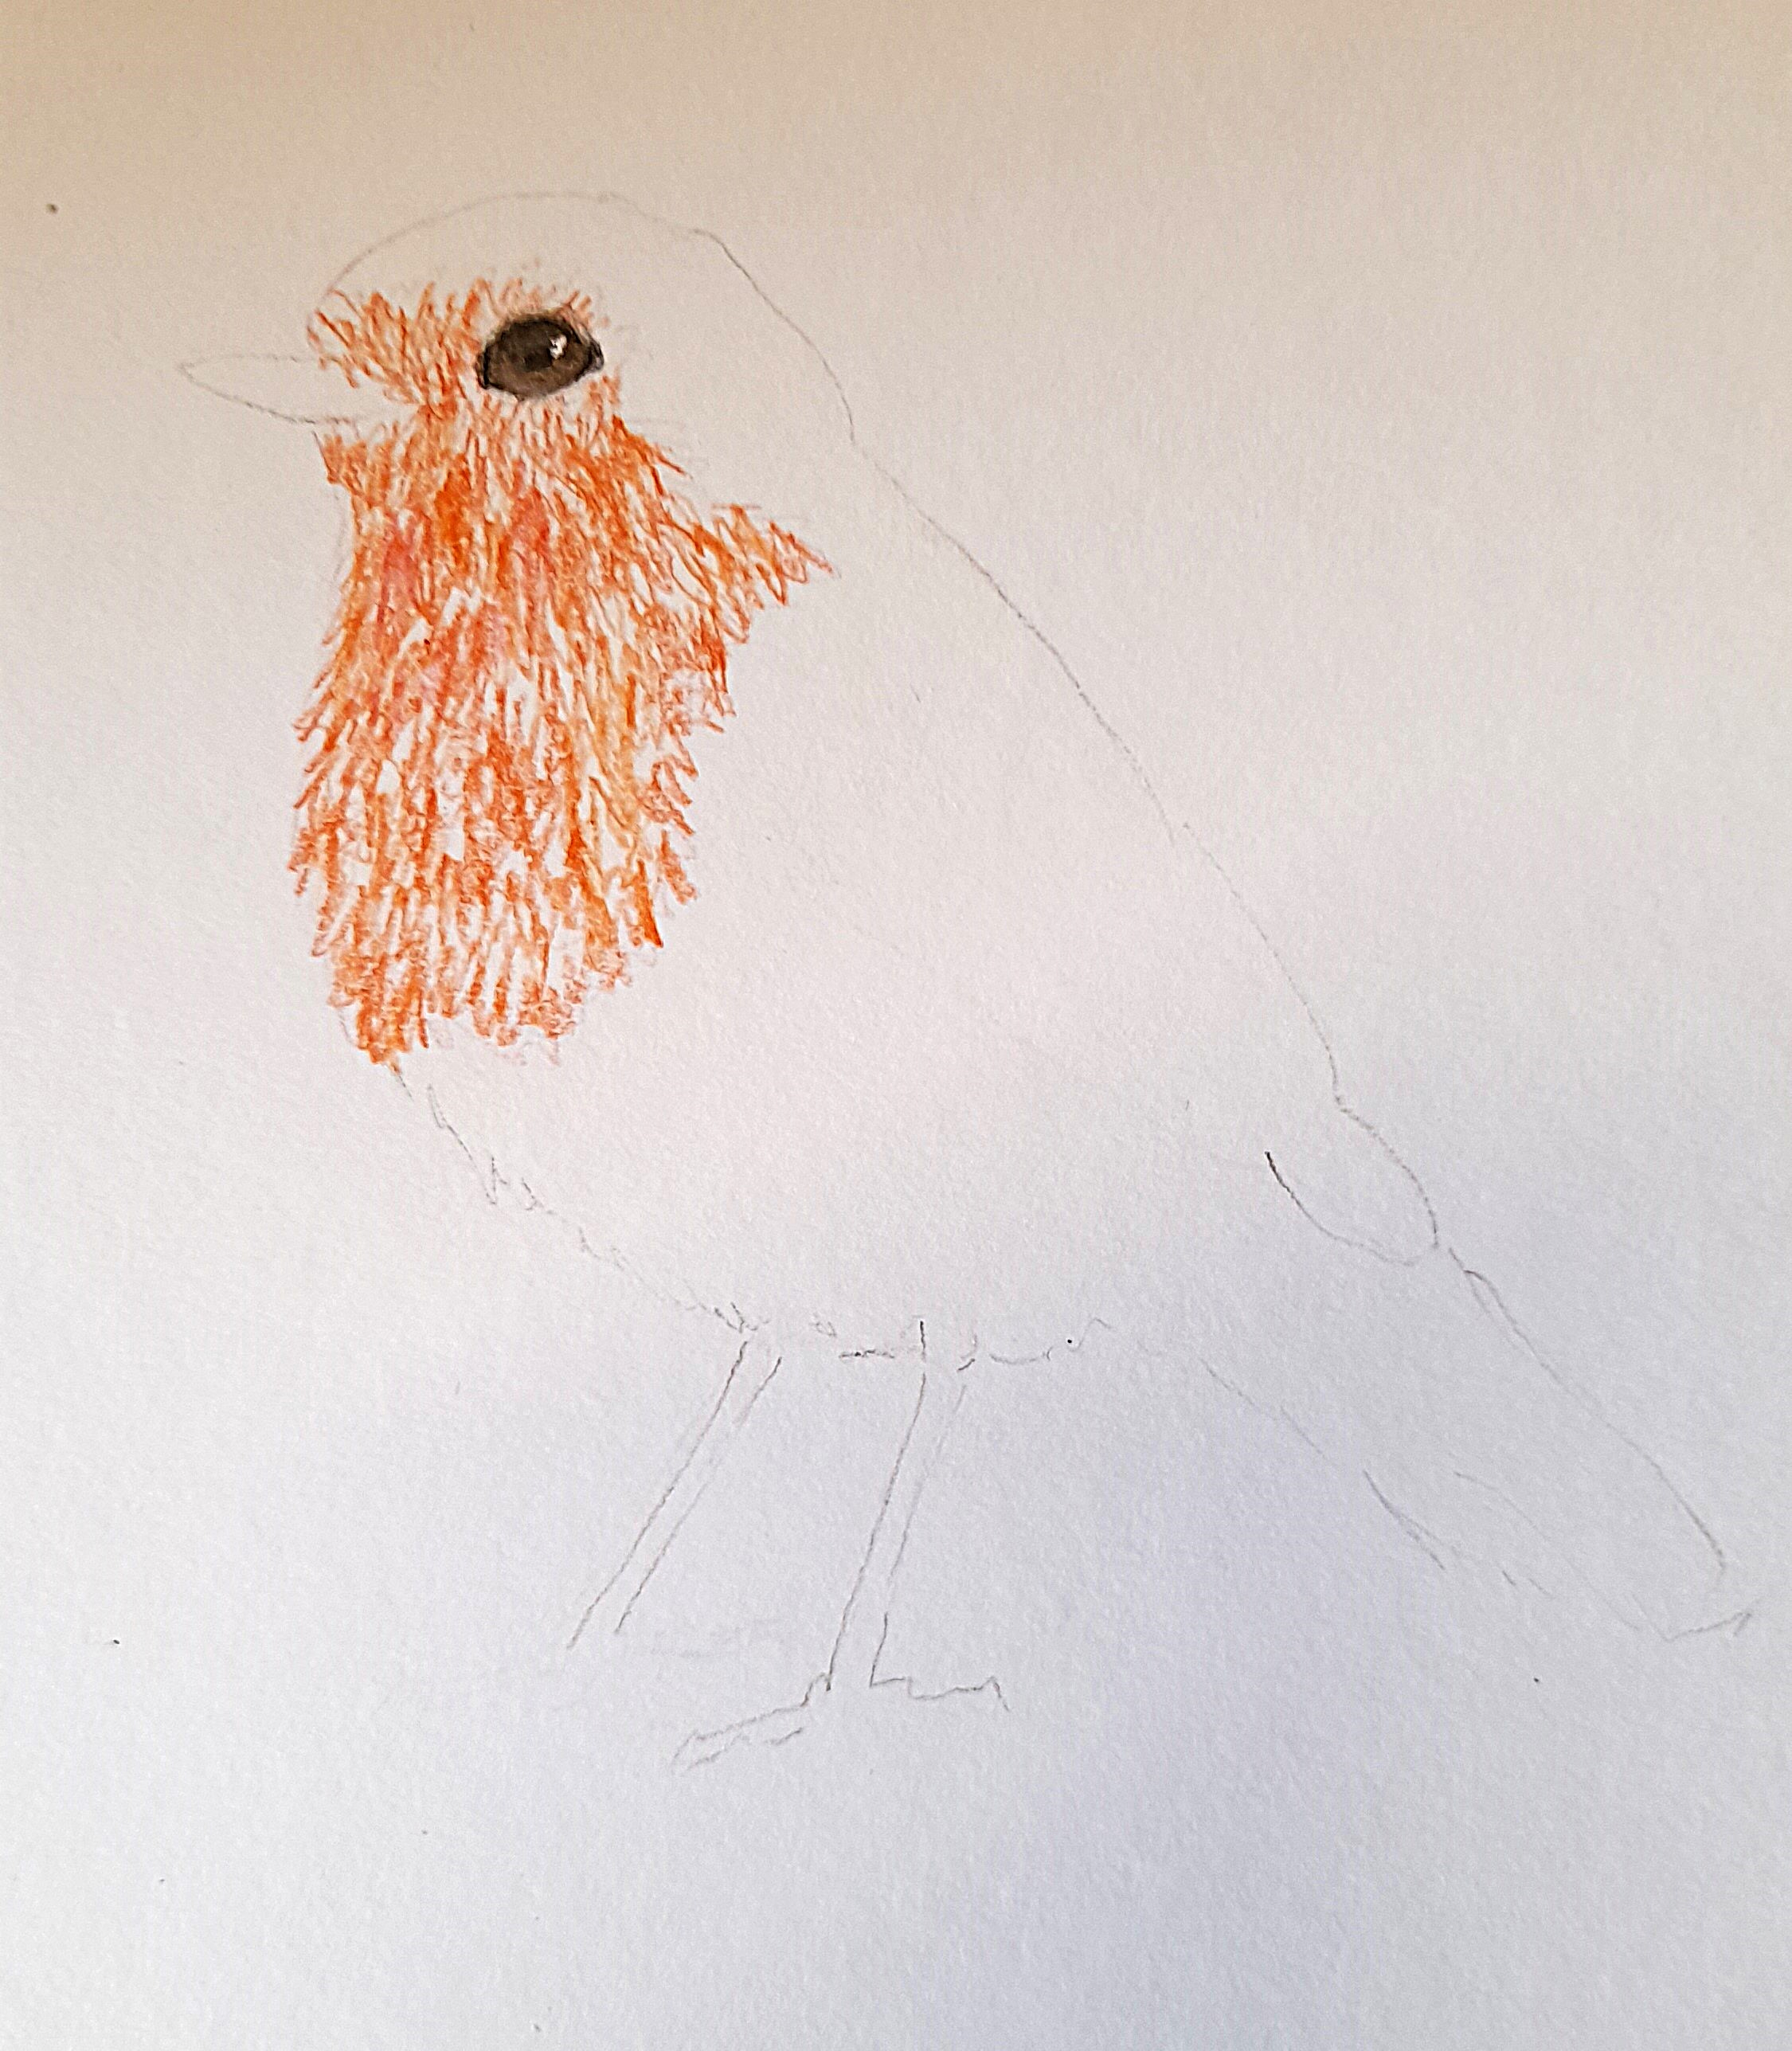
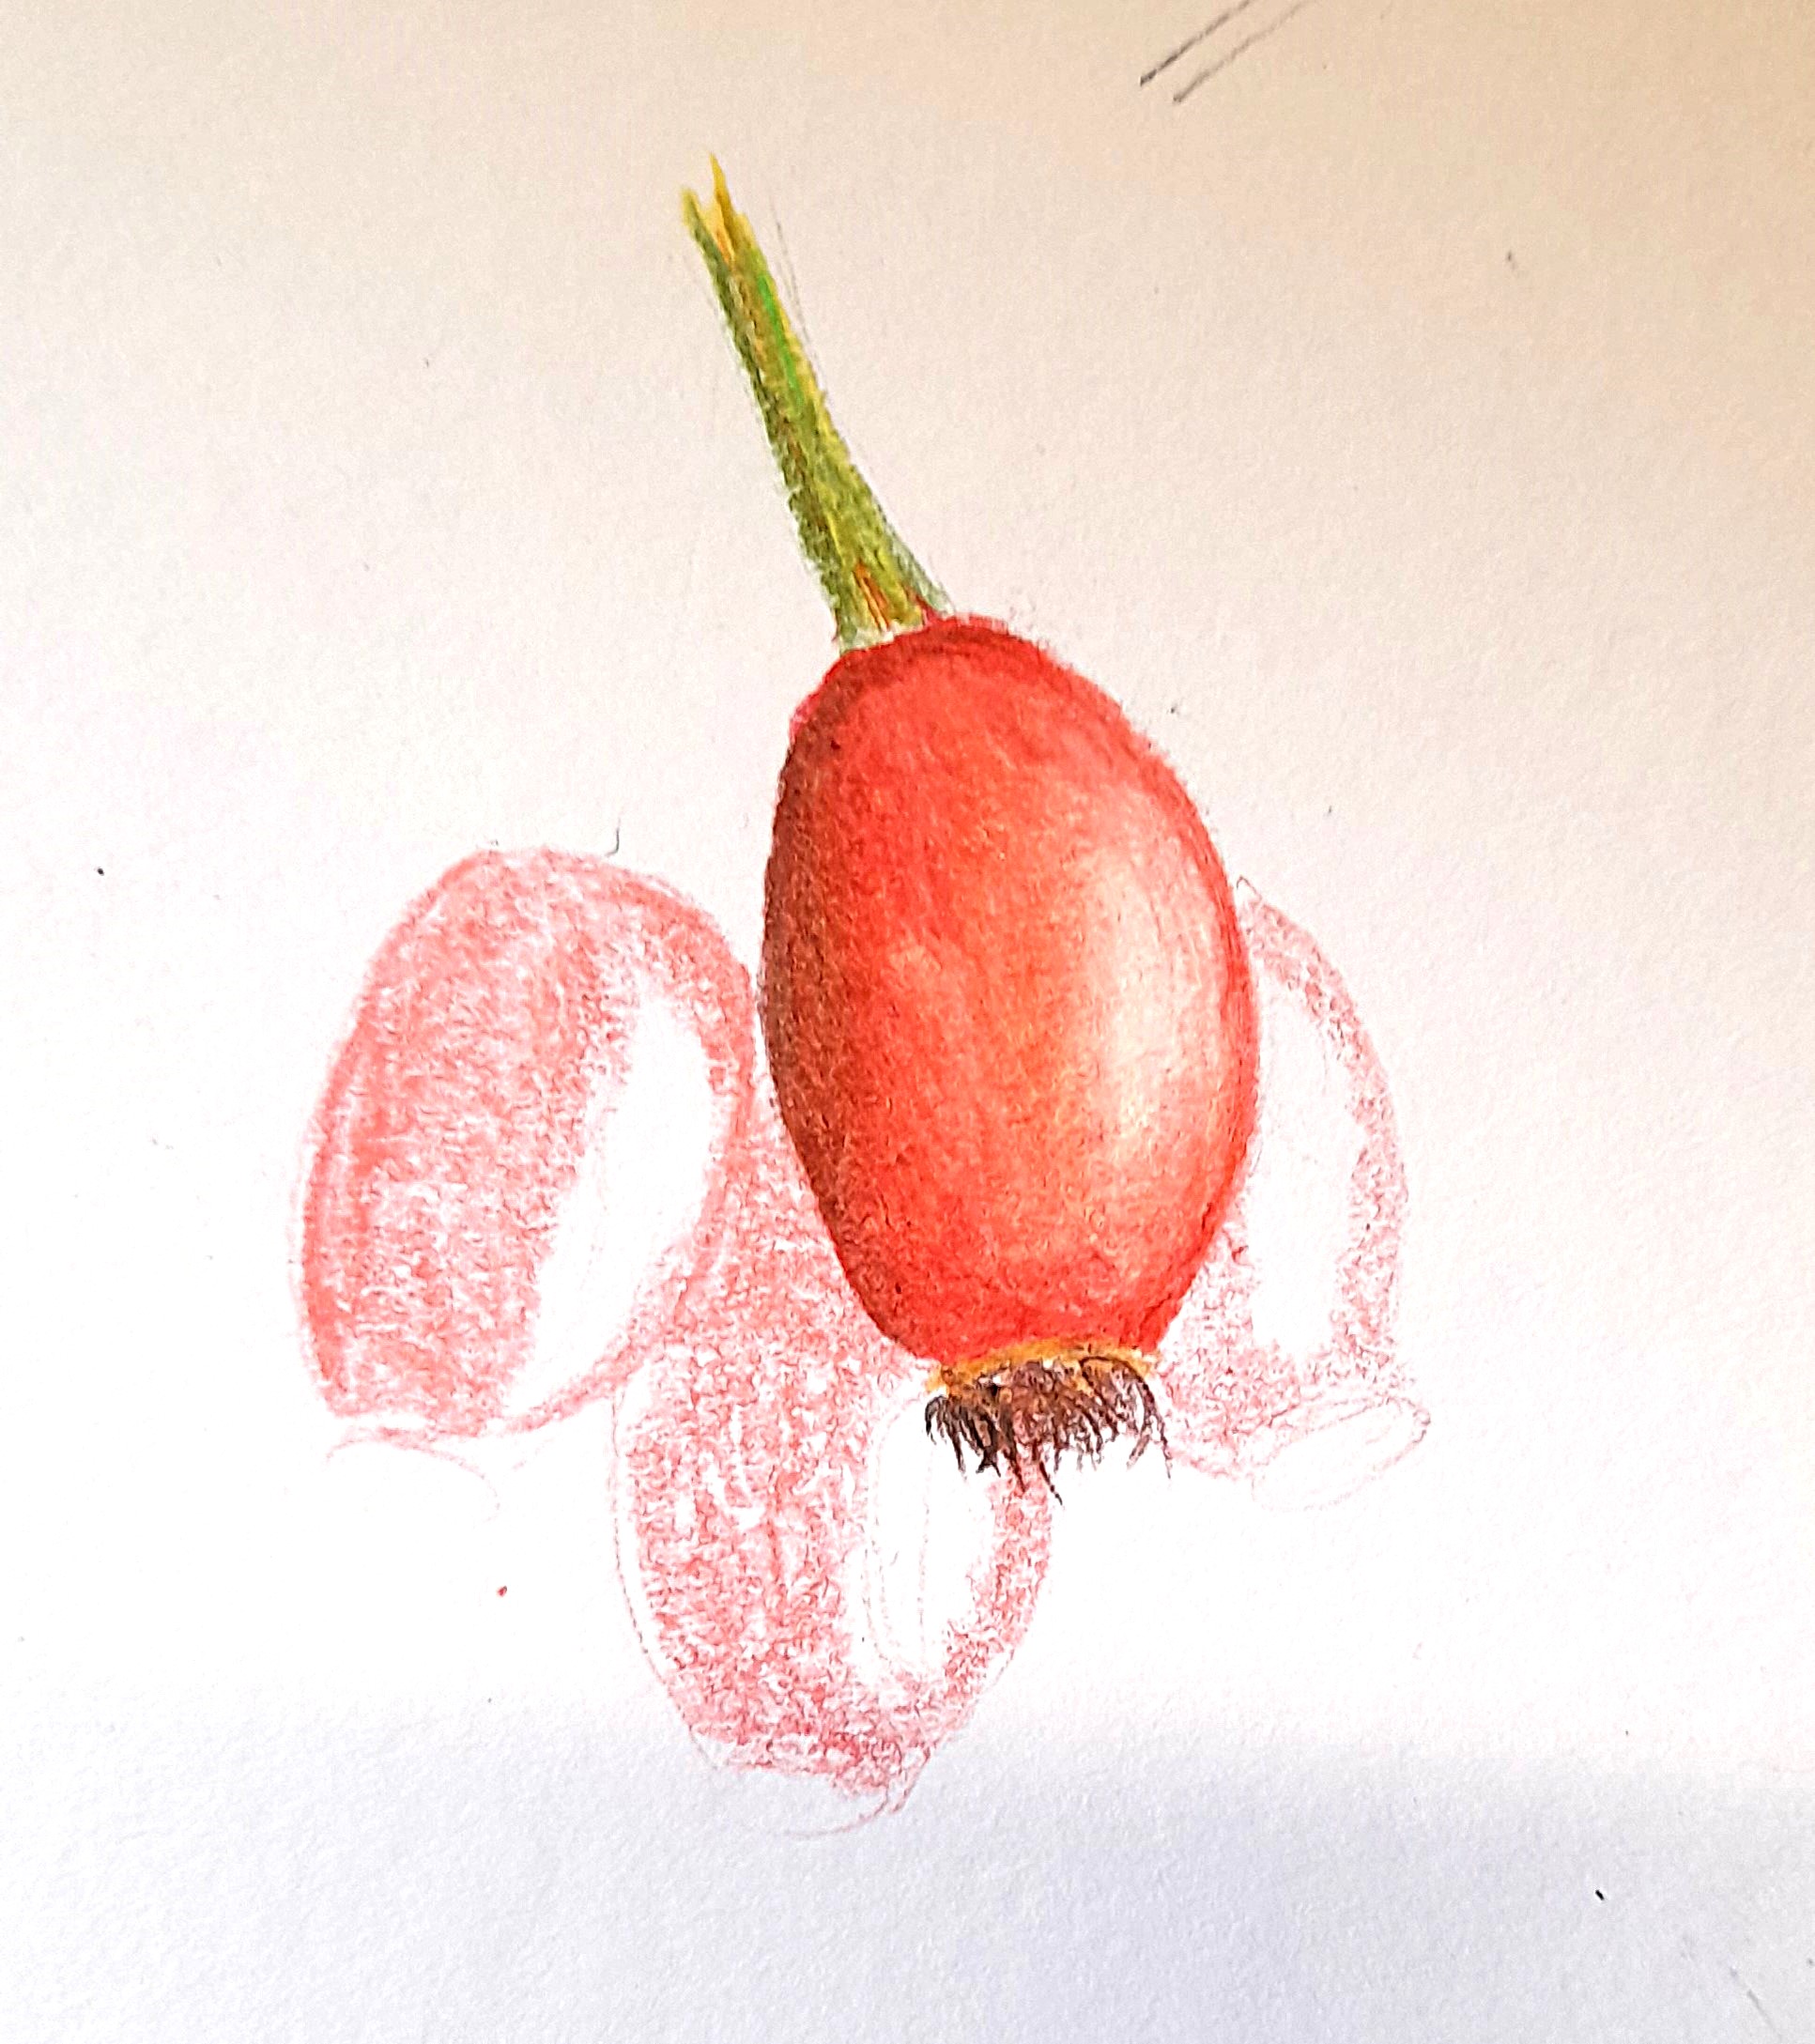
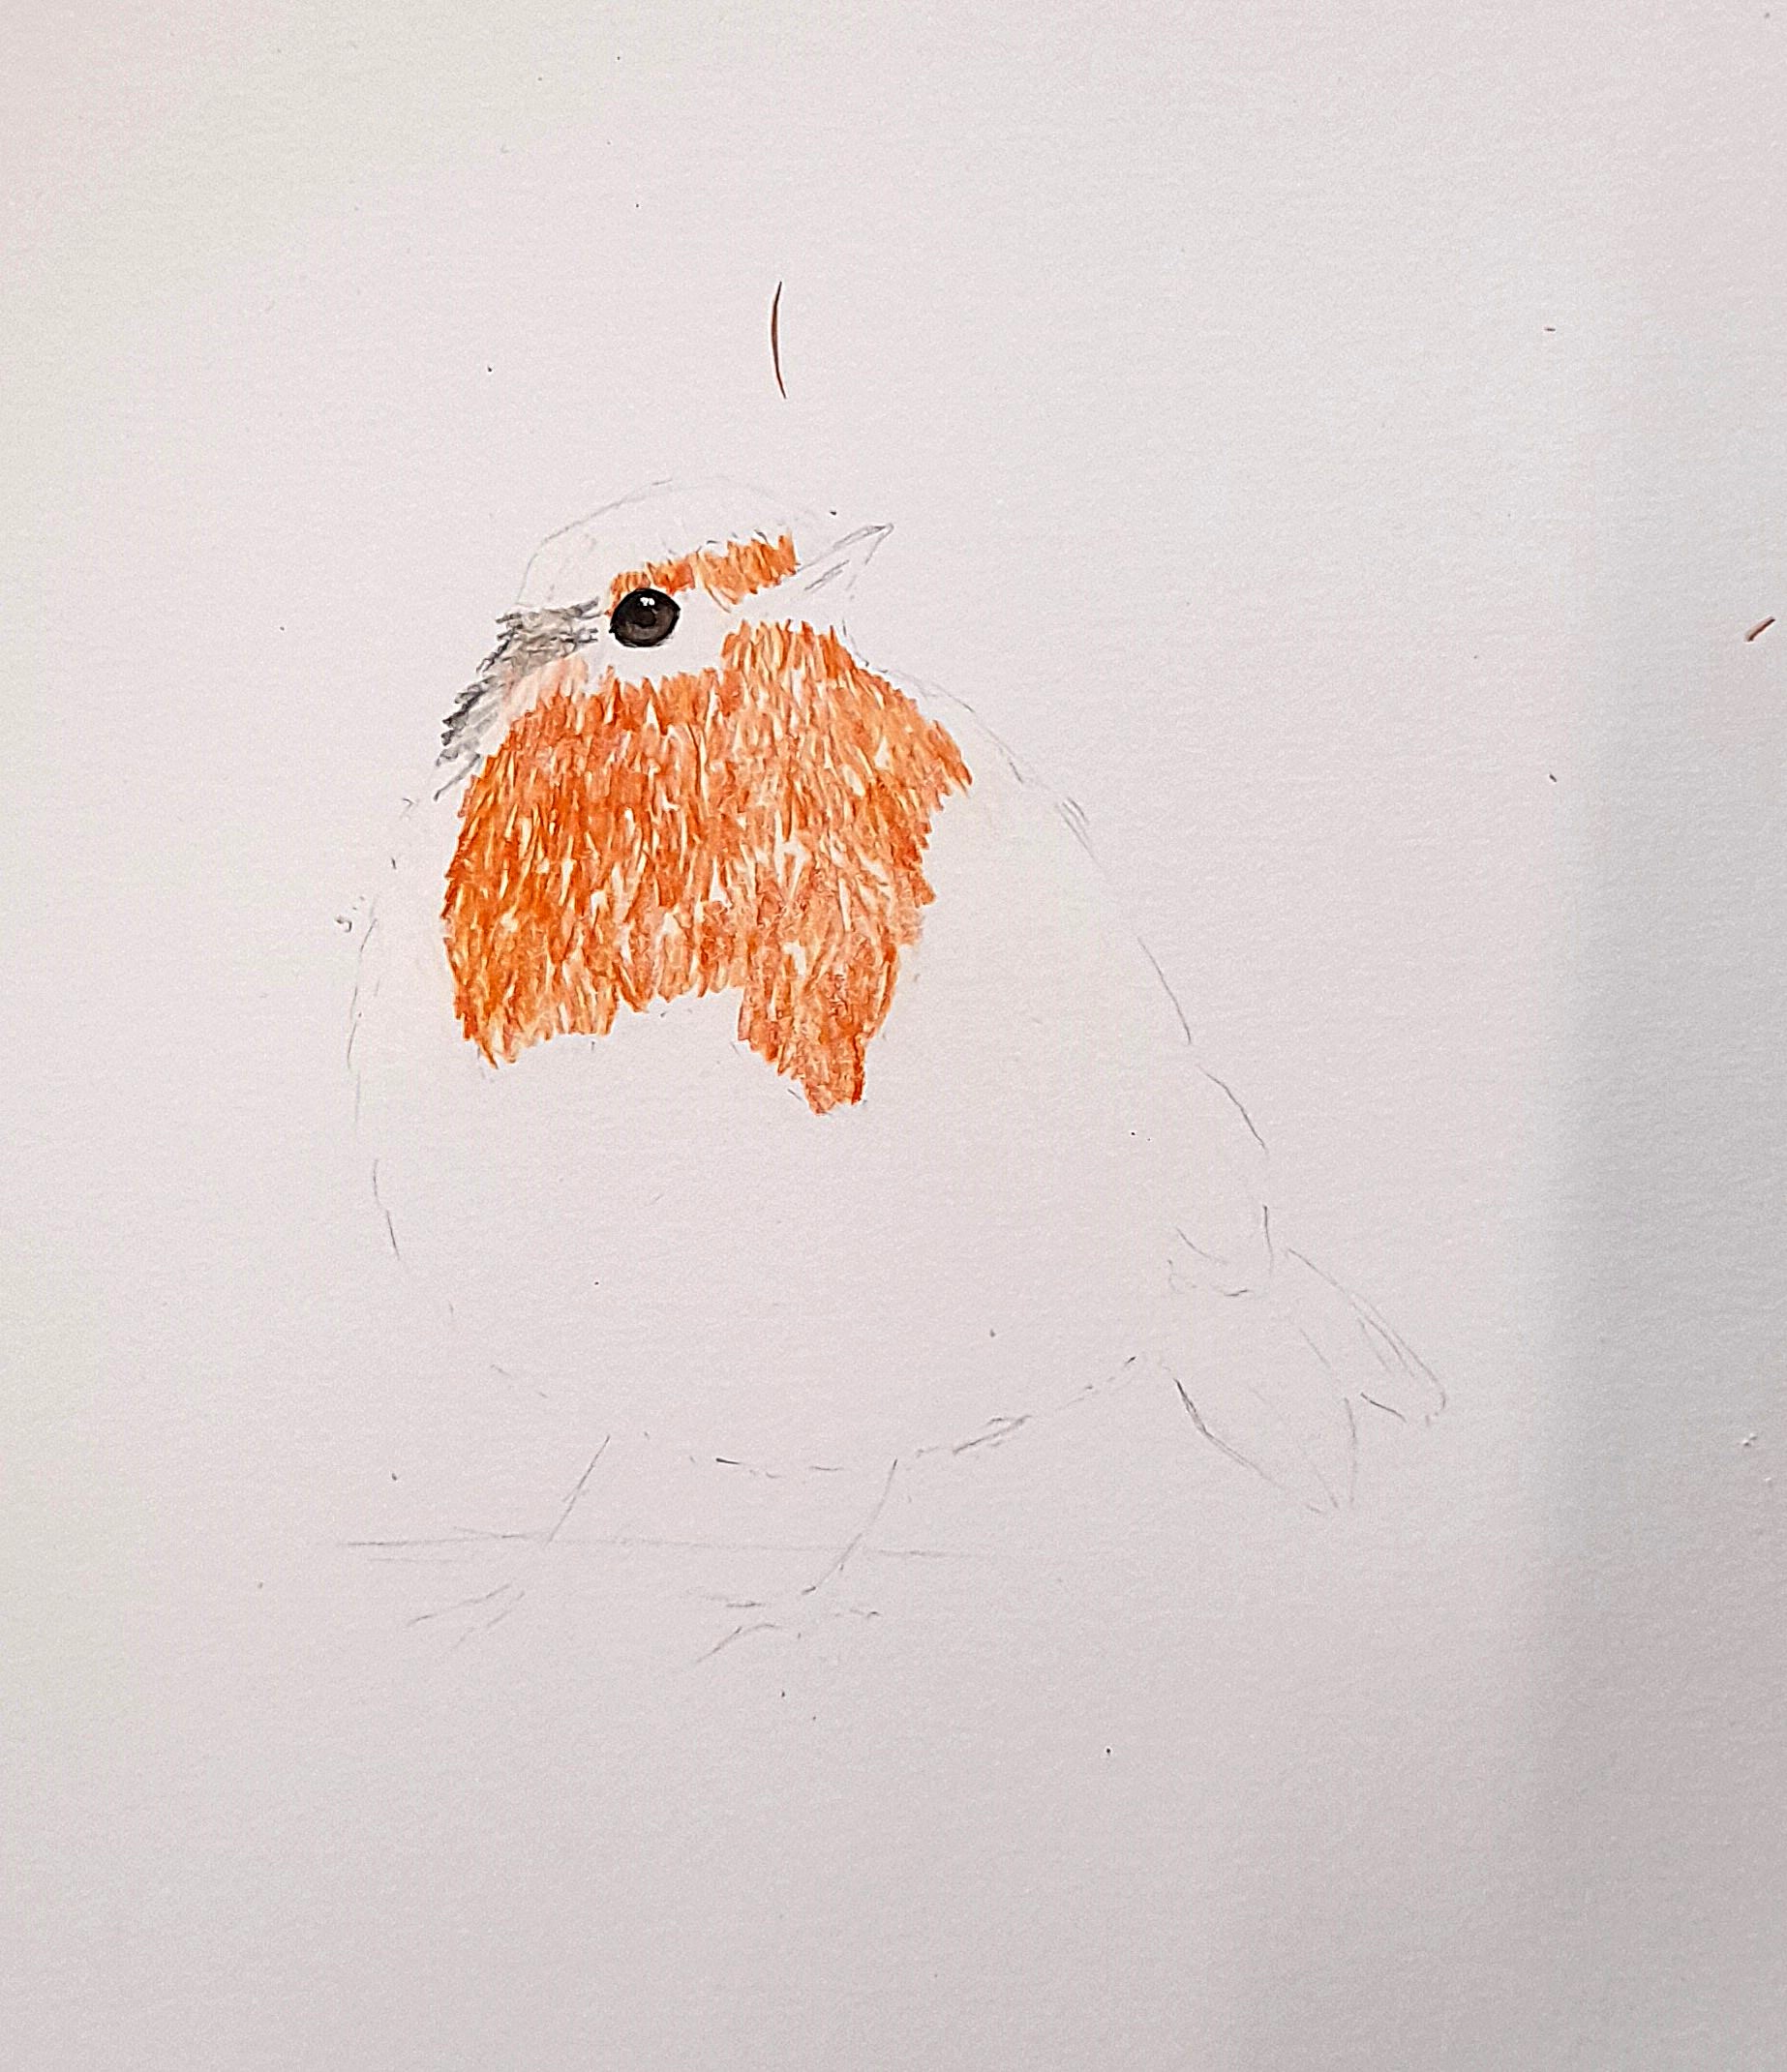
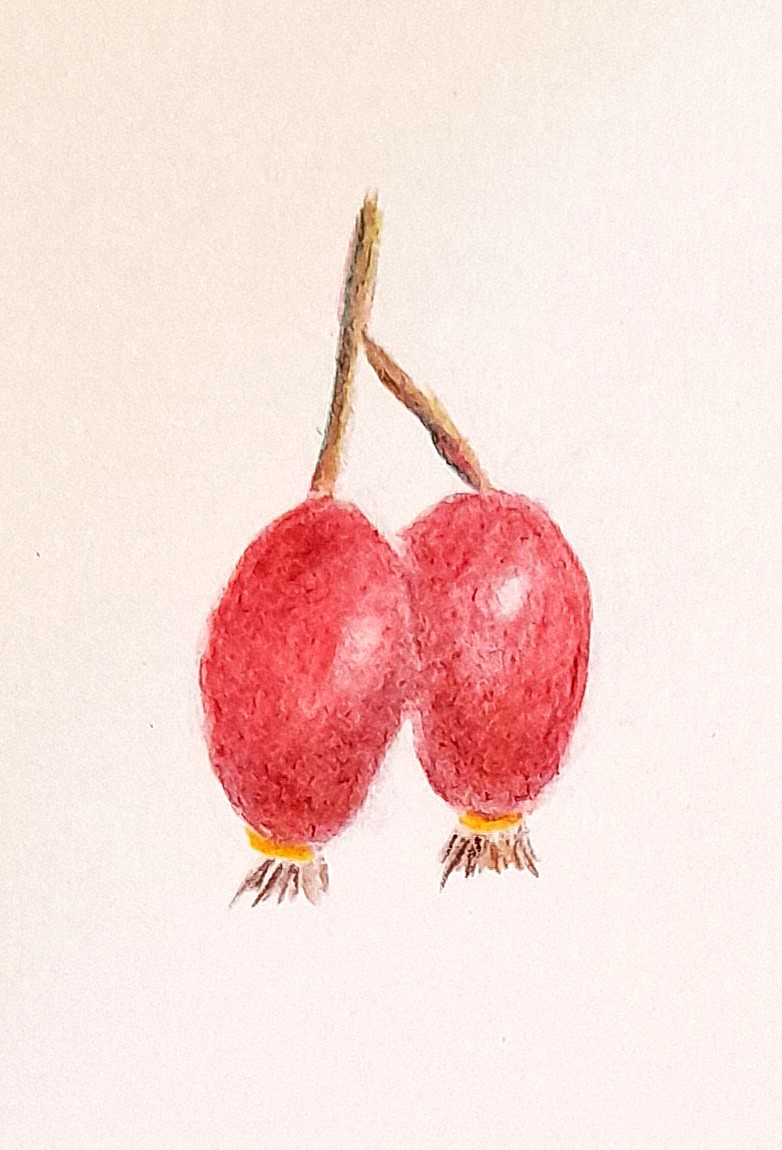
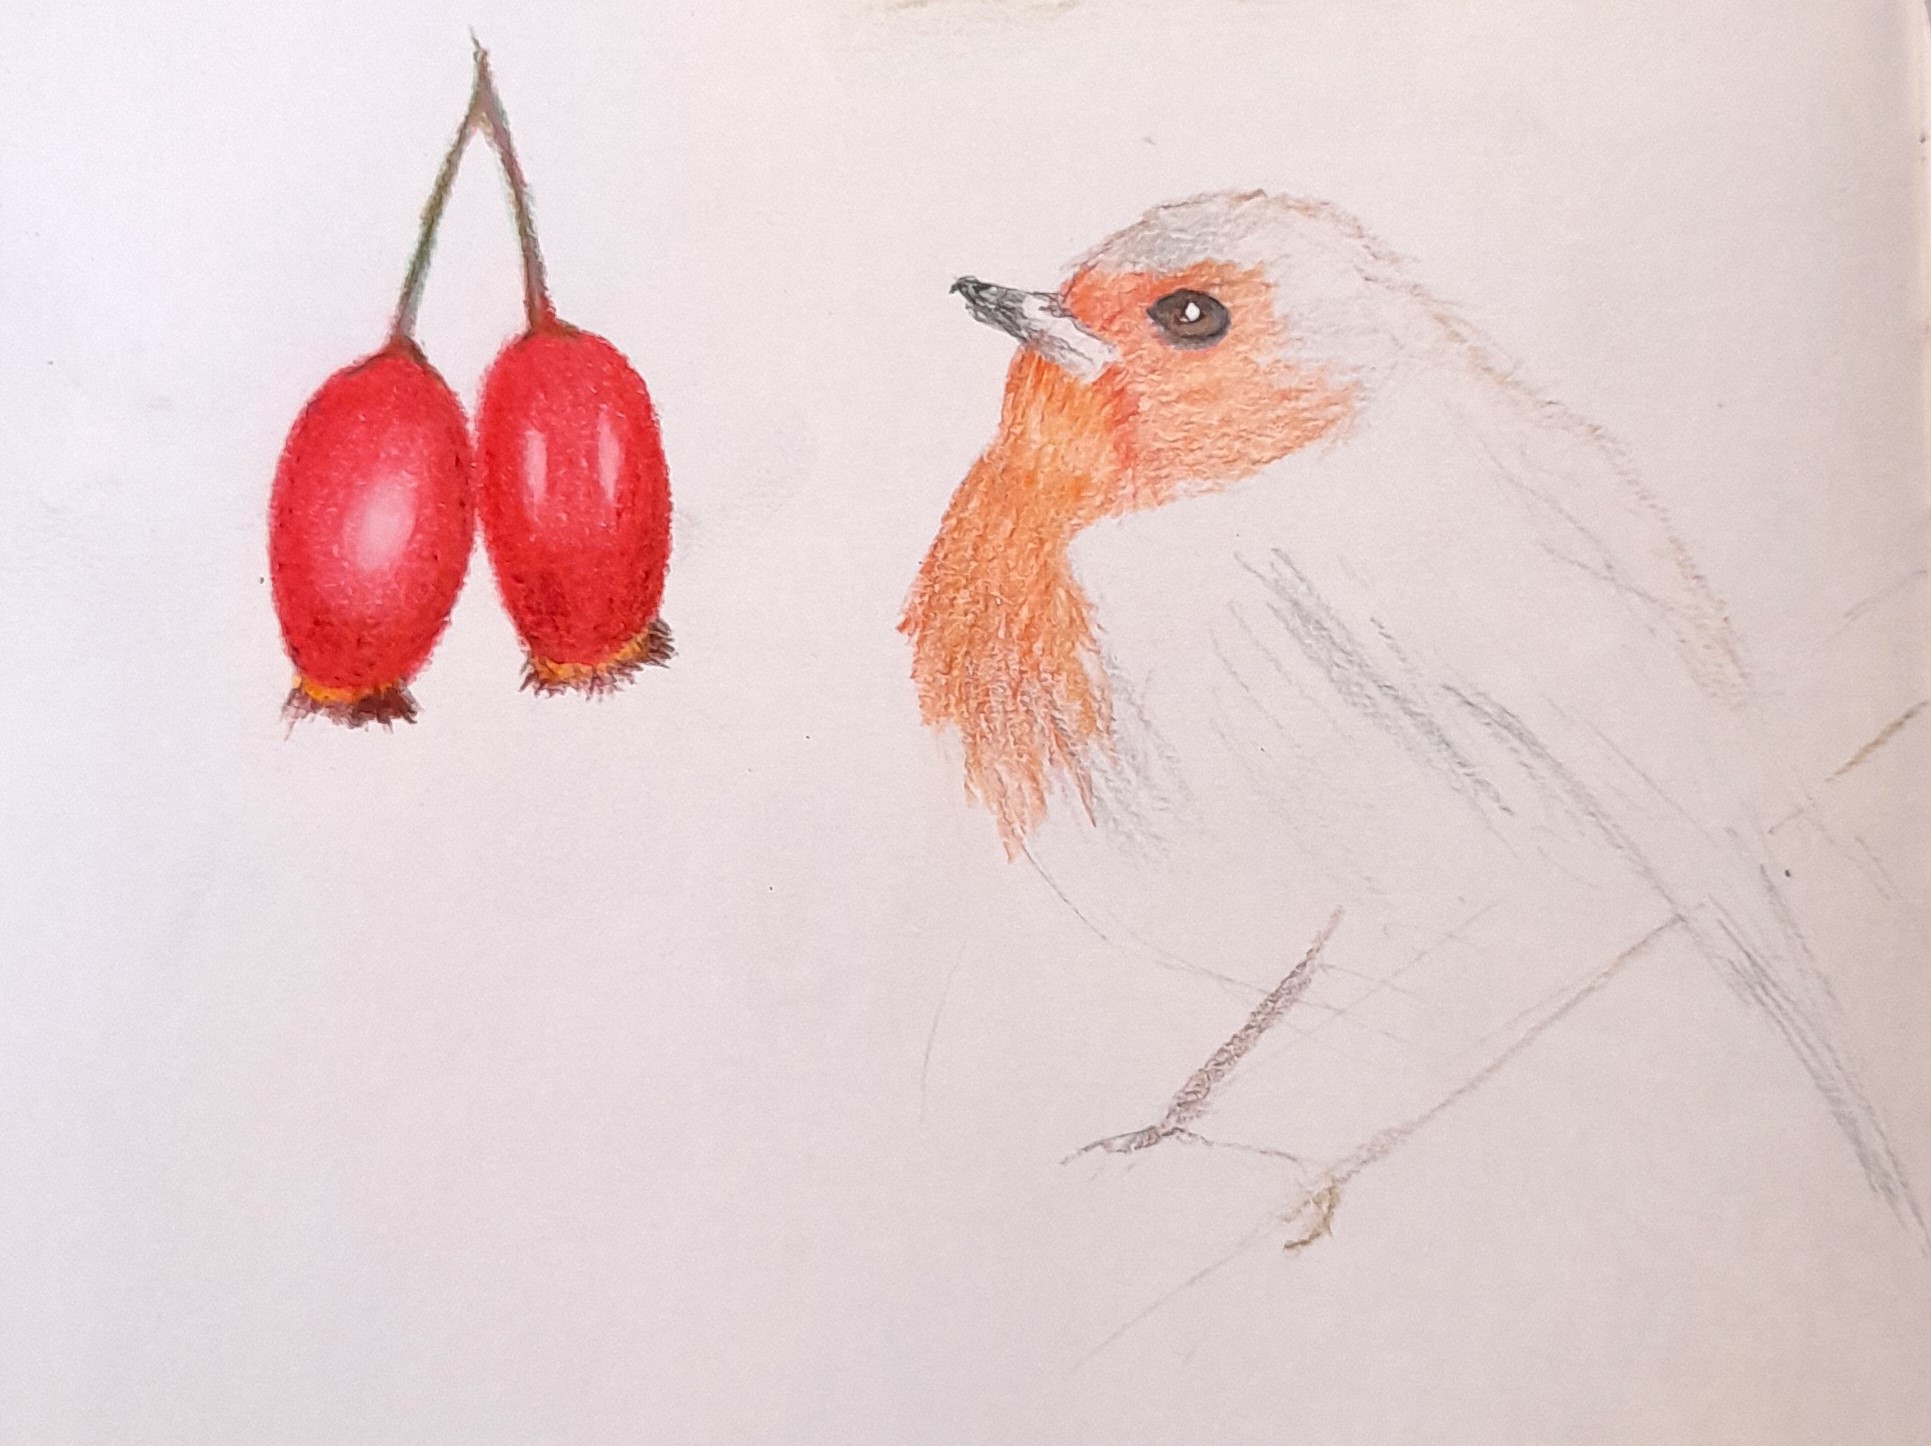
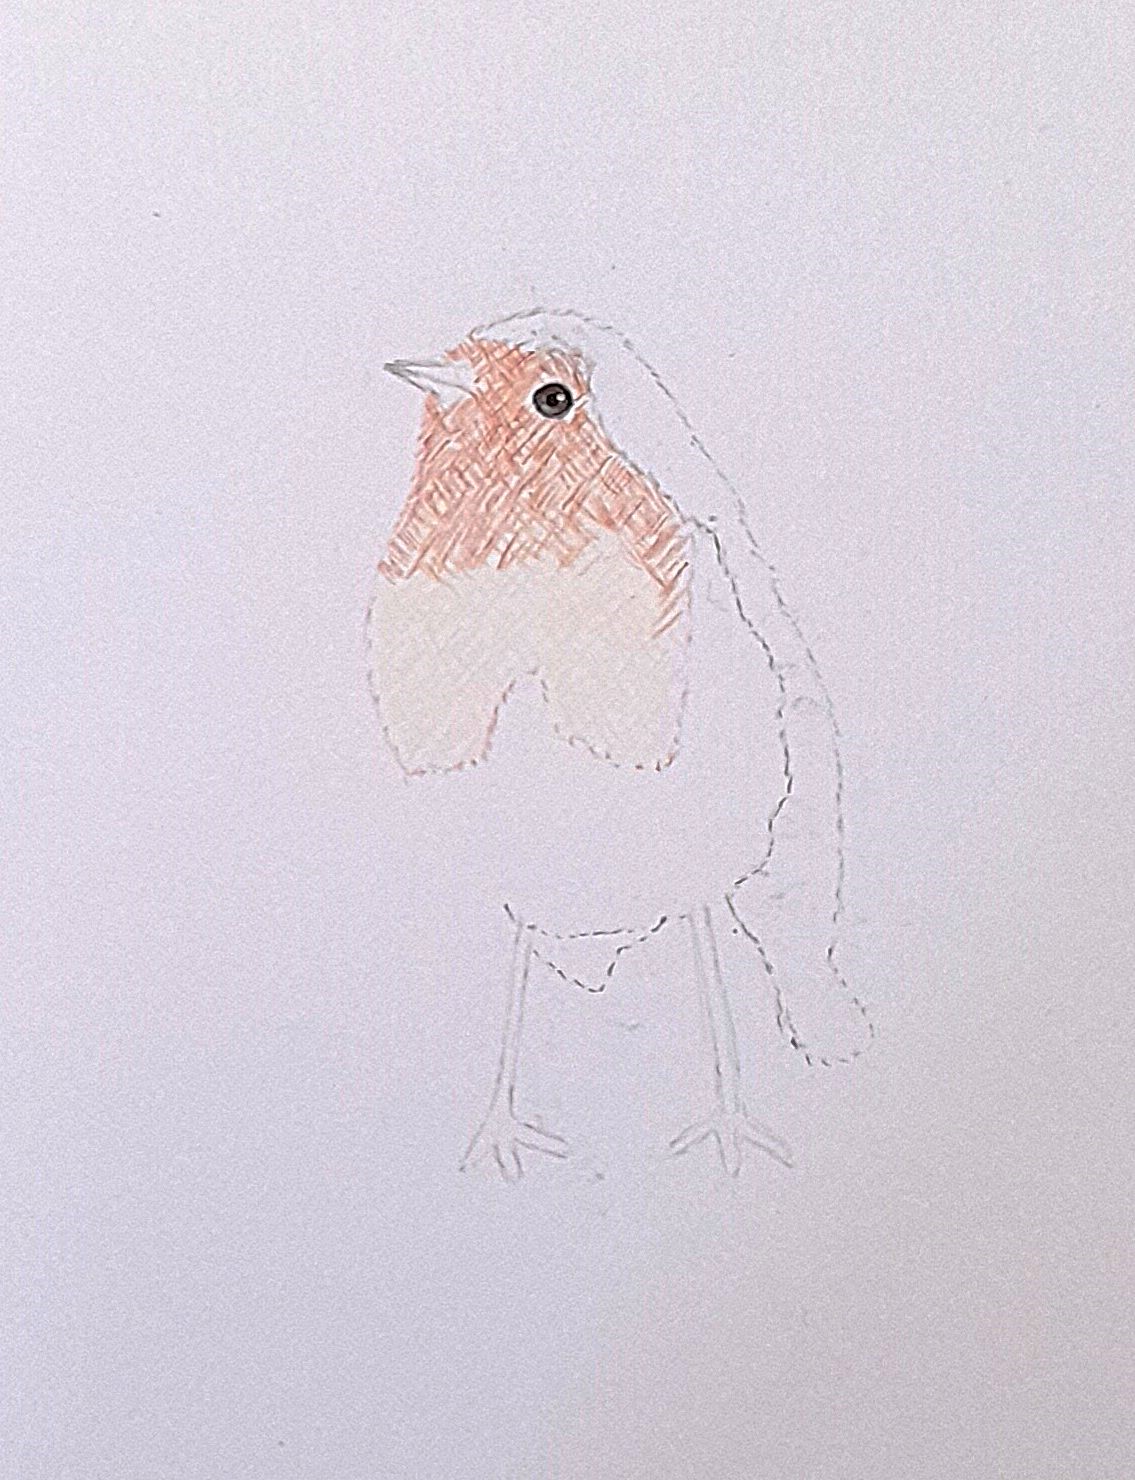
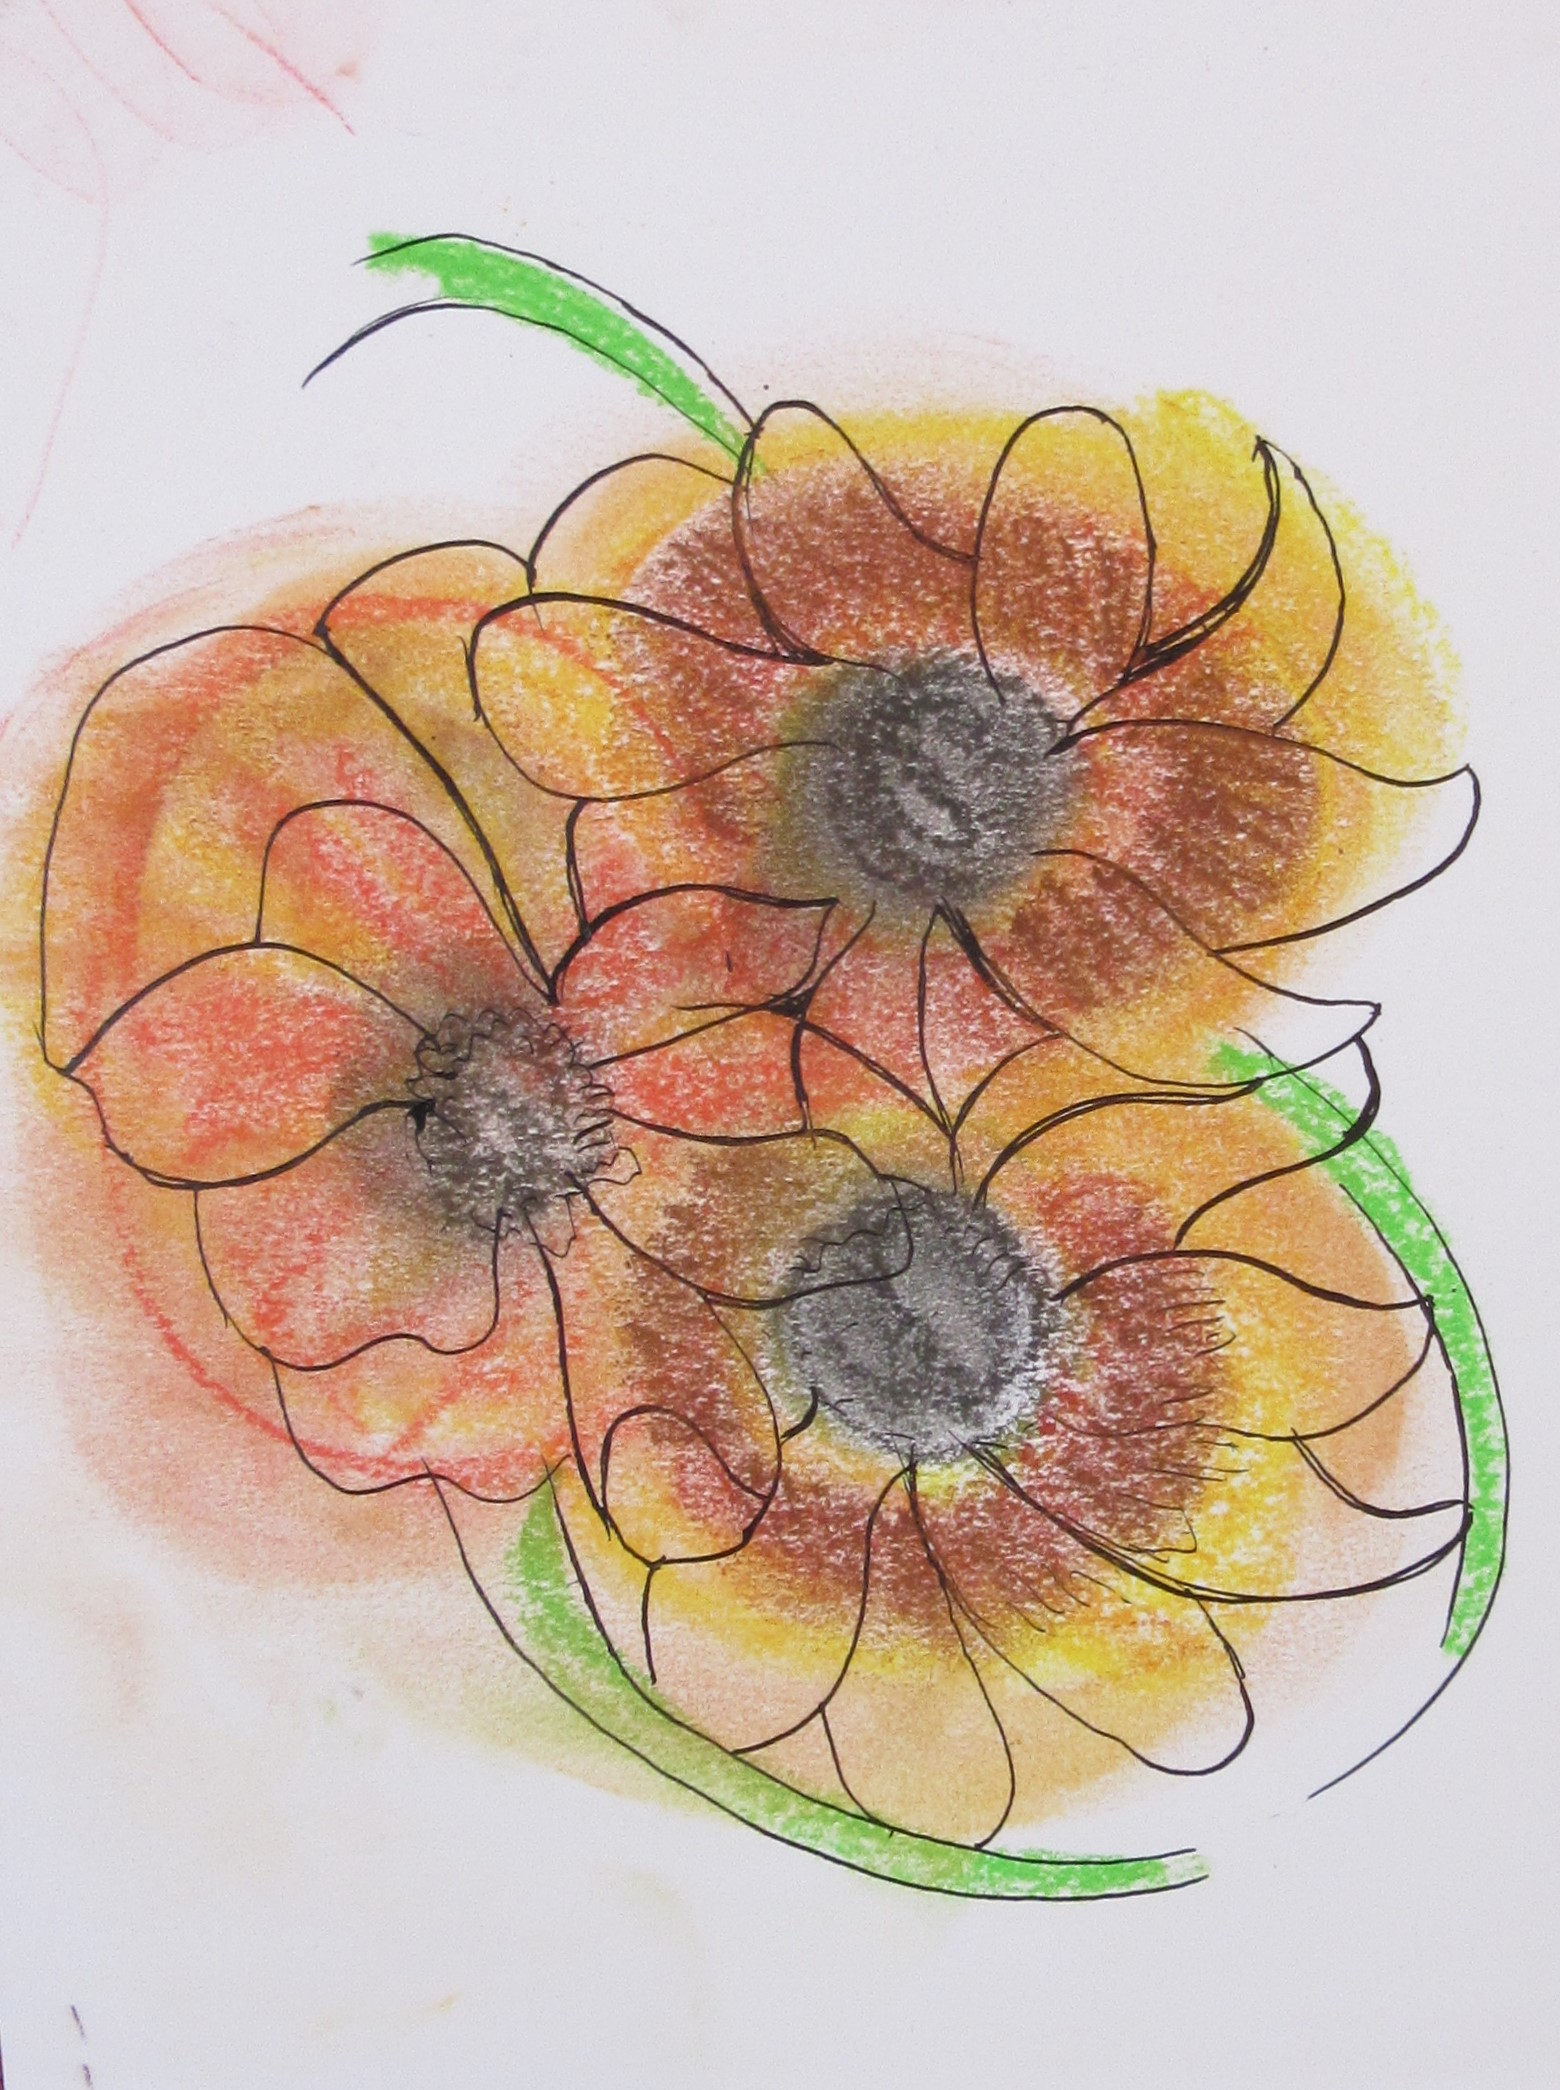
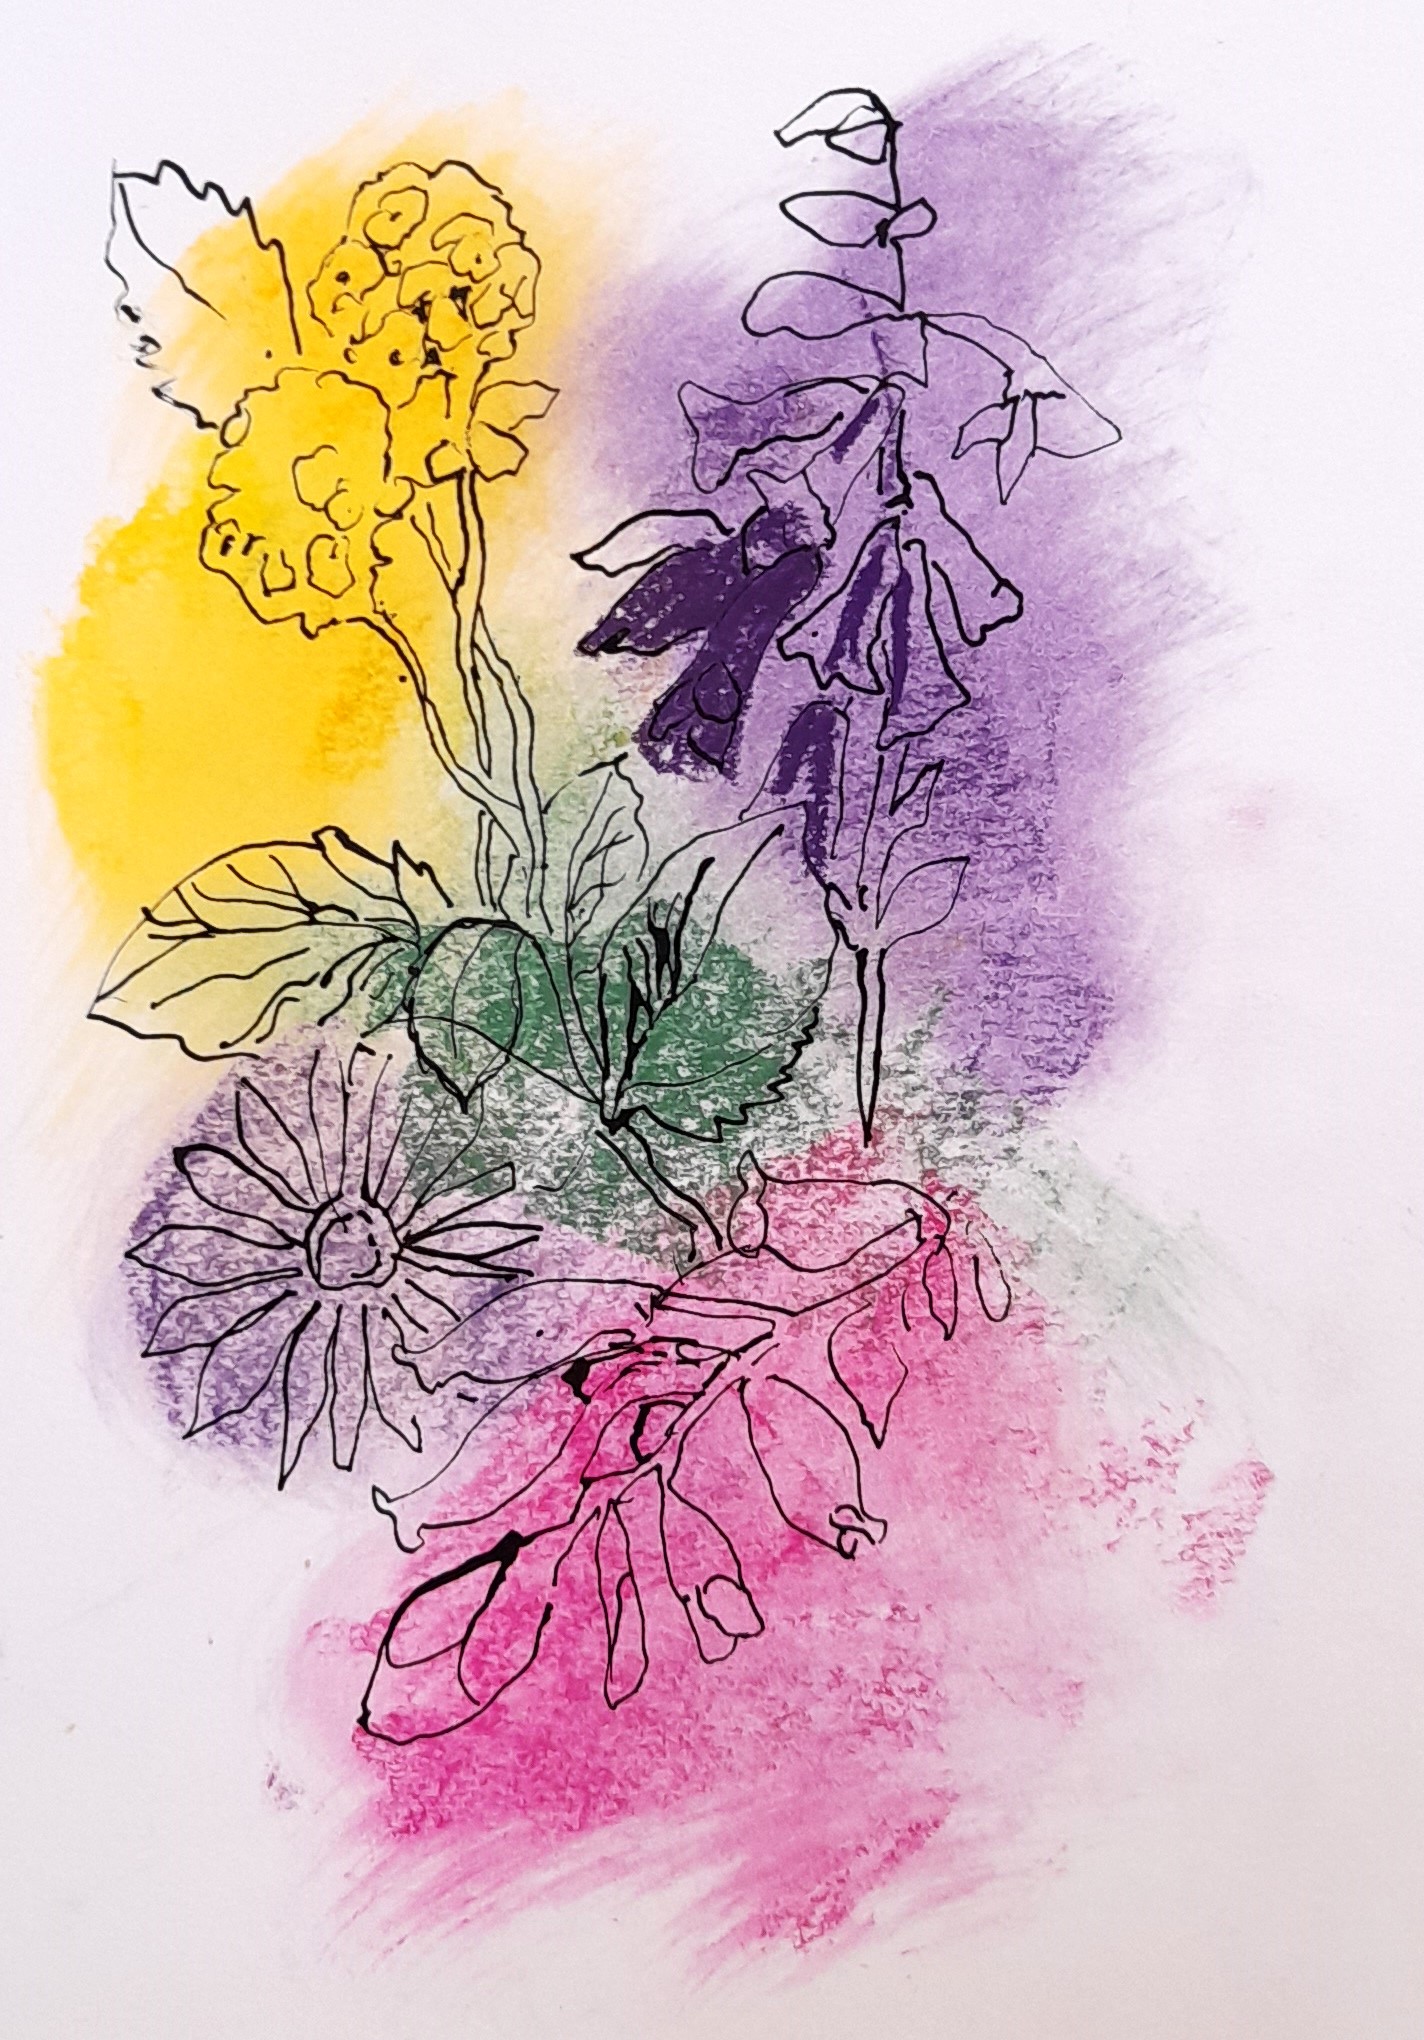
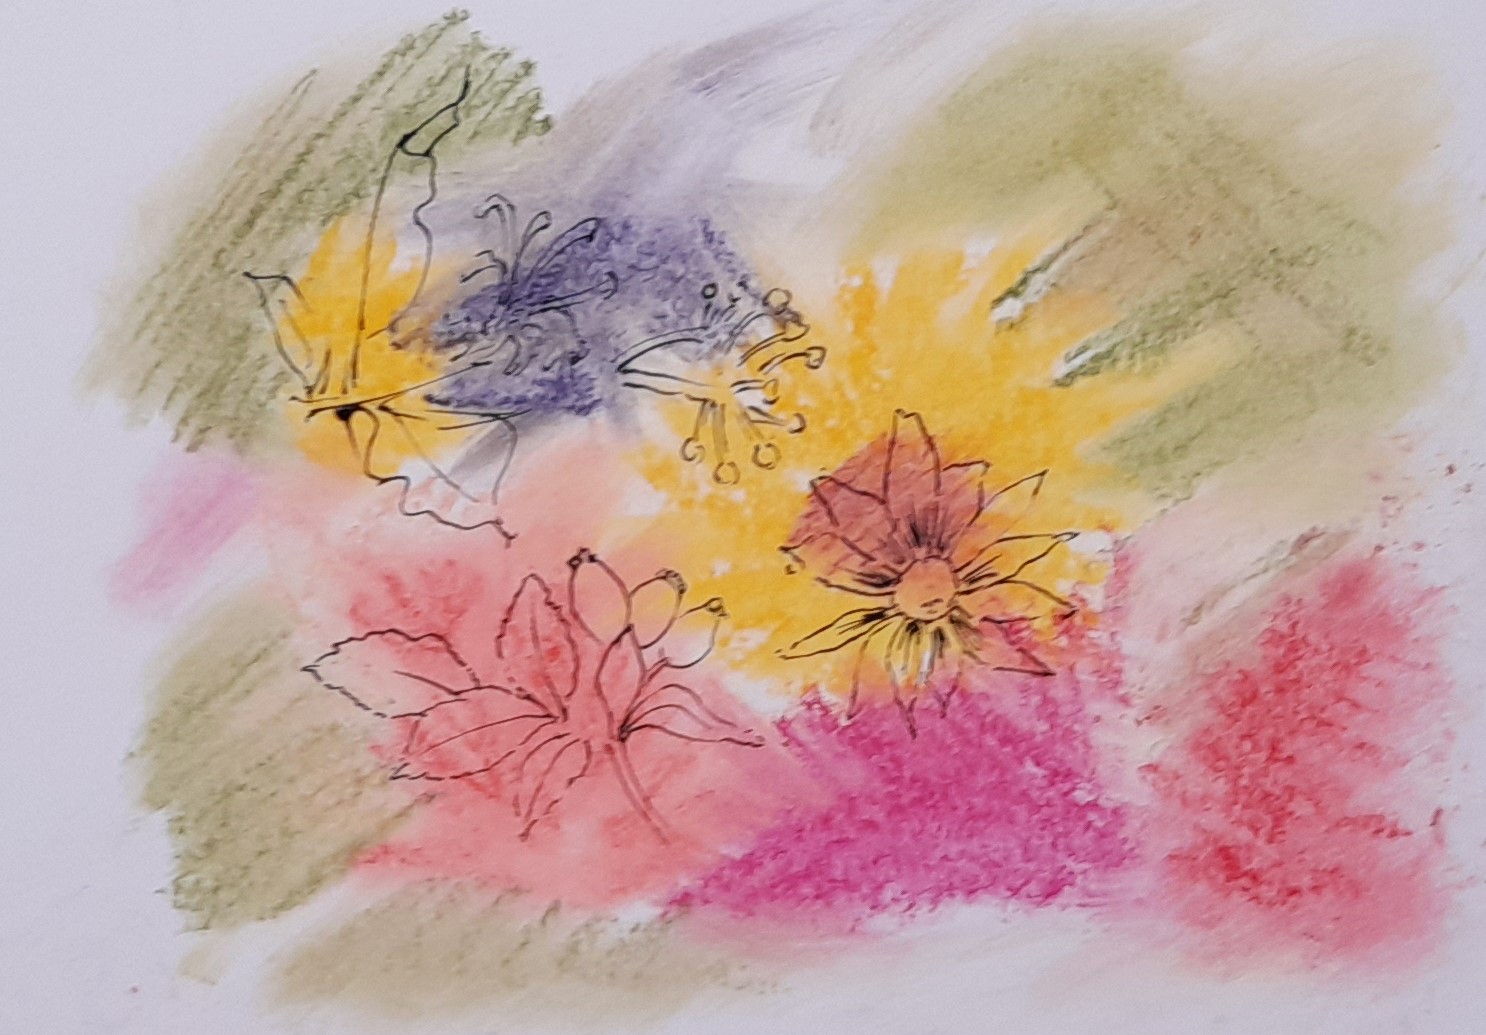
 Linda Hampson – Fauna & flora in coloured pencils
We learned quite a bit about this fascinating medium and managed to create a few artworks, especially the eye but as this is a time consuming medium we didn’t managed to do as much as we intended so quite a bit of homework for us all. Linda was a very entertaining tutor, we had a lot of fun and time flew by quite quickly.
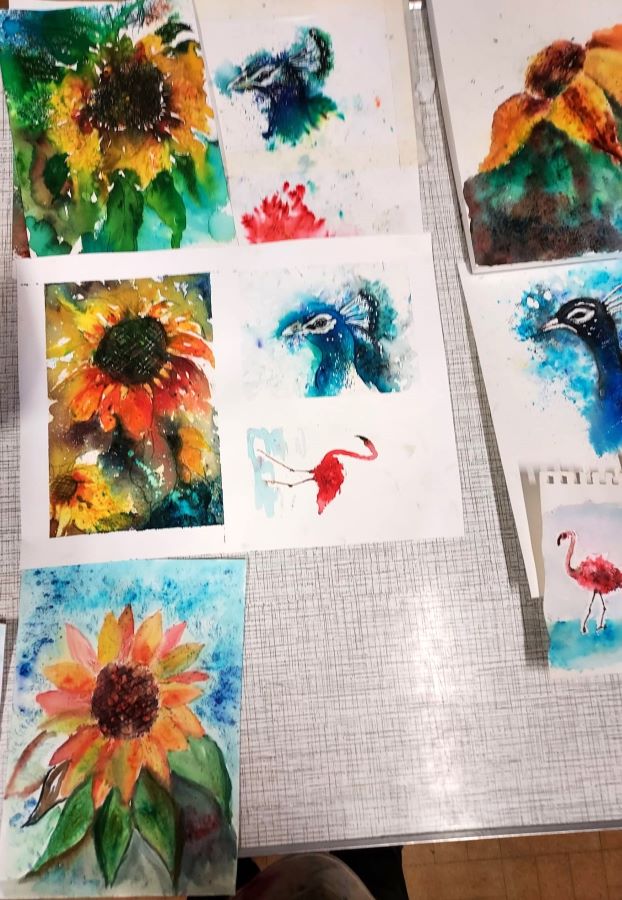
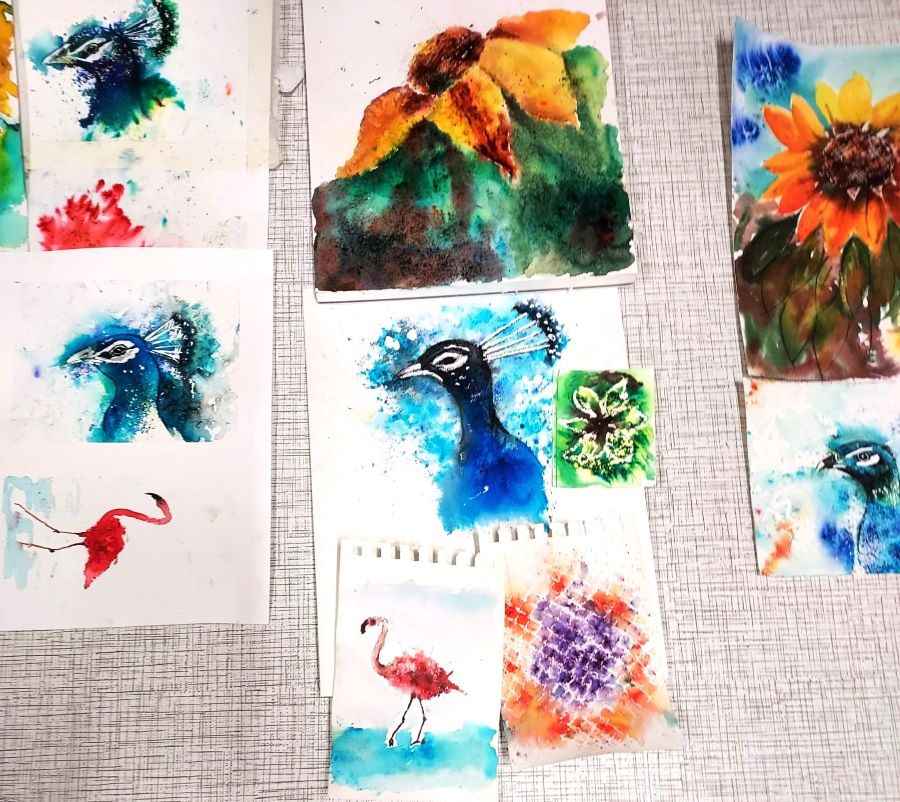
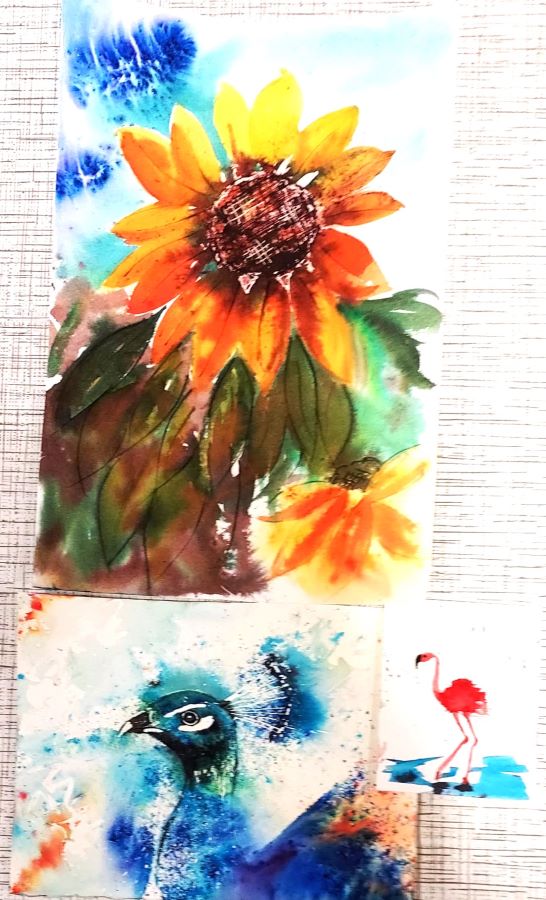
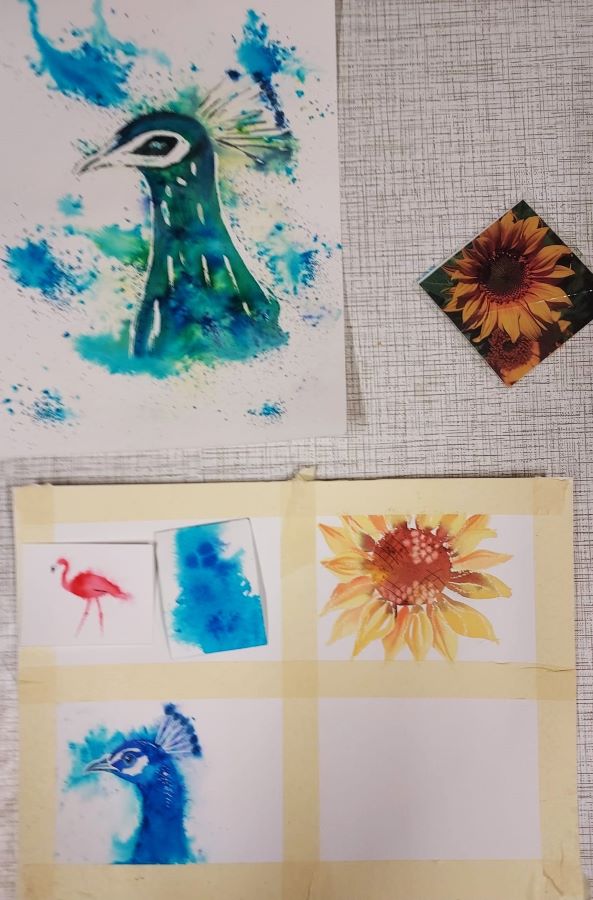
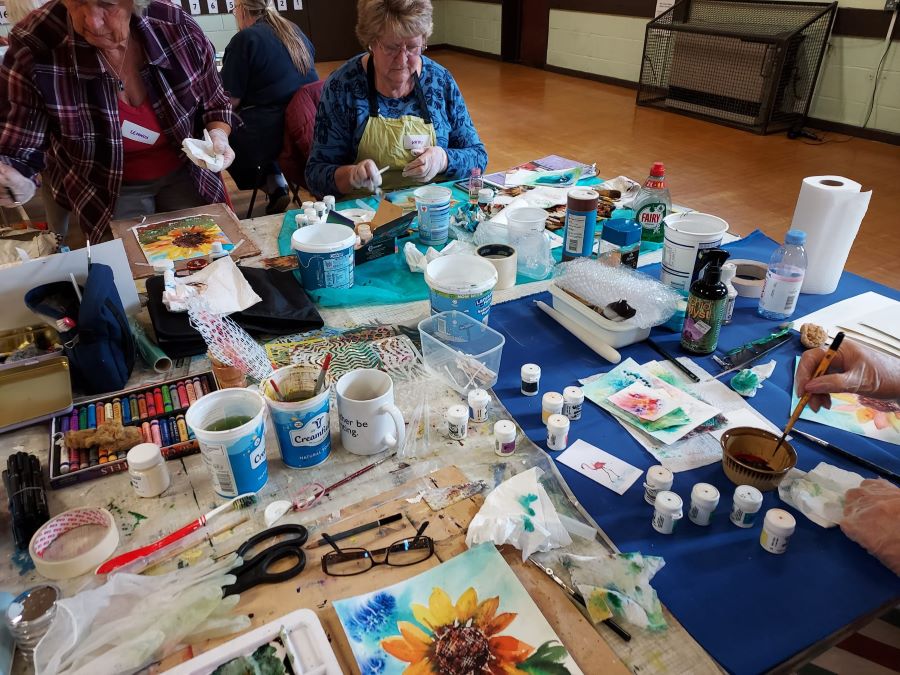
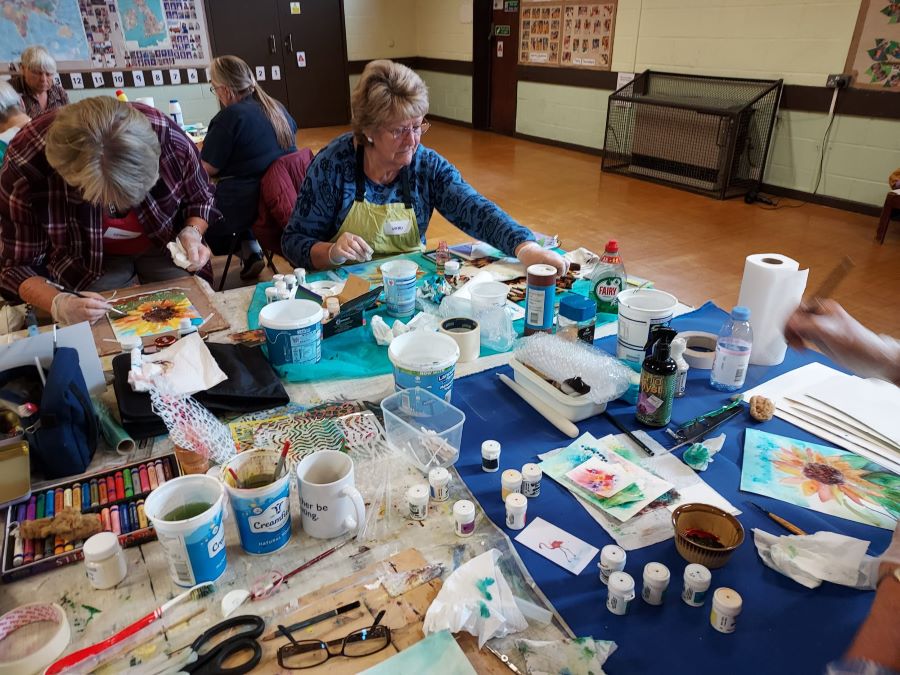
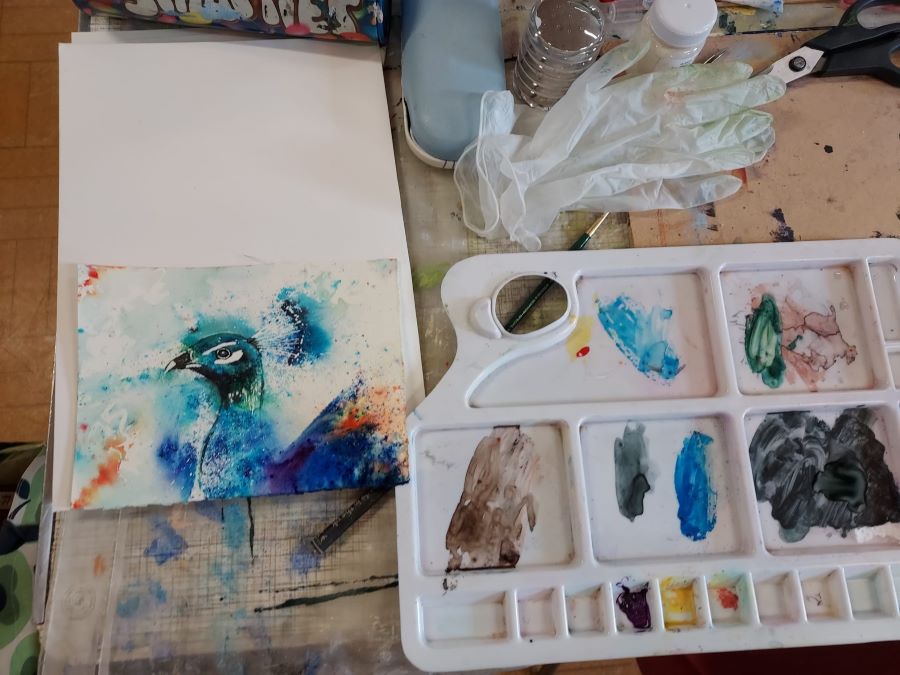
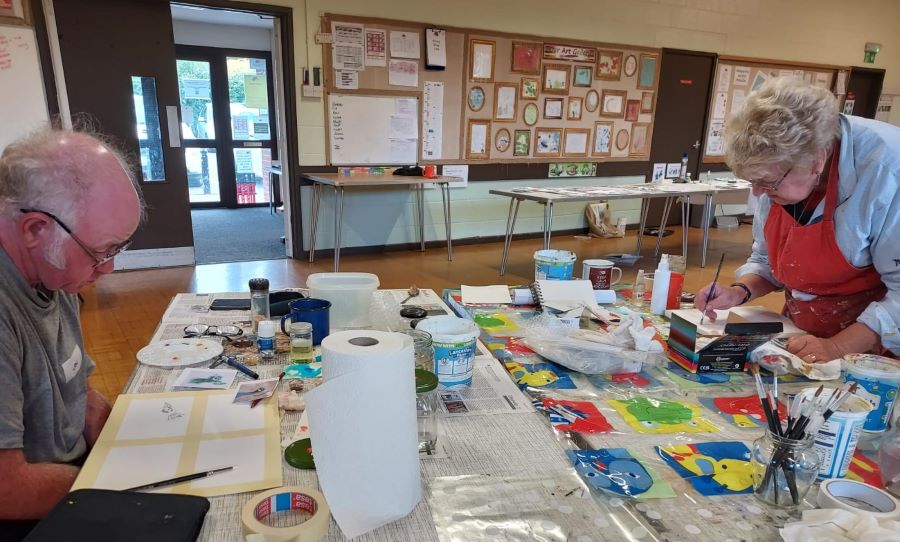
 Dawn Cox – Brusho, bits and bobs
We had a great time experimenting with the product Brusho, it’s a powder dye which mixed with water can create super effects. Dawn guided us through the various uses and we had a great fun mixing and creating our artworks. Another fabulous workshop.


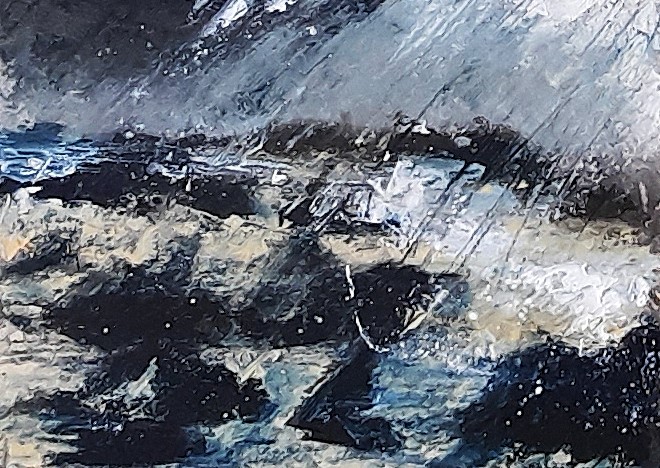
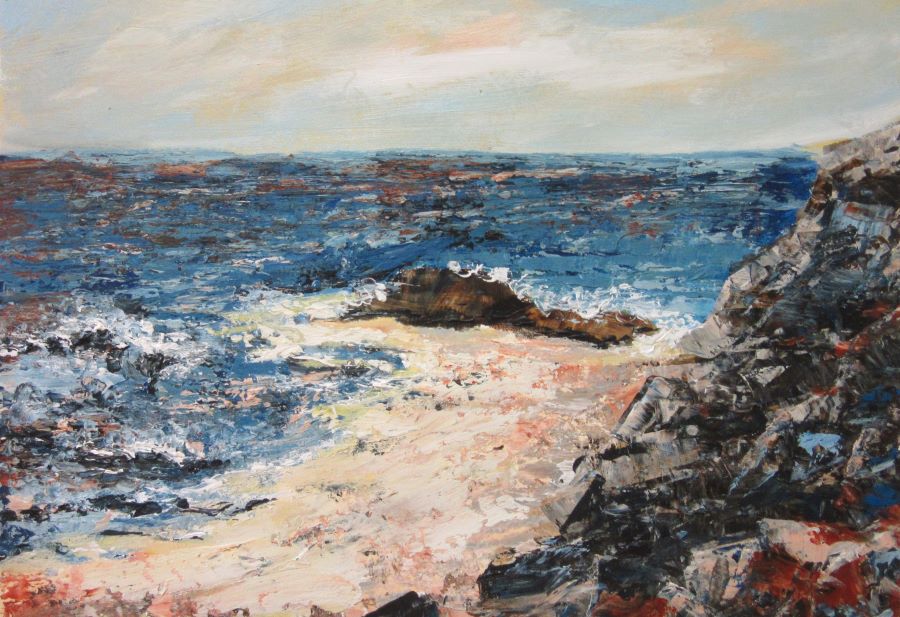
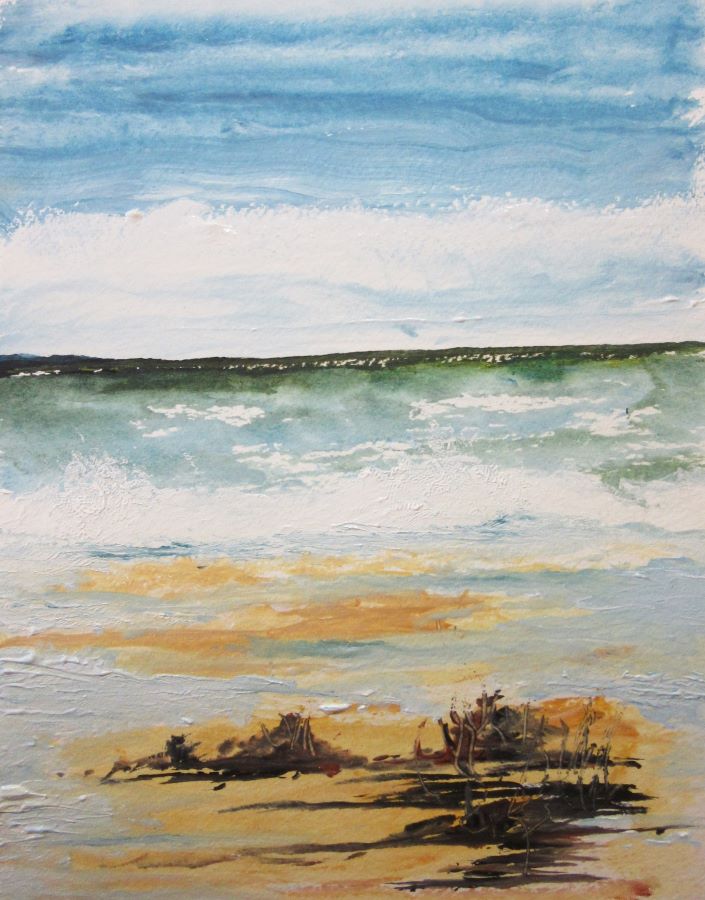
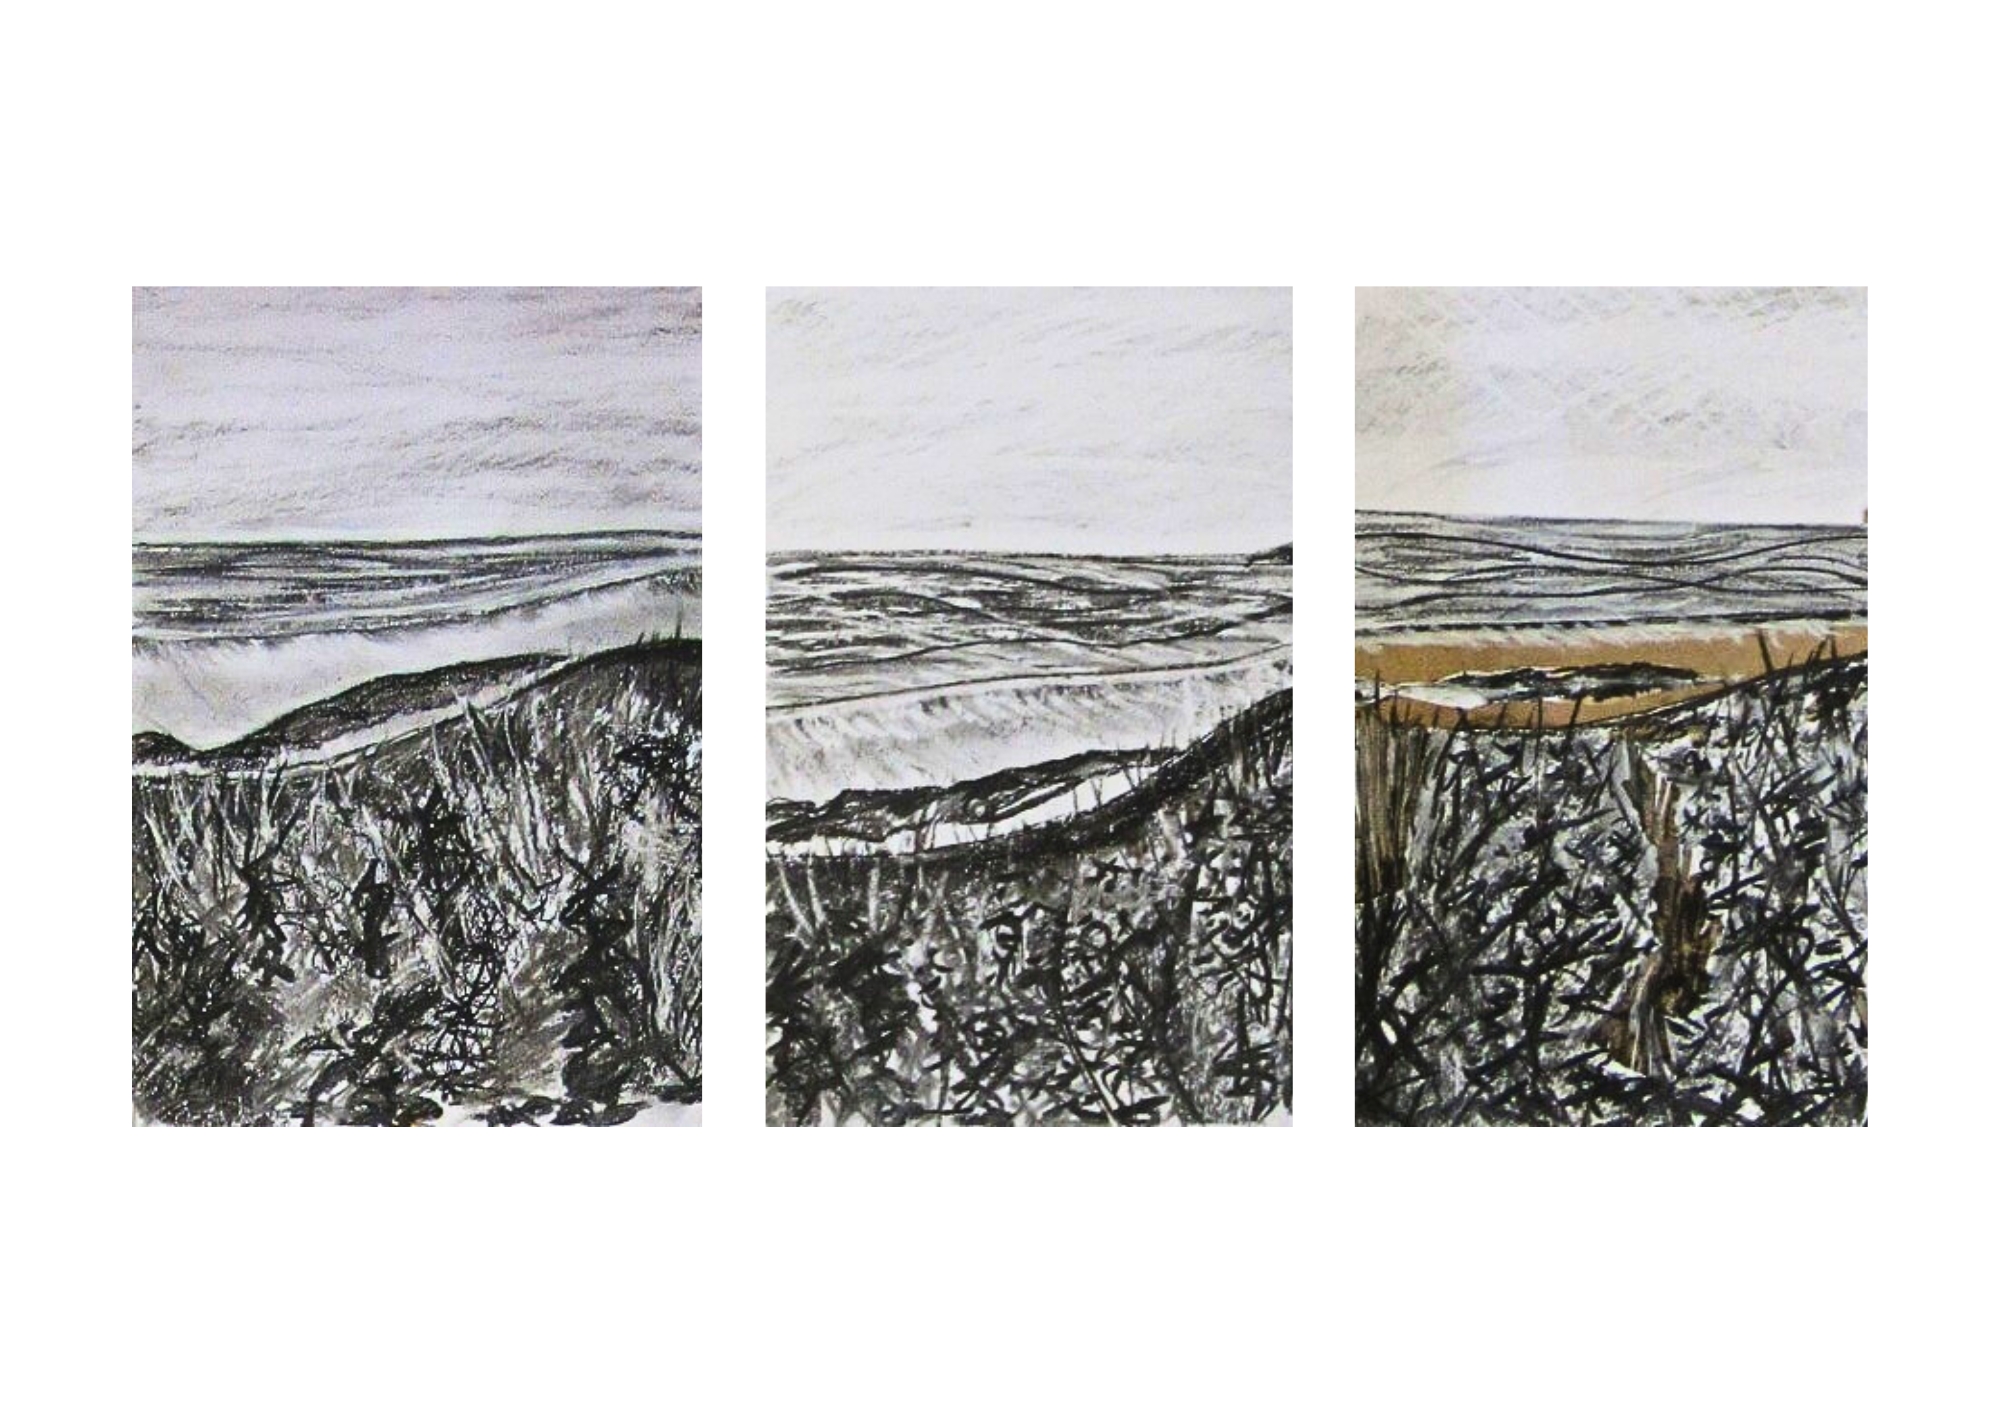
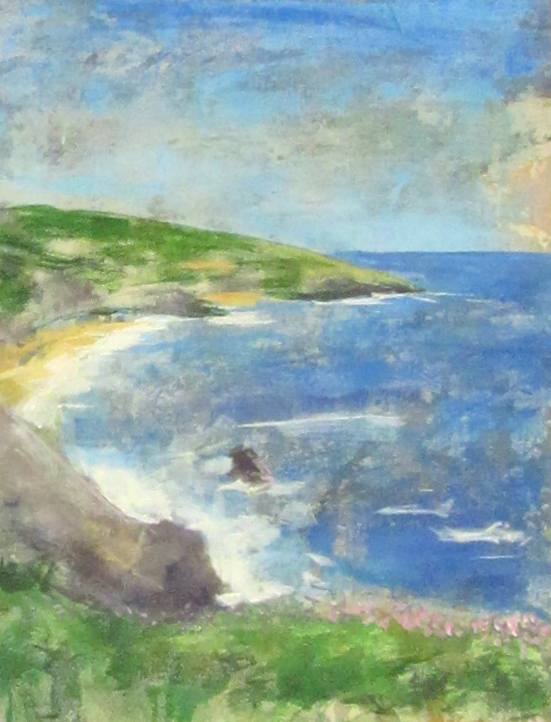
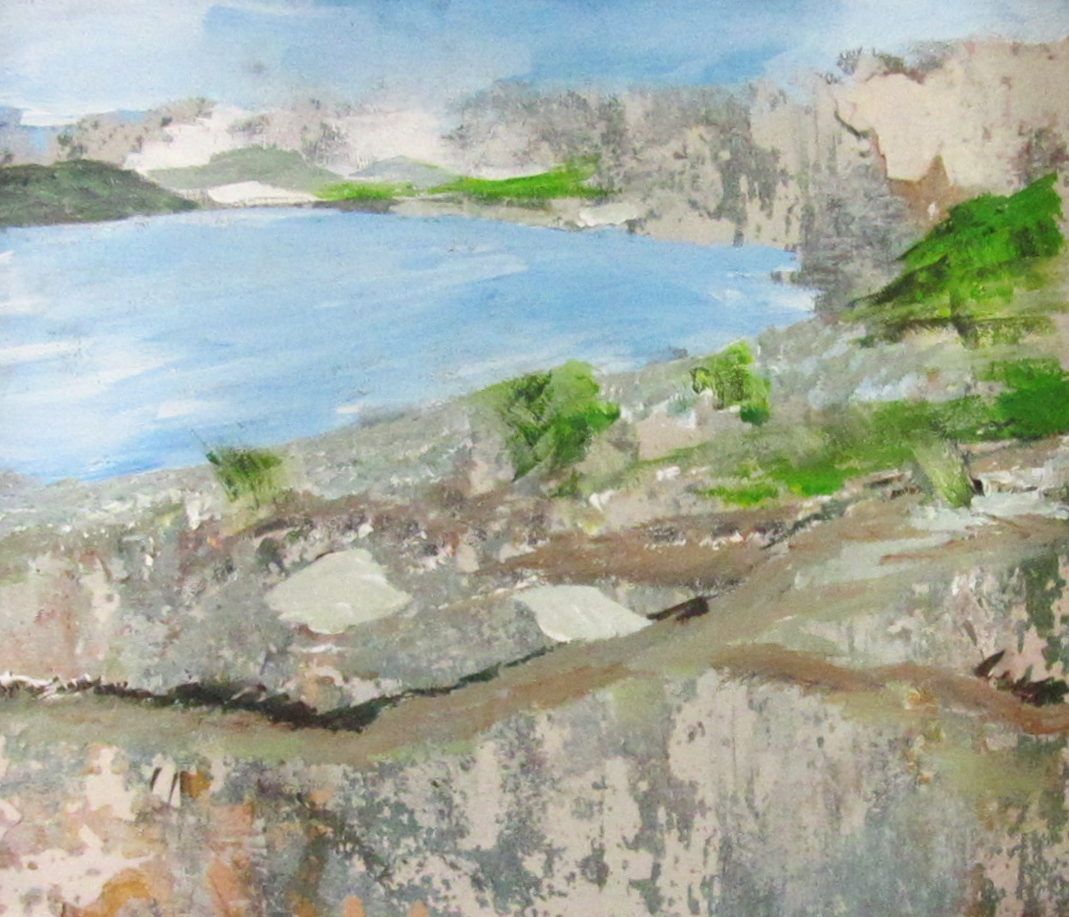
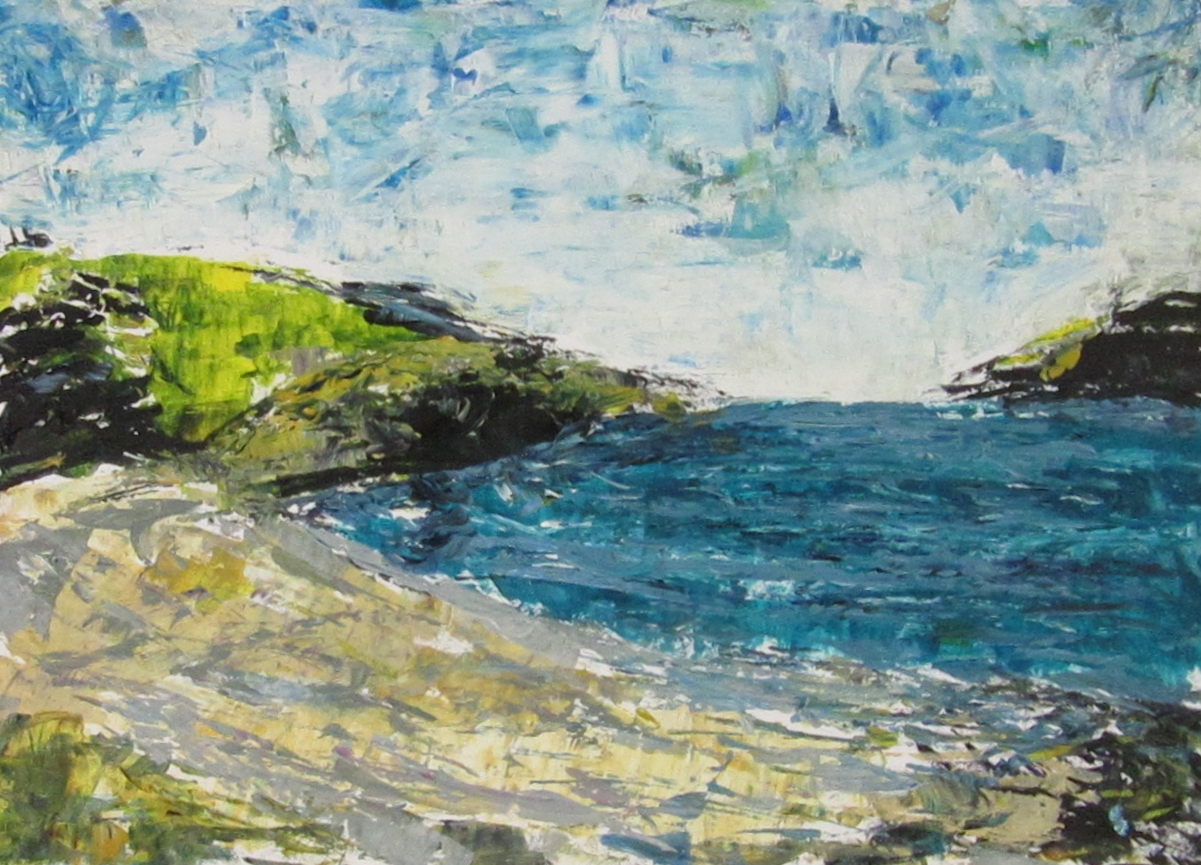
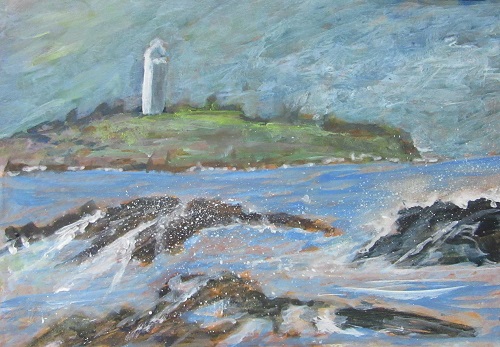
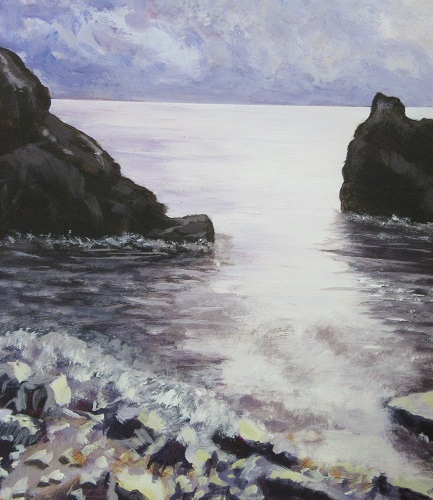
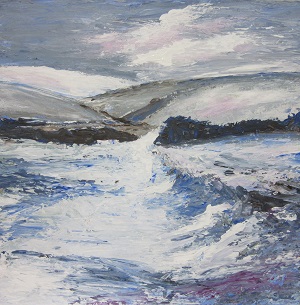
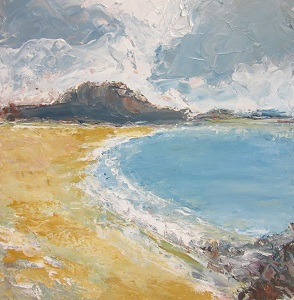
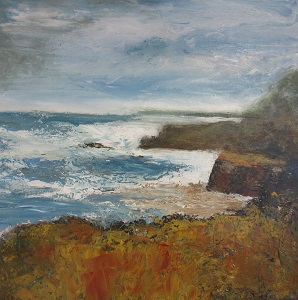
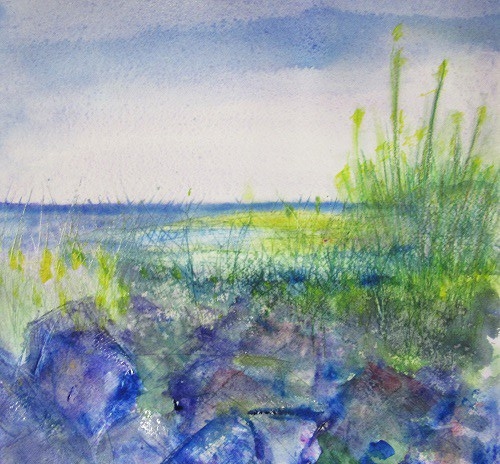
 Belinda Reynell – Rocks and waves – acrylics or oils
Great workshop where Belinda guided us through how to make rock using modelling paste. We started creating 4 small artworks and choose one to create our final artwork. It was a very creative workshop and everybody walked away with a brilliant artwork.

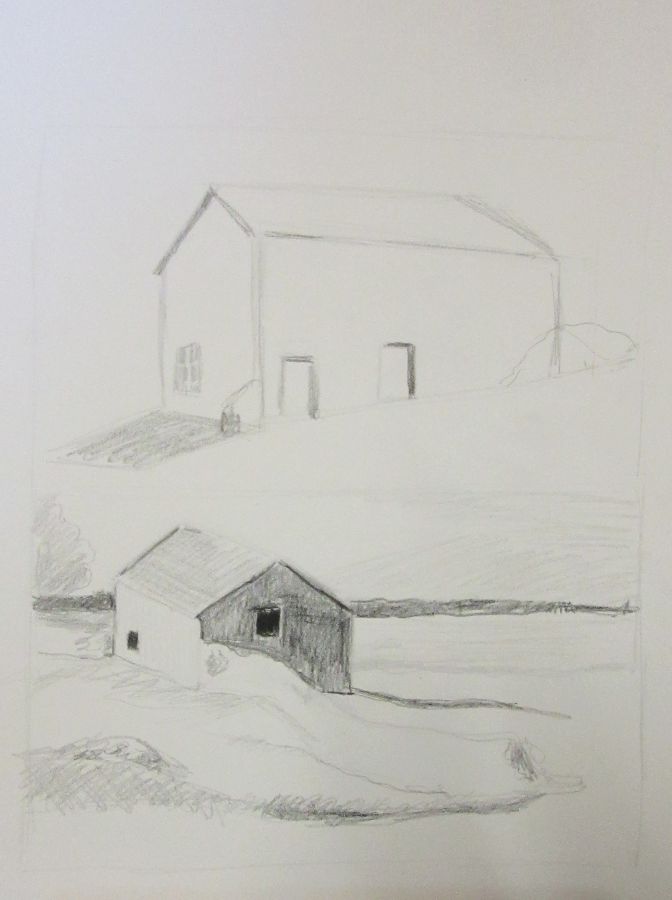
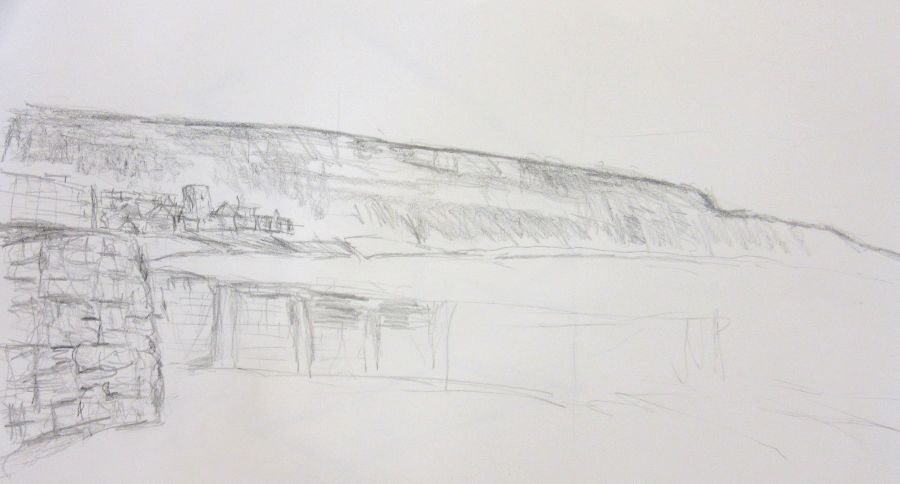
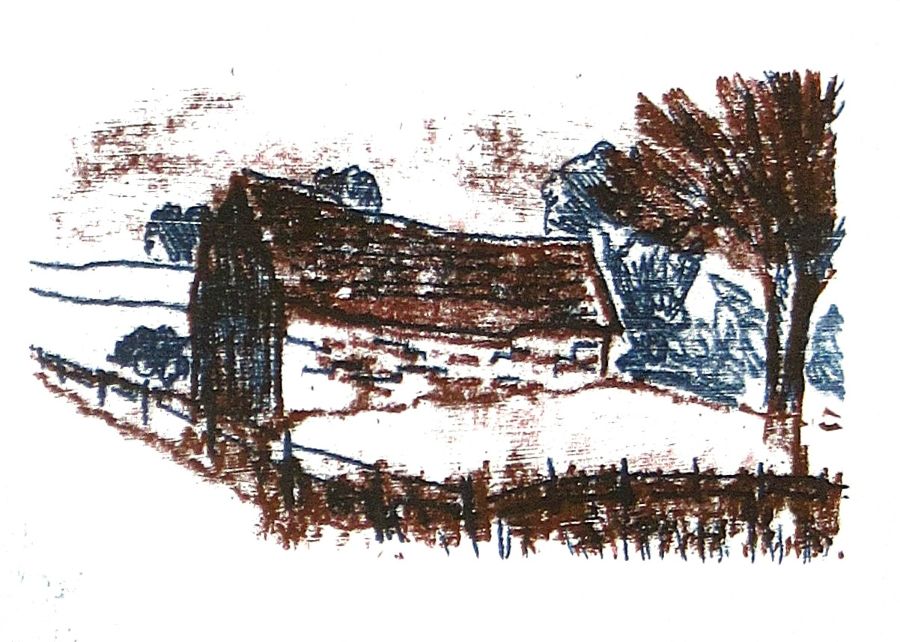
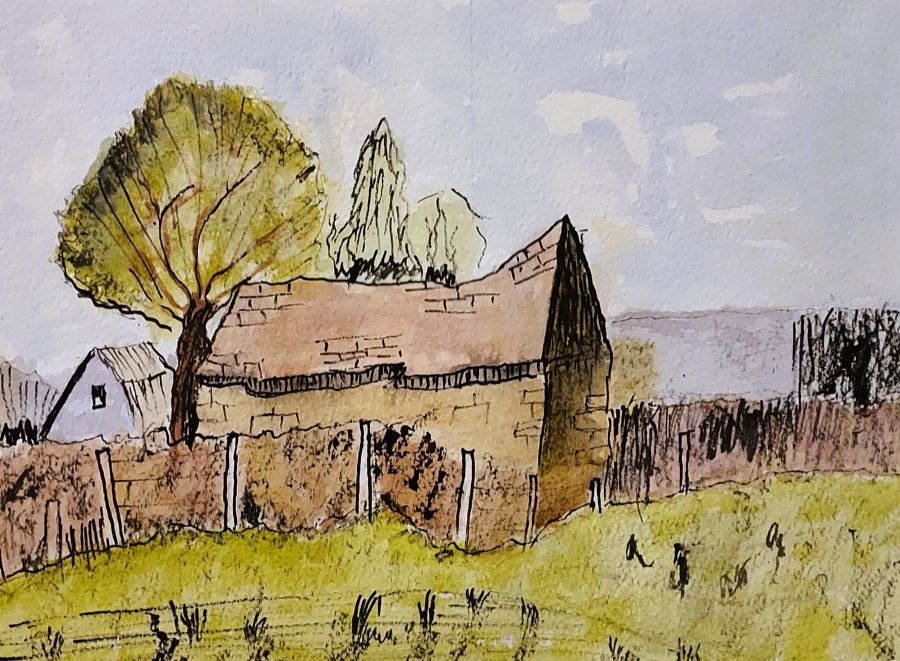
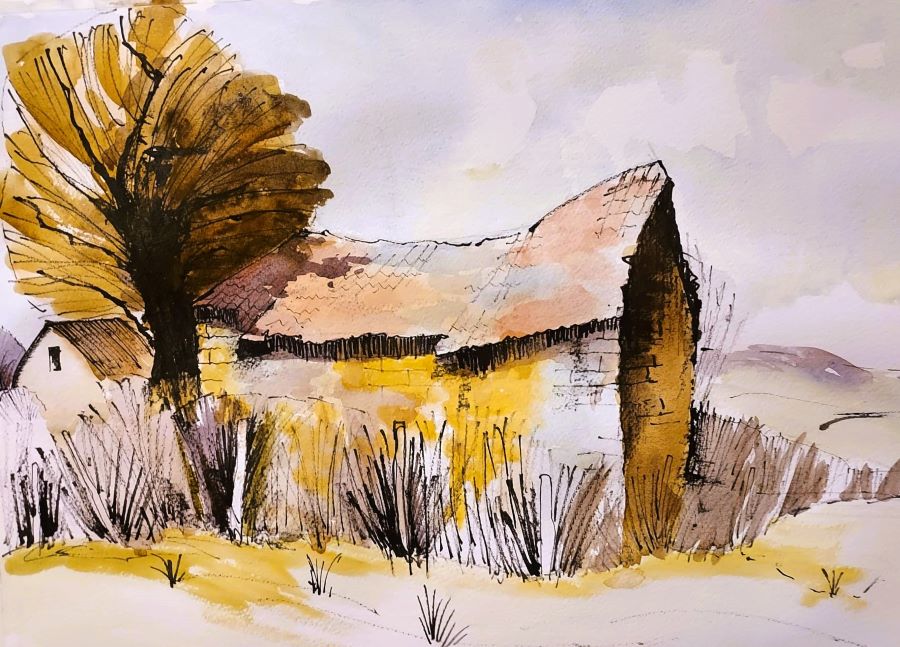
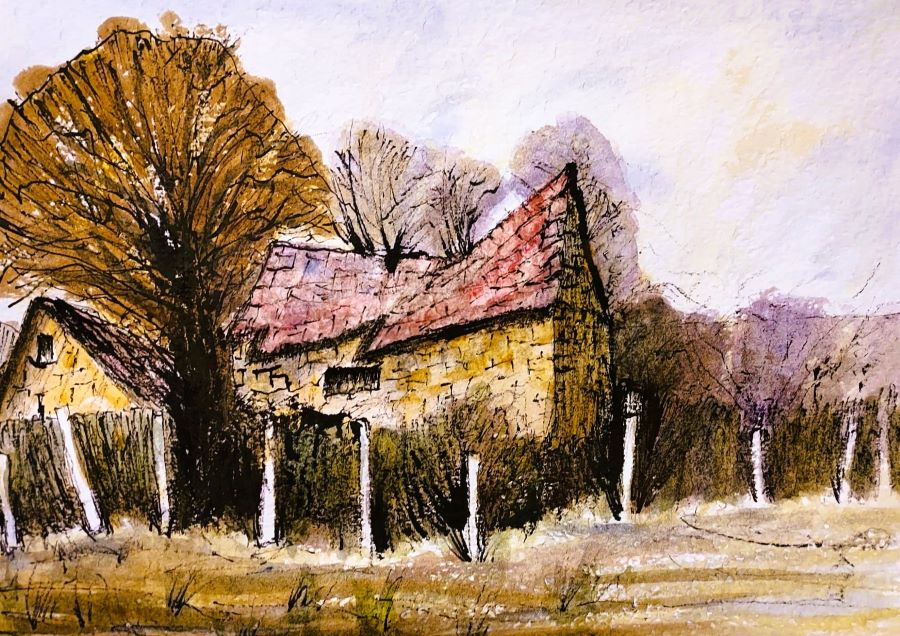
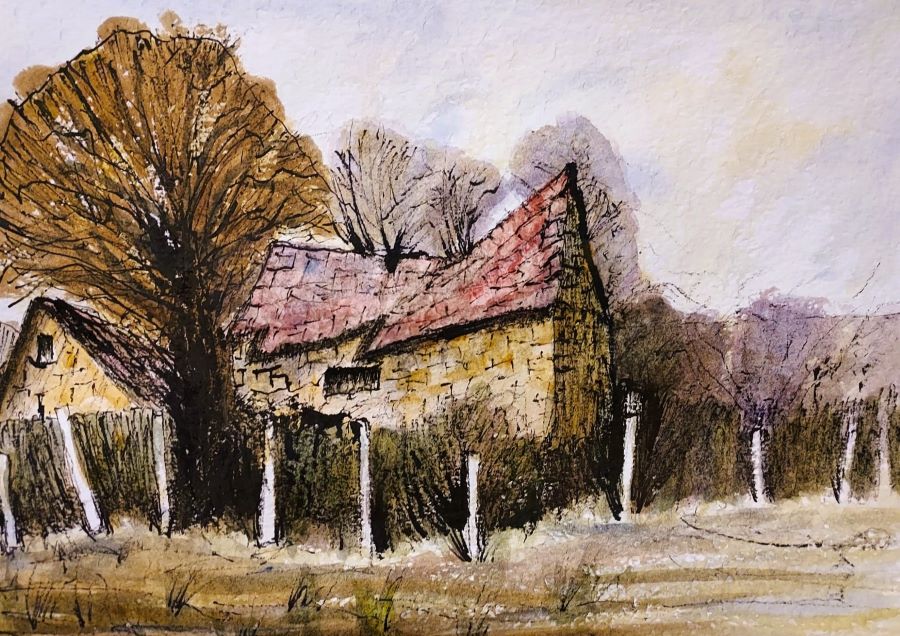
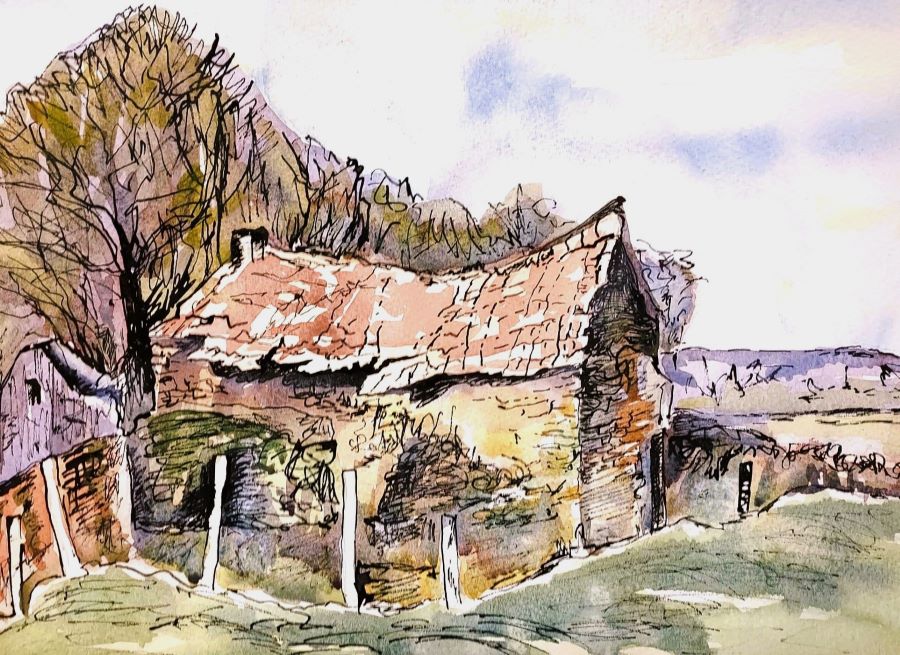
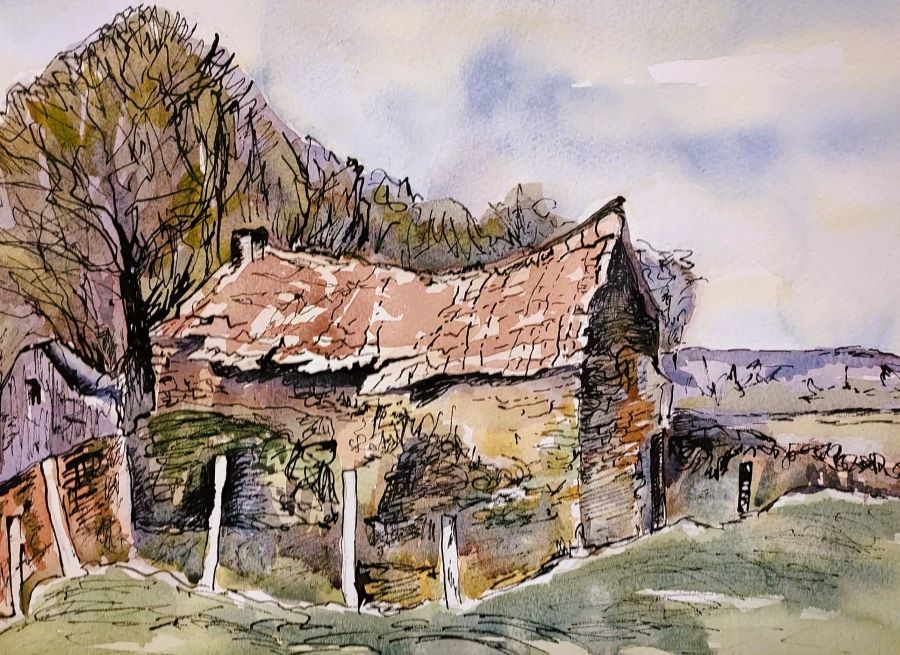
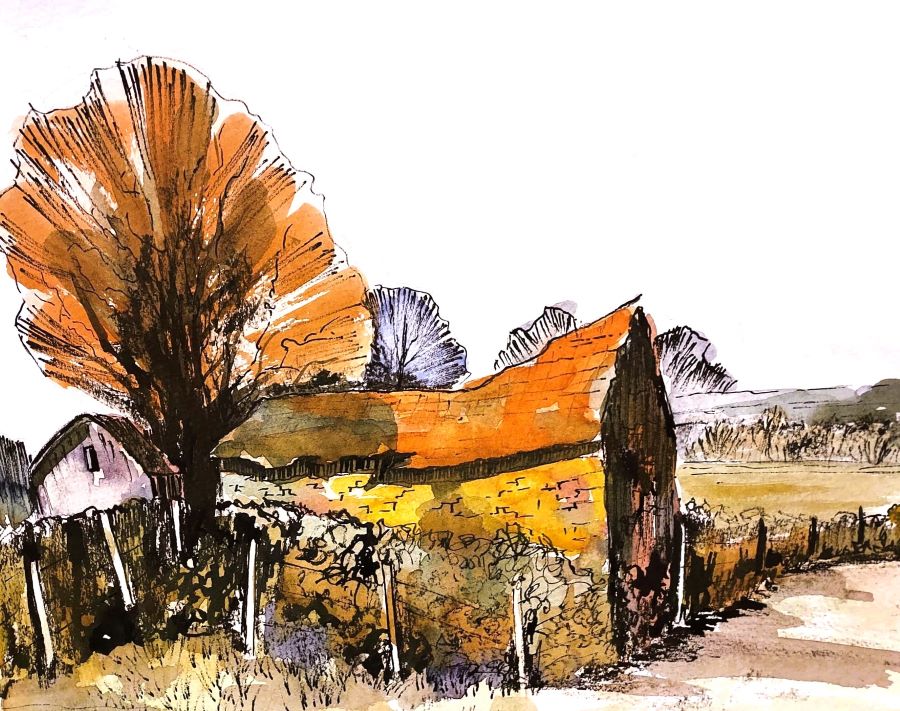
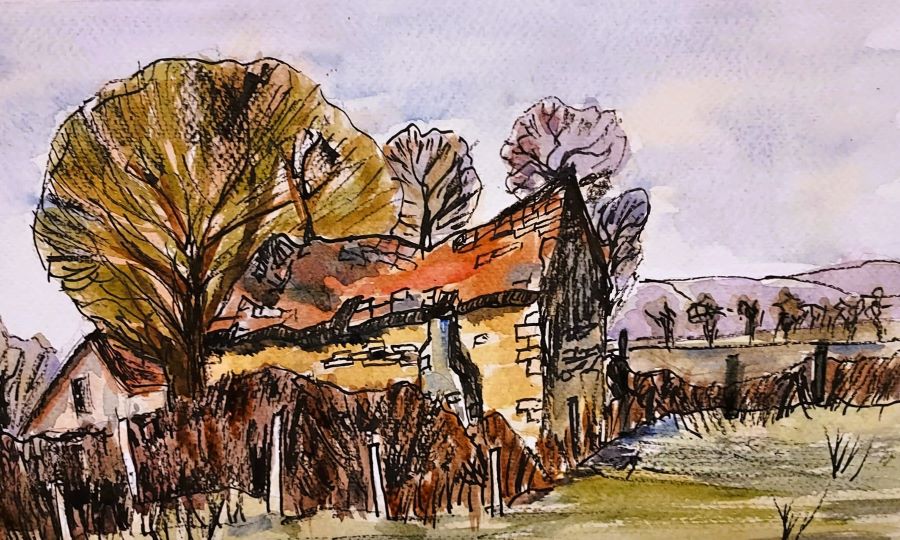
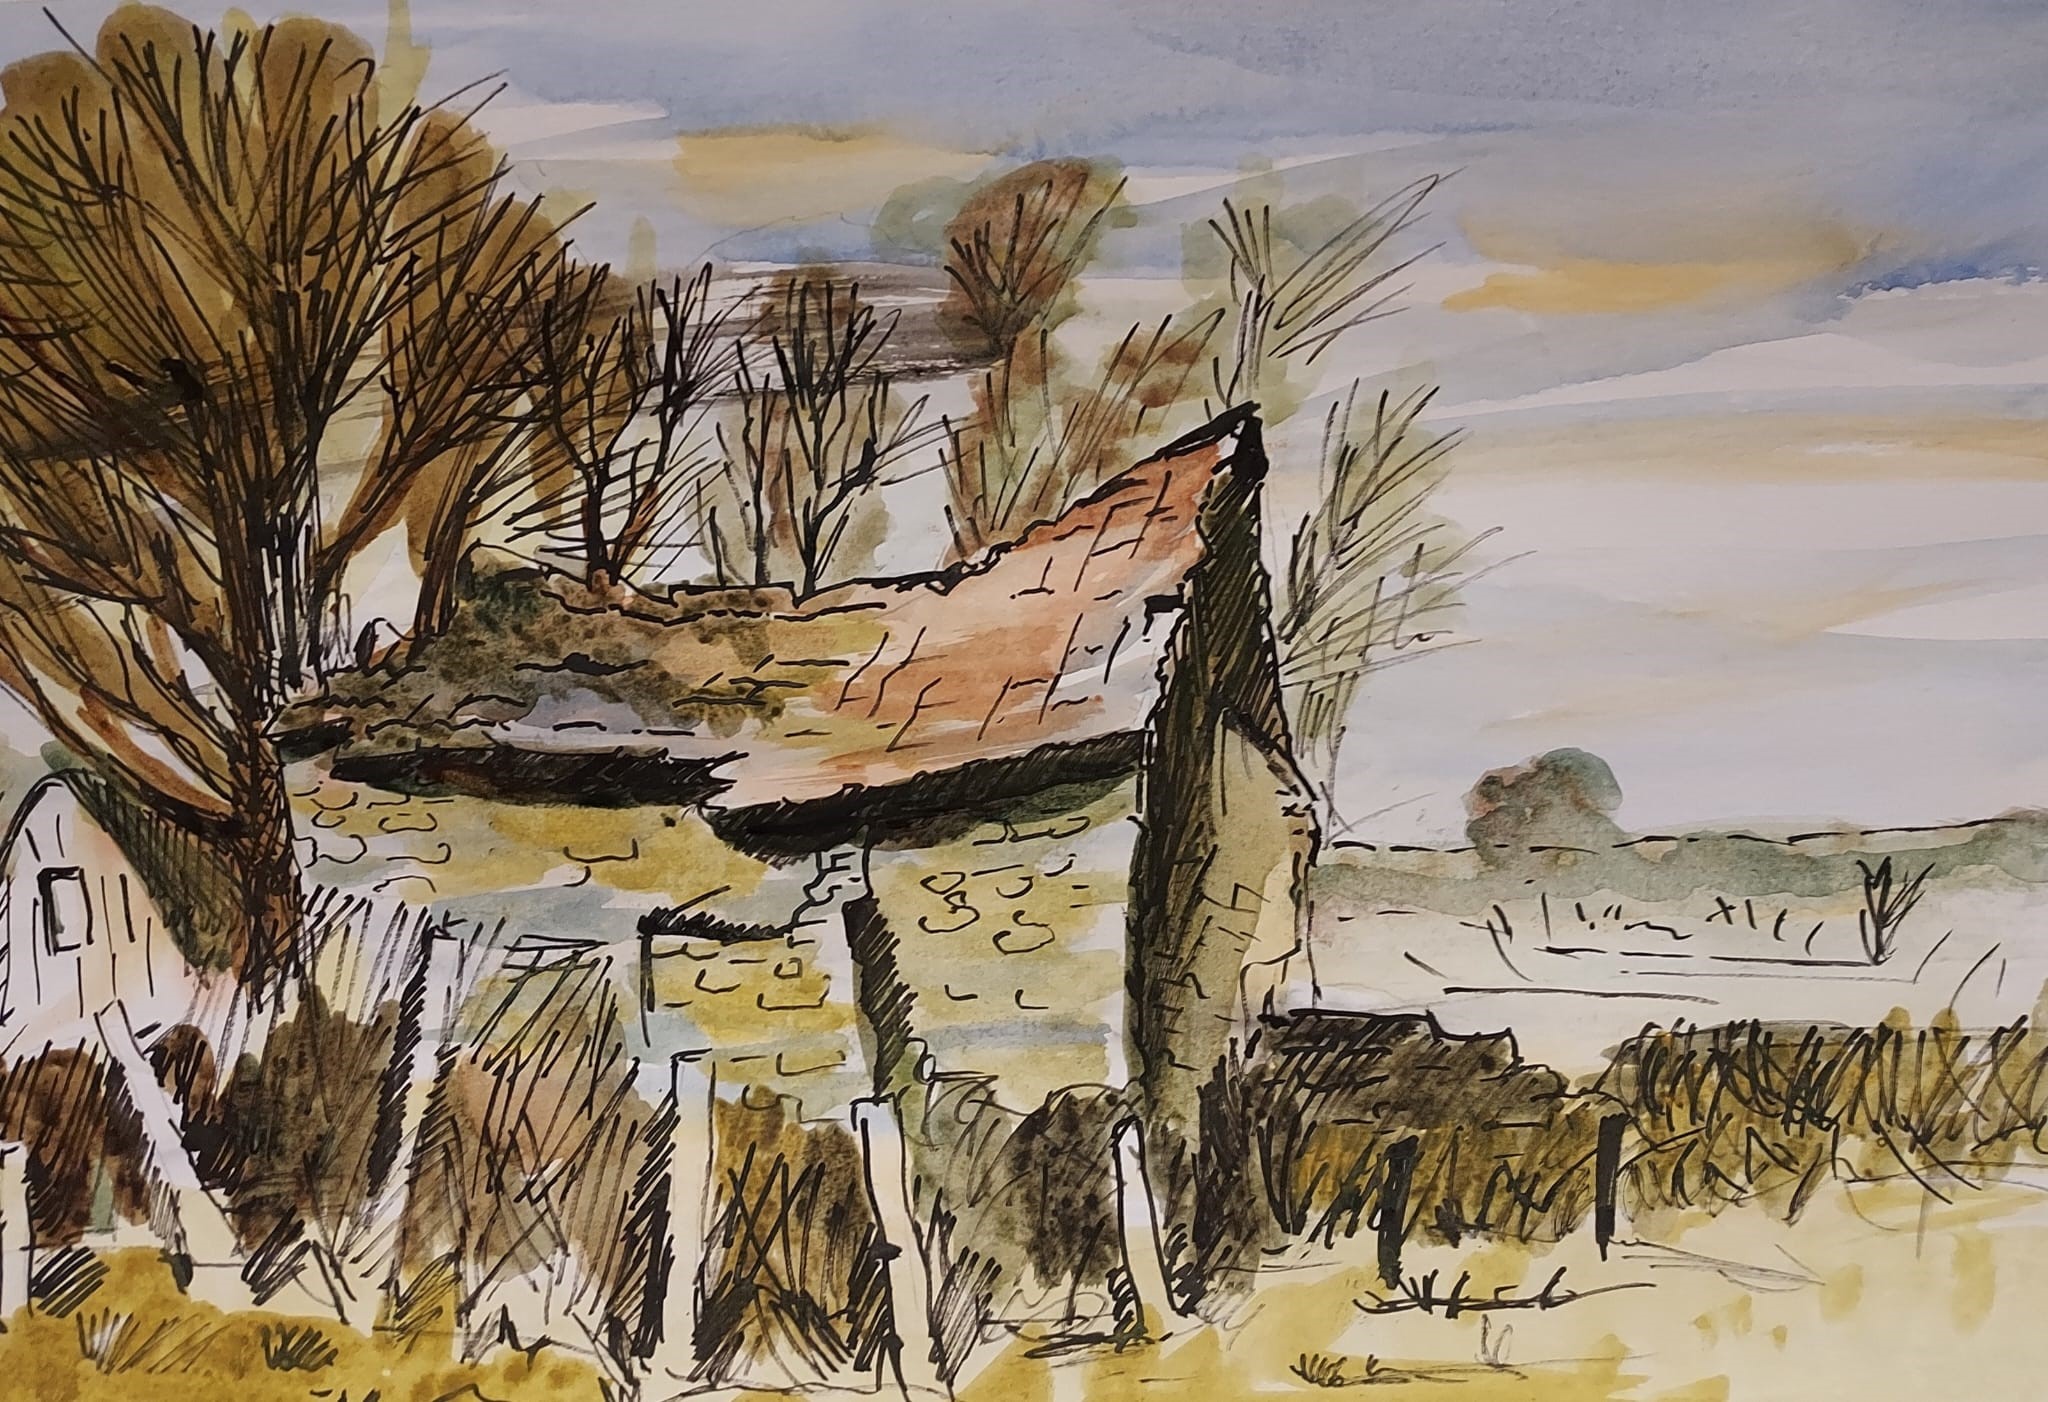
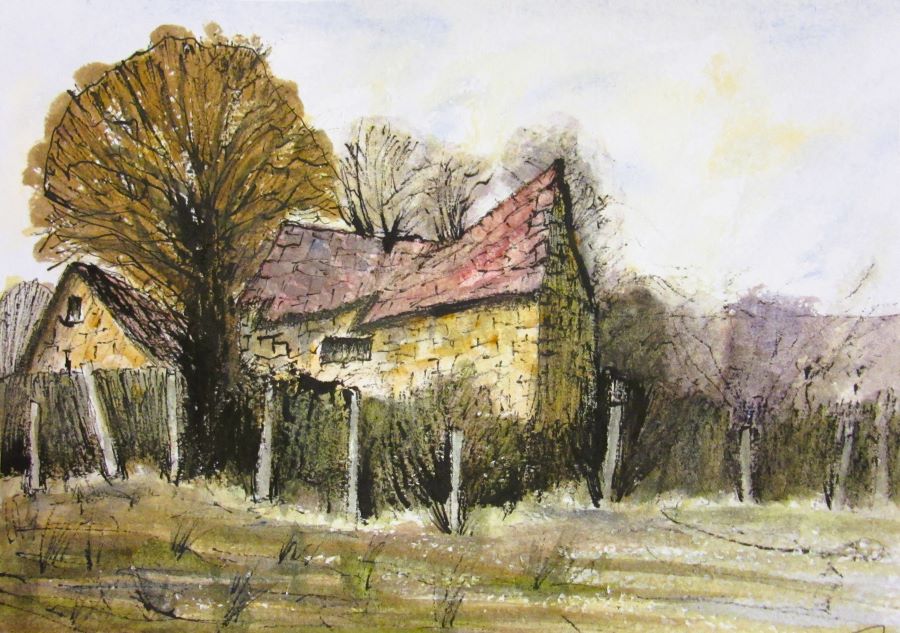
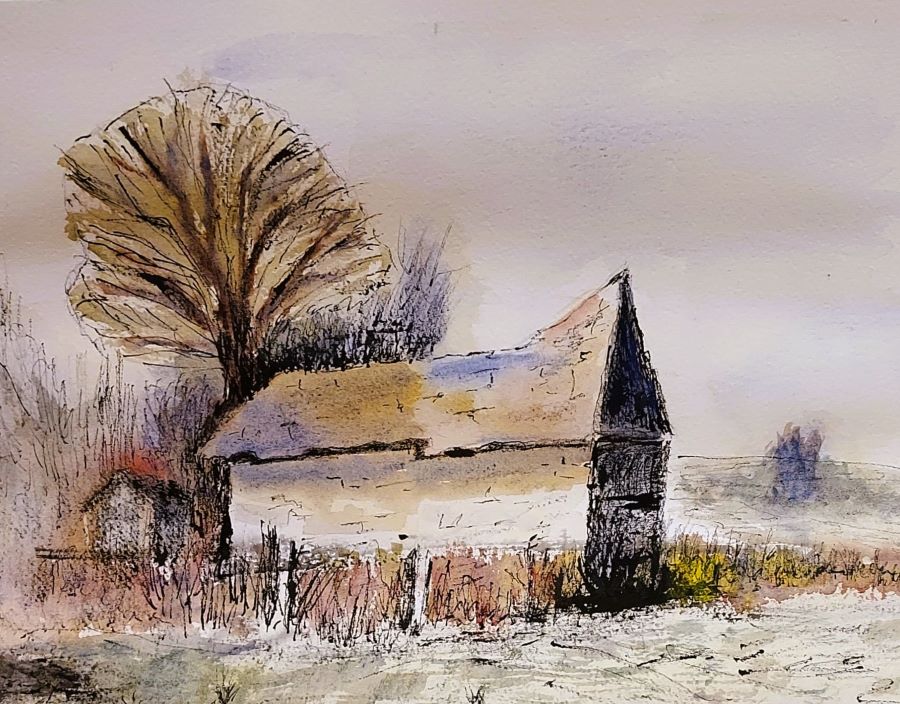
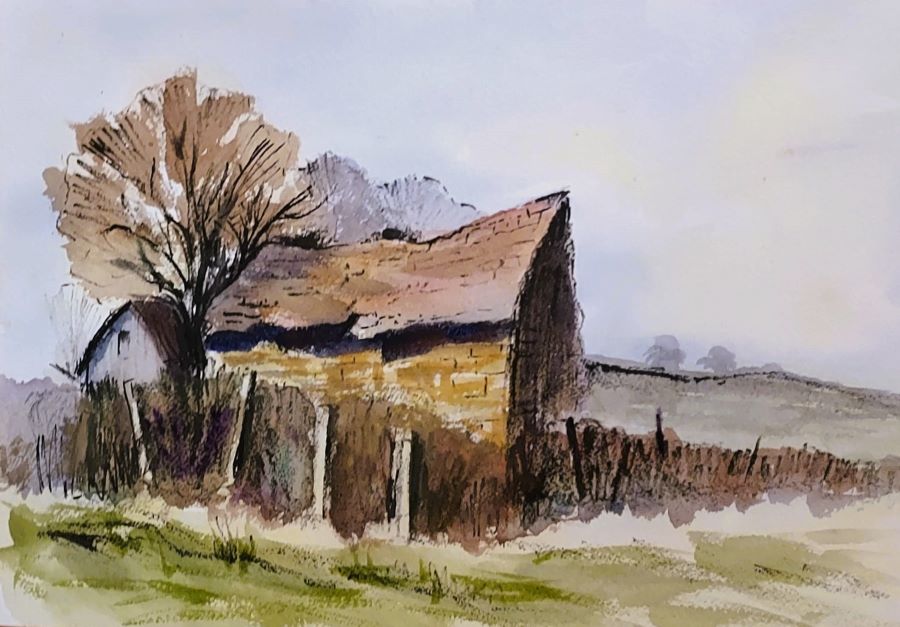
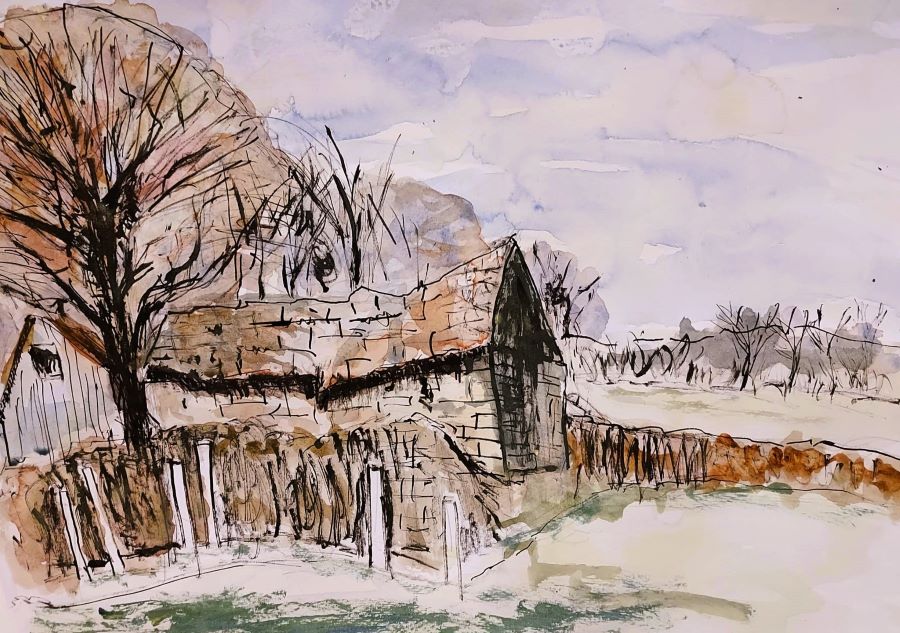
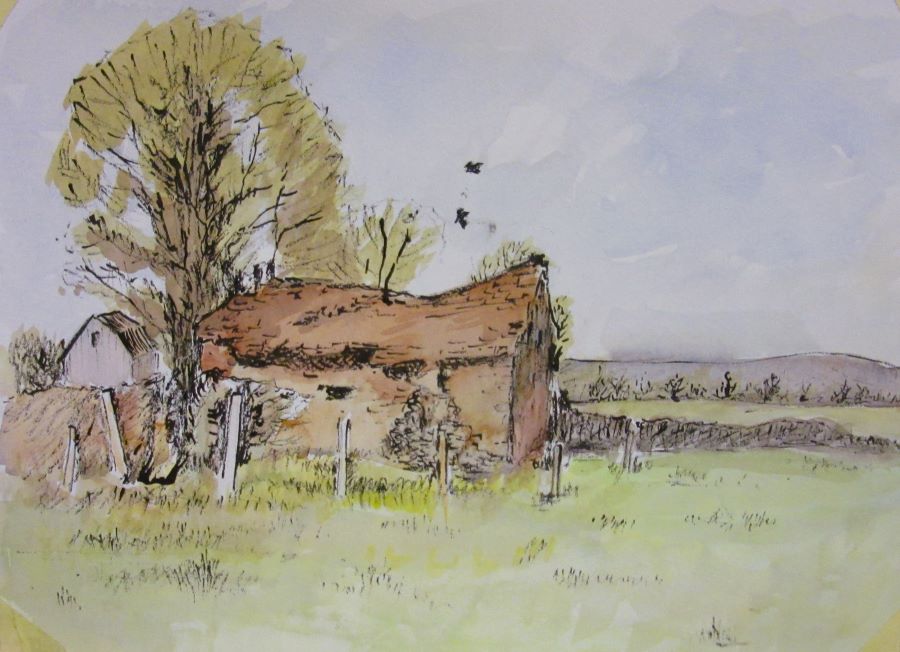
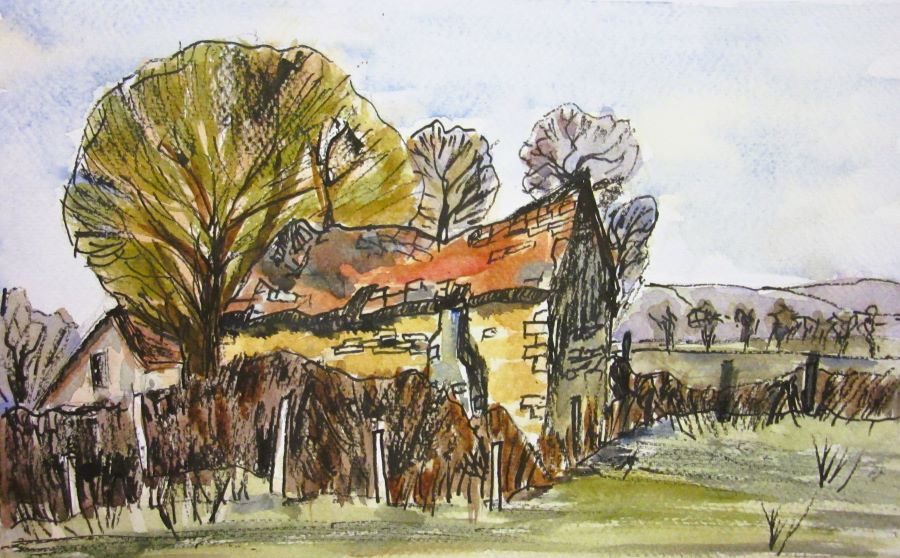
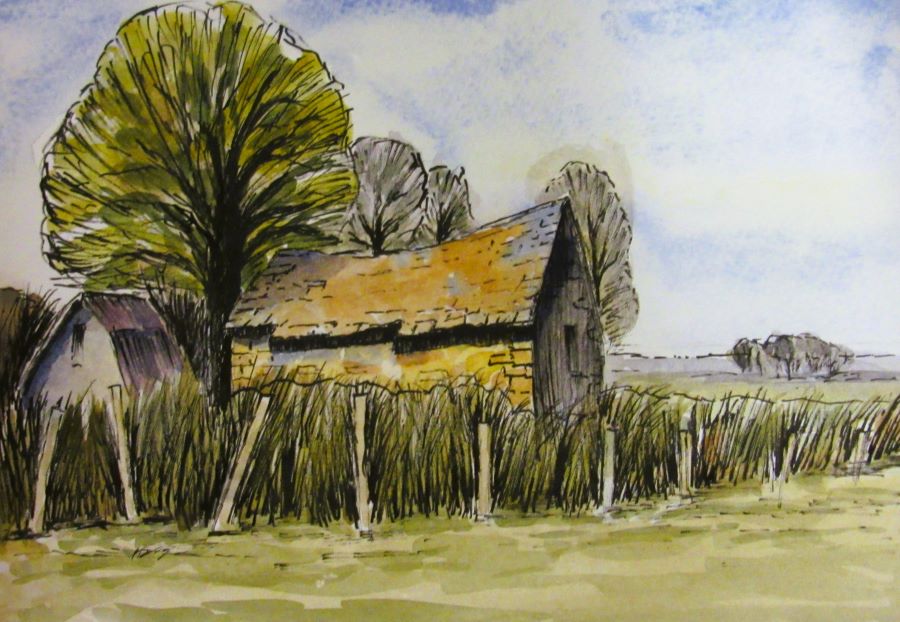
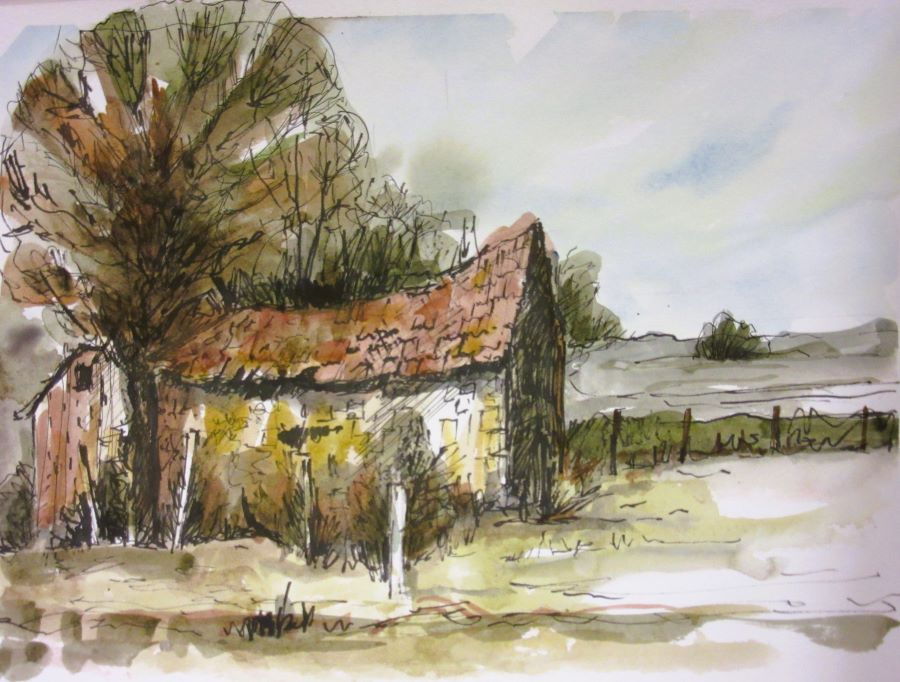
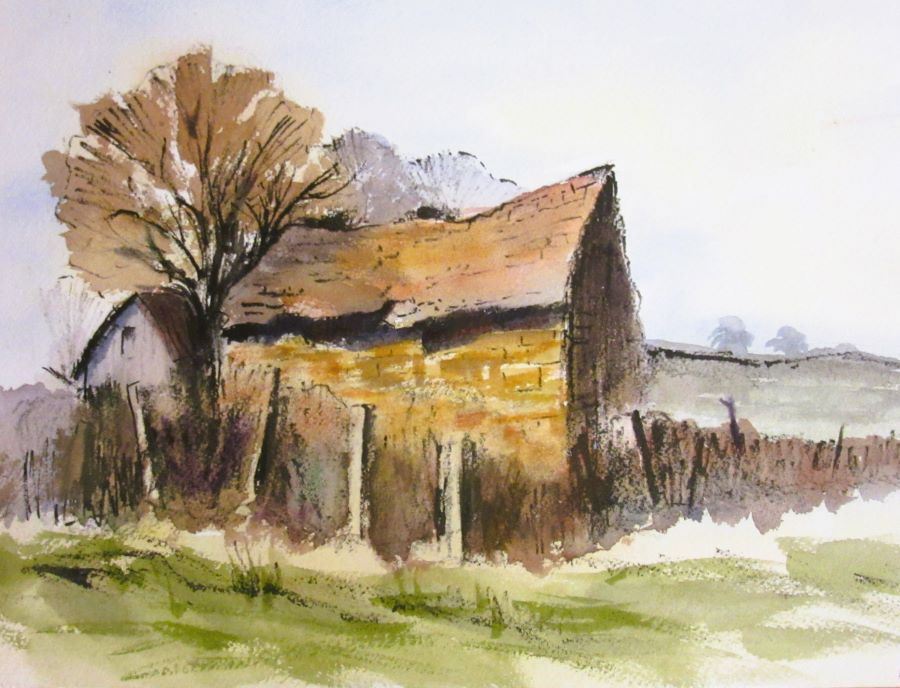
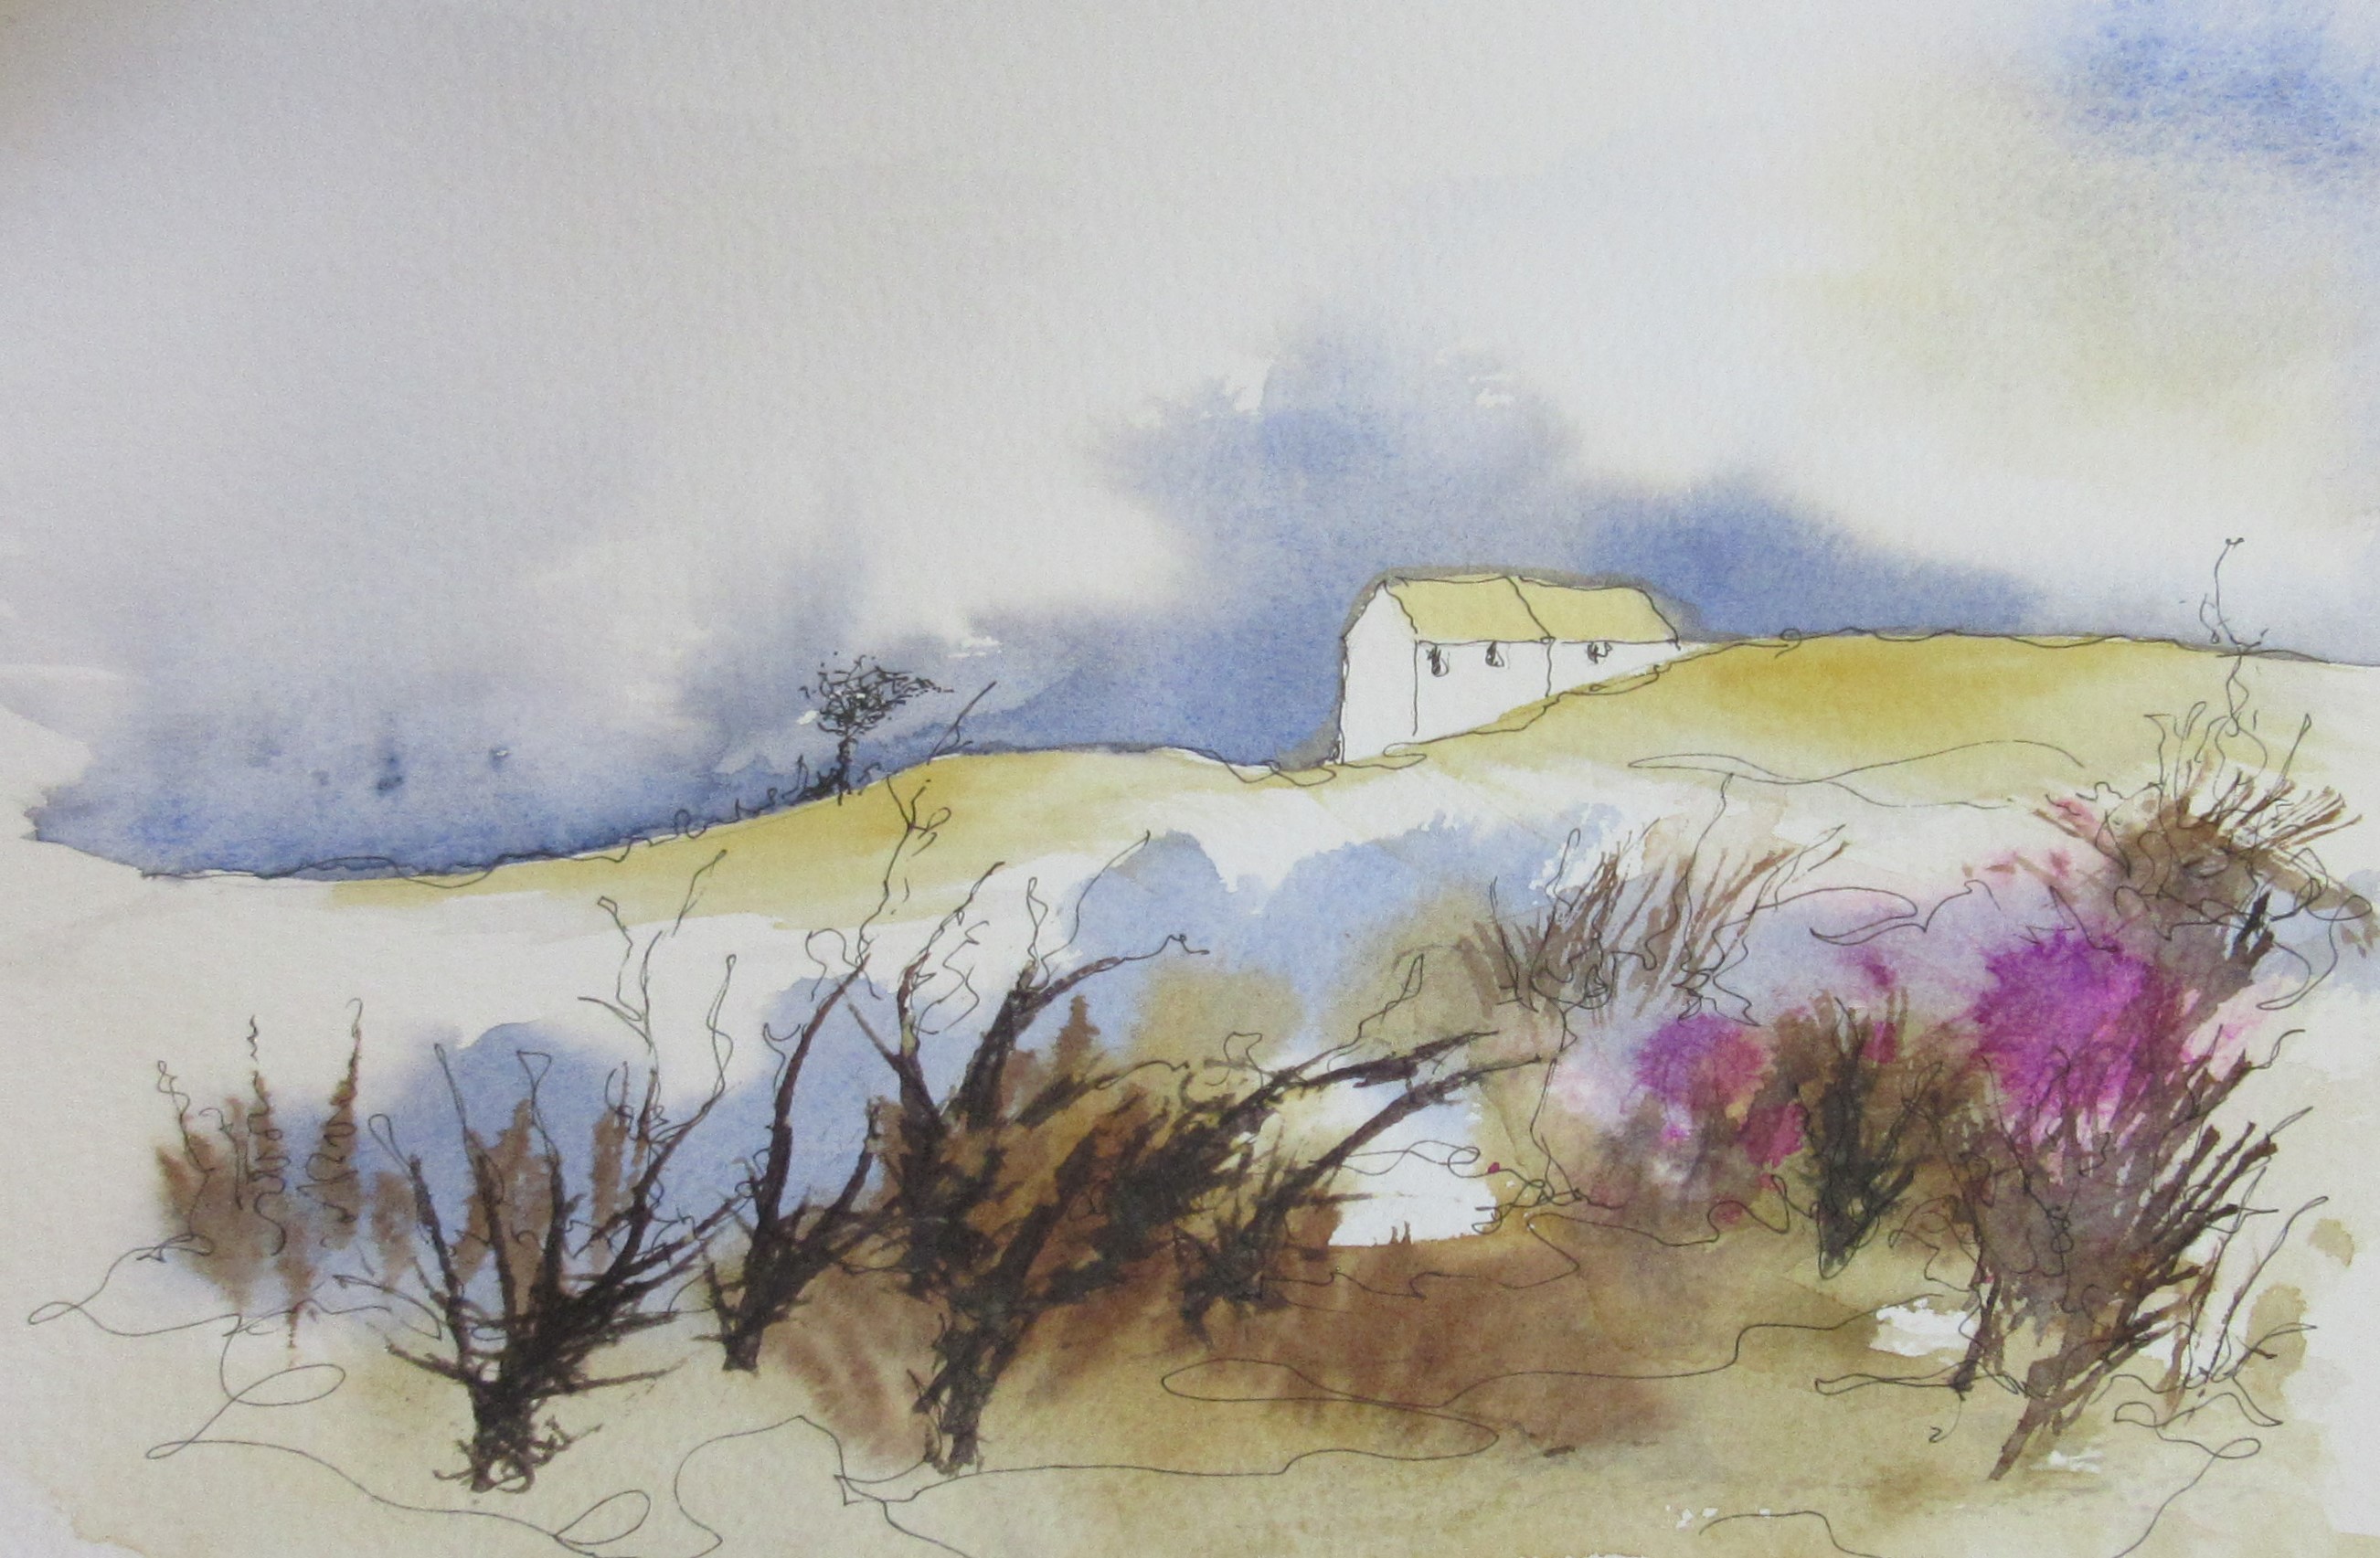
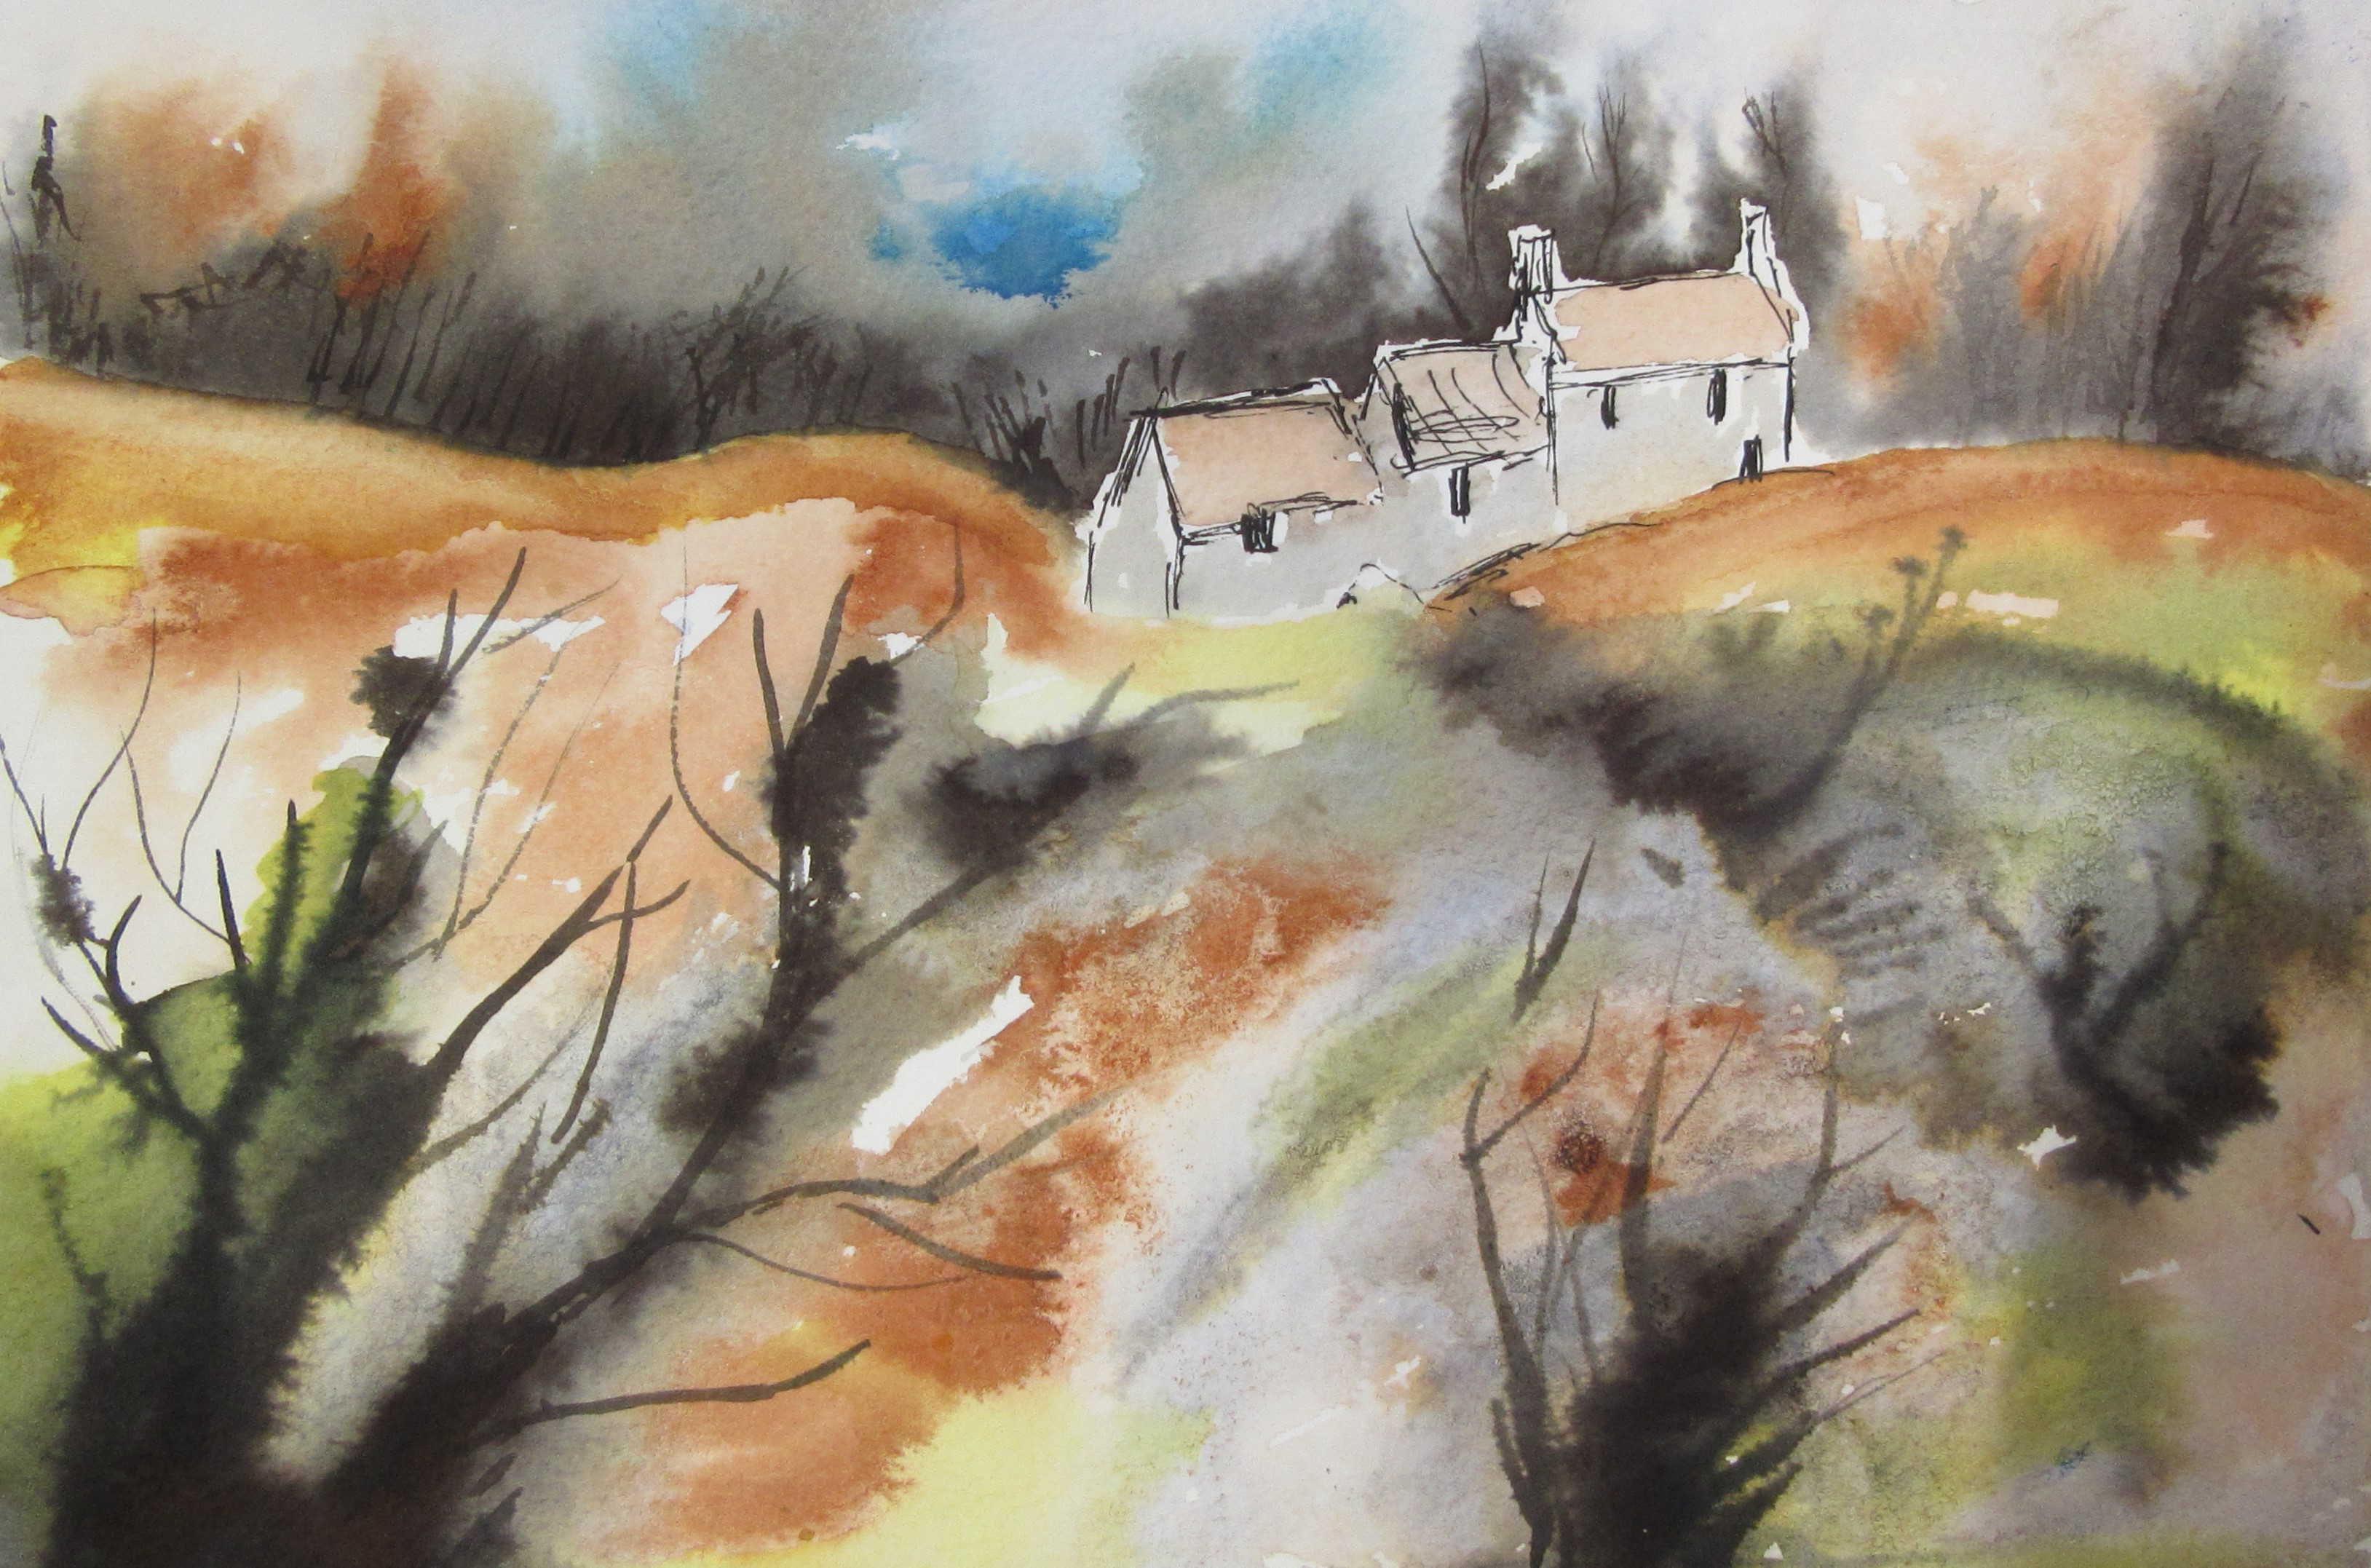
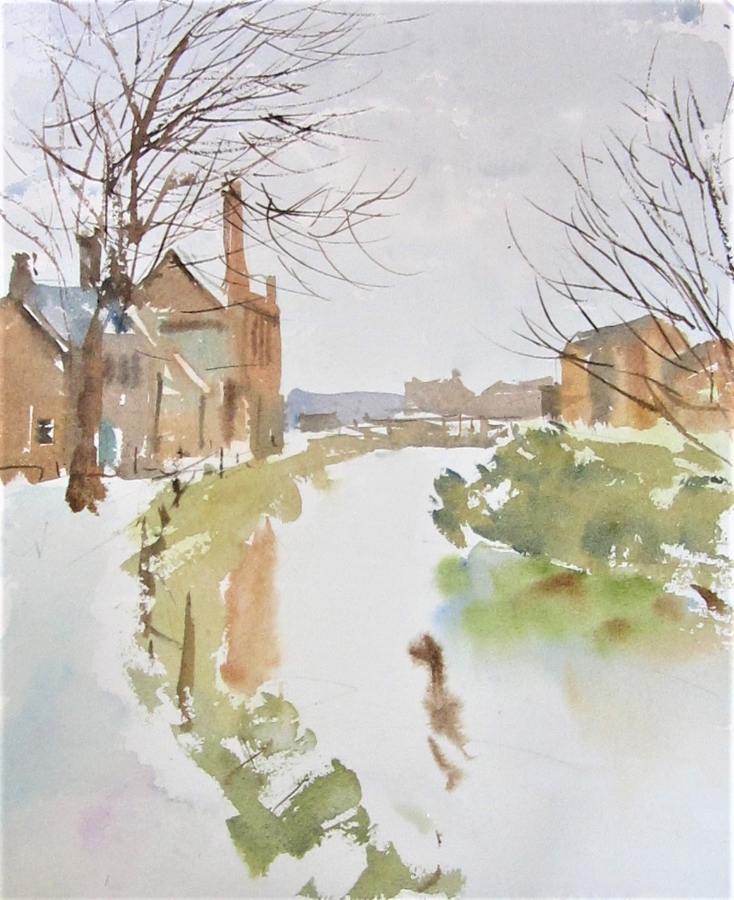
 Jake Winkle – Pen and wash
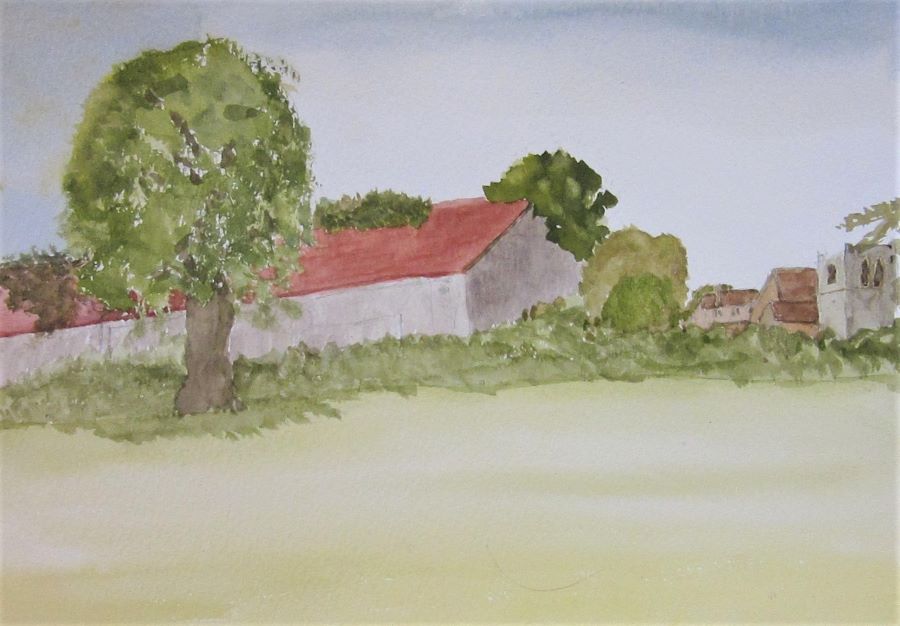
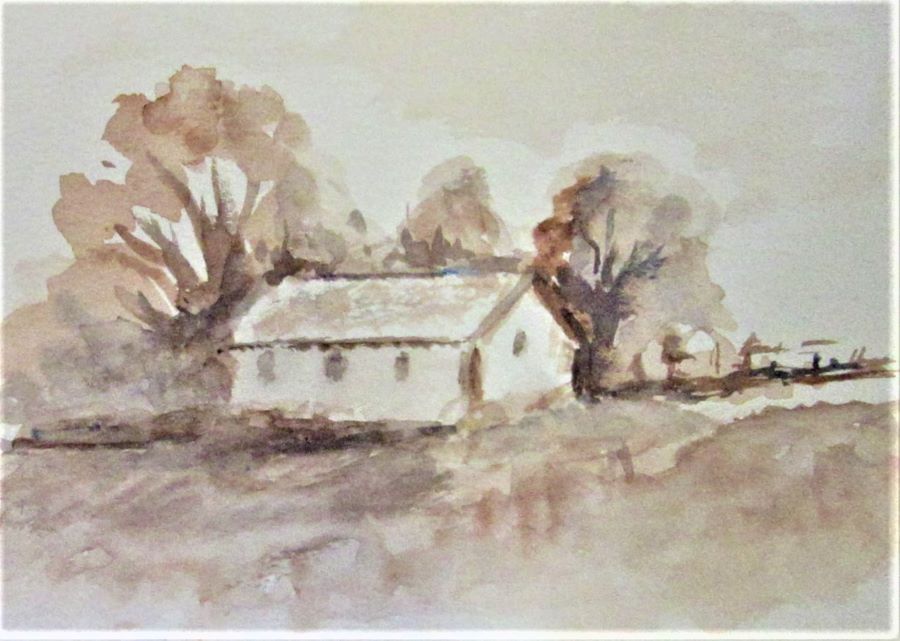
Another fabulous workshop with Jake Winkle. We started with drawing the barn in ink (non water soluble ink) then added watercolour washes to bring out the details. Everybody created a beautiful piece of art and thoroughly enjoyed themselves.


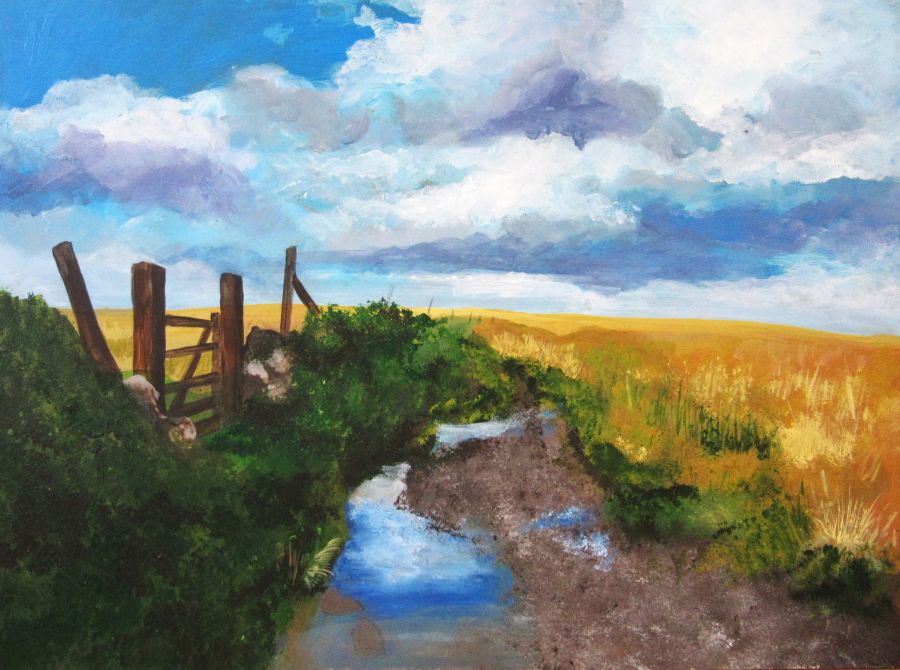
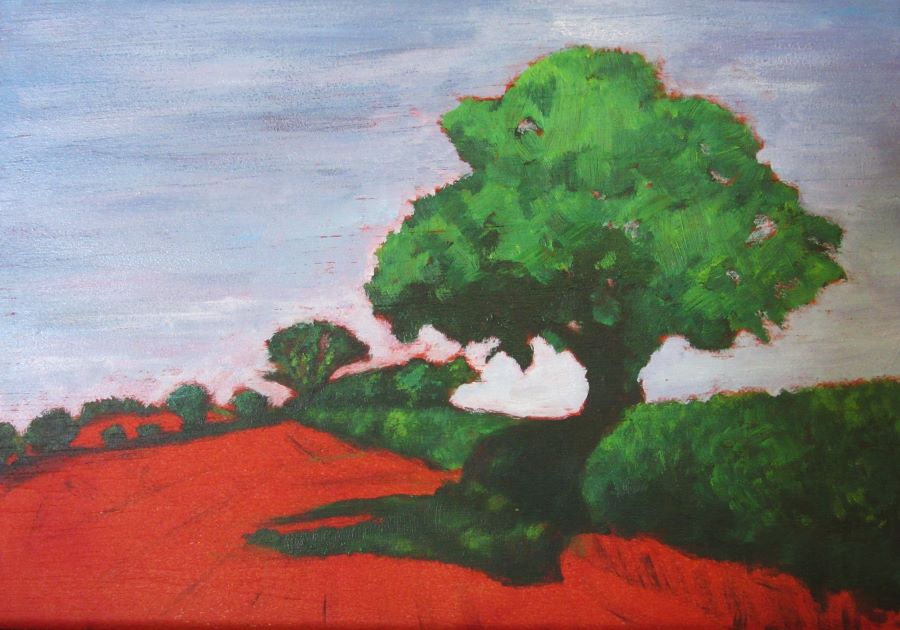
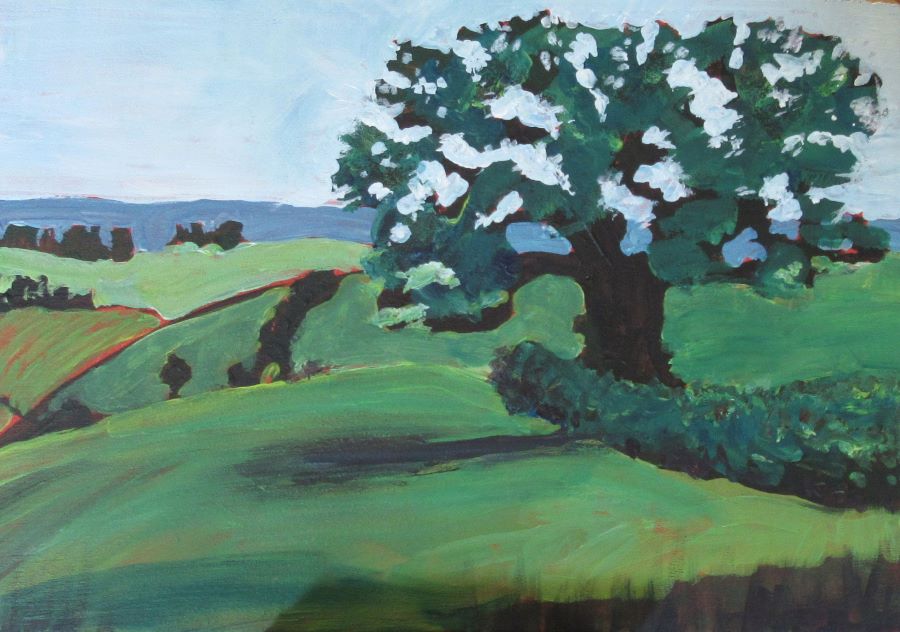
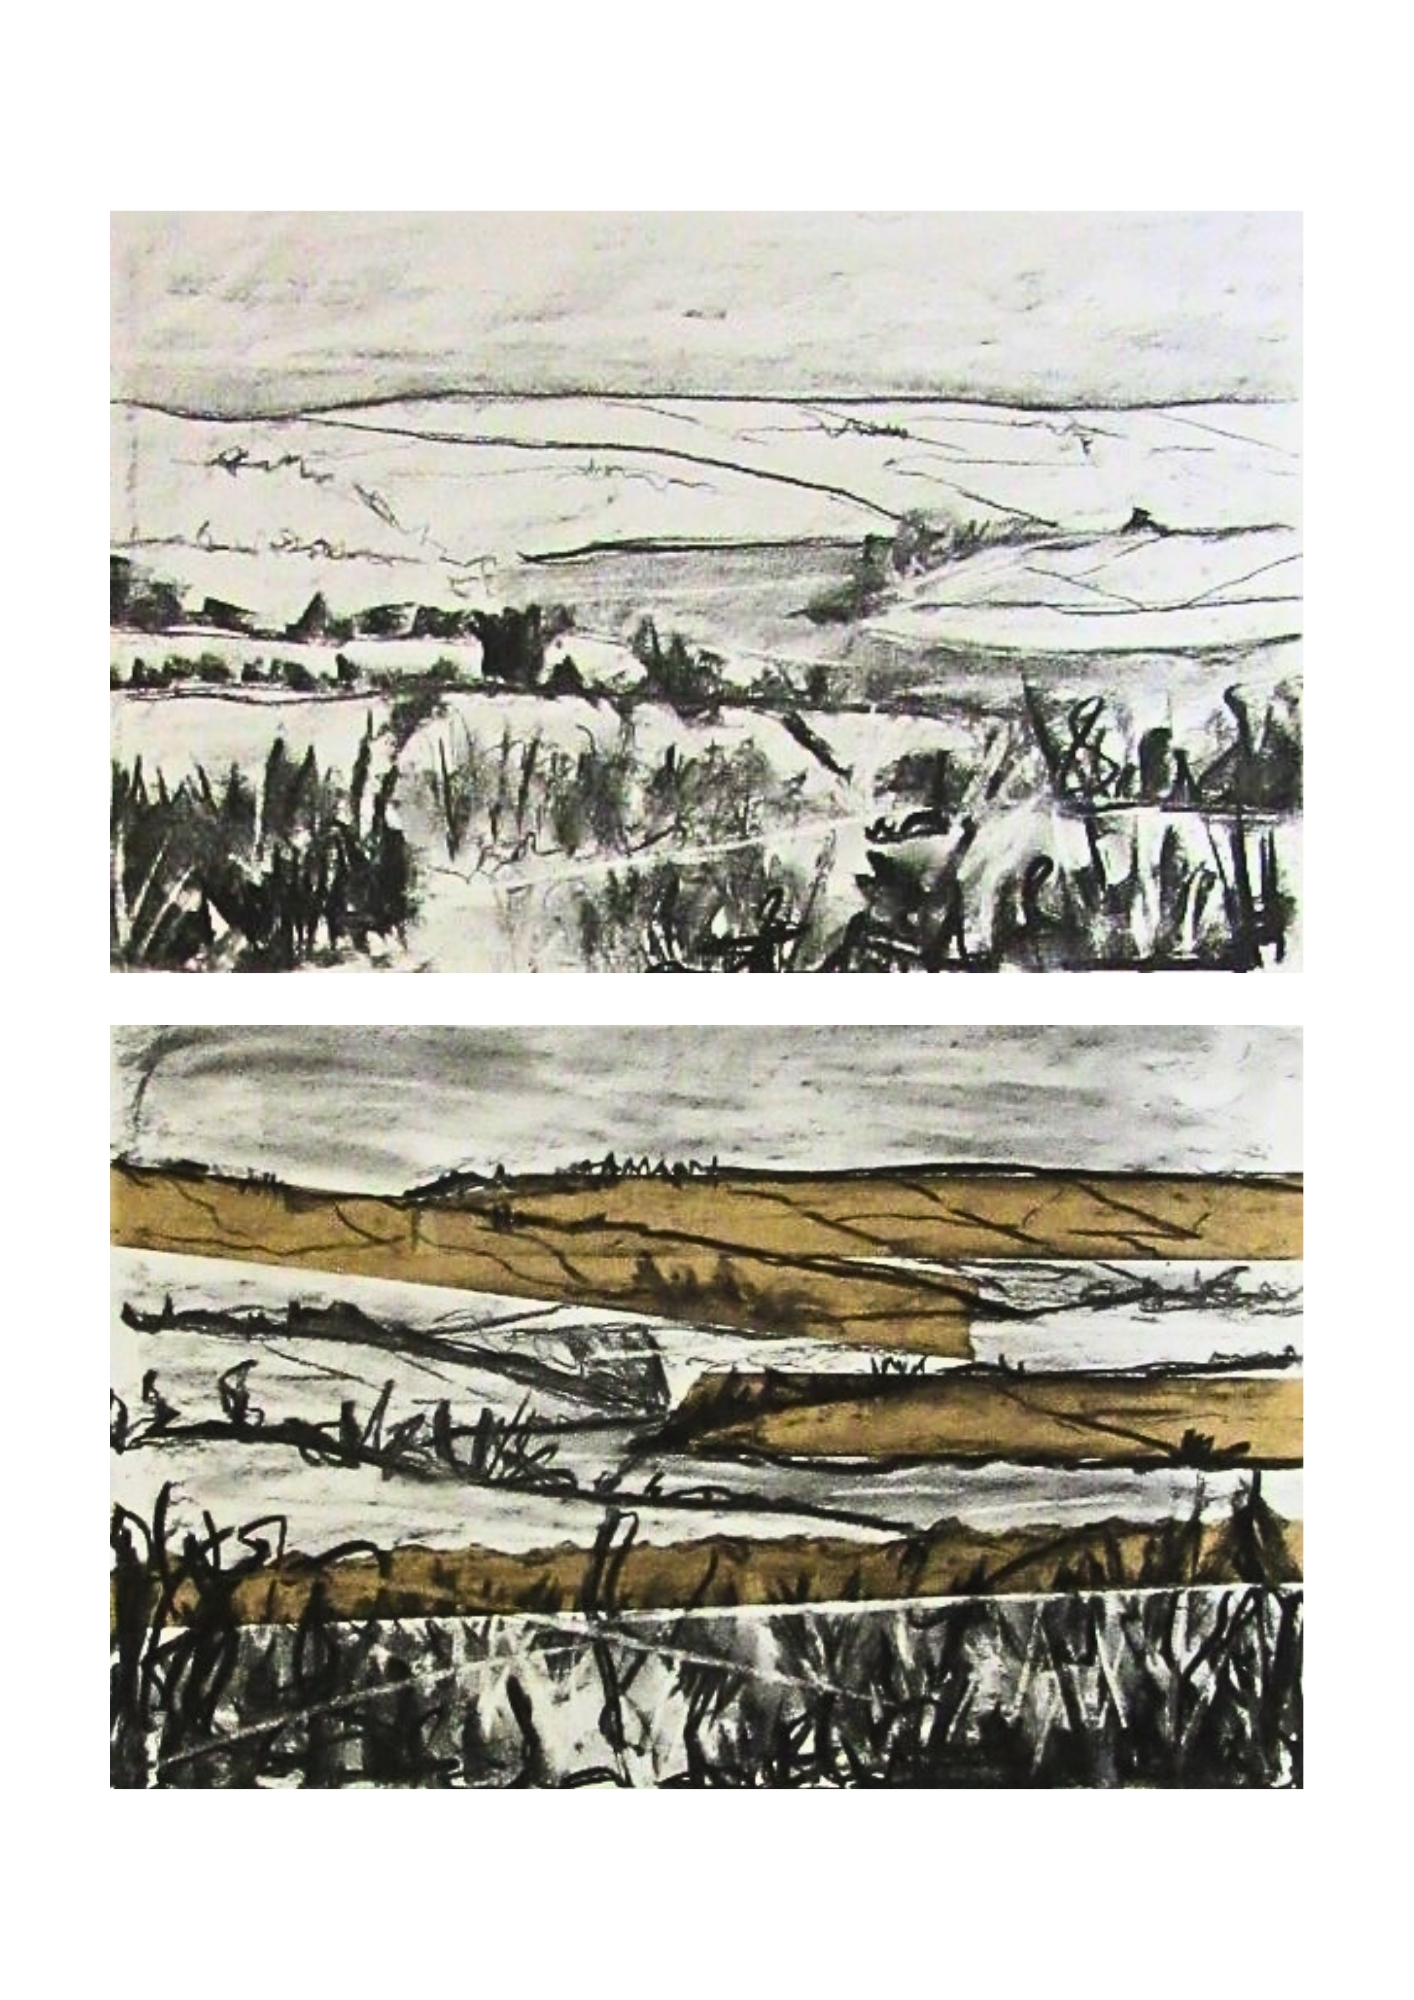
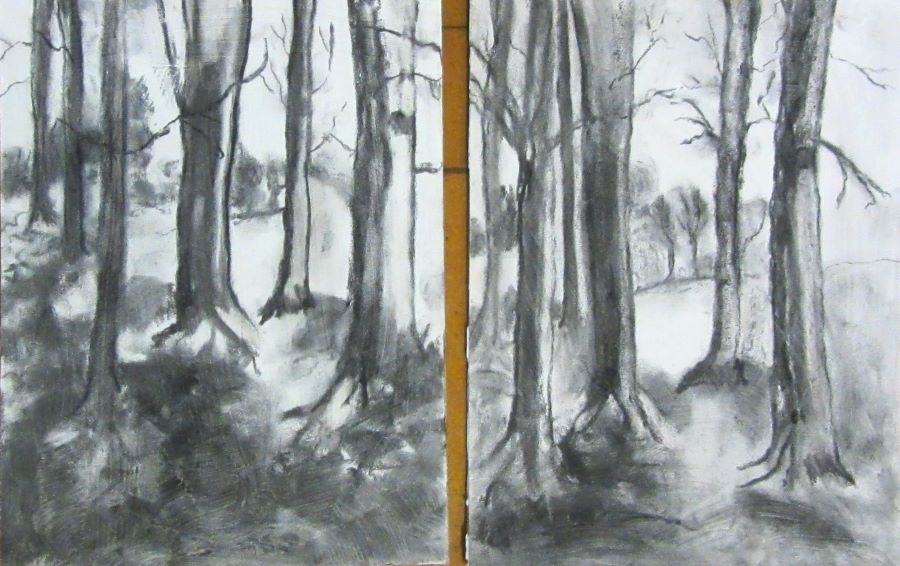
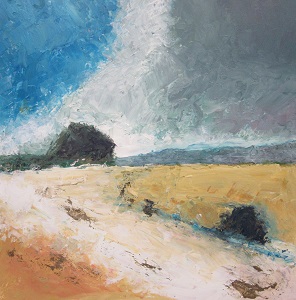
 Owen Williams – Painting negative spaces in the landscape
Owen started with the group making small thumbnail sketches of their chosen landscape to decide on the composition. He then showed what colours can be mixed with the limited palette we were using on the day ie: titanium white, lemon yellow, Alizarin crimson and Windsor Blue. We then started painting the subjects in a dark grey on the orange coated board: trees, shrubs & shadows in a very loose fashion. Once we done that, we started to look at negative spaces and began to create our landscapes. It was a brain twister for sure but we all had a good time. Owen gave us one to one support and it was very much appreciated.


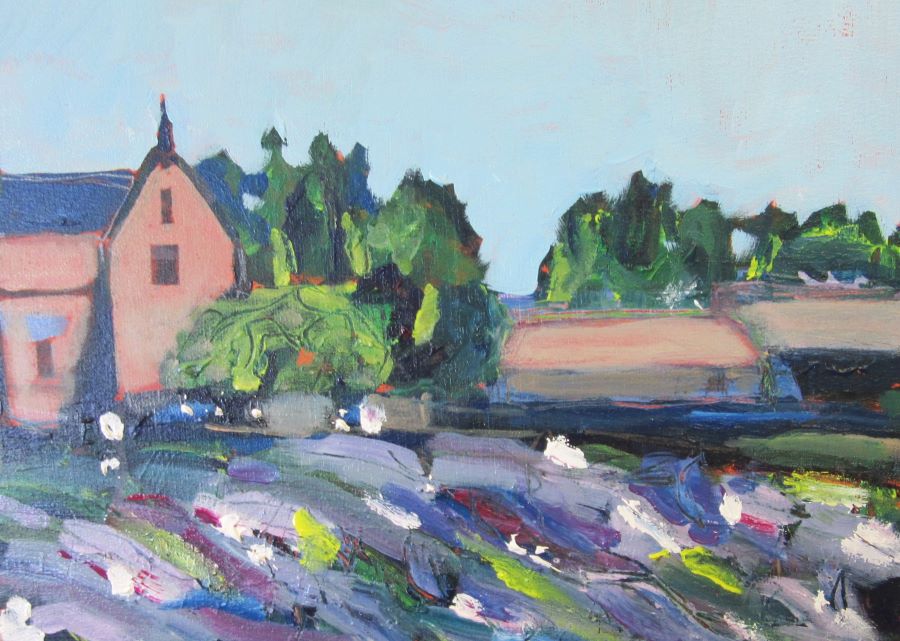
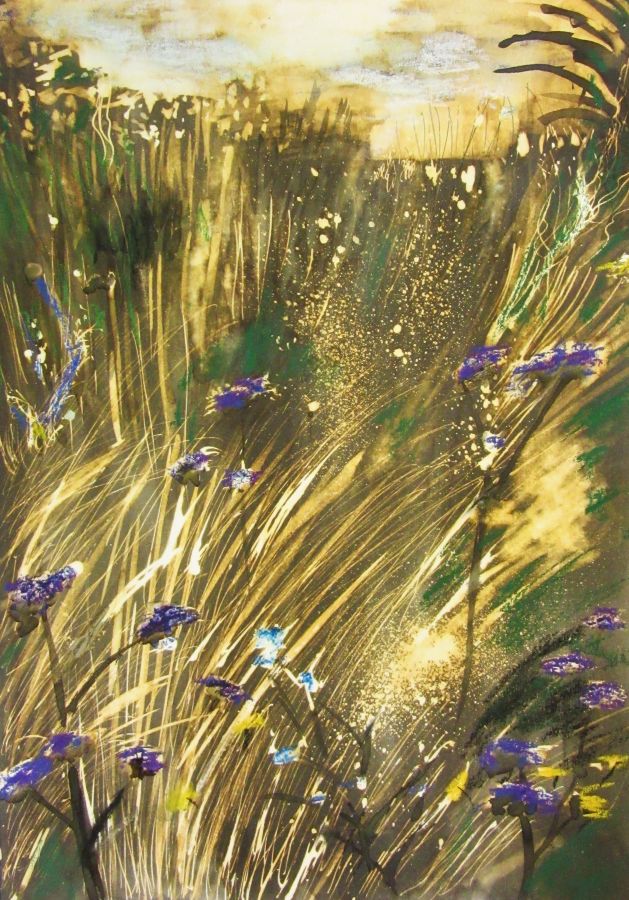
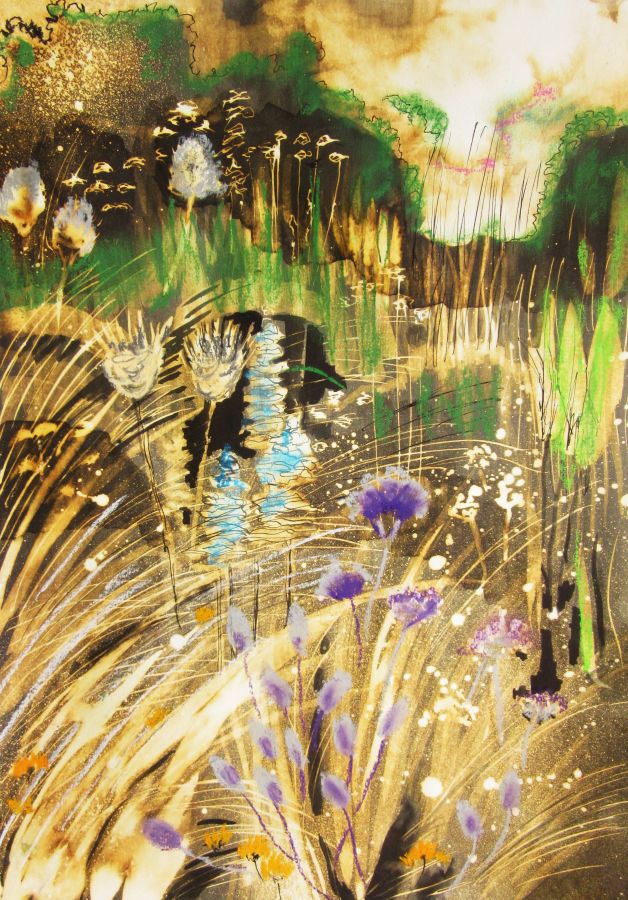
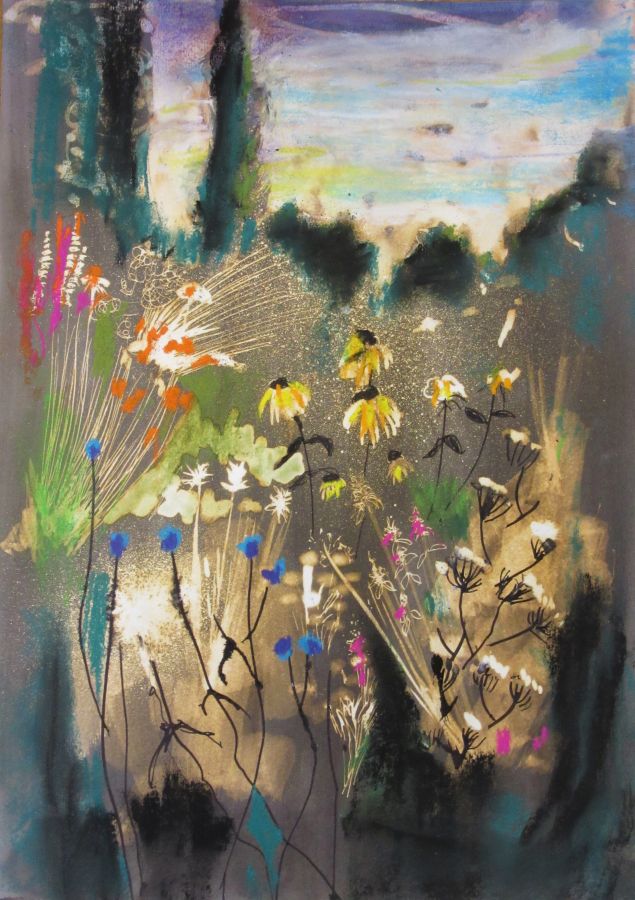
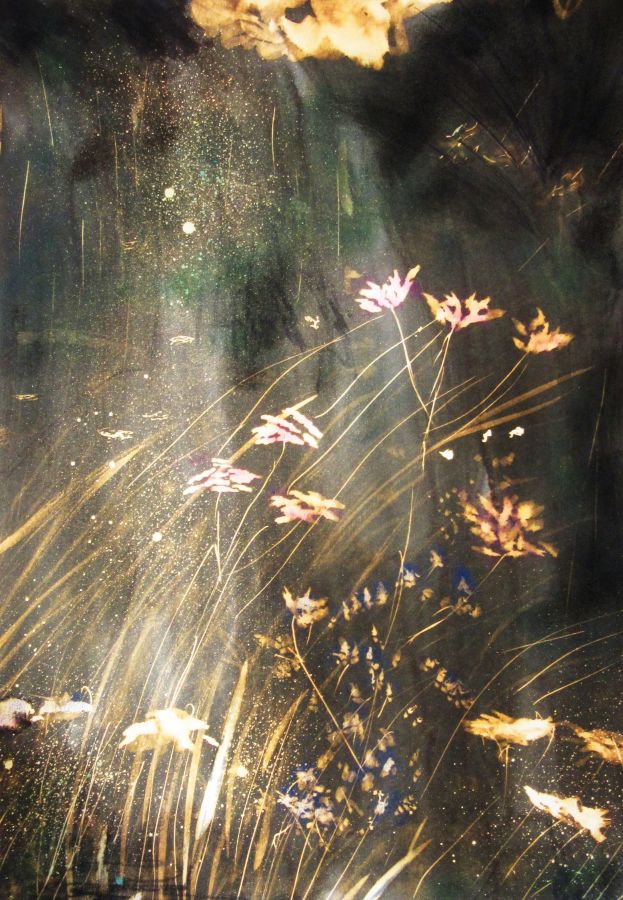
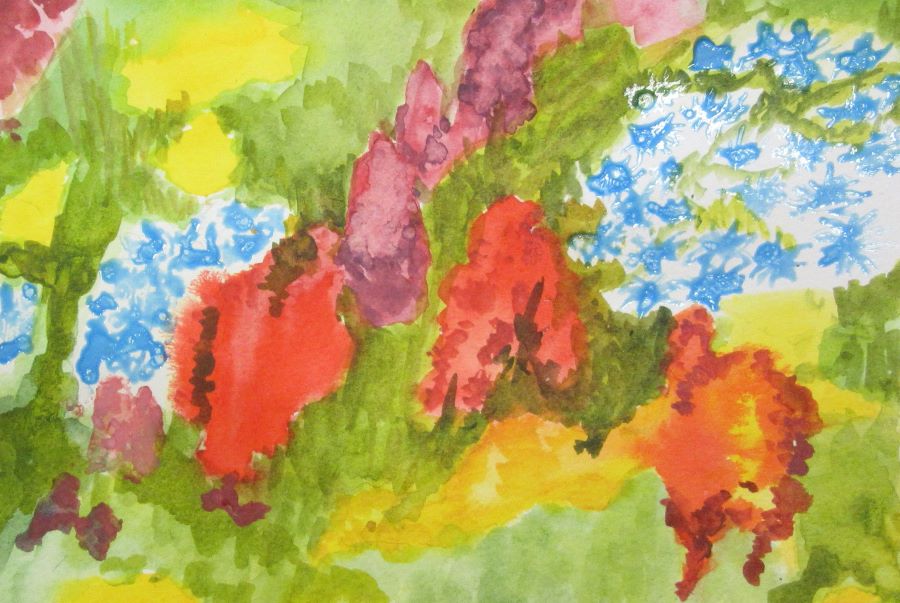
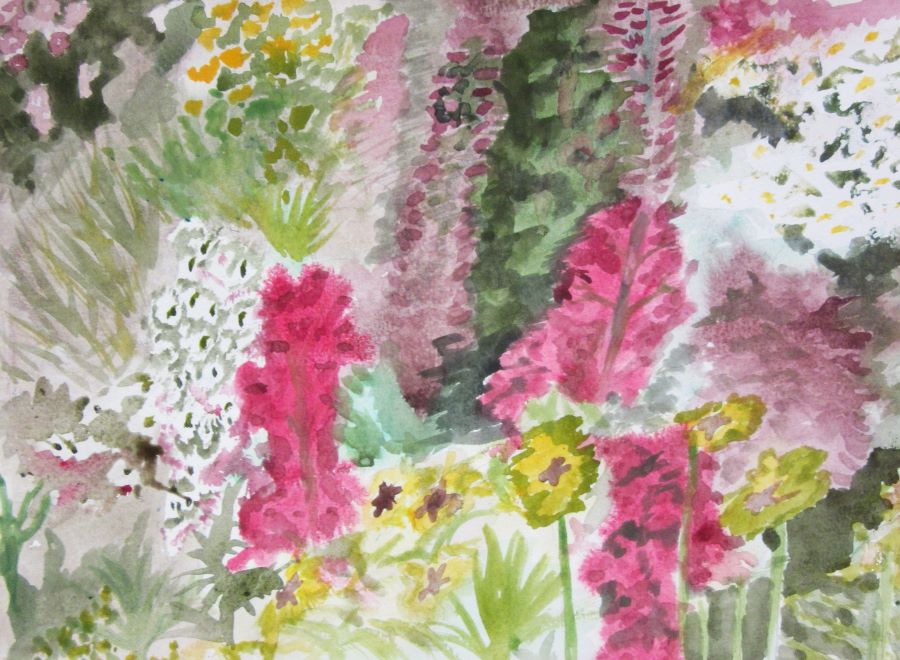
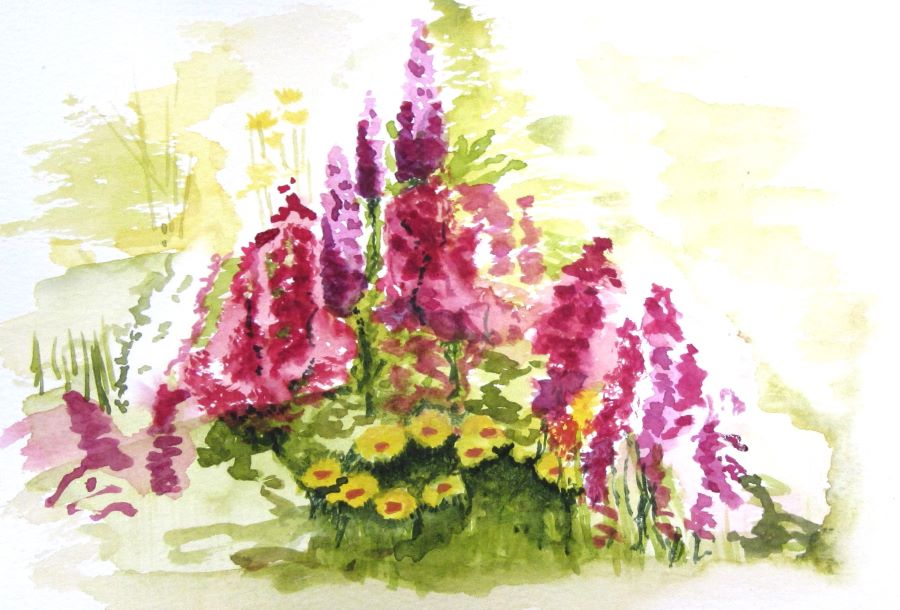
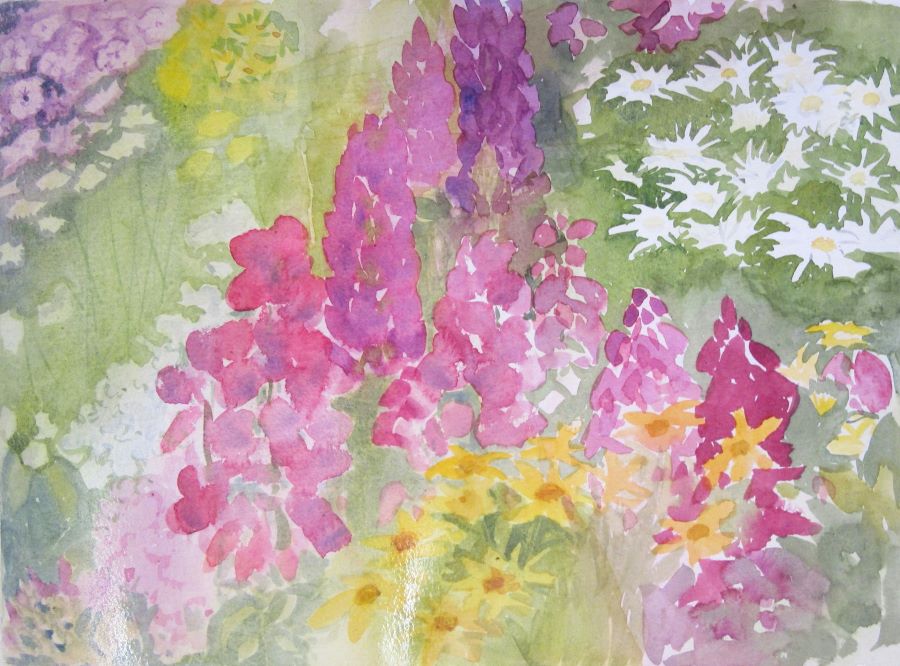
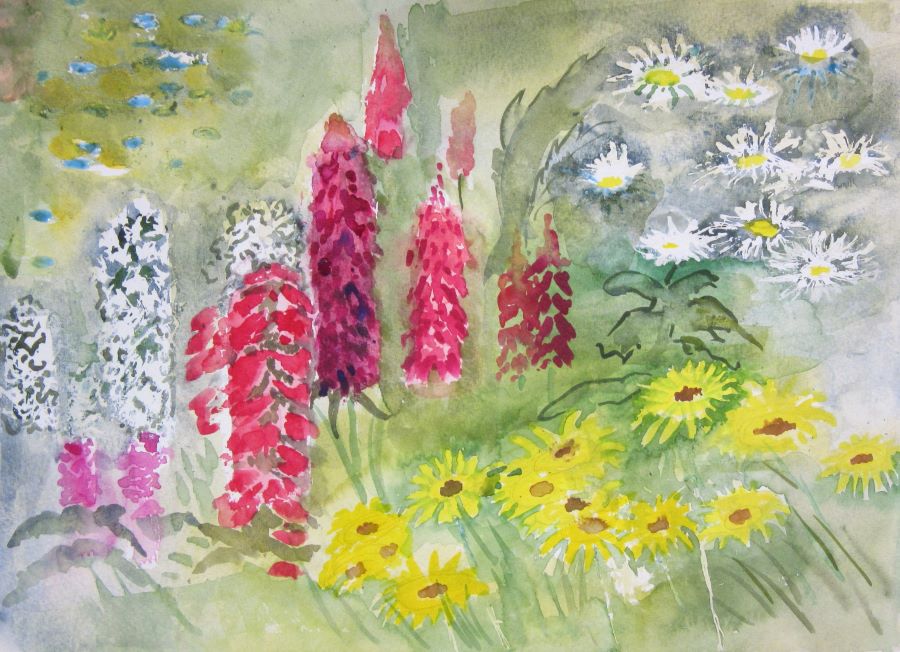
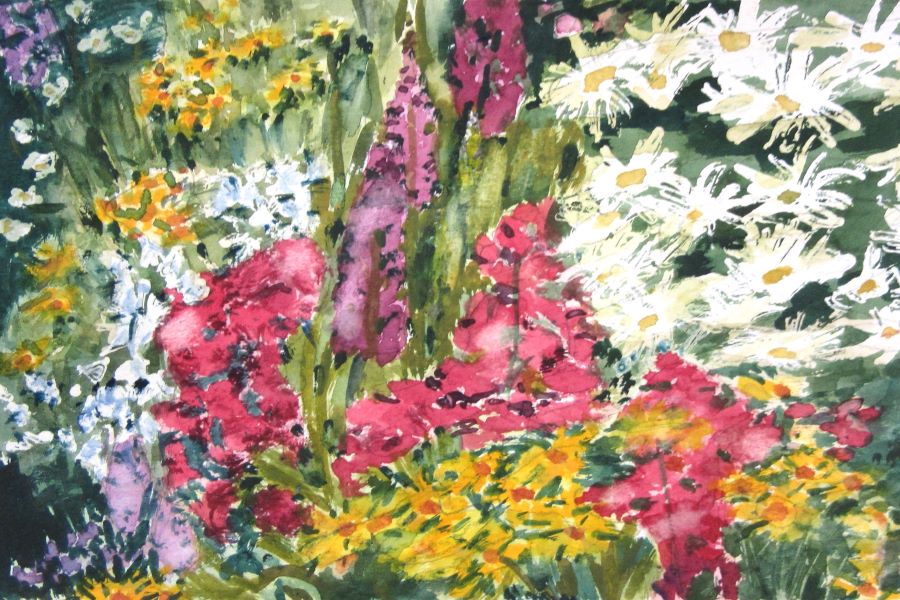
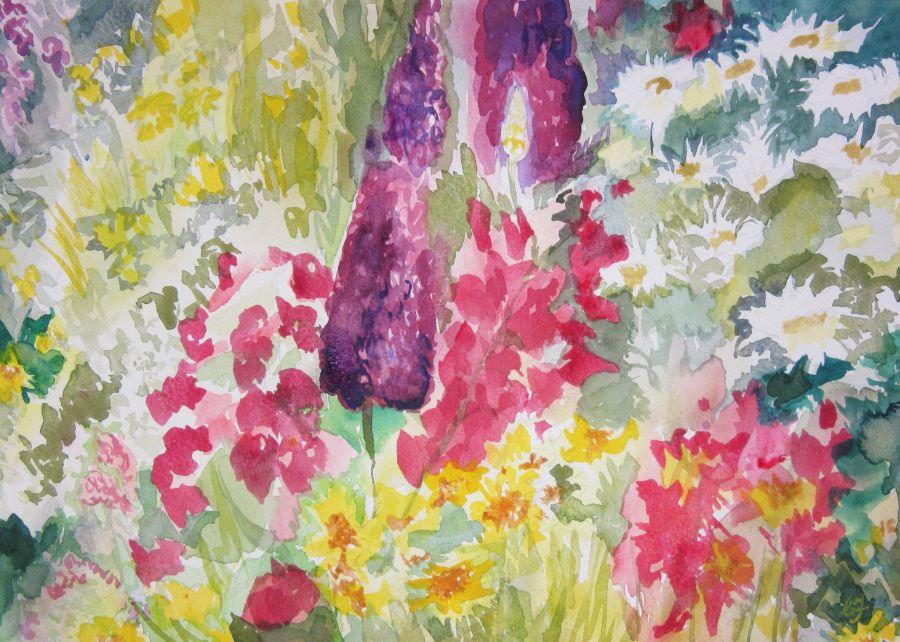
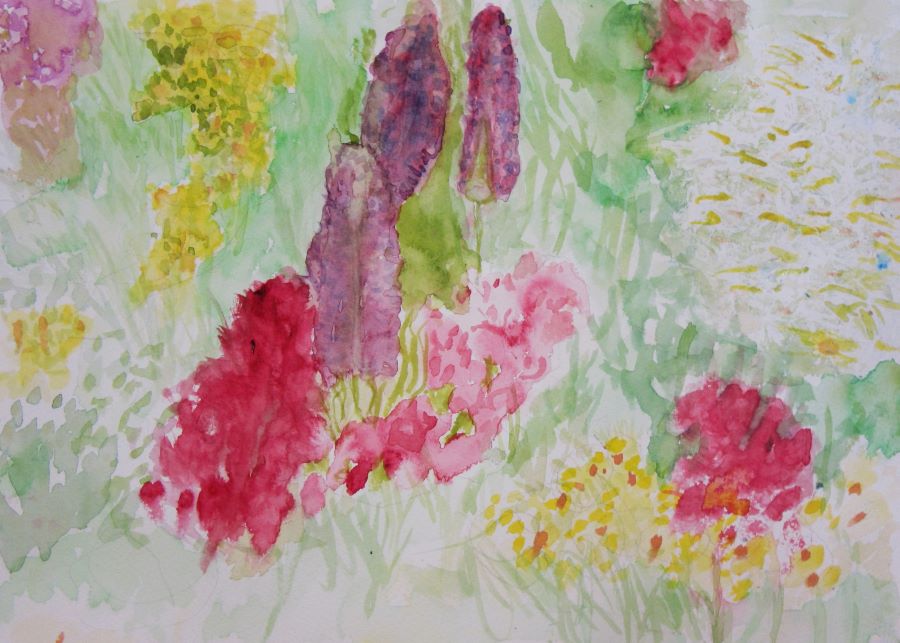
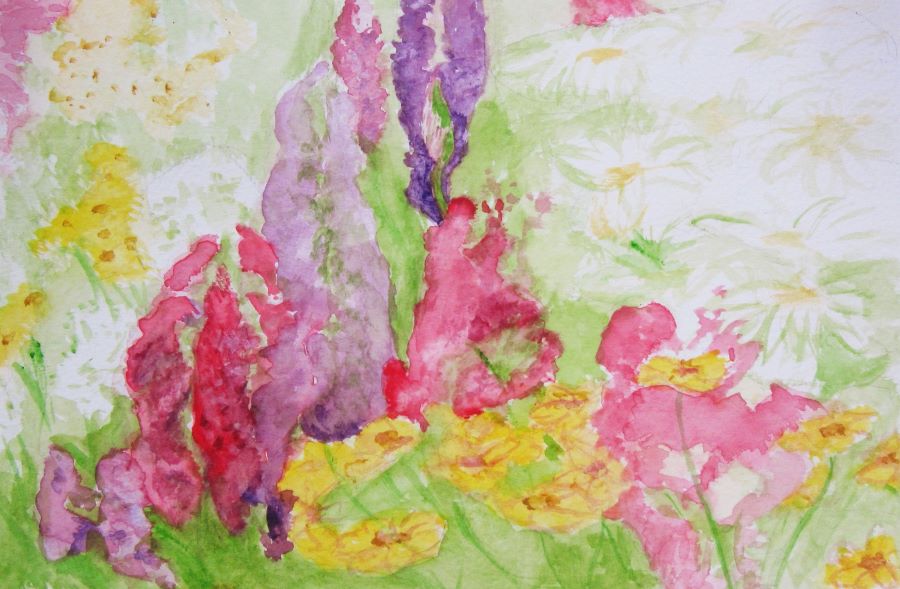
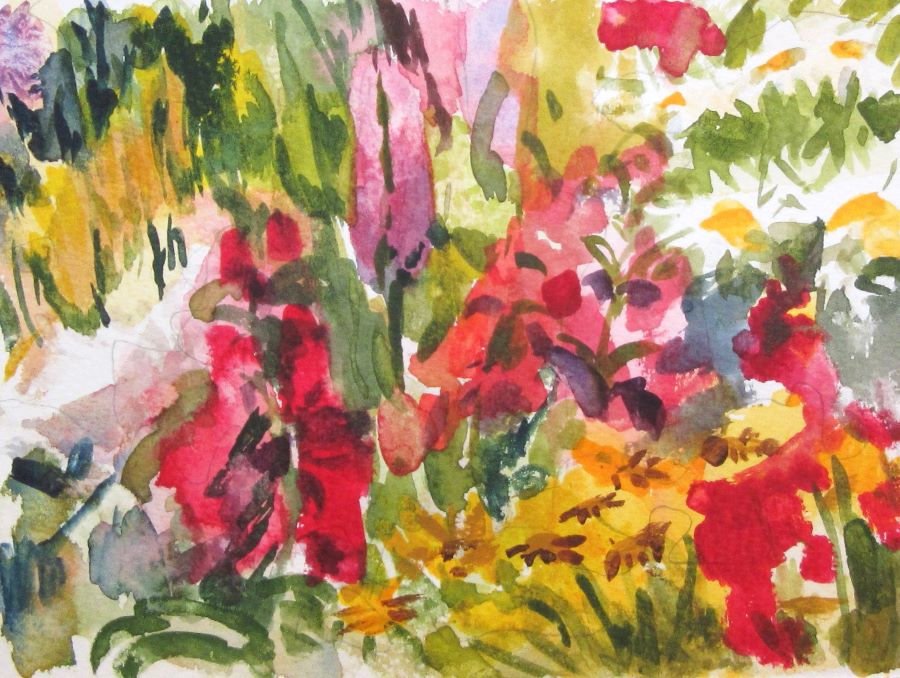
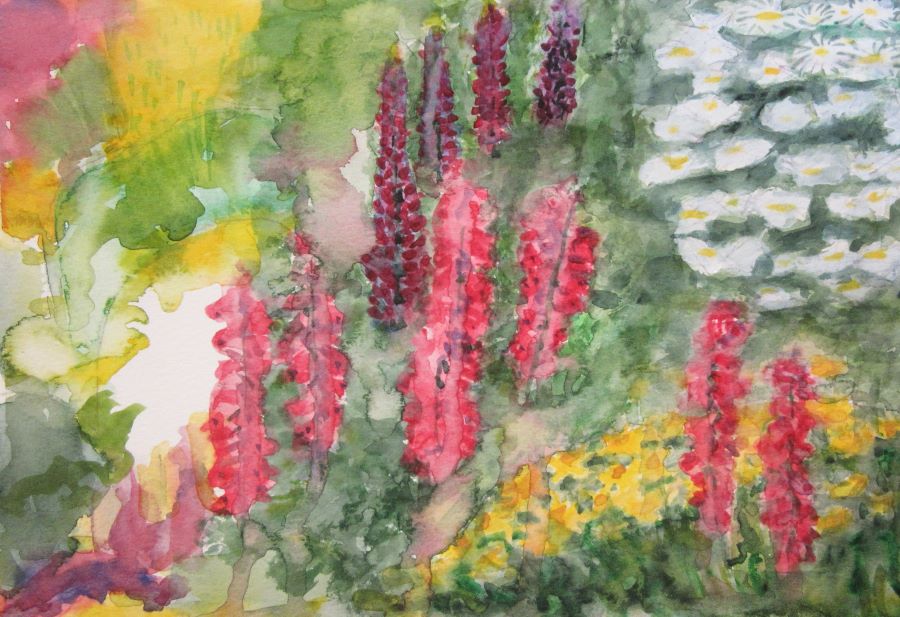
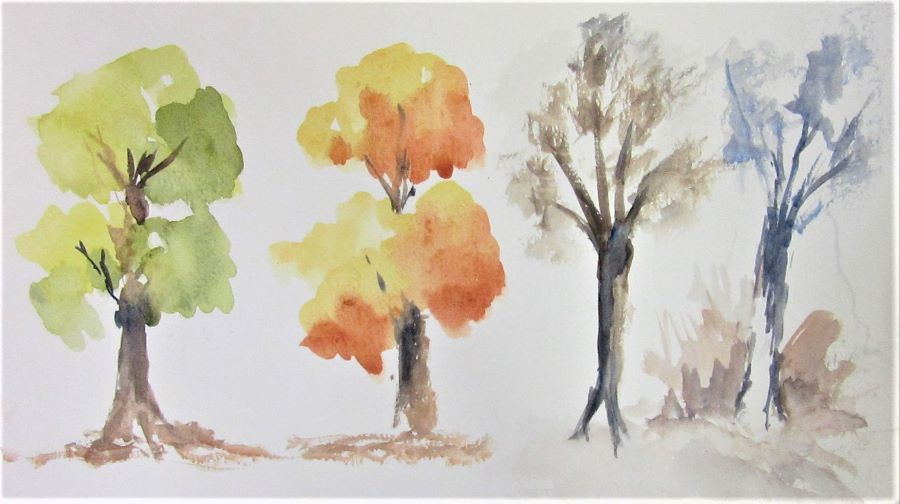
Lisa Takahashi – Exploring summer gardens
Lisa methodically guided us through the process of creating our gardens by firstly drawing the main areas of colour without much detail, then started to add details of plants with colours and then emphasize them with details. We certainly mixed lots of greens from scratch. It was a fab workshop and Lisa was a very knowledgeable tutor and we learned quite a few watercolour techniques.


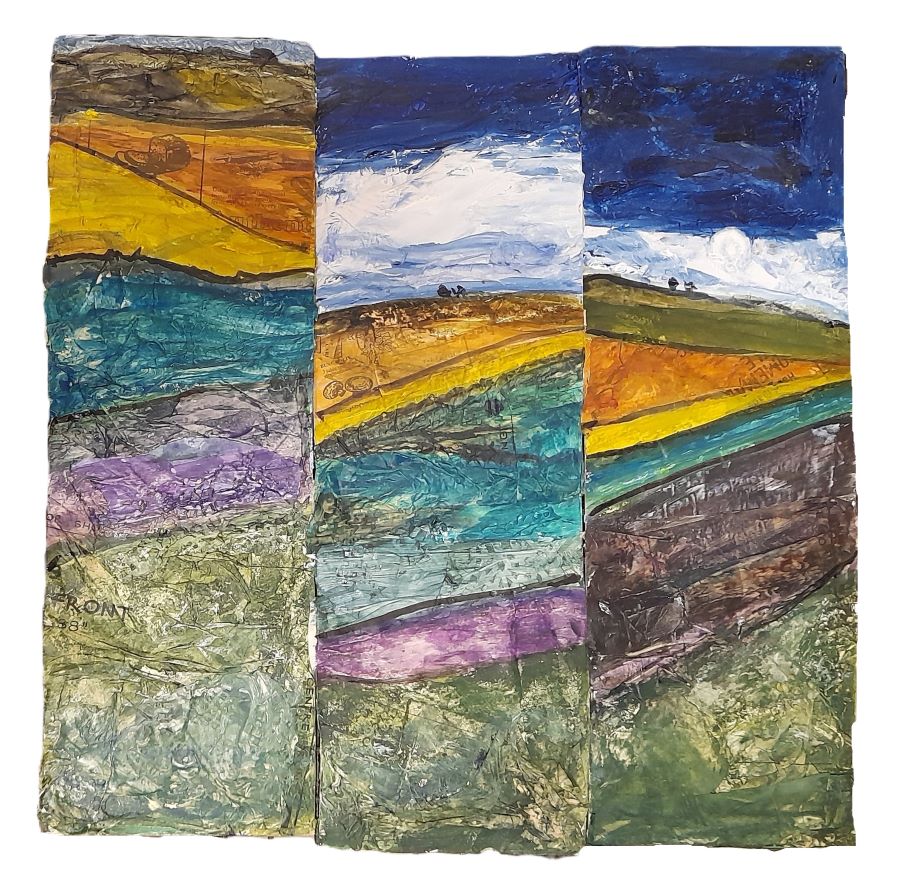
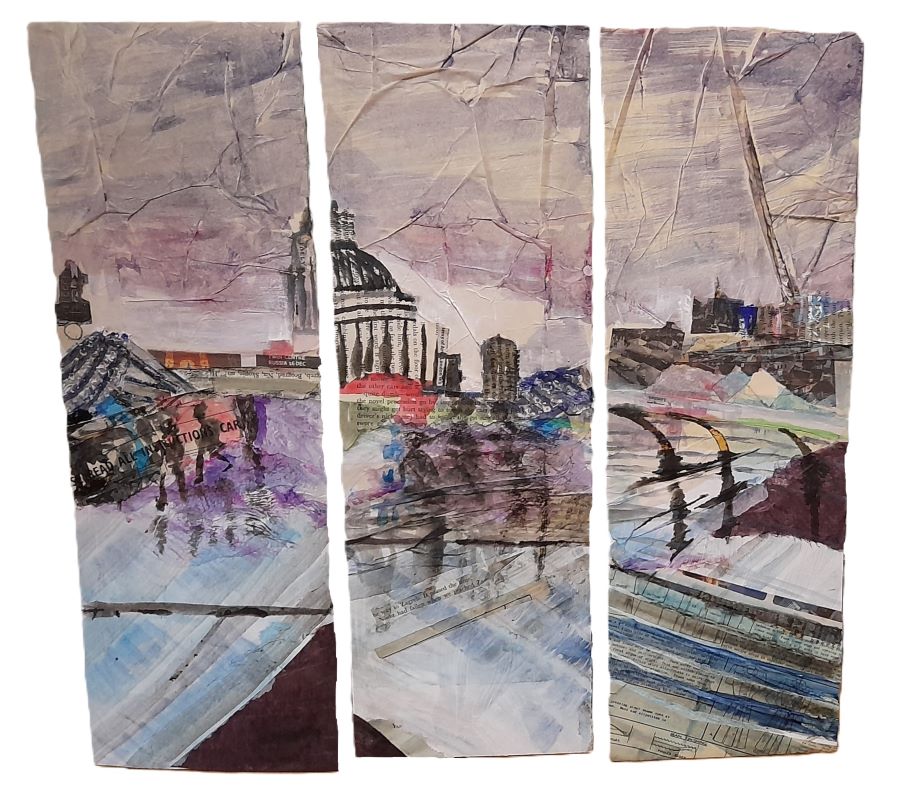
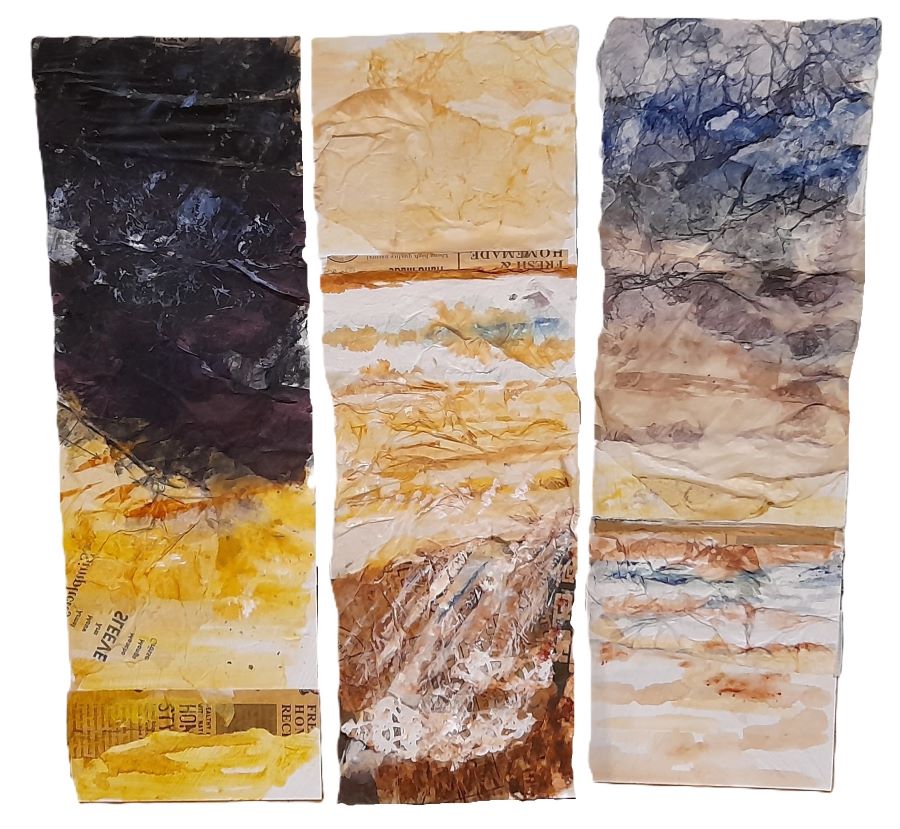
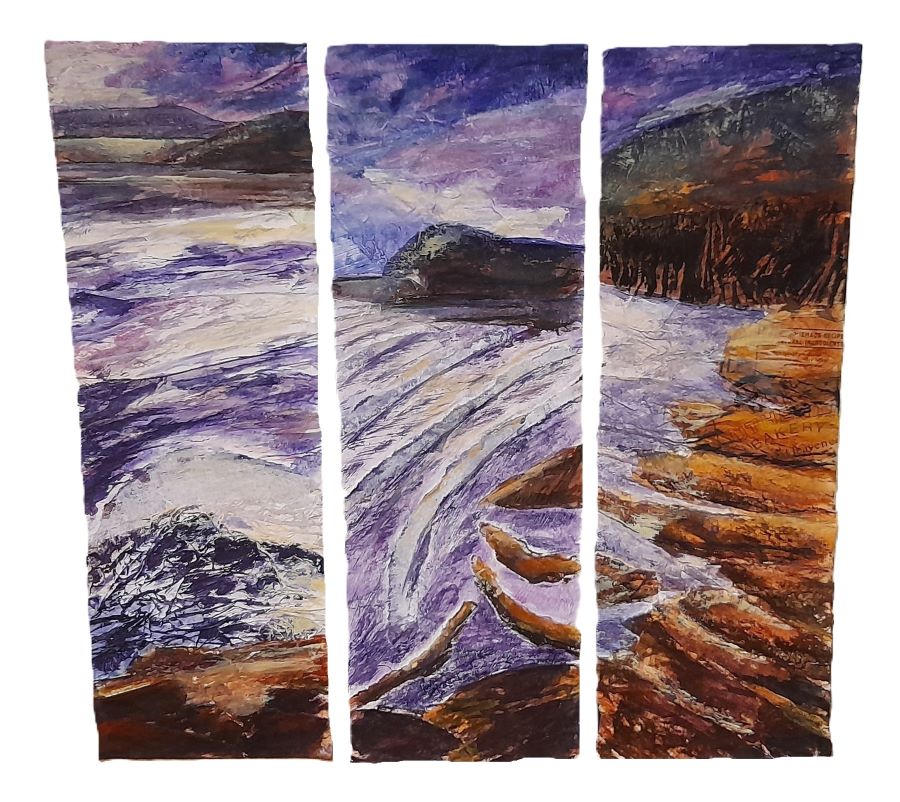
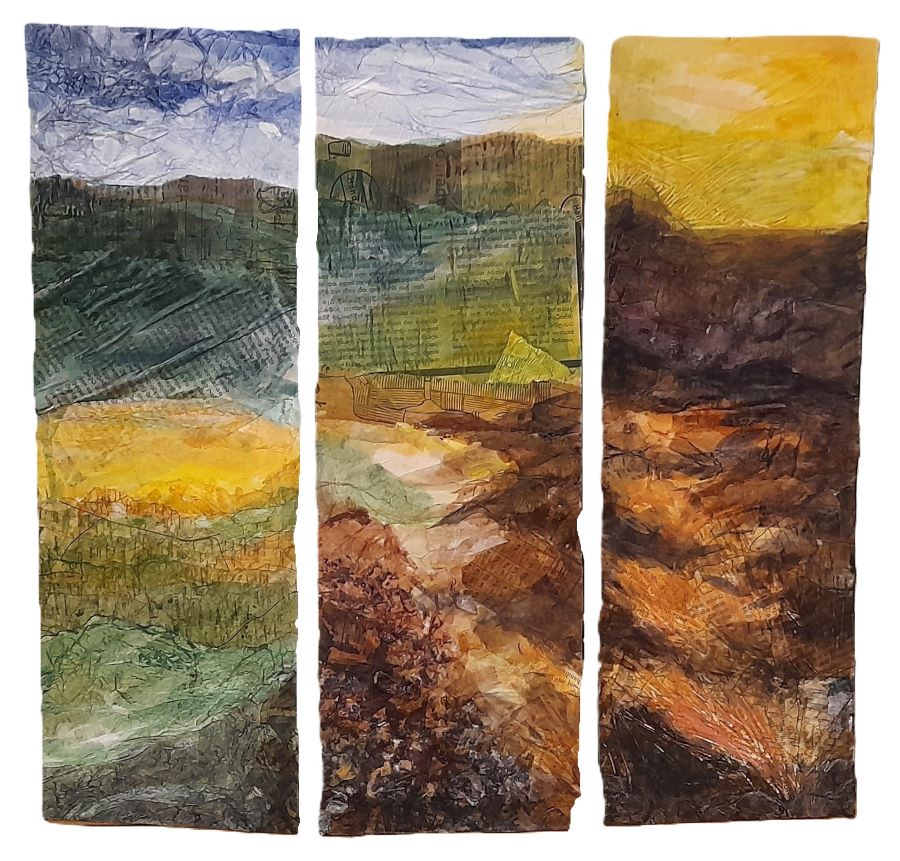
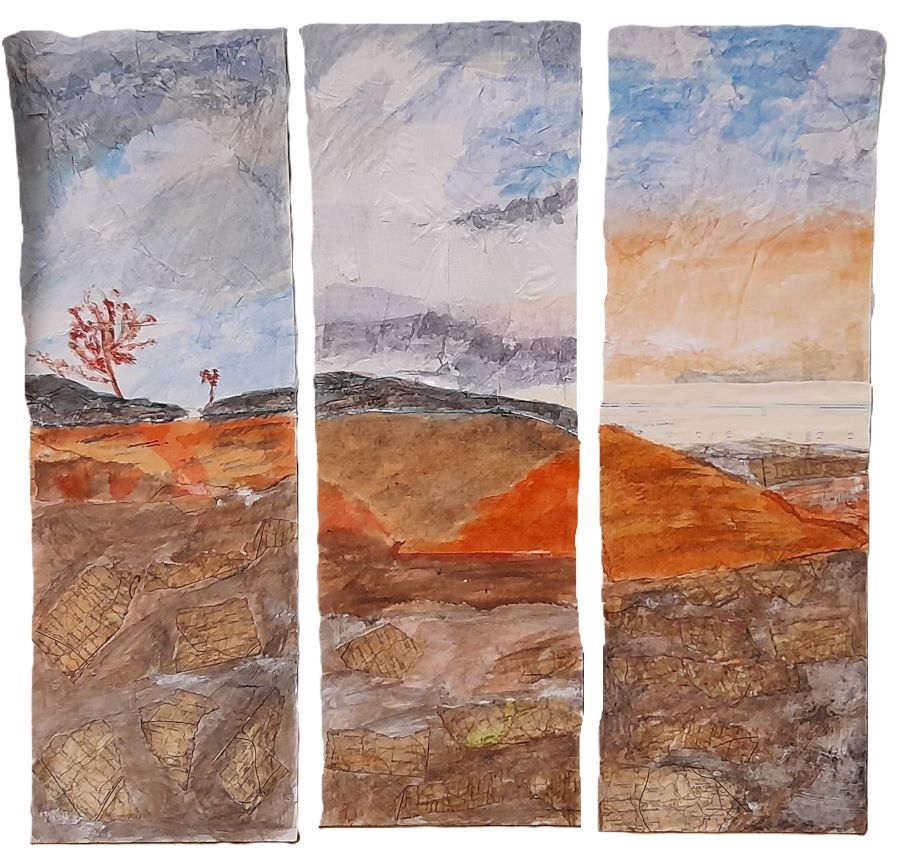
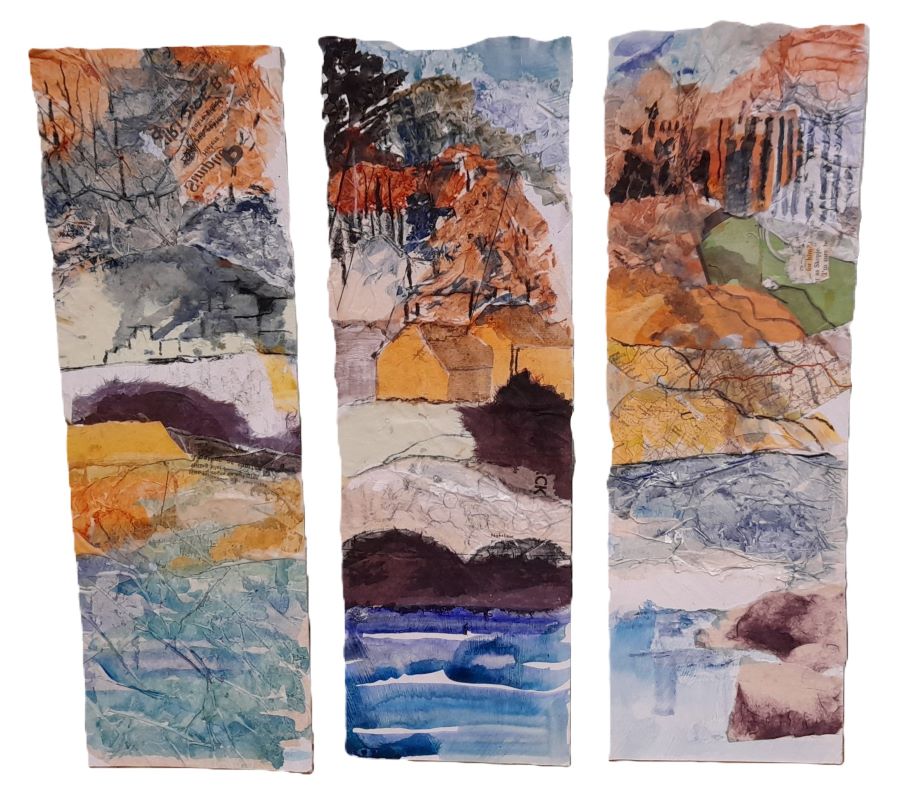
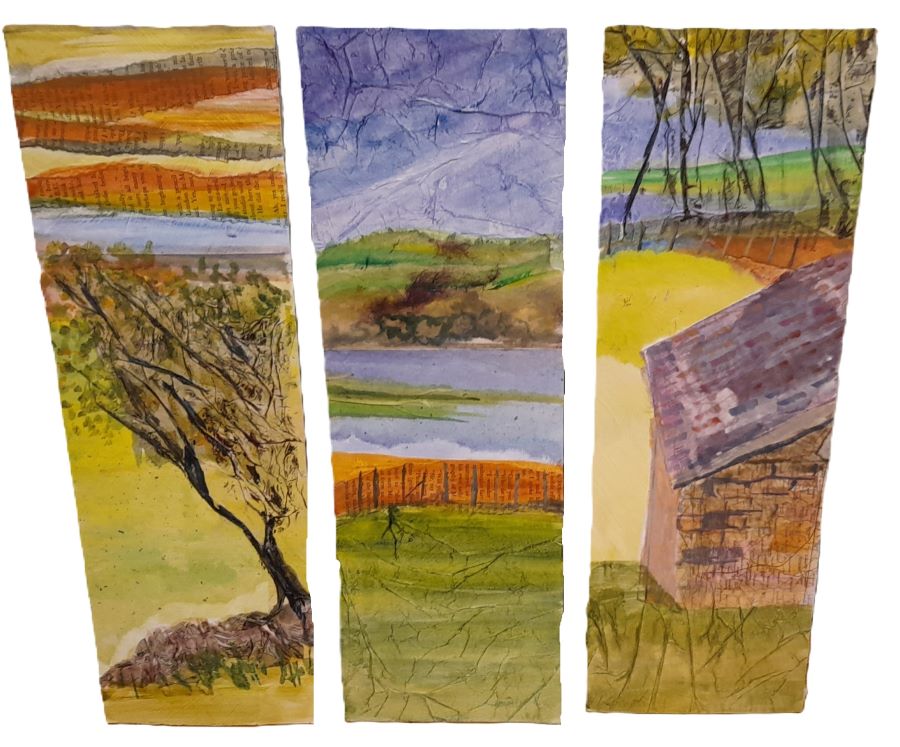
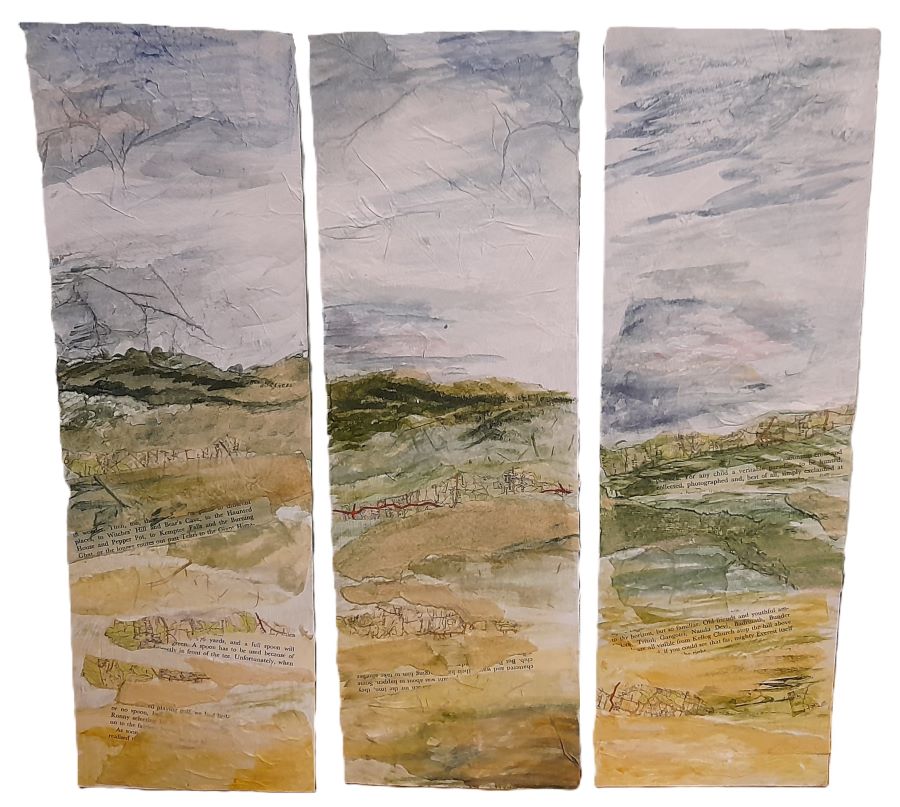
 Claire Western – Triptych art
Claire showed us how to add various papers to create textures to make our landscapes using the photographic resources. Once we had covered all 3 panels, she showed us how to add colour glazes to create depth in our artworks and how to use the various textures we made to our advantage by emphasizing them using different colour glazes but this time mixed with white to make them less opaque. All good fun, we had a great day creating our triptychs.


 Richard Turner – Take it with alcohol, it’s fun
Richard showed us how to create interesting effects and textures mixing pastels with isopropanol (alcohol). Then work over them with pastels, the results were interesting and various. As you can see we had lots of fun!!!!


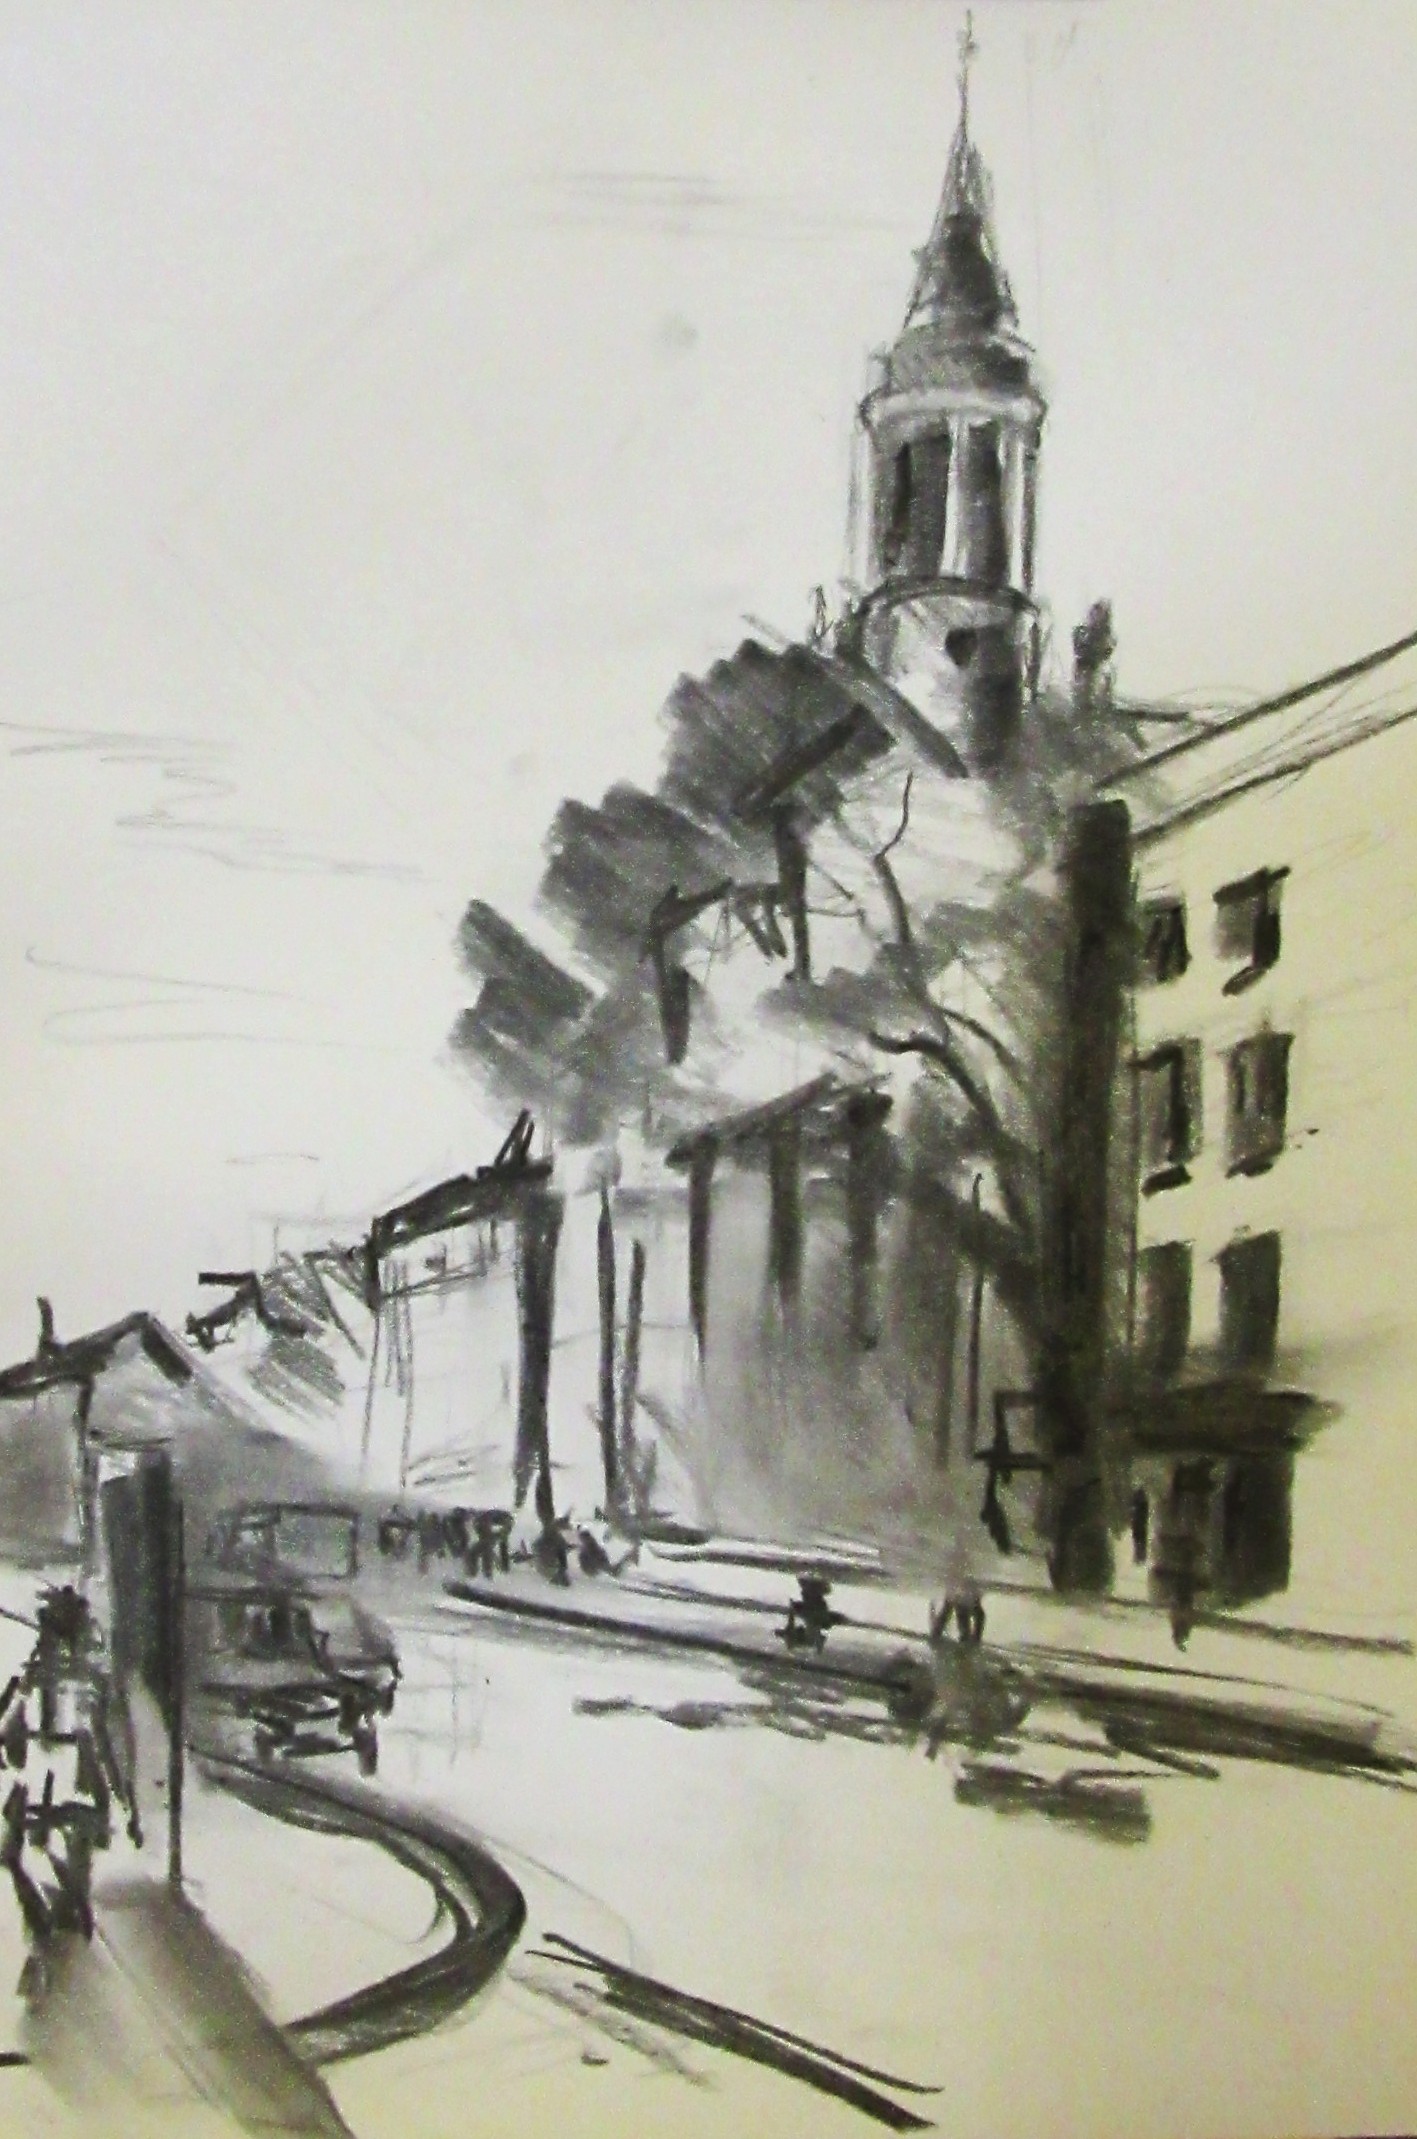
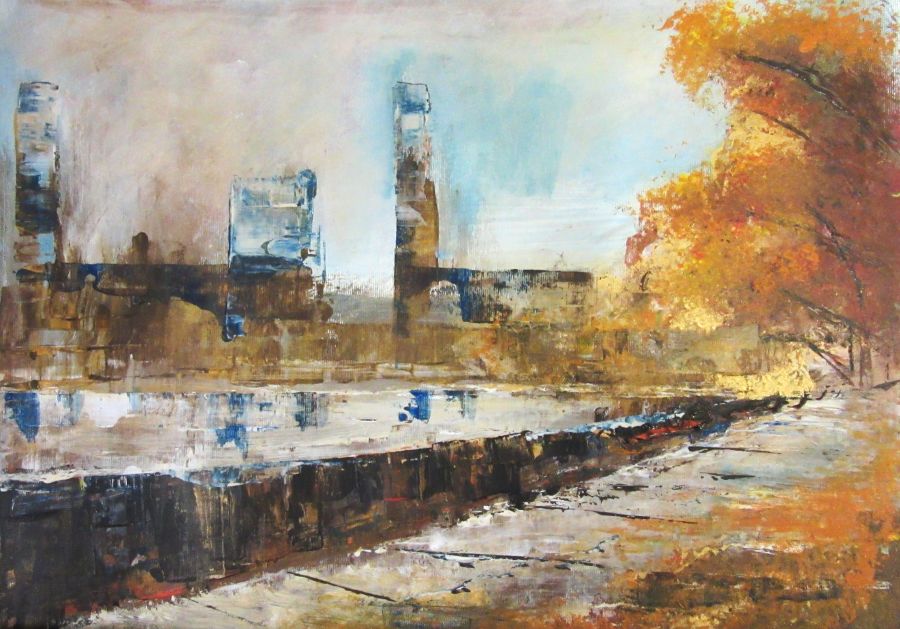
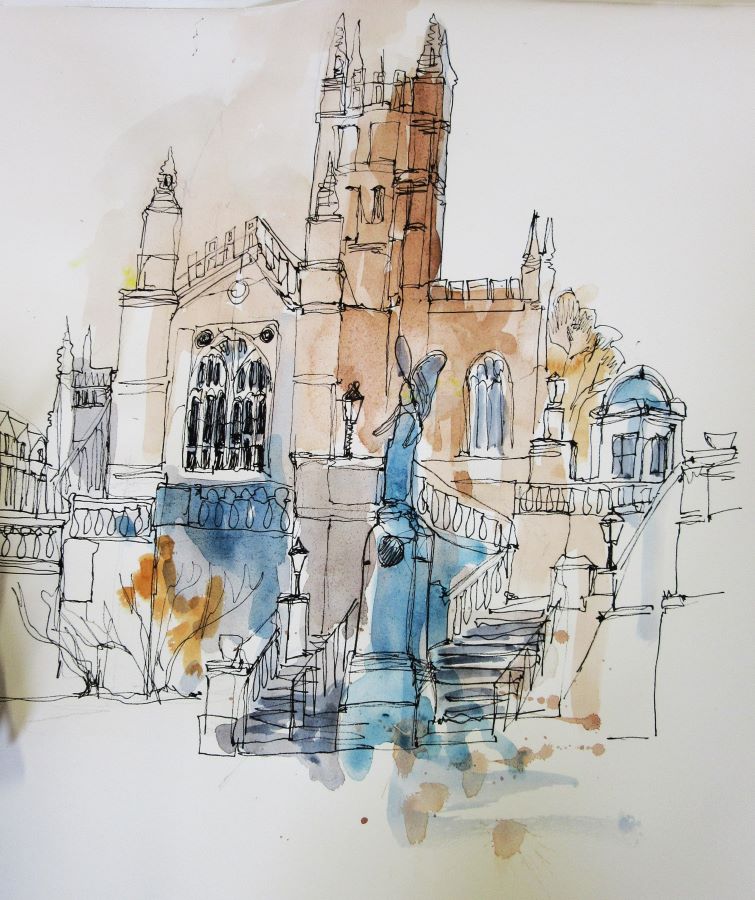
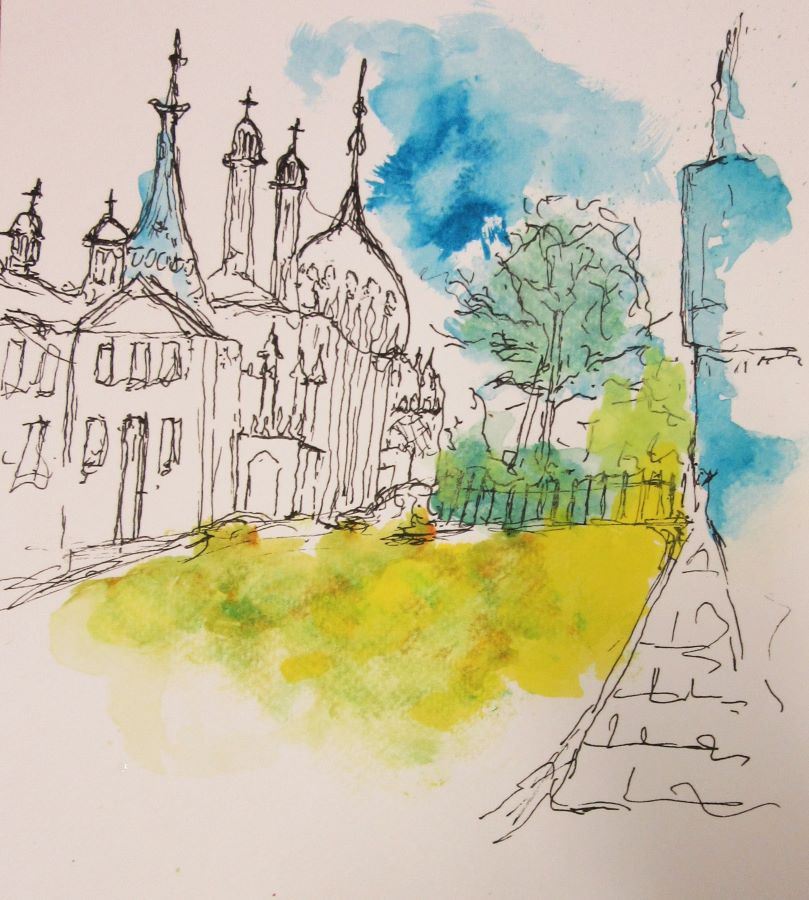
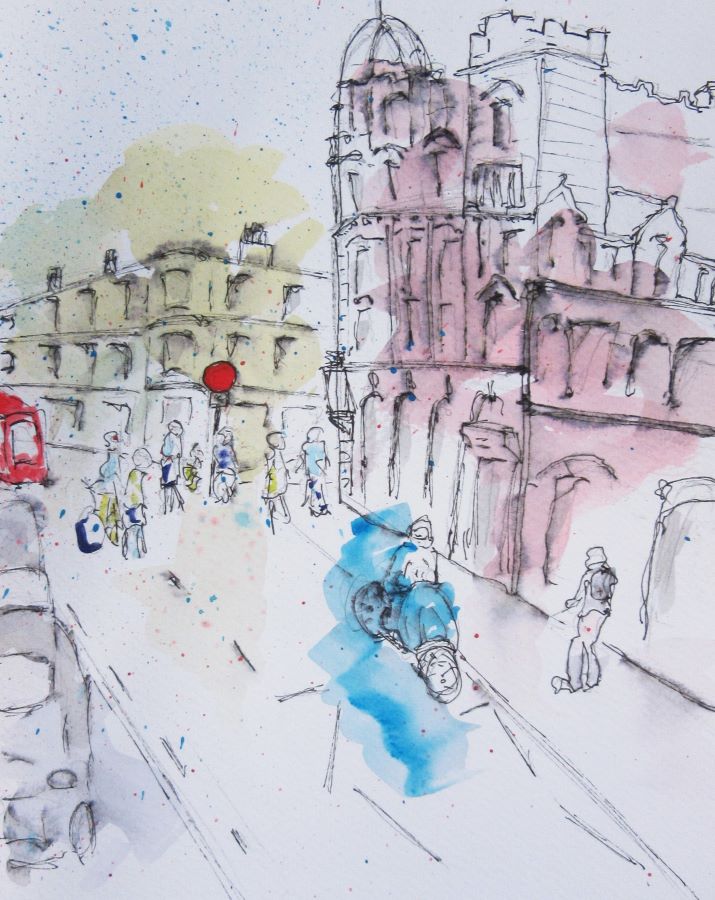
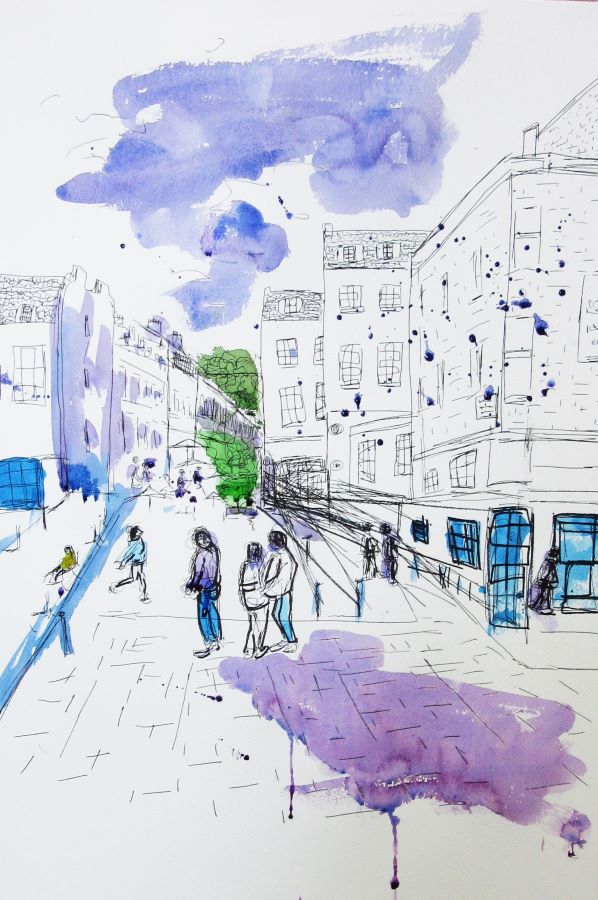
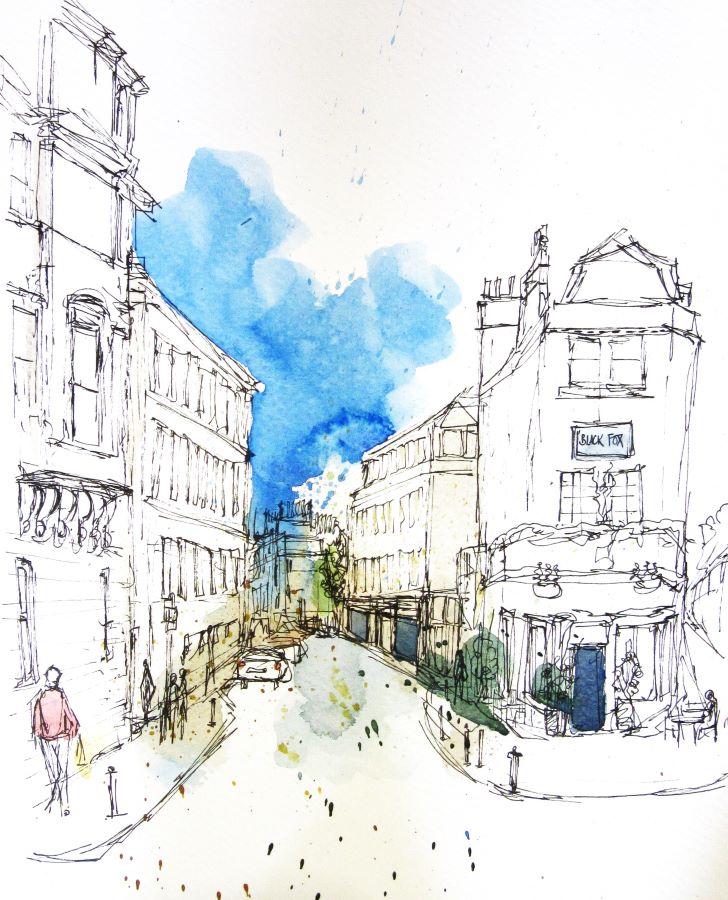
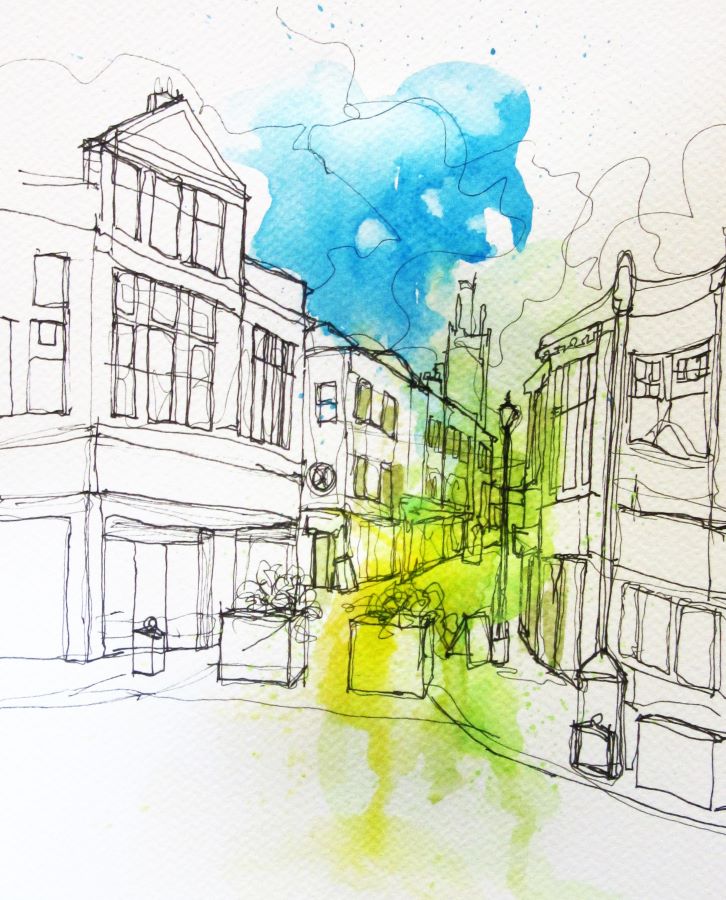
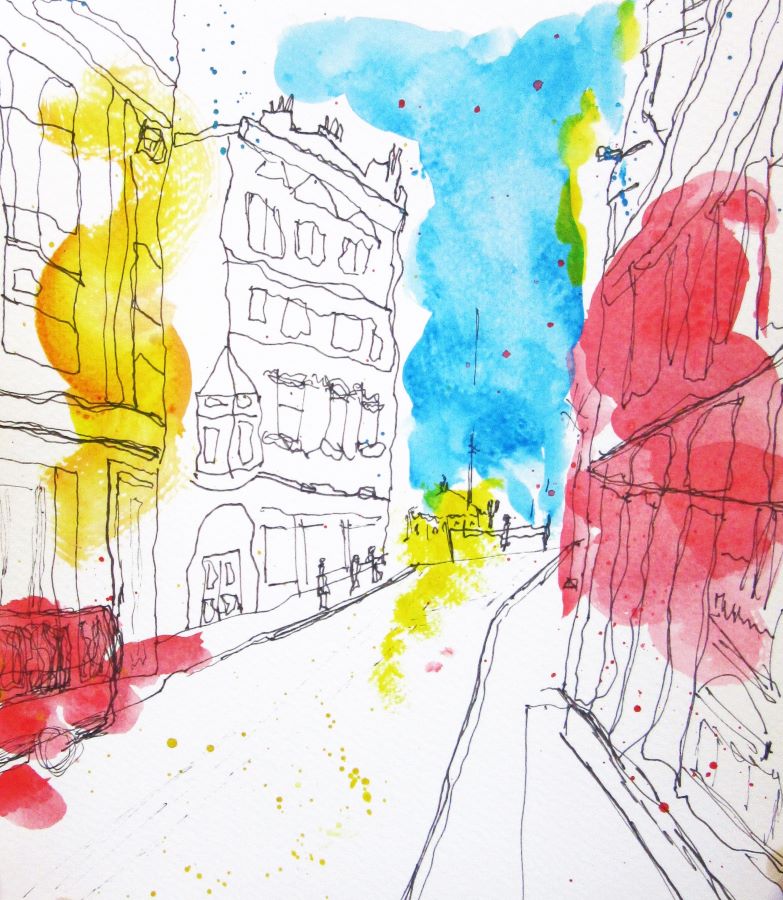
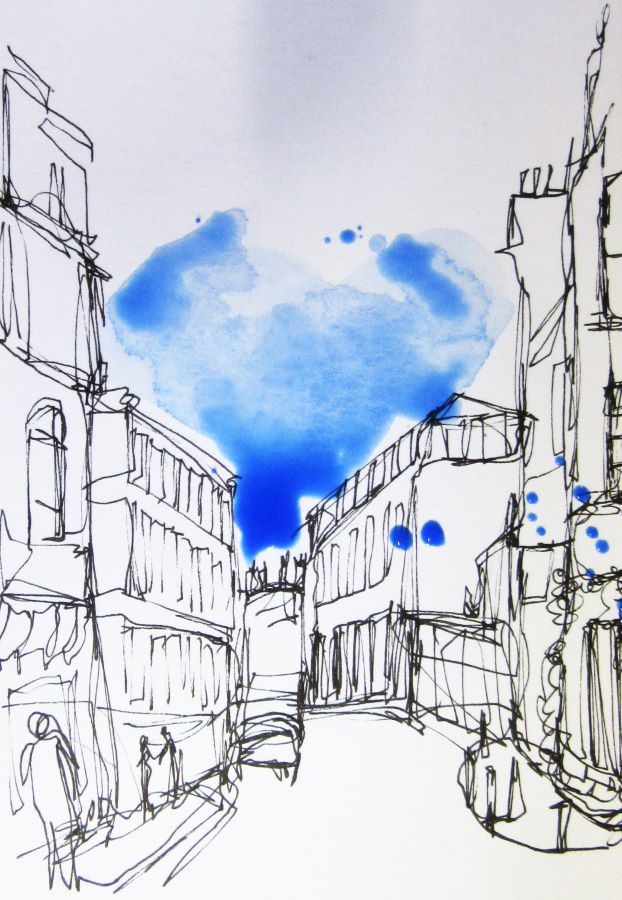
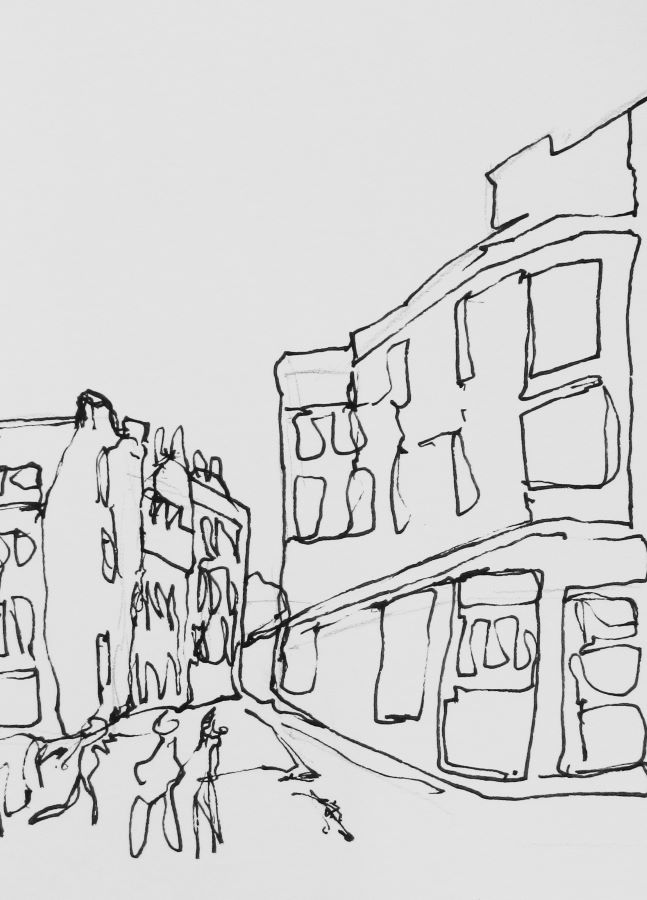
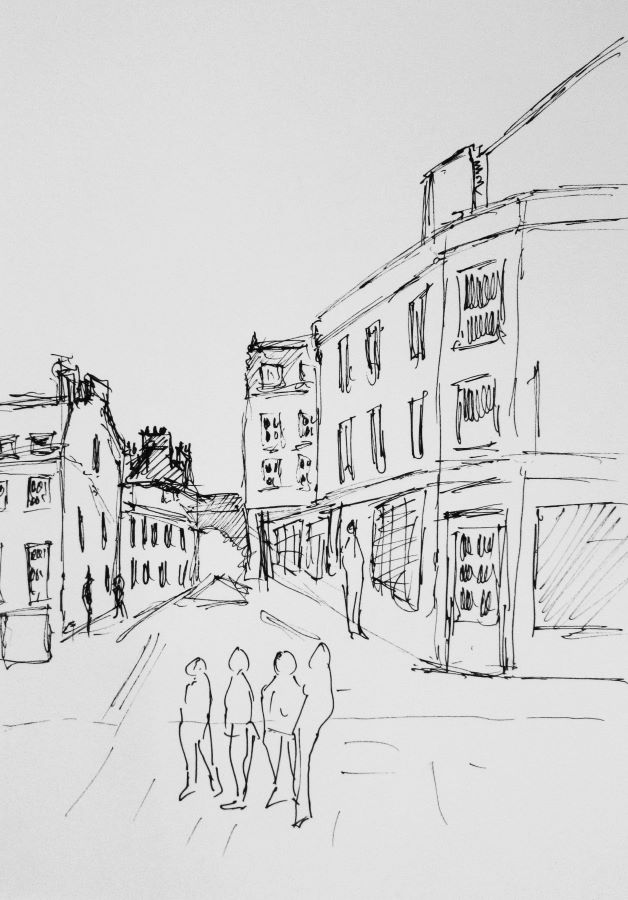
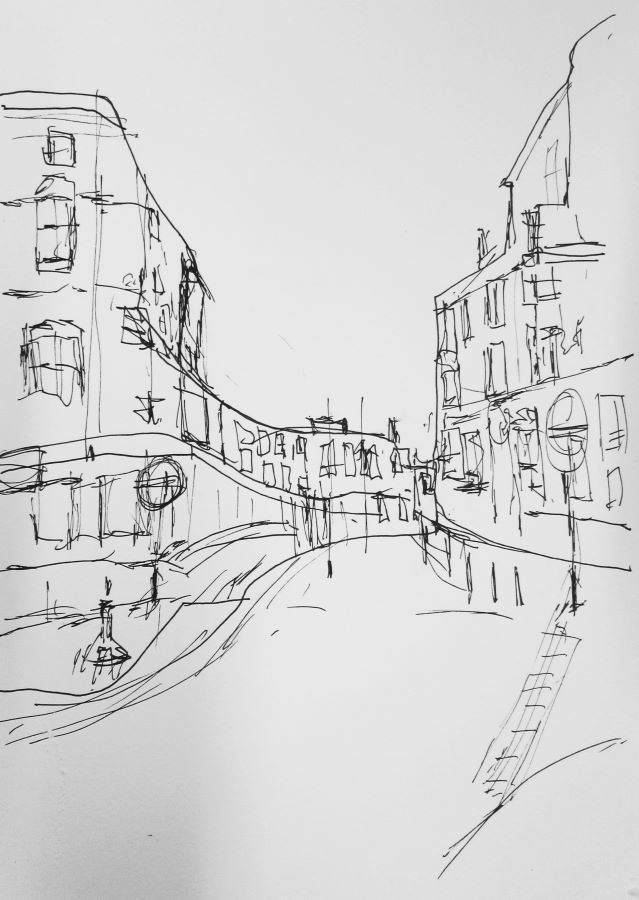
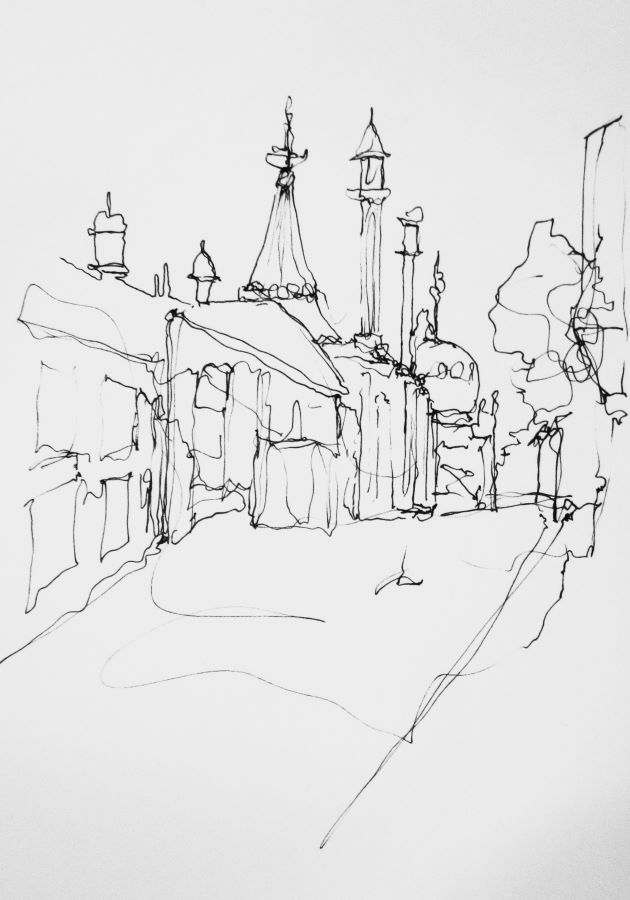
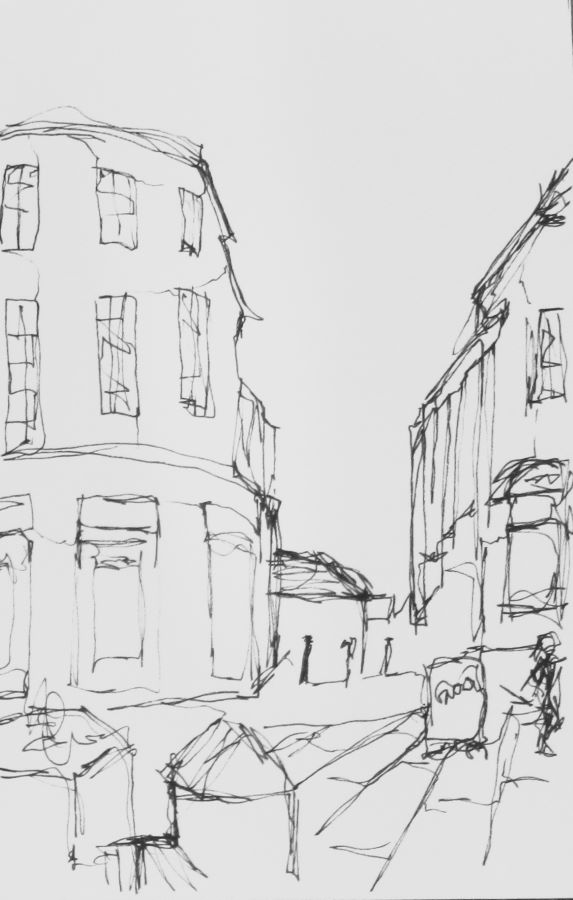
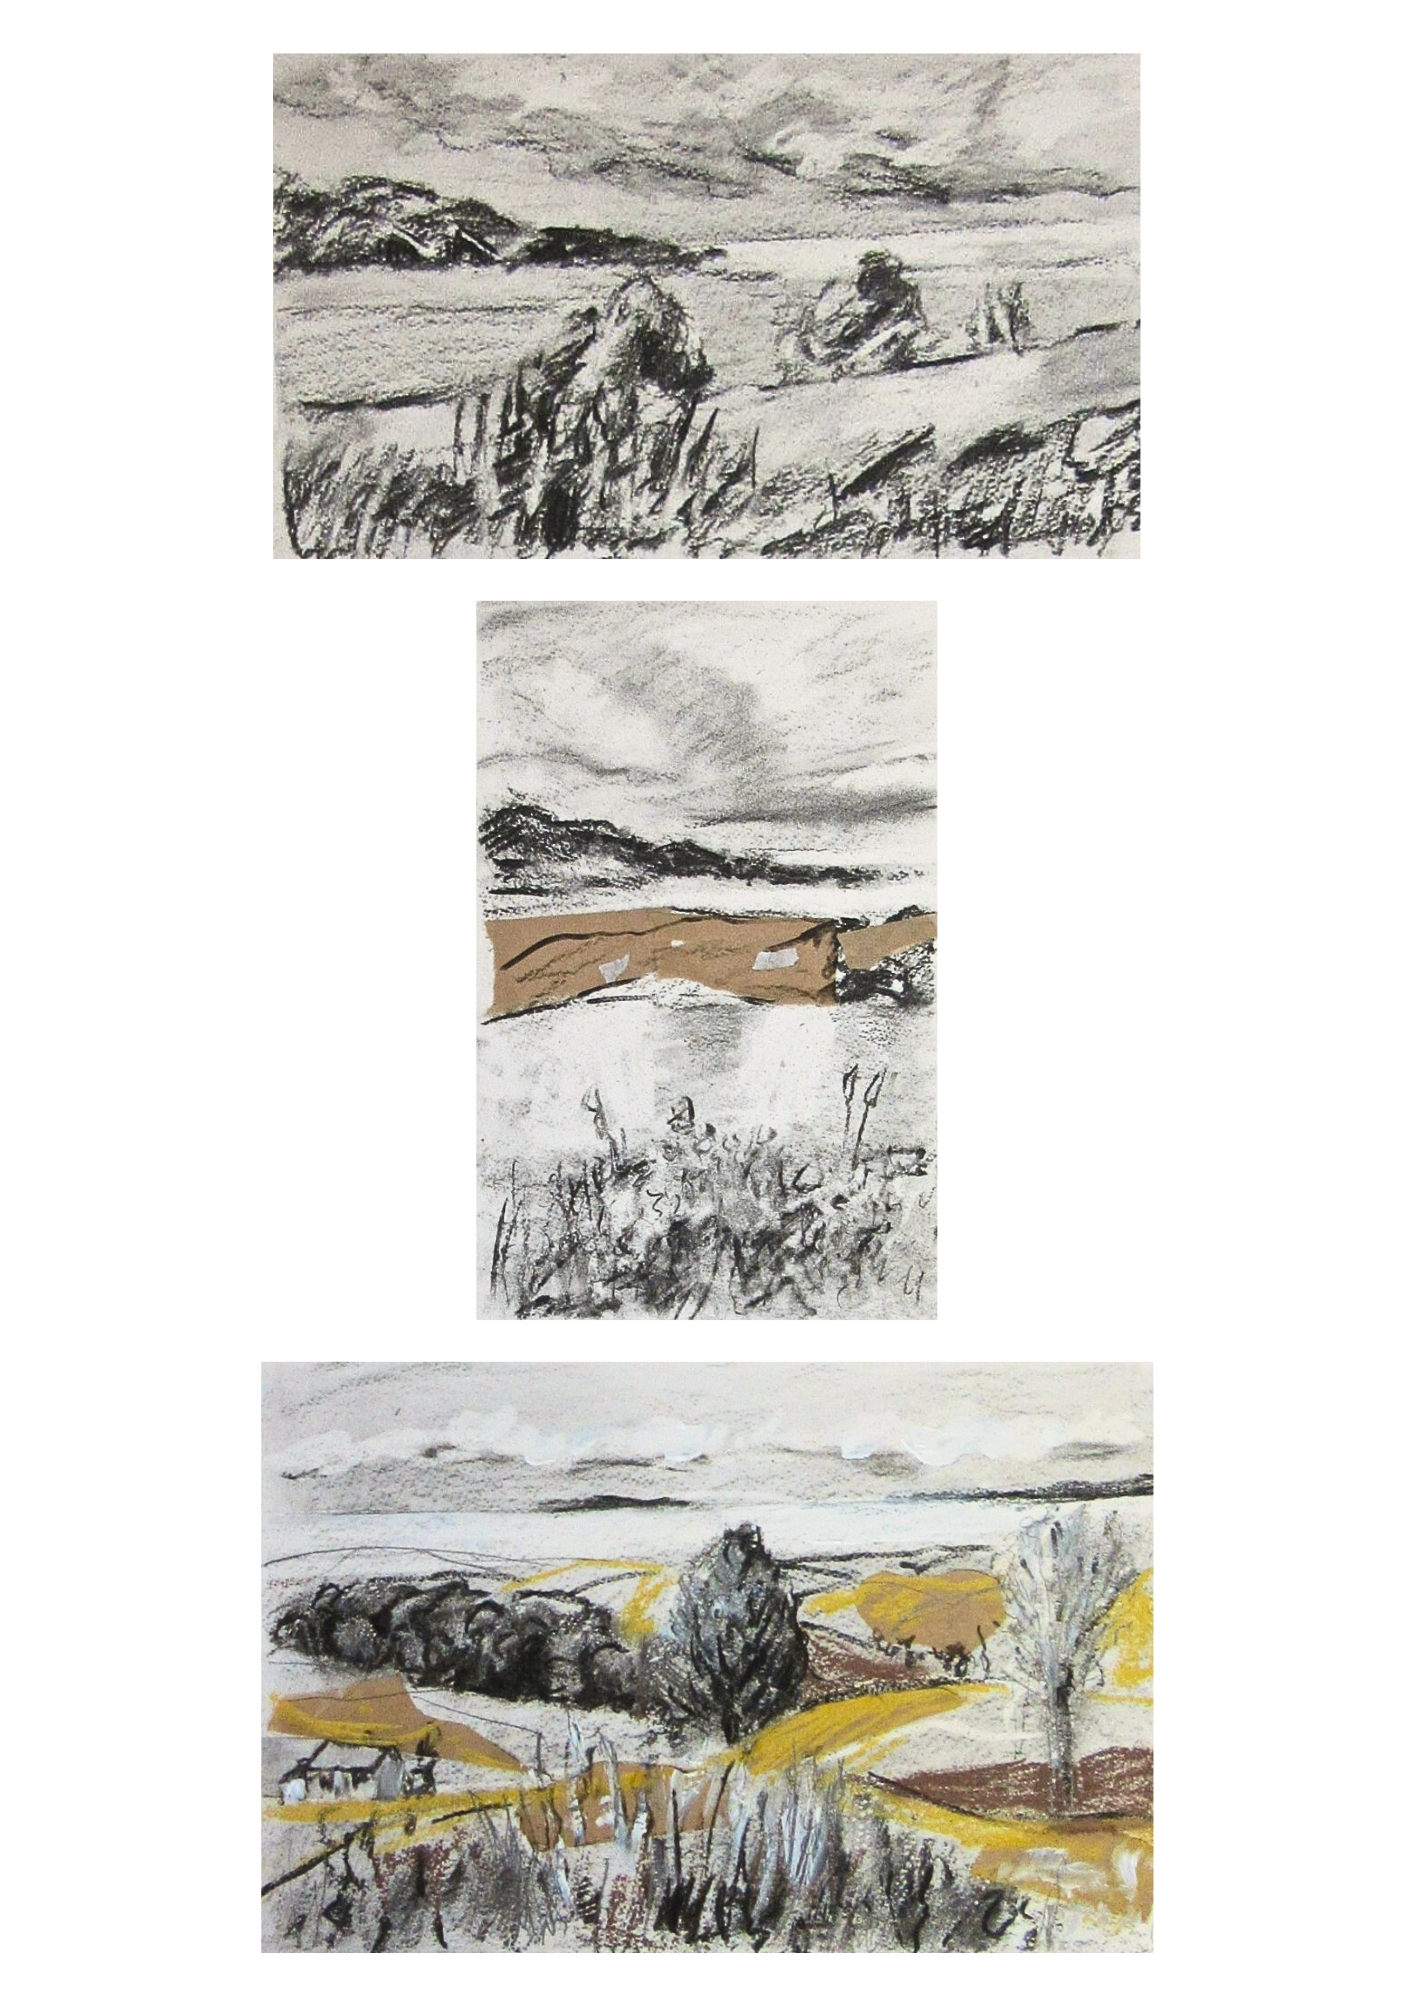
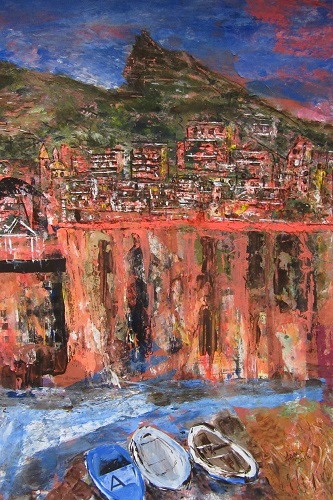
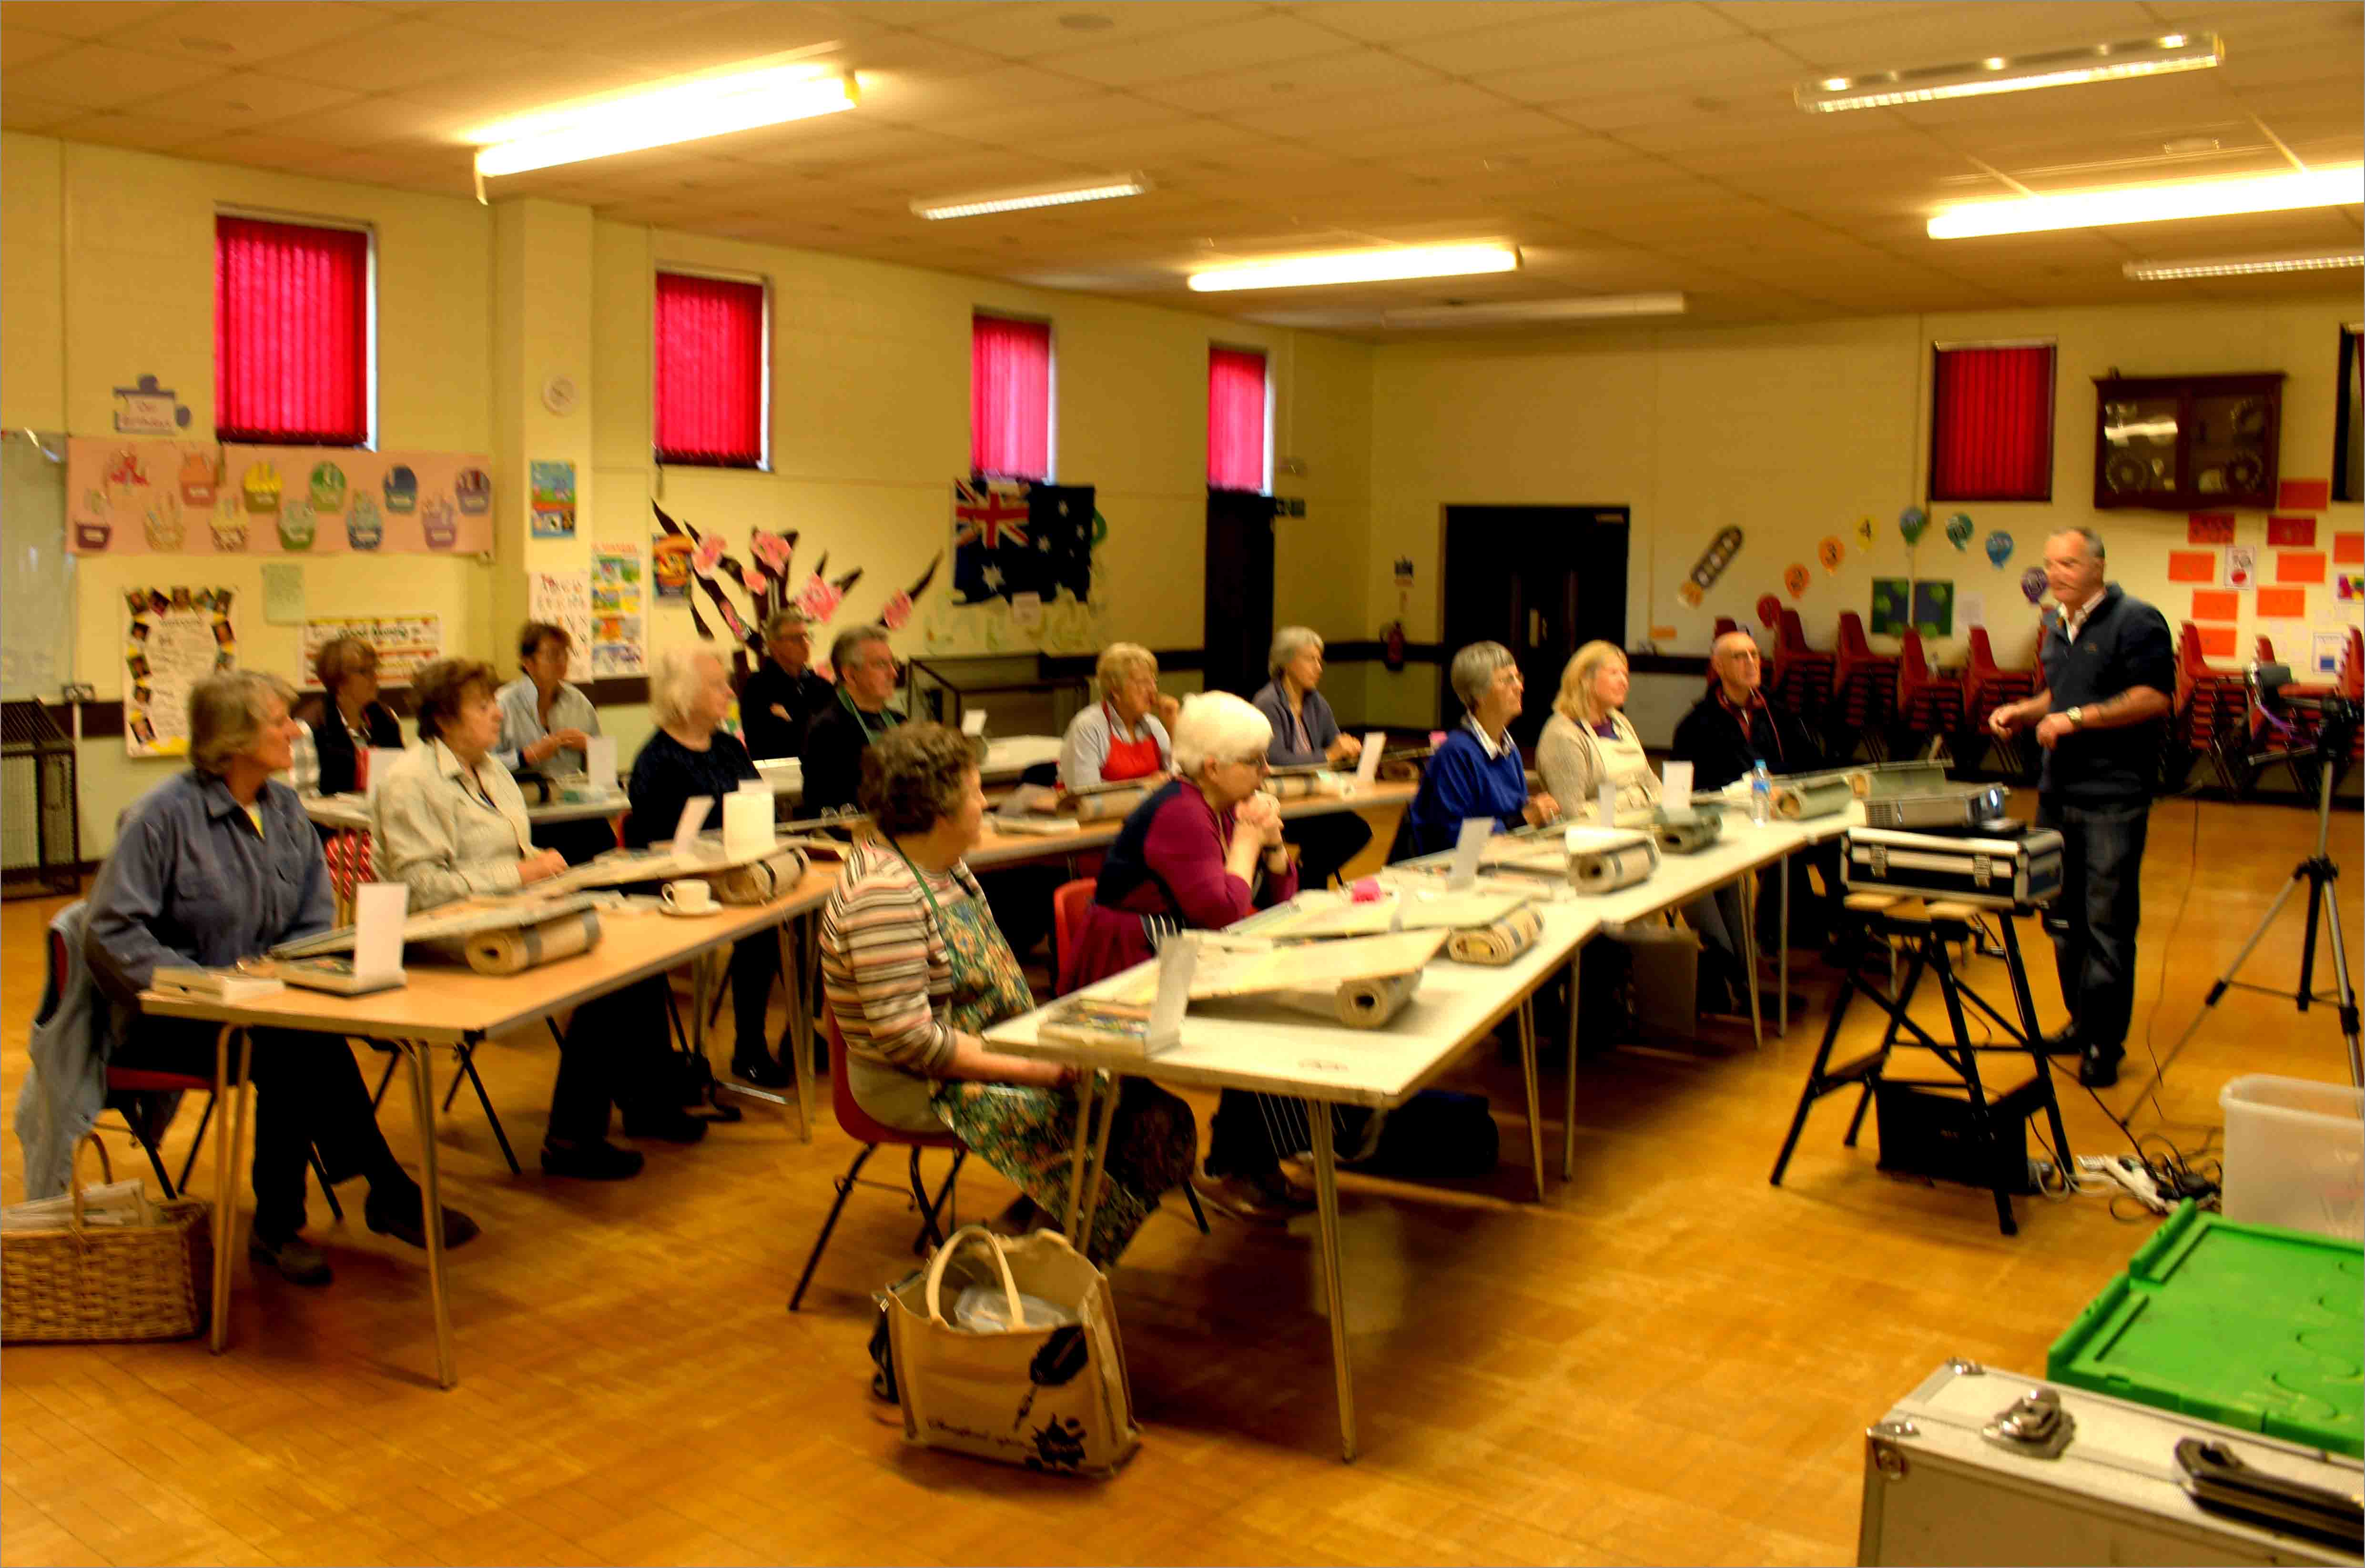
 Neil Whitehead – Rhythmic sketching of townscapes
Neil asked us to sketch our townscape and we all had a bit of a hard time with this – either too much or not enough foreground/background. He then guided us to look at the photo and take note of the negative spaces and composition, that made us definitely create a better sketch. He then showed us how to add colour to emphasize the composition and sketch of the buildings. It made our brains work very hard but the results were quite amazing. Neil was very helpful and he enjoyed the process as much as we did.


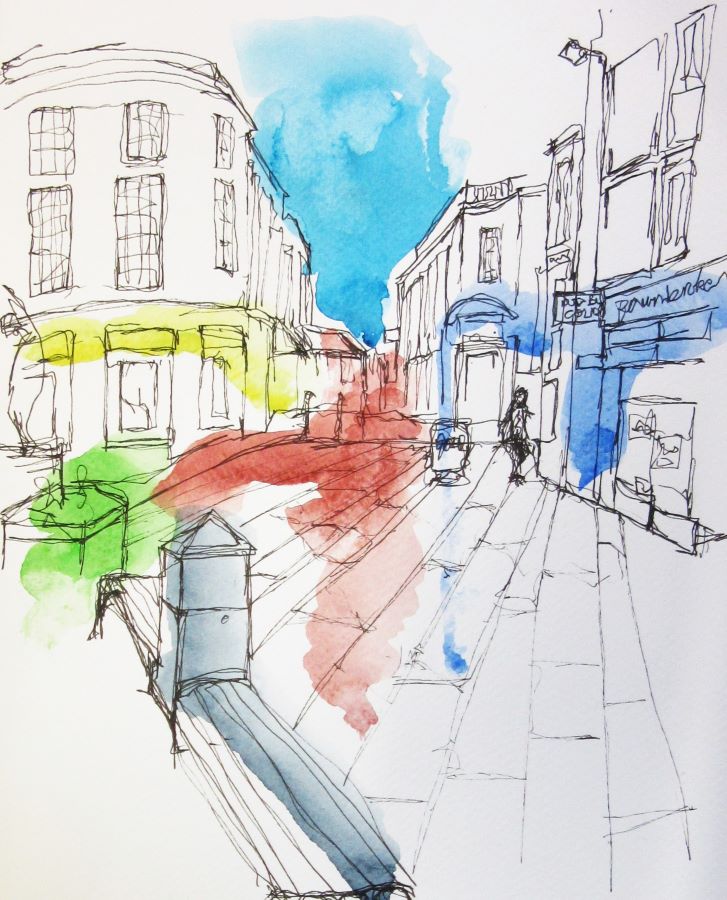


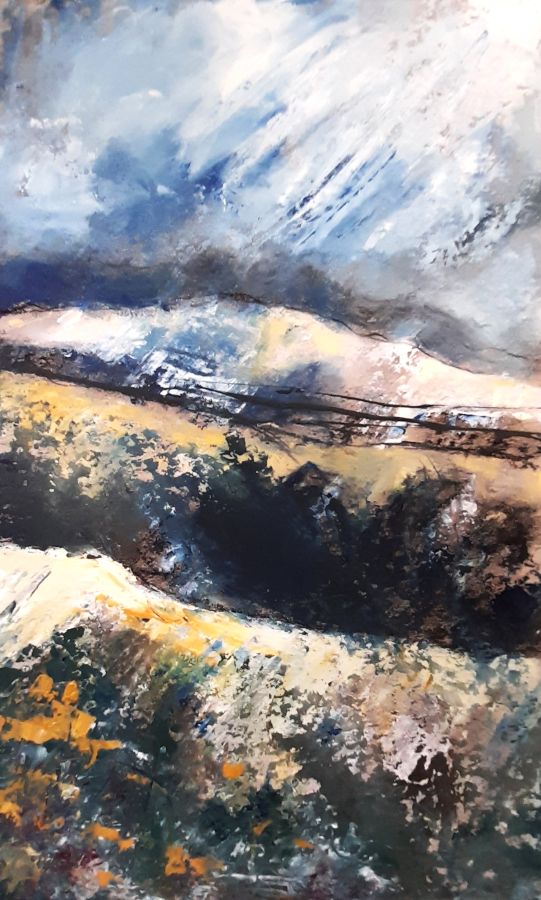
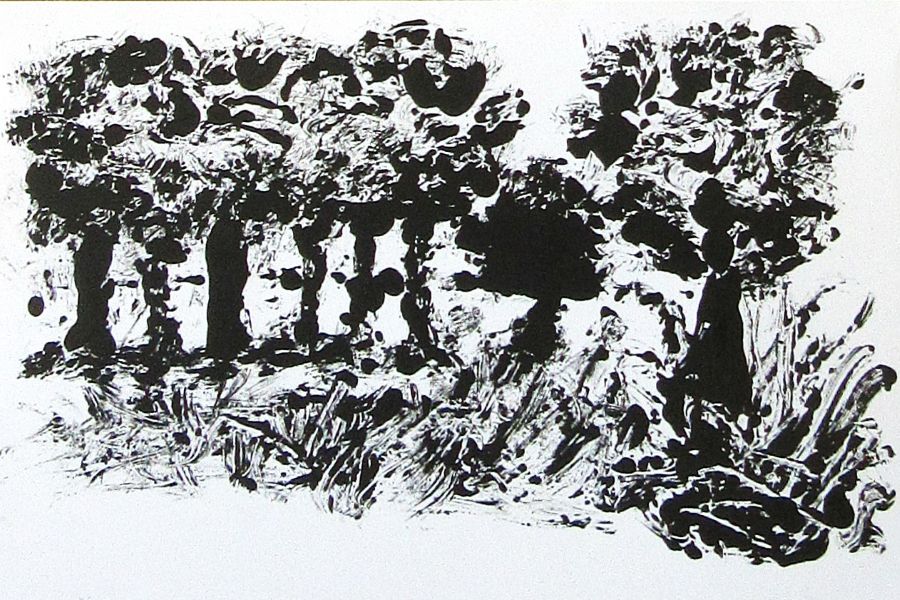
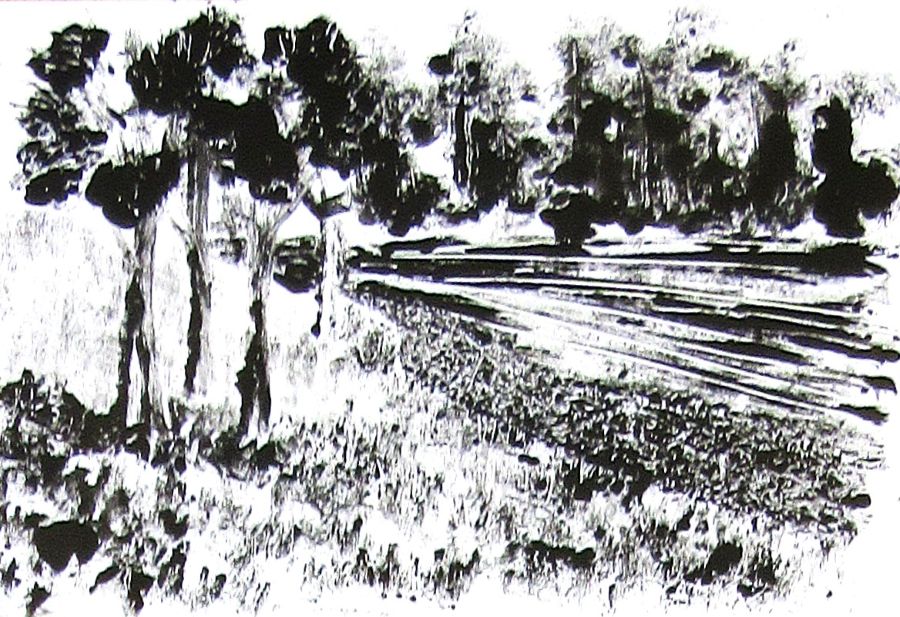
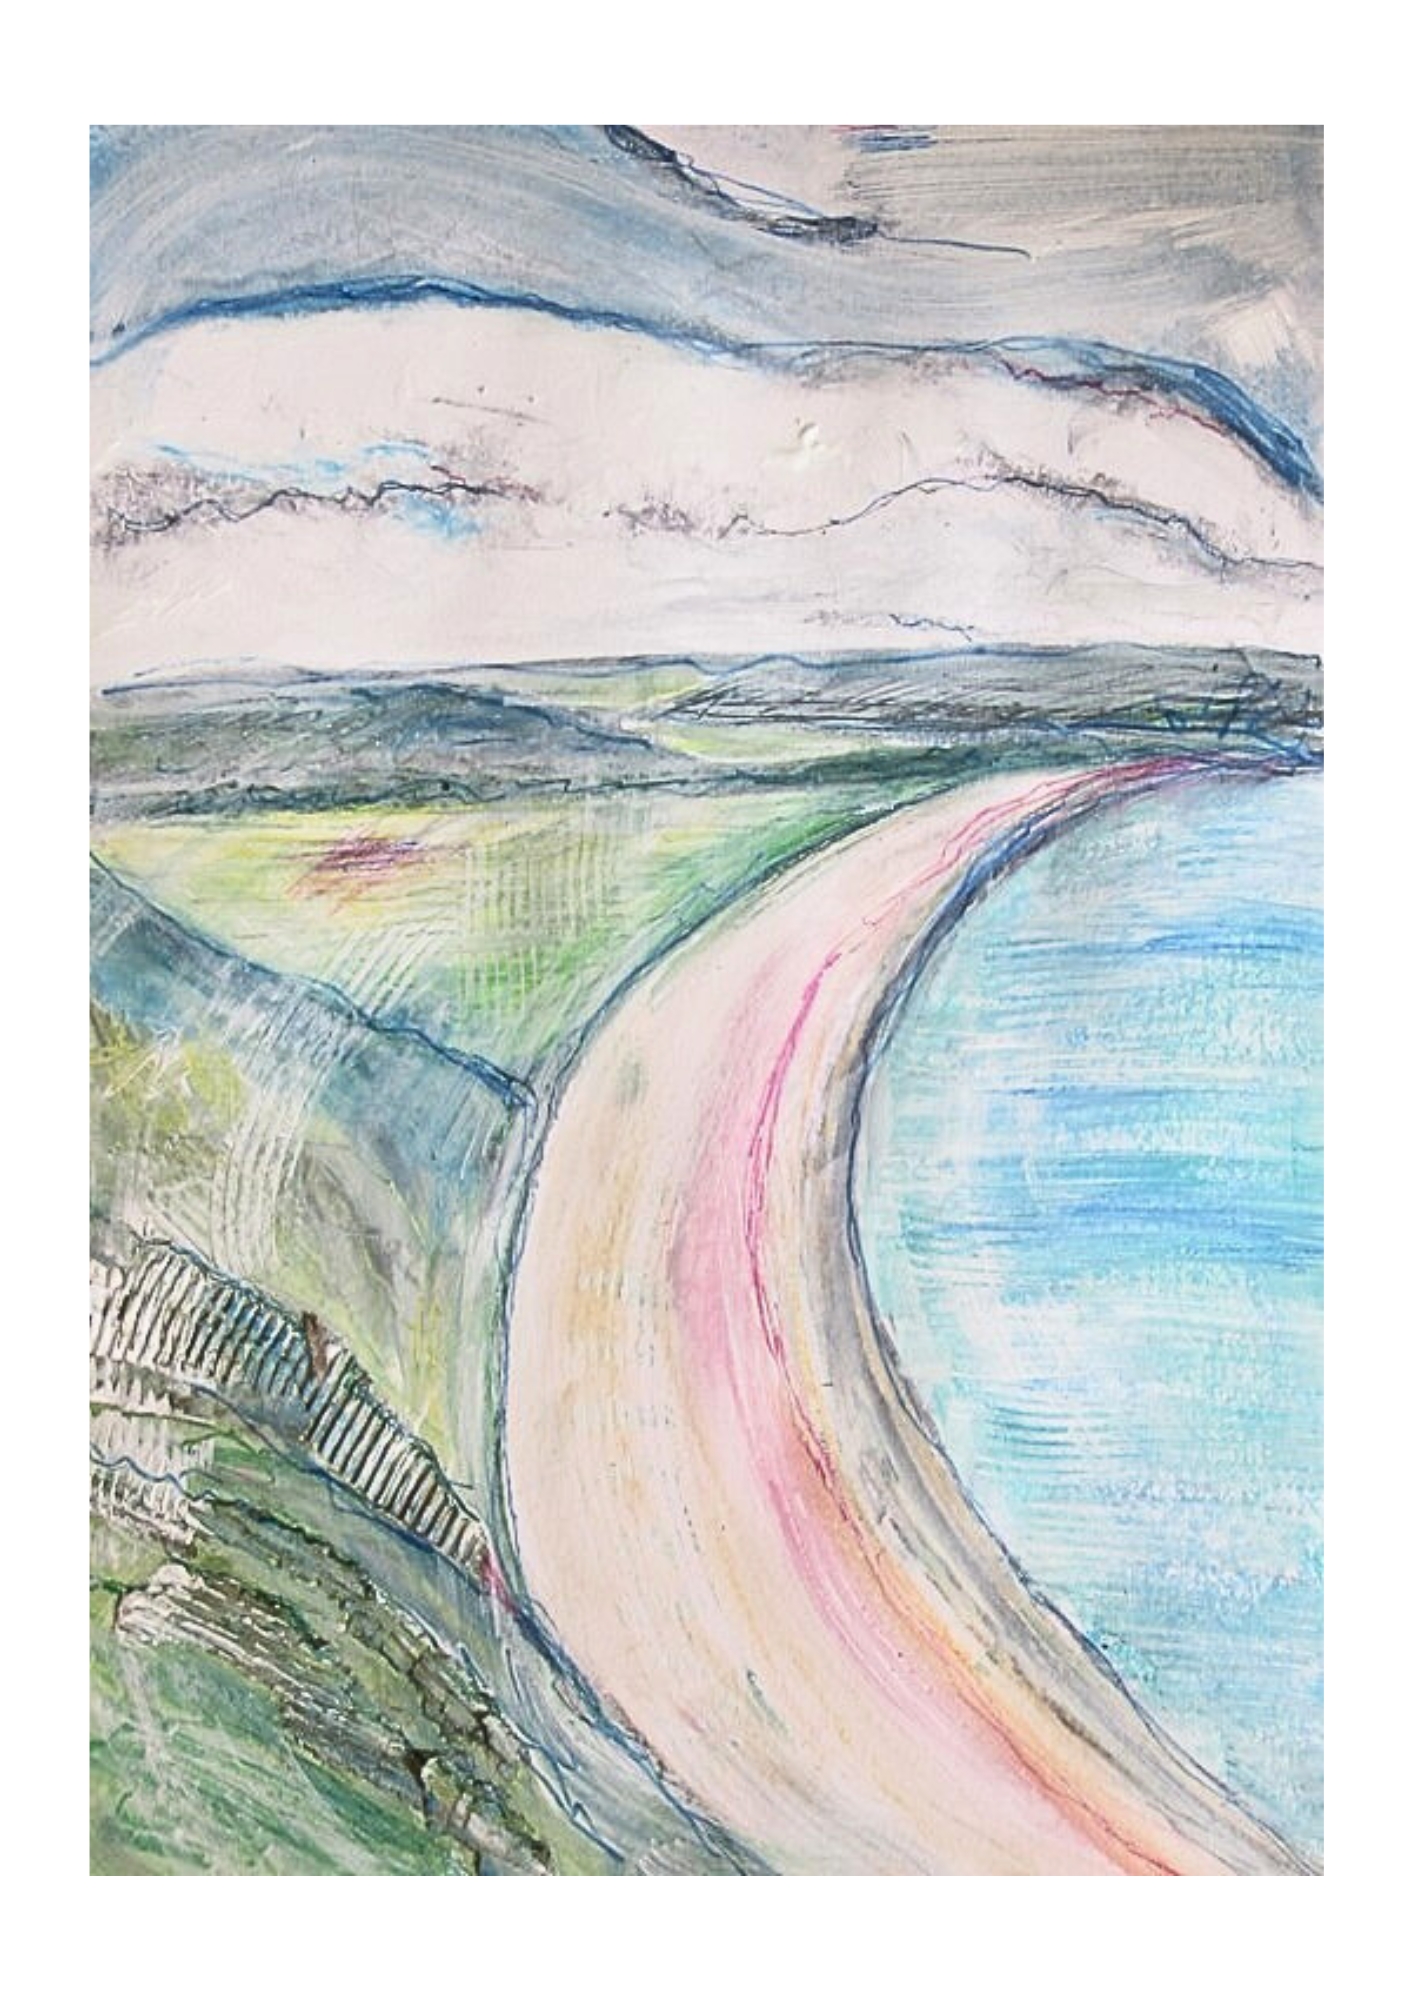
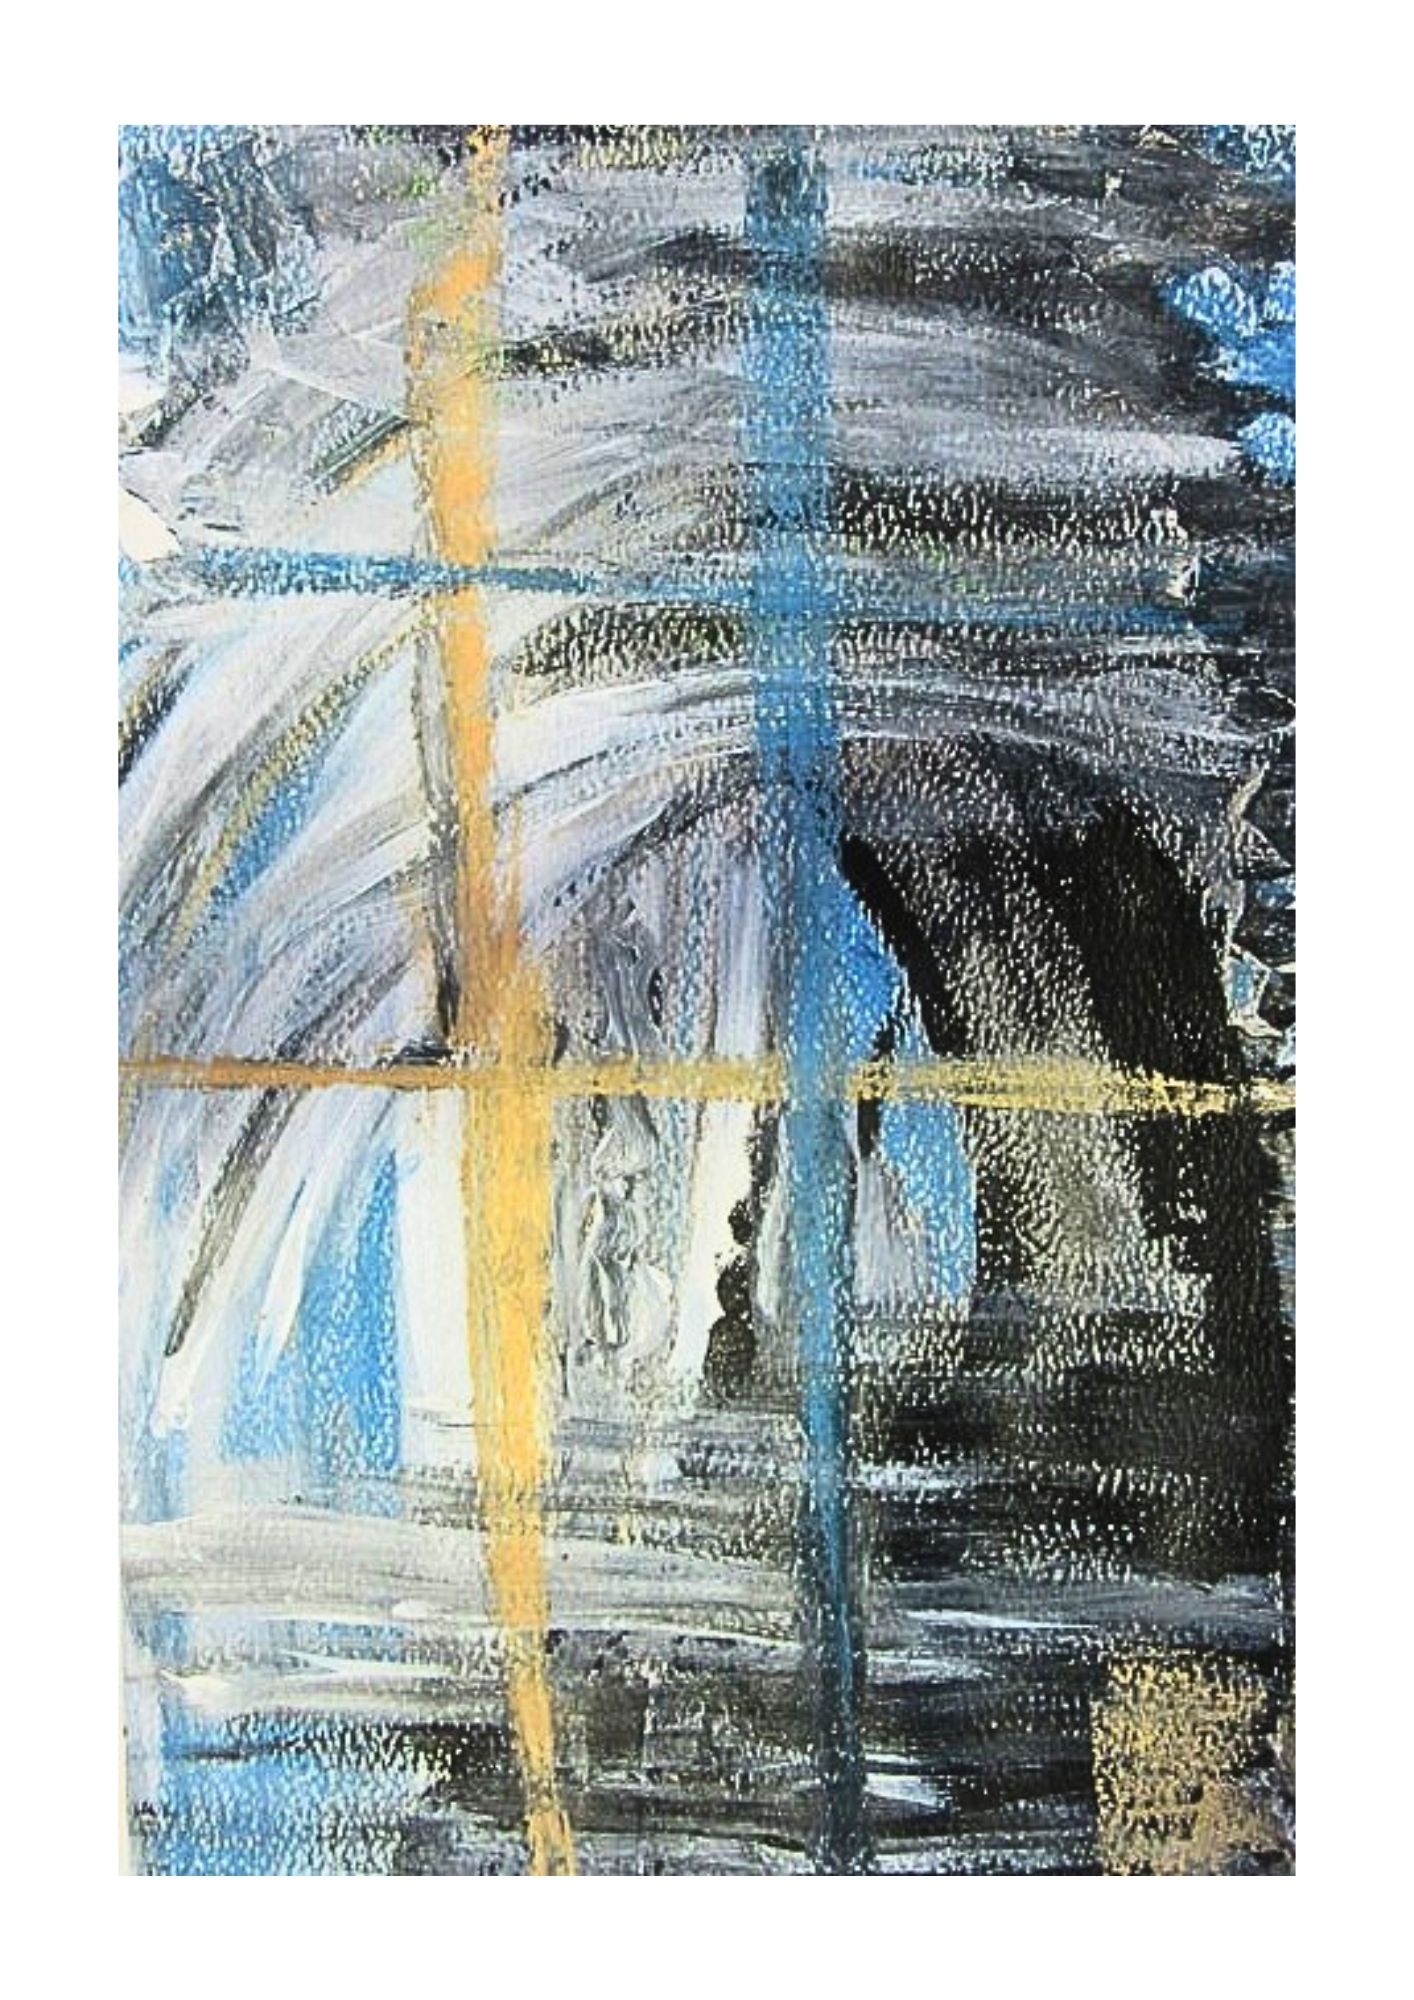
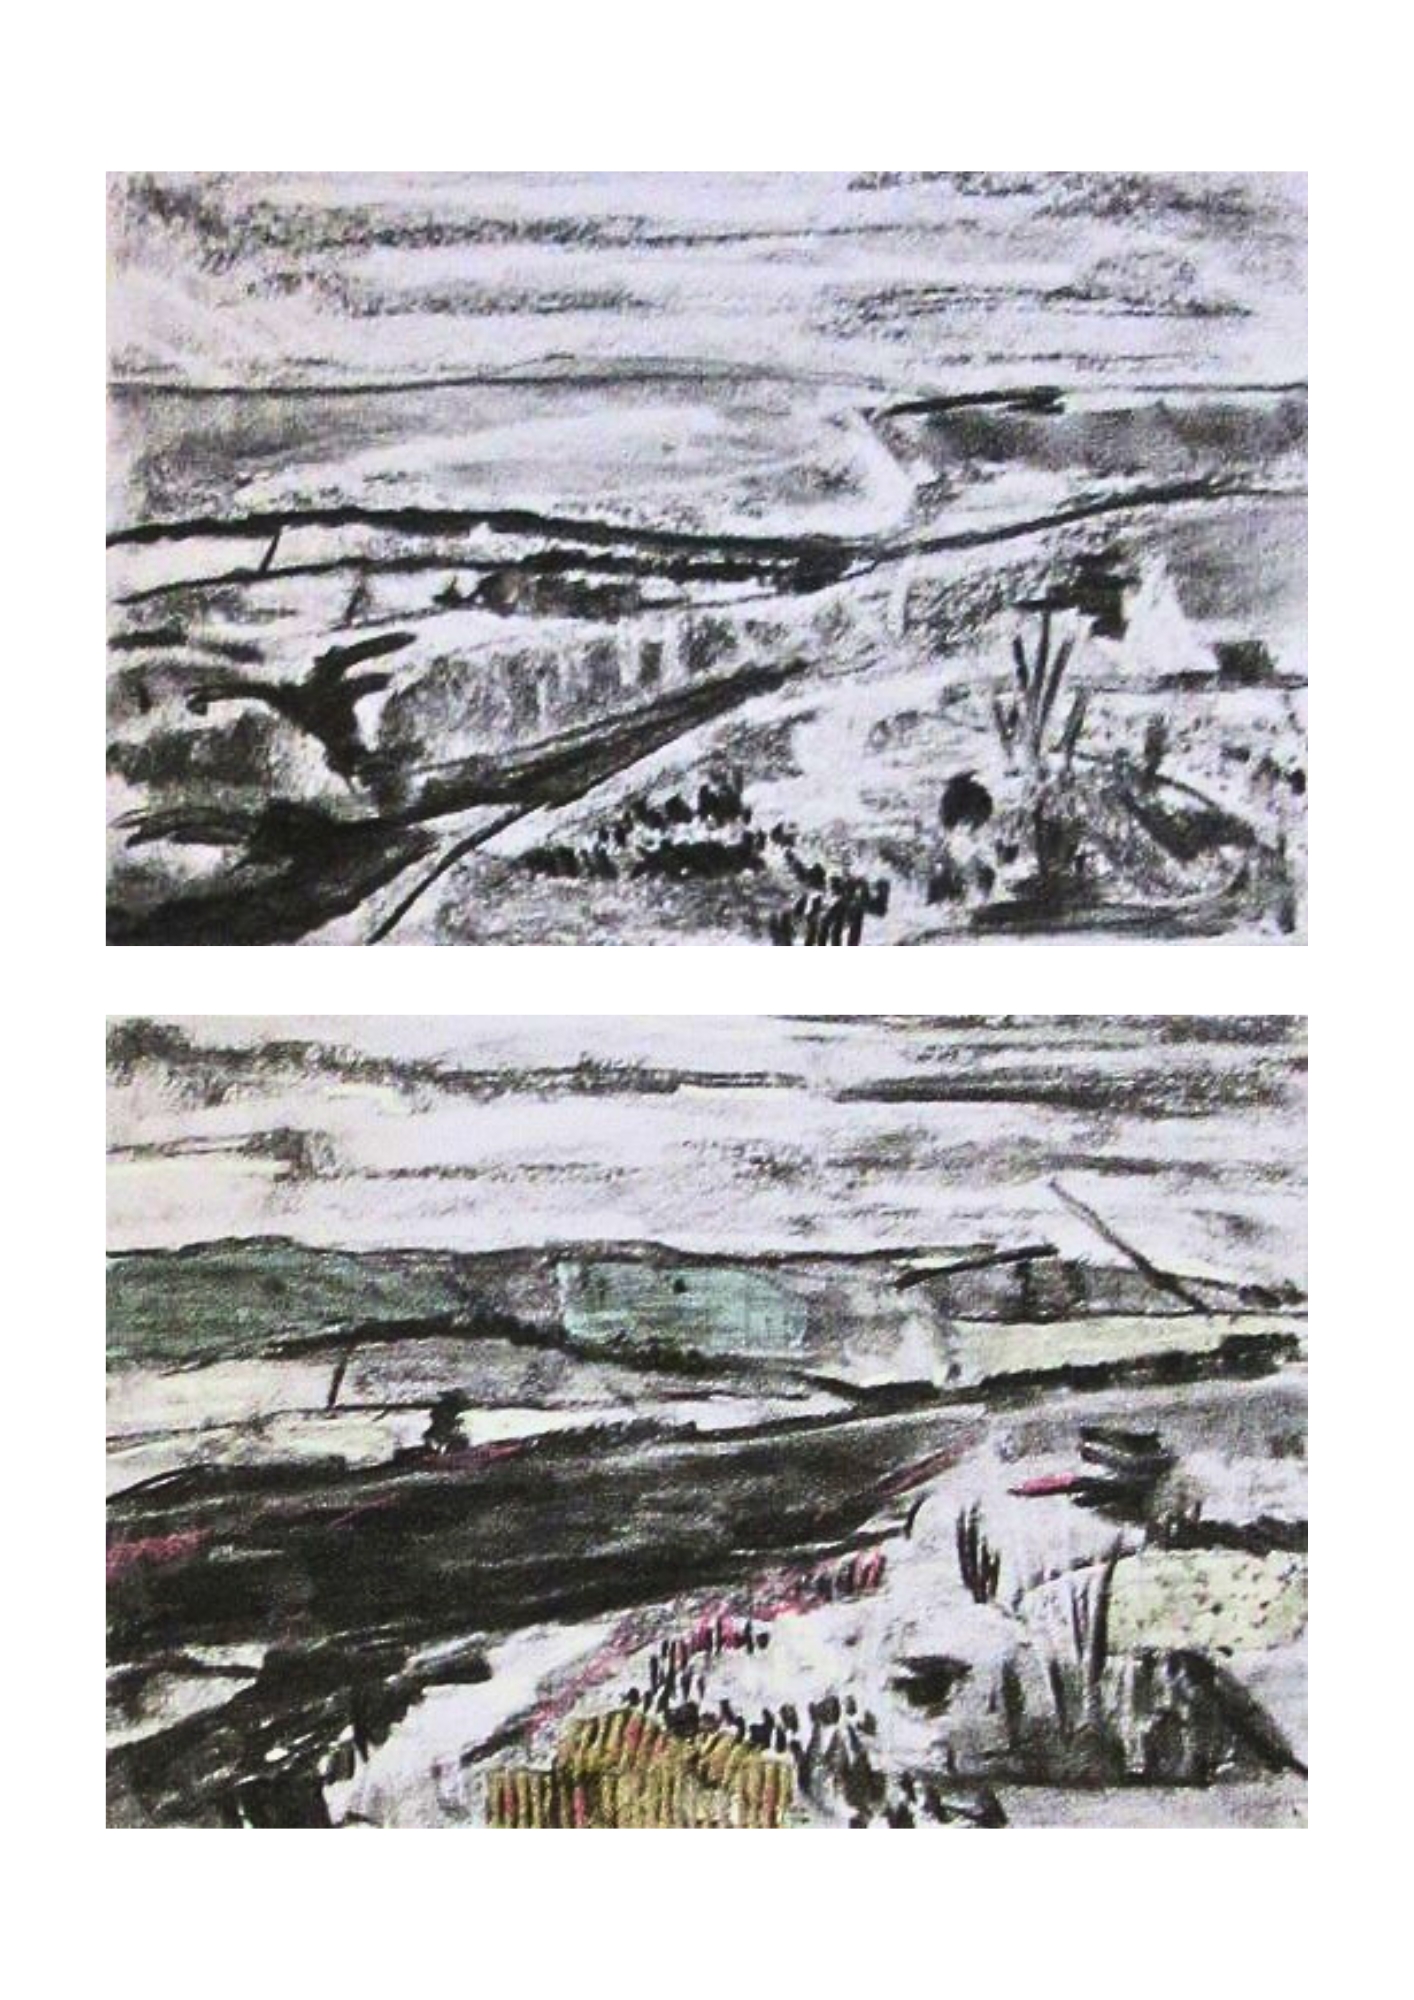
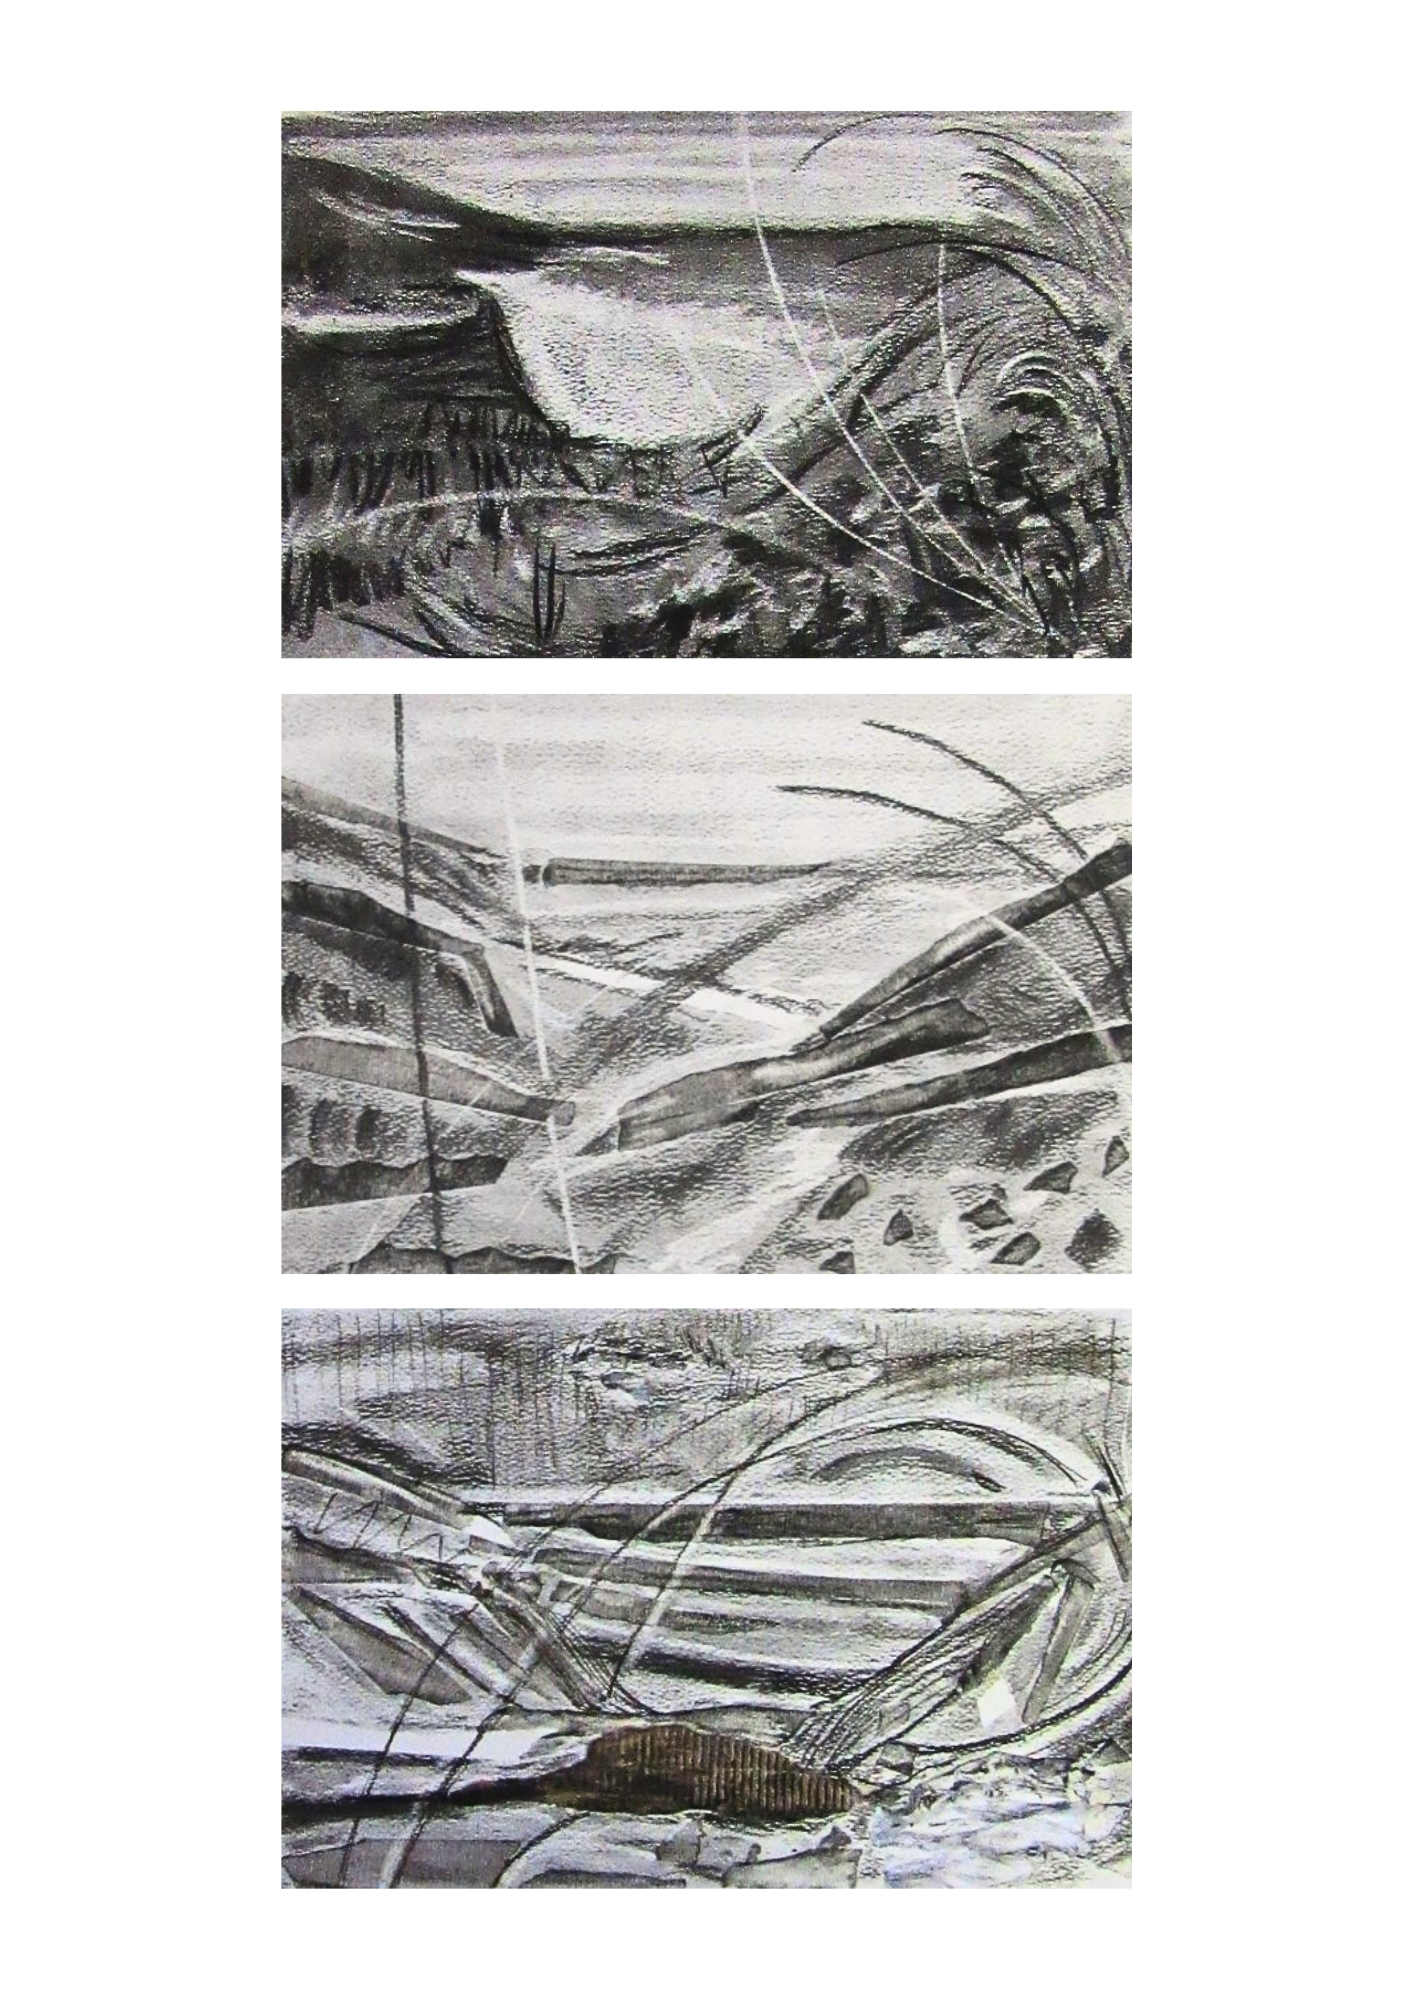
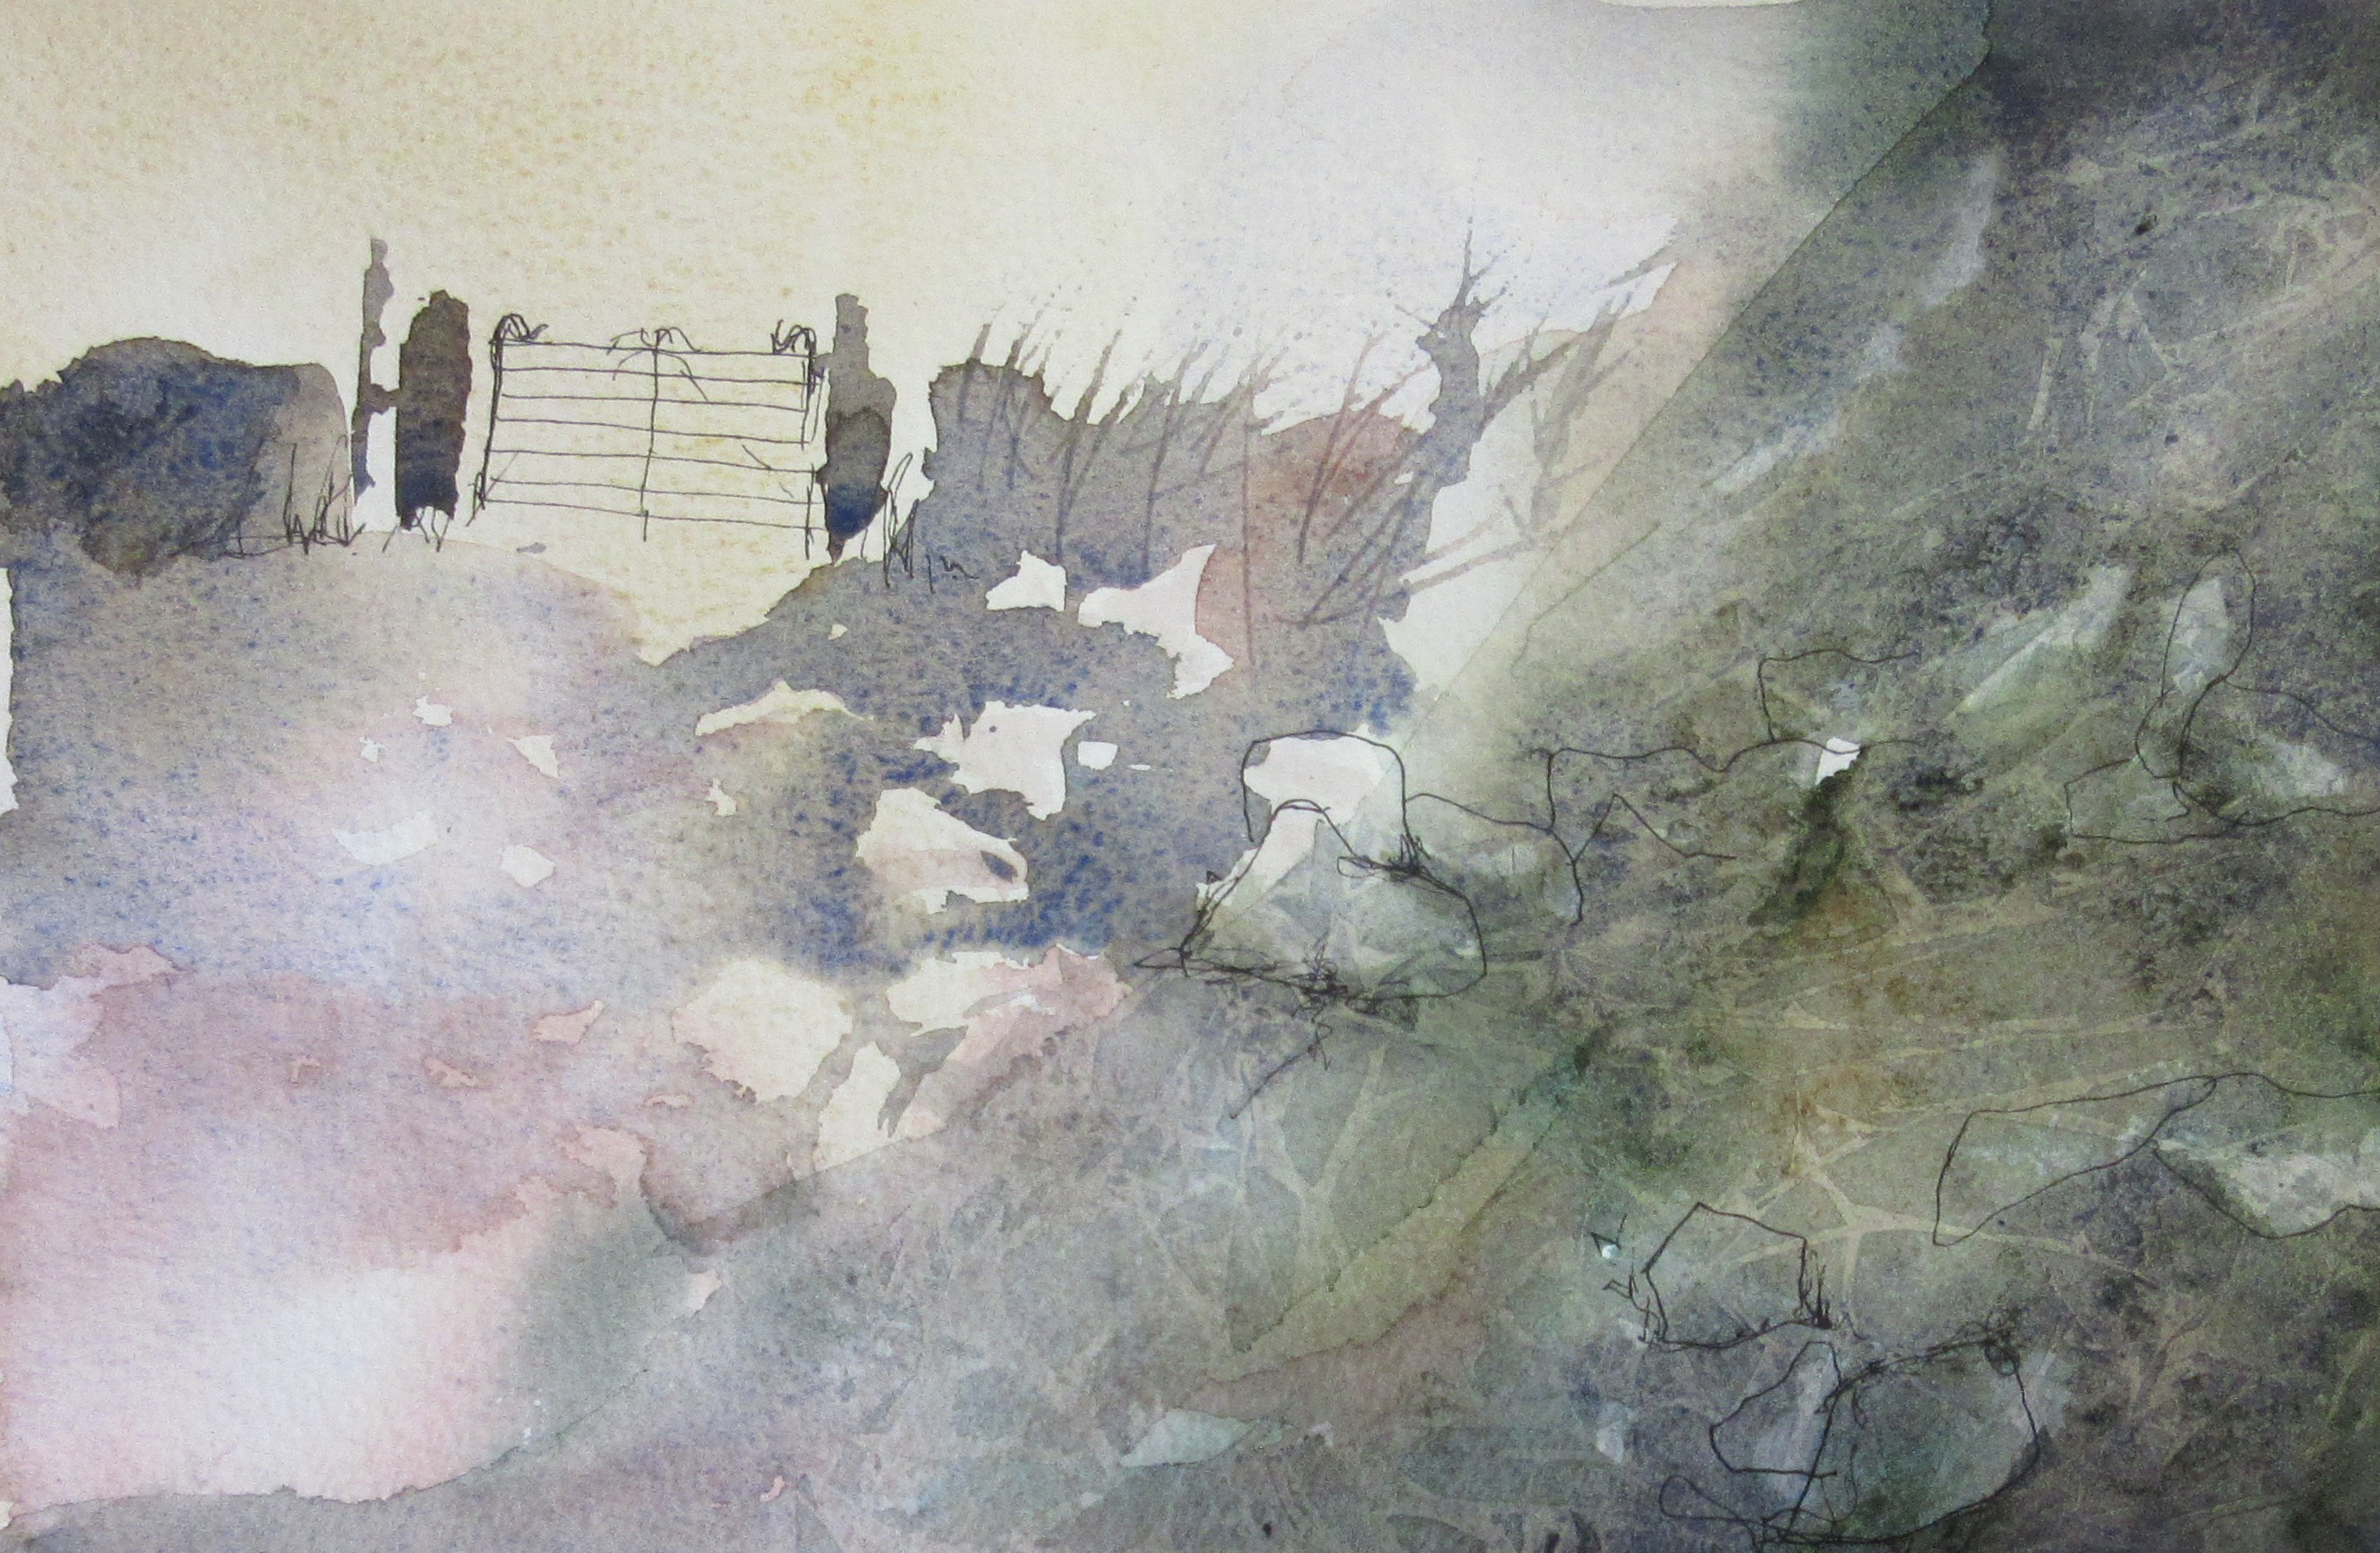
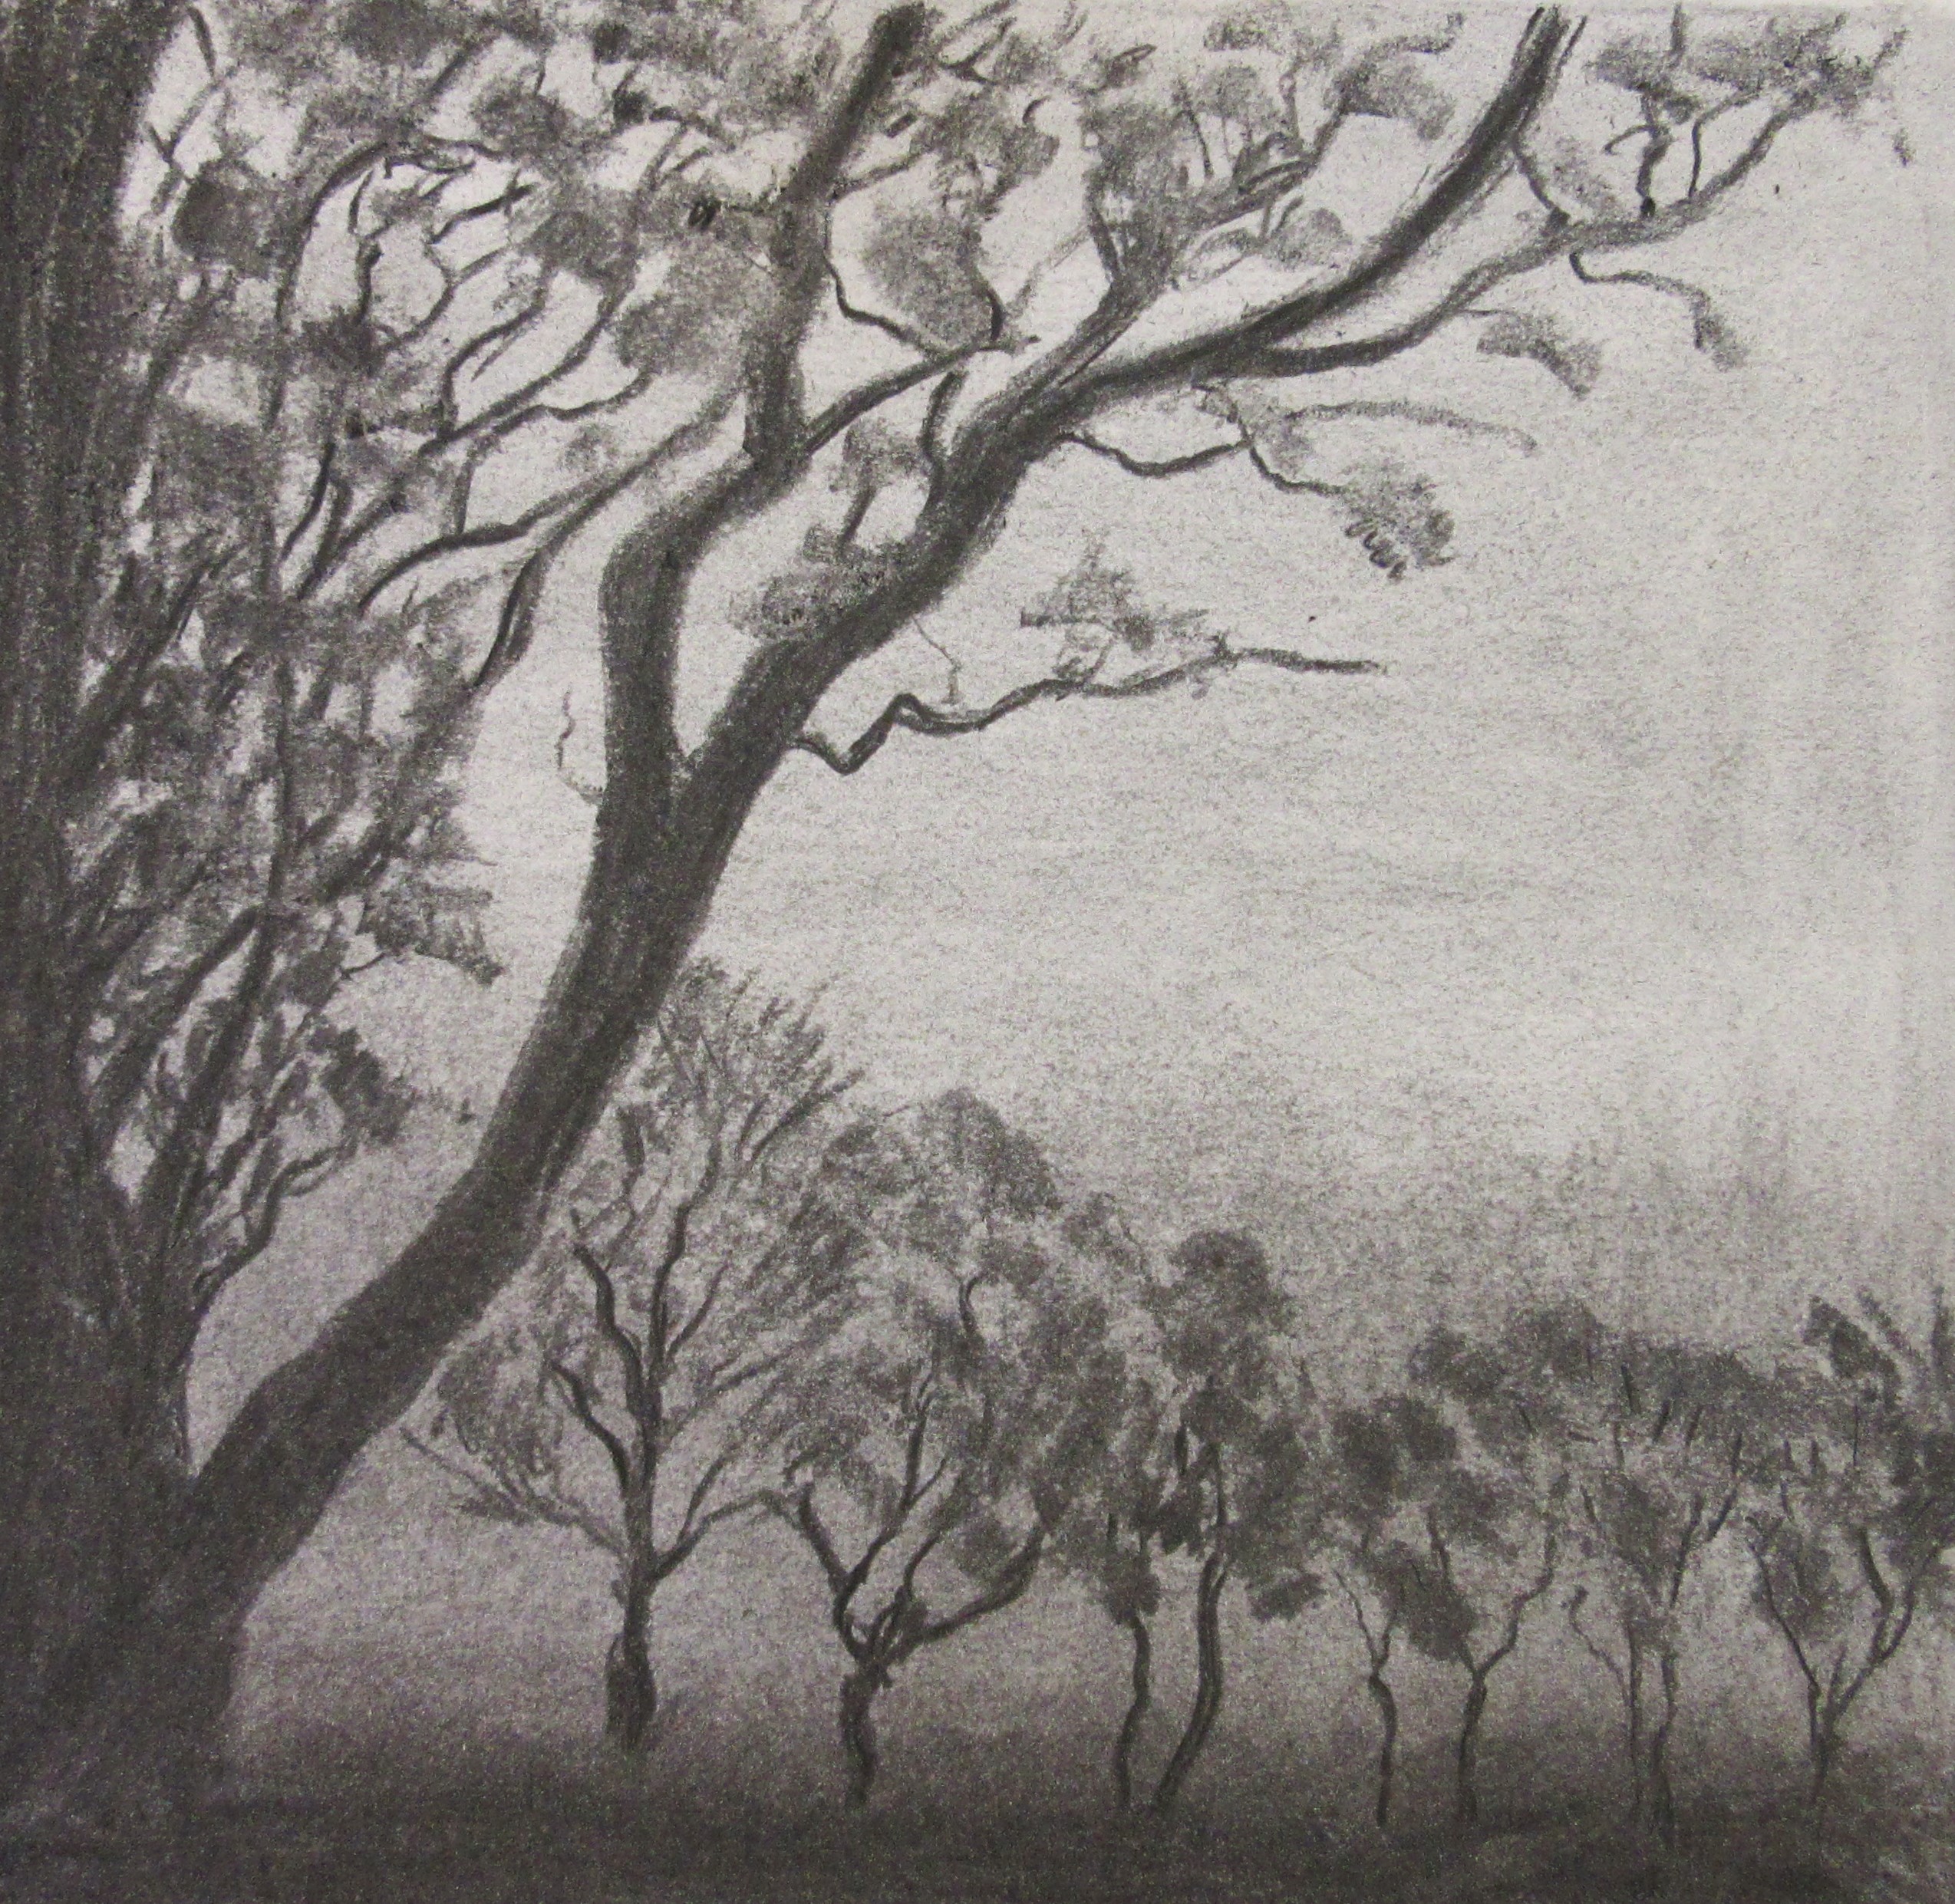
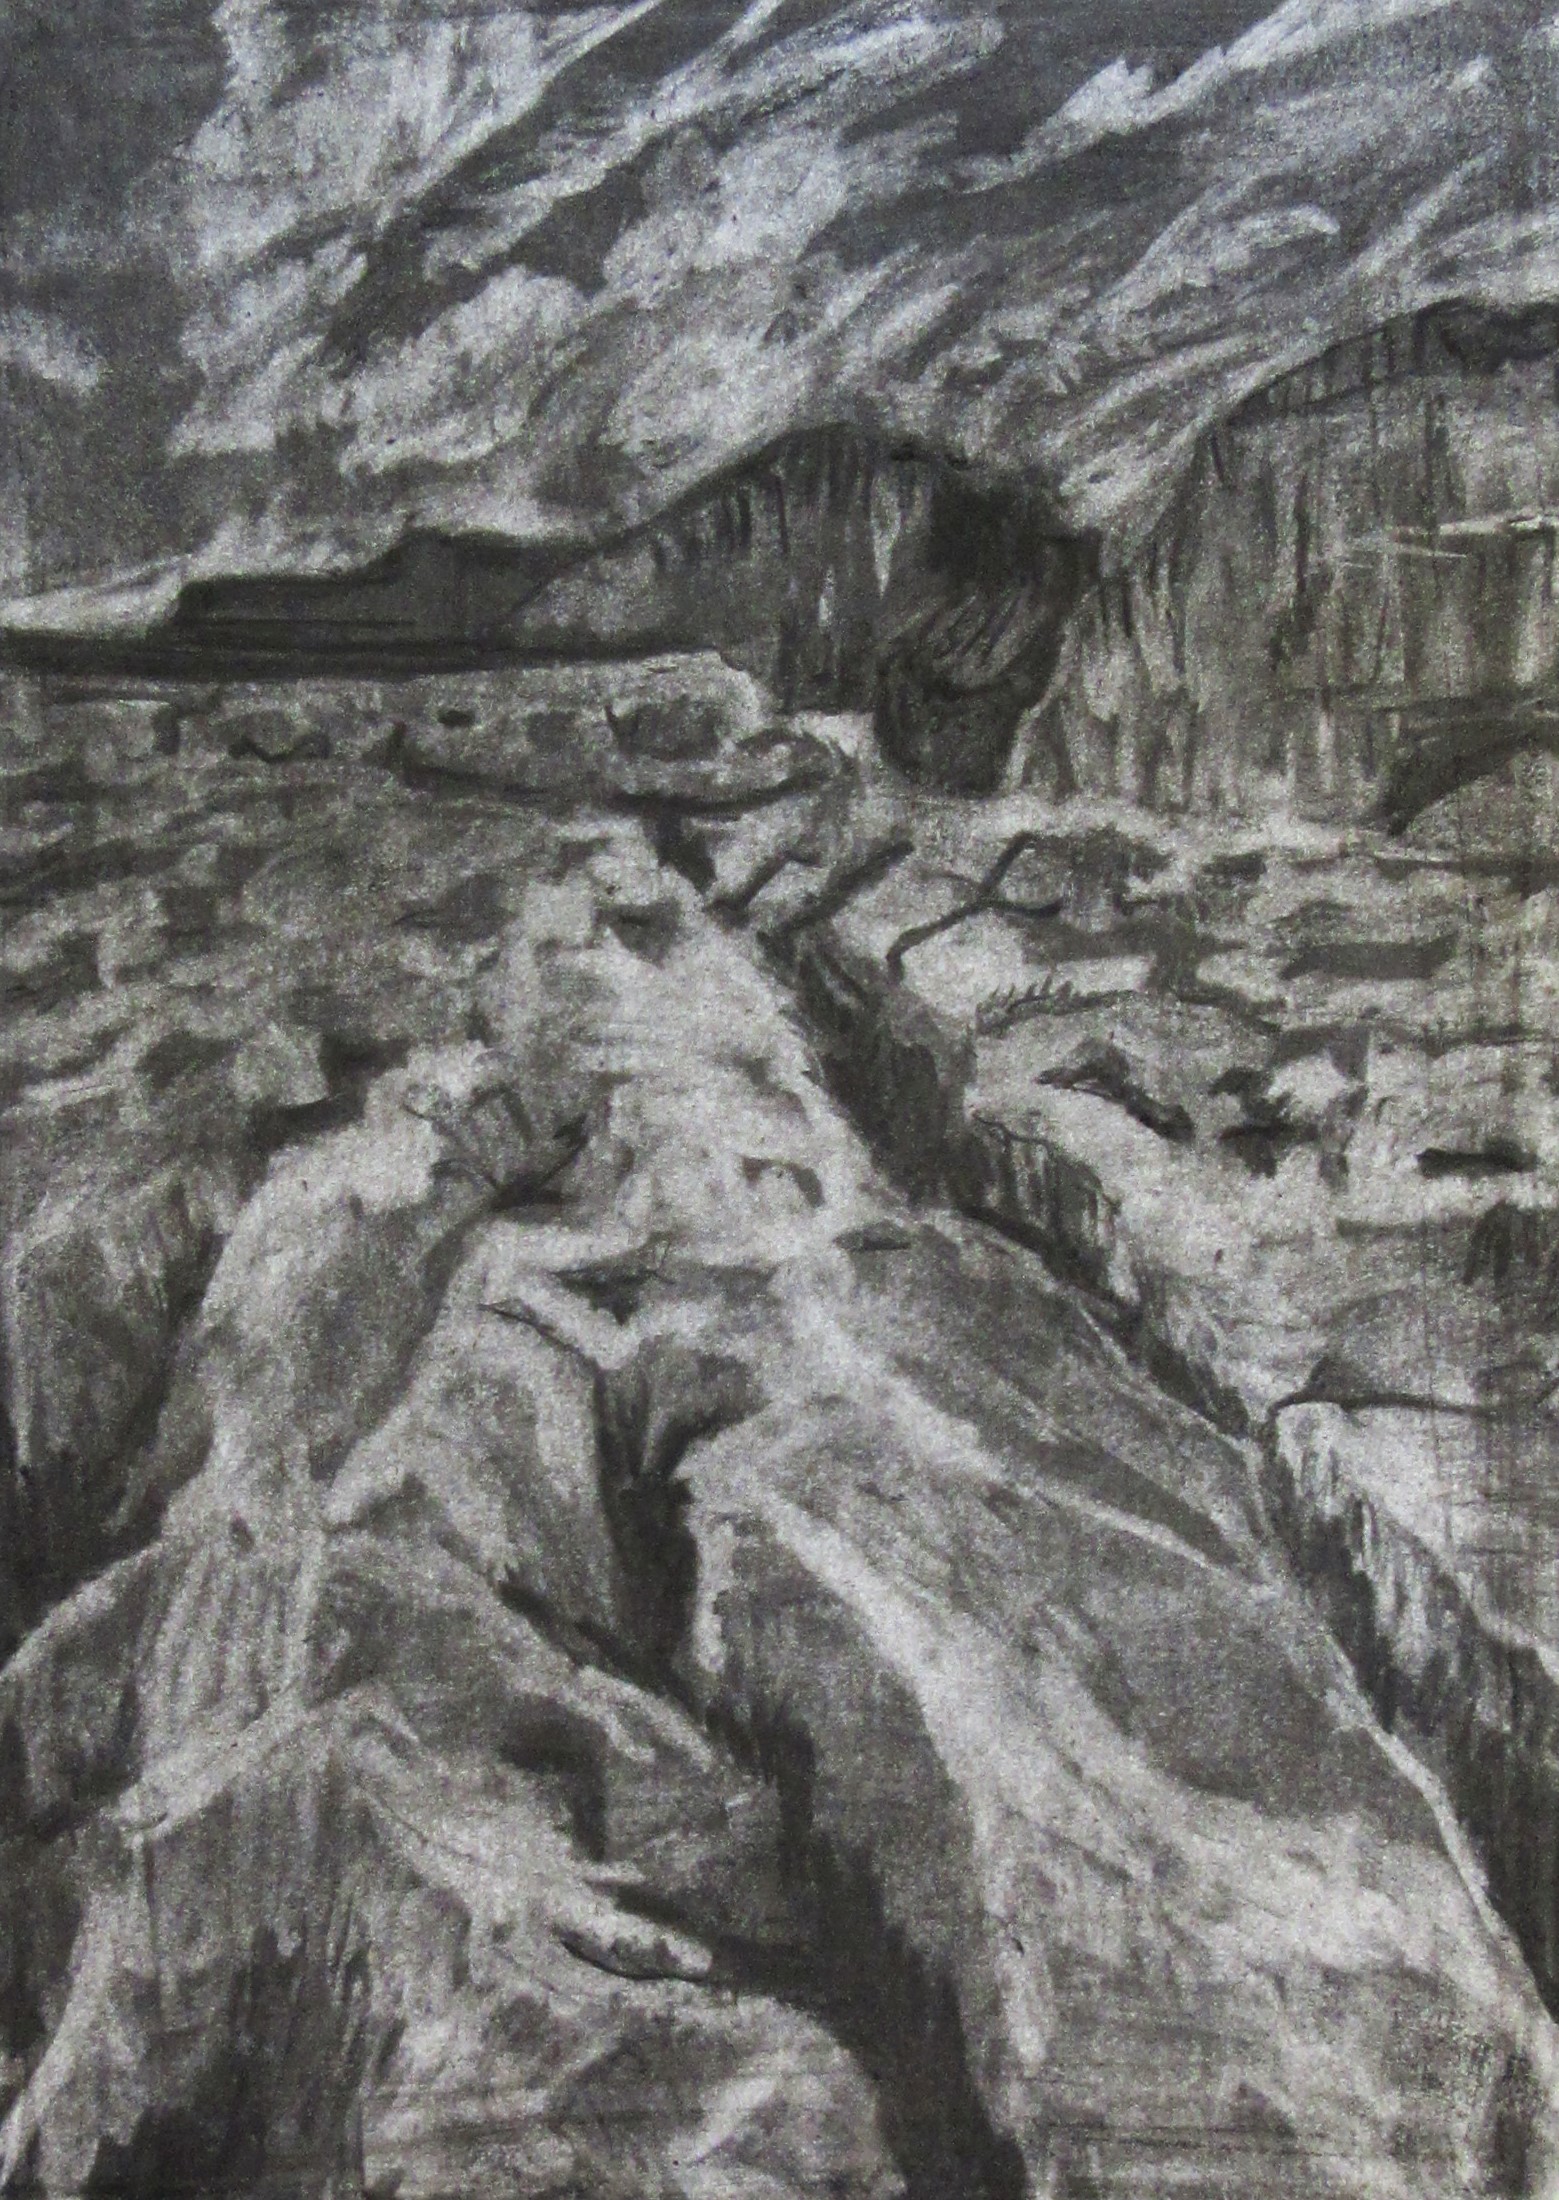
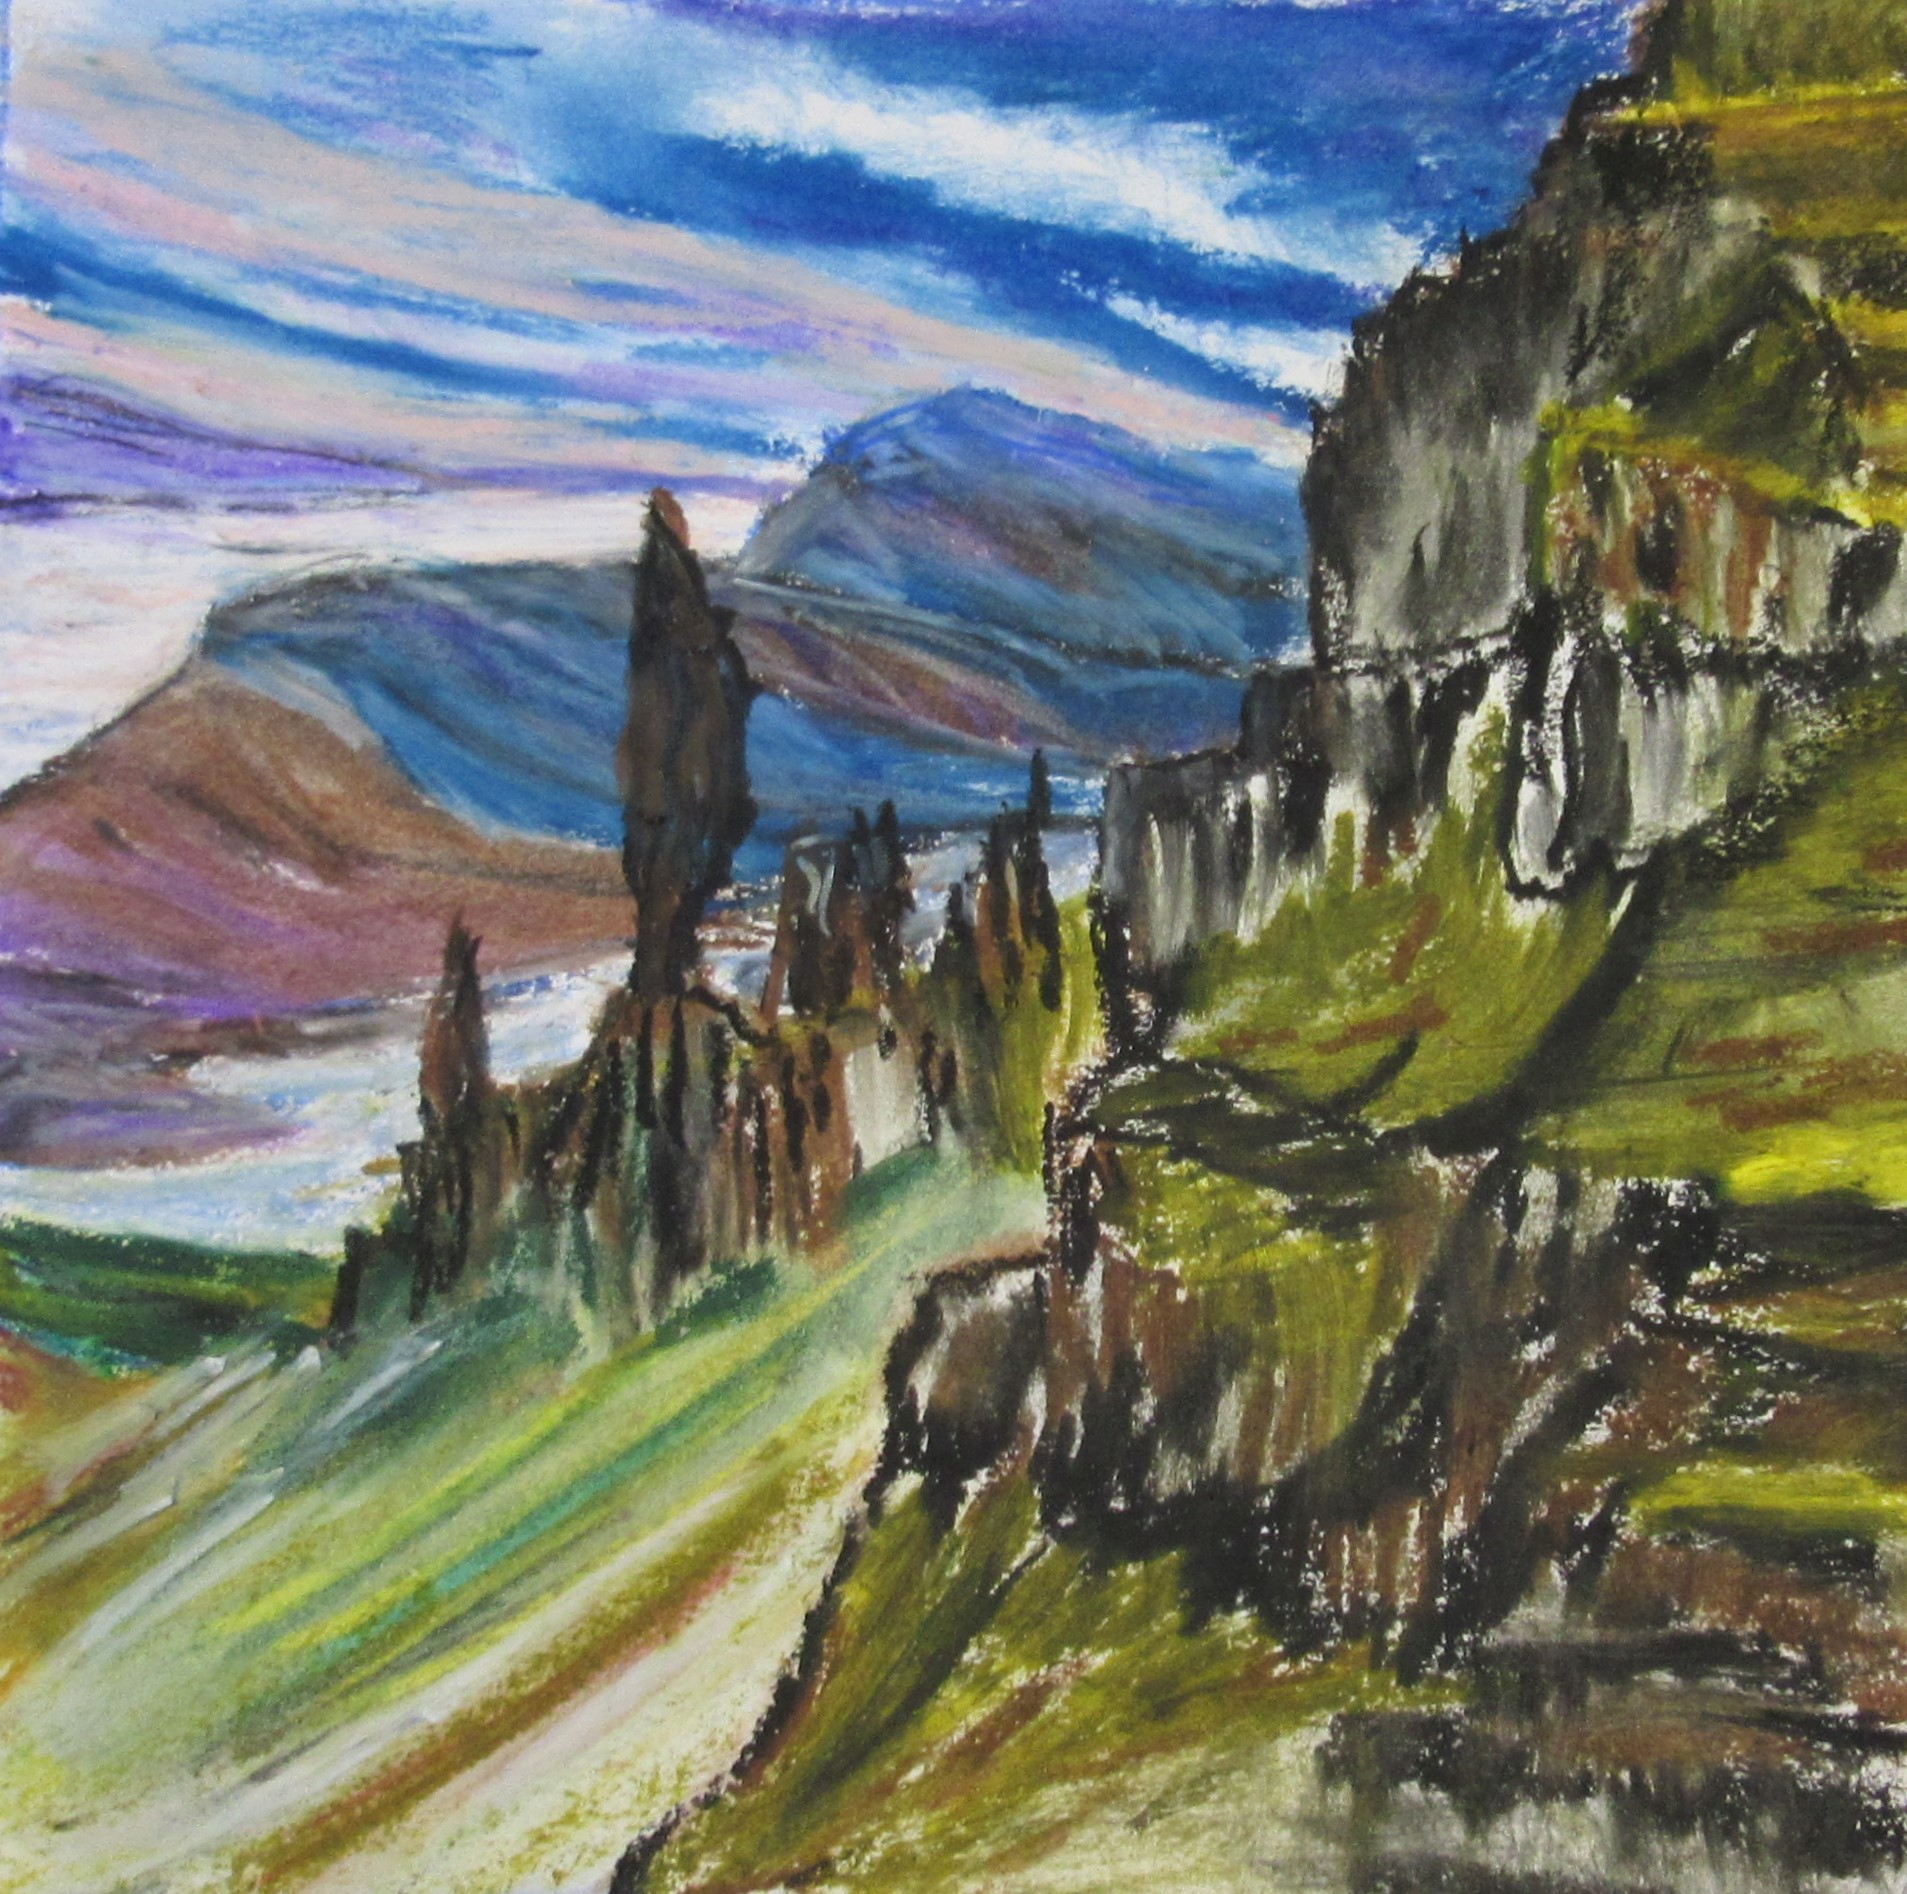
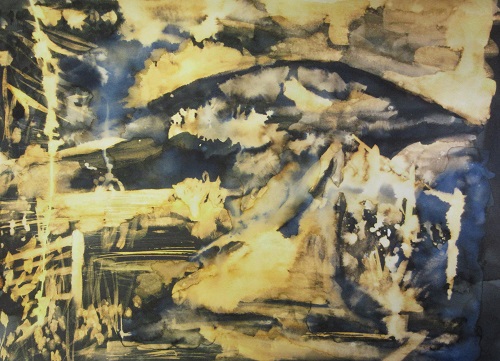
 Keith Crocker – Abstracting the landscape
Keith guided us through the process of abstracting the landscape with an initial charcoal sketch, using a rubber to clear areas, then adding collage and textures, to finish with colours. Overpainting areas to make the overall artwork balanced and interesting. It was a great workshop and we all enjoyed the process of making our landscapes into shapes and lines. Although it was very hard to make the landscape totally unrecognizable and abstract. Keith brought loads of examples we could look at and he was a very supportive and knowledgeable tutor. We made loads of artworks as you can see below.


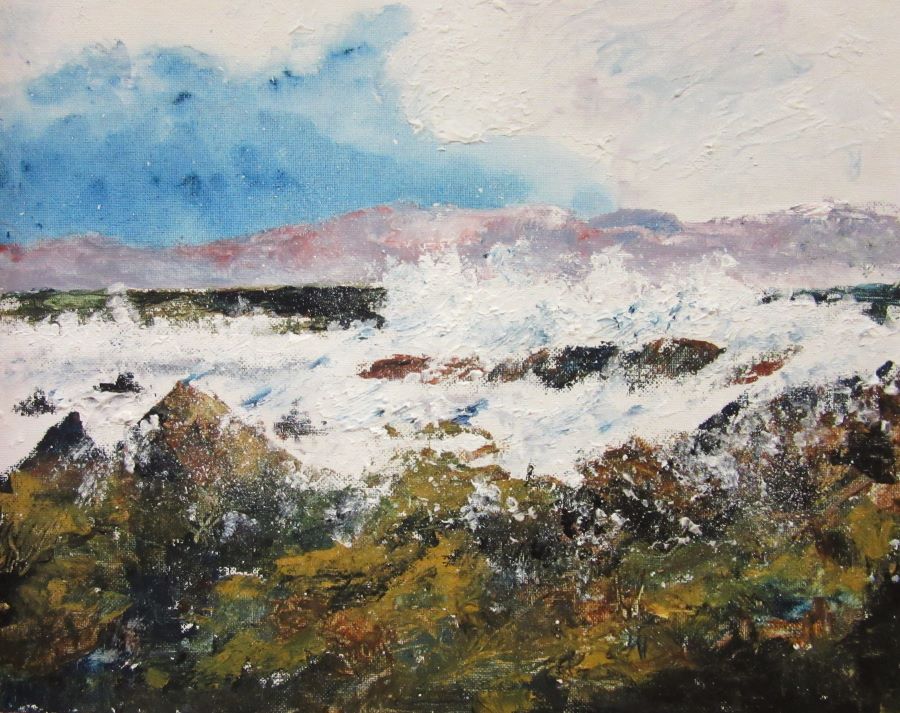
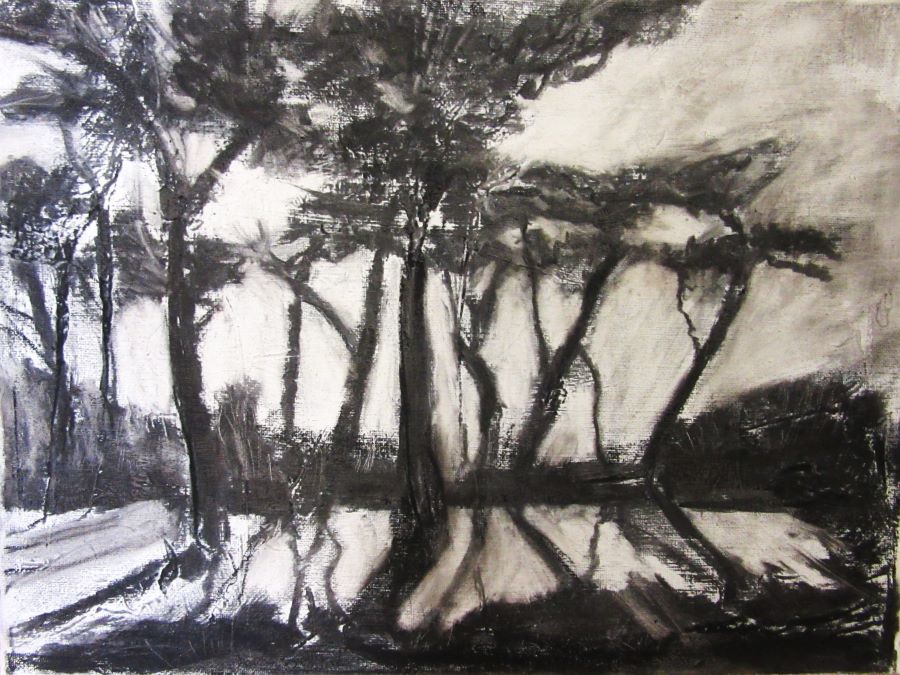
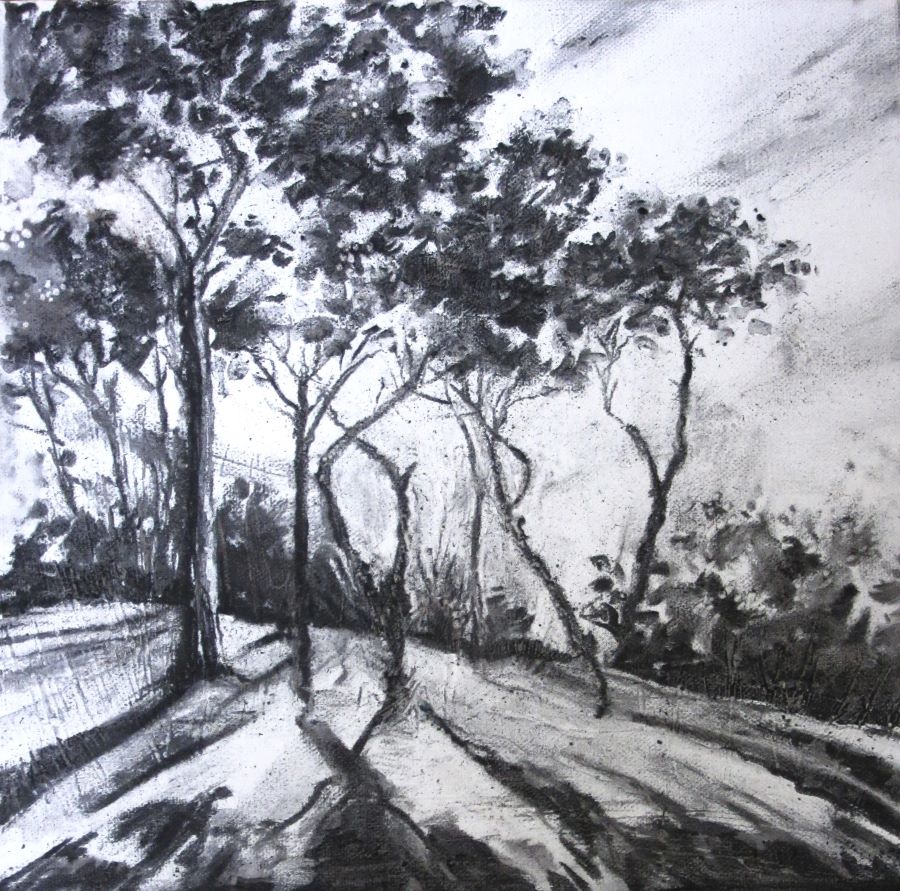
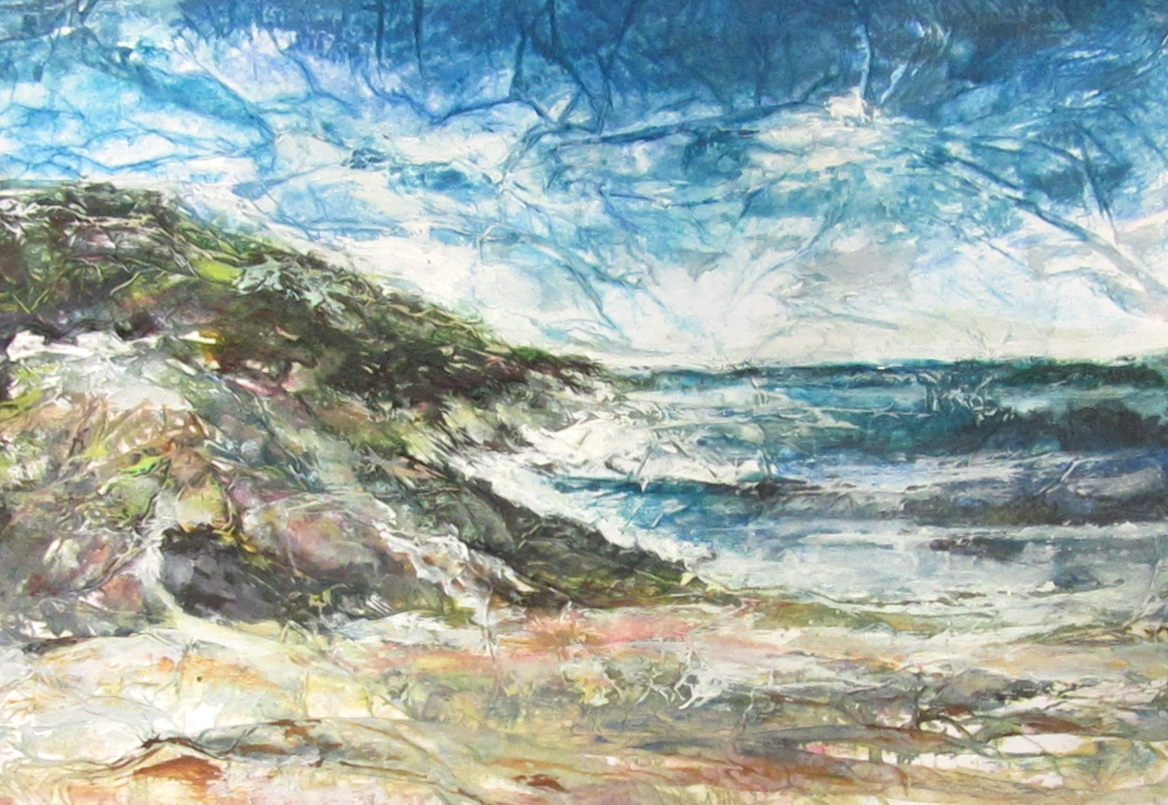
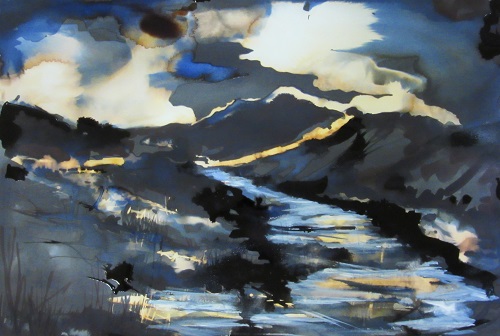
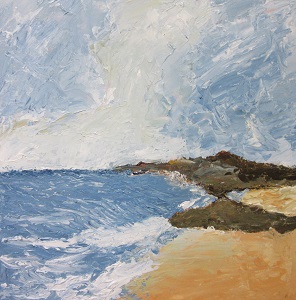
Belinda Reynell – Textures in sea & skyscapes
It was great to have a second workshop with Belinda, she guided us through using rages and palette knives to great translucent skies and interesting textures. We all created some beautiful atmospheric artworks. Belinda was very supportive and everyone had a great time creating.


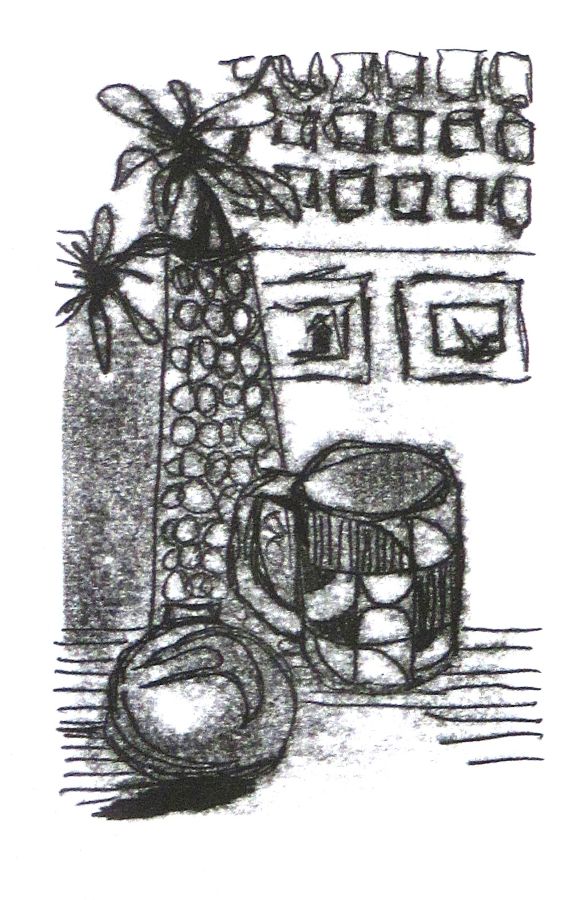
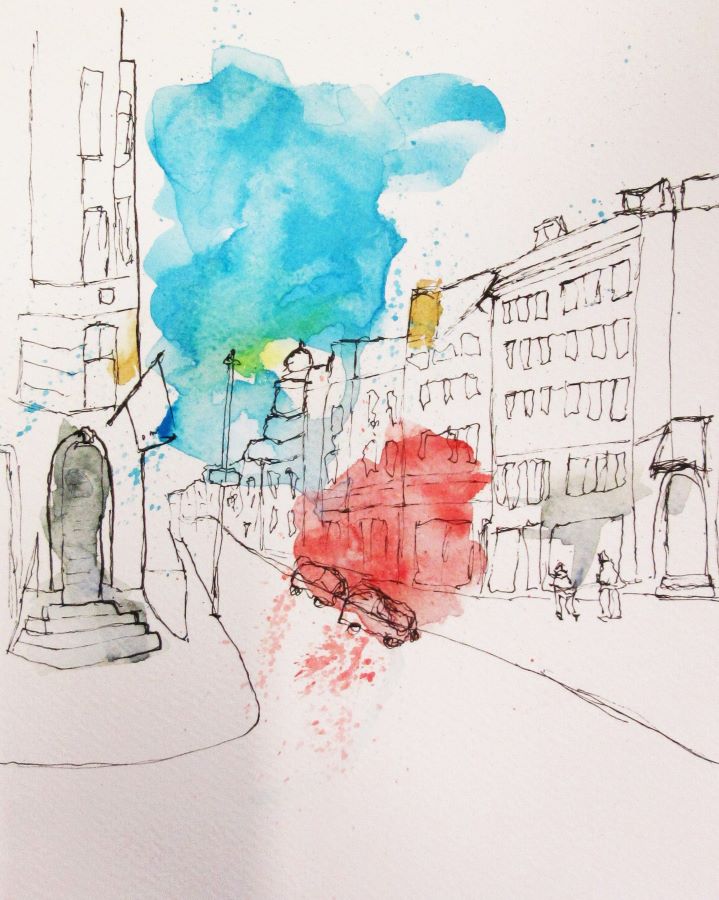
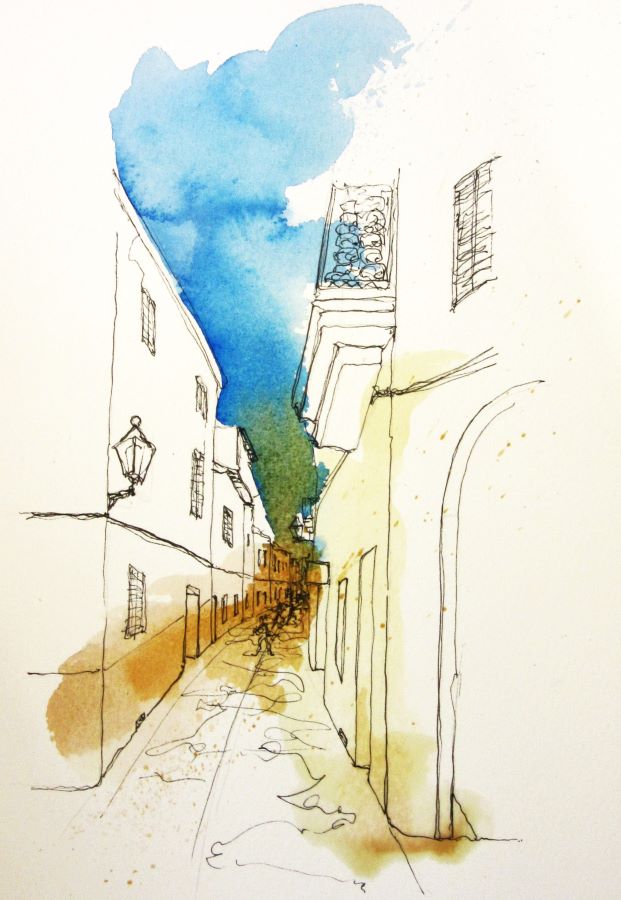
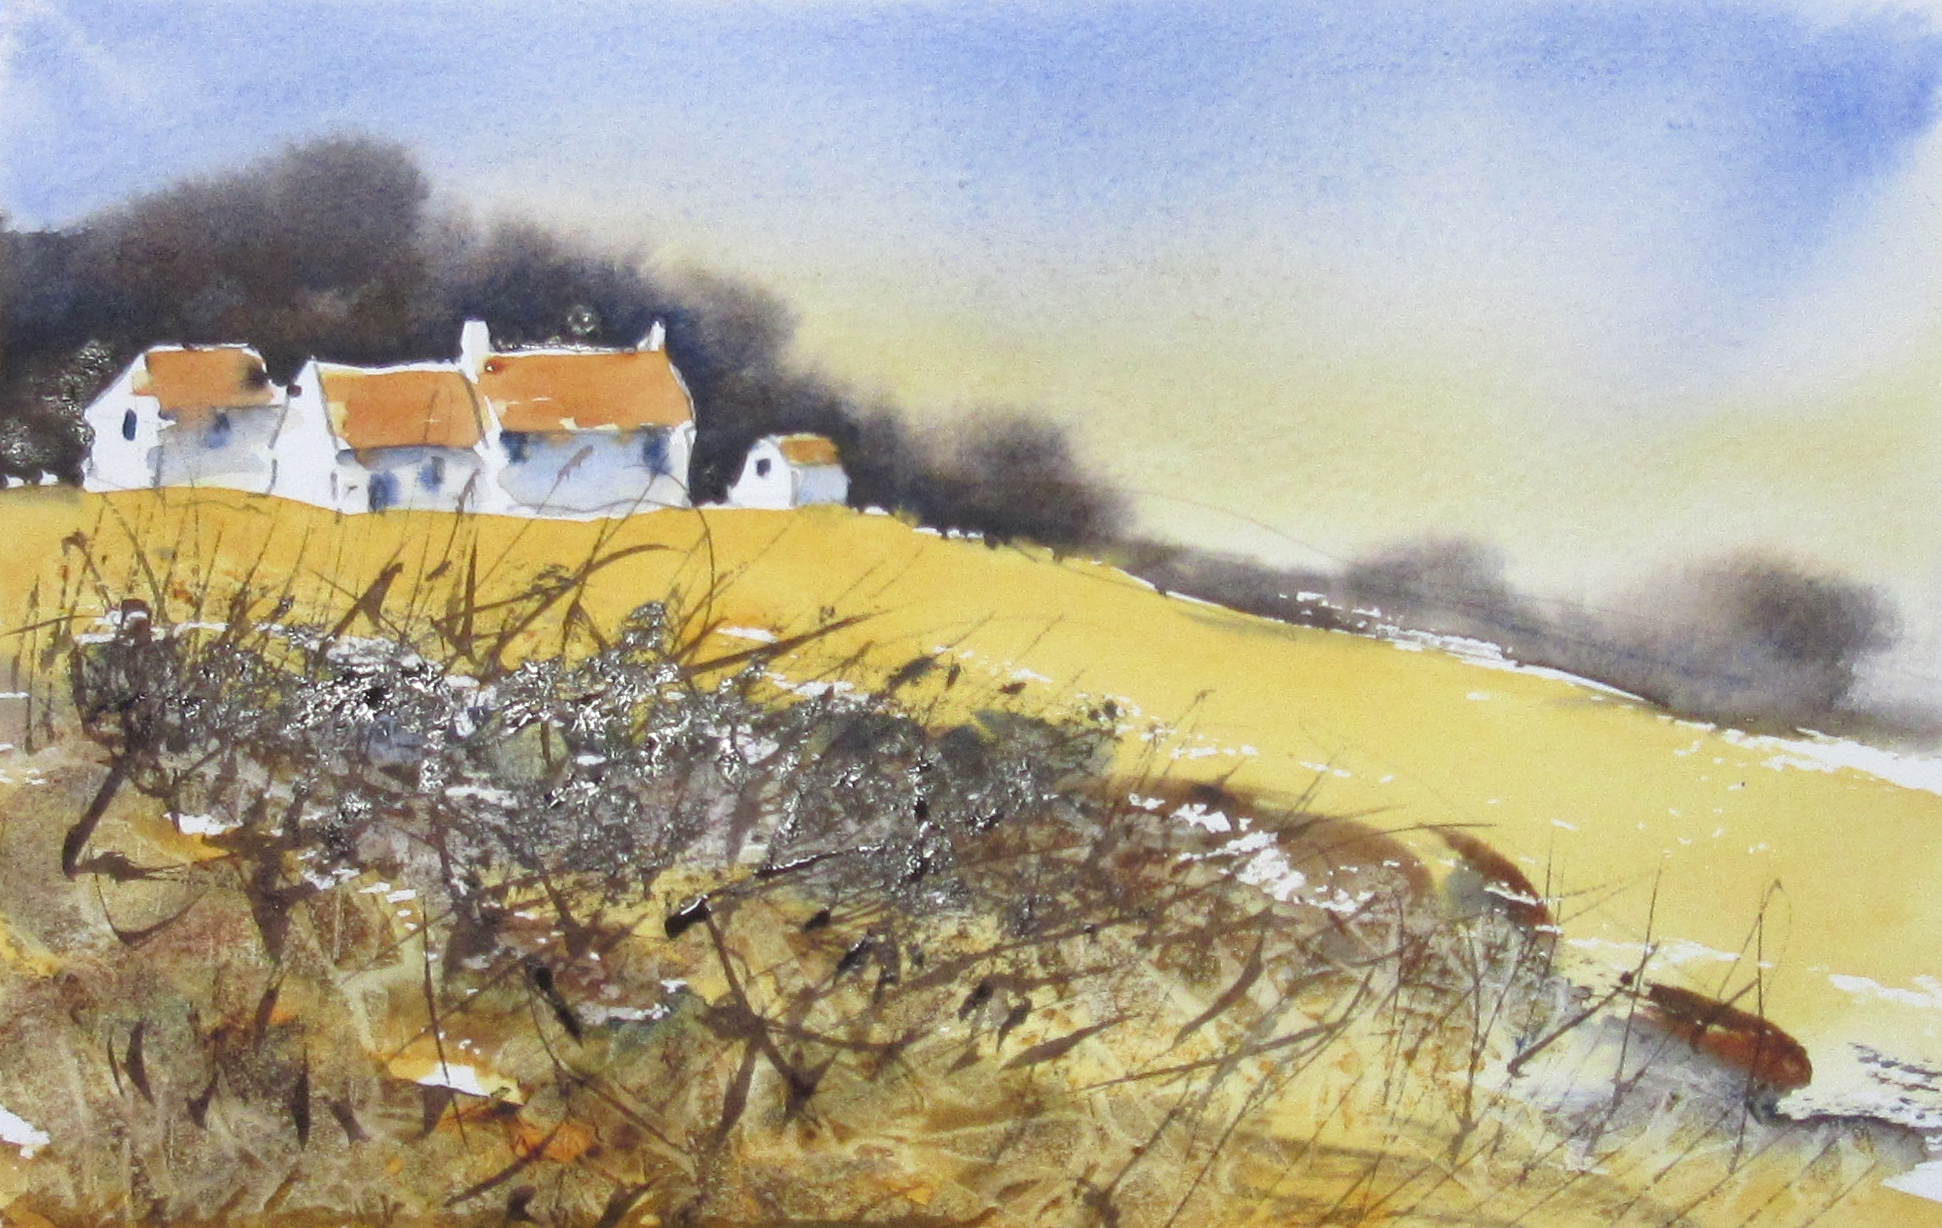
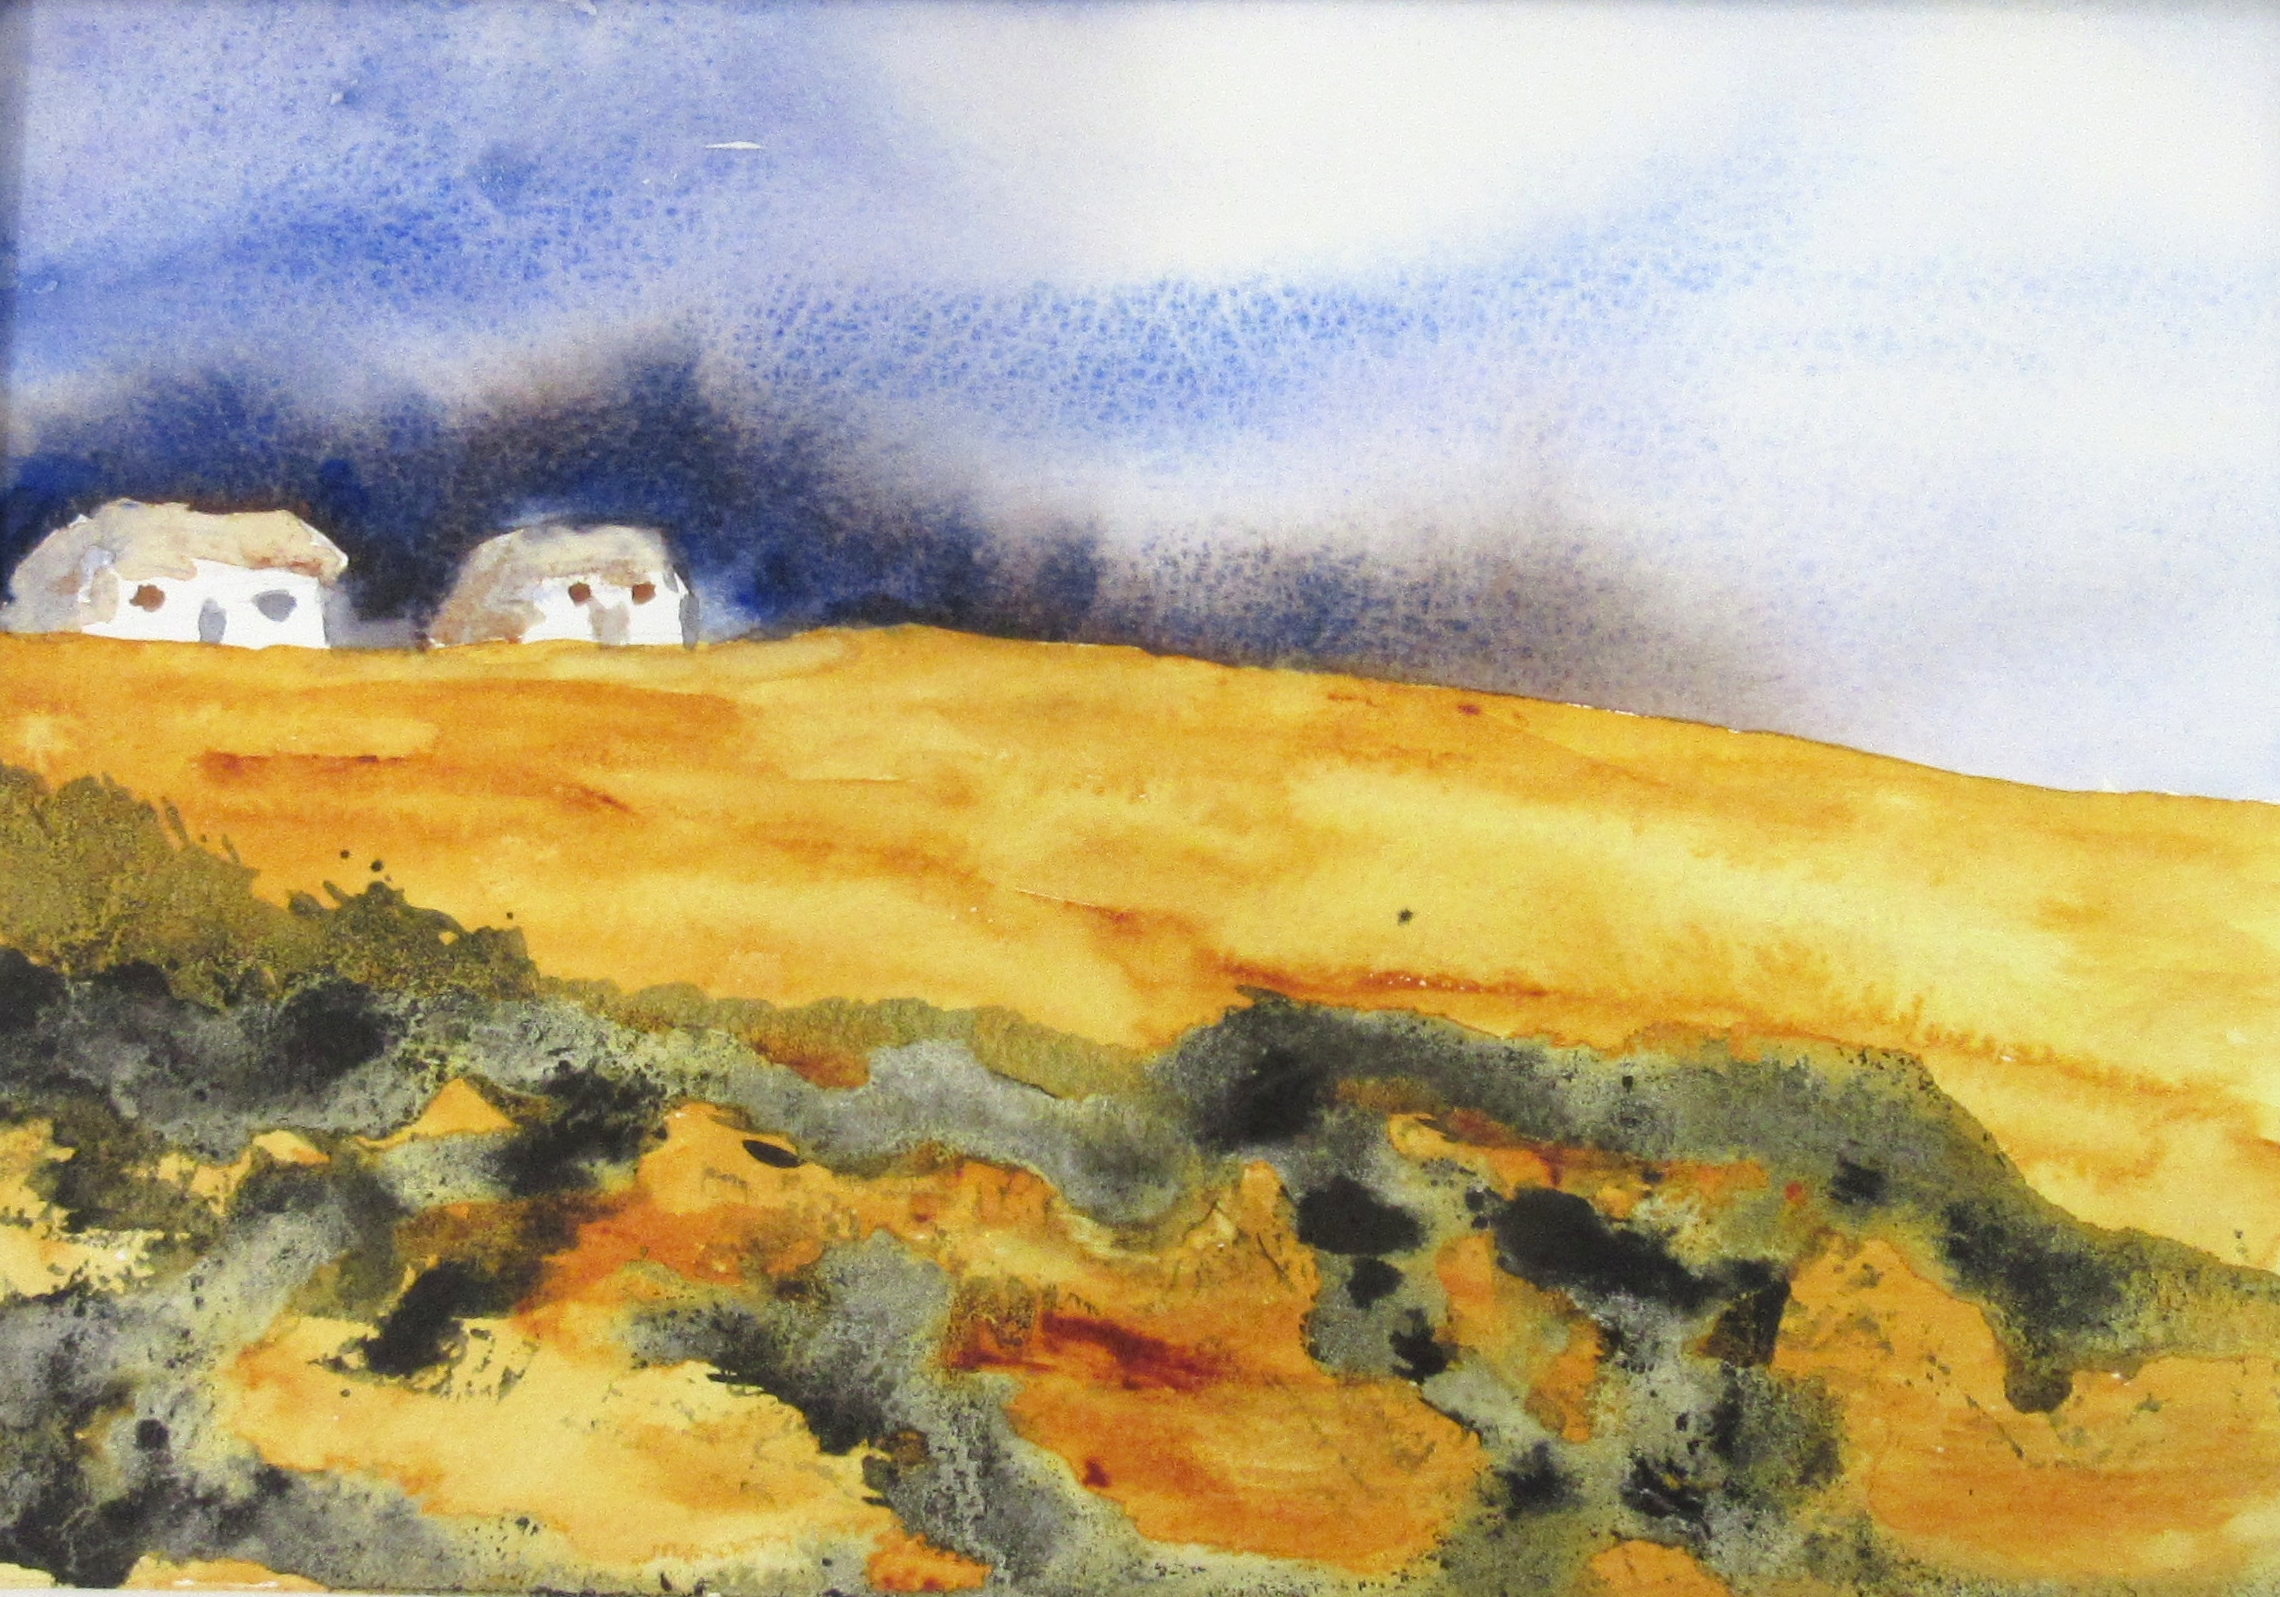
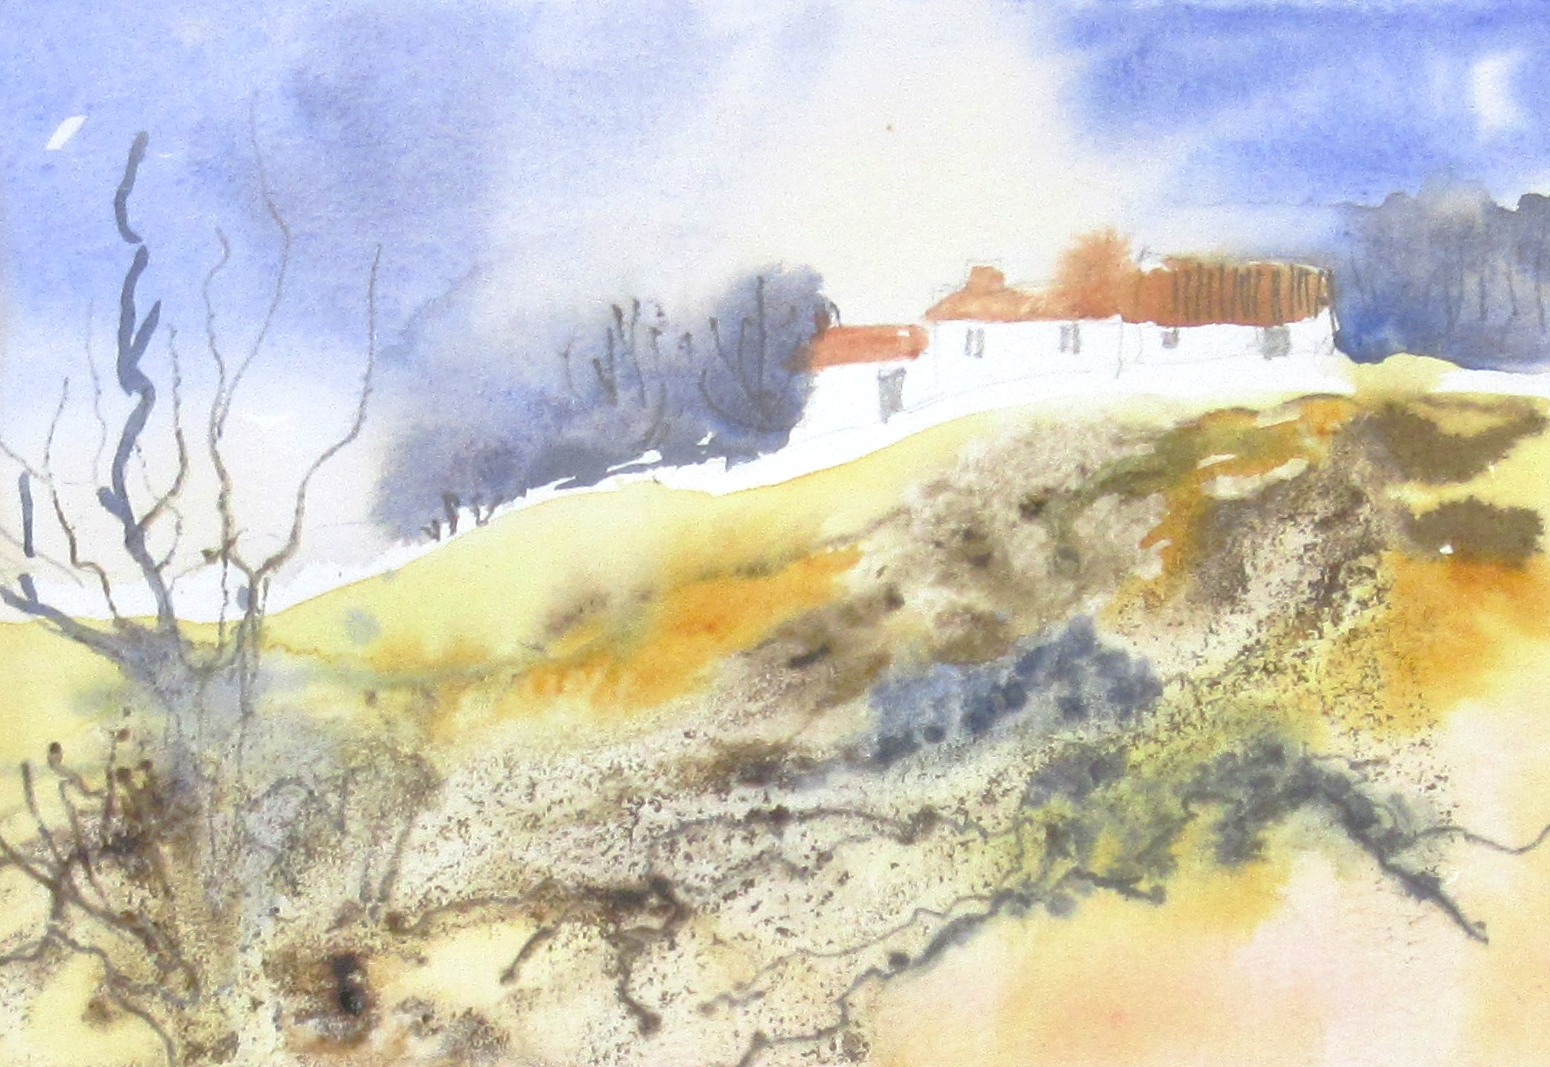
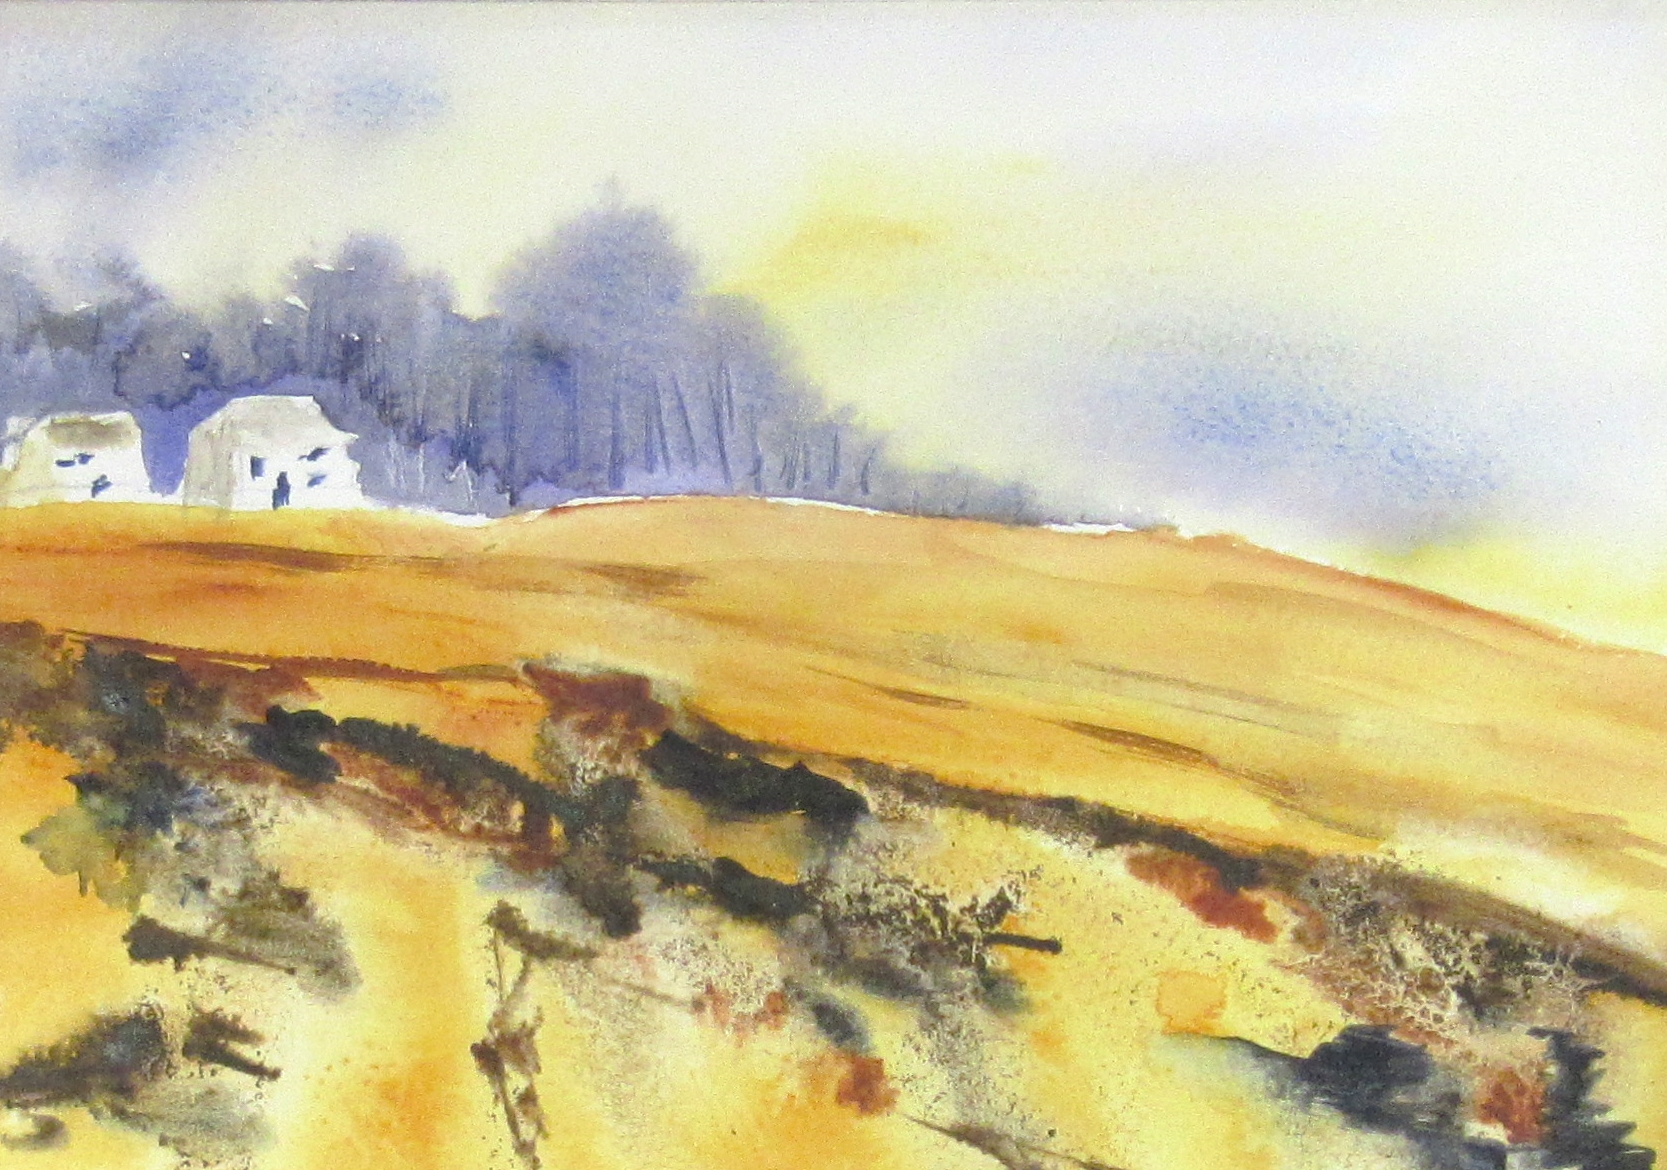
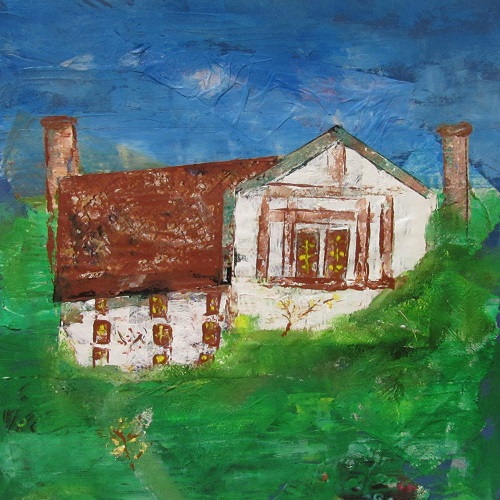
 Chris Howe – Pen over inky washes
We all started with the same example, draw the houses in pen then add a blue ink wash for the sky, accentuated by land mass. Then adding various colours of blue in a loose style over the houses. Let it dry and add the ocker washes.
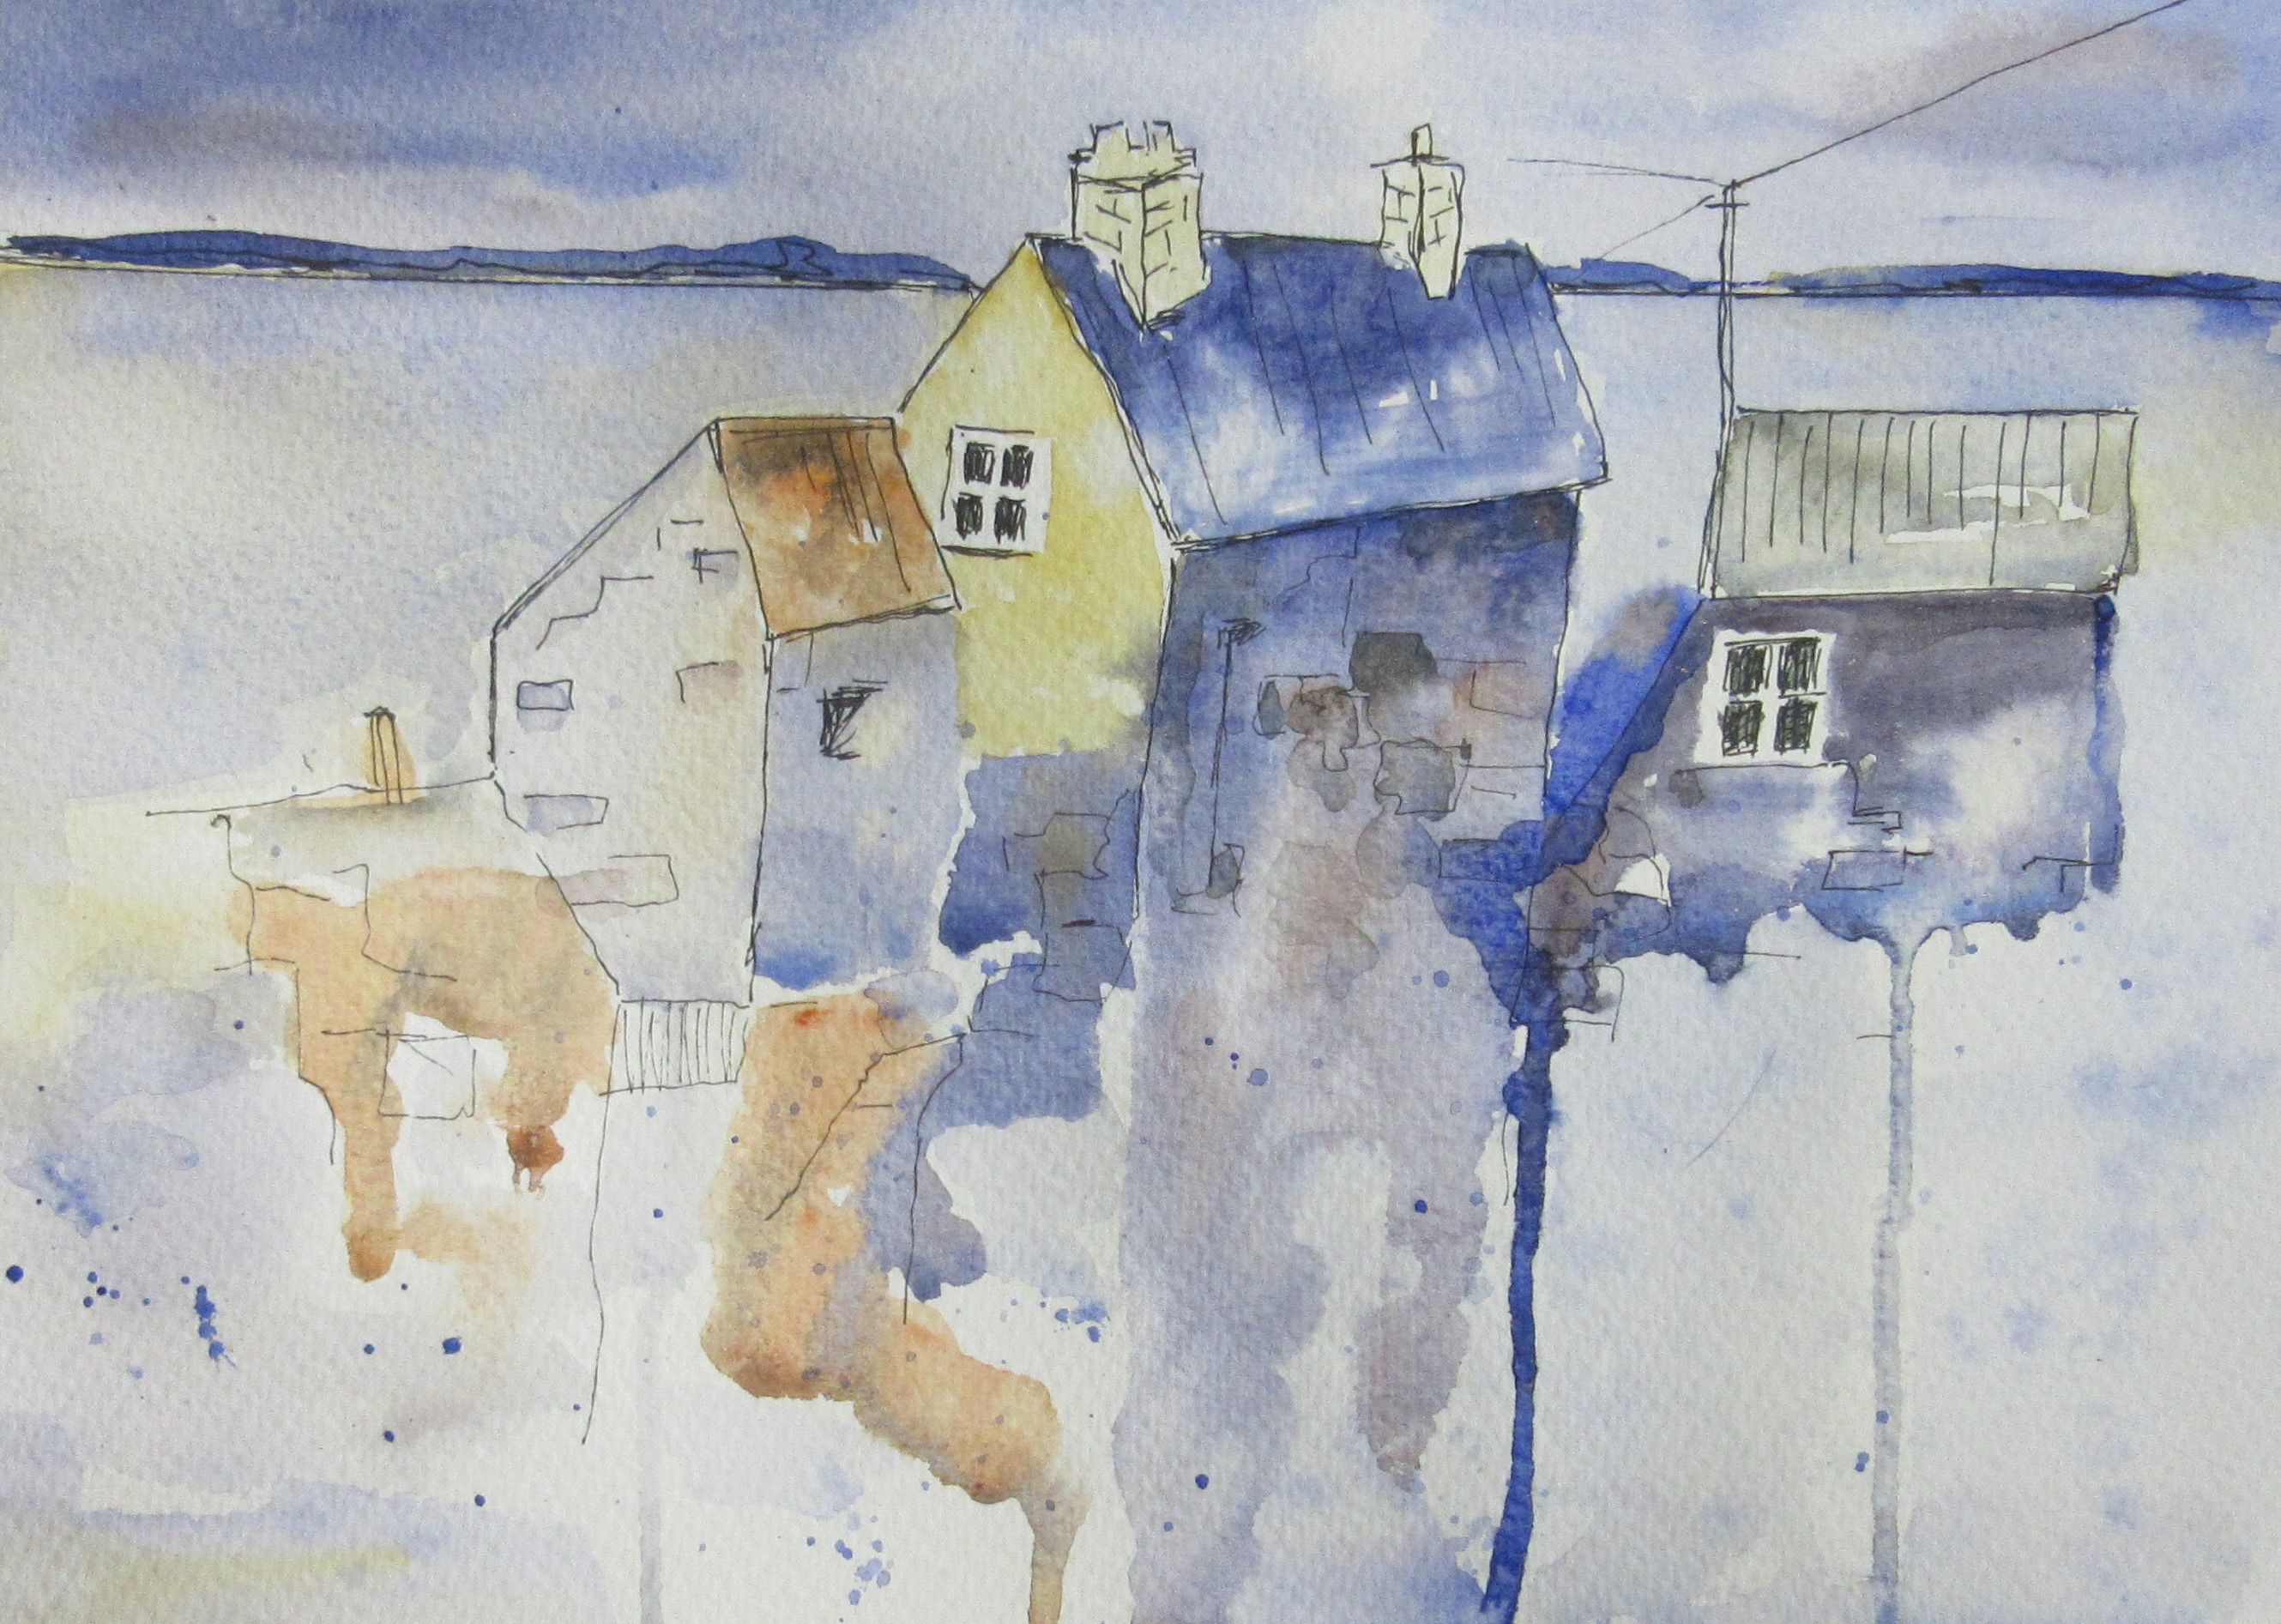
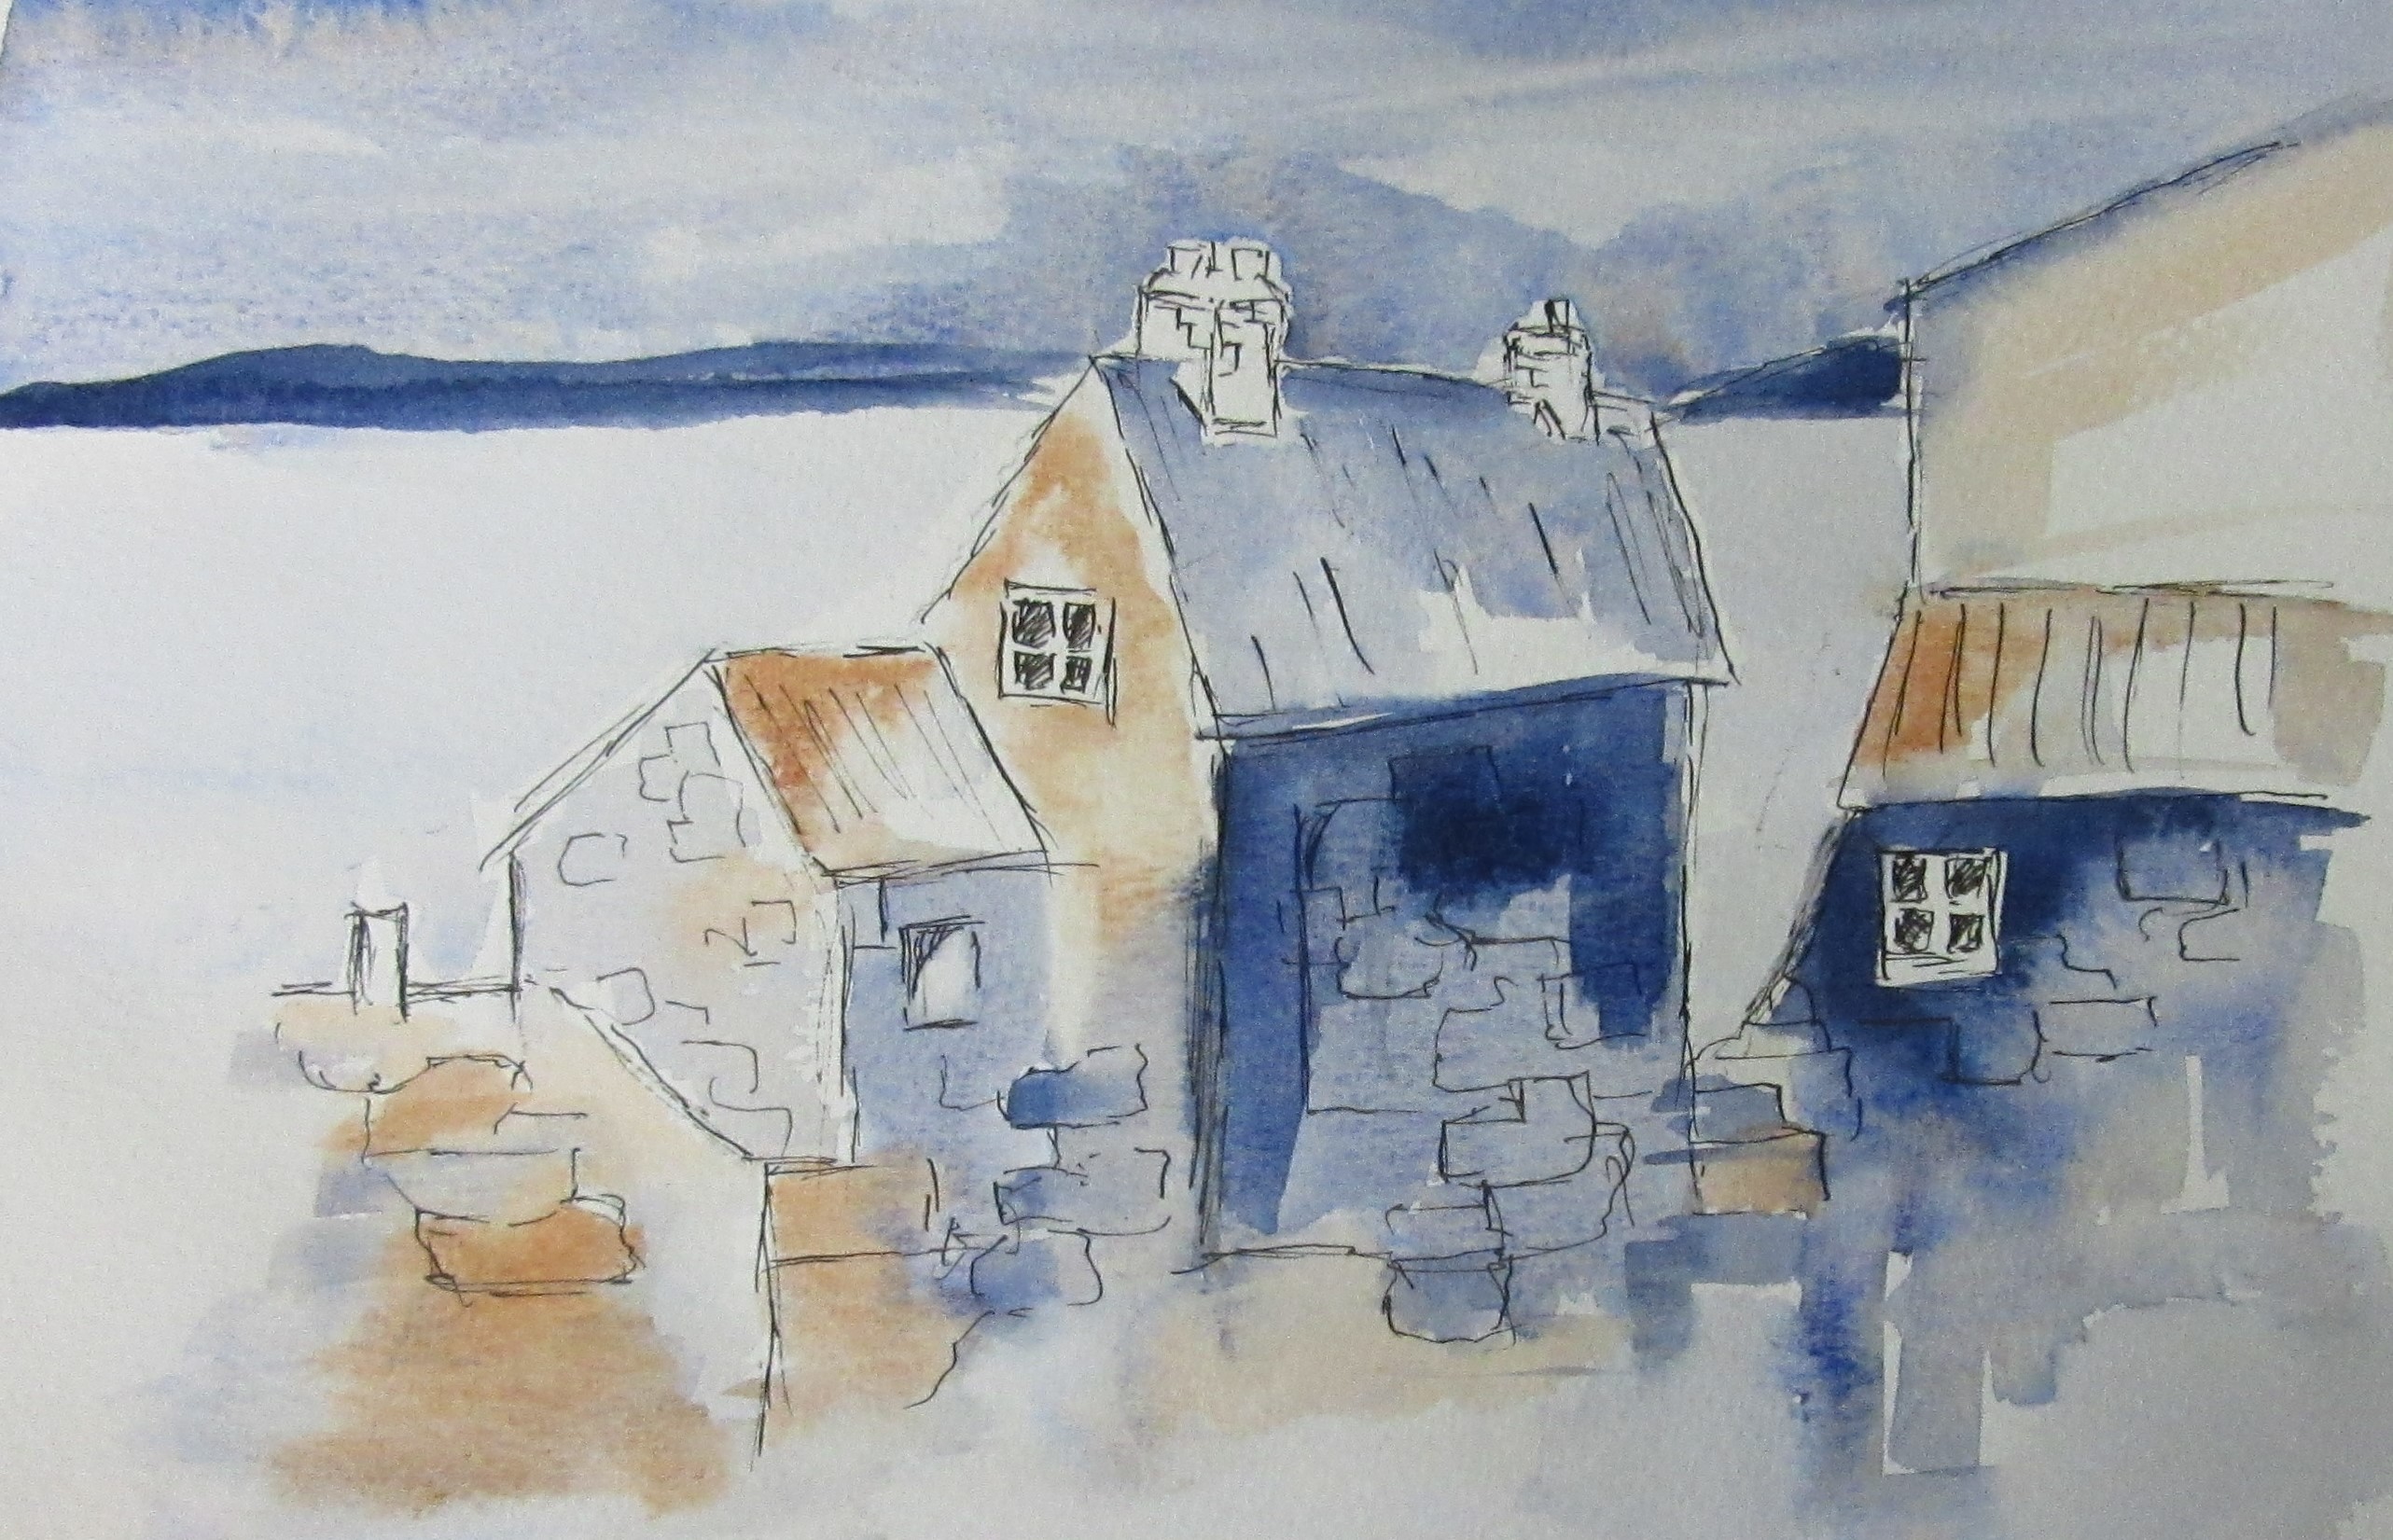
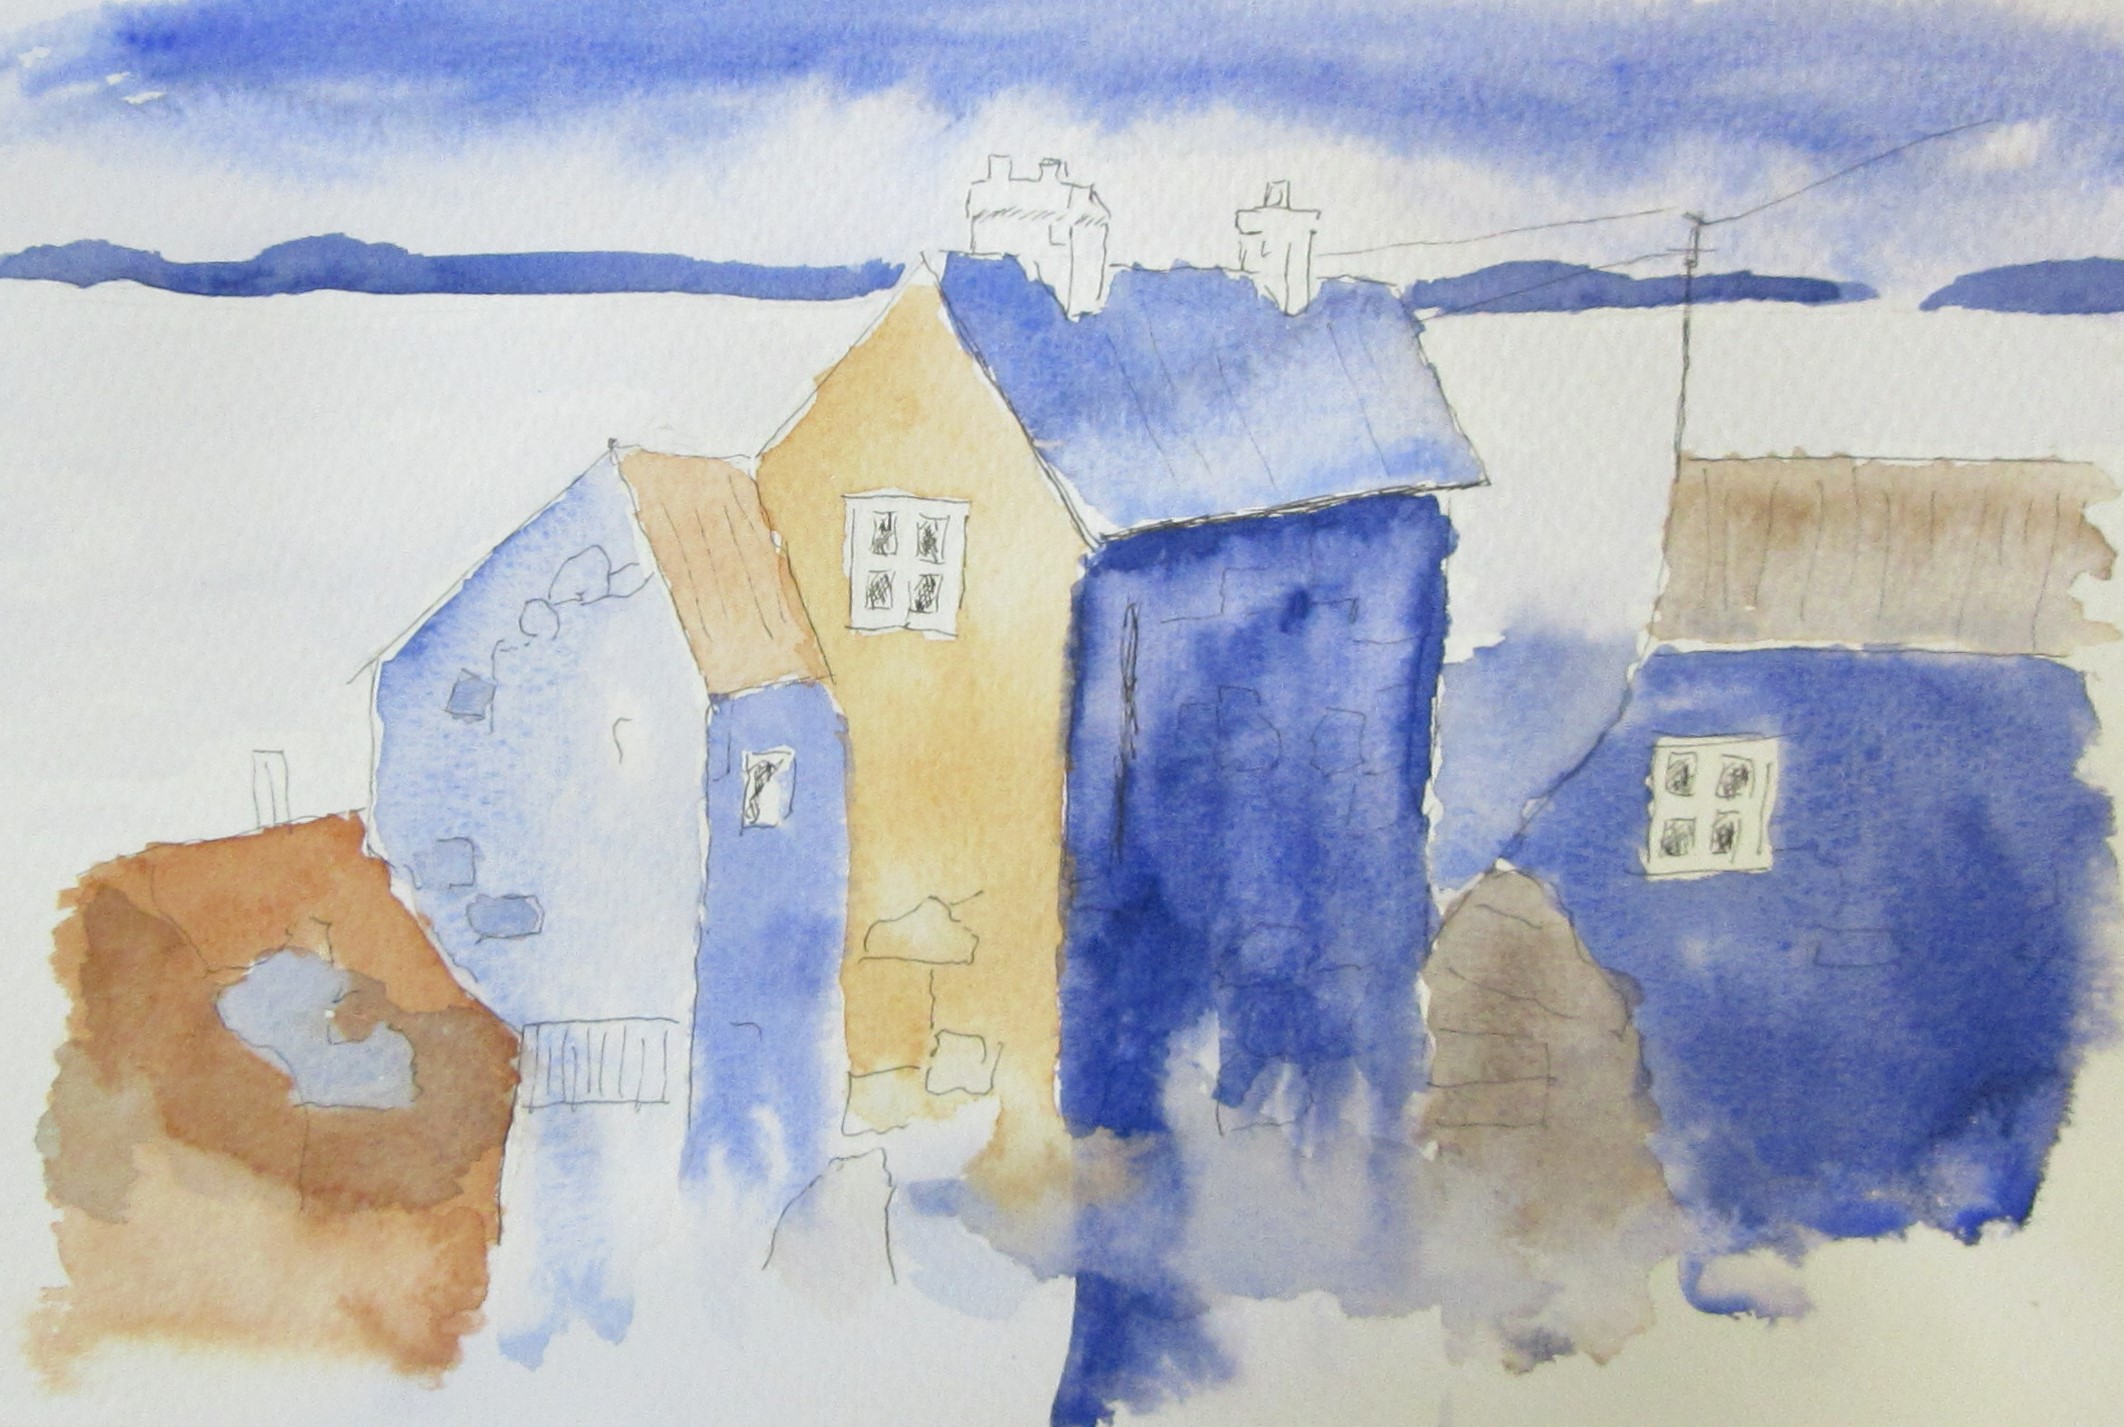


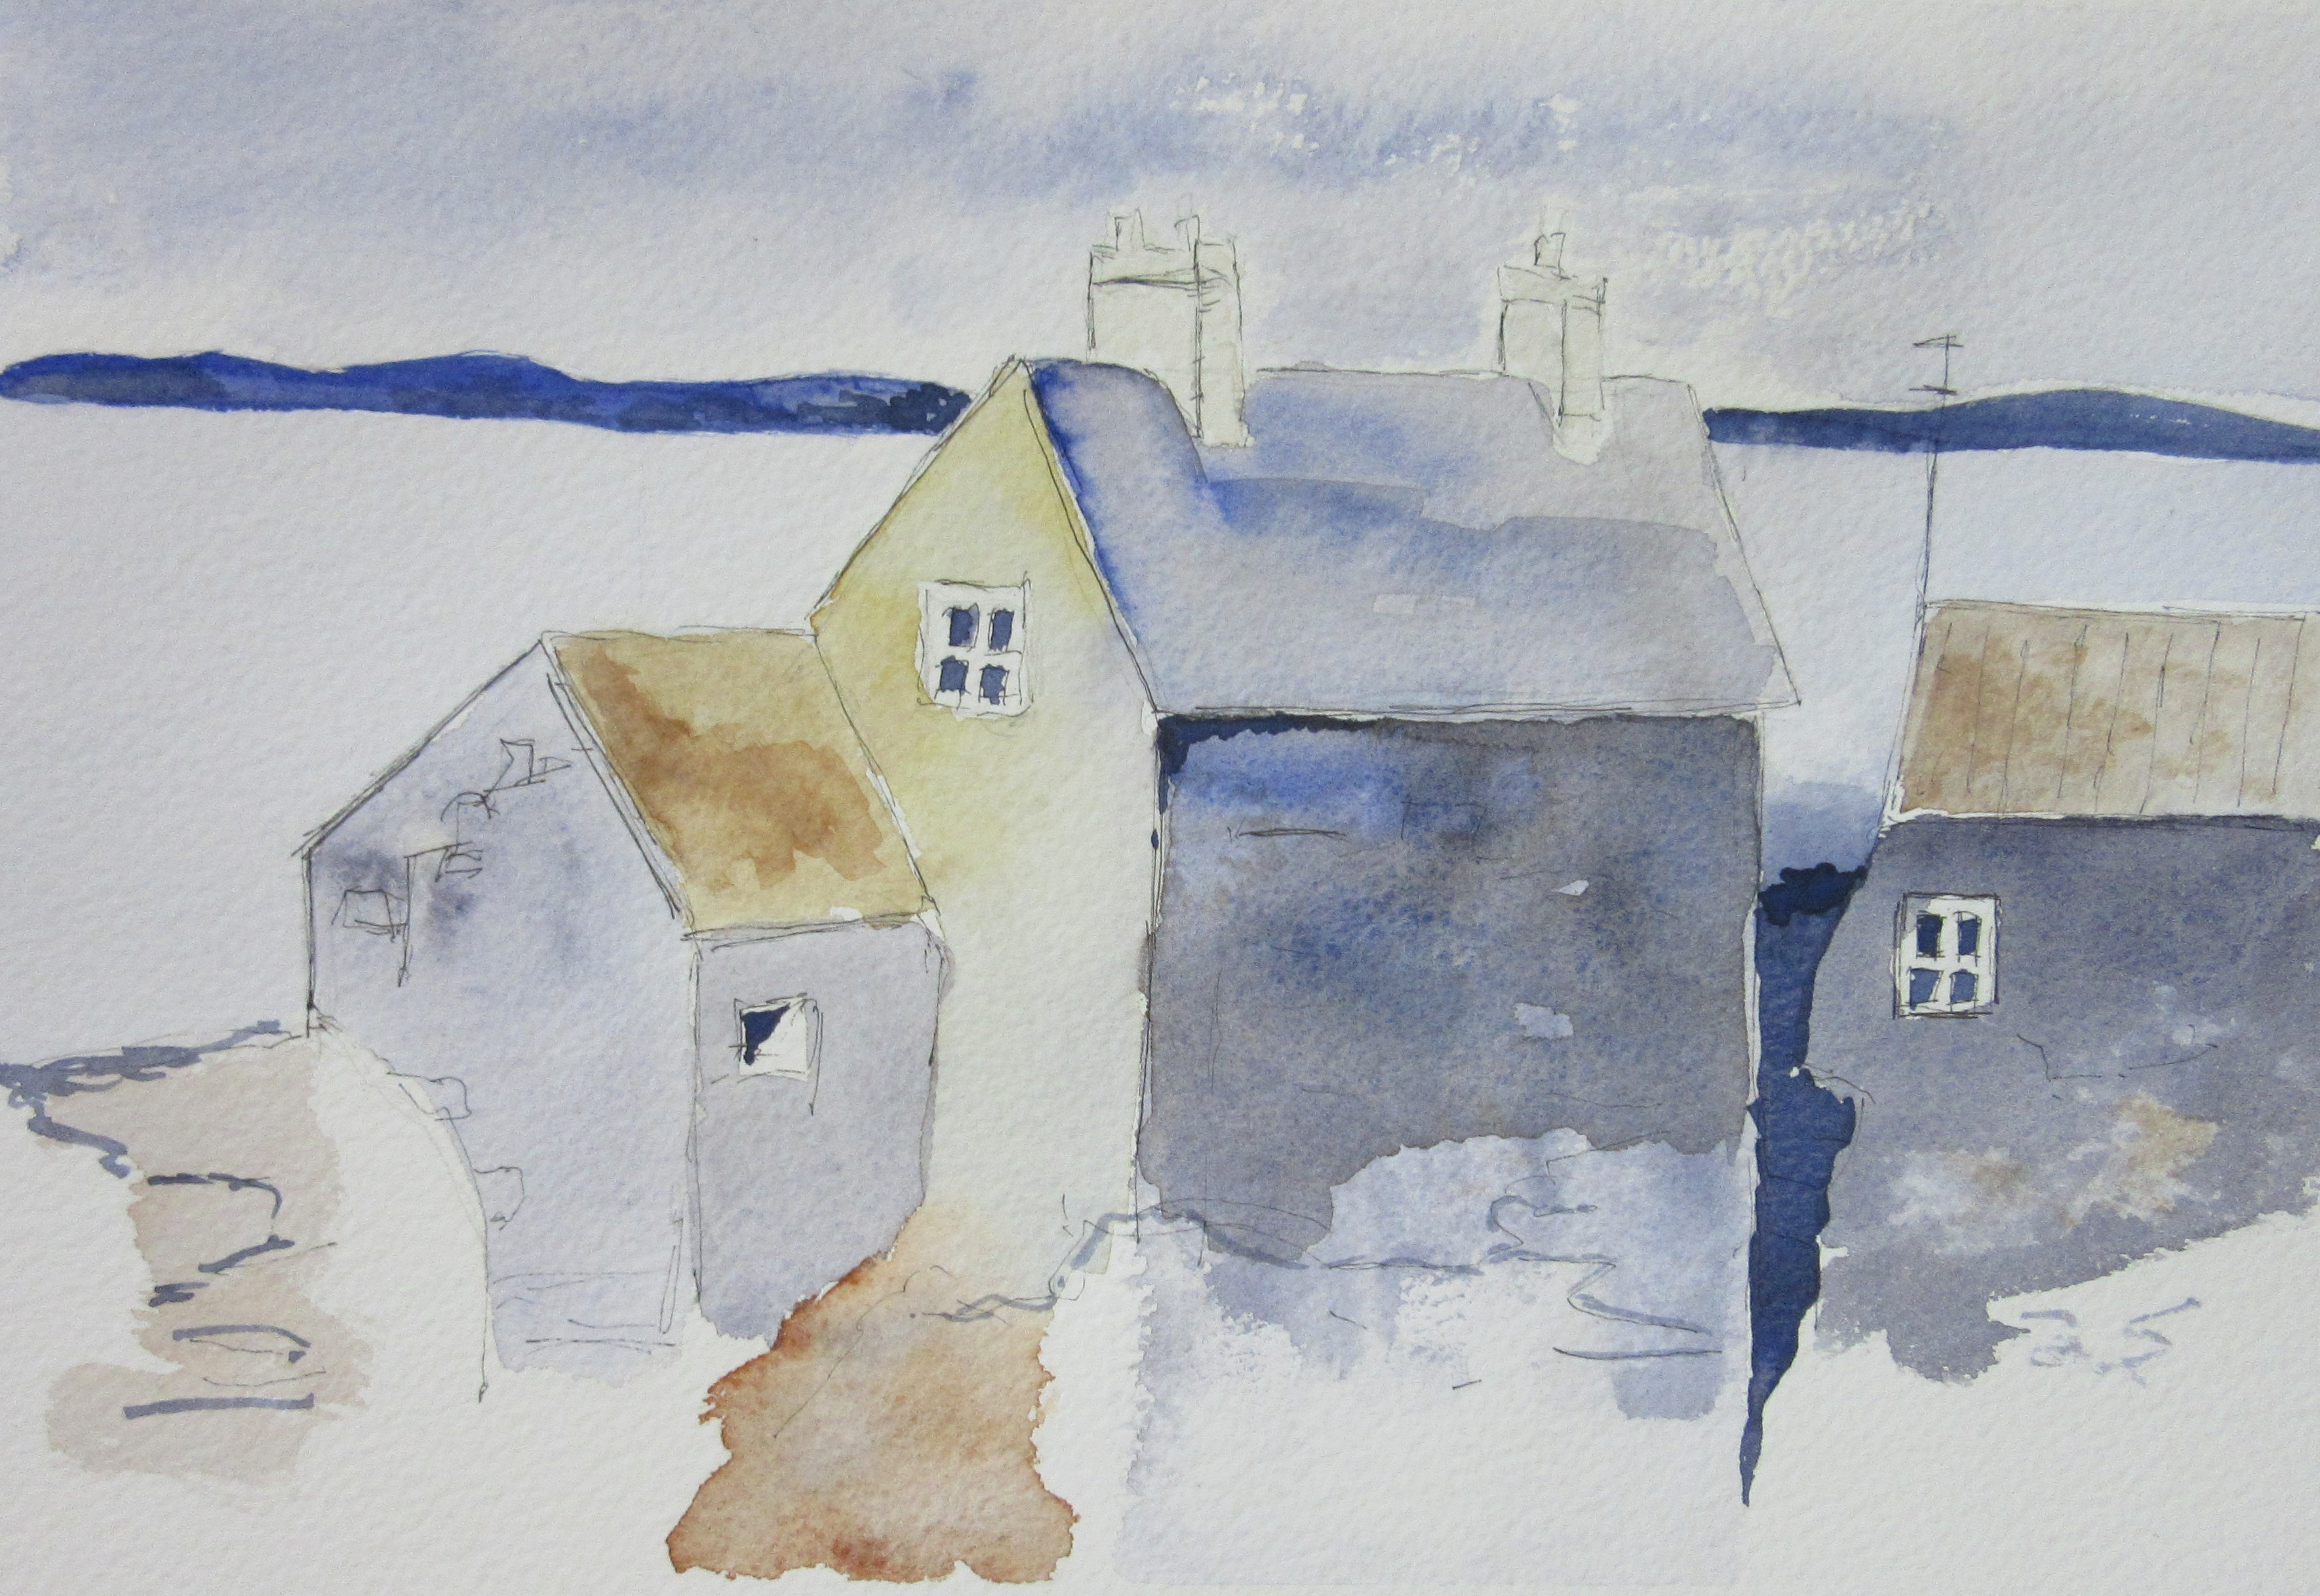


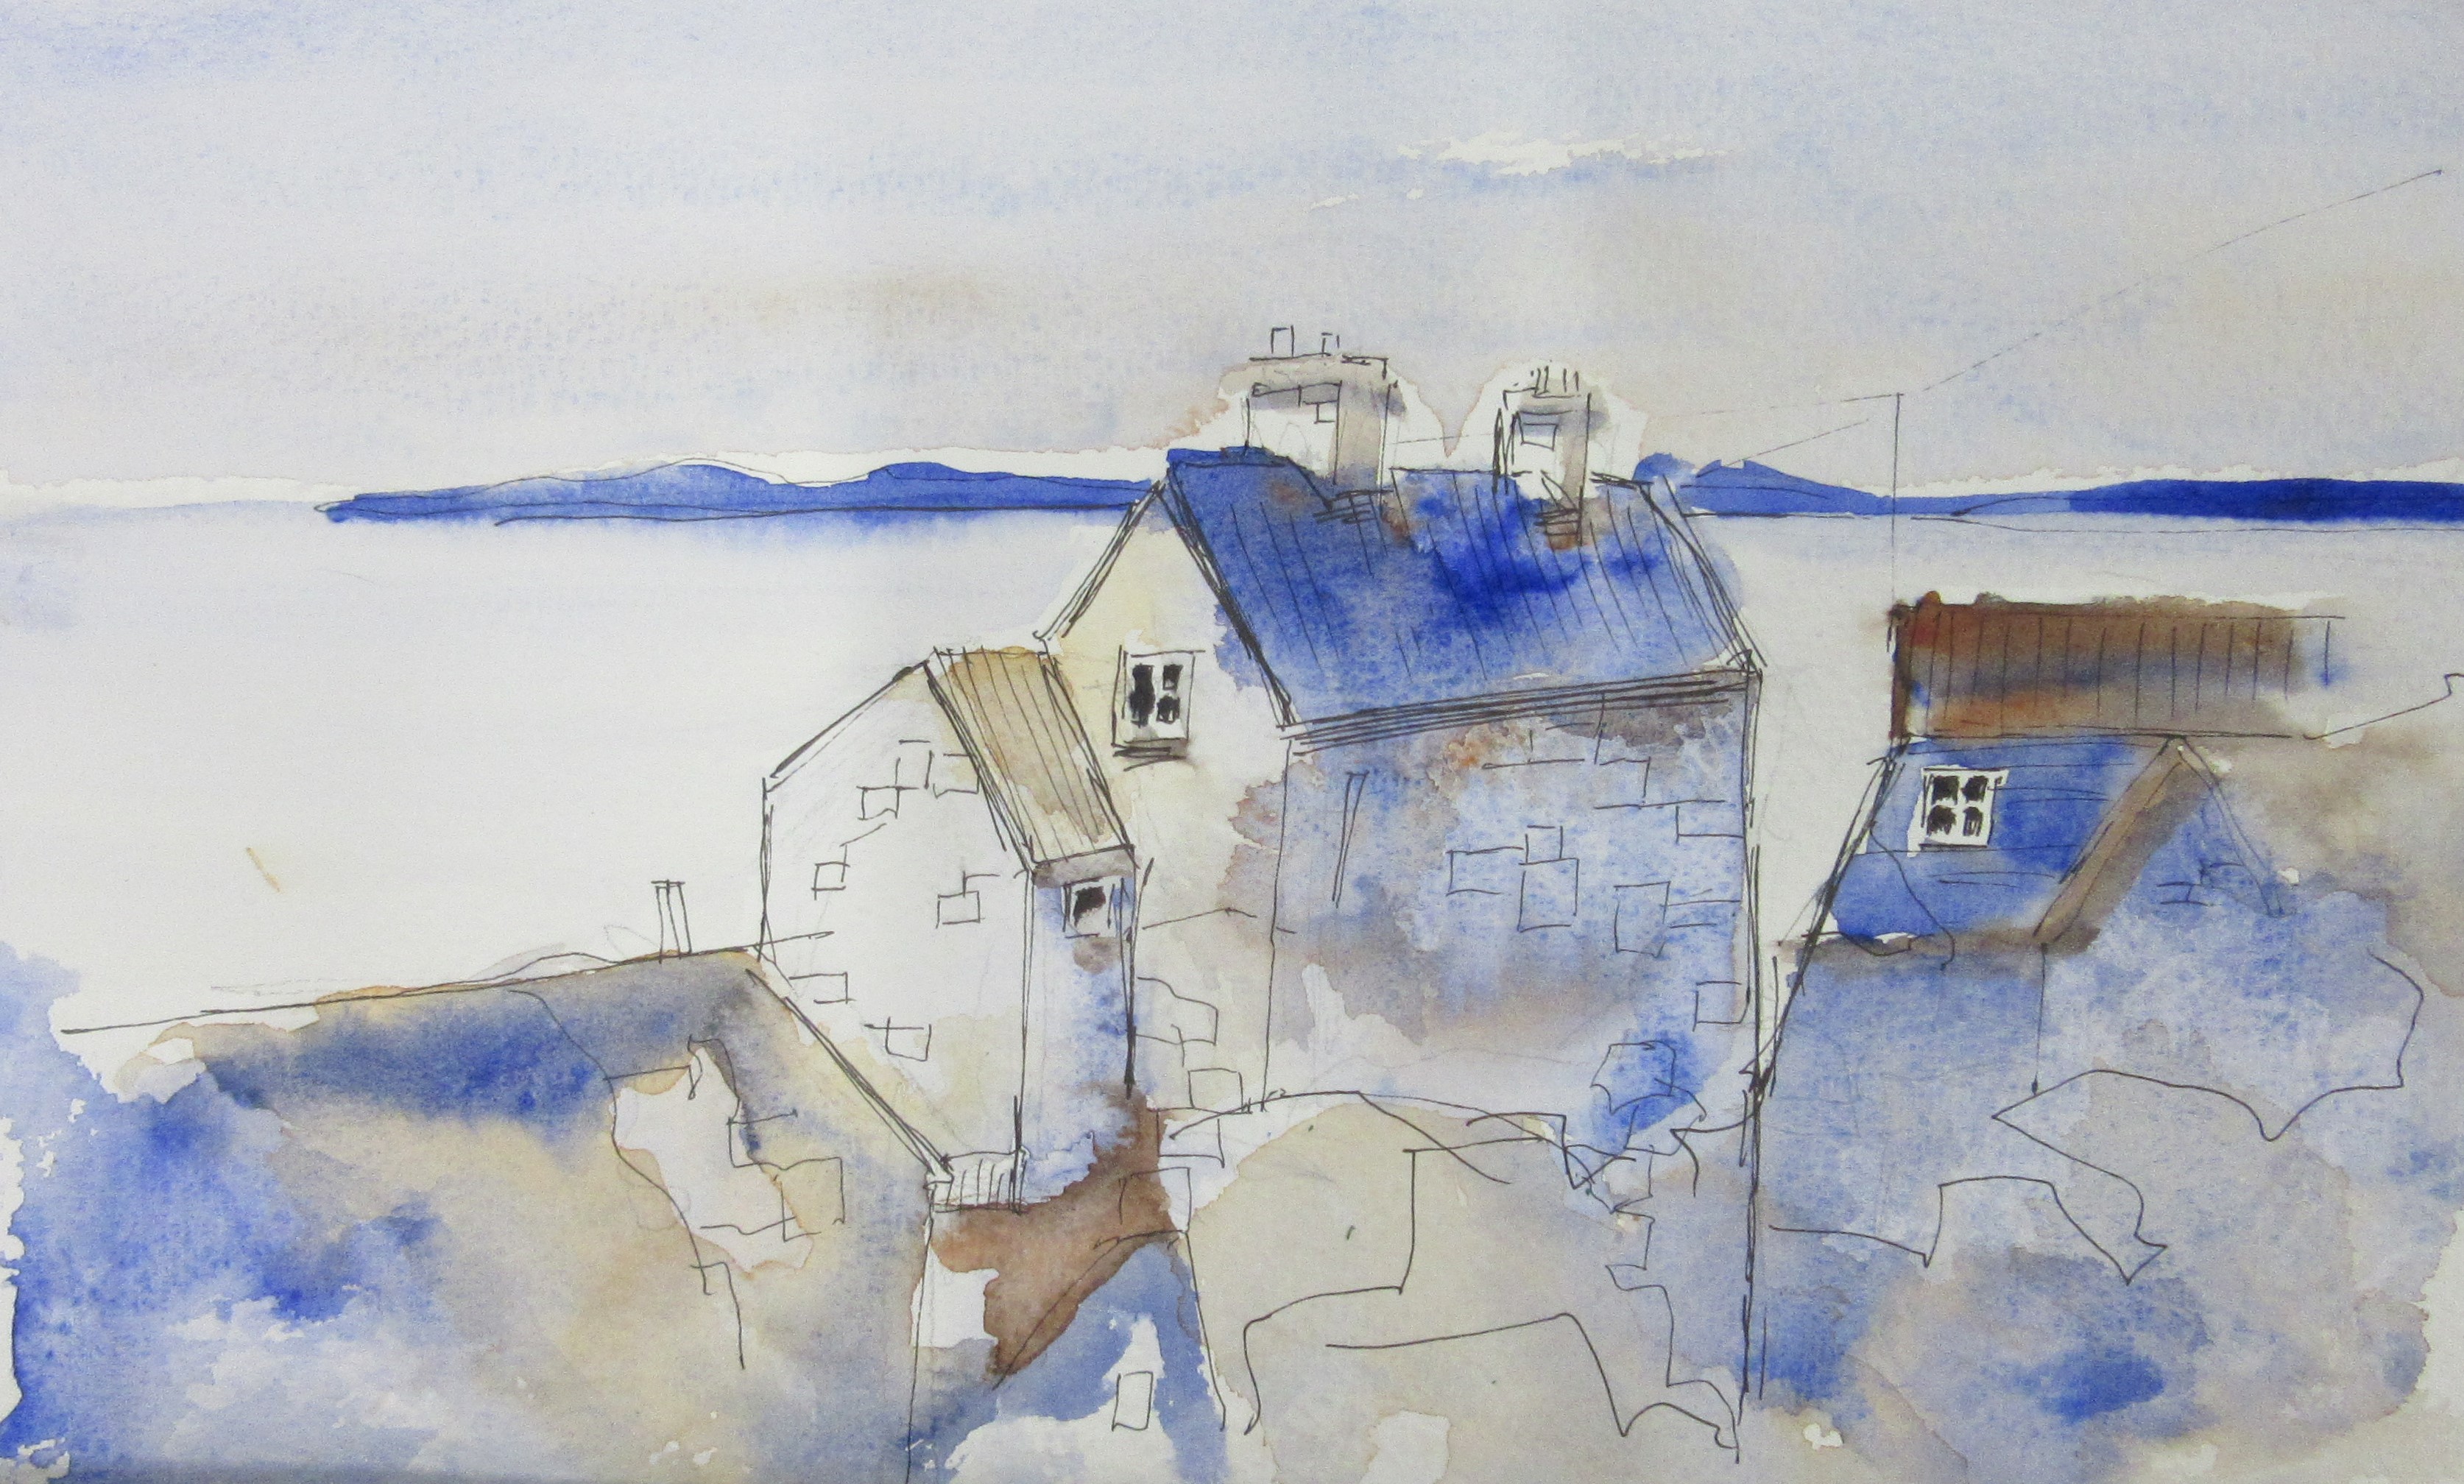
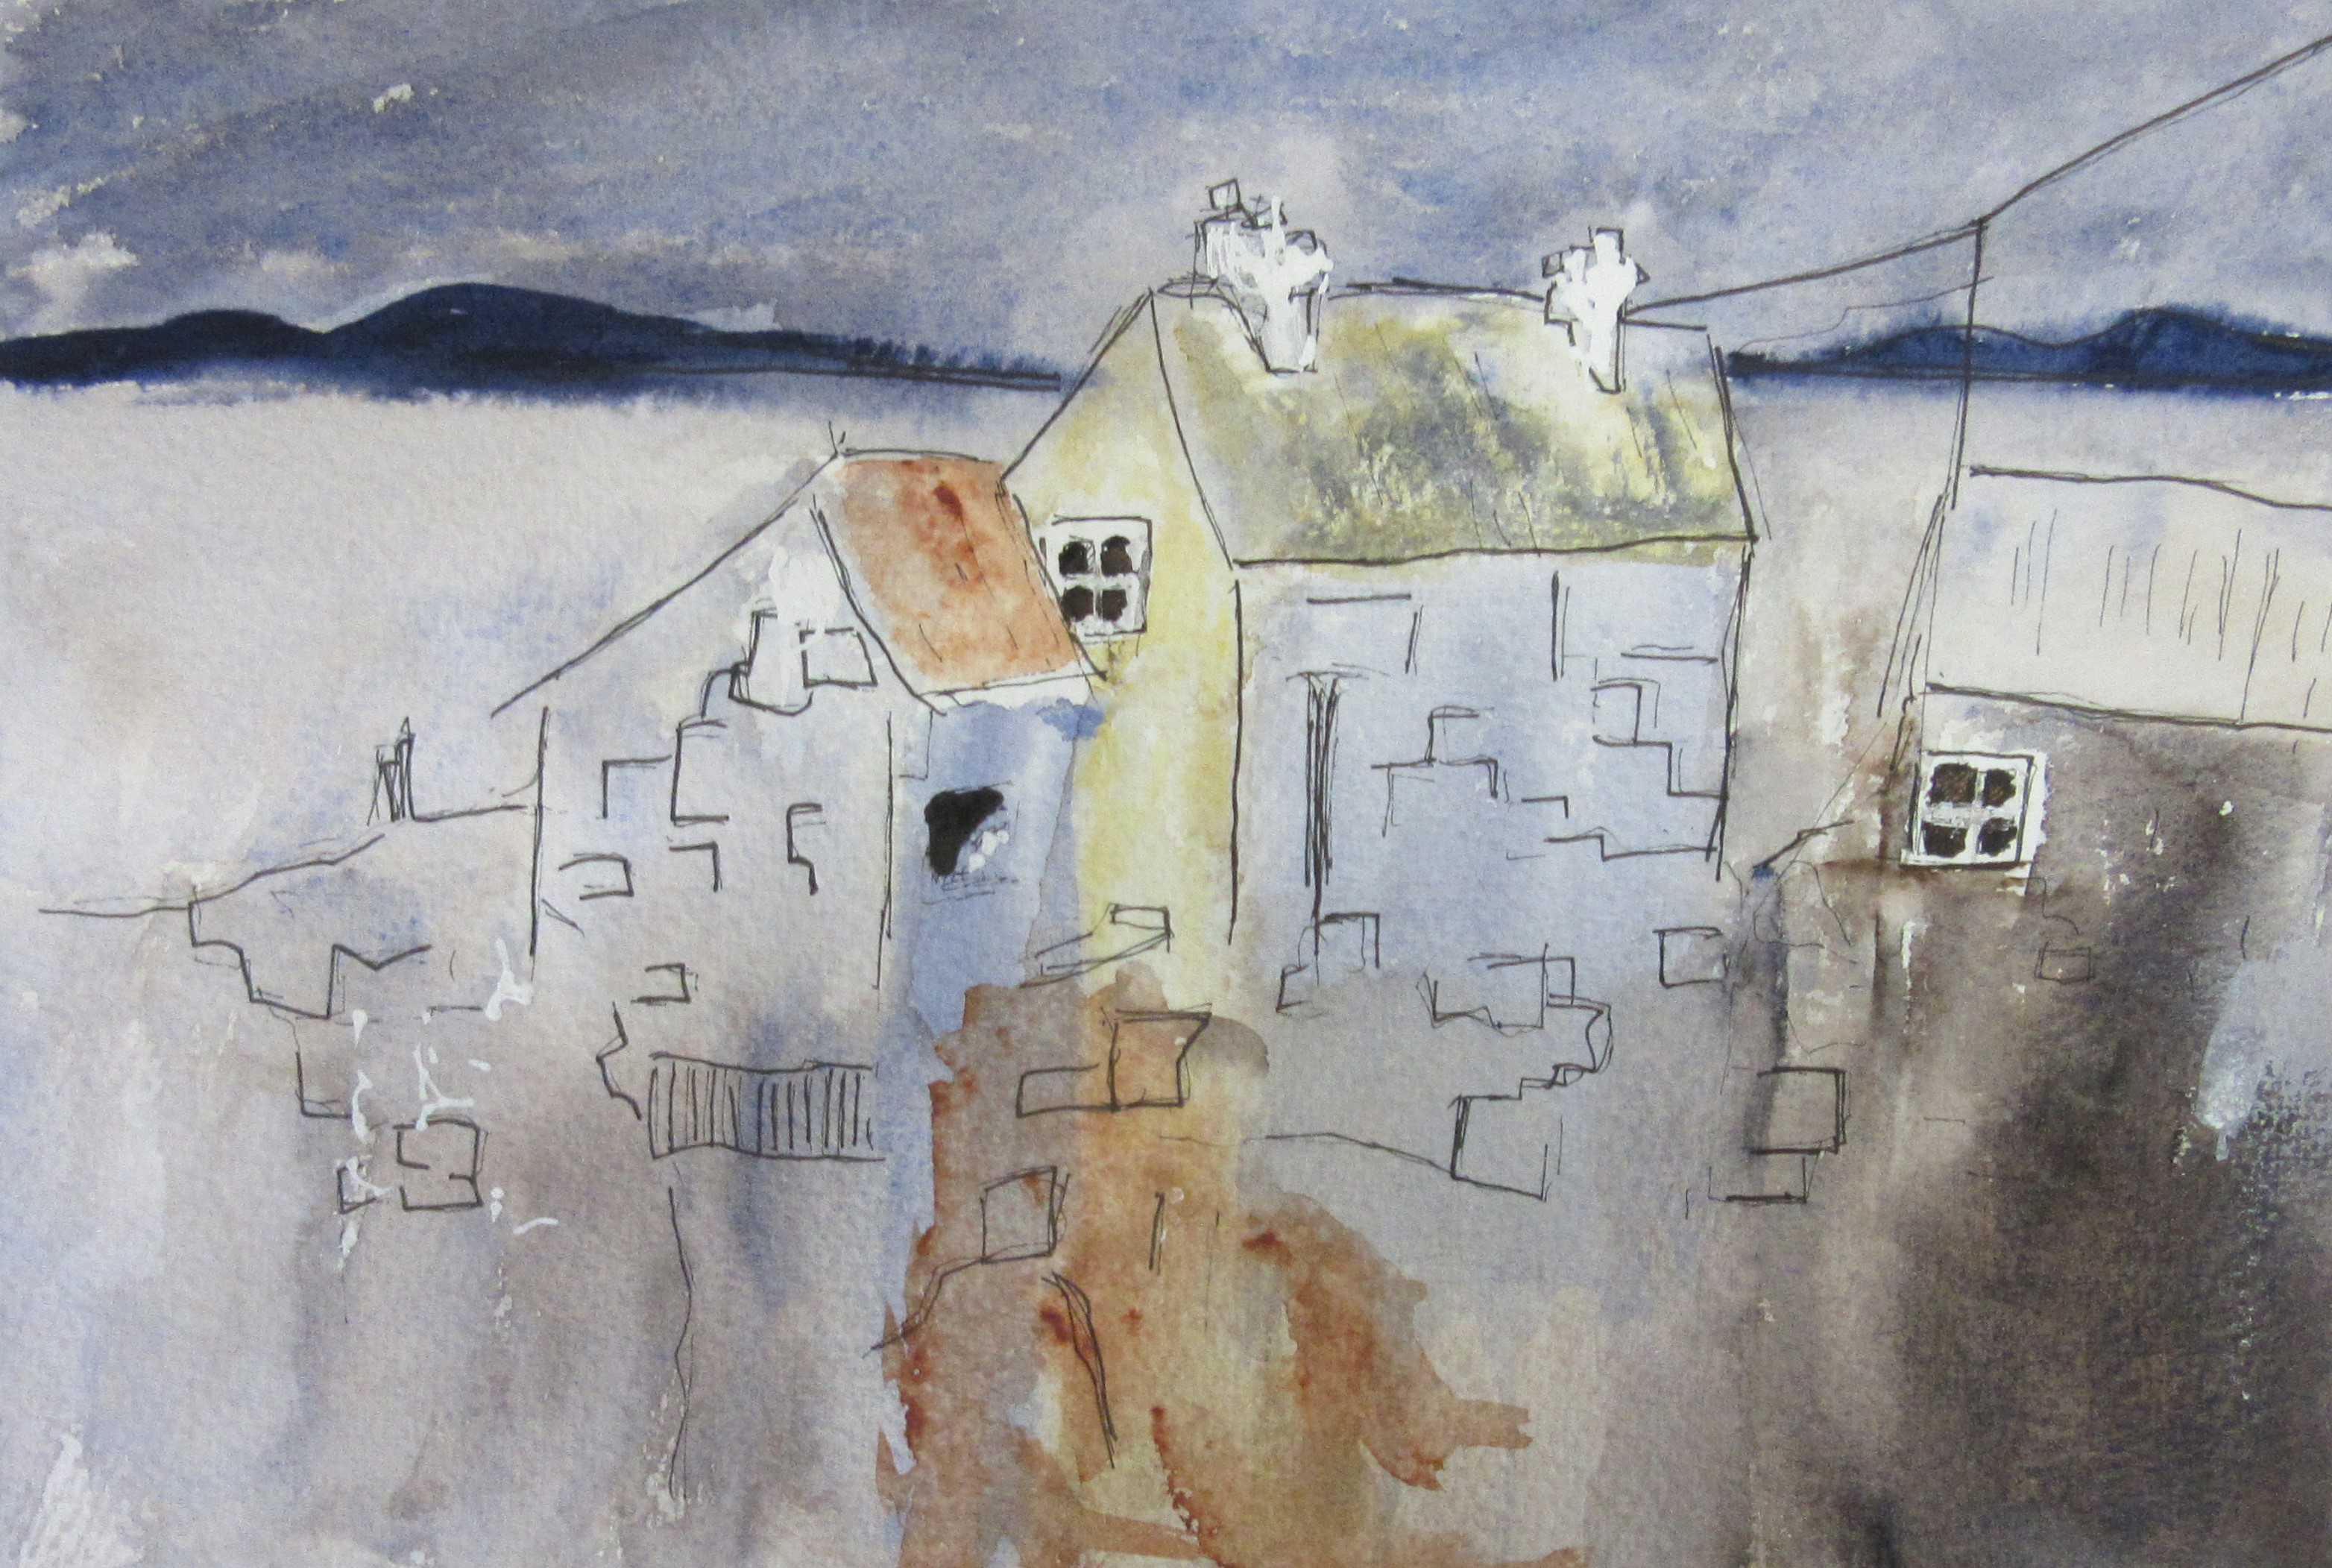
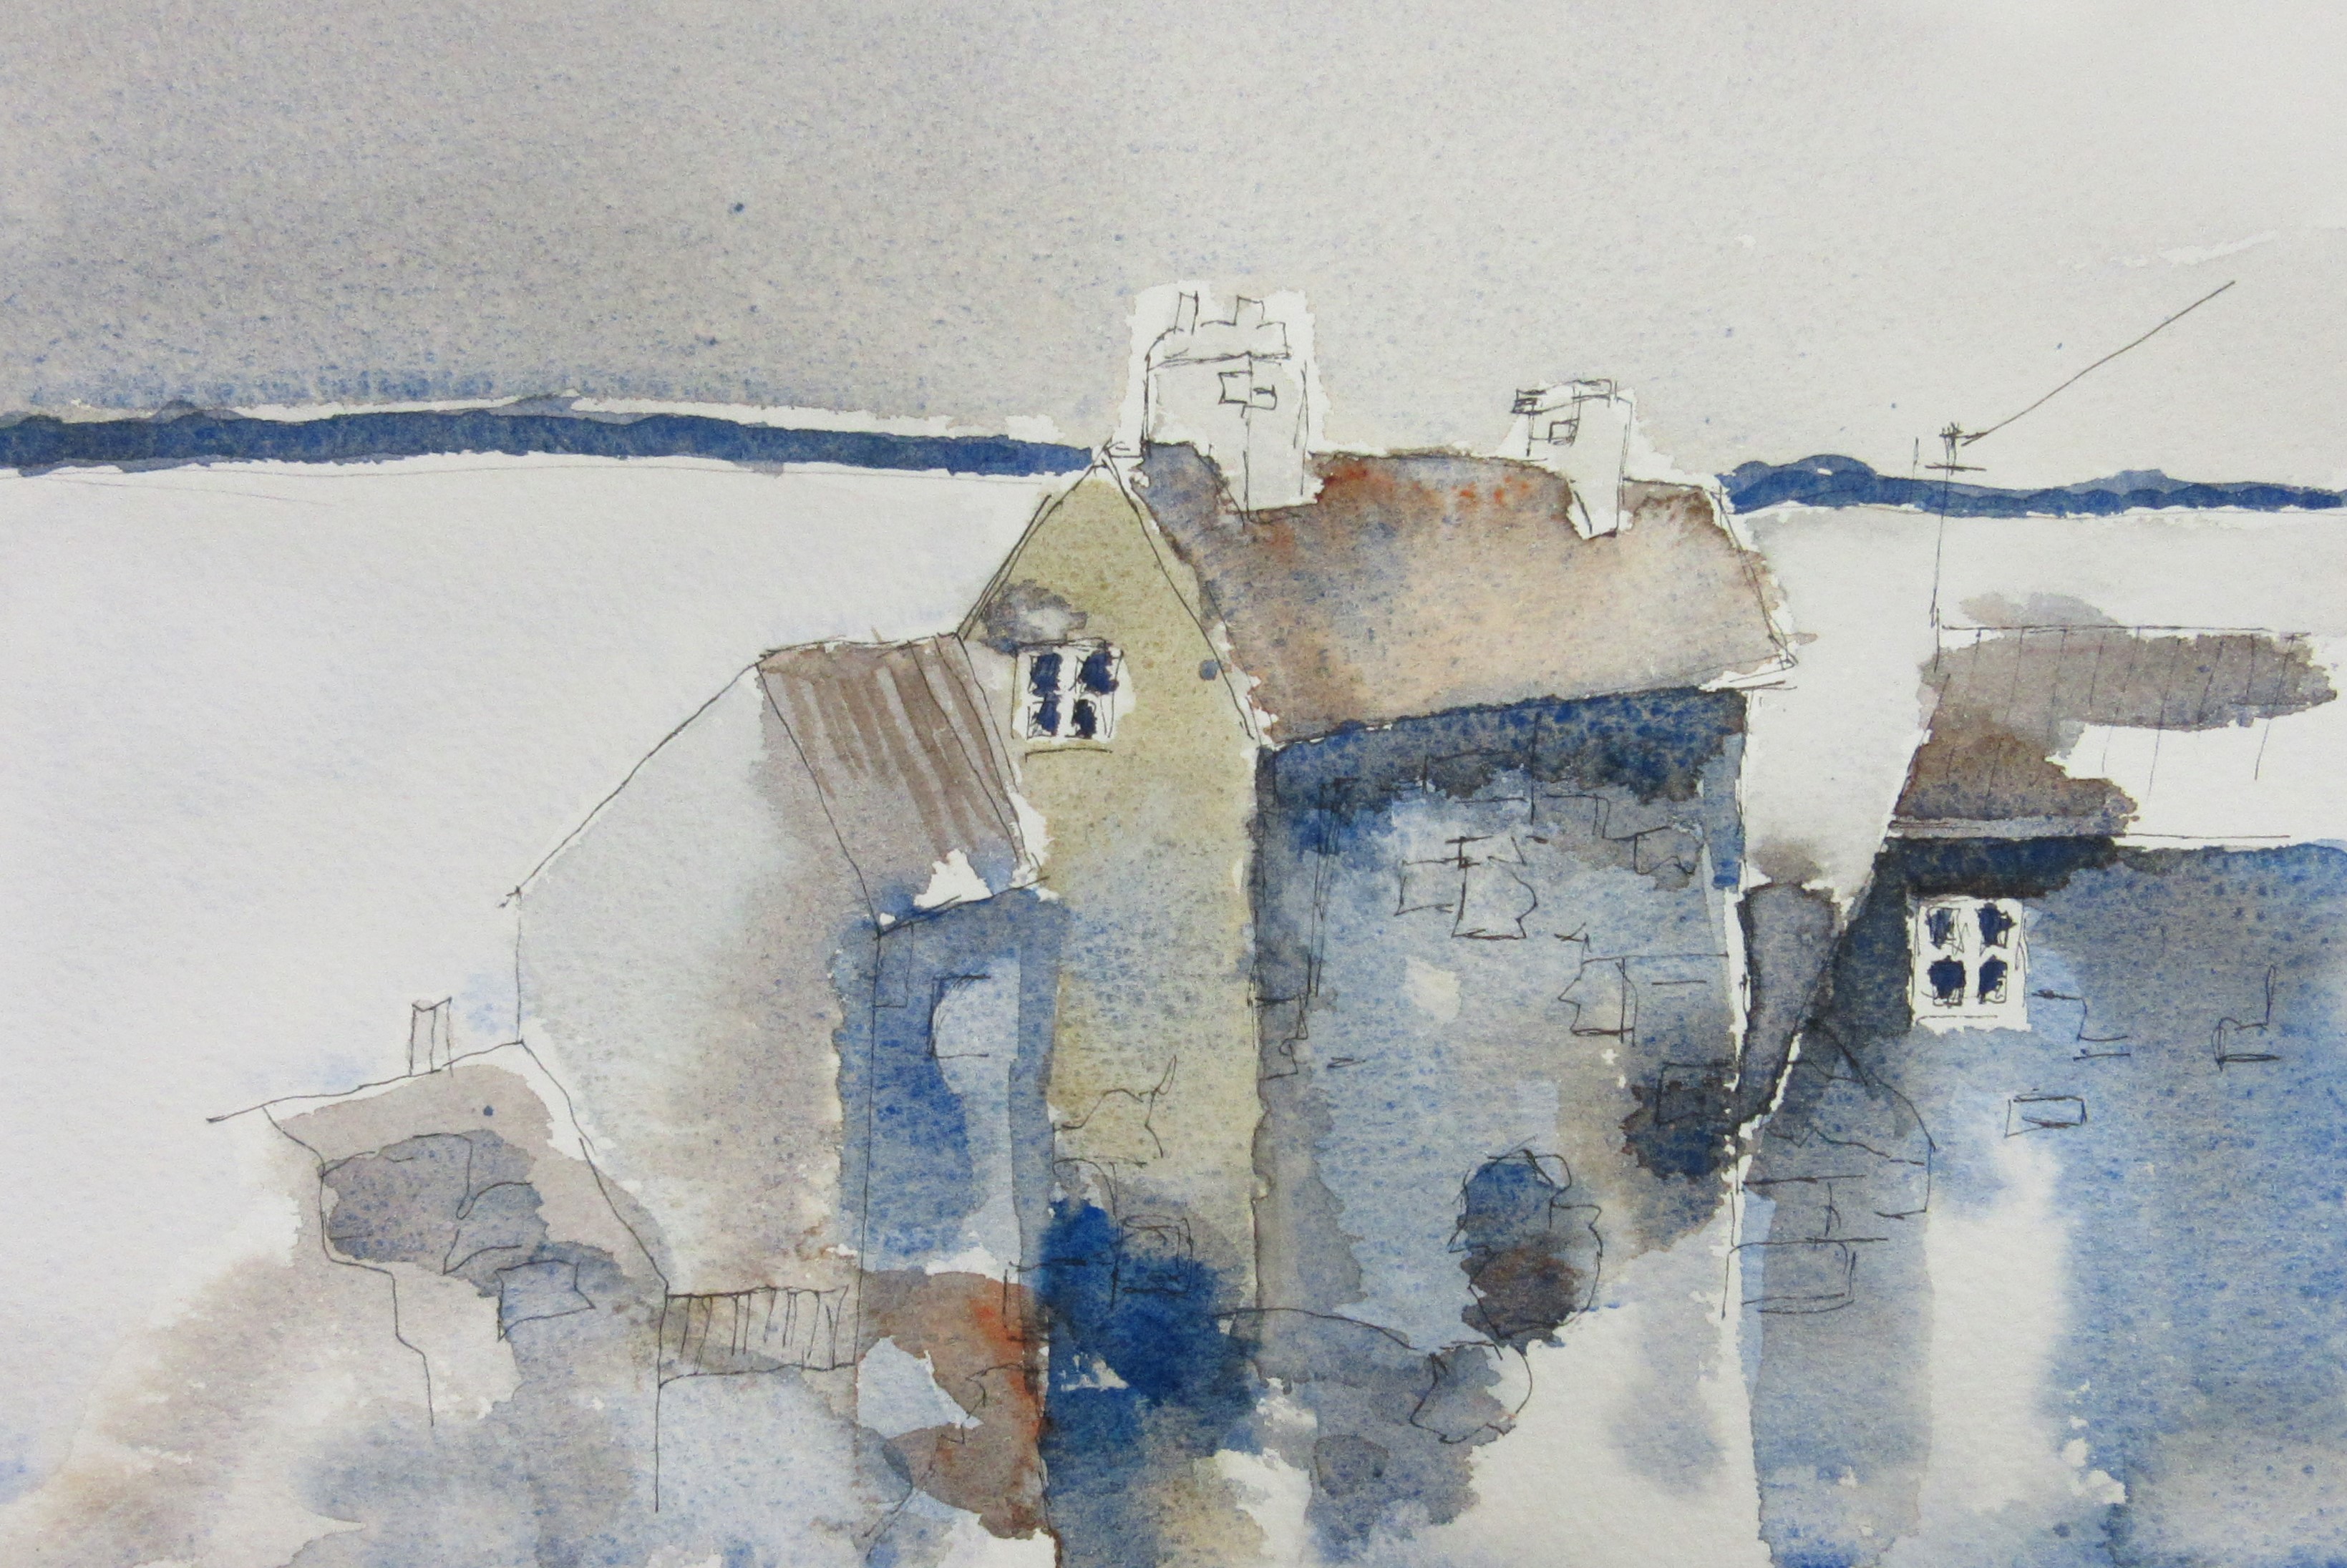
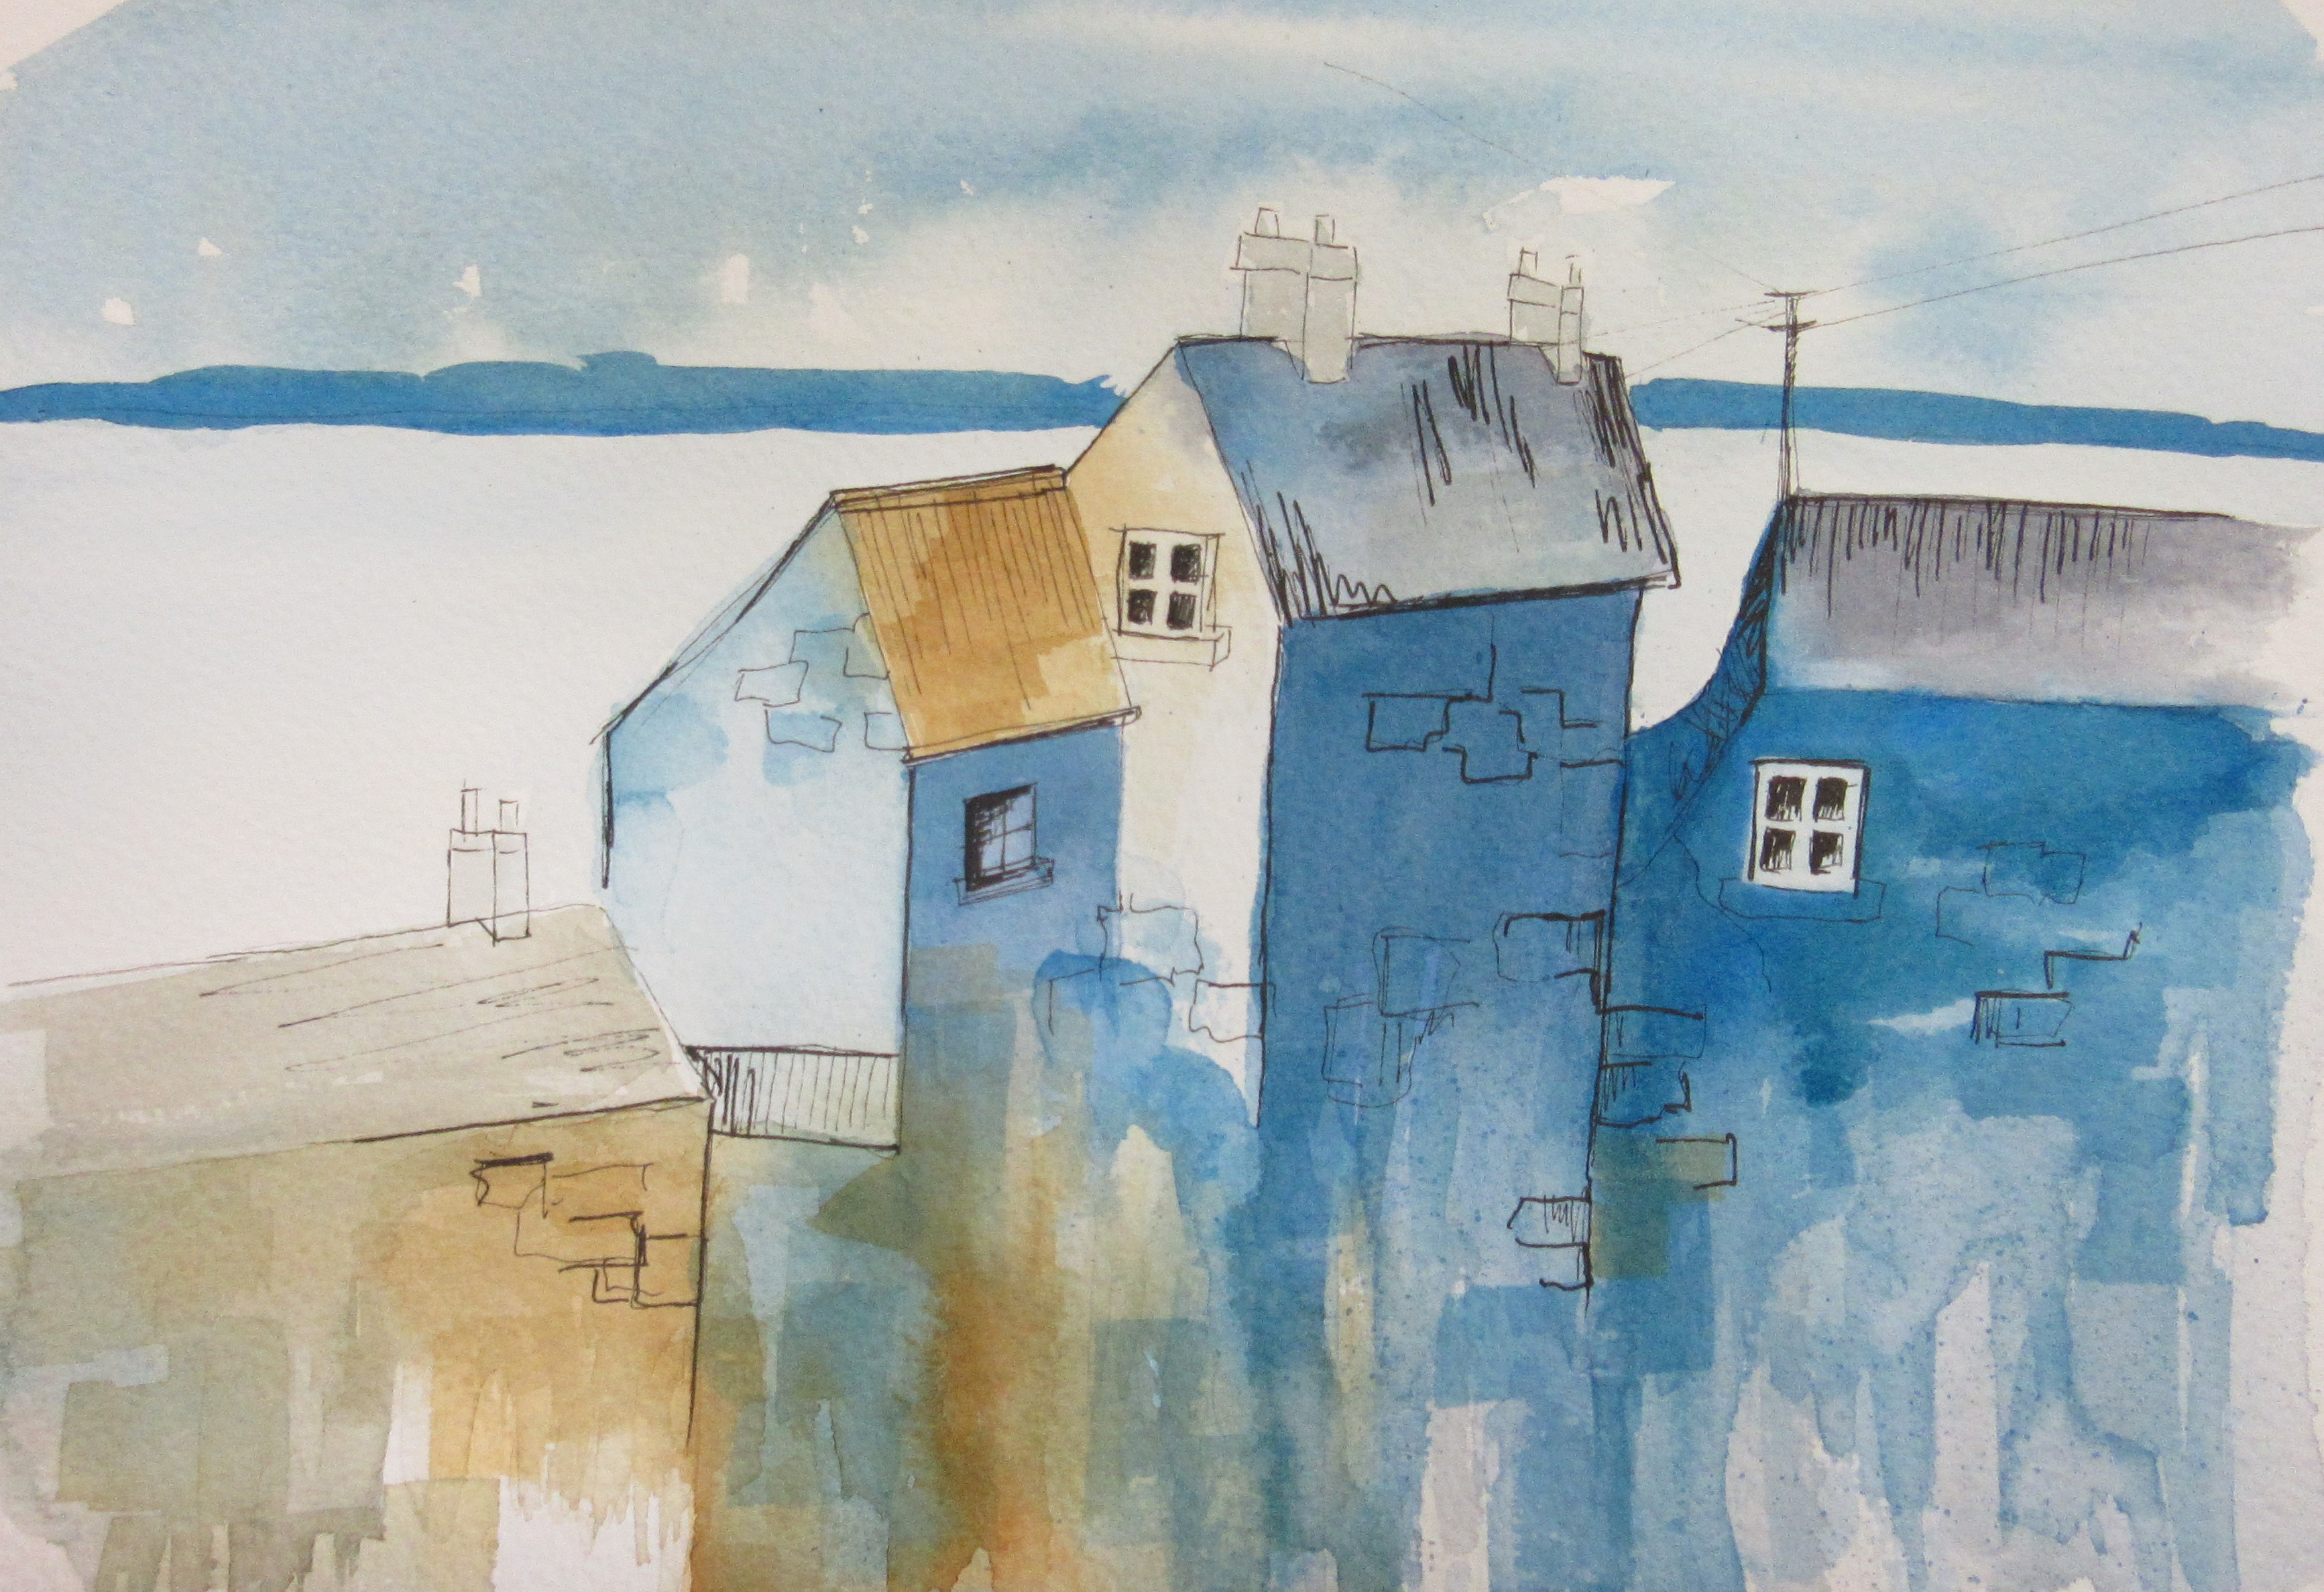
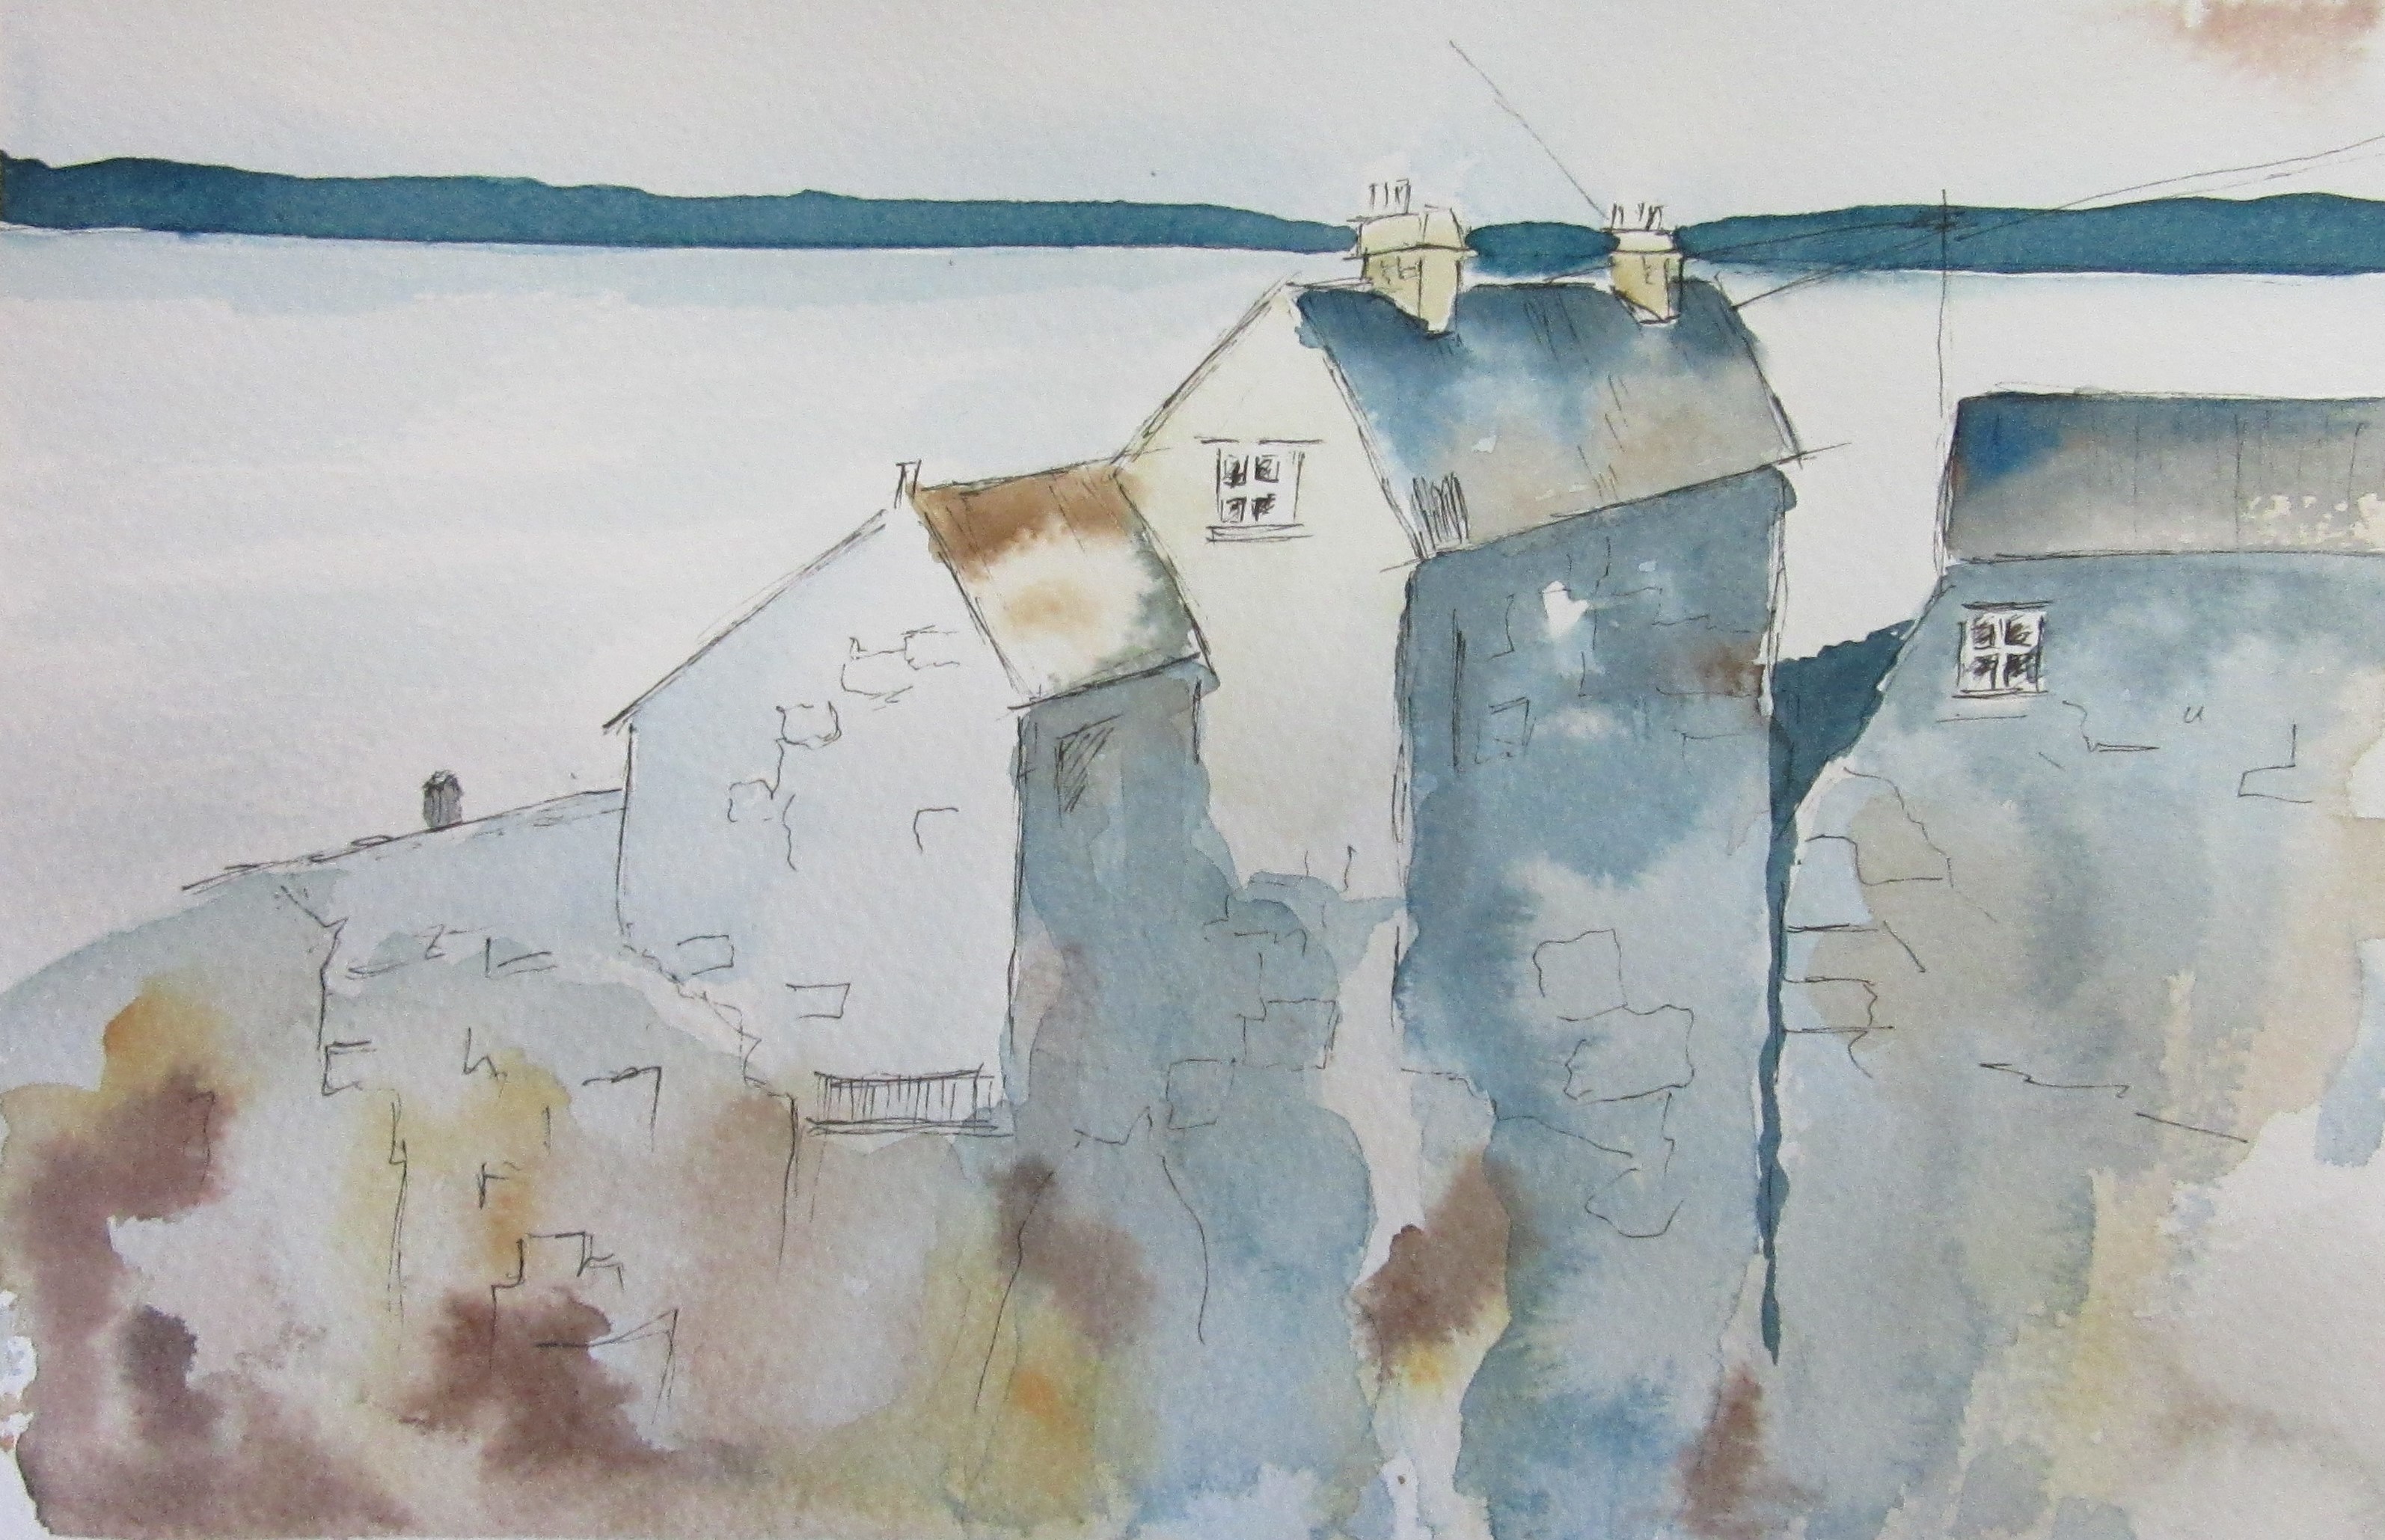
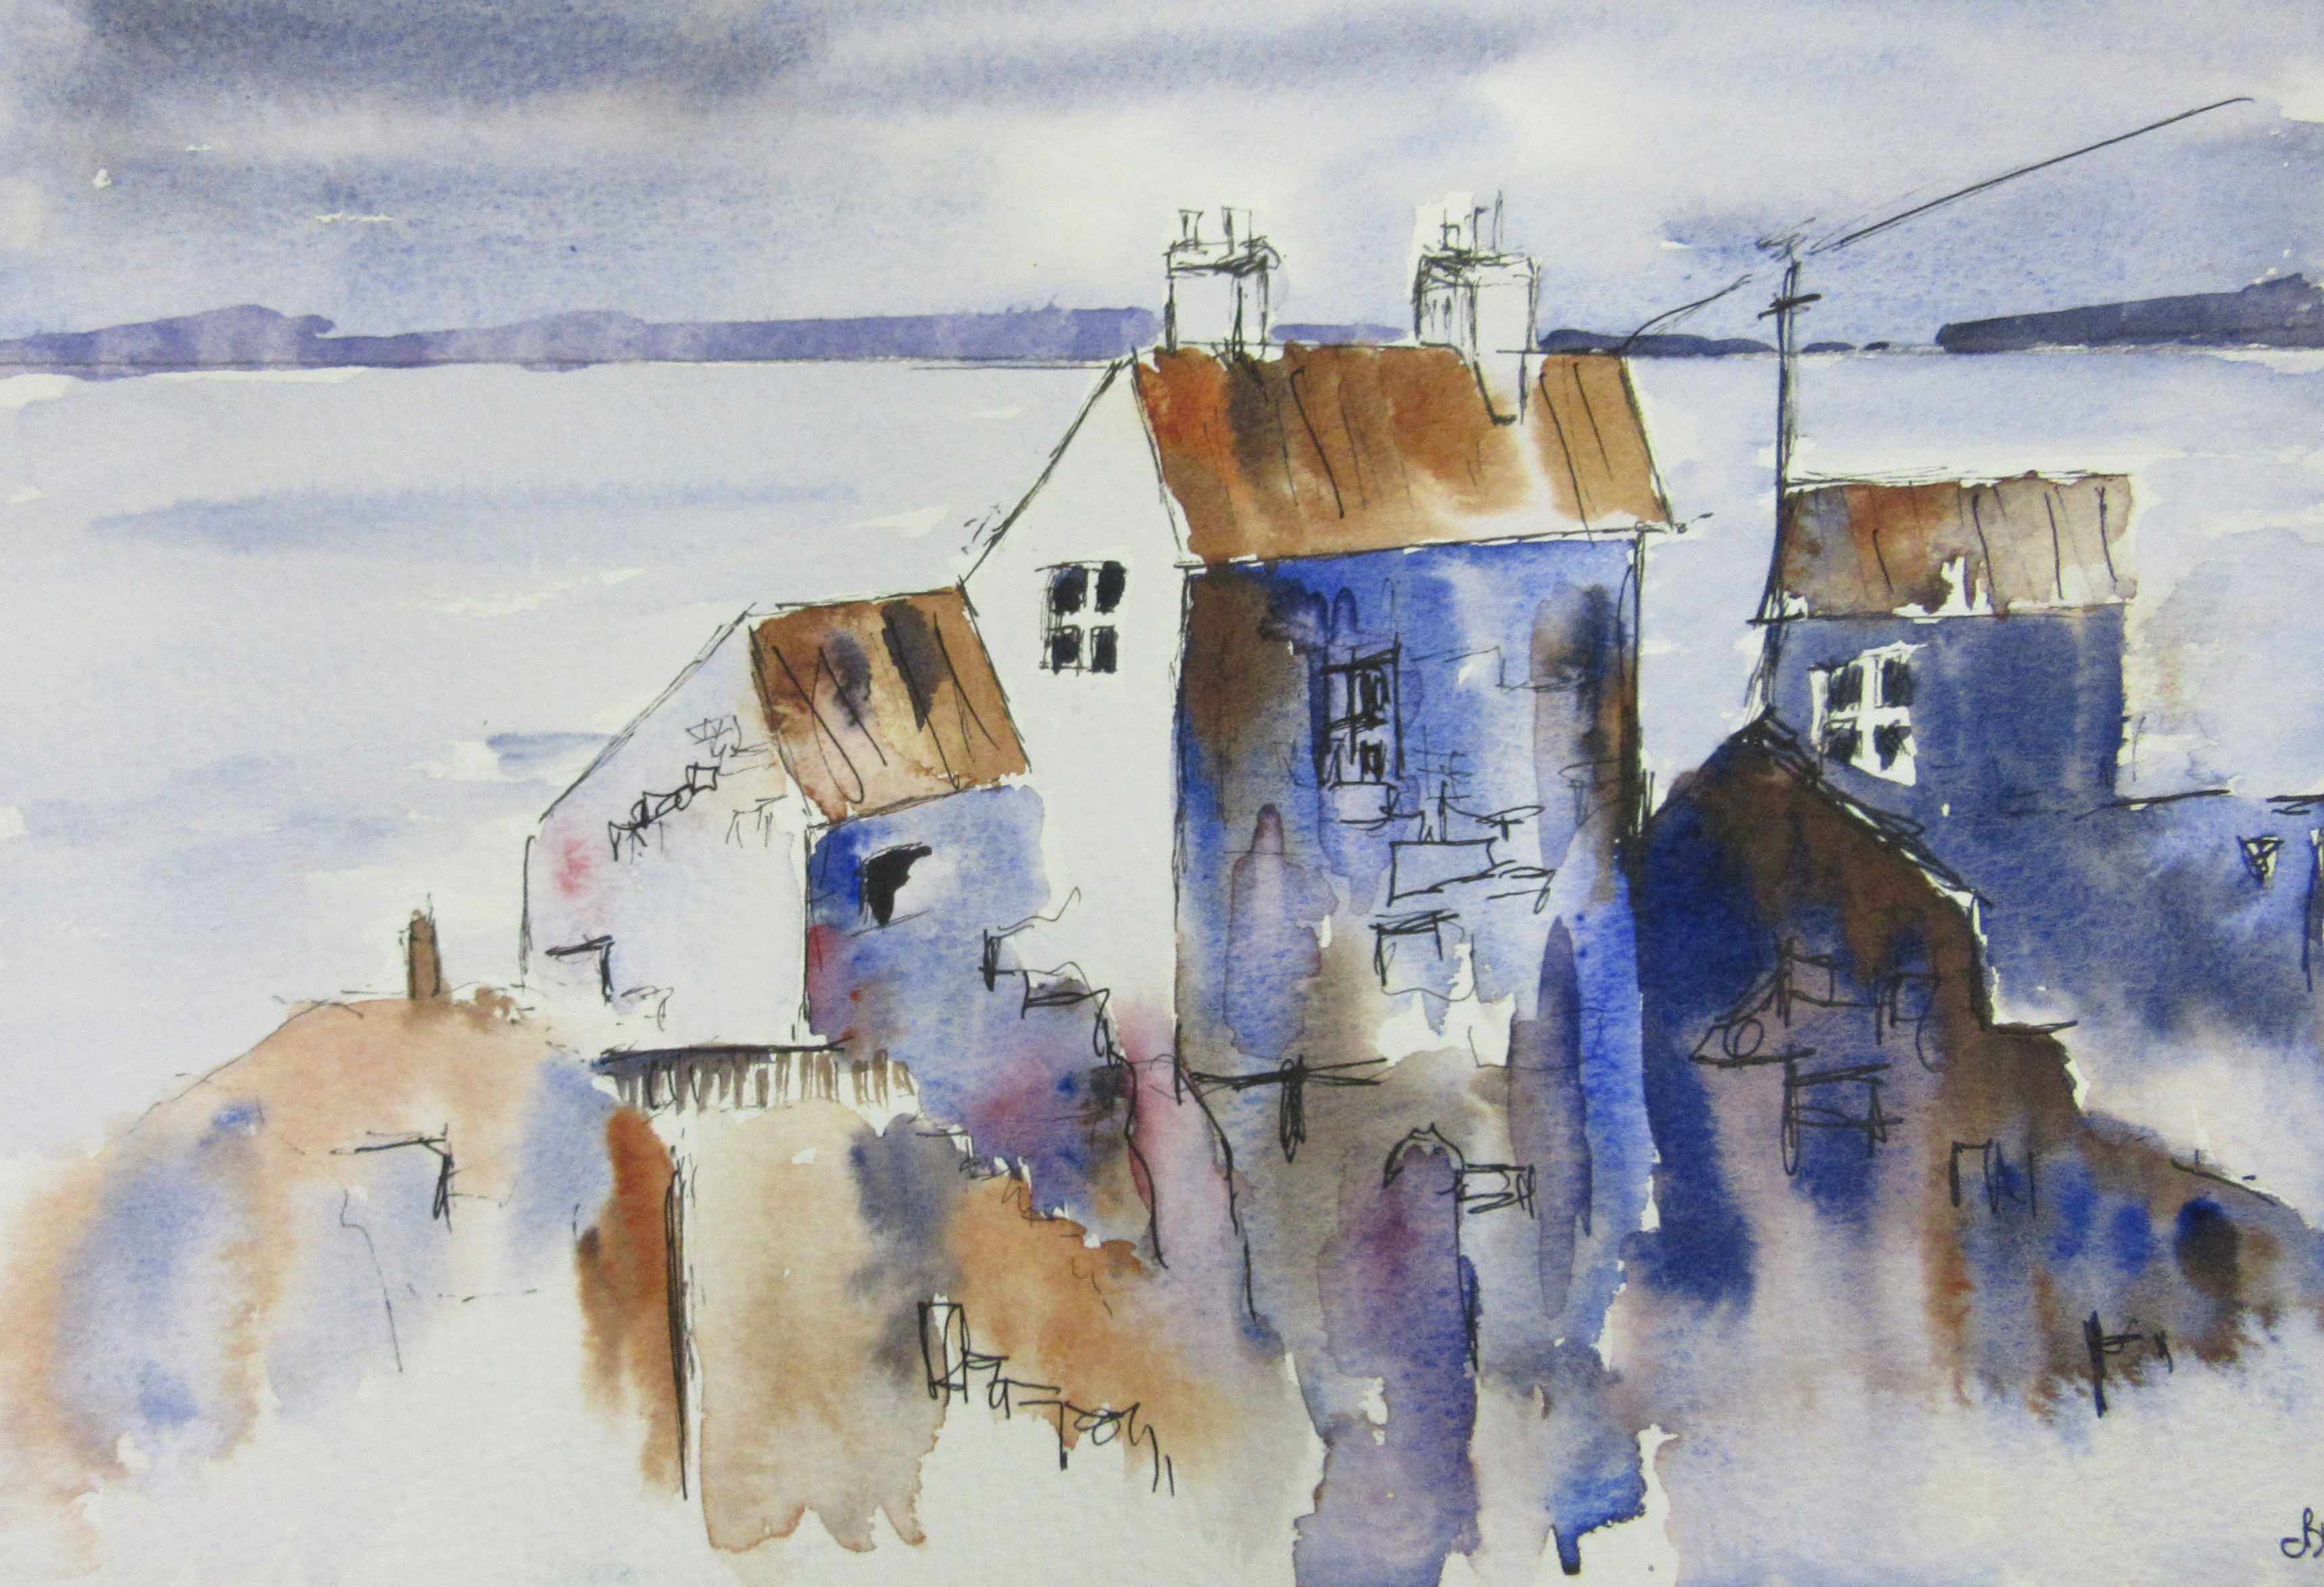
We then let the artistic juices flow, using watercolour techniques using cling film and granulation medium. Quite different using acrylic inks, had to be quick as you were unable to lift out colours like you do with watercolours. Very interesting workshop and Chris was a very attentive tutor guiding us to where ever we wanted to go.


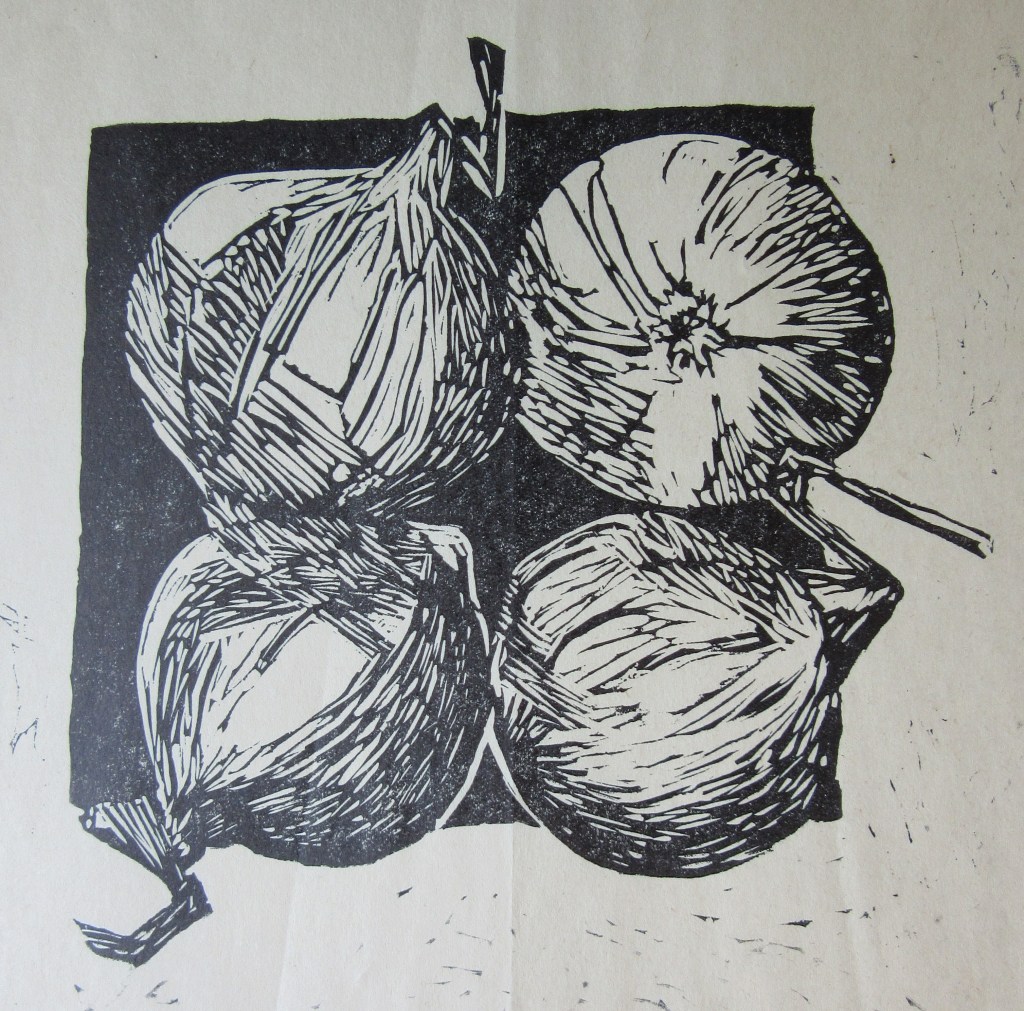
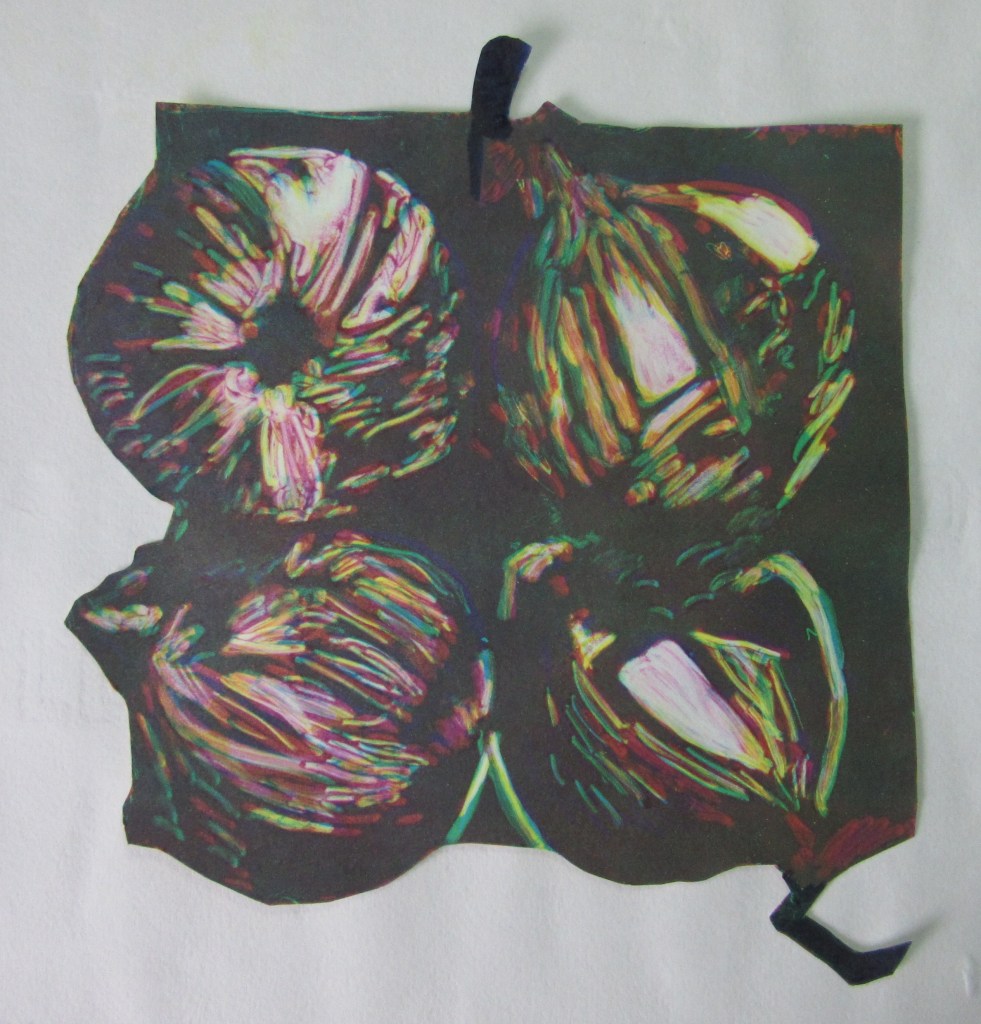
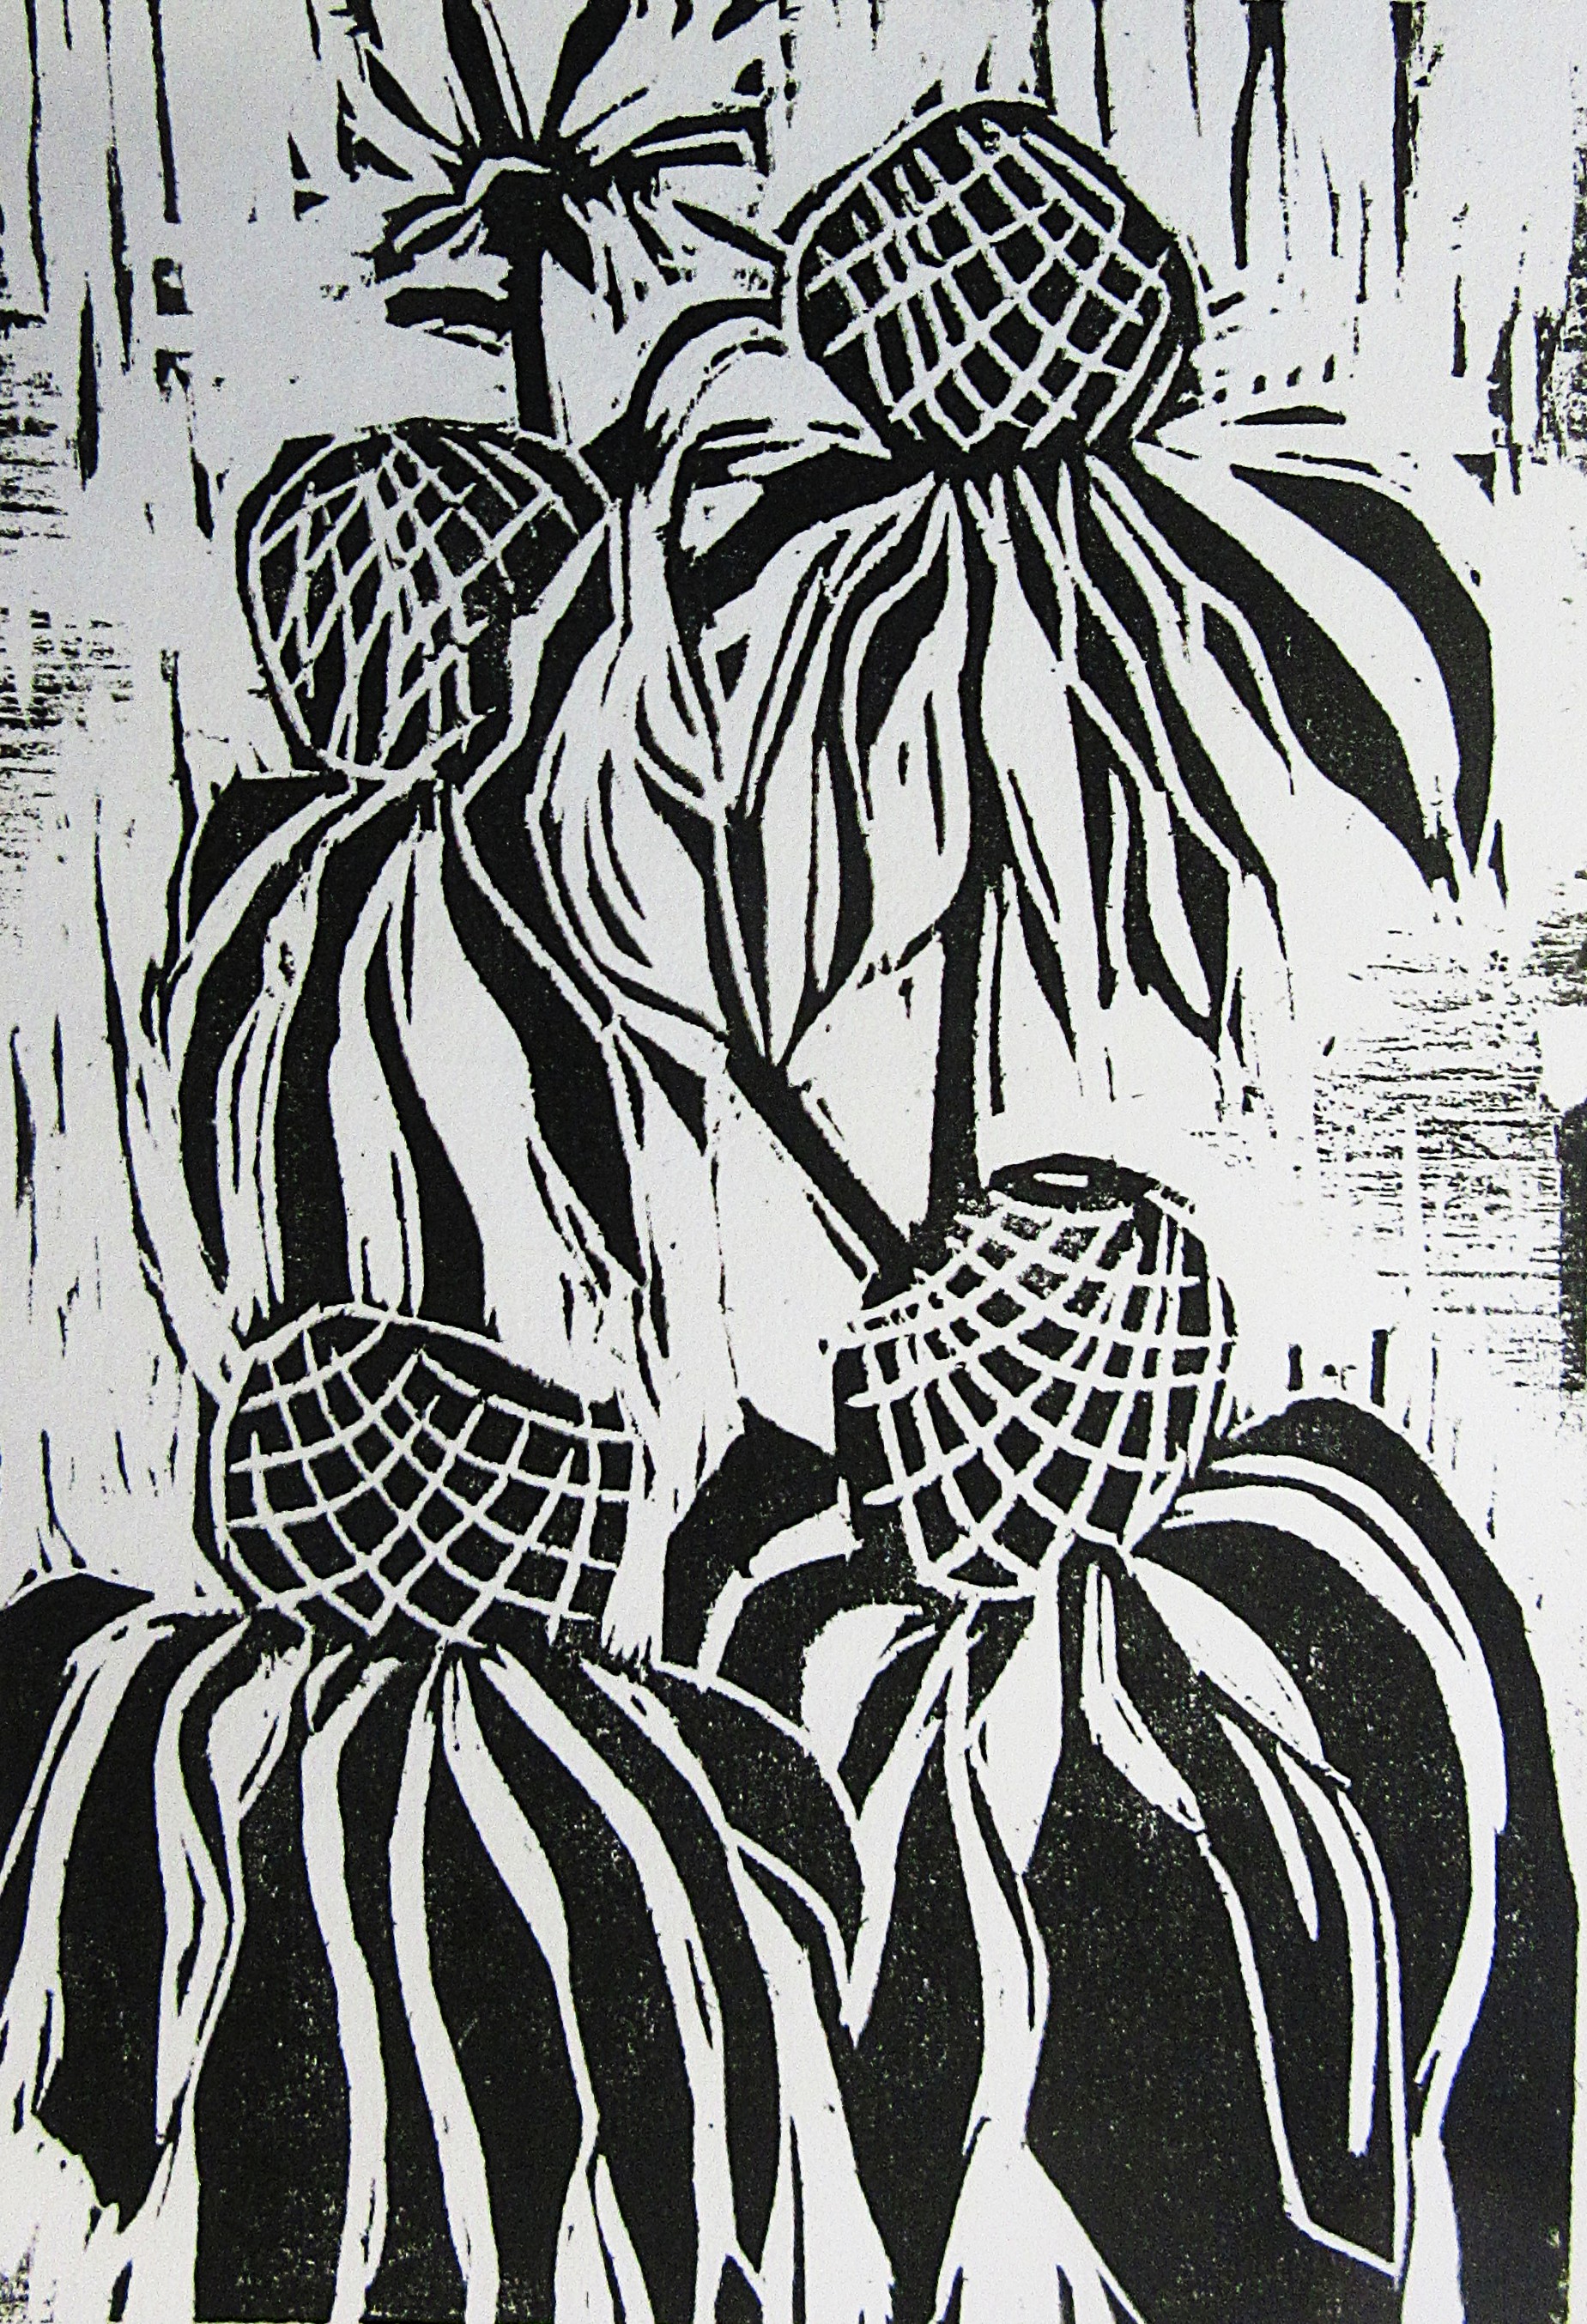
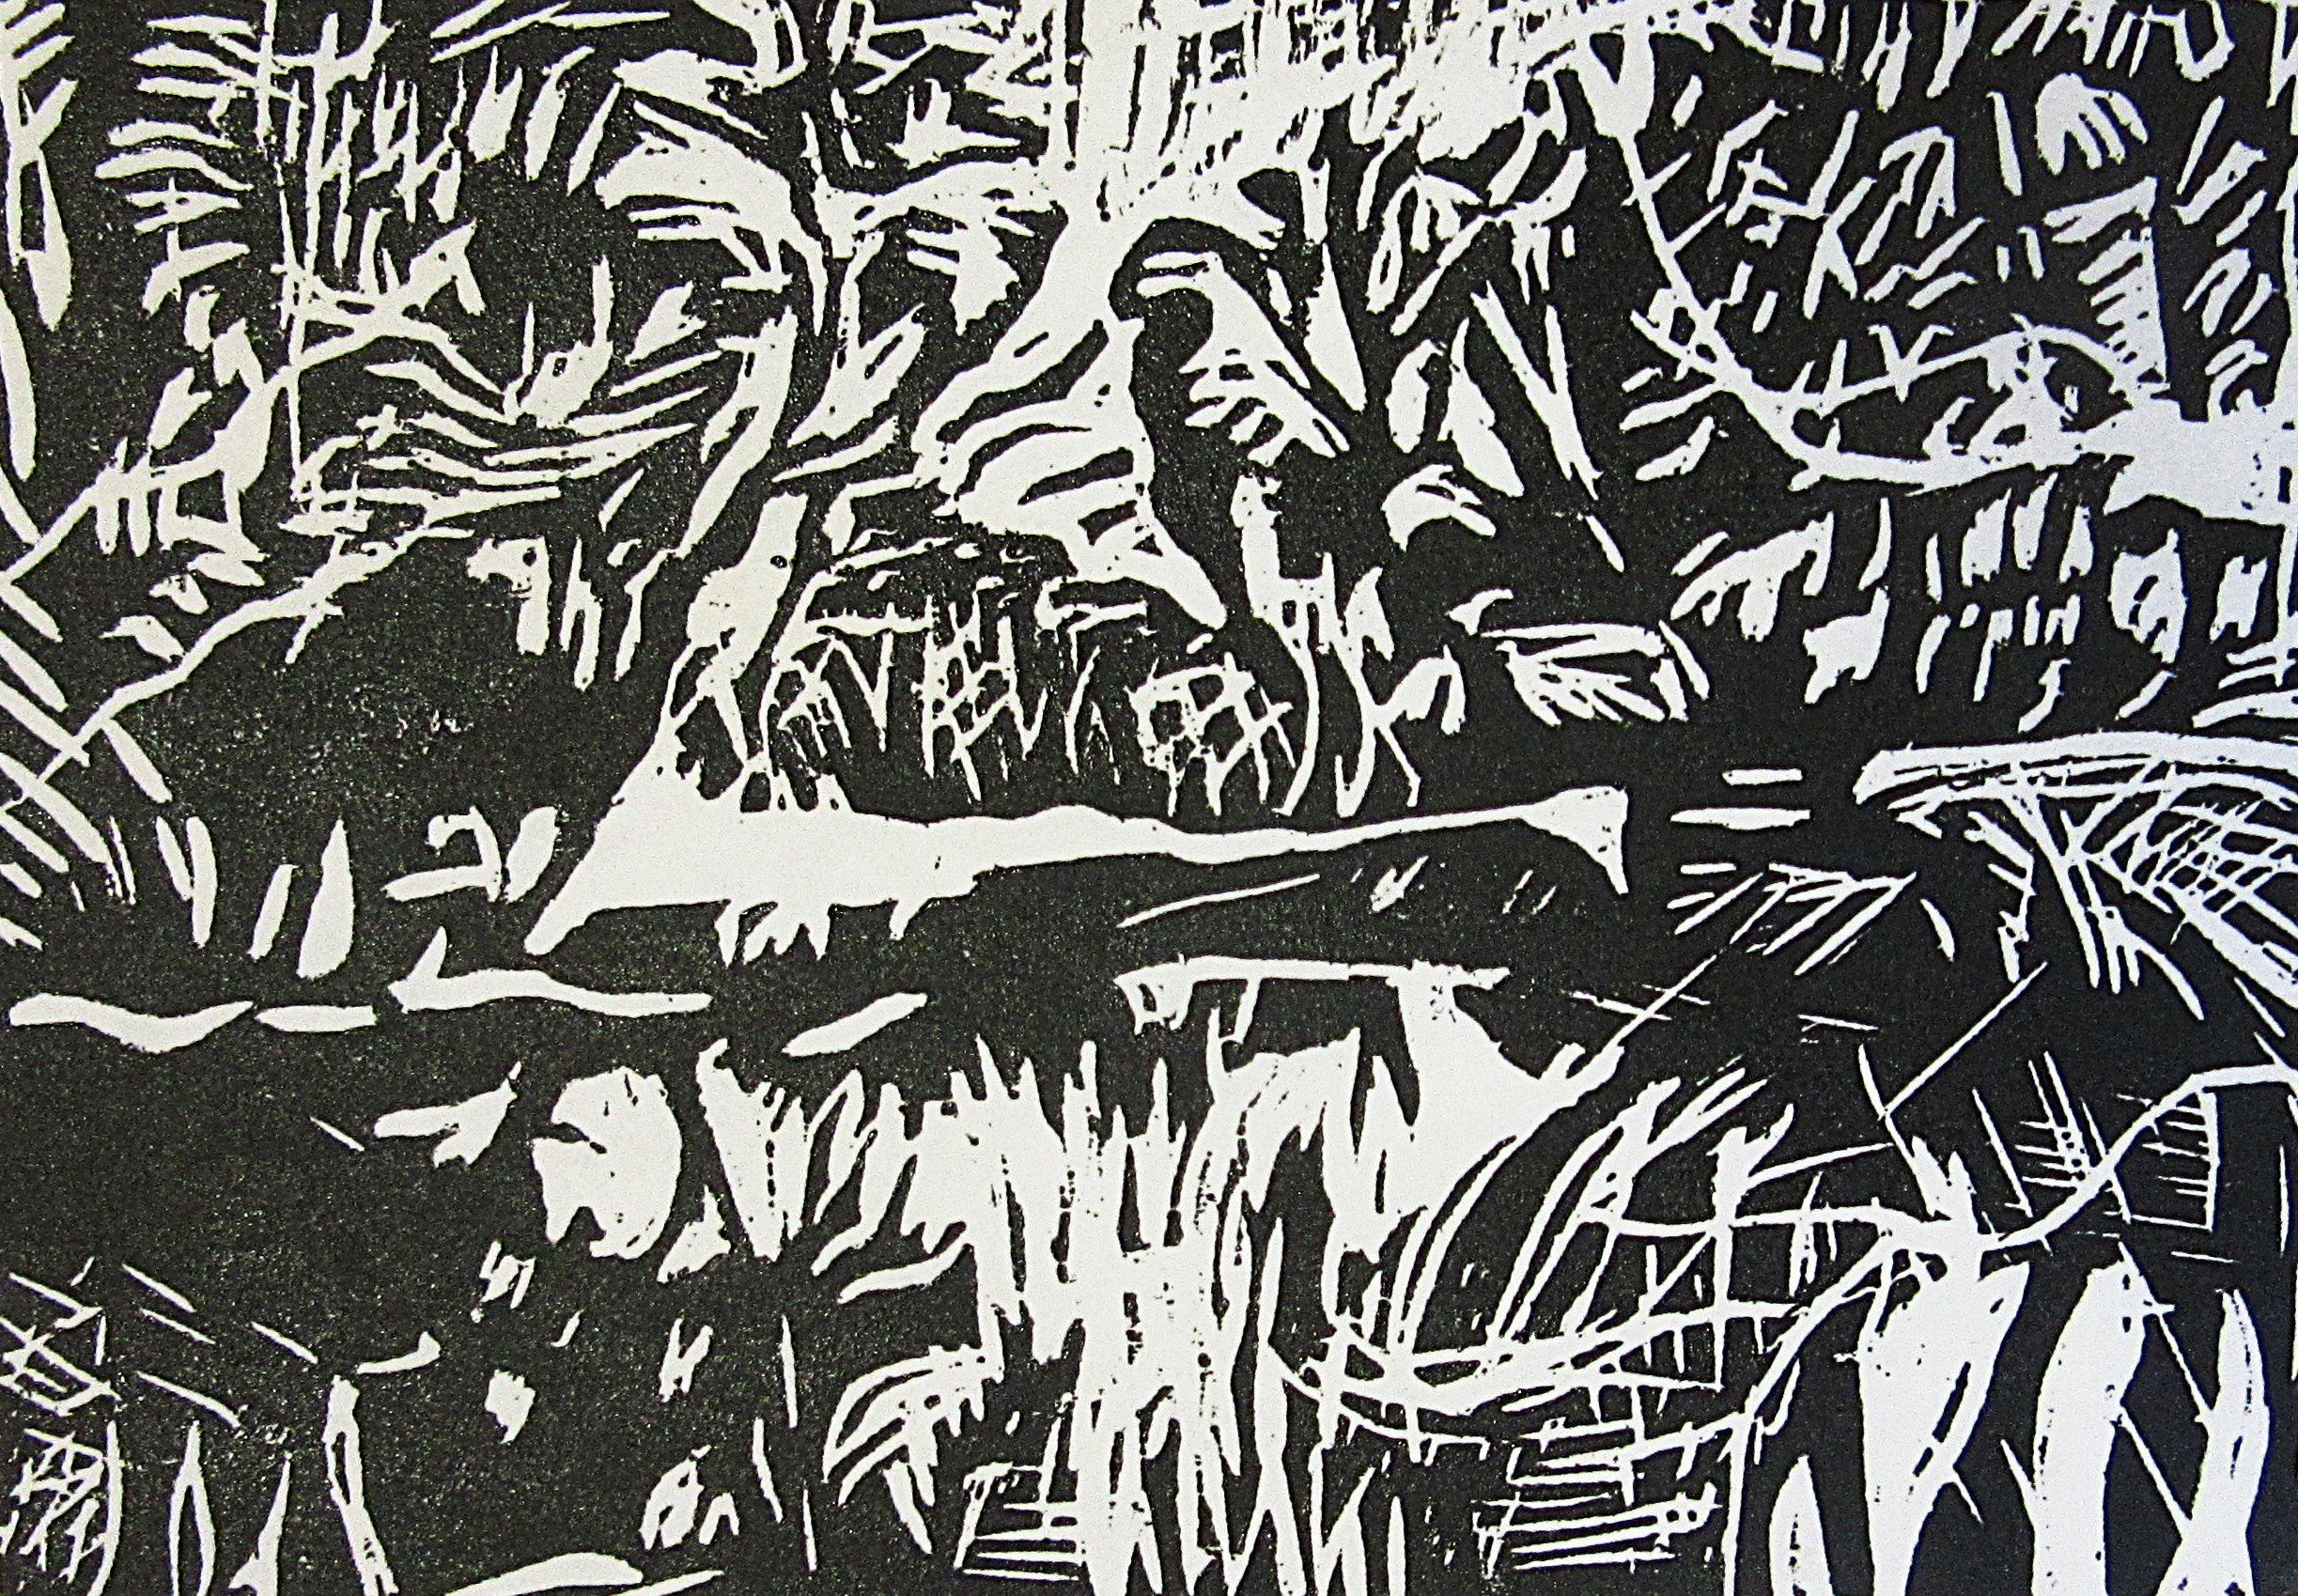
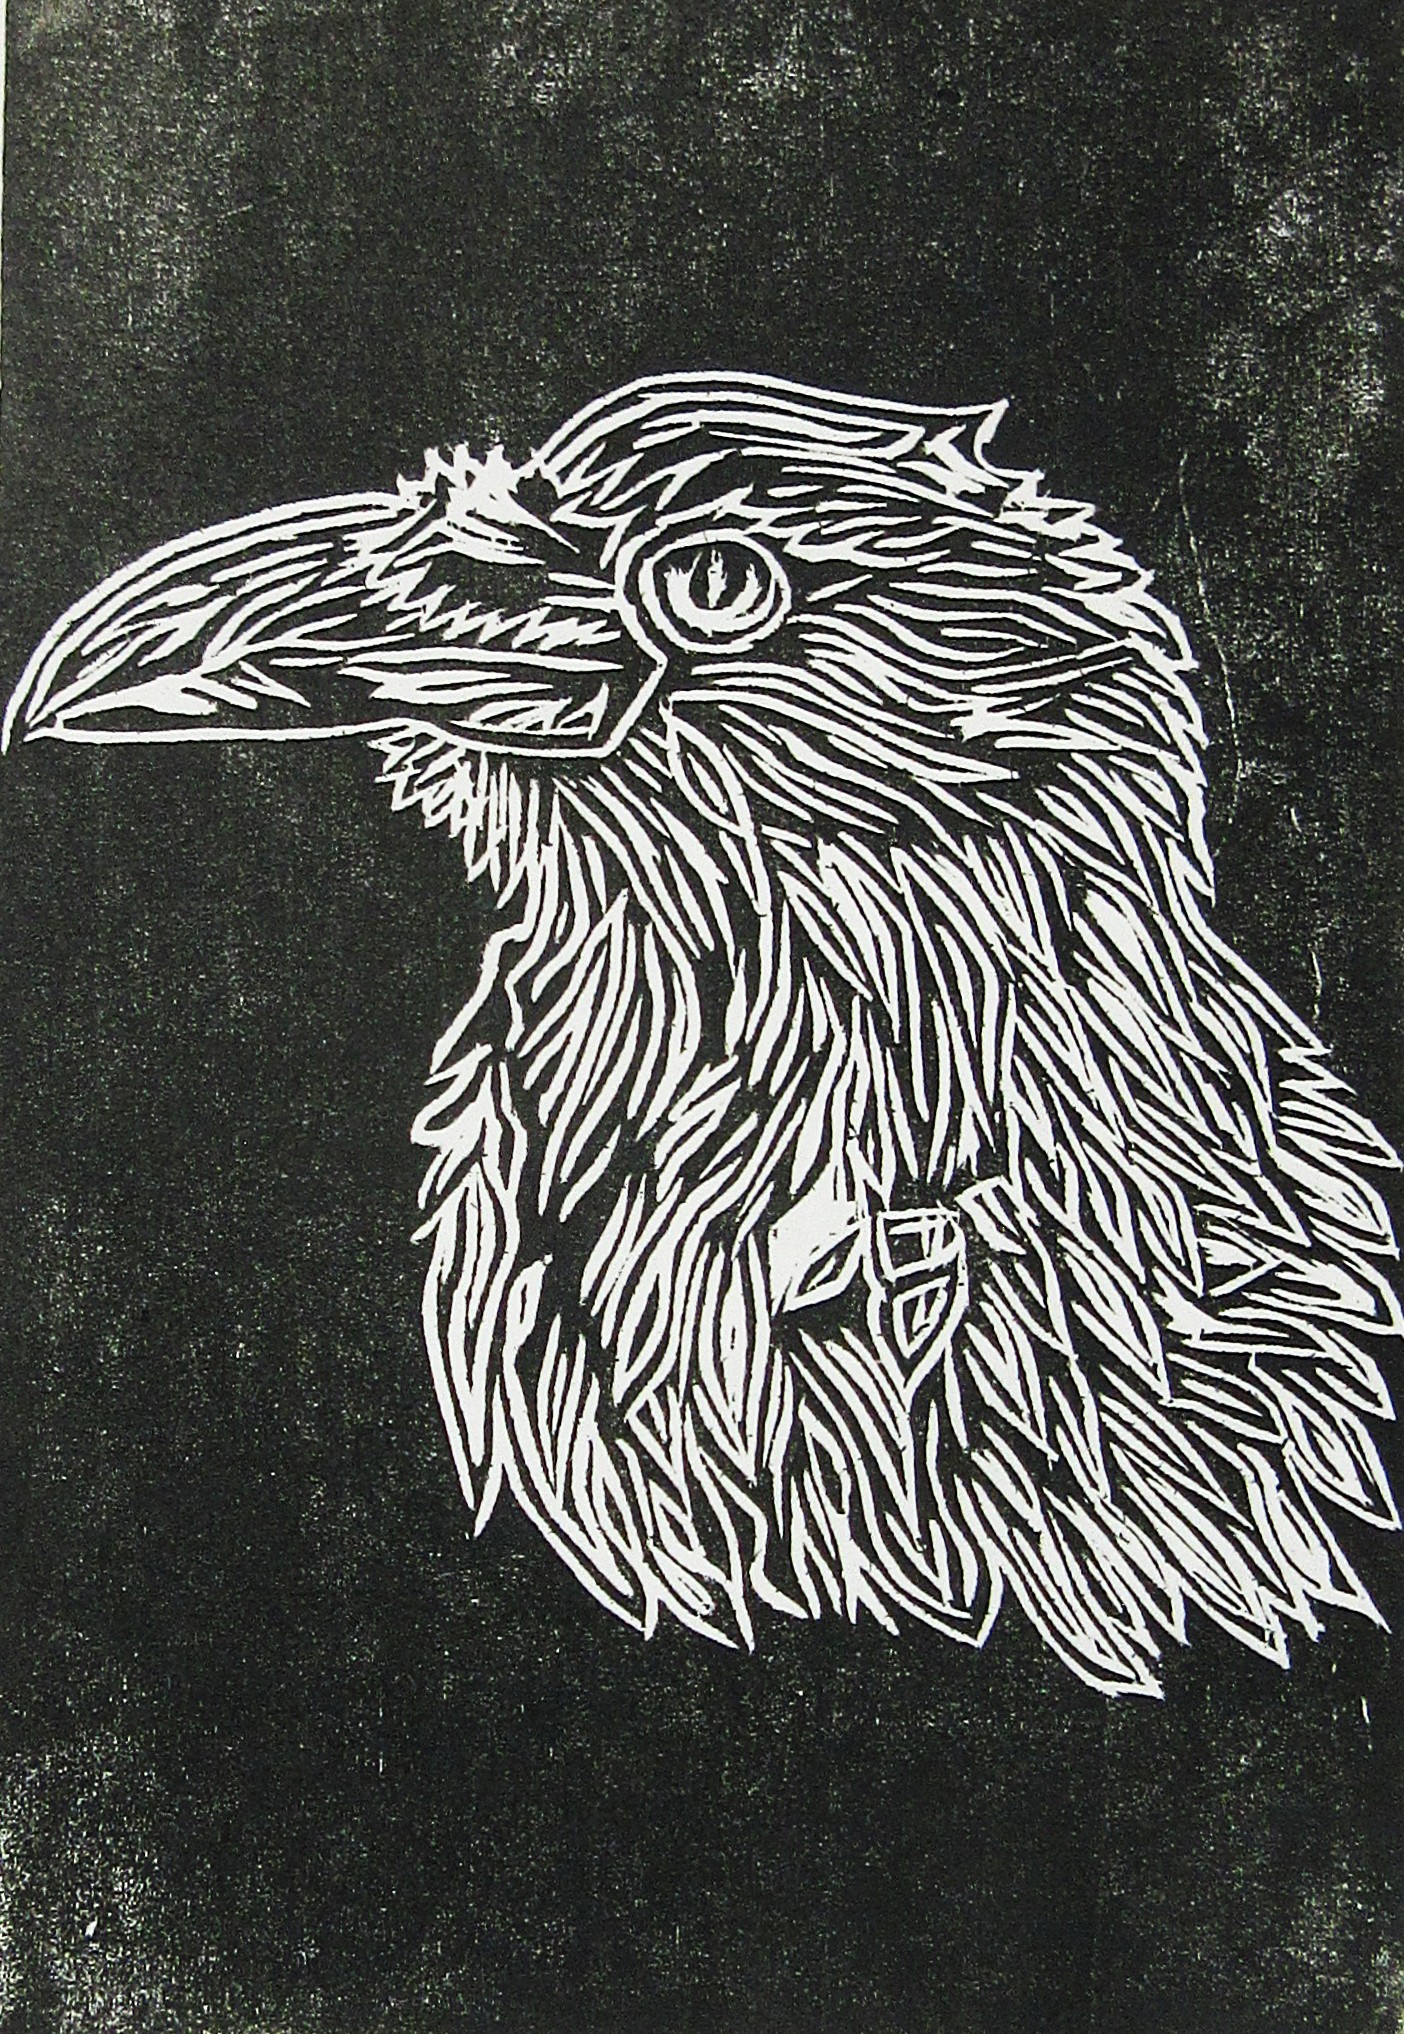
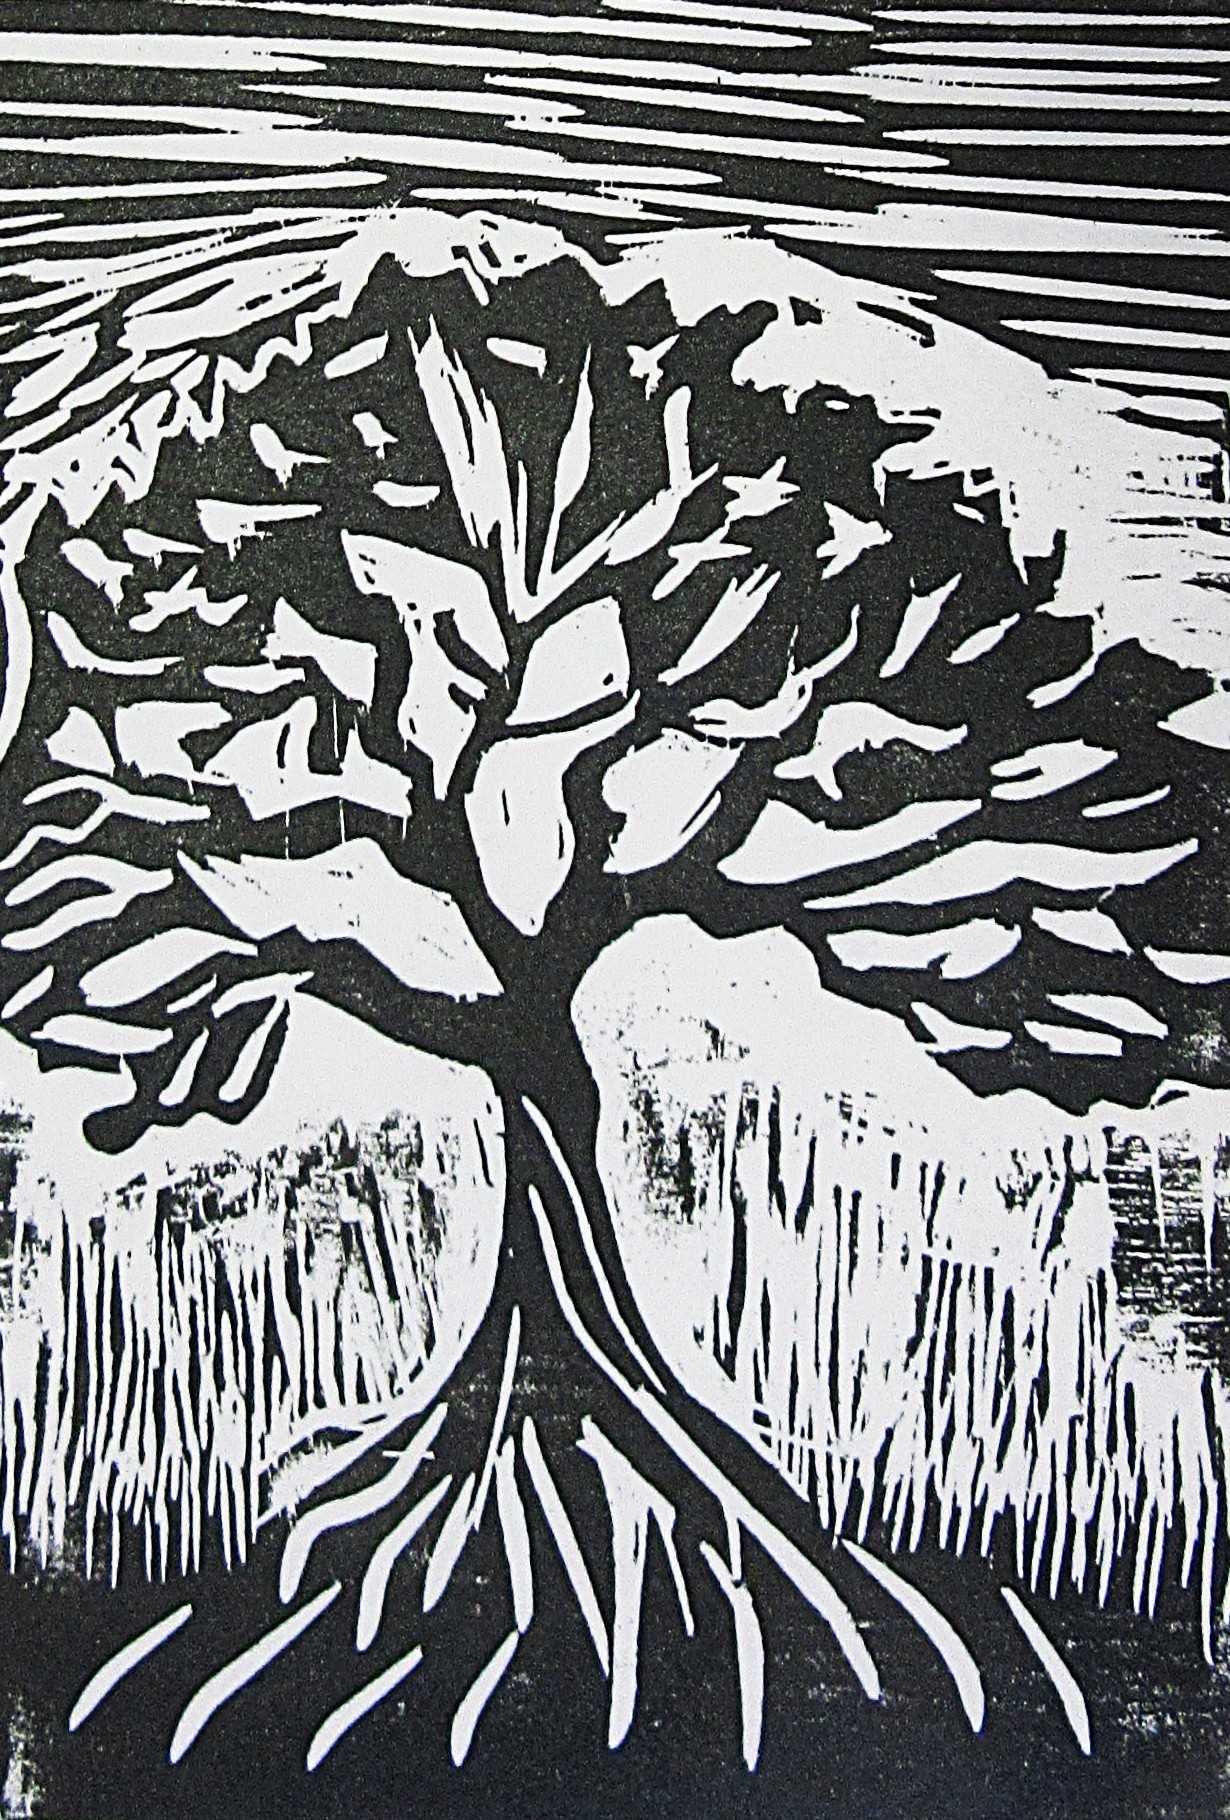
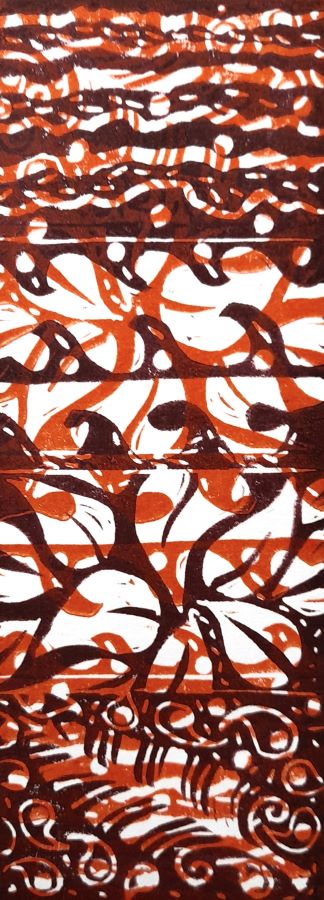
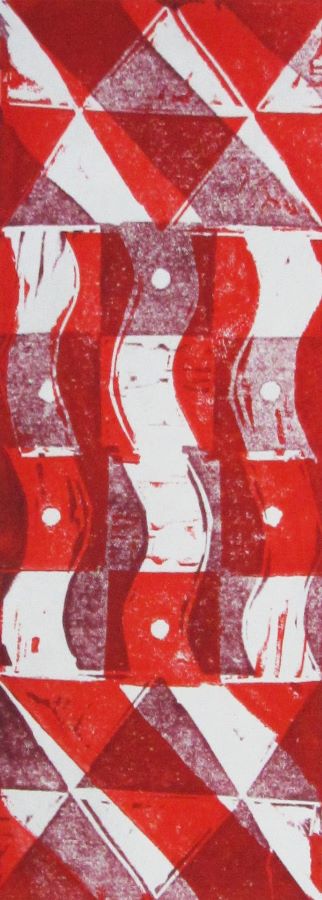
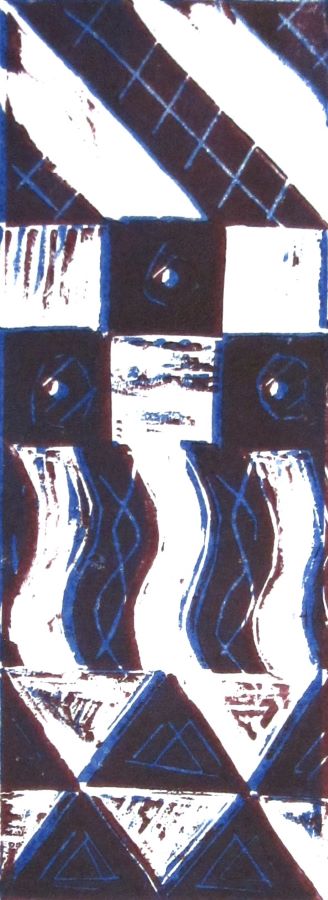
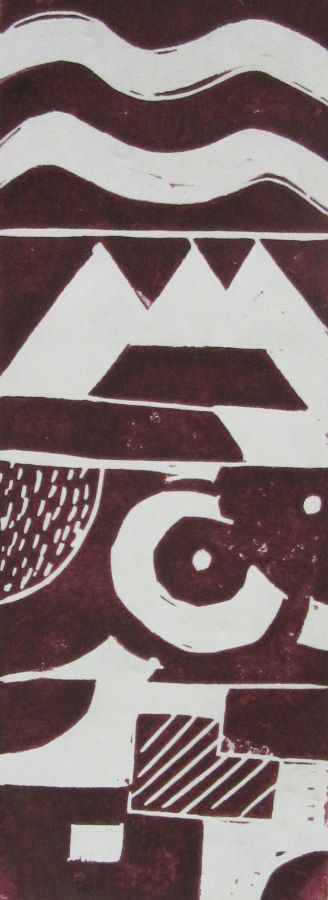
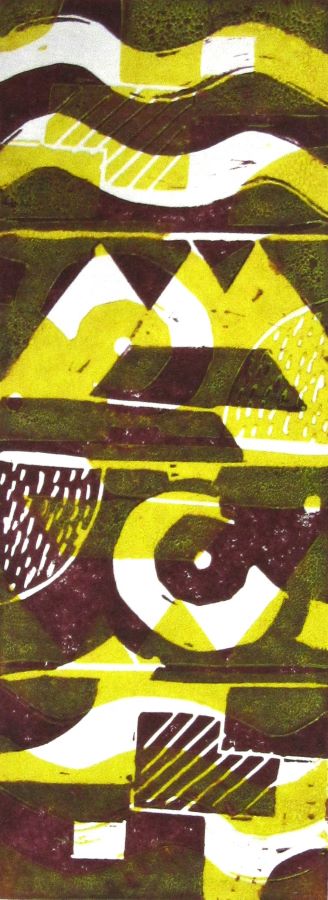
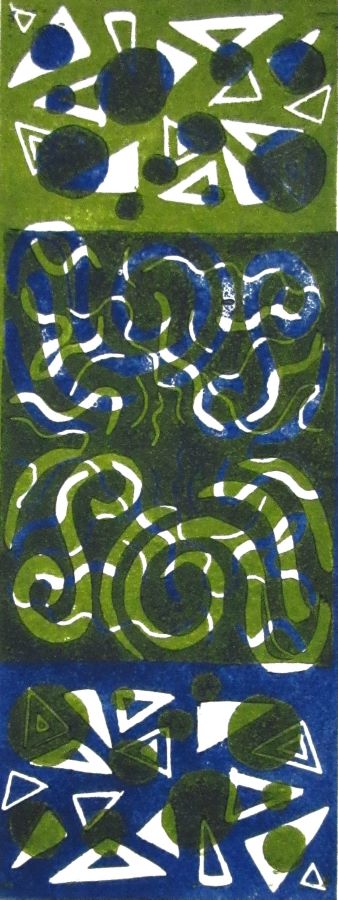
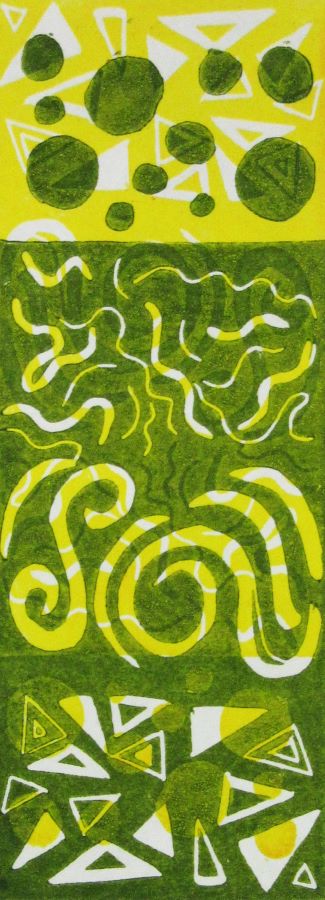
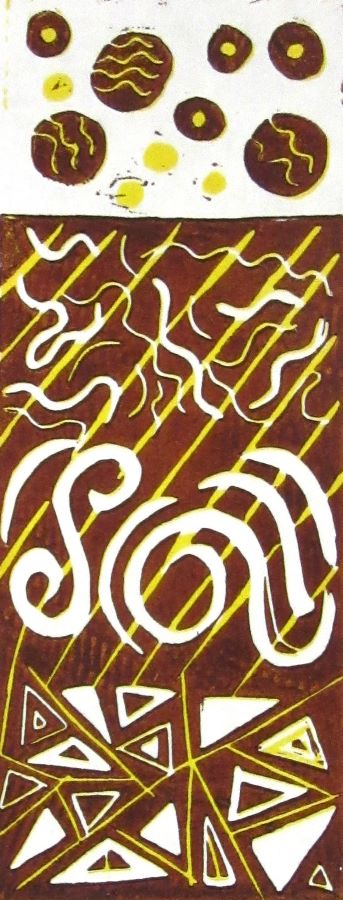
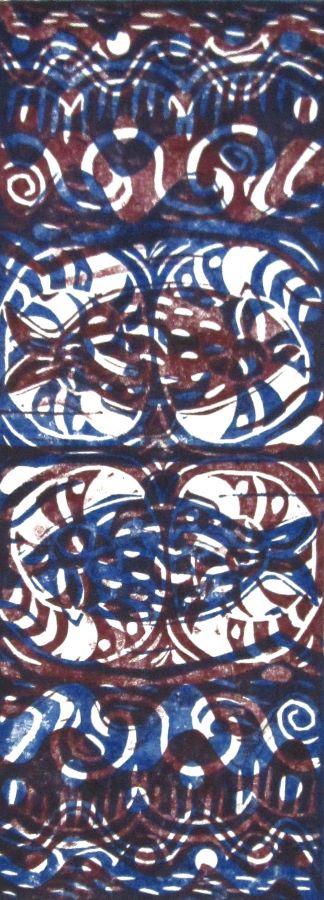
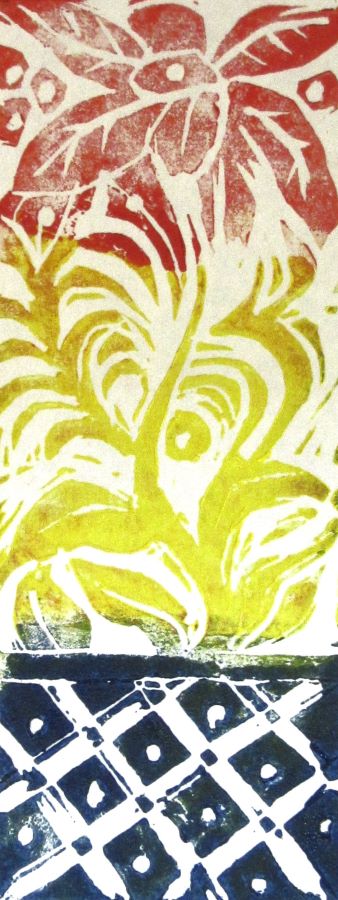
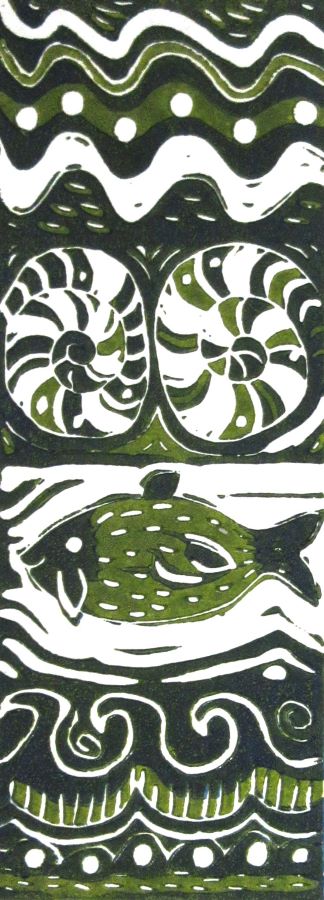
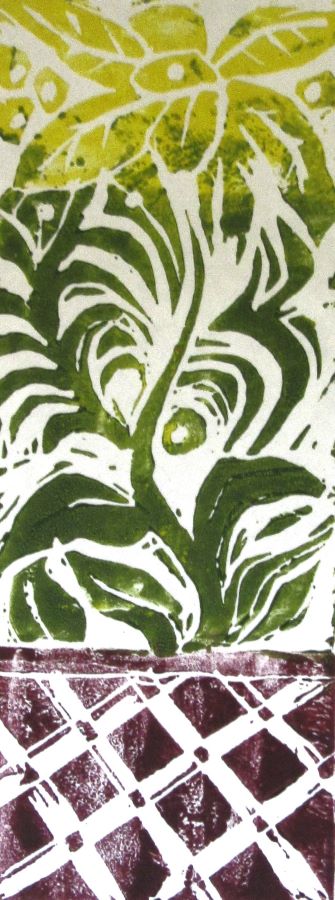
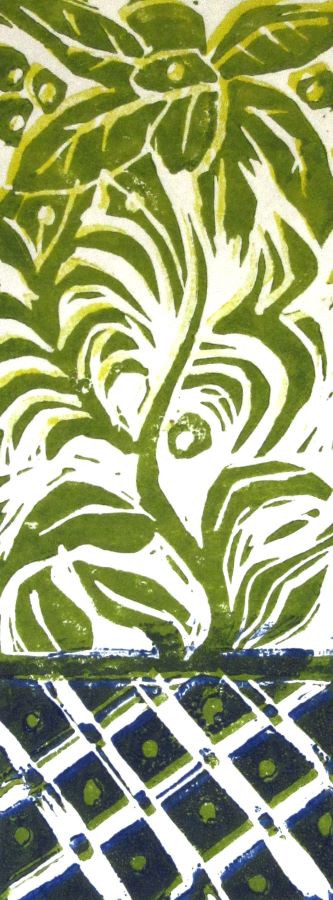
Lisa Takahashi – Bookmarker lino cut
What great fun this workshop was. Lisa explained the different tools, quality of lino and paper. We then started to sketch our pattern for those that wanted to, others just went with the flow. Then we started to cut our patterns always being aware where your fingers were to avoid any cuts – glad to say we all had our fingers at the end of the workshop. Lisa then took us to the inking station explaining how the ink needed to be the right consistency before you can roll the ink on the lino cut. Using a barren to print the lino cut on the paper (a lot of pressure and rubbing required) and carefully peeling the paper away was very exciting as that was the first time you saw your artwork in colour. We had a bit of fun deciding what colour combinations to use, first plain prints, then second colour printed over the first and the lino moved upside down. A few of us even went further and used ink going from one colour into the other. The last exercise what to remove some of the lino to create 2 coloured patterns. That was very tricky, especially if you forgotten to make a print of the original lino cut before cutting more away, oh dear!!!!


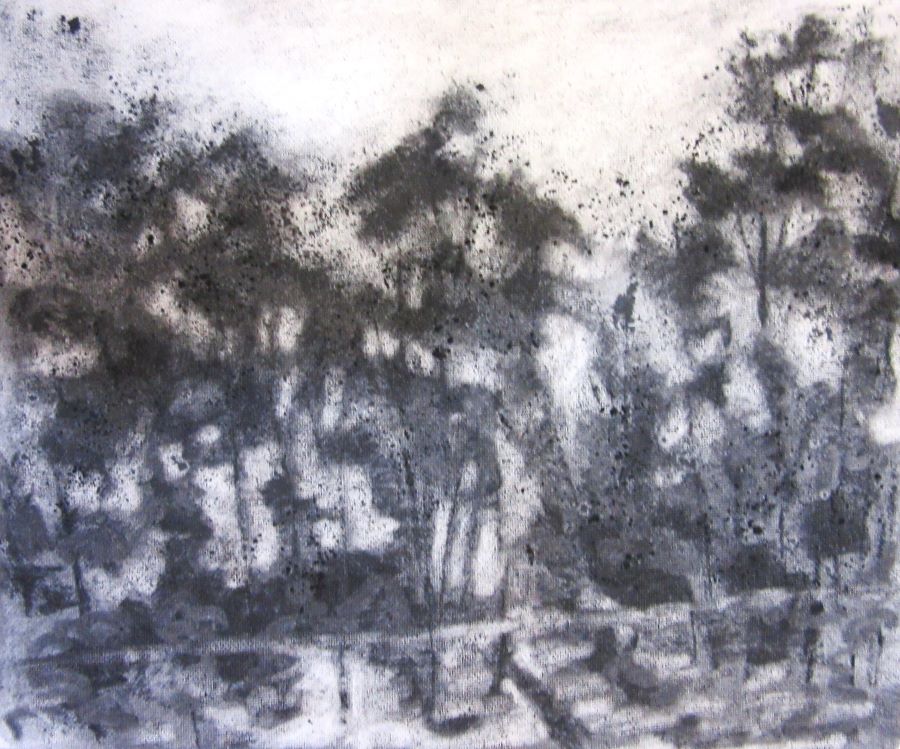
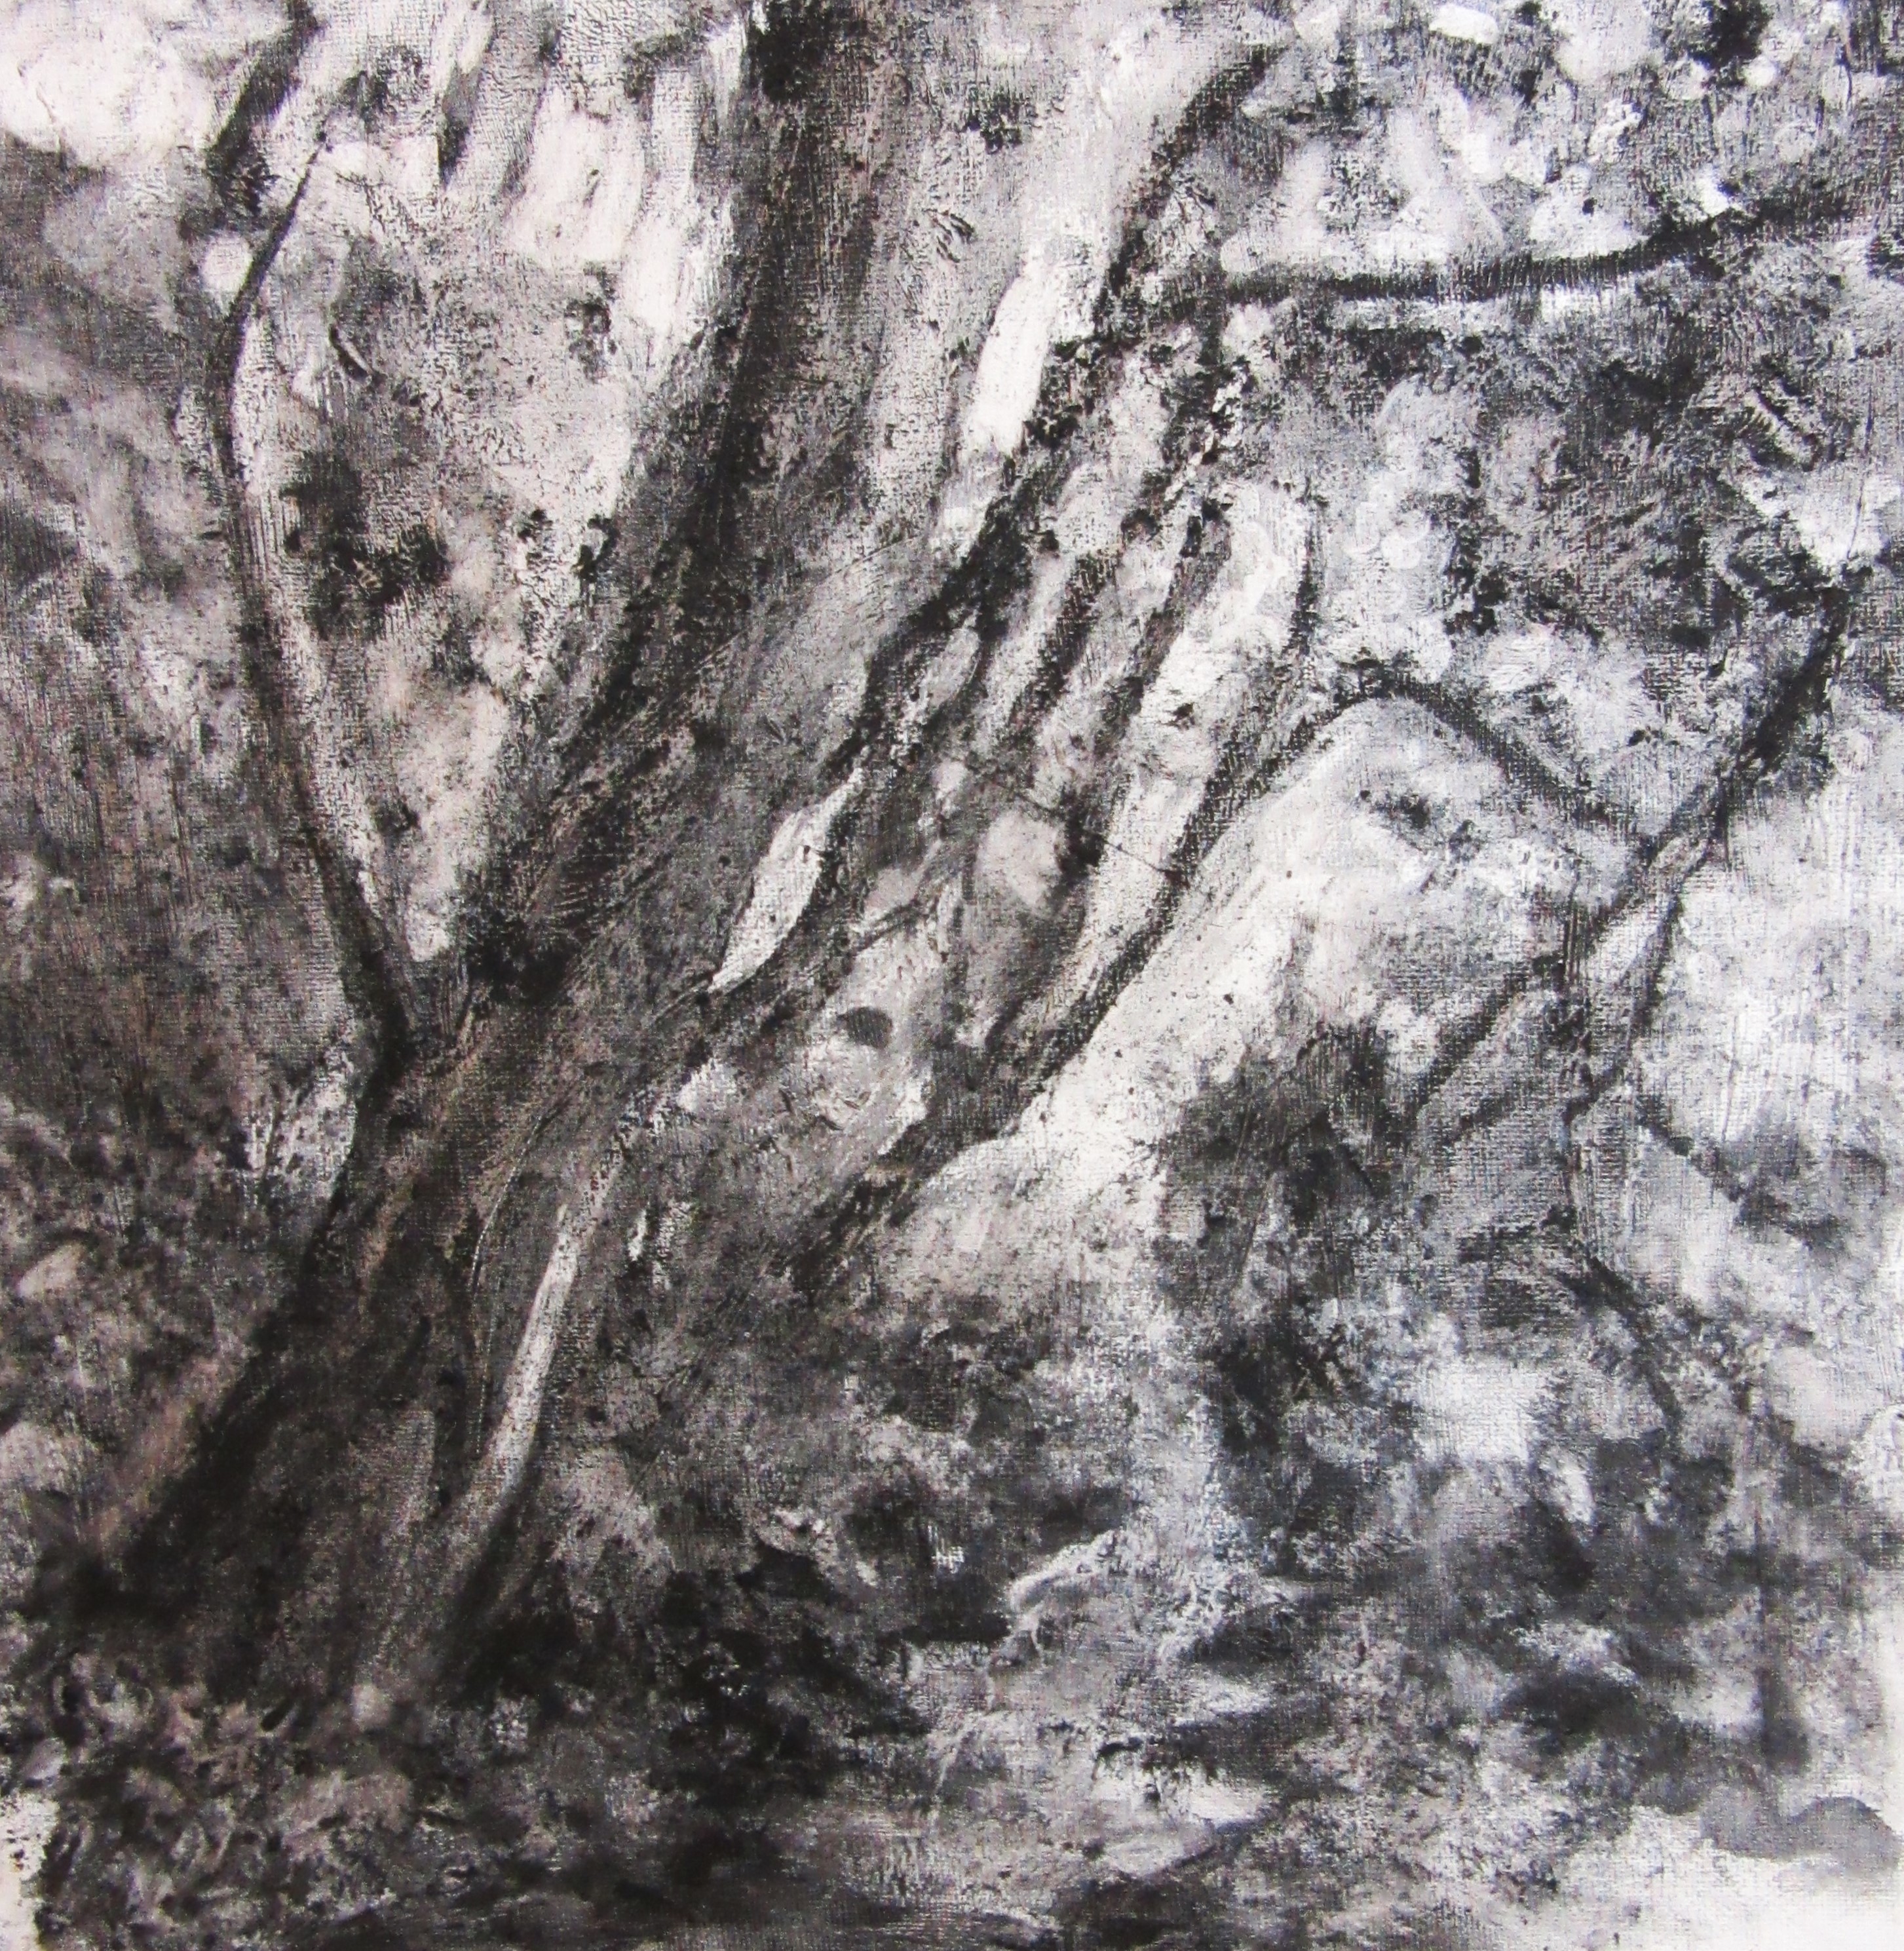
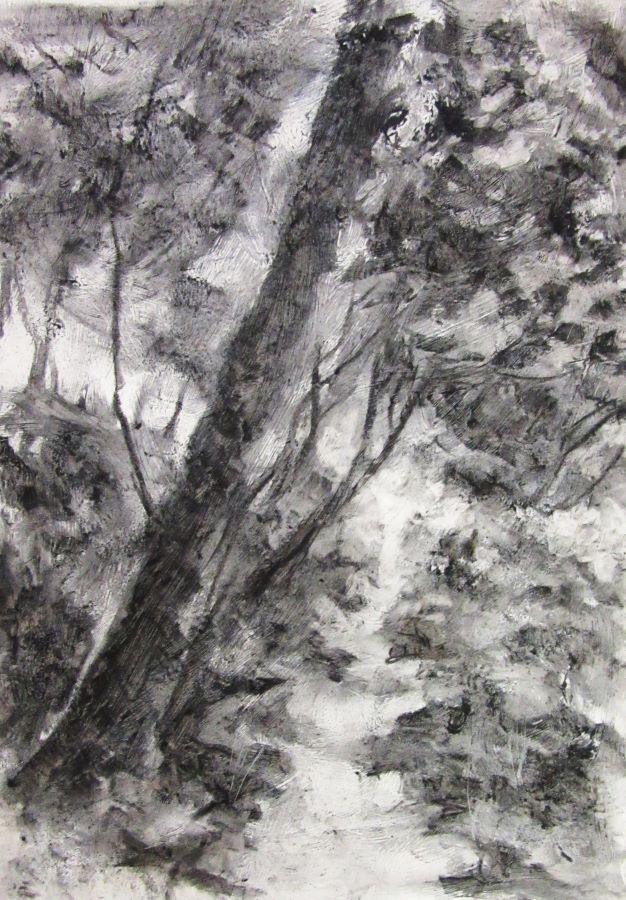
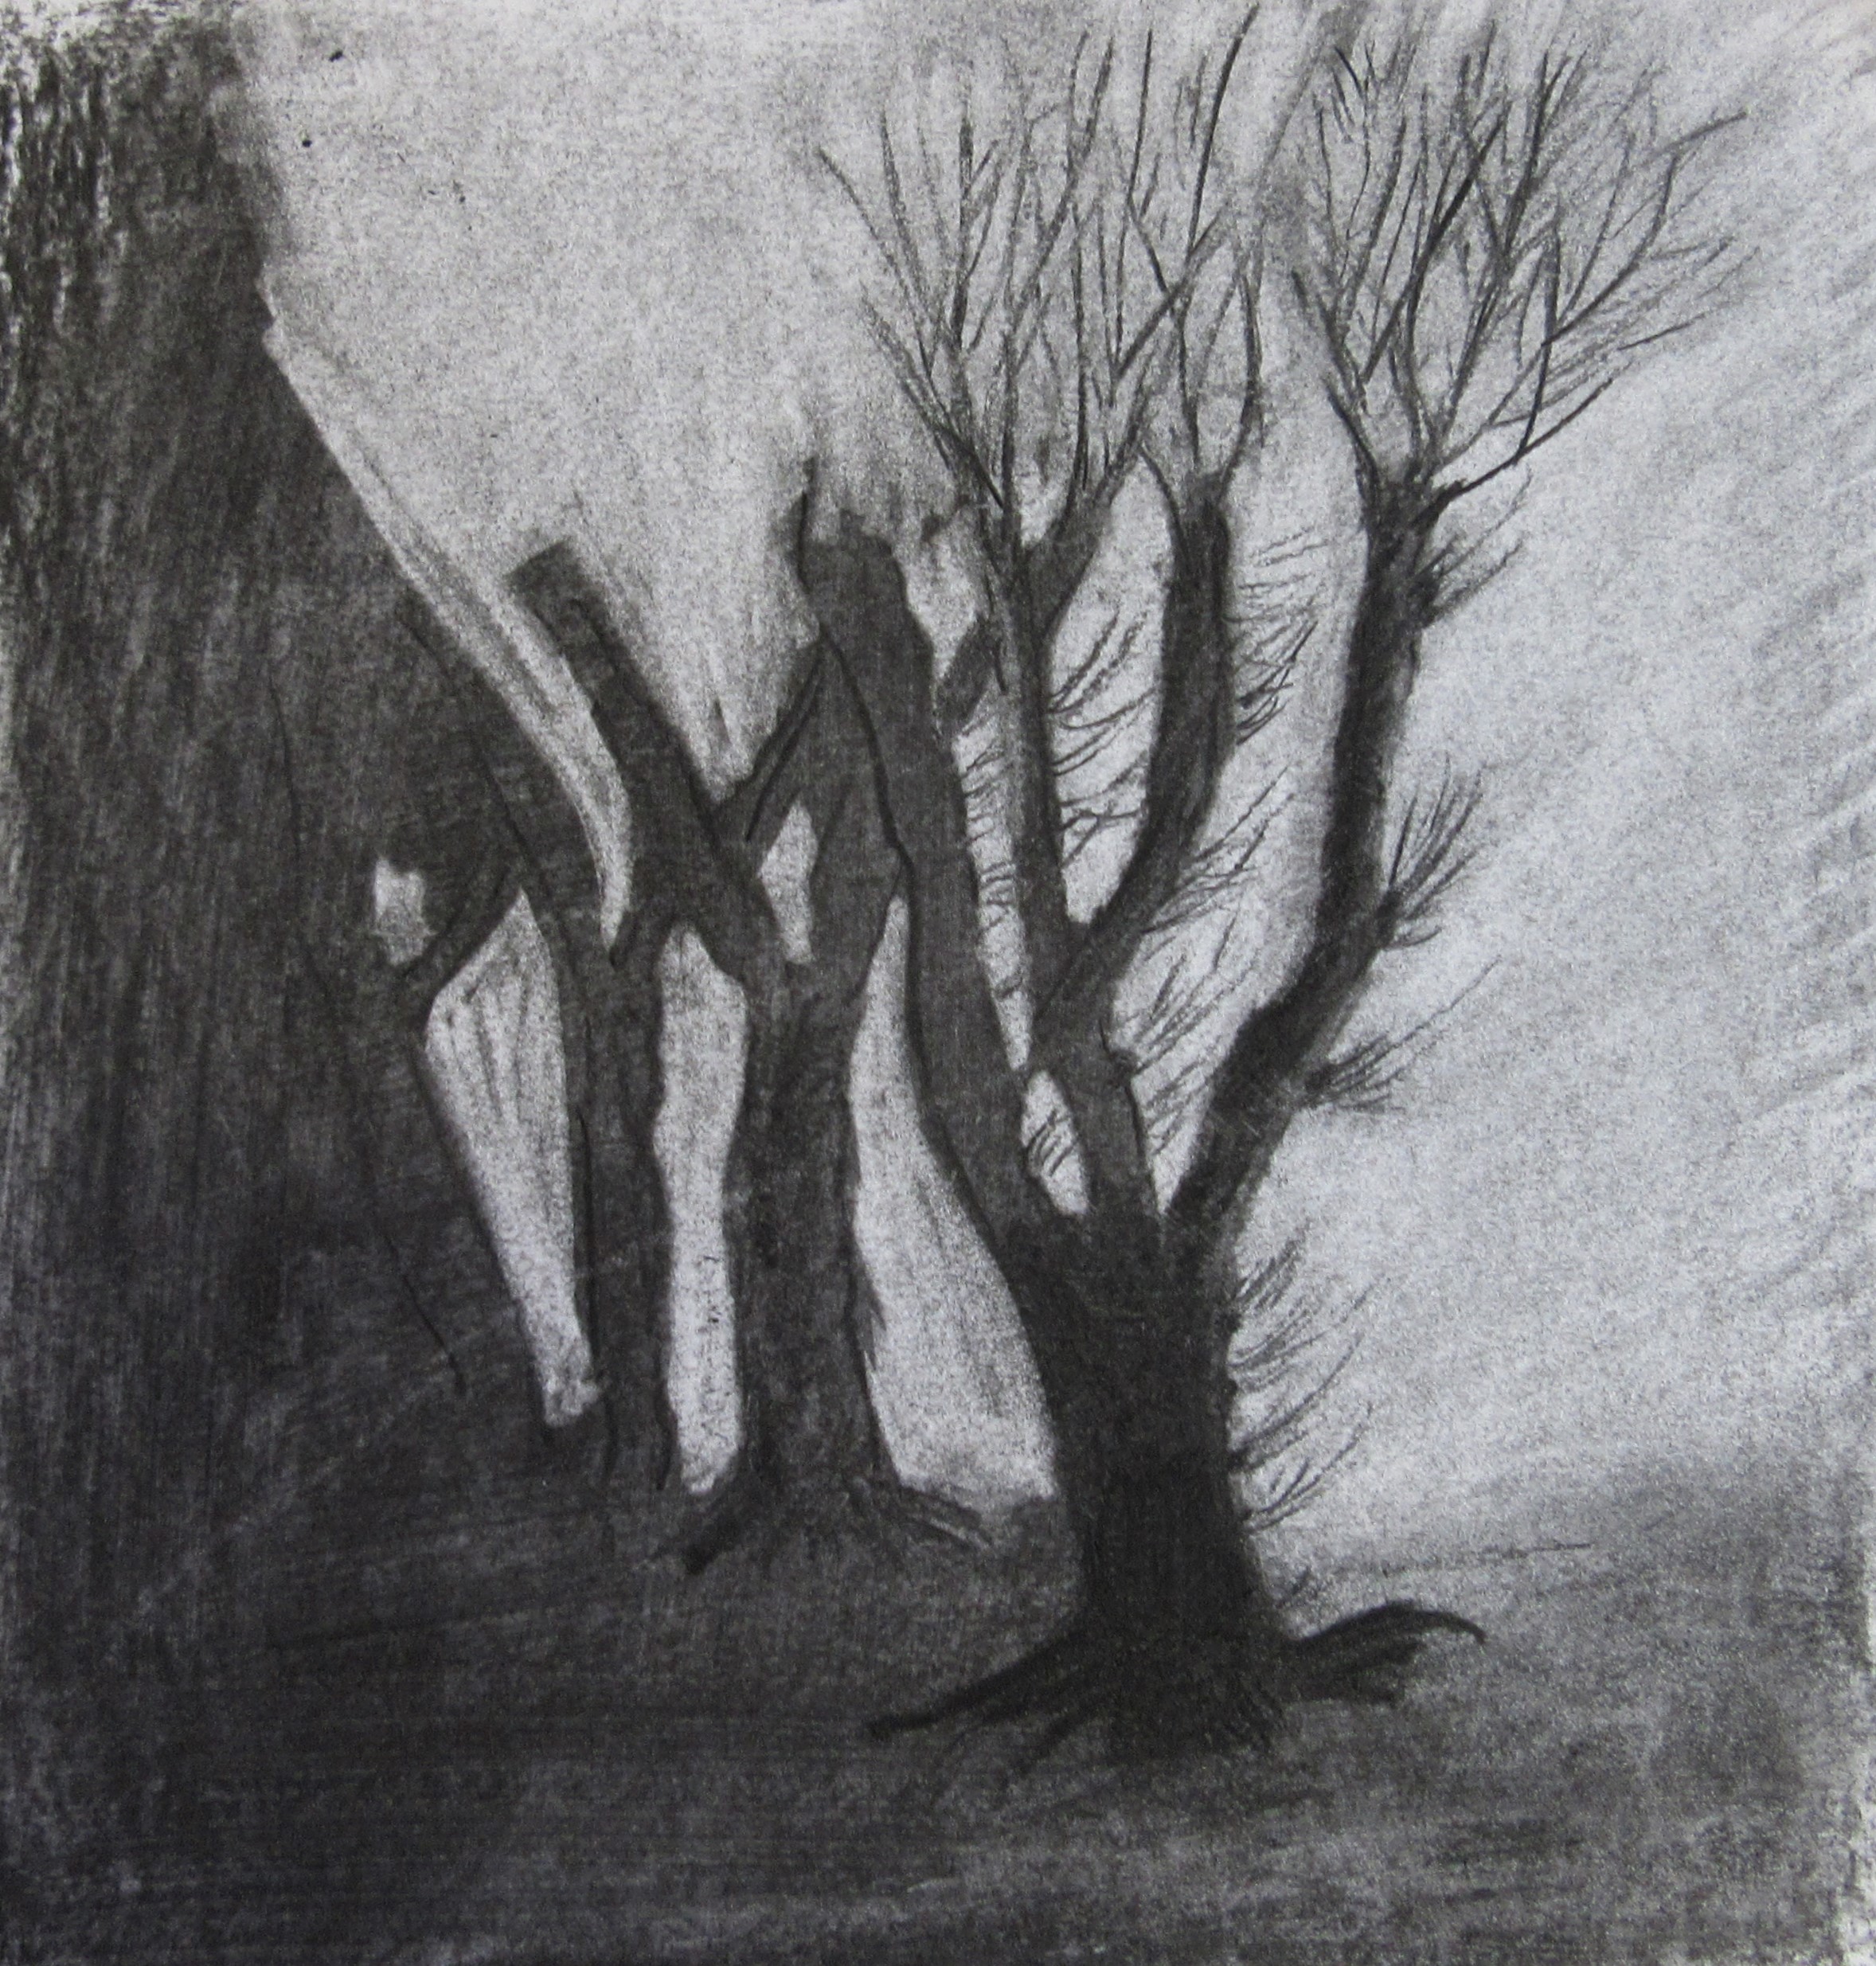
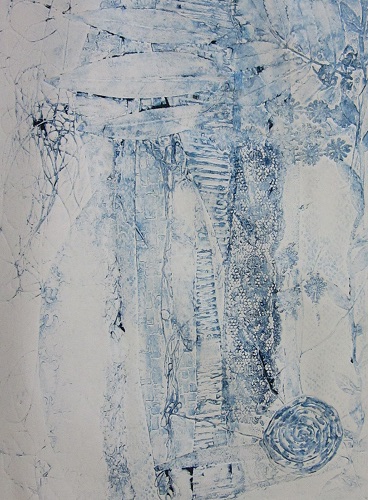
Dawn Cox – Charcoal Experiments
We started with creating a background using gesso, creating textures with the brush and other tools. Whilst letting this dry Dawn gave us lining paper to start drawing curves, circles, scribbles and doodles to loosen us up. Once we finished that, we created a landscape over the drawing, that was fun!!!! Now back to the serious stuff, once the gesso is dry Dawn explained how to use the textures created in the gesso to make trees. Using rubbers, hairspray, palette knives and fingers to create different textures and tones. As you can see we had a lot of fun using charcoal and nothing else.


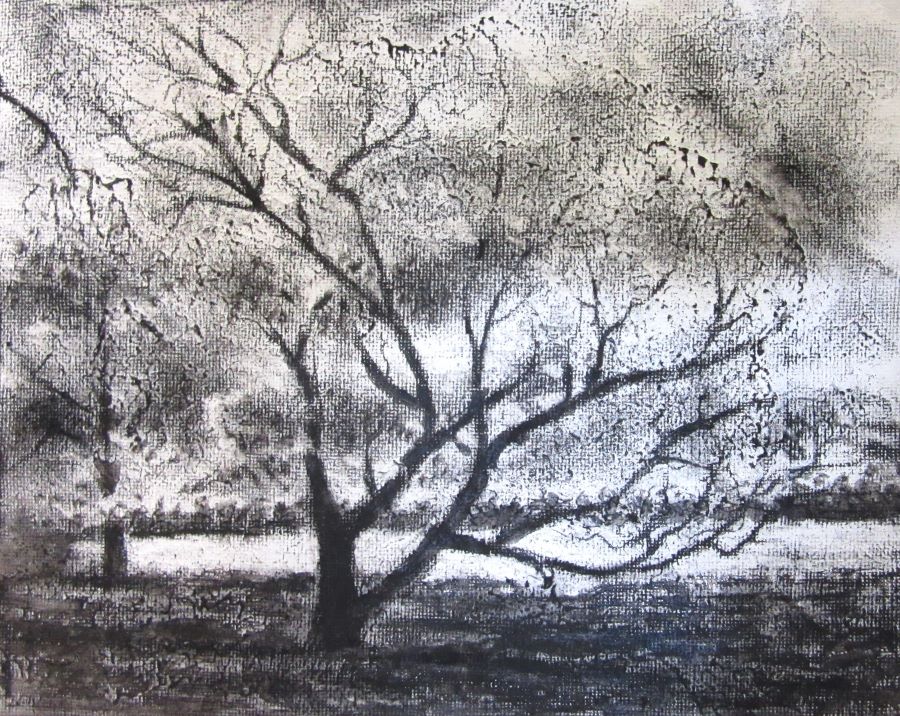

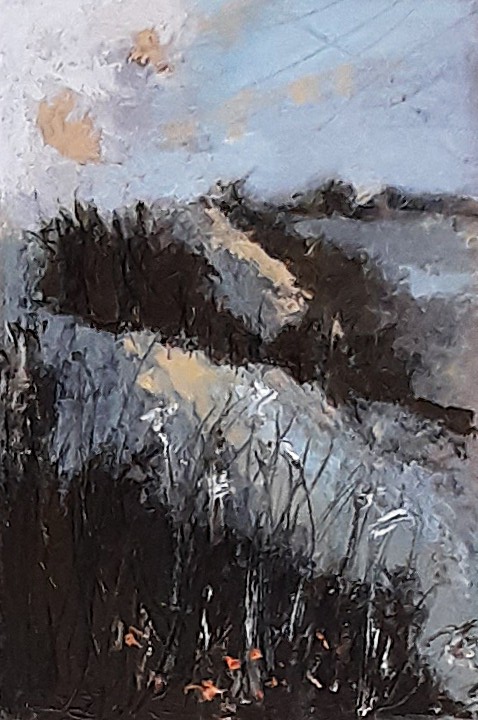
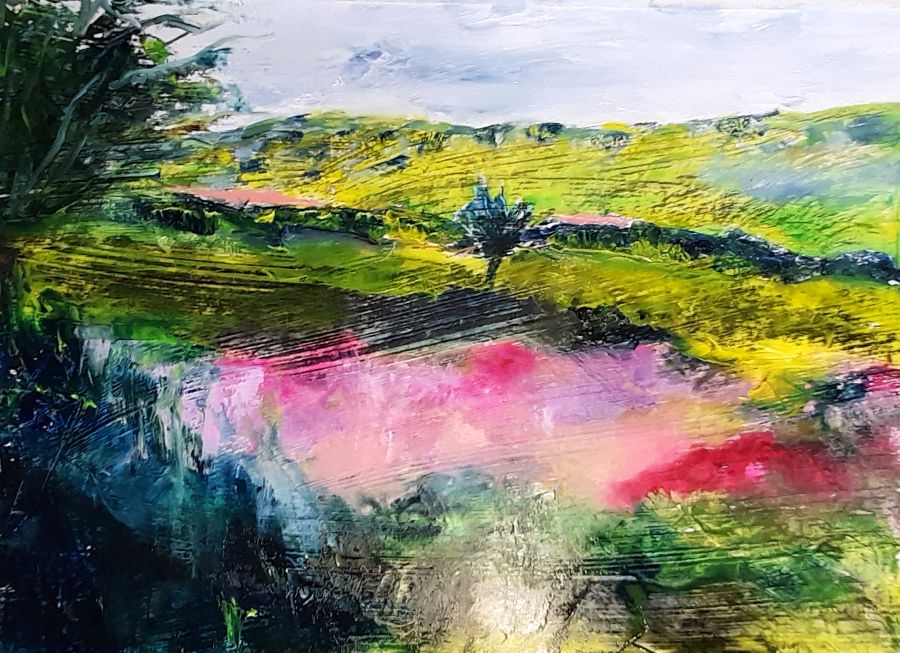
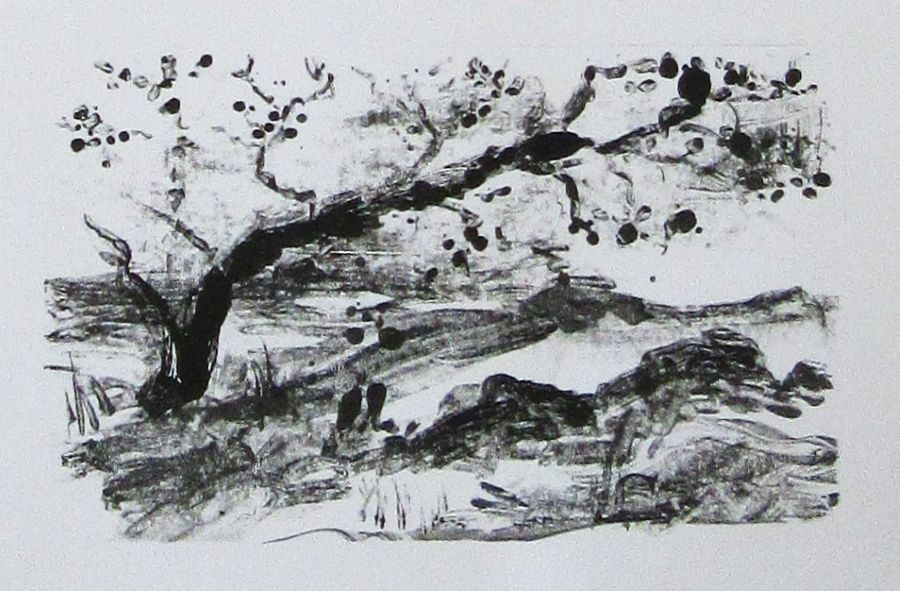
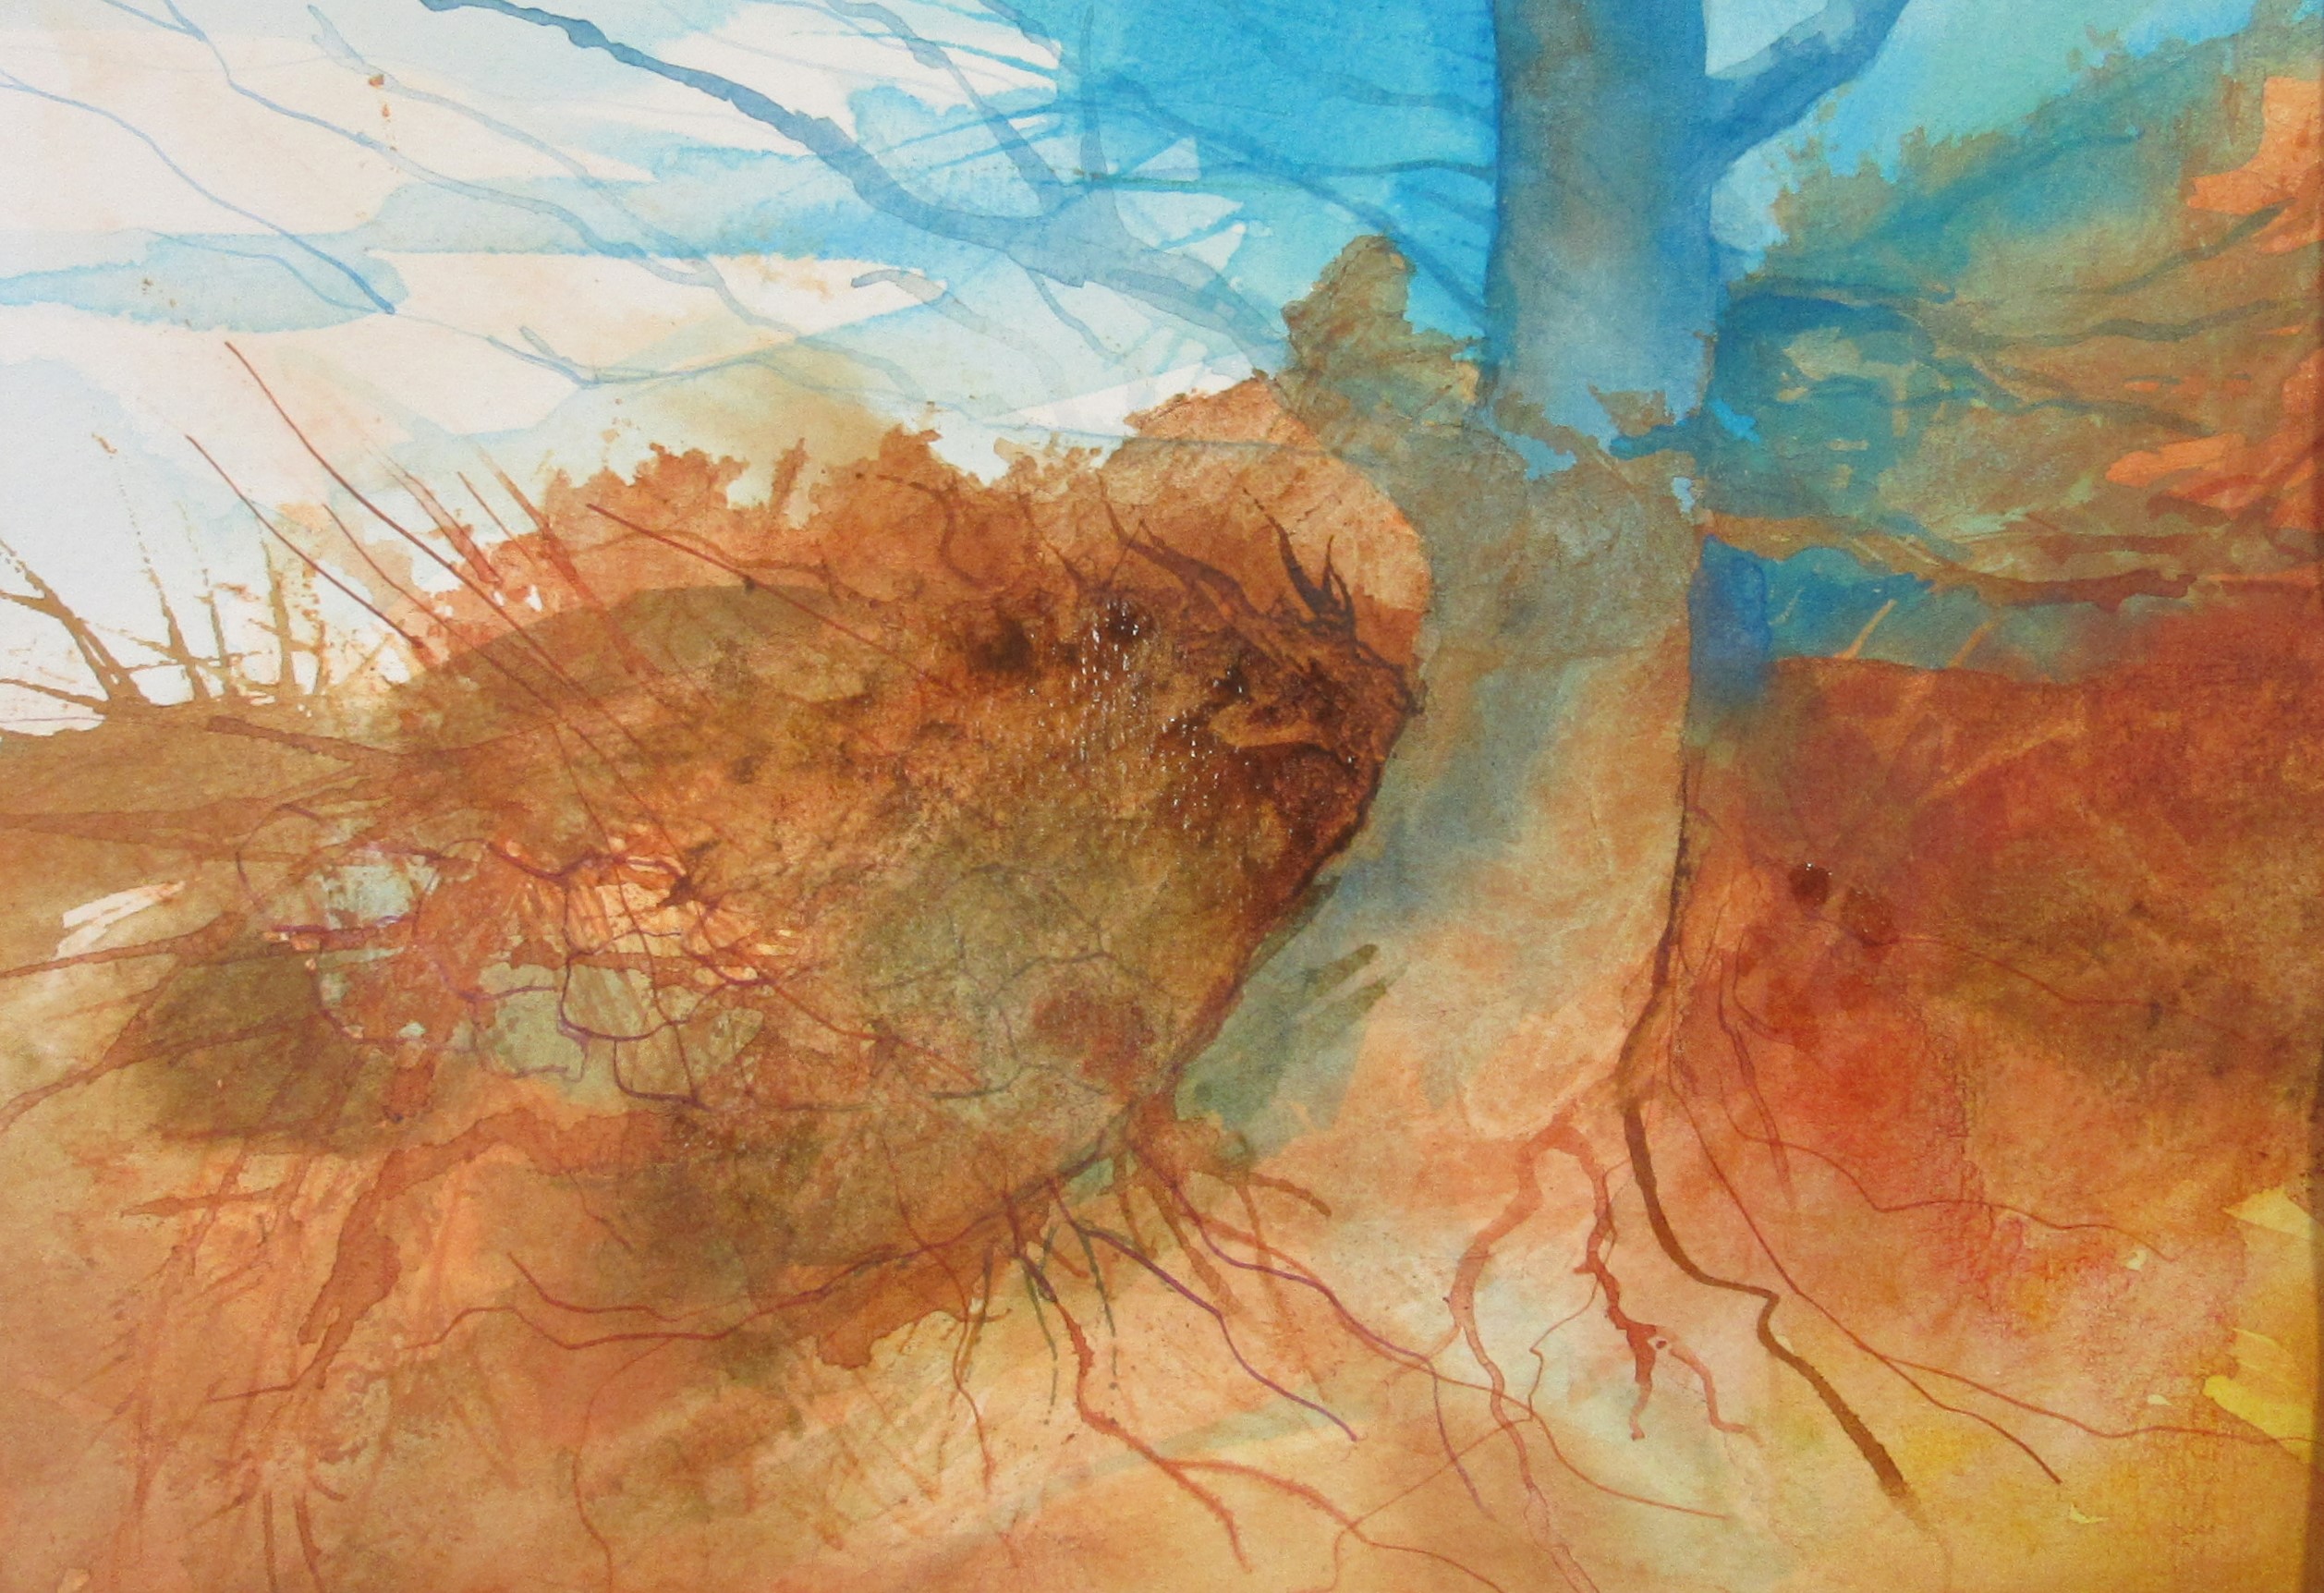
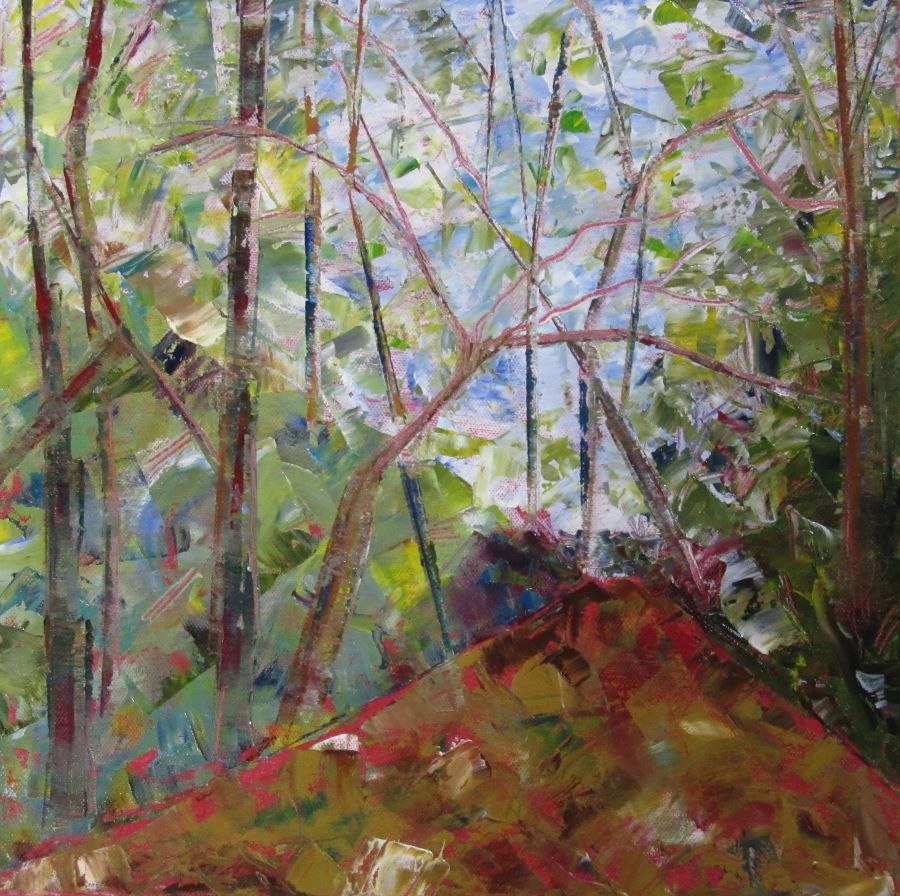
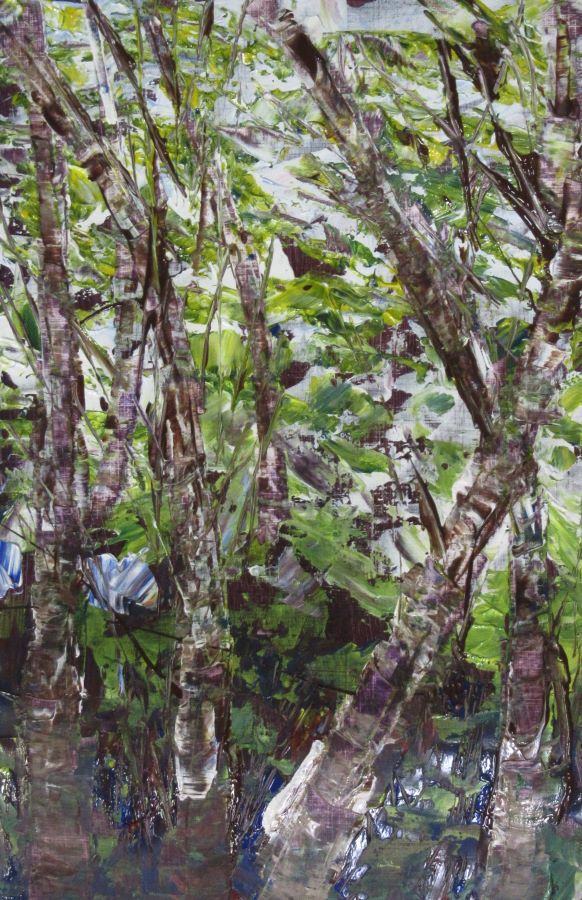
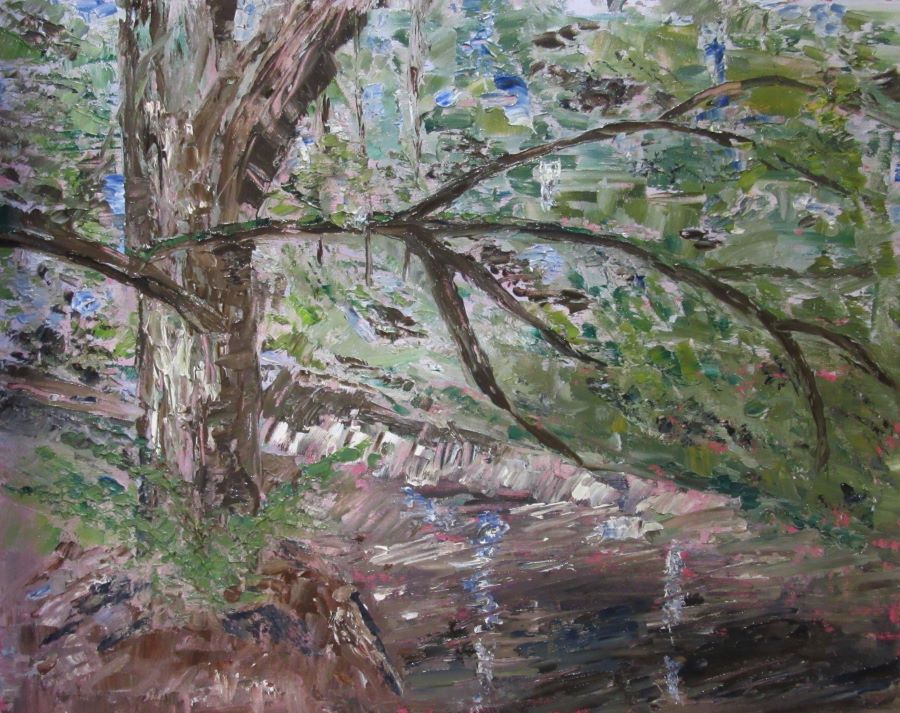
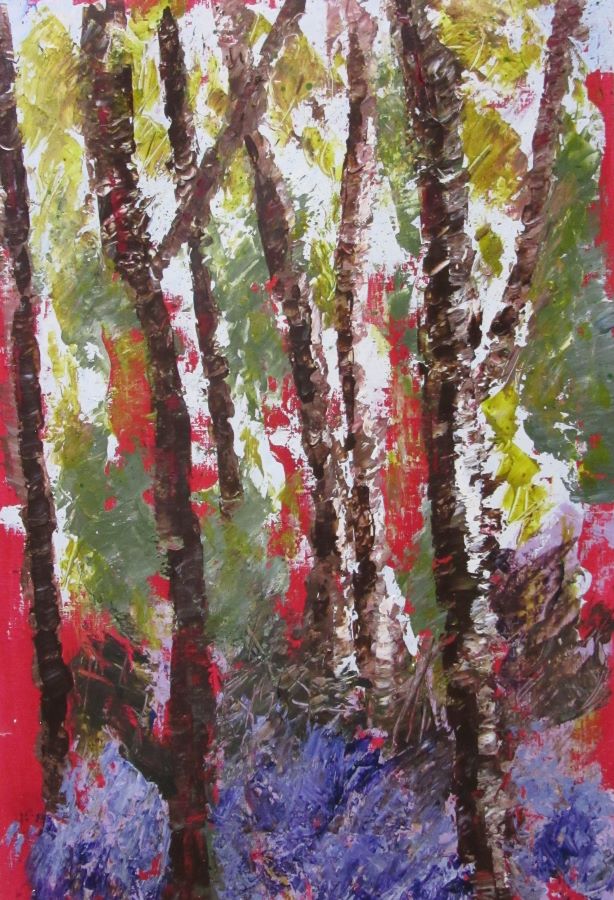
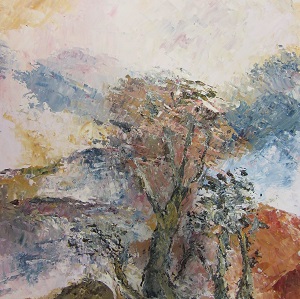
Belinda Reynell – Treescapes
What a super workshop this was, Belinda was a thoughtful tutor and provided positive and supporting advice and suggestions to all our members. Belinda started with a thin Raw Umber background, use Ultramarine and white with the pallete knife to start adding clouds on quite thickly, then with ultramarine and cadmium yellow in various tones added the greens lightly touching the surface to create interesting textures. When this was done, Belinda used a scrapper to scrape out the trunks of the trees through the various layers of paint. As you can see we enjoyed ourselves and produced some excellent artworks.


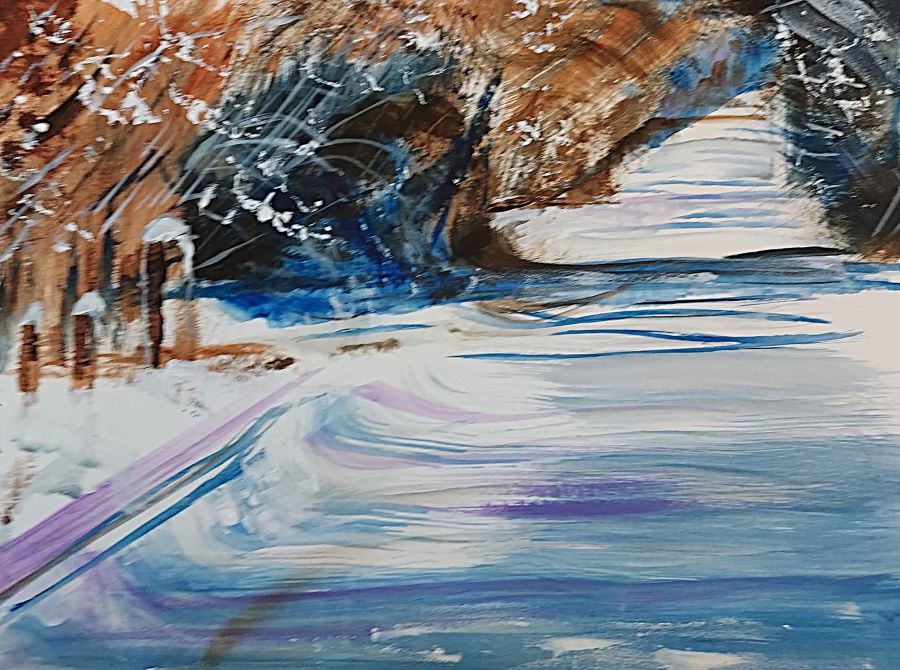
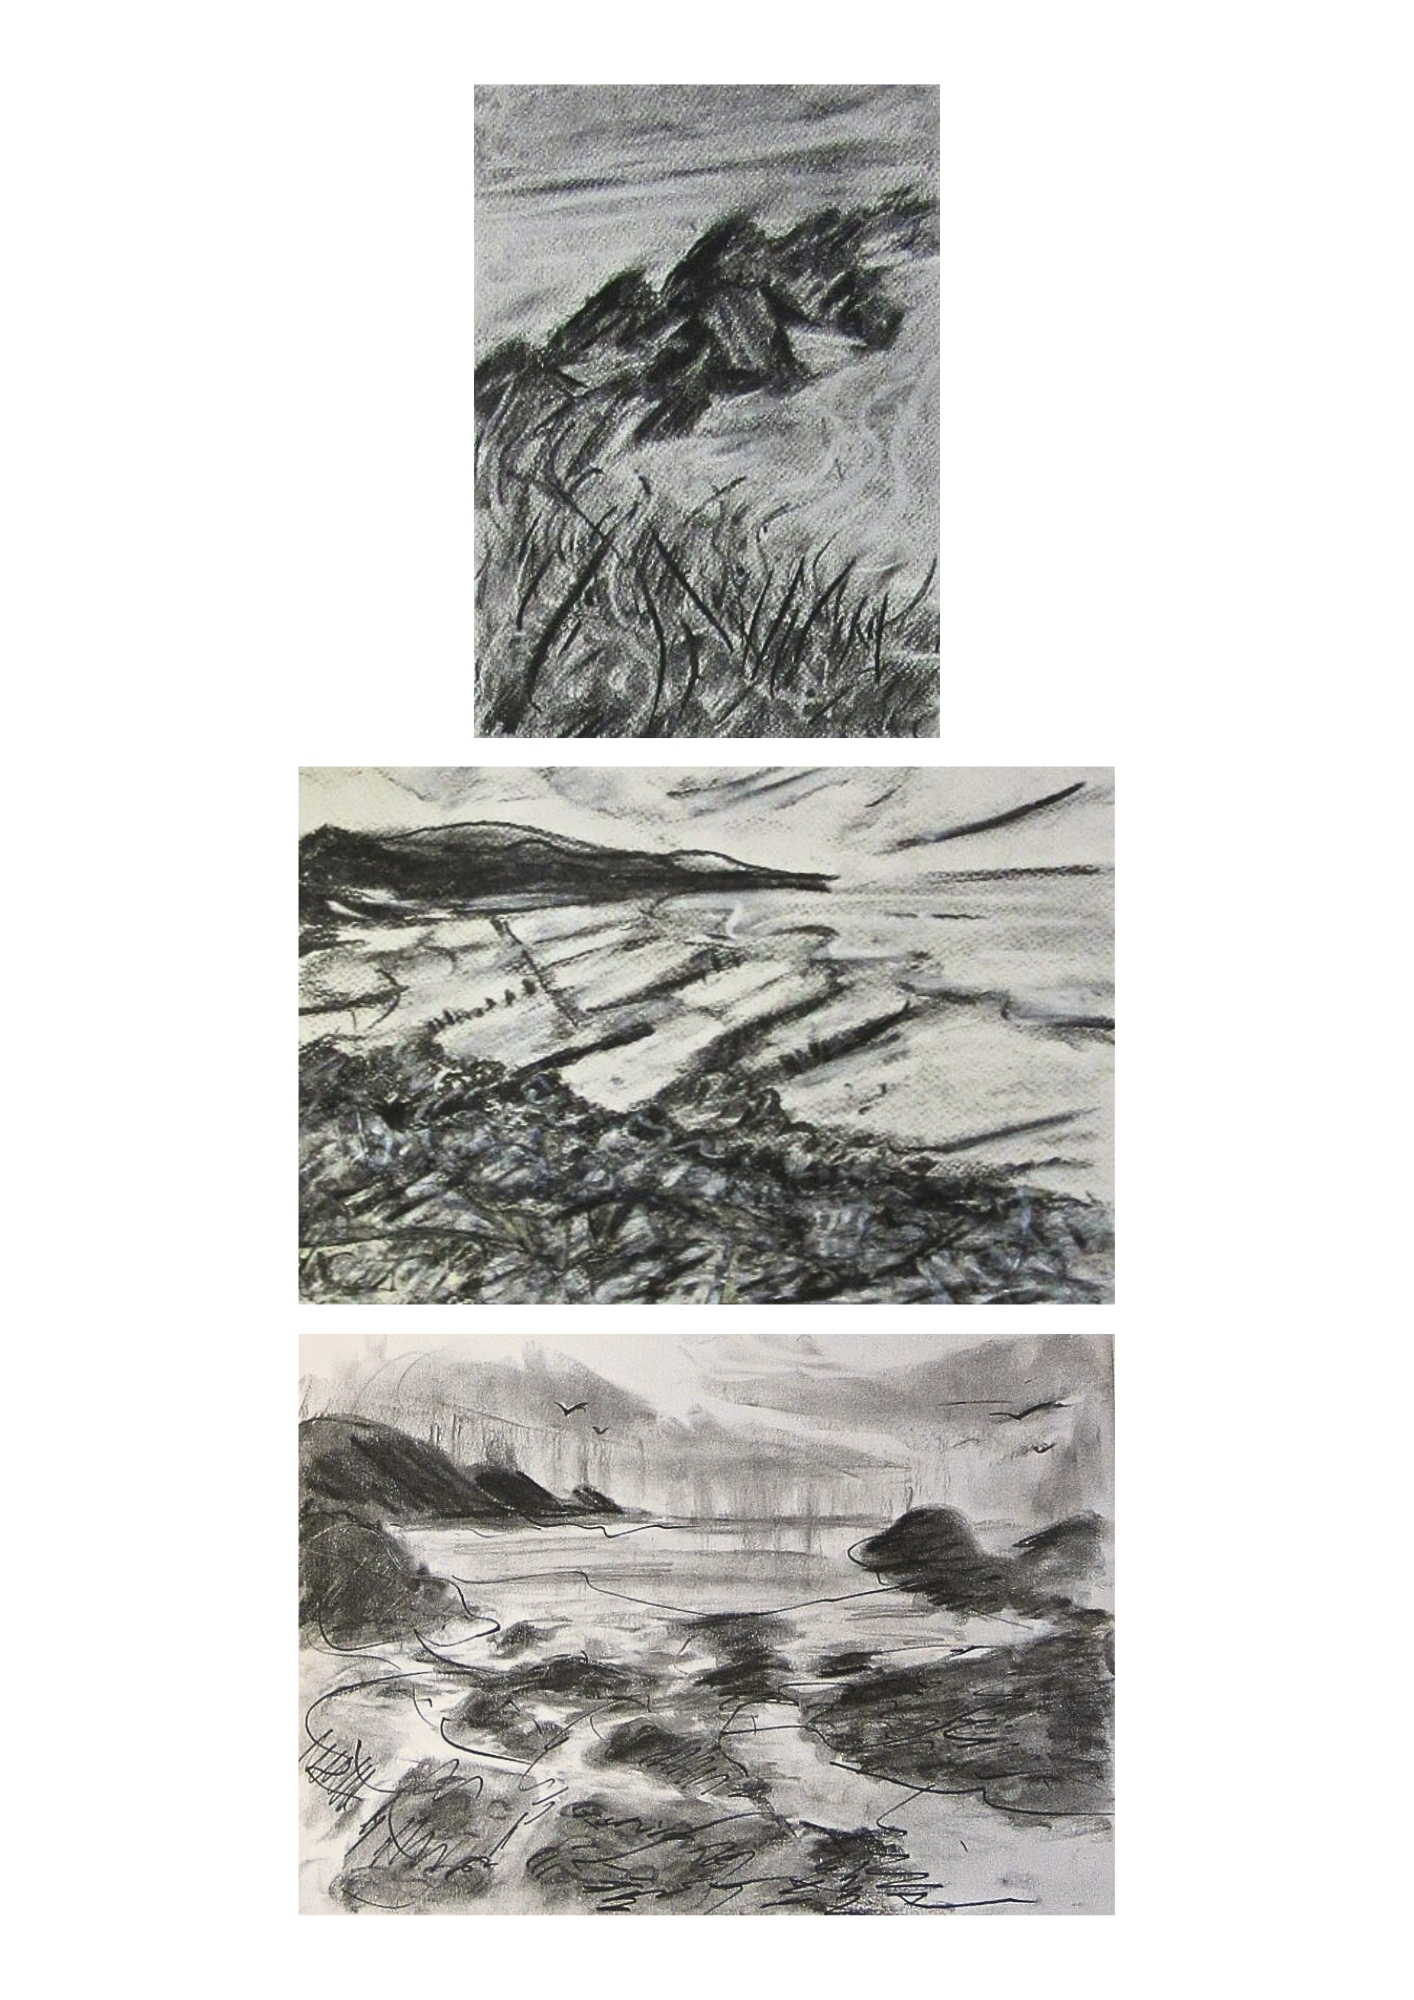
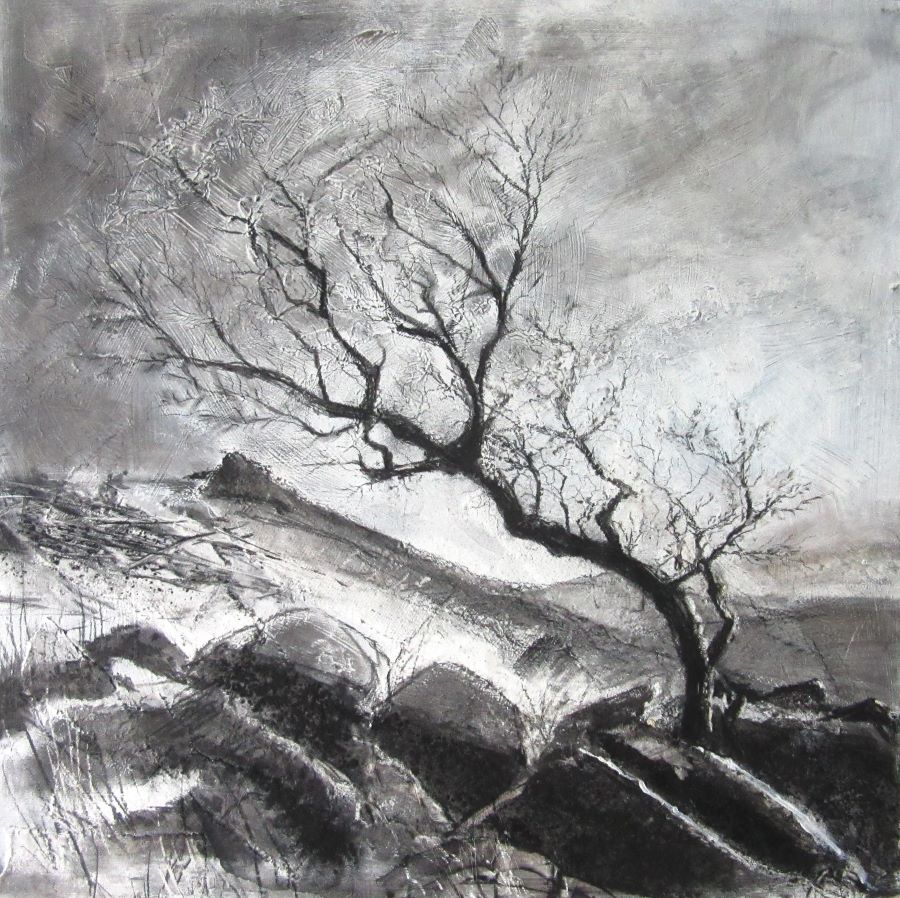
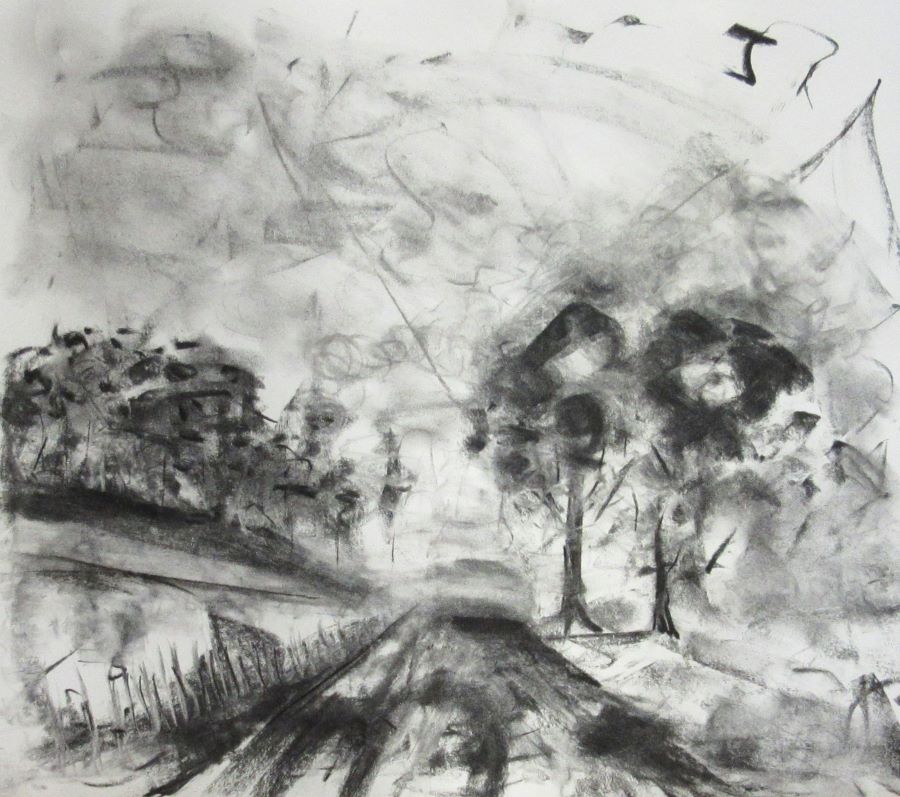
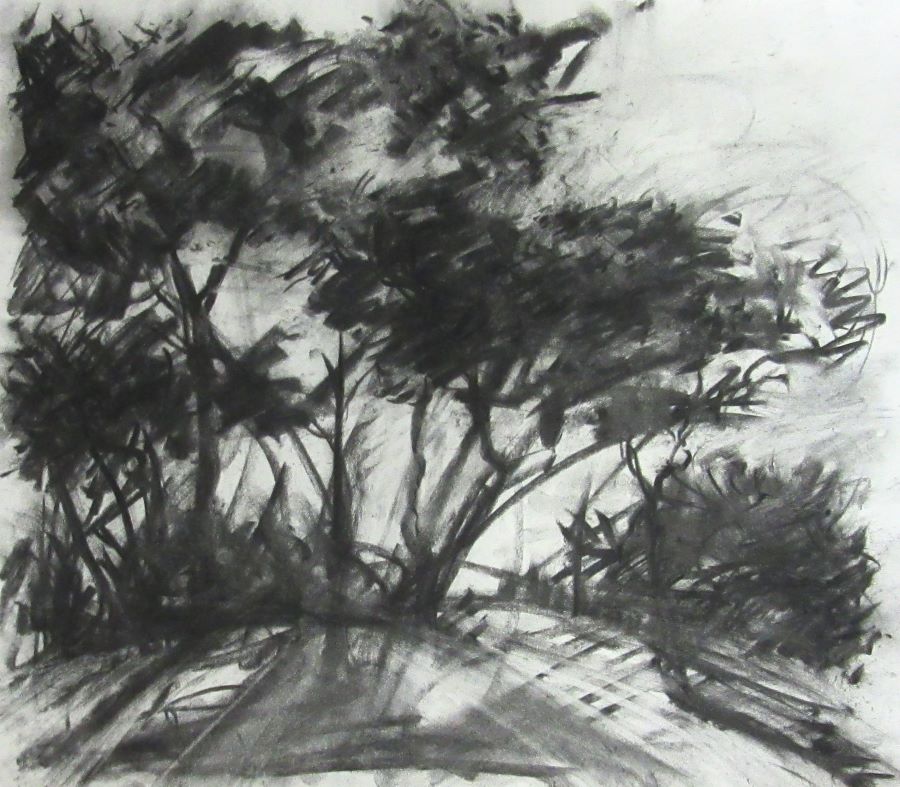
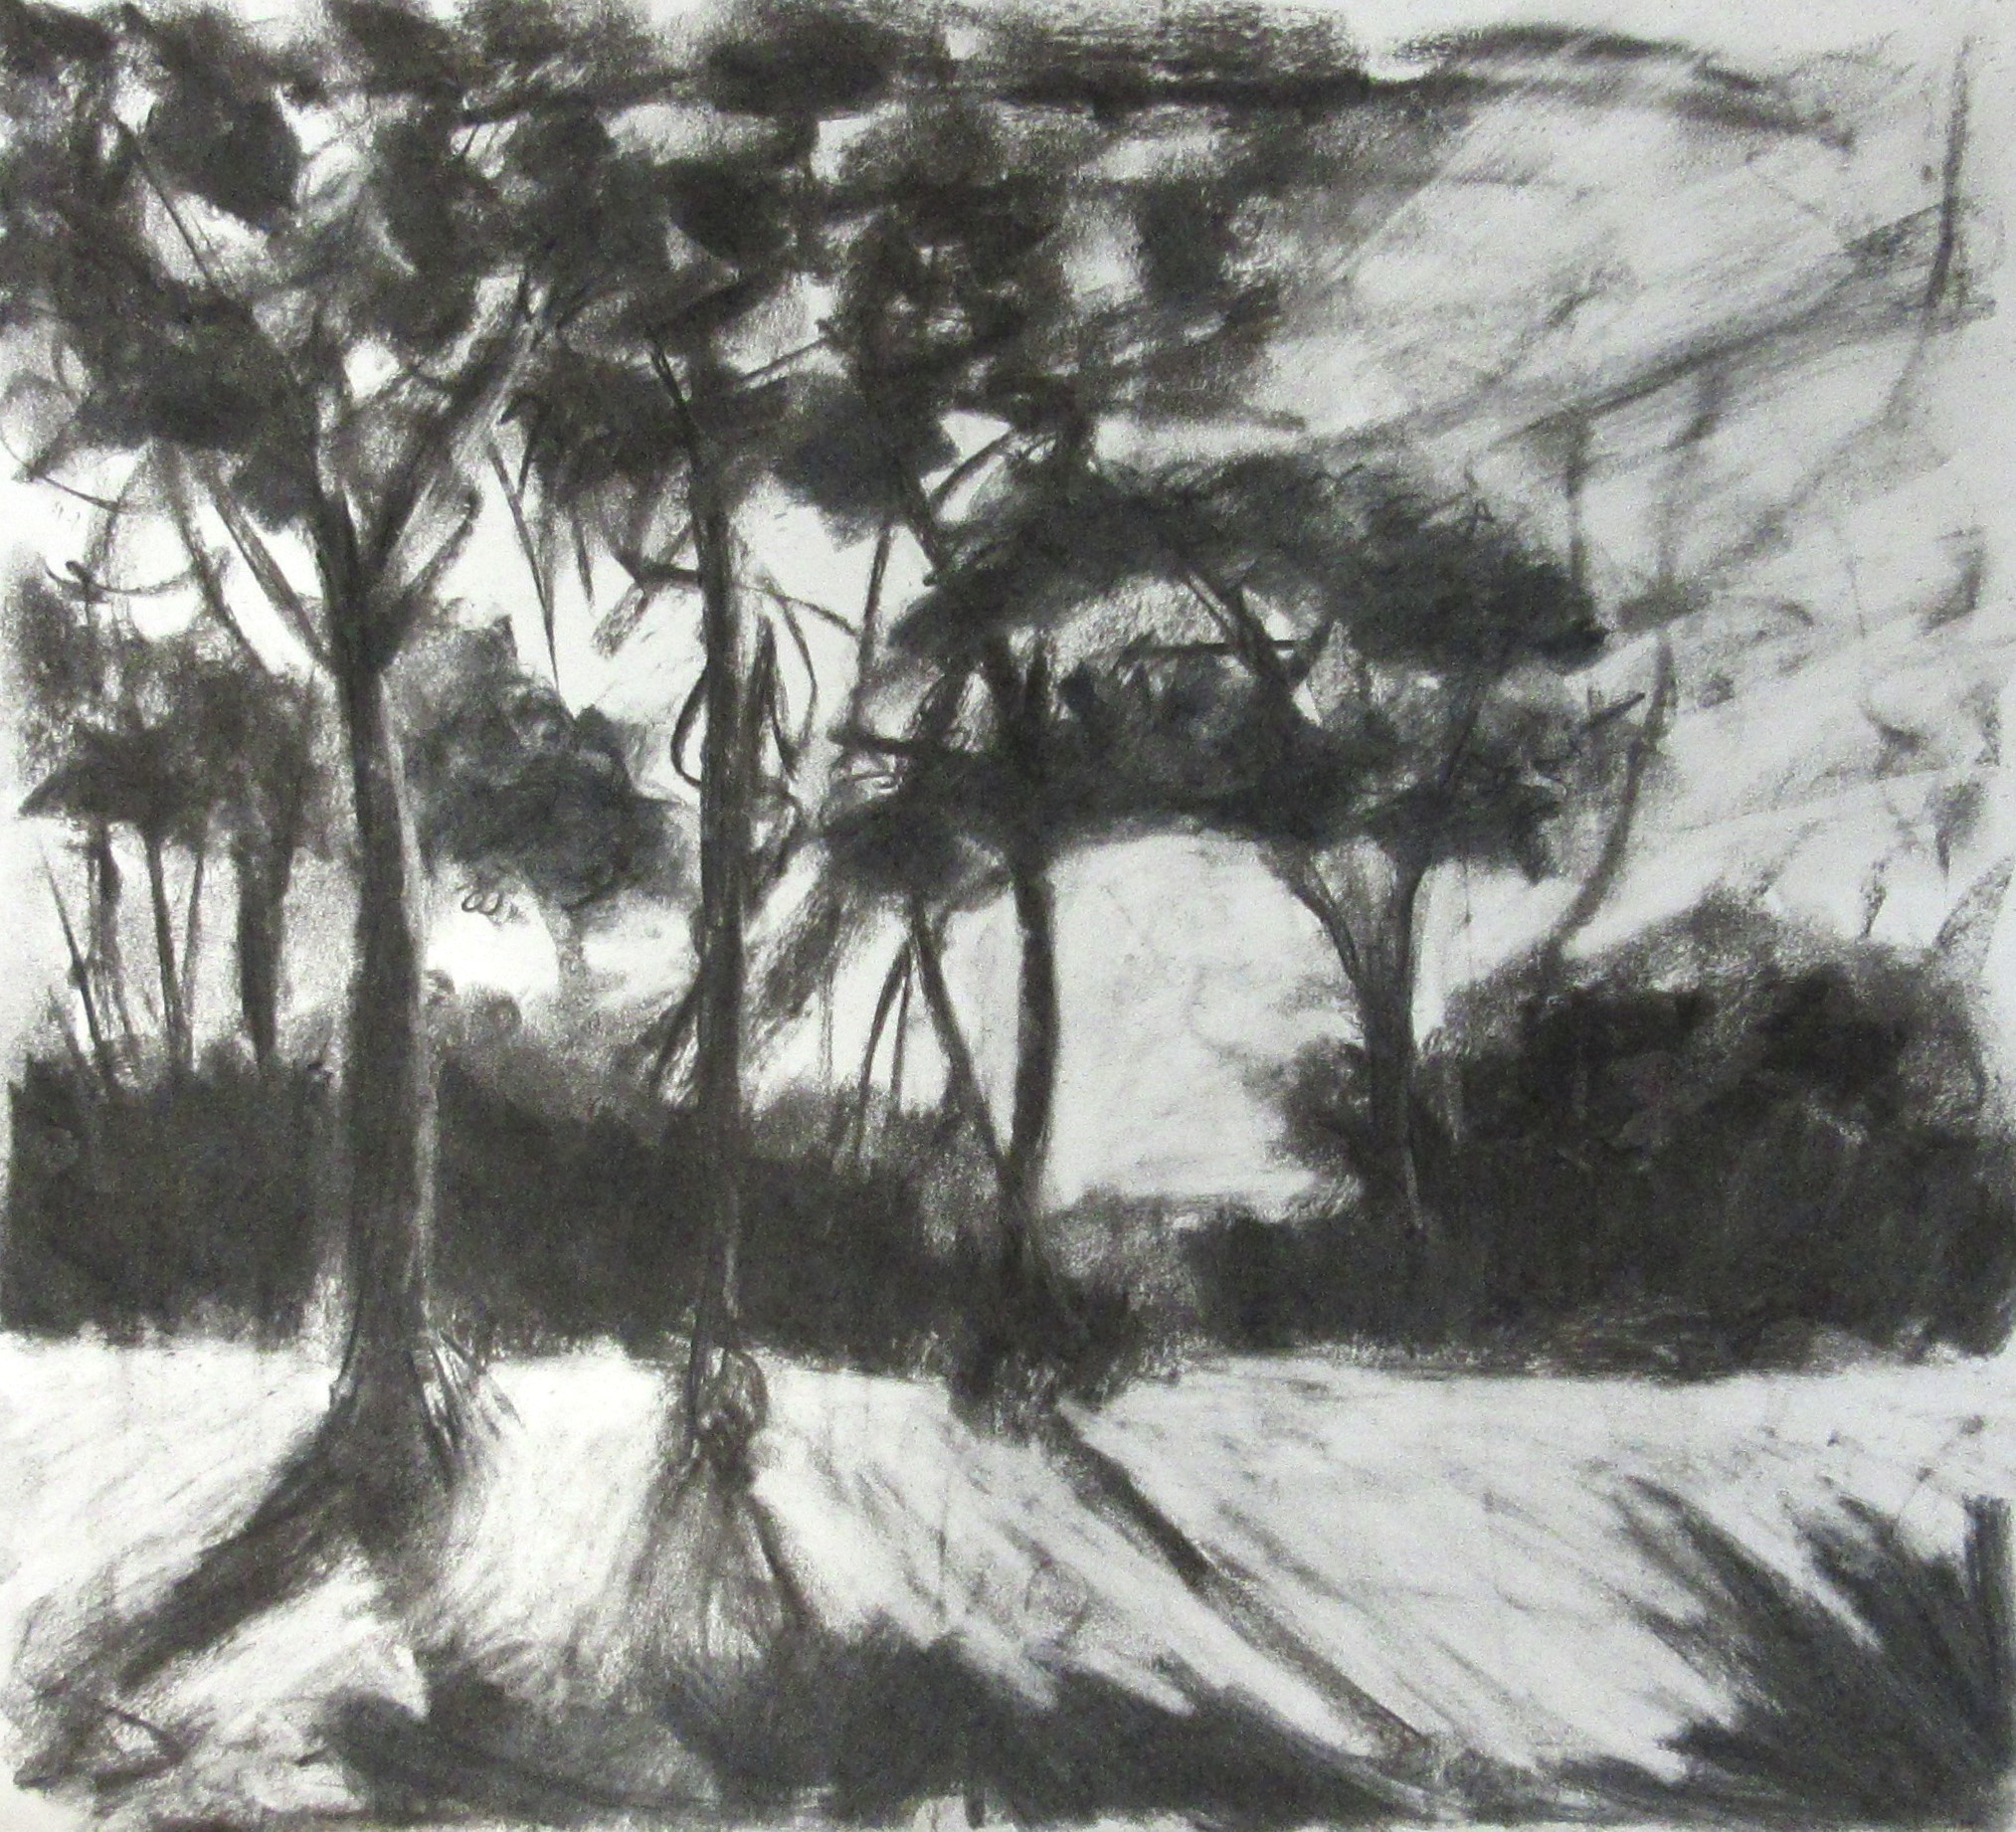
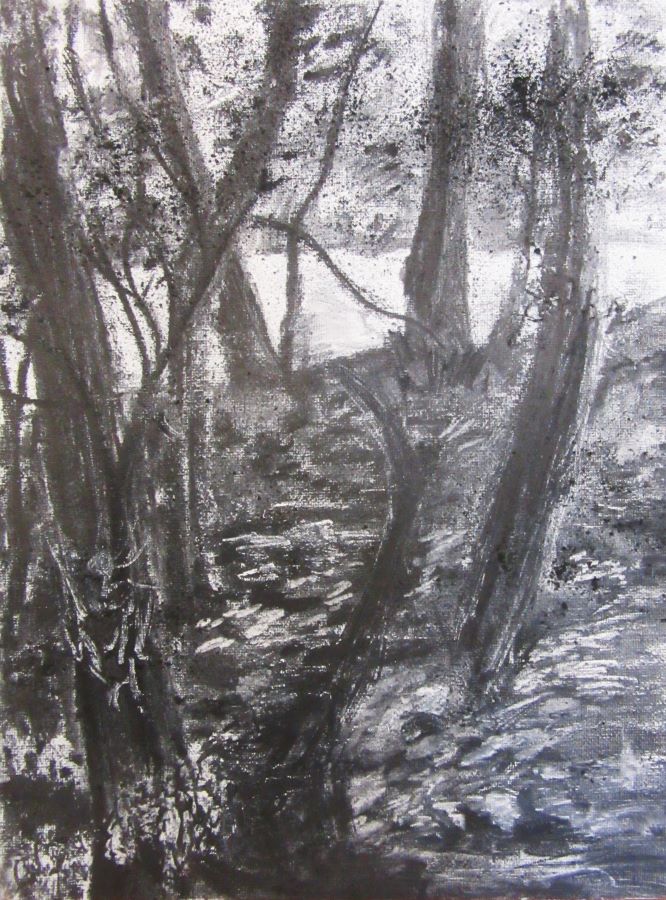
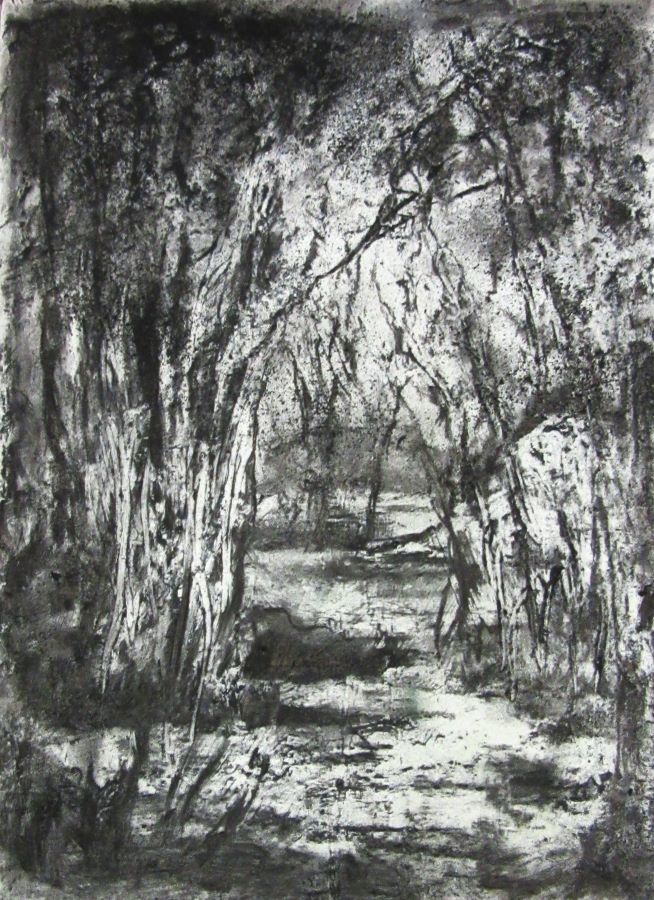
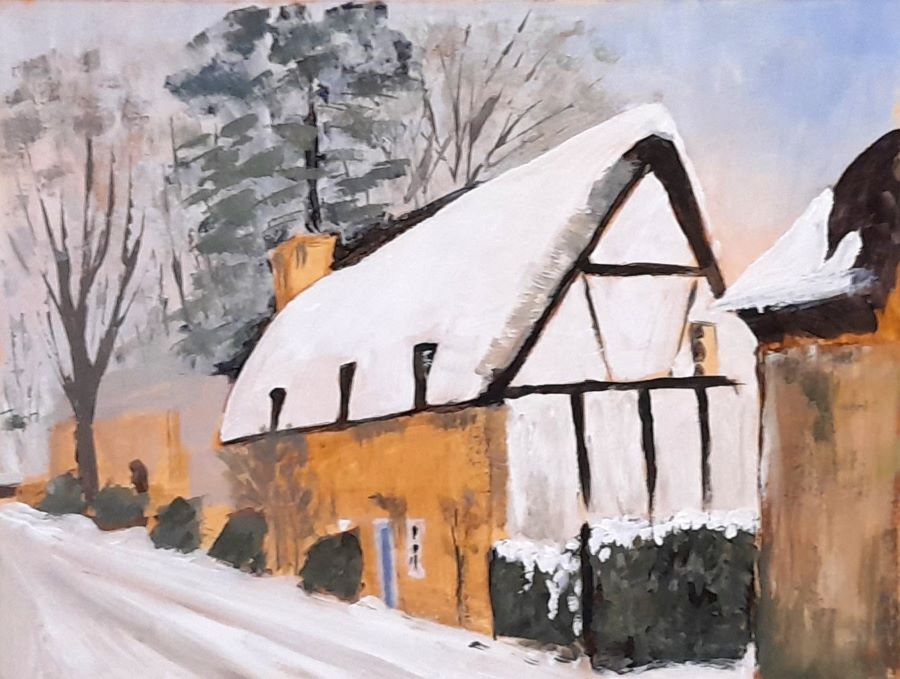
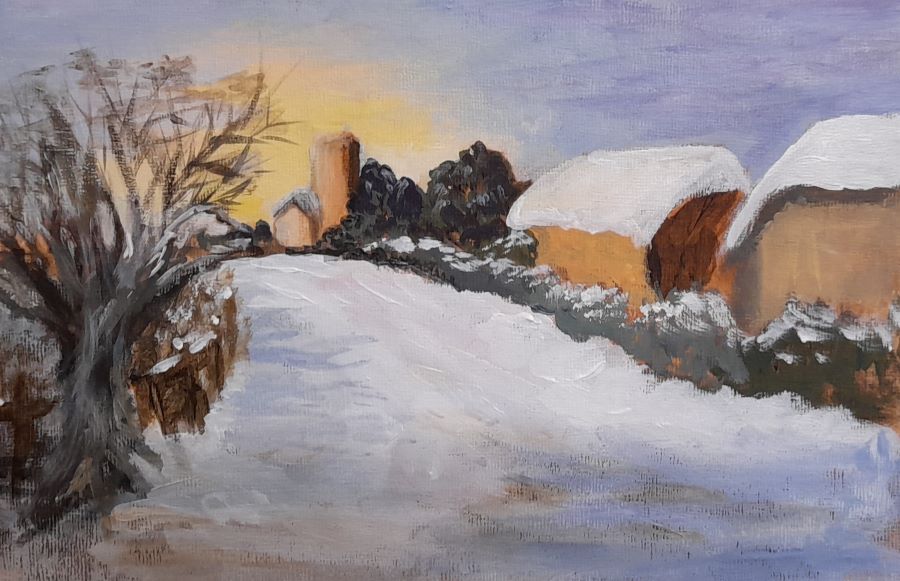
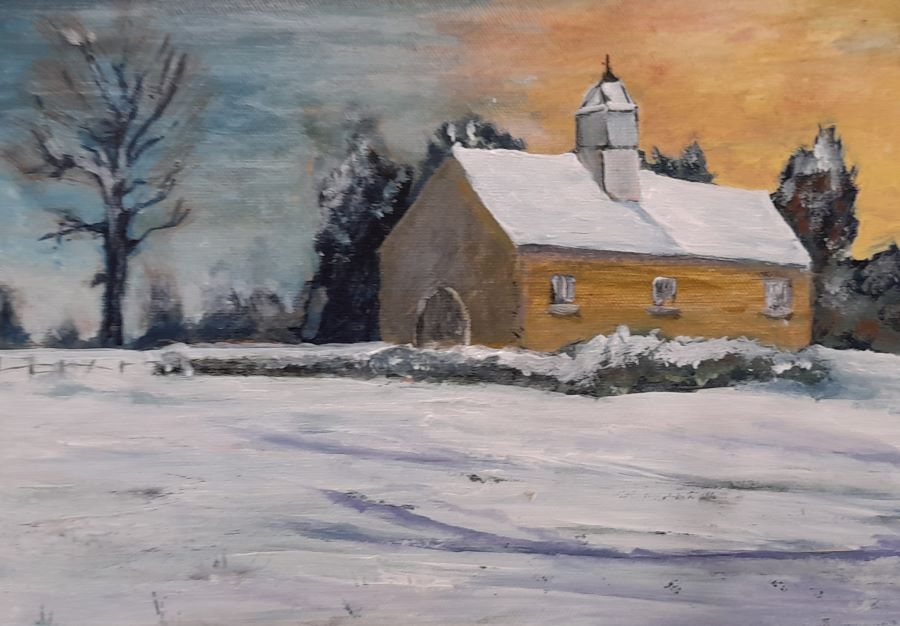
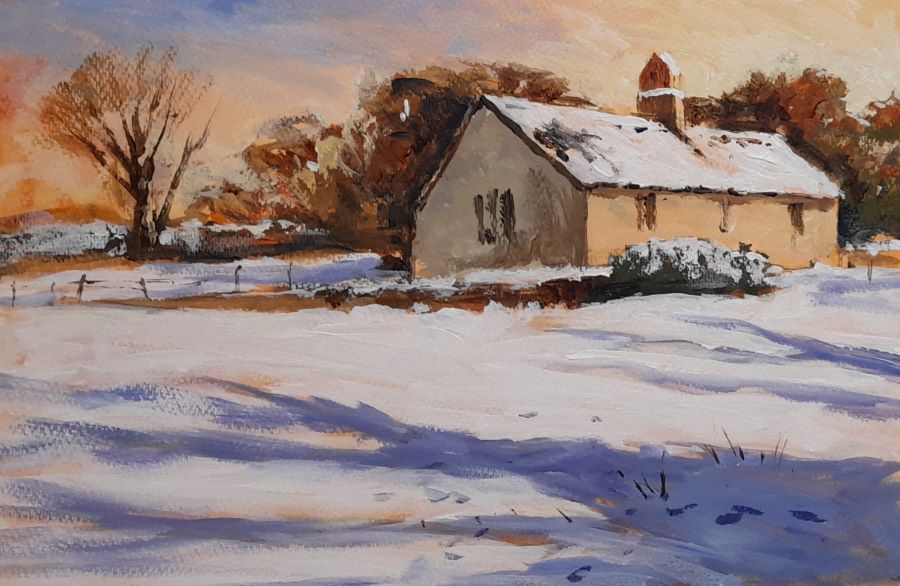
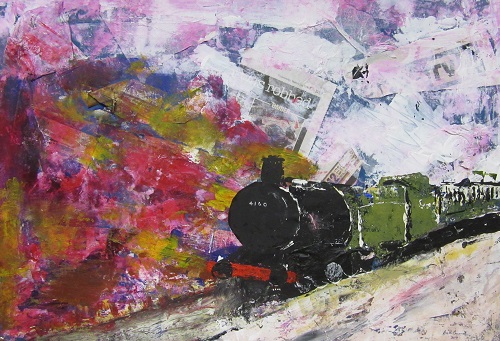
 Paul Weaver – A snowy scene with fat over lean painting


 Hannah Twine – Expressive skies
Hannah showed us the intricacies of painting clouds, what colours and shapes to use to create sunsets, thunder and cumulus clouds by using her less is more approach. How to create energy and spontaneity in our artworks. Hannah was very thorough and we all created some fantastic artworks that day.


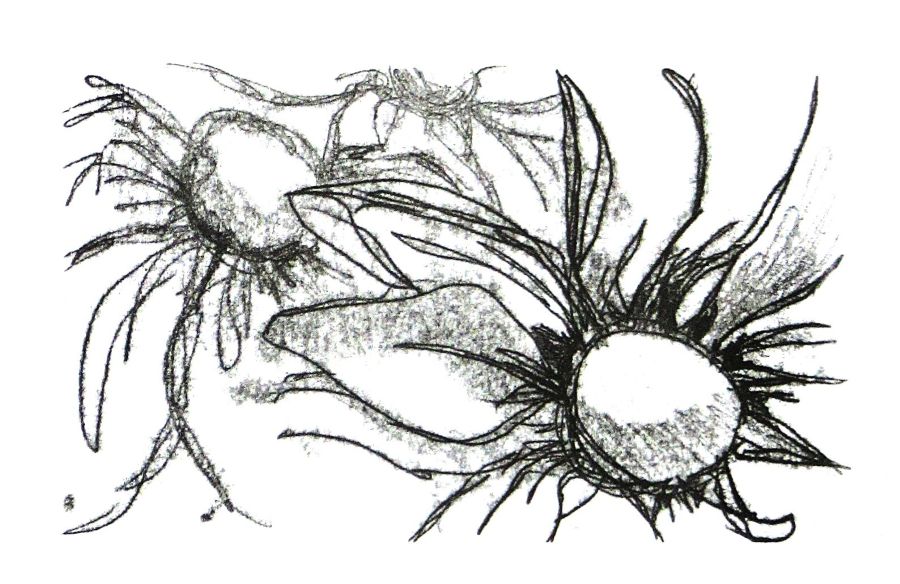
Claire Western – Drawn to experiment
Claire put us straight to work with charcoal and erasers, creating a single line drawing (exercise 1).


Then the same technique but a landscape this time. A bit trickier as we had to create different tones (exercise 2).


We moved on to creating a landscape with oil pastels and using white spirit to mix and create texture (exercise 3).

And we finished drawing flowers with soft pastels and indian ink.


We had a great time making our artworks and a big thank you to Claire for guiding us through the different techniques. The creatives juices were well and truly flowing.
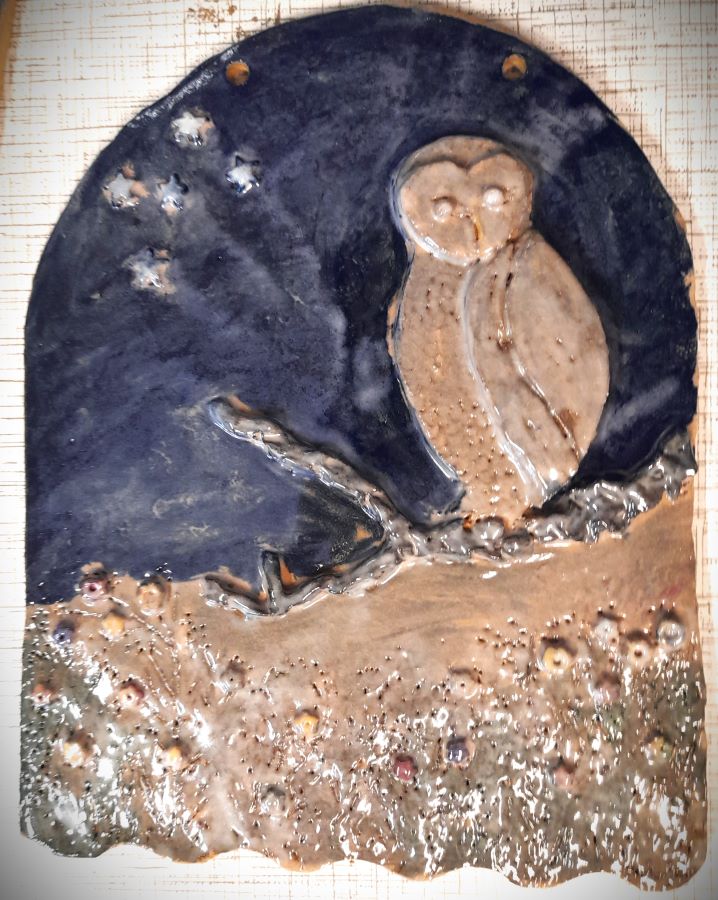
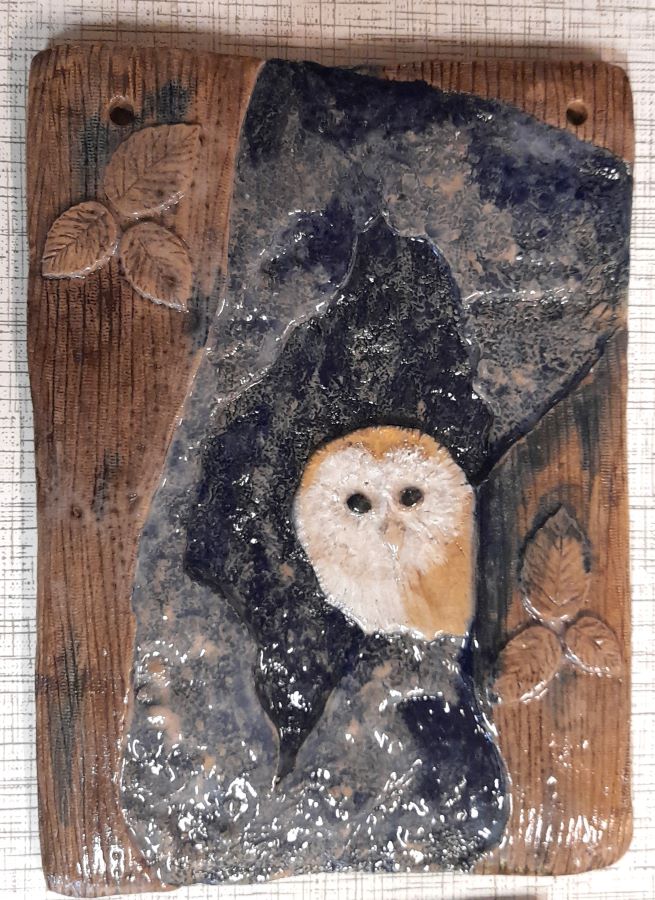
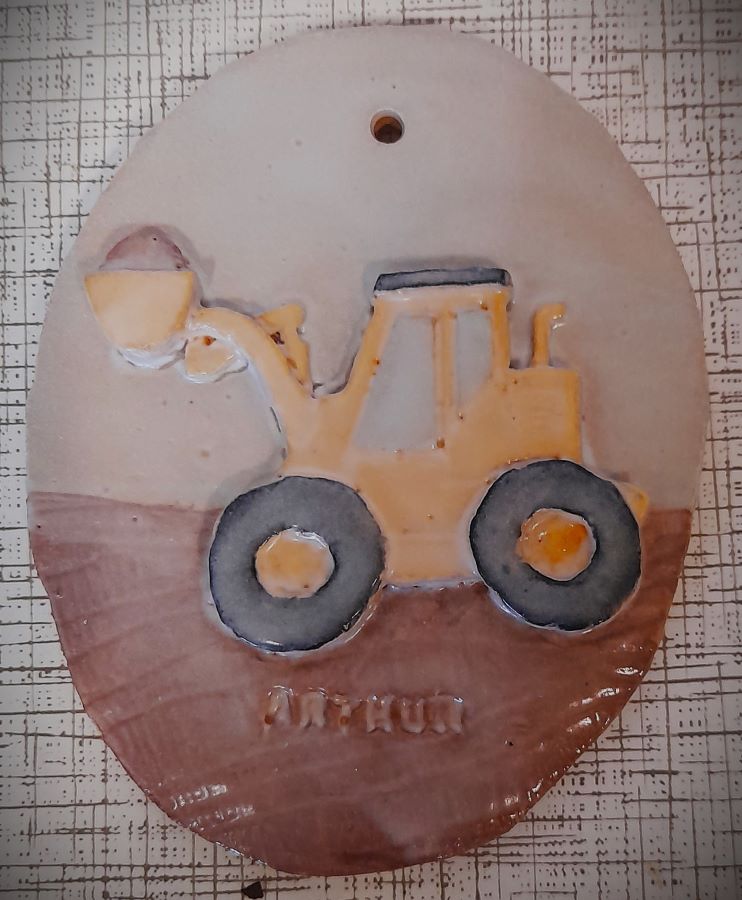
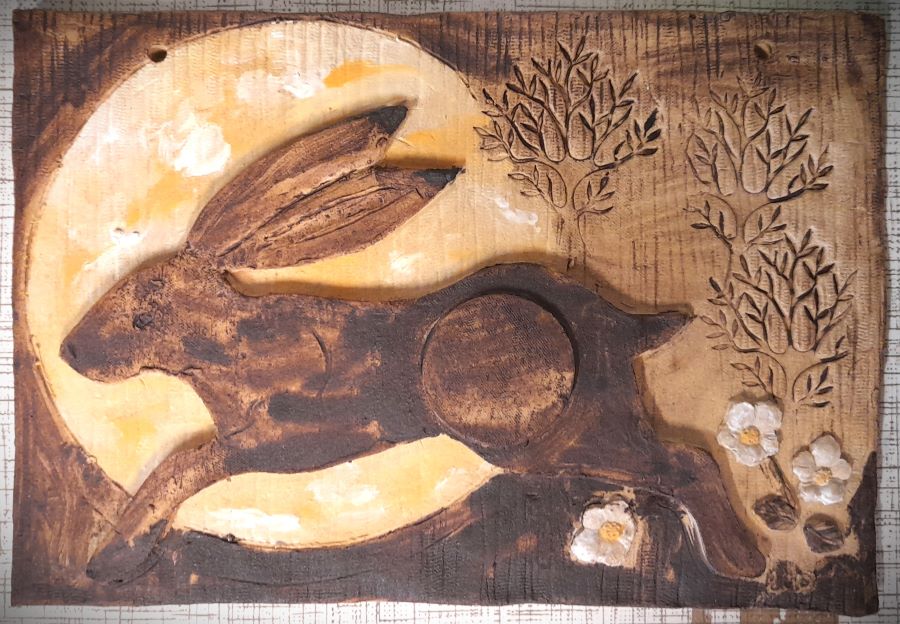
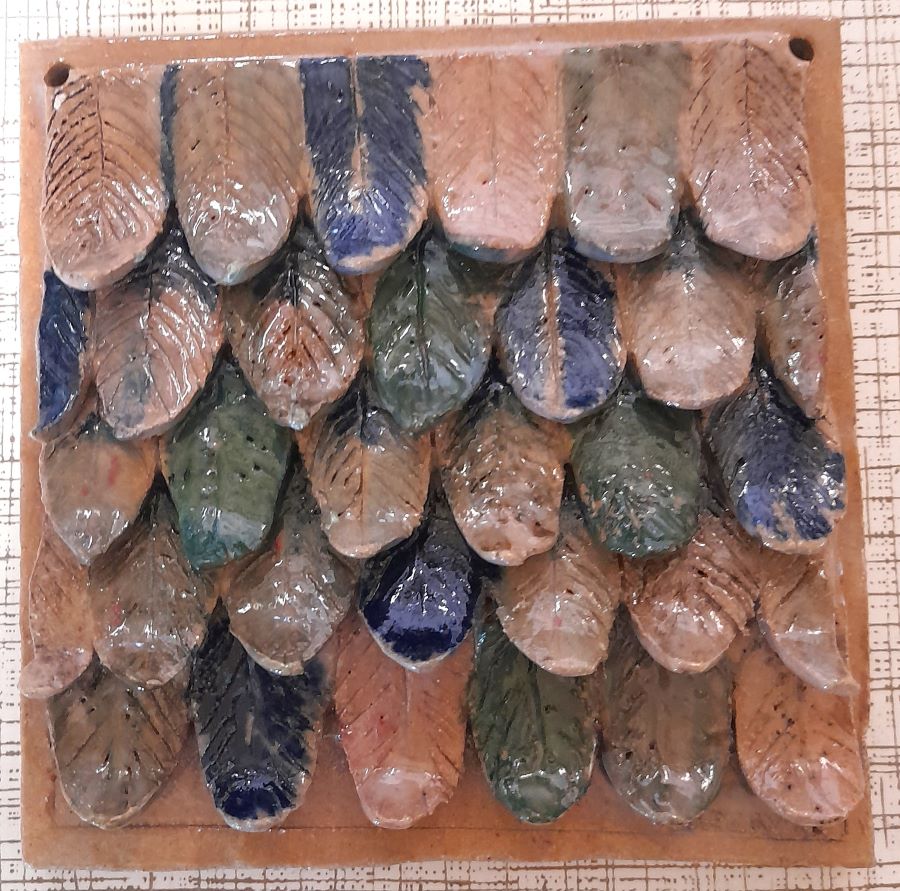
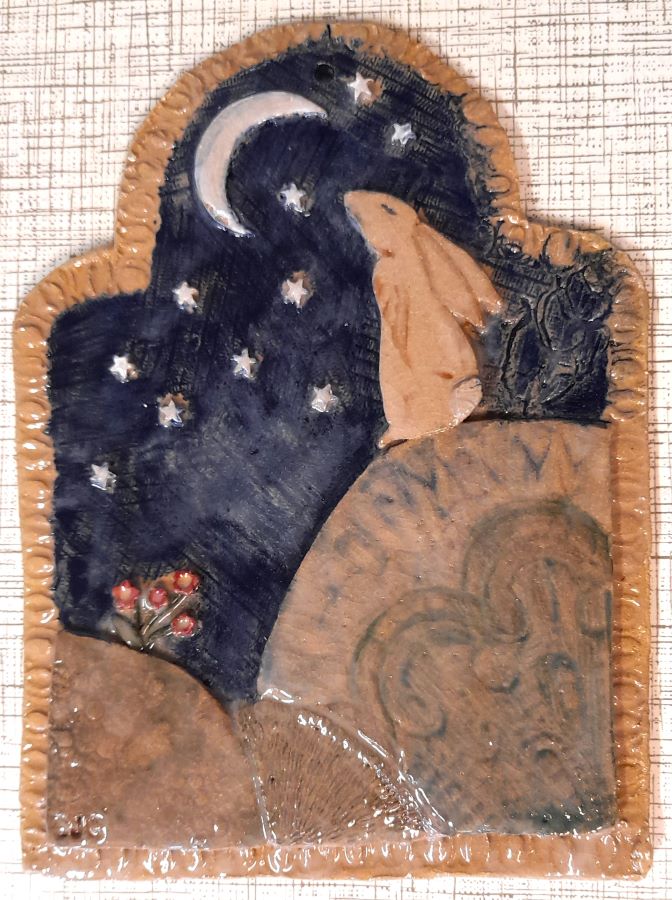
Hayley Webb – Ceramic plaques


Chris Howe – Atmospheric watercolours


 Richard Welch – Following in the style of Anne Cotterell
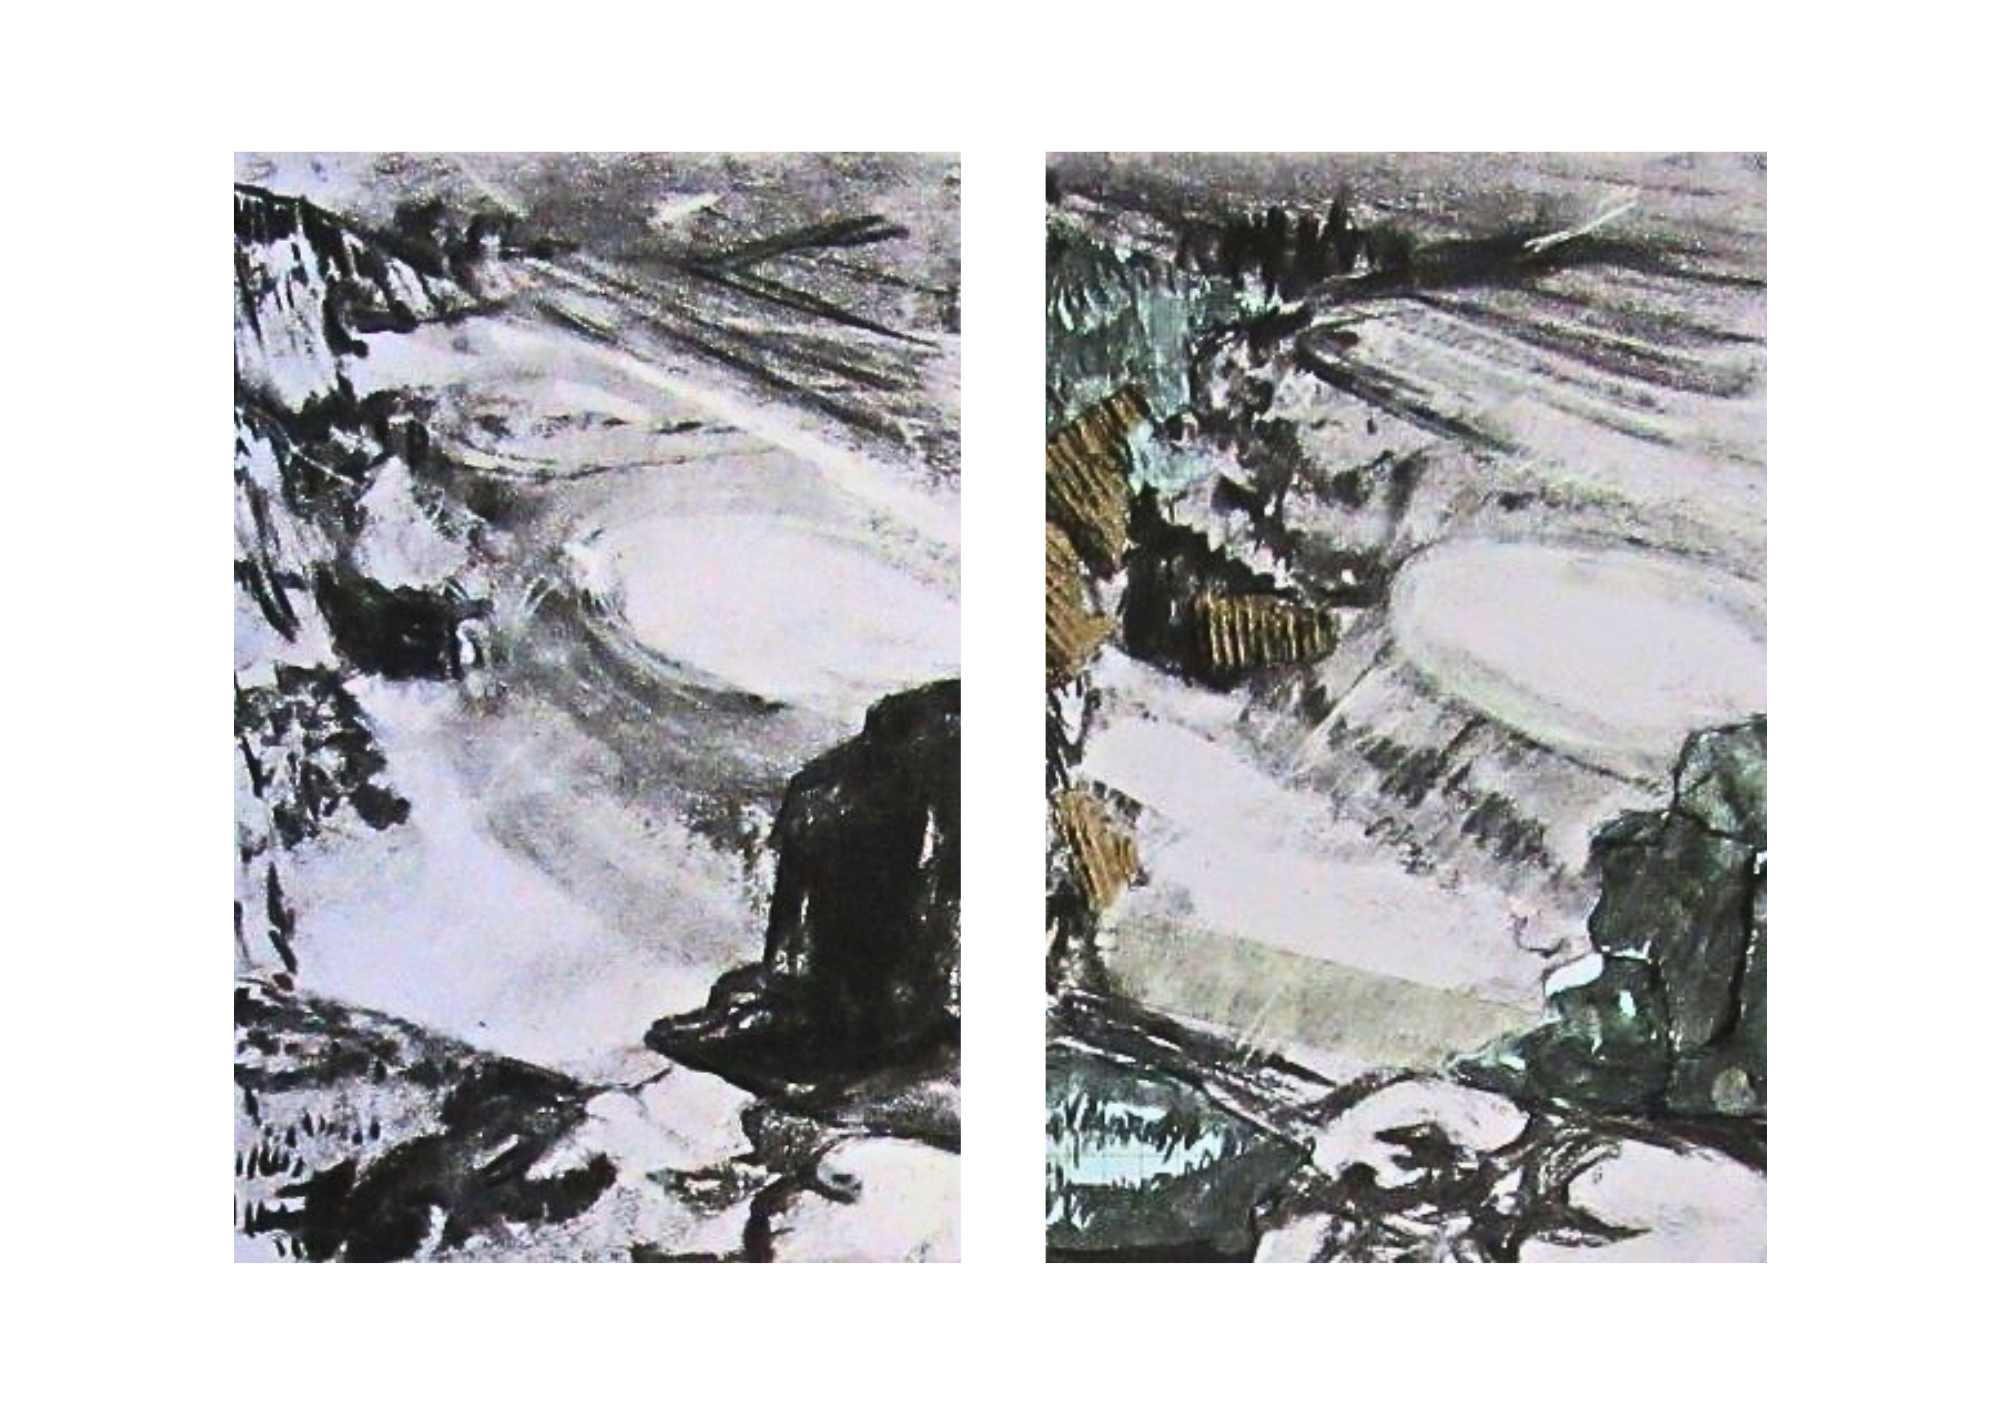
Claire Western – Texture and transparency


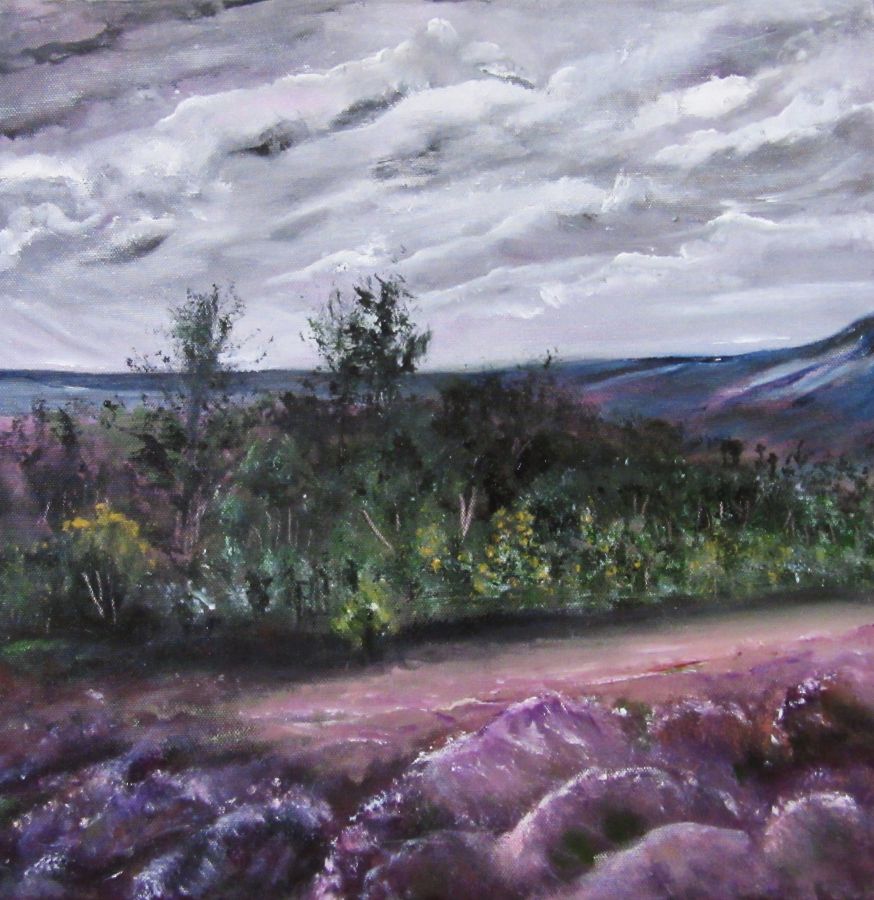
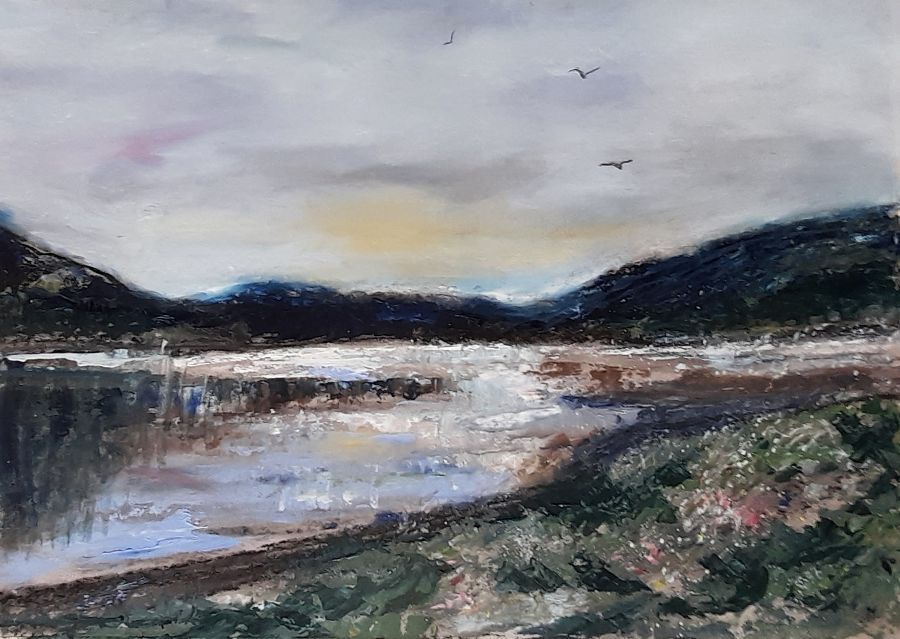
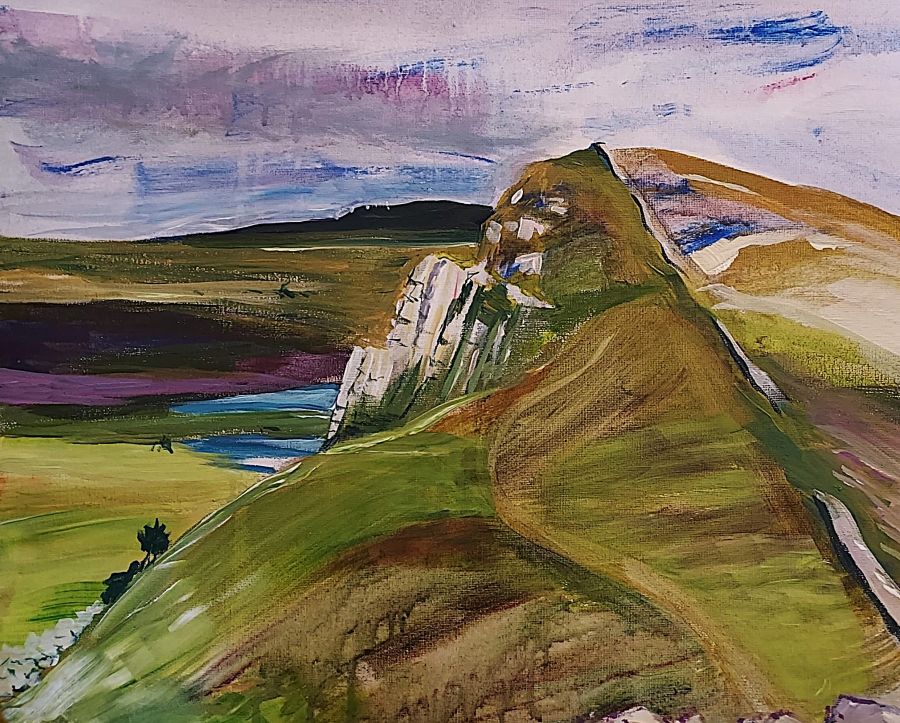
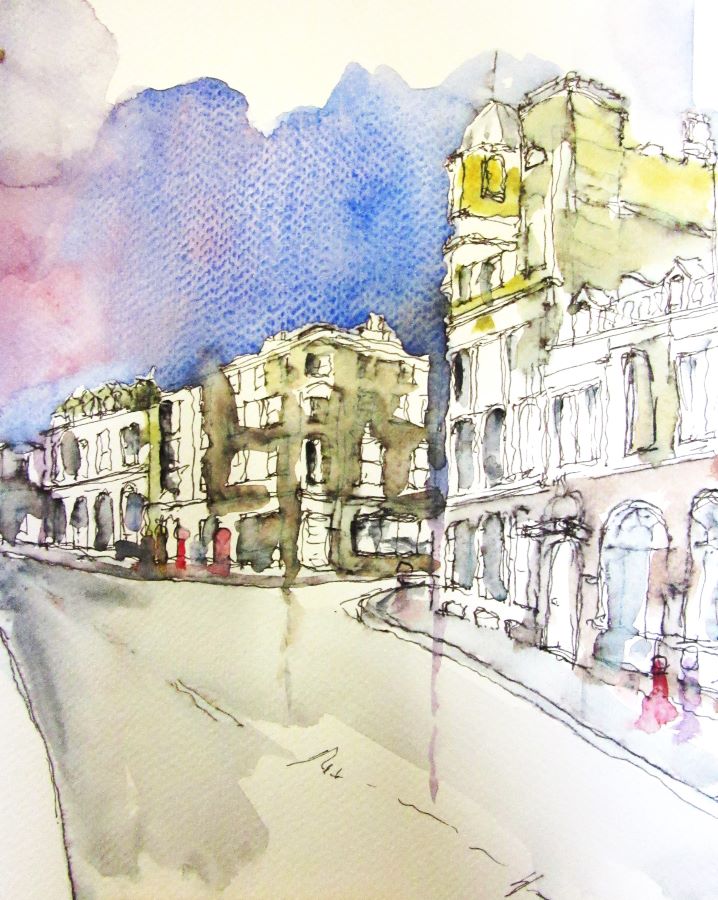
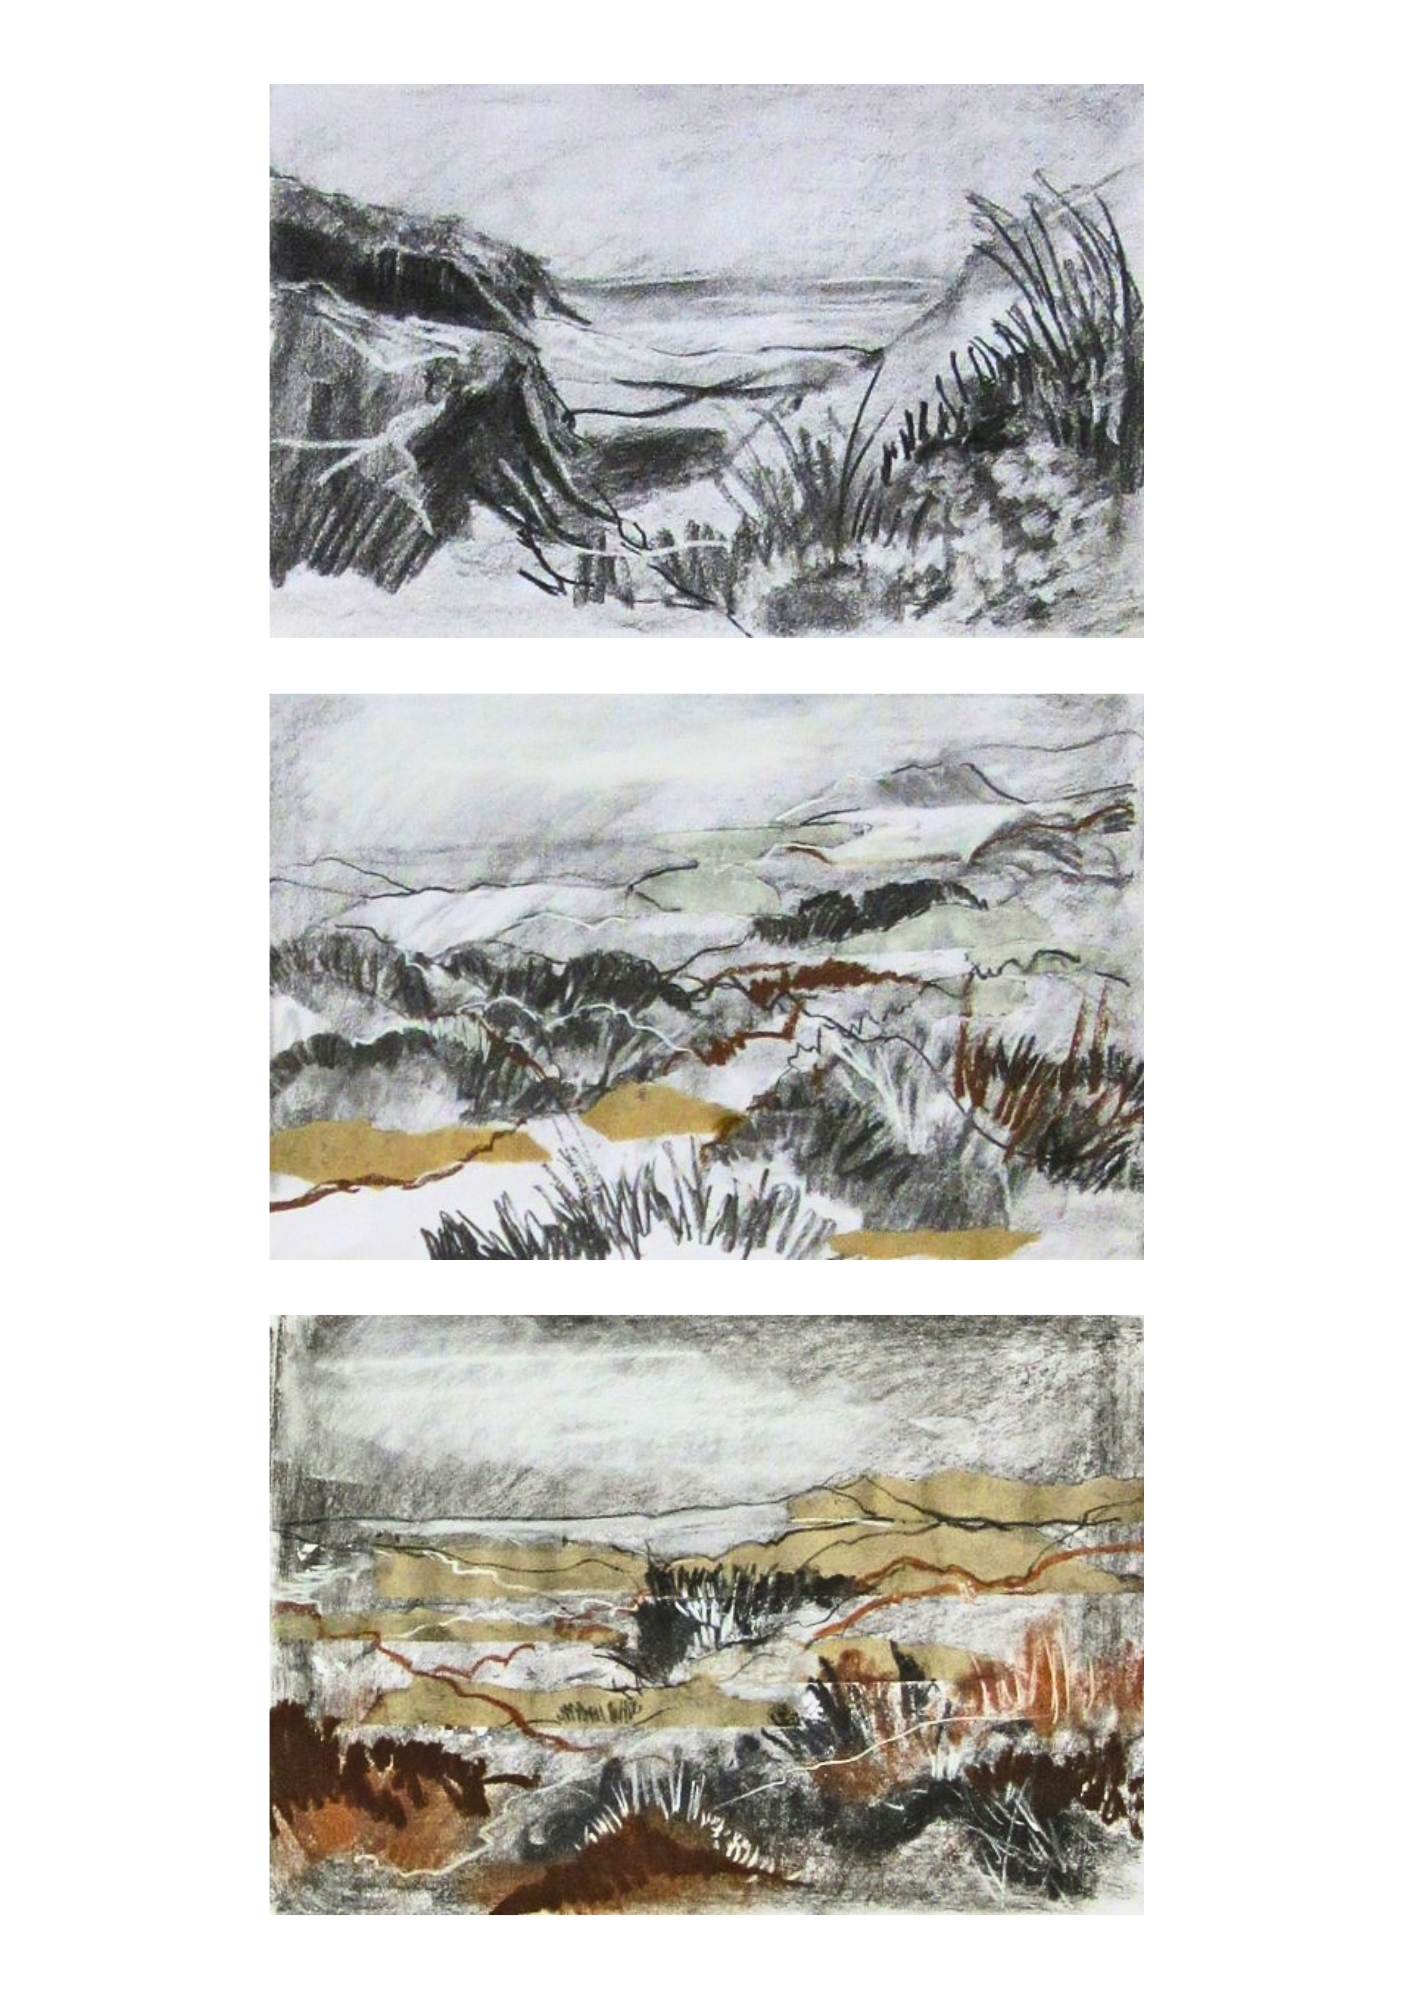
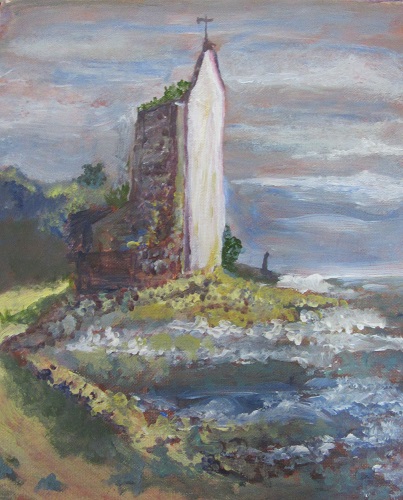
 Rebecca De Mendonca – The Drama of Dartmoor

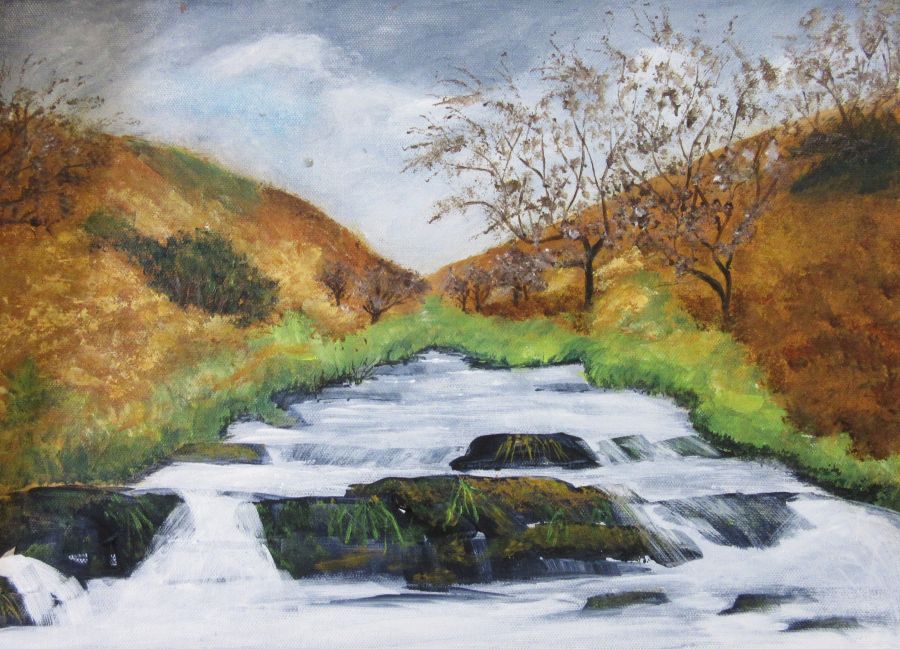
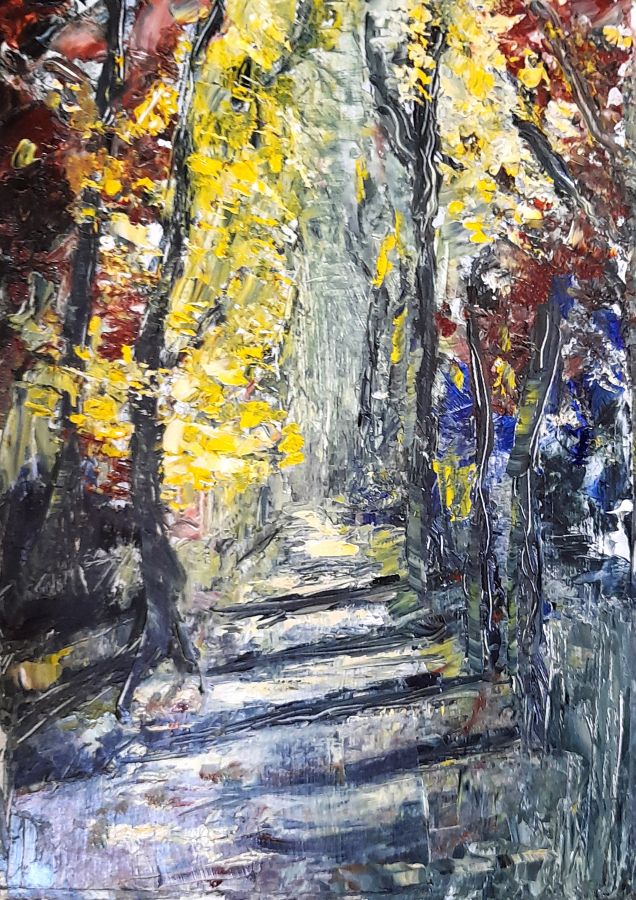
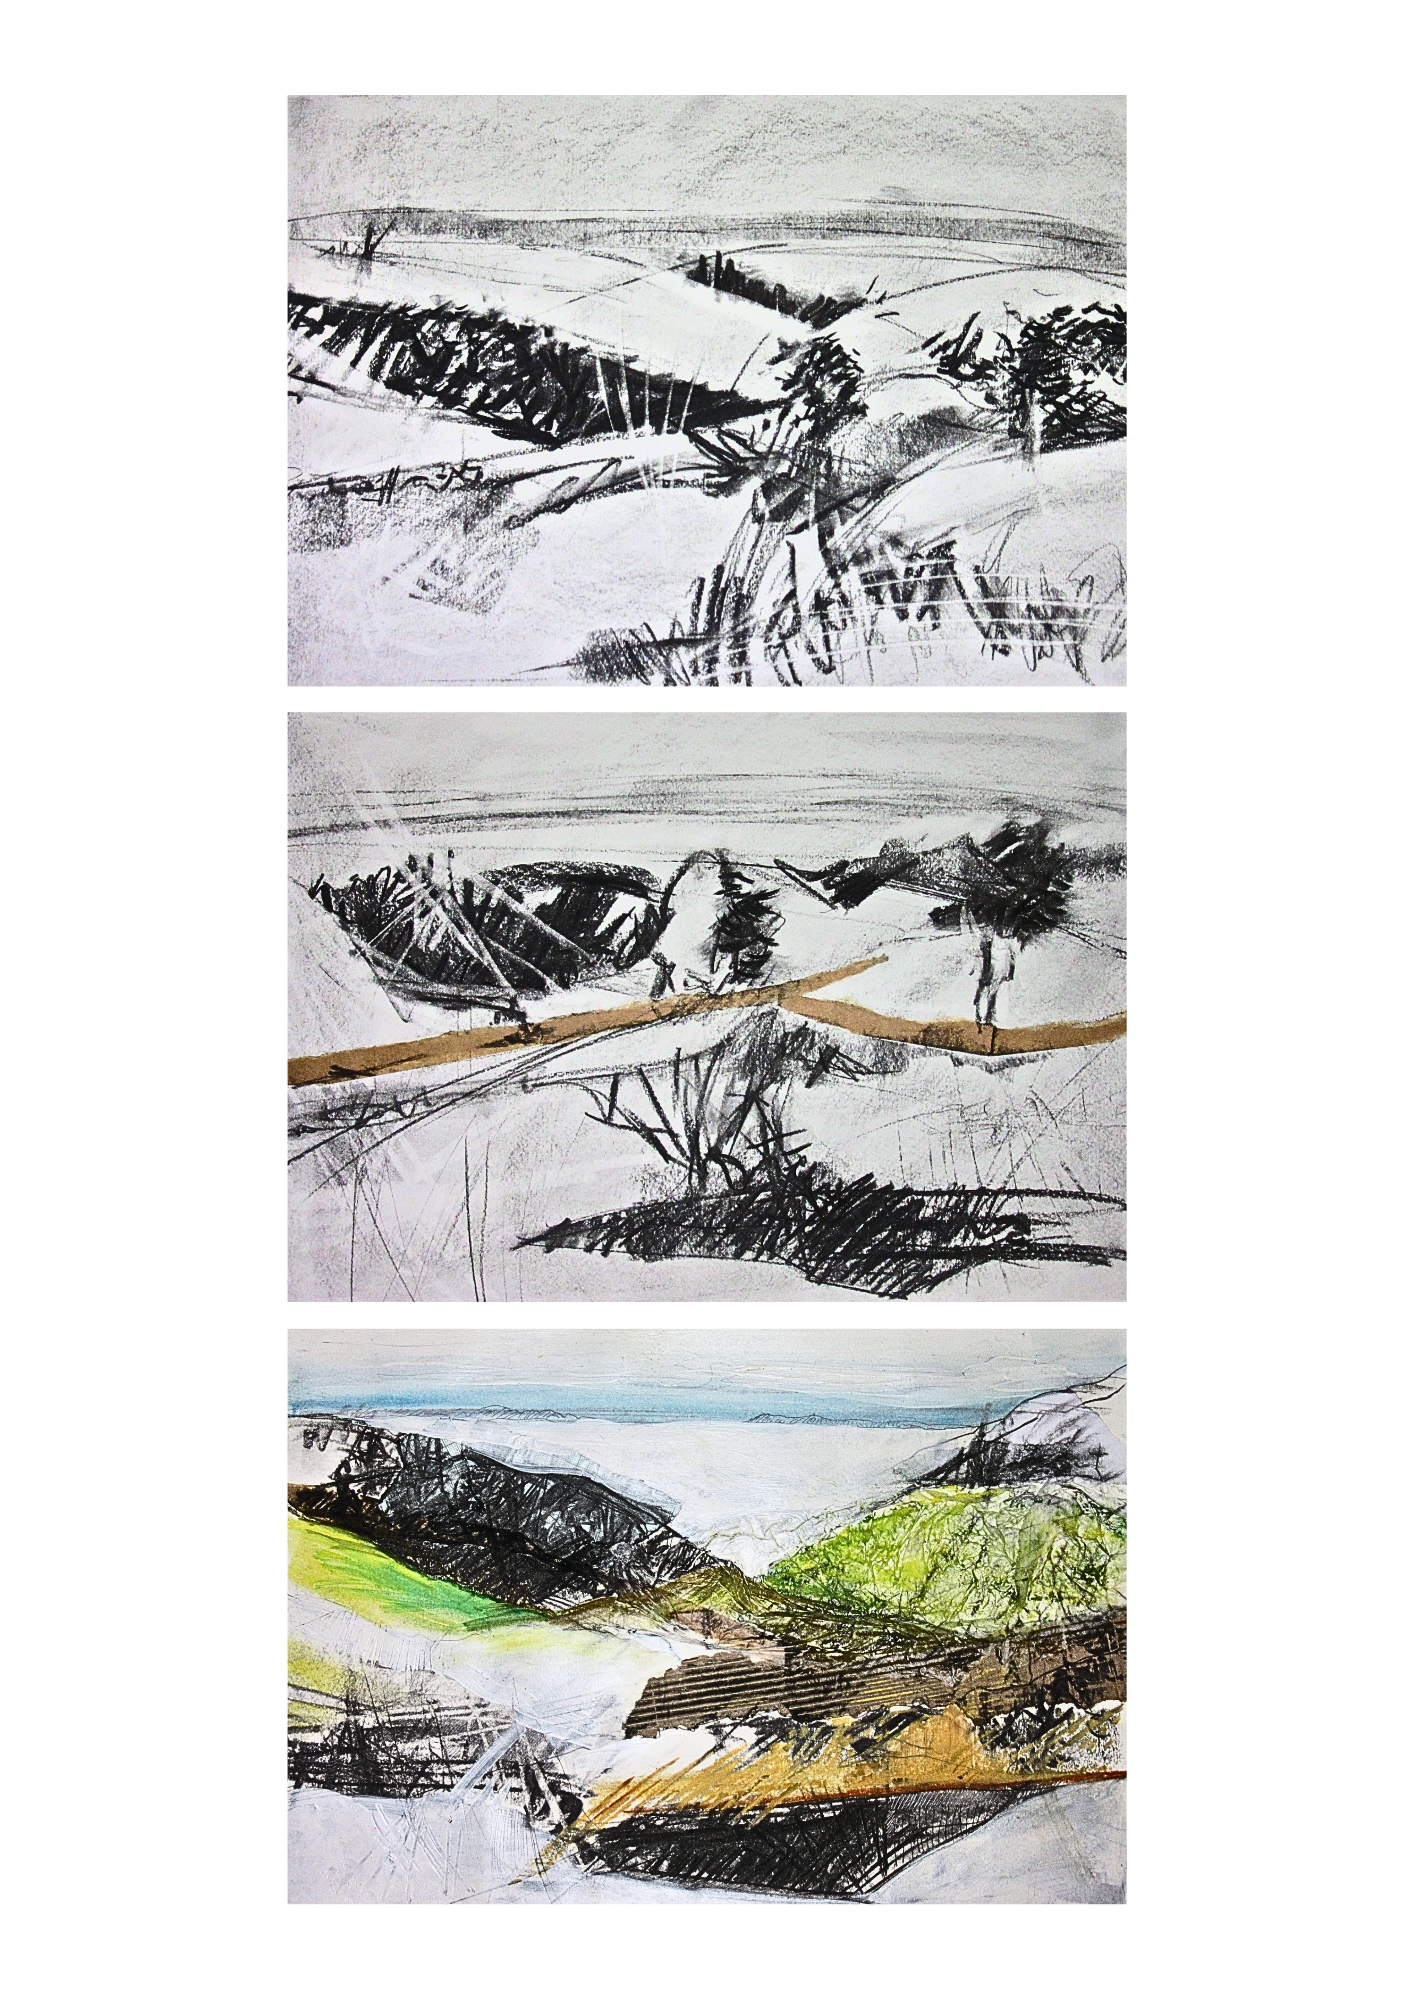
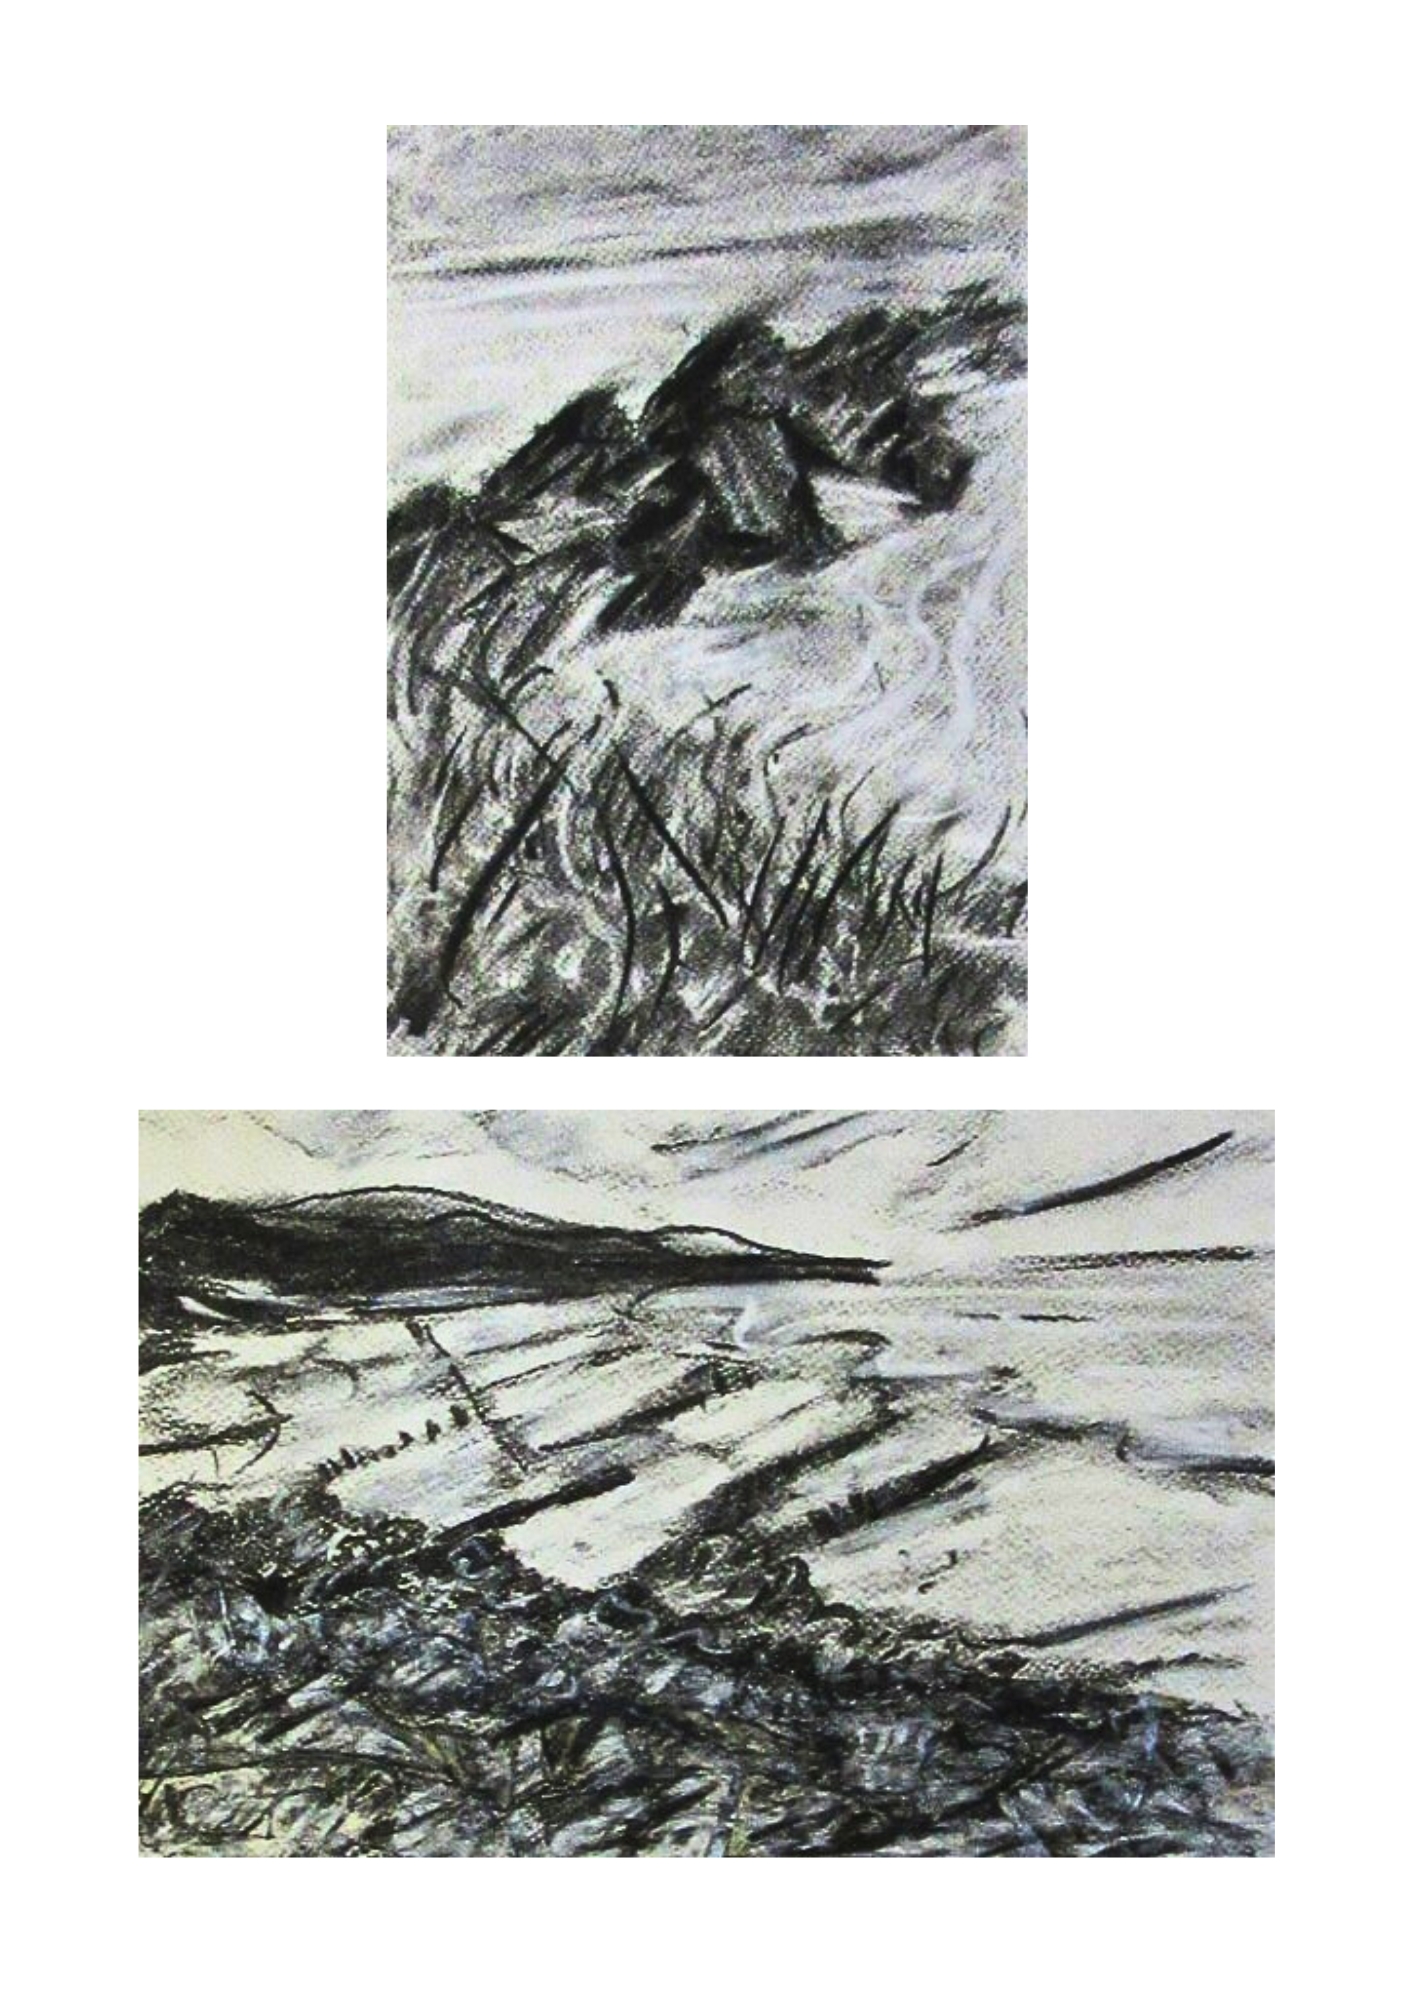
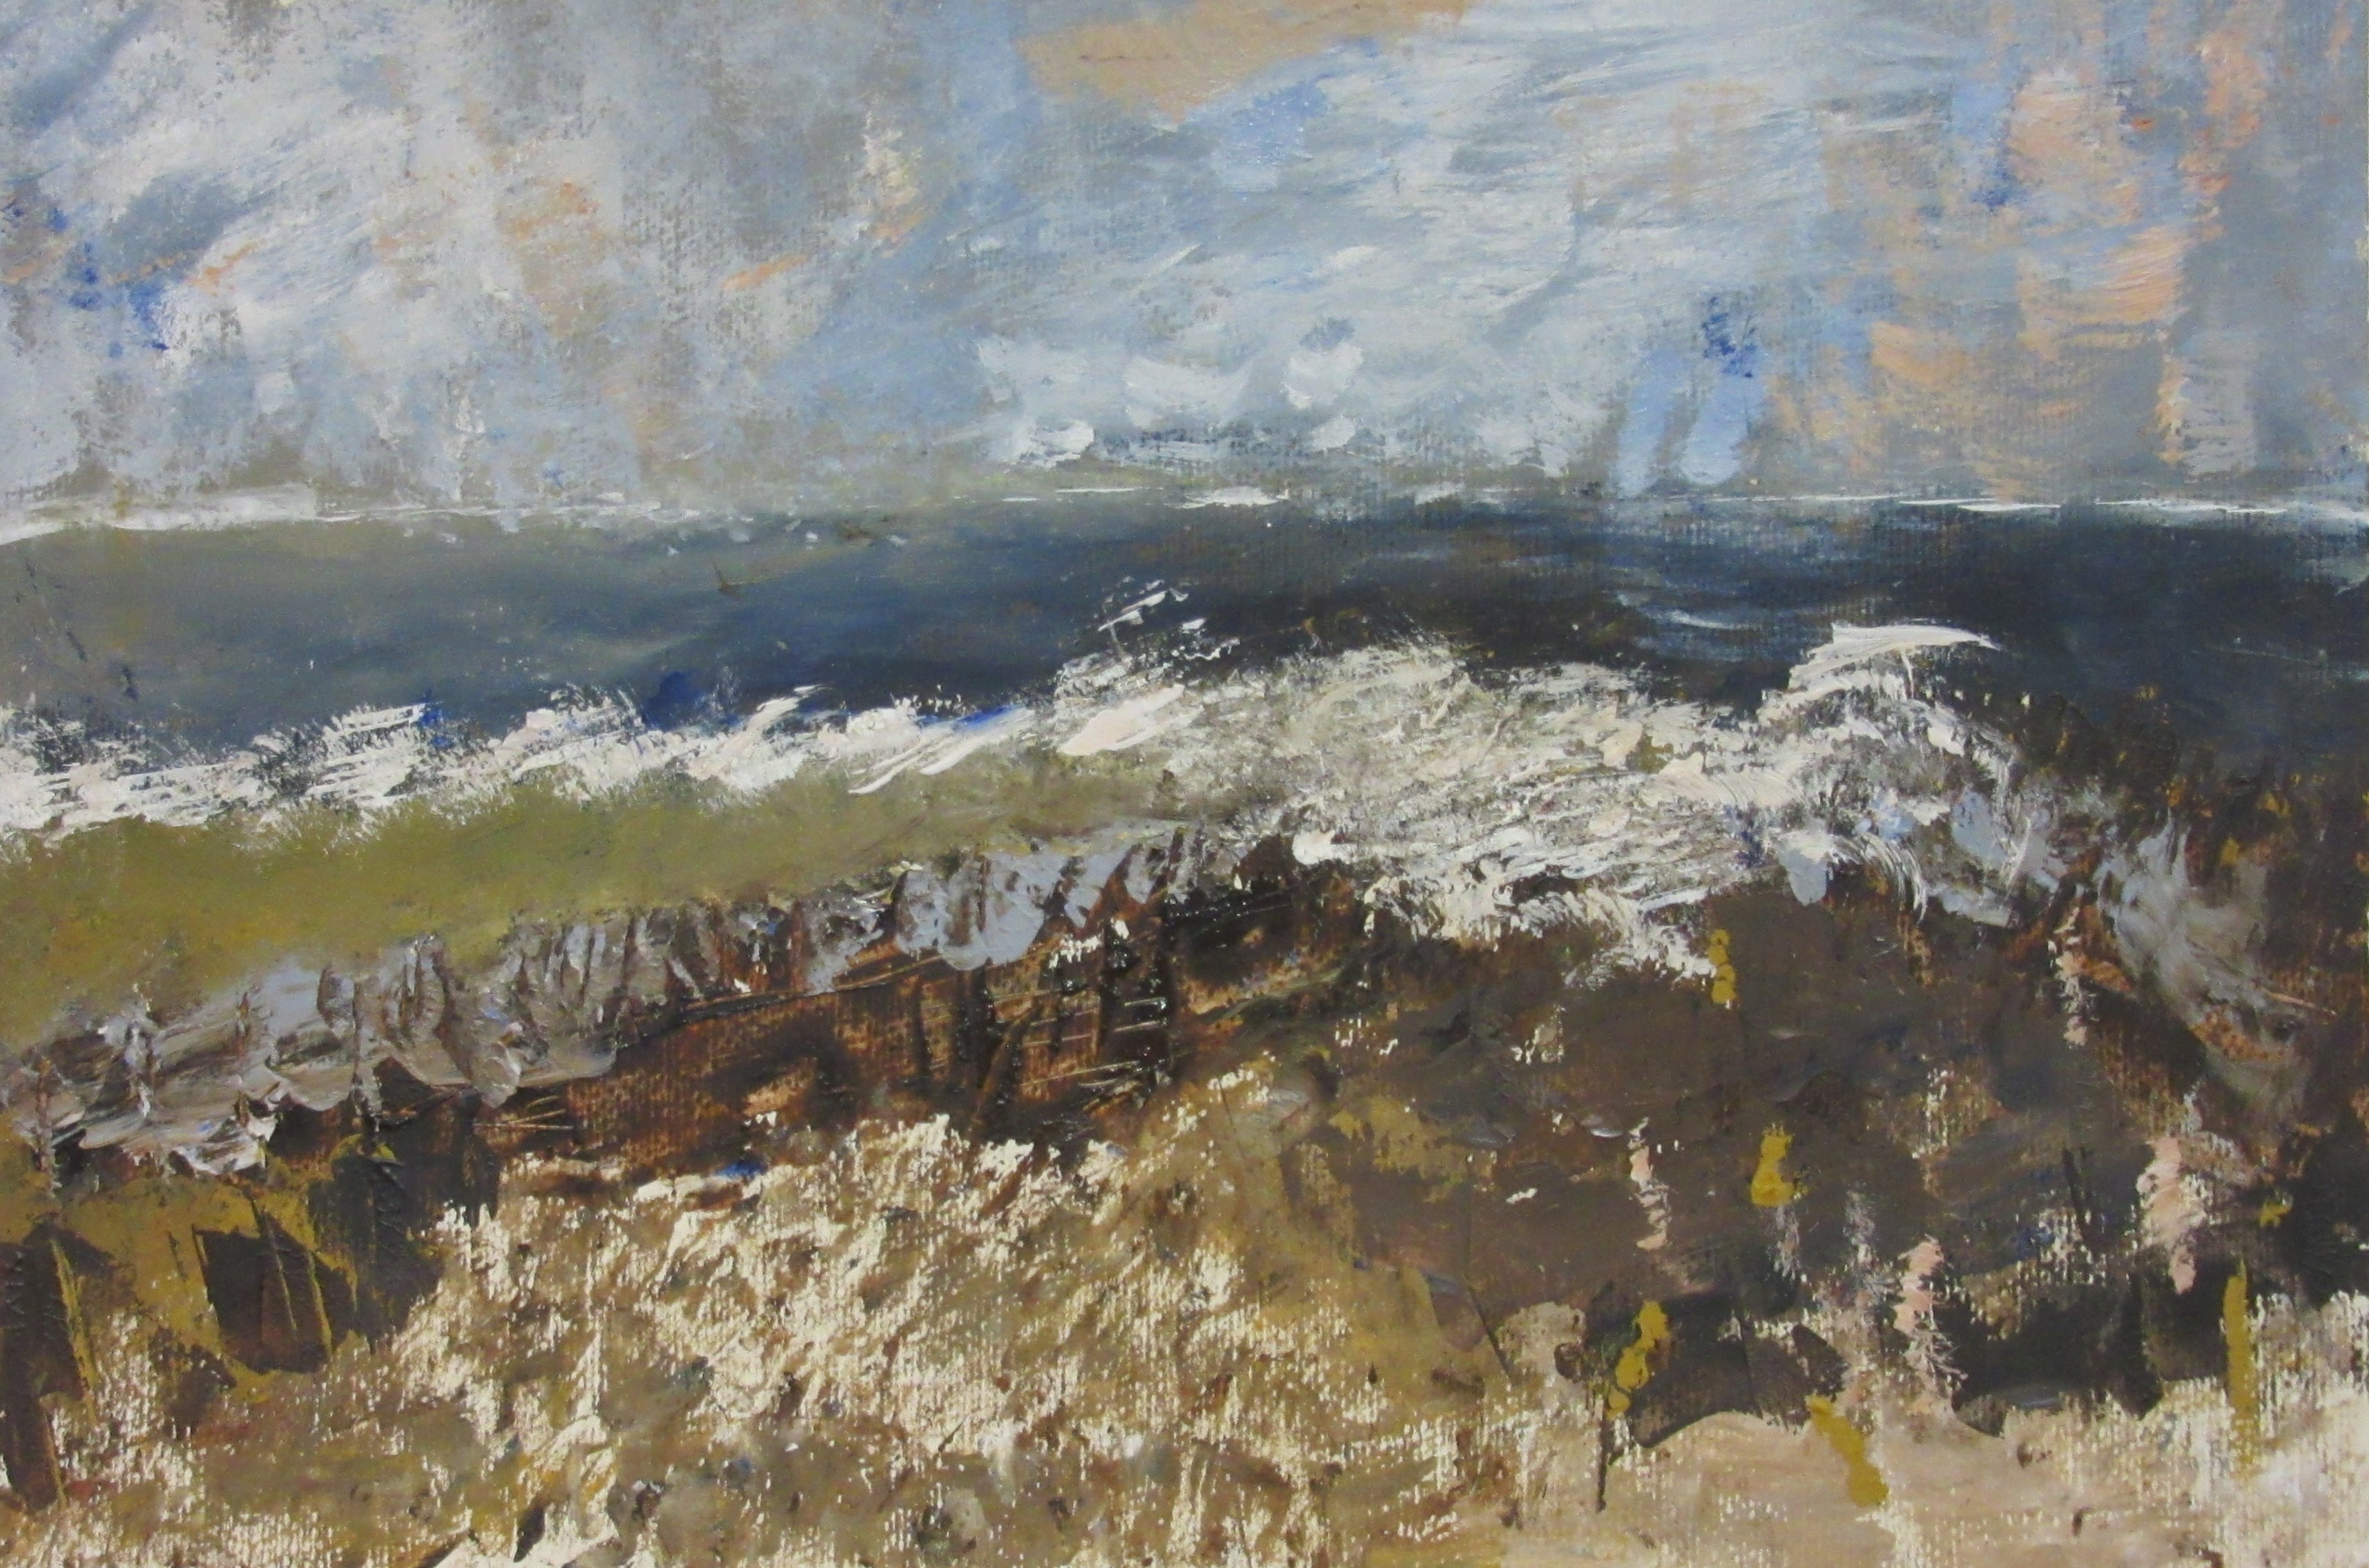
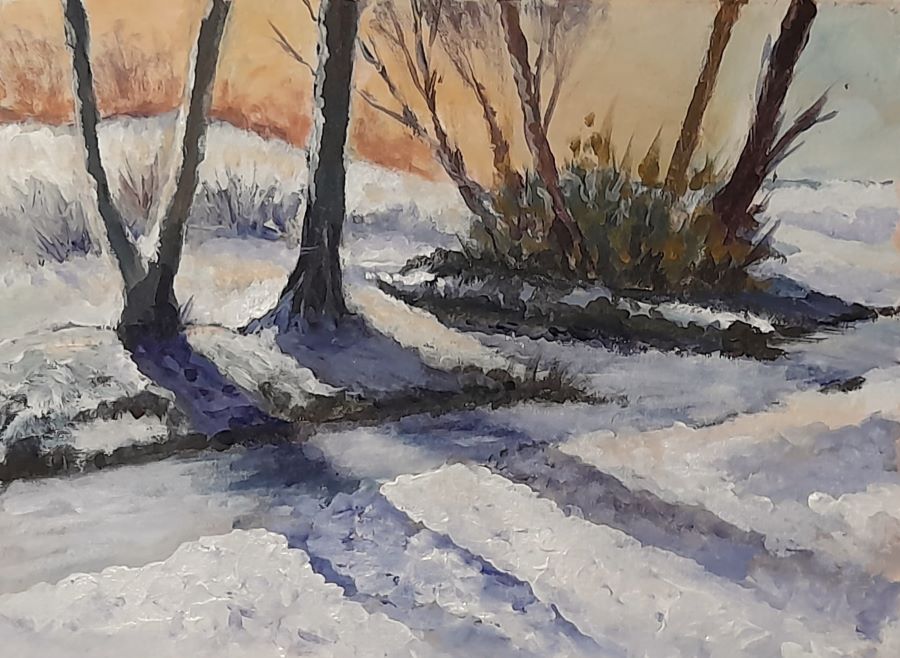
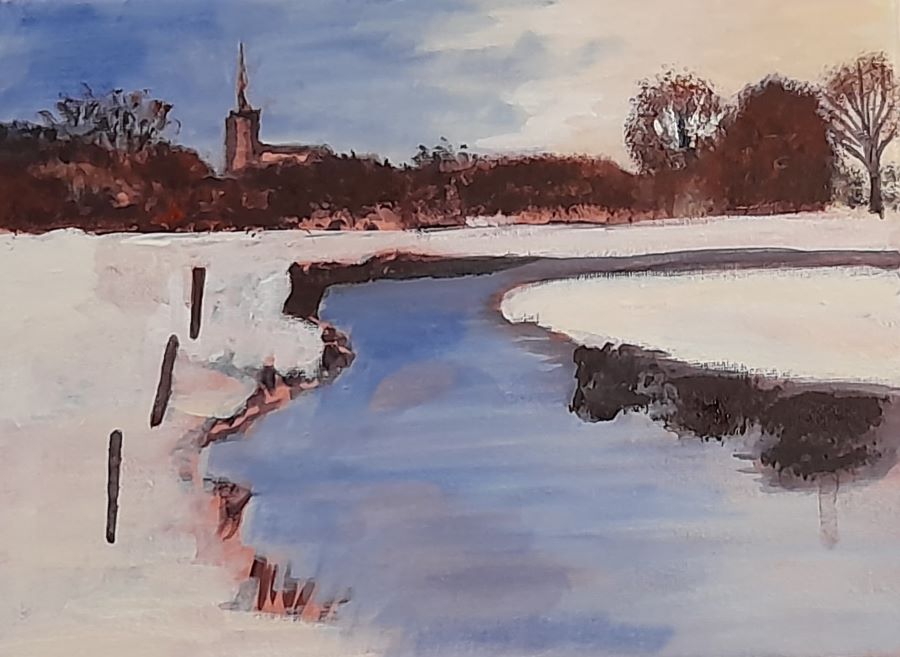
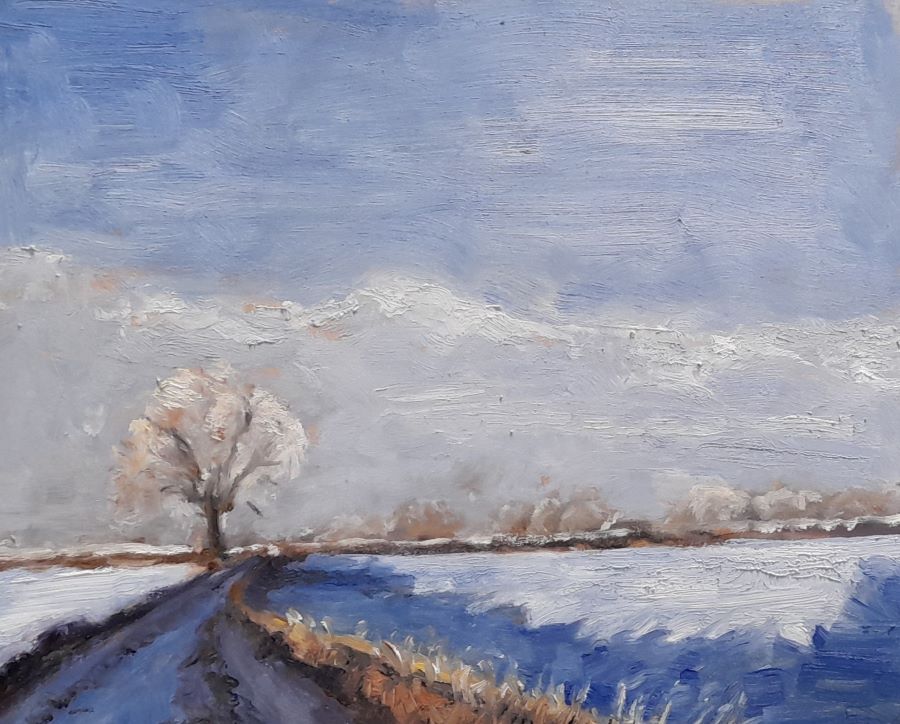
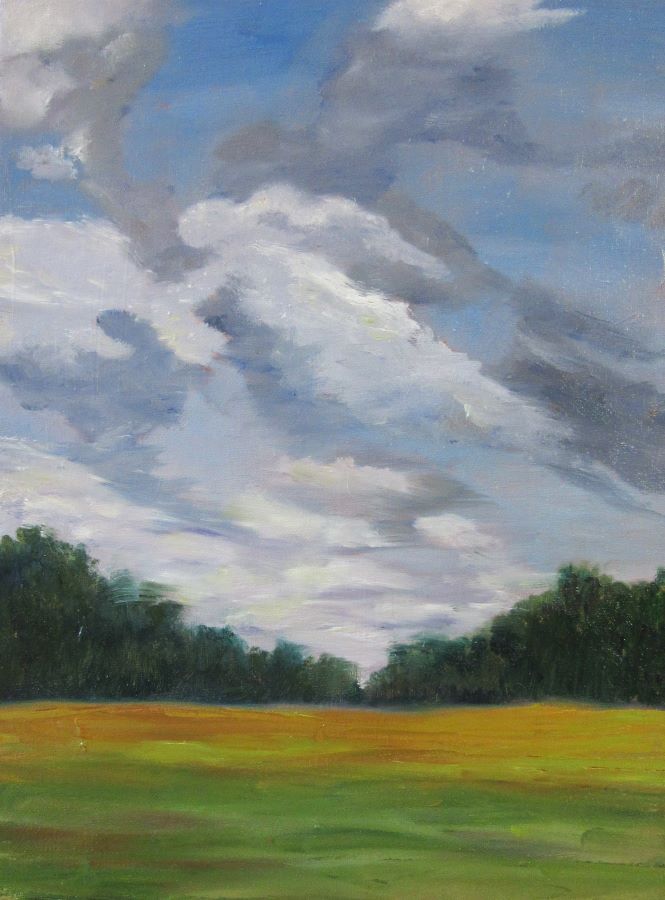
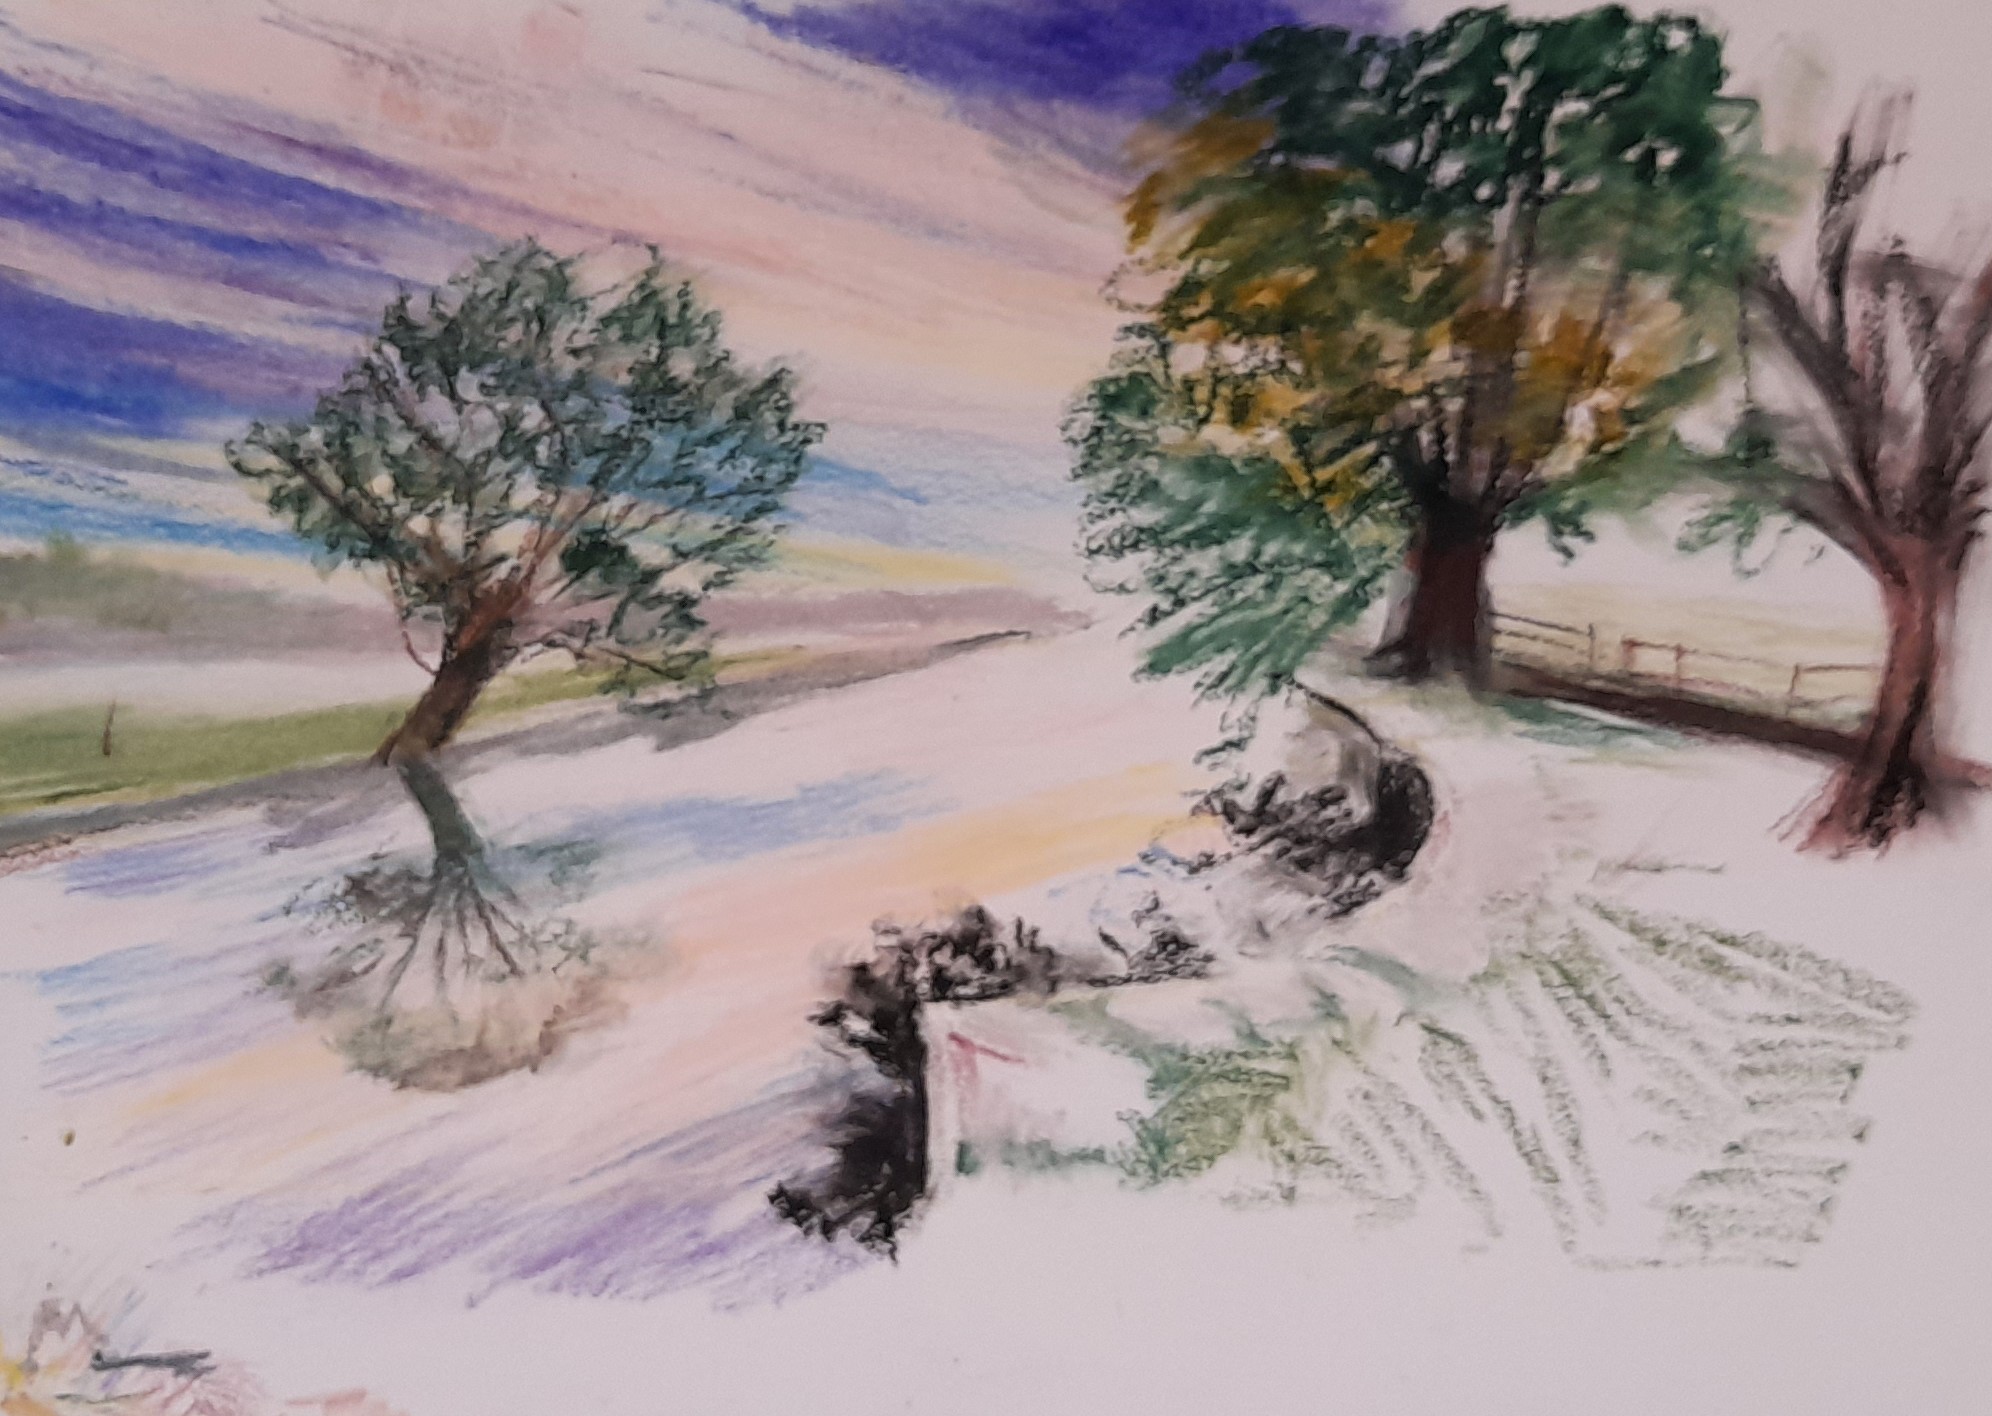
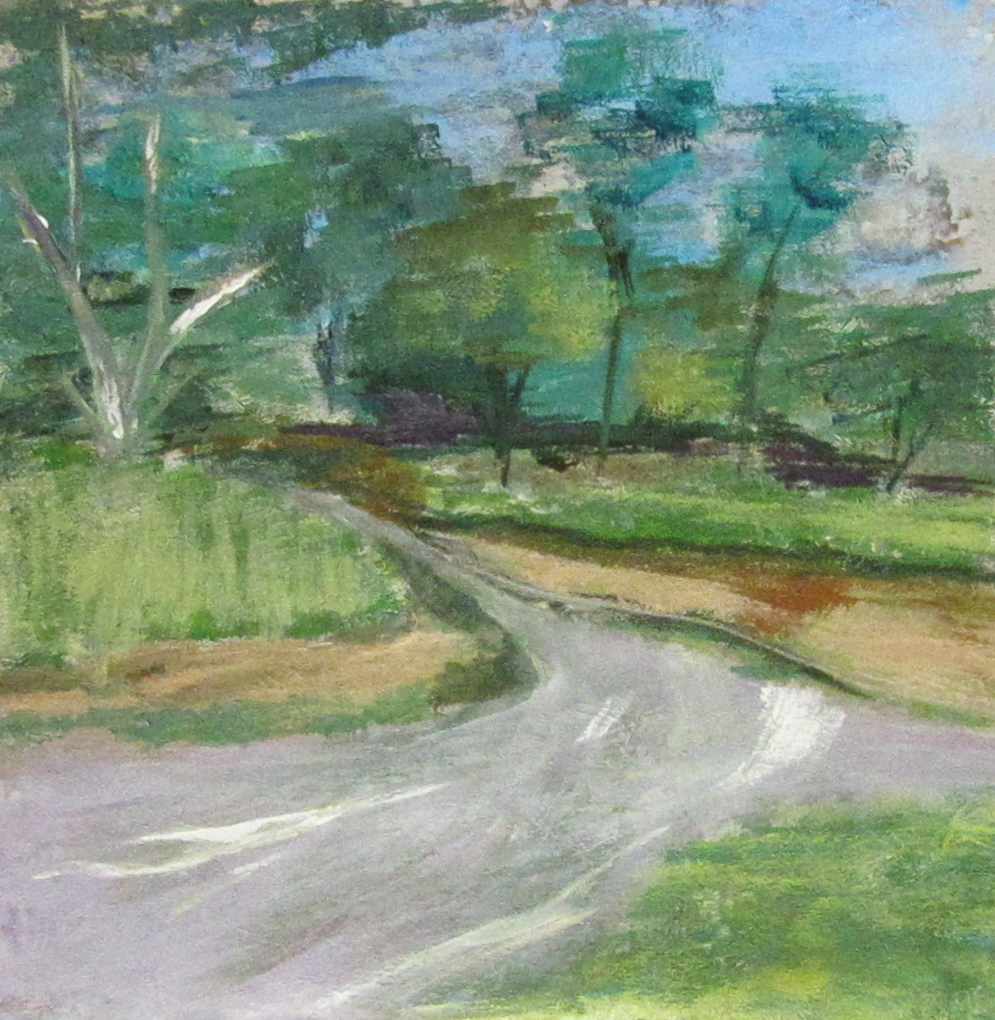
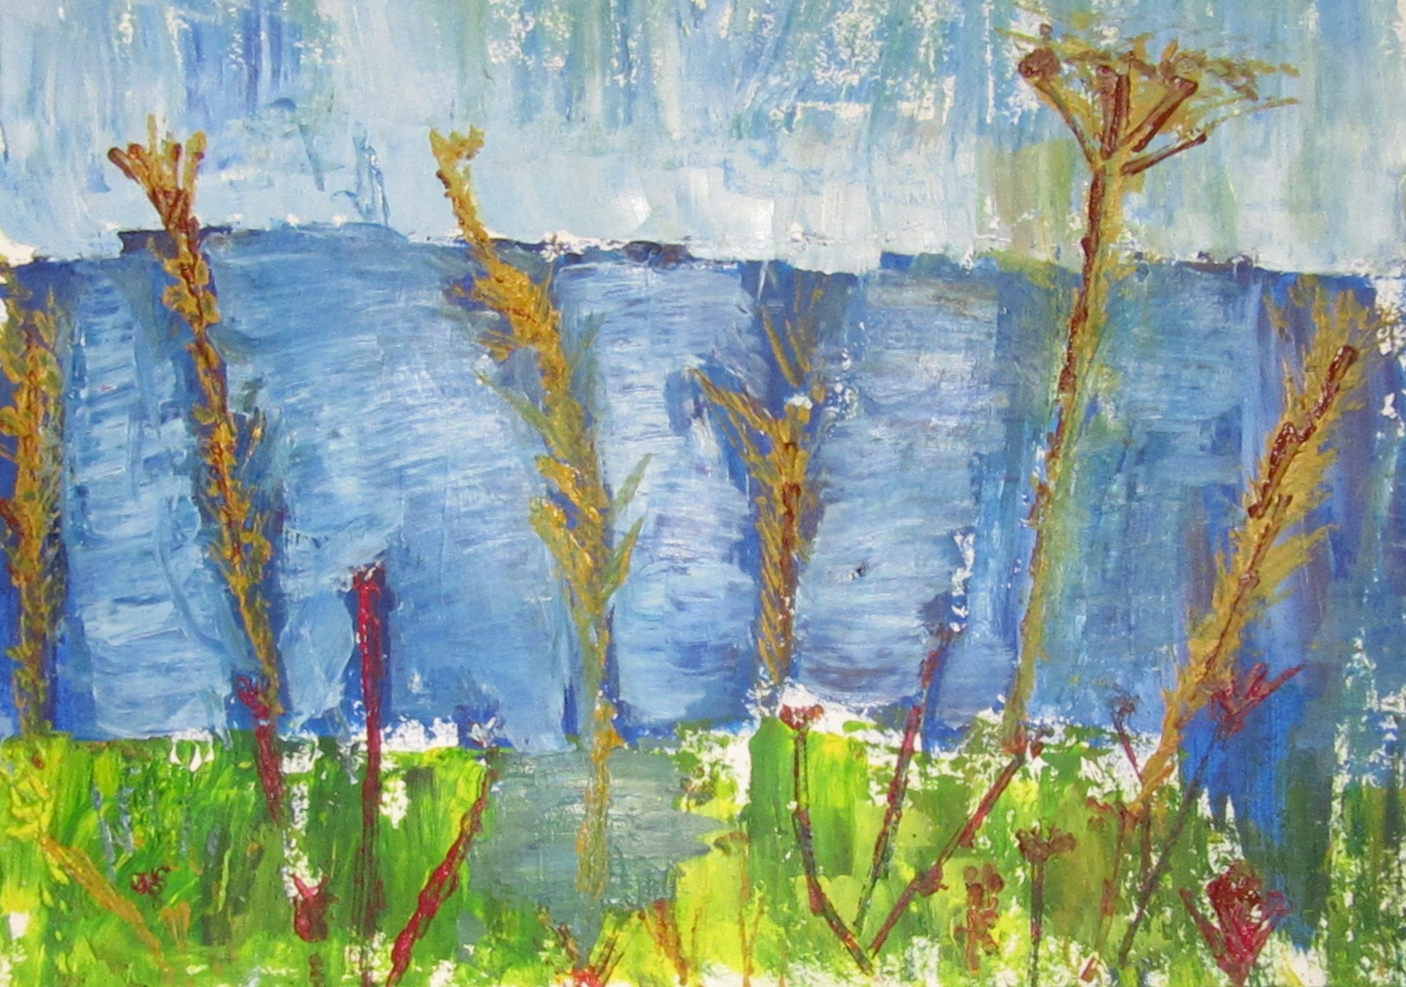
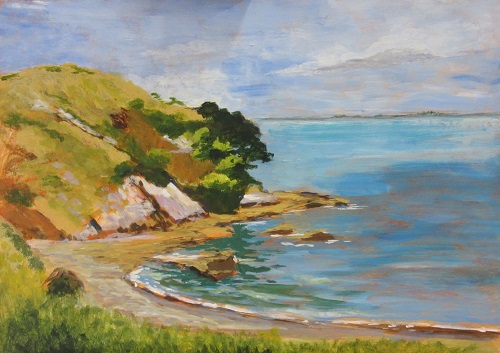
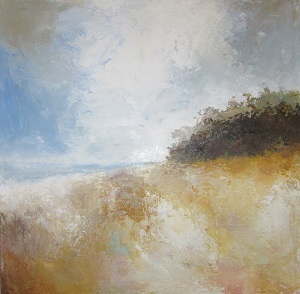
 Paul Weaver – Seasonal landscapes
A brilliant workshop from Paul, showing different techniques to painting a seasonal landscape. We enjoyed his excellent tutorage and all the participants created a lovely piece of art. It was great to see so many of you at the workshop.


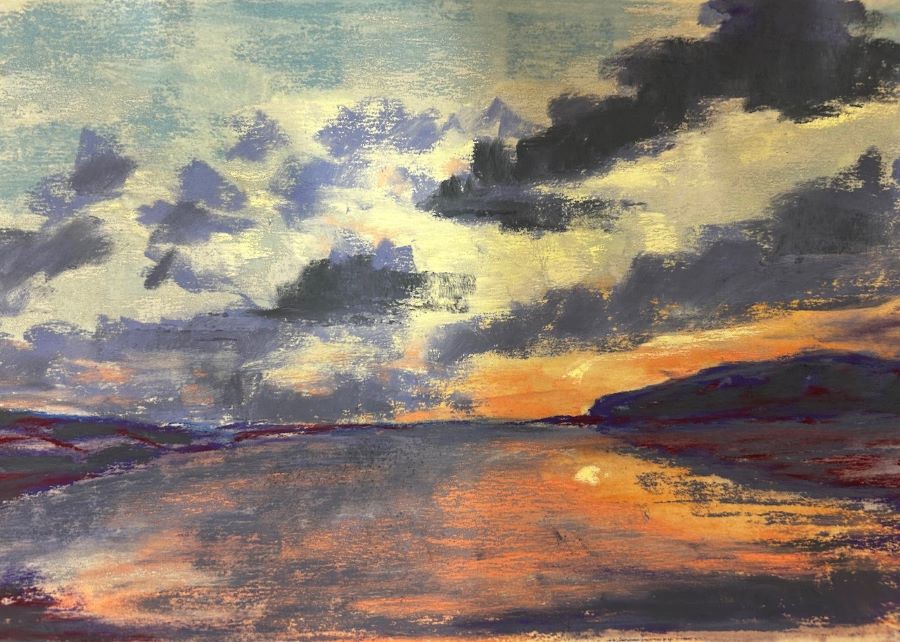
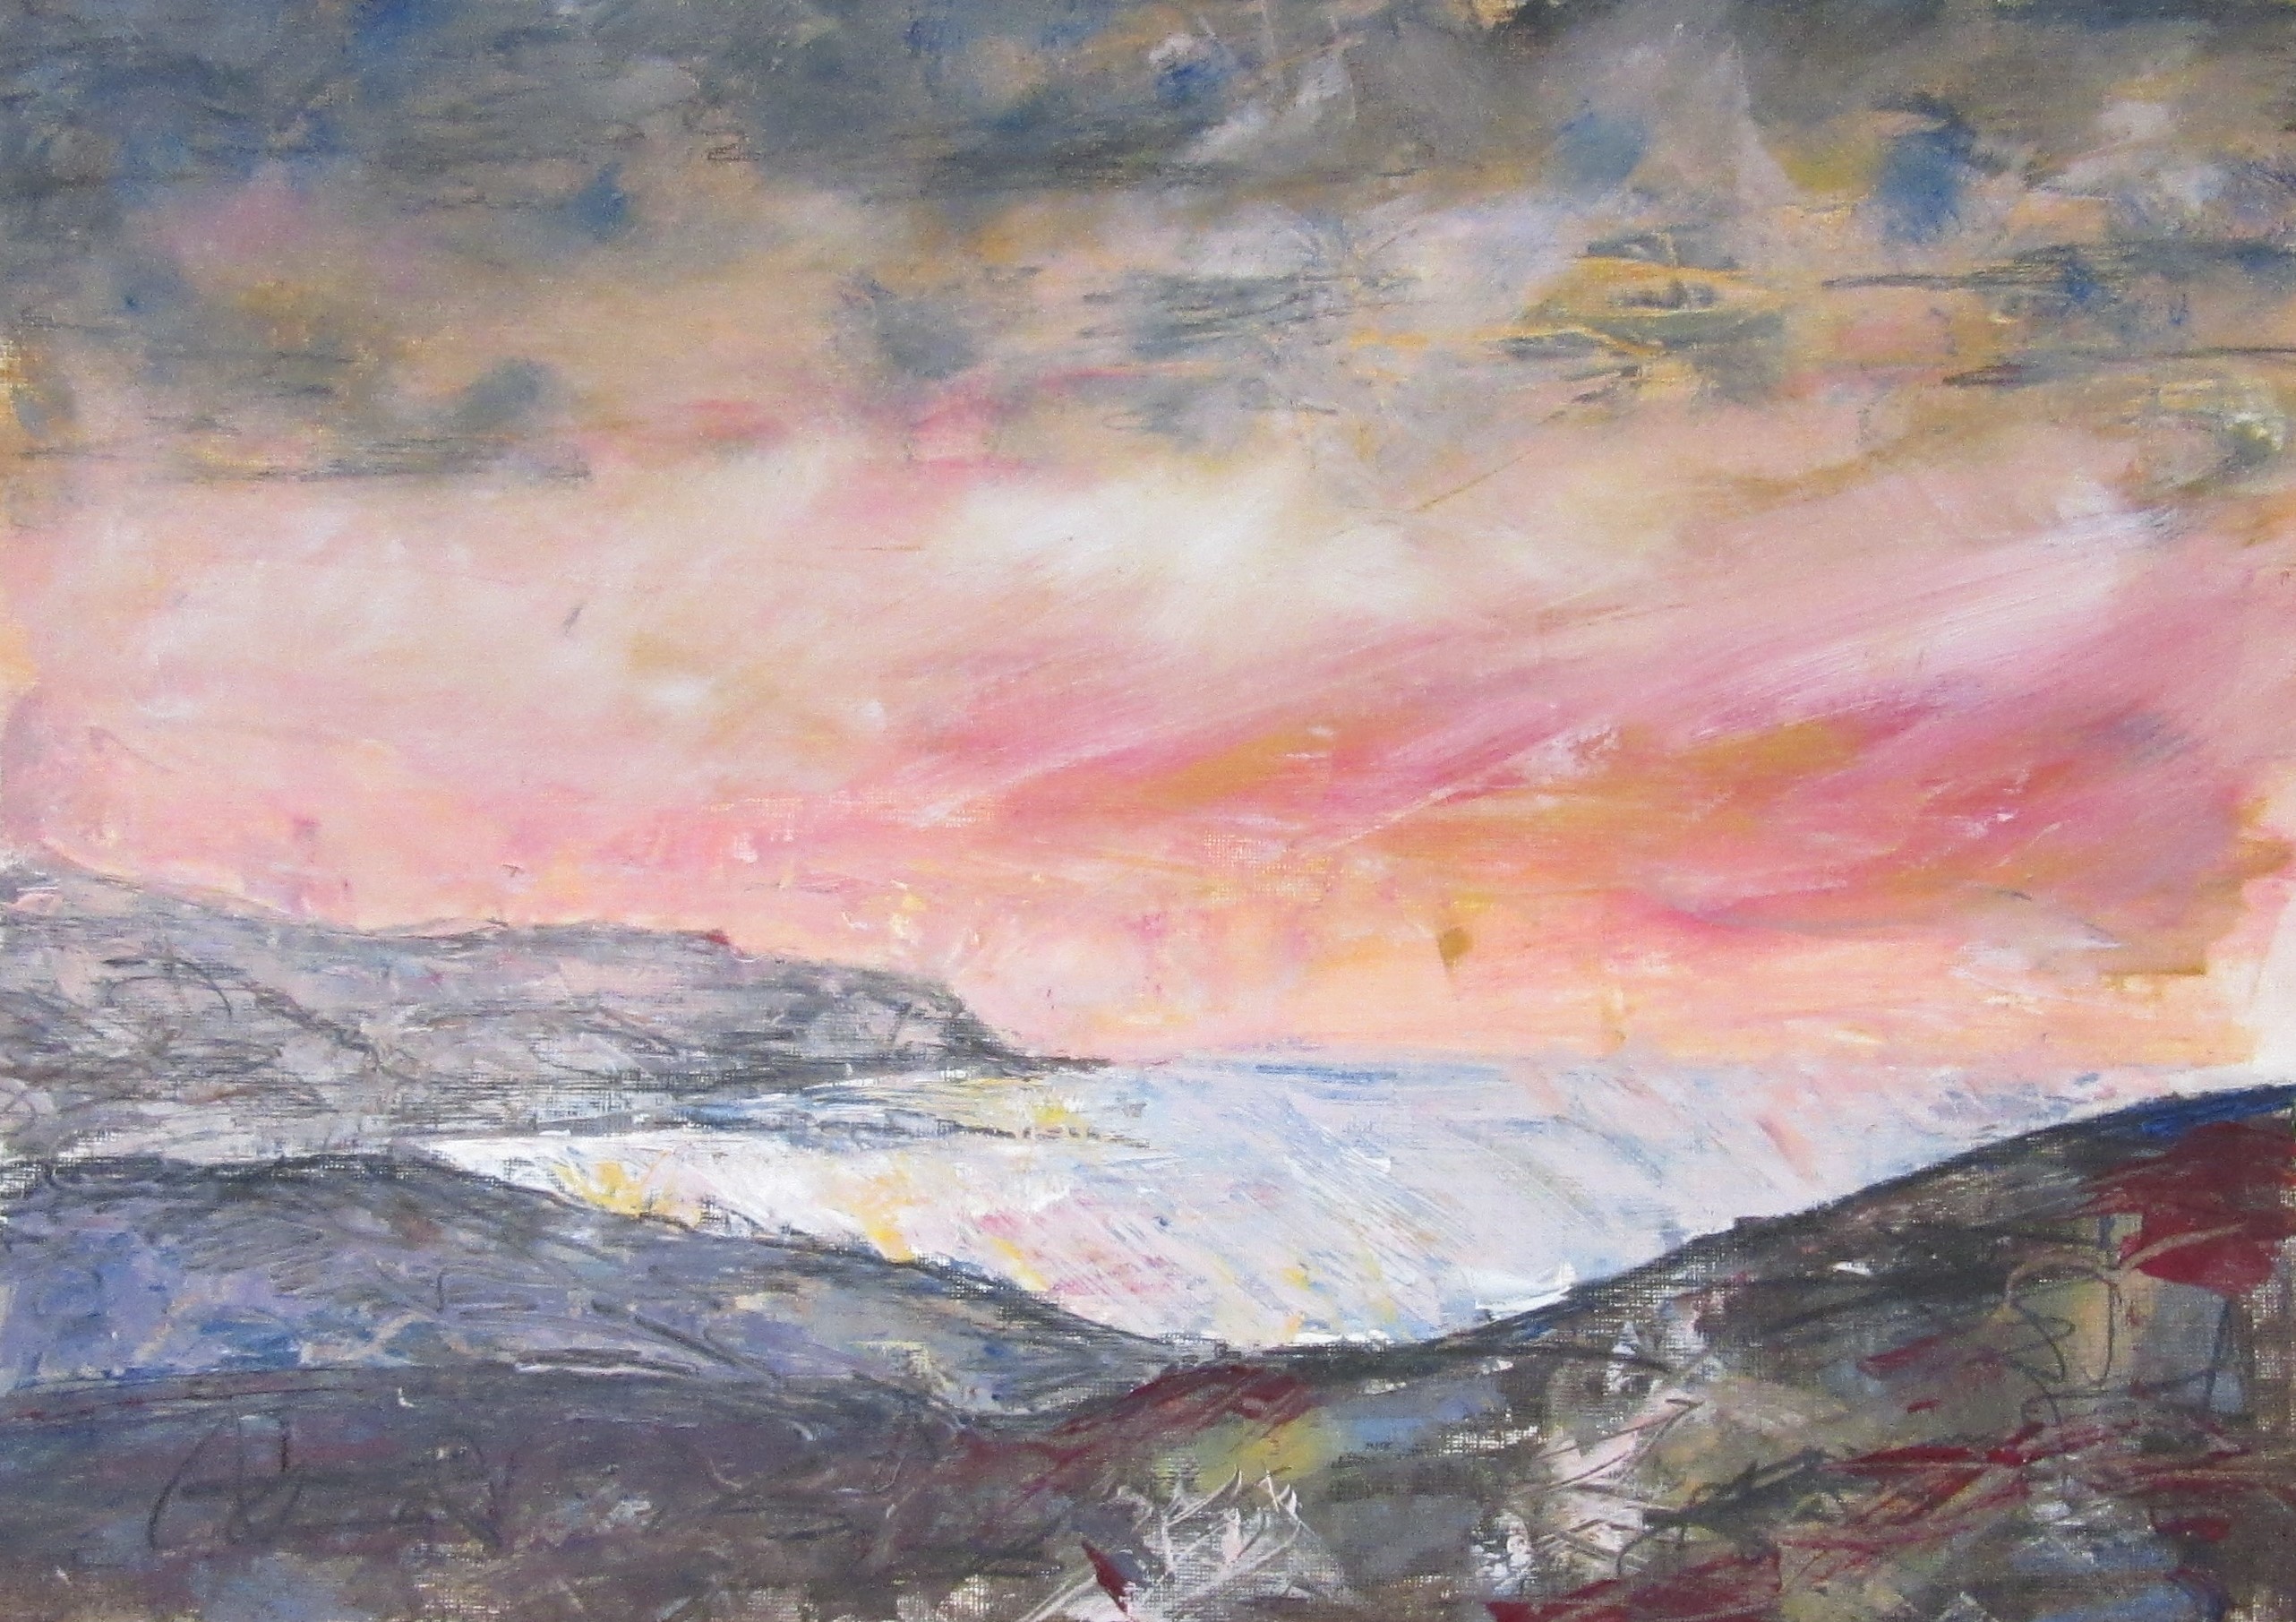
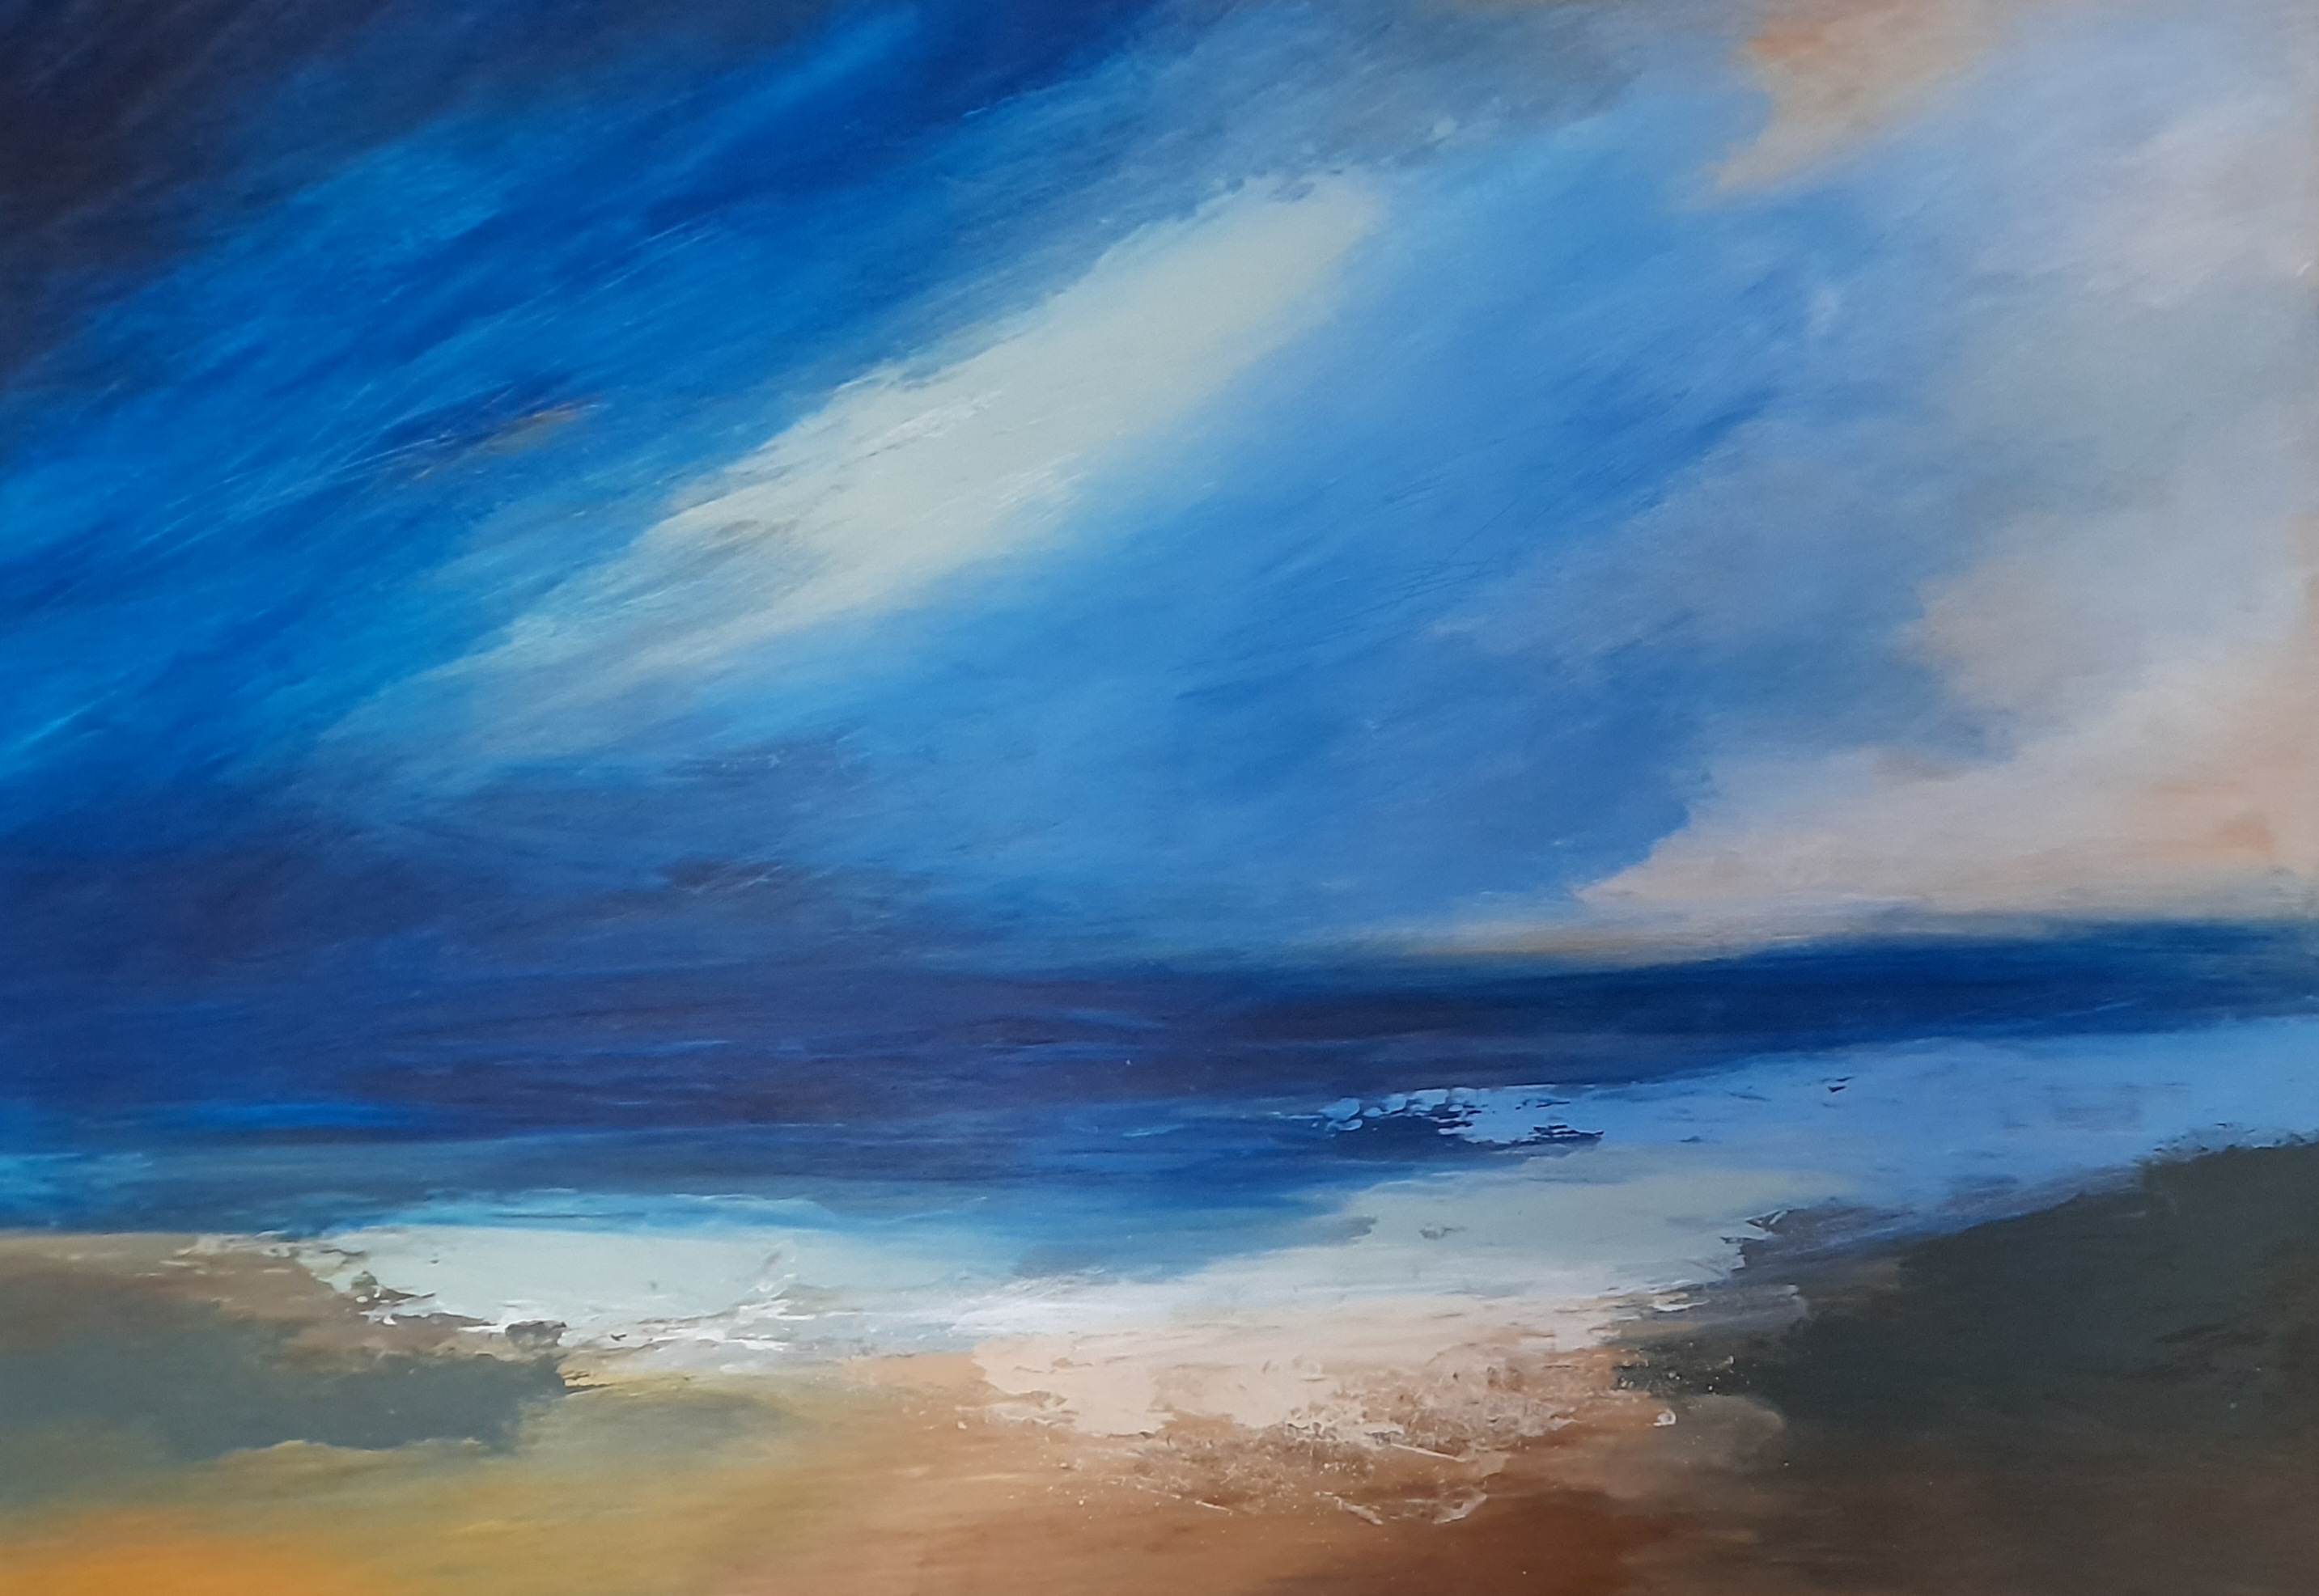
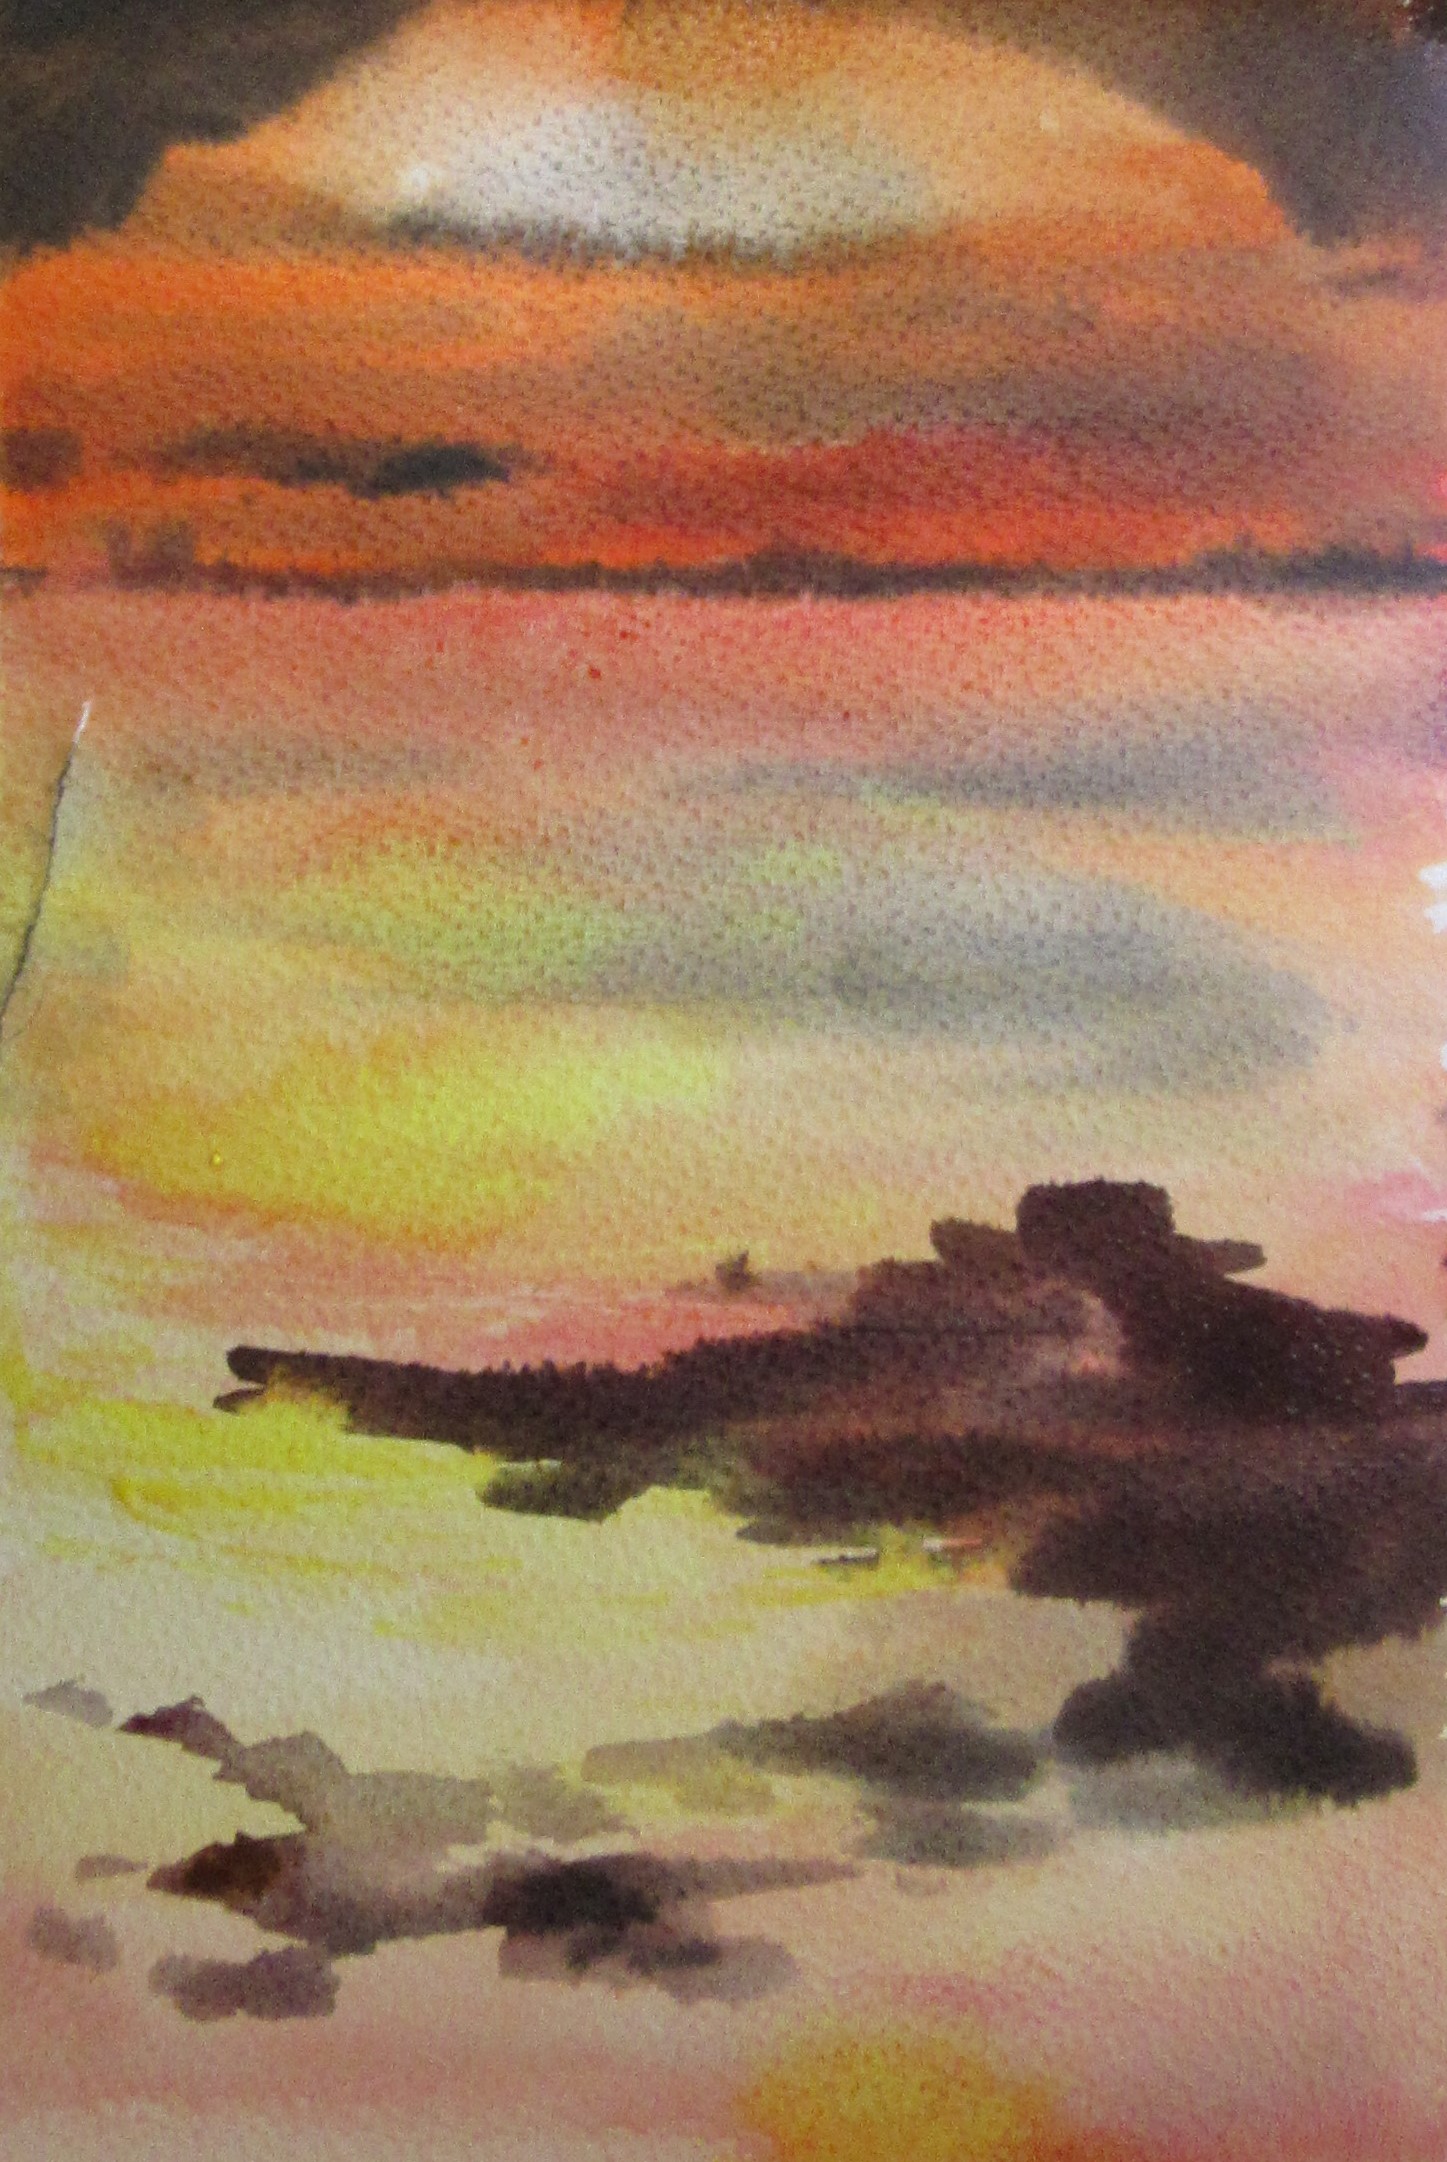
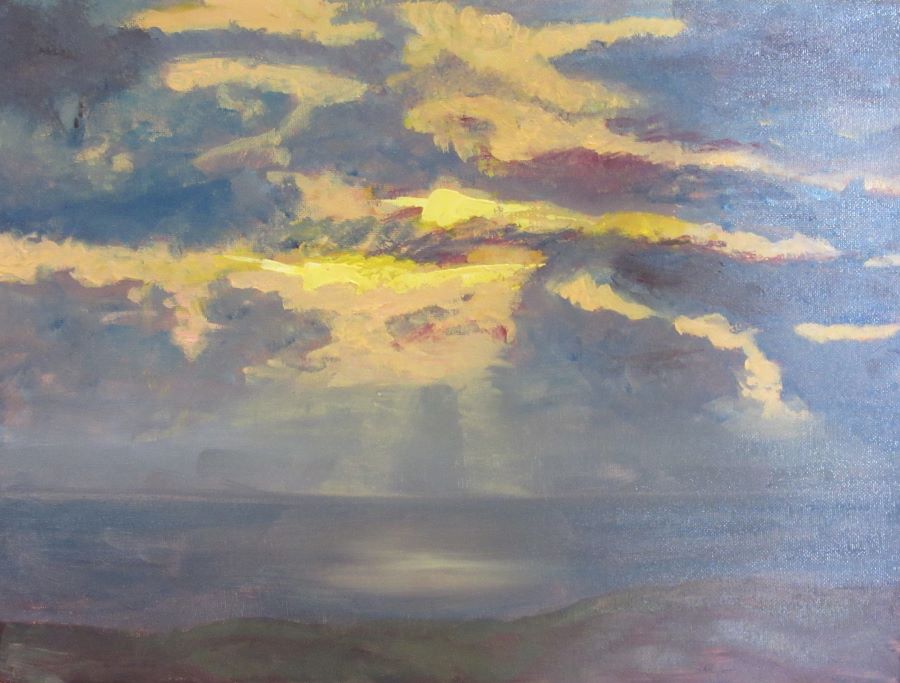
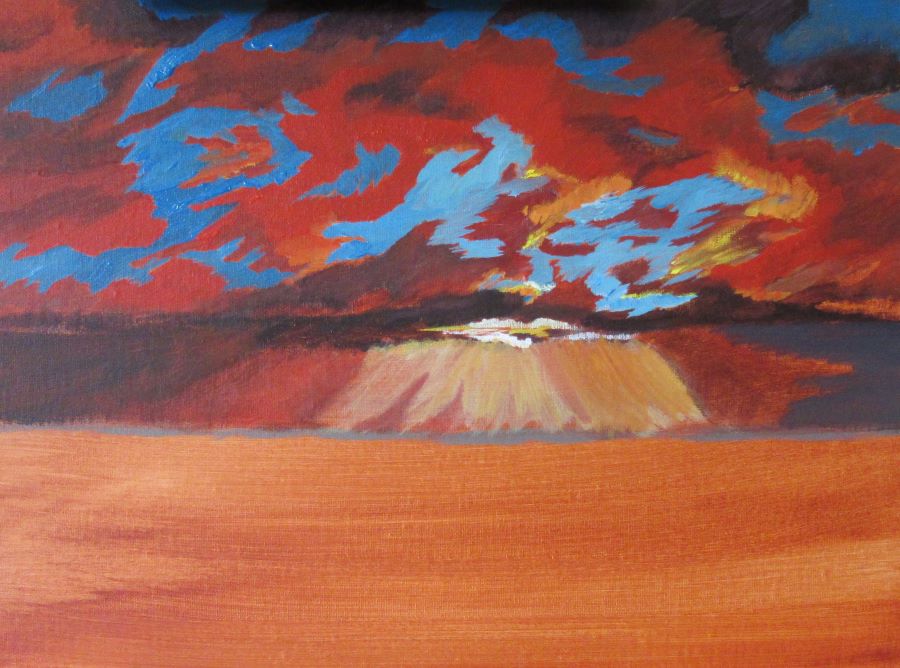
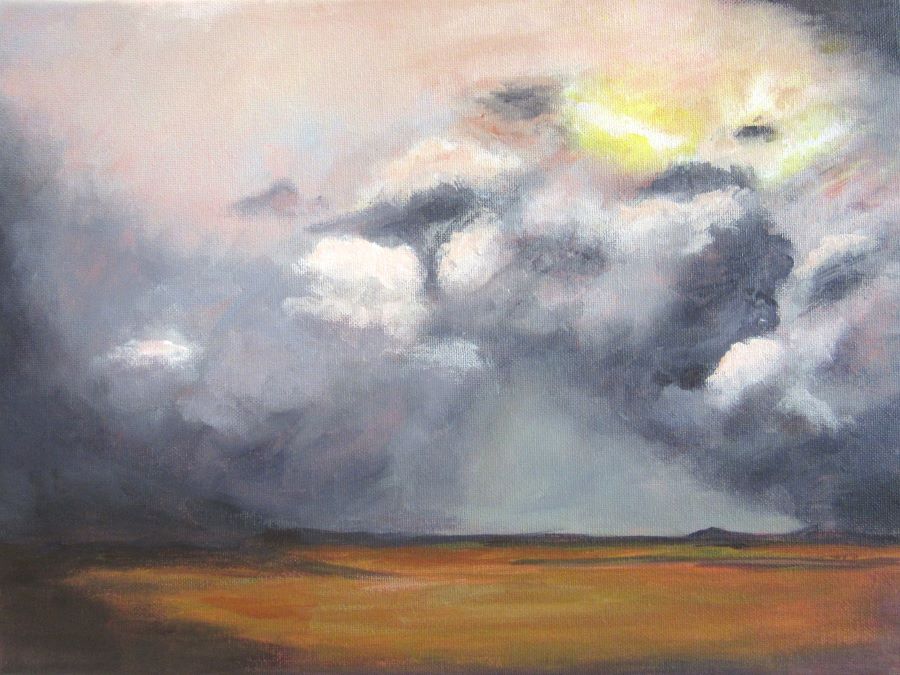
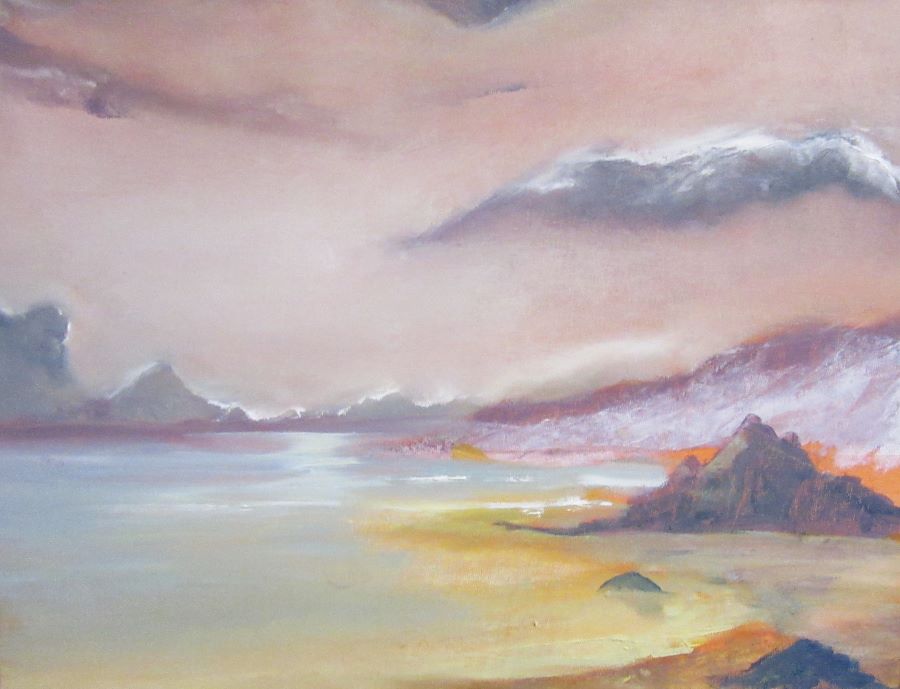
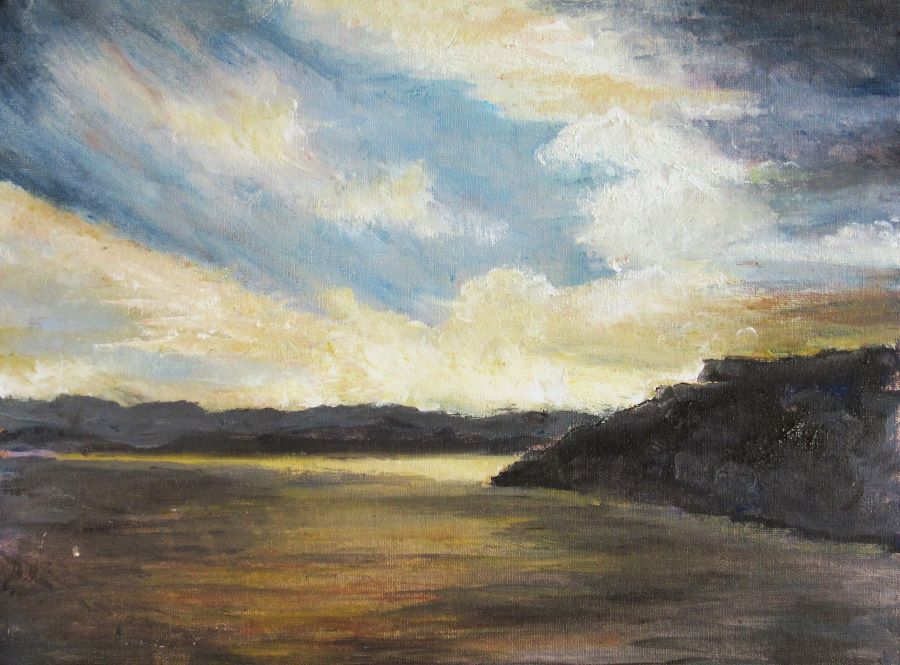
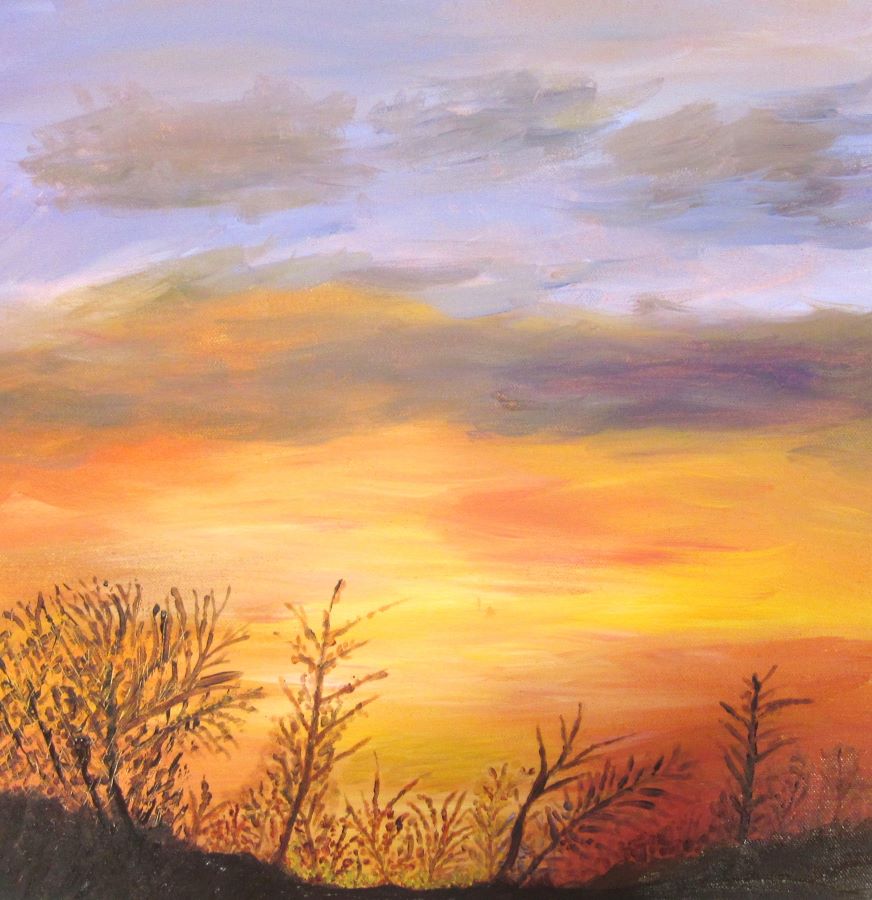
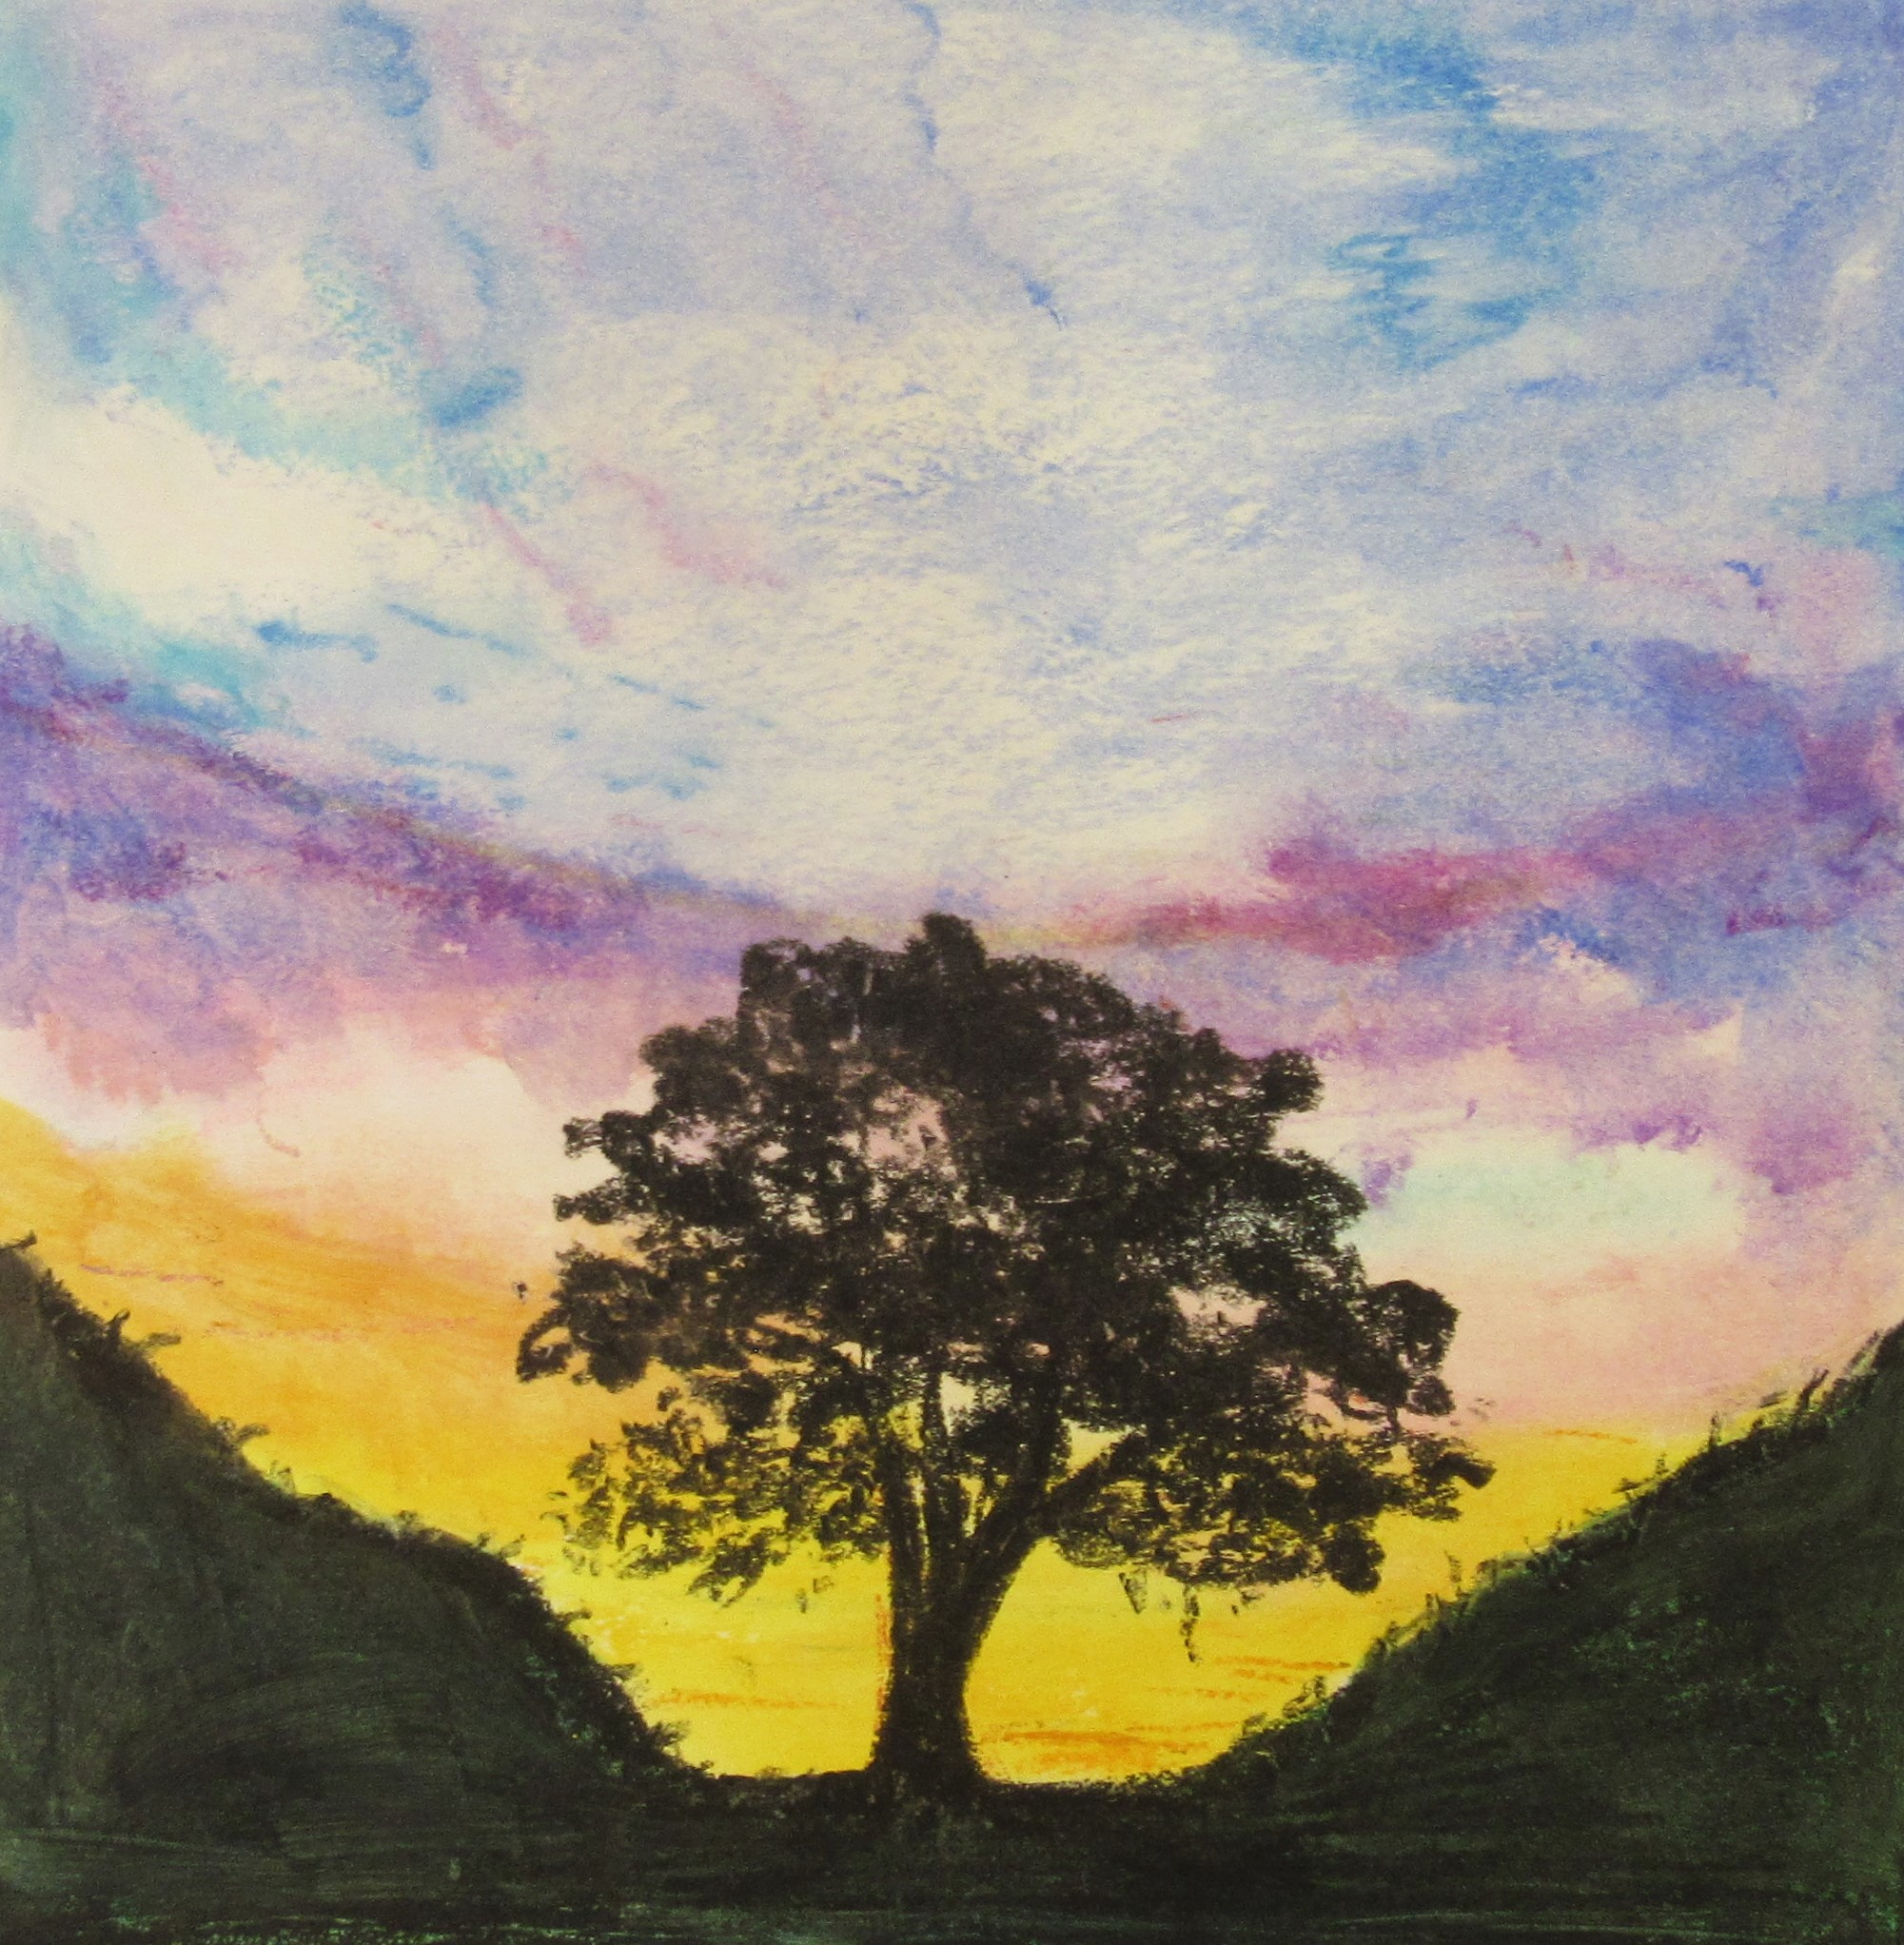
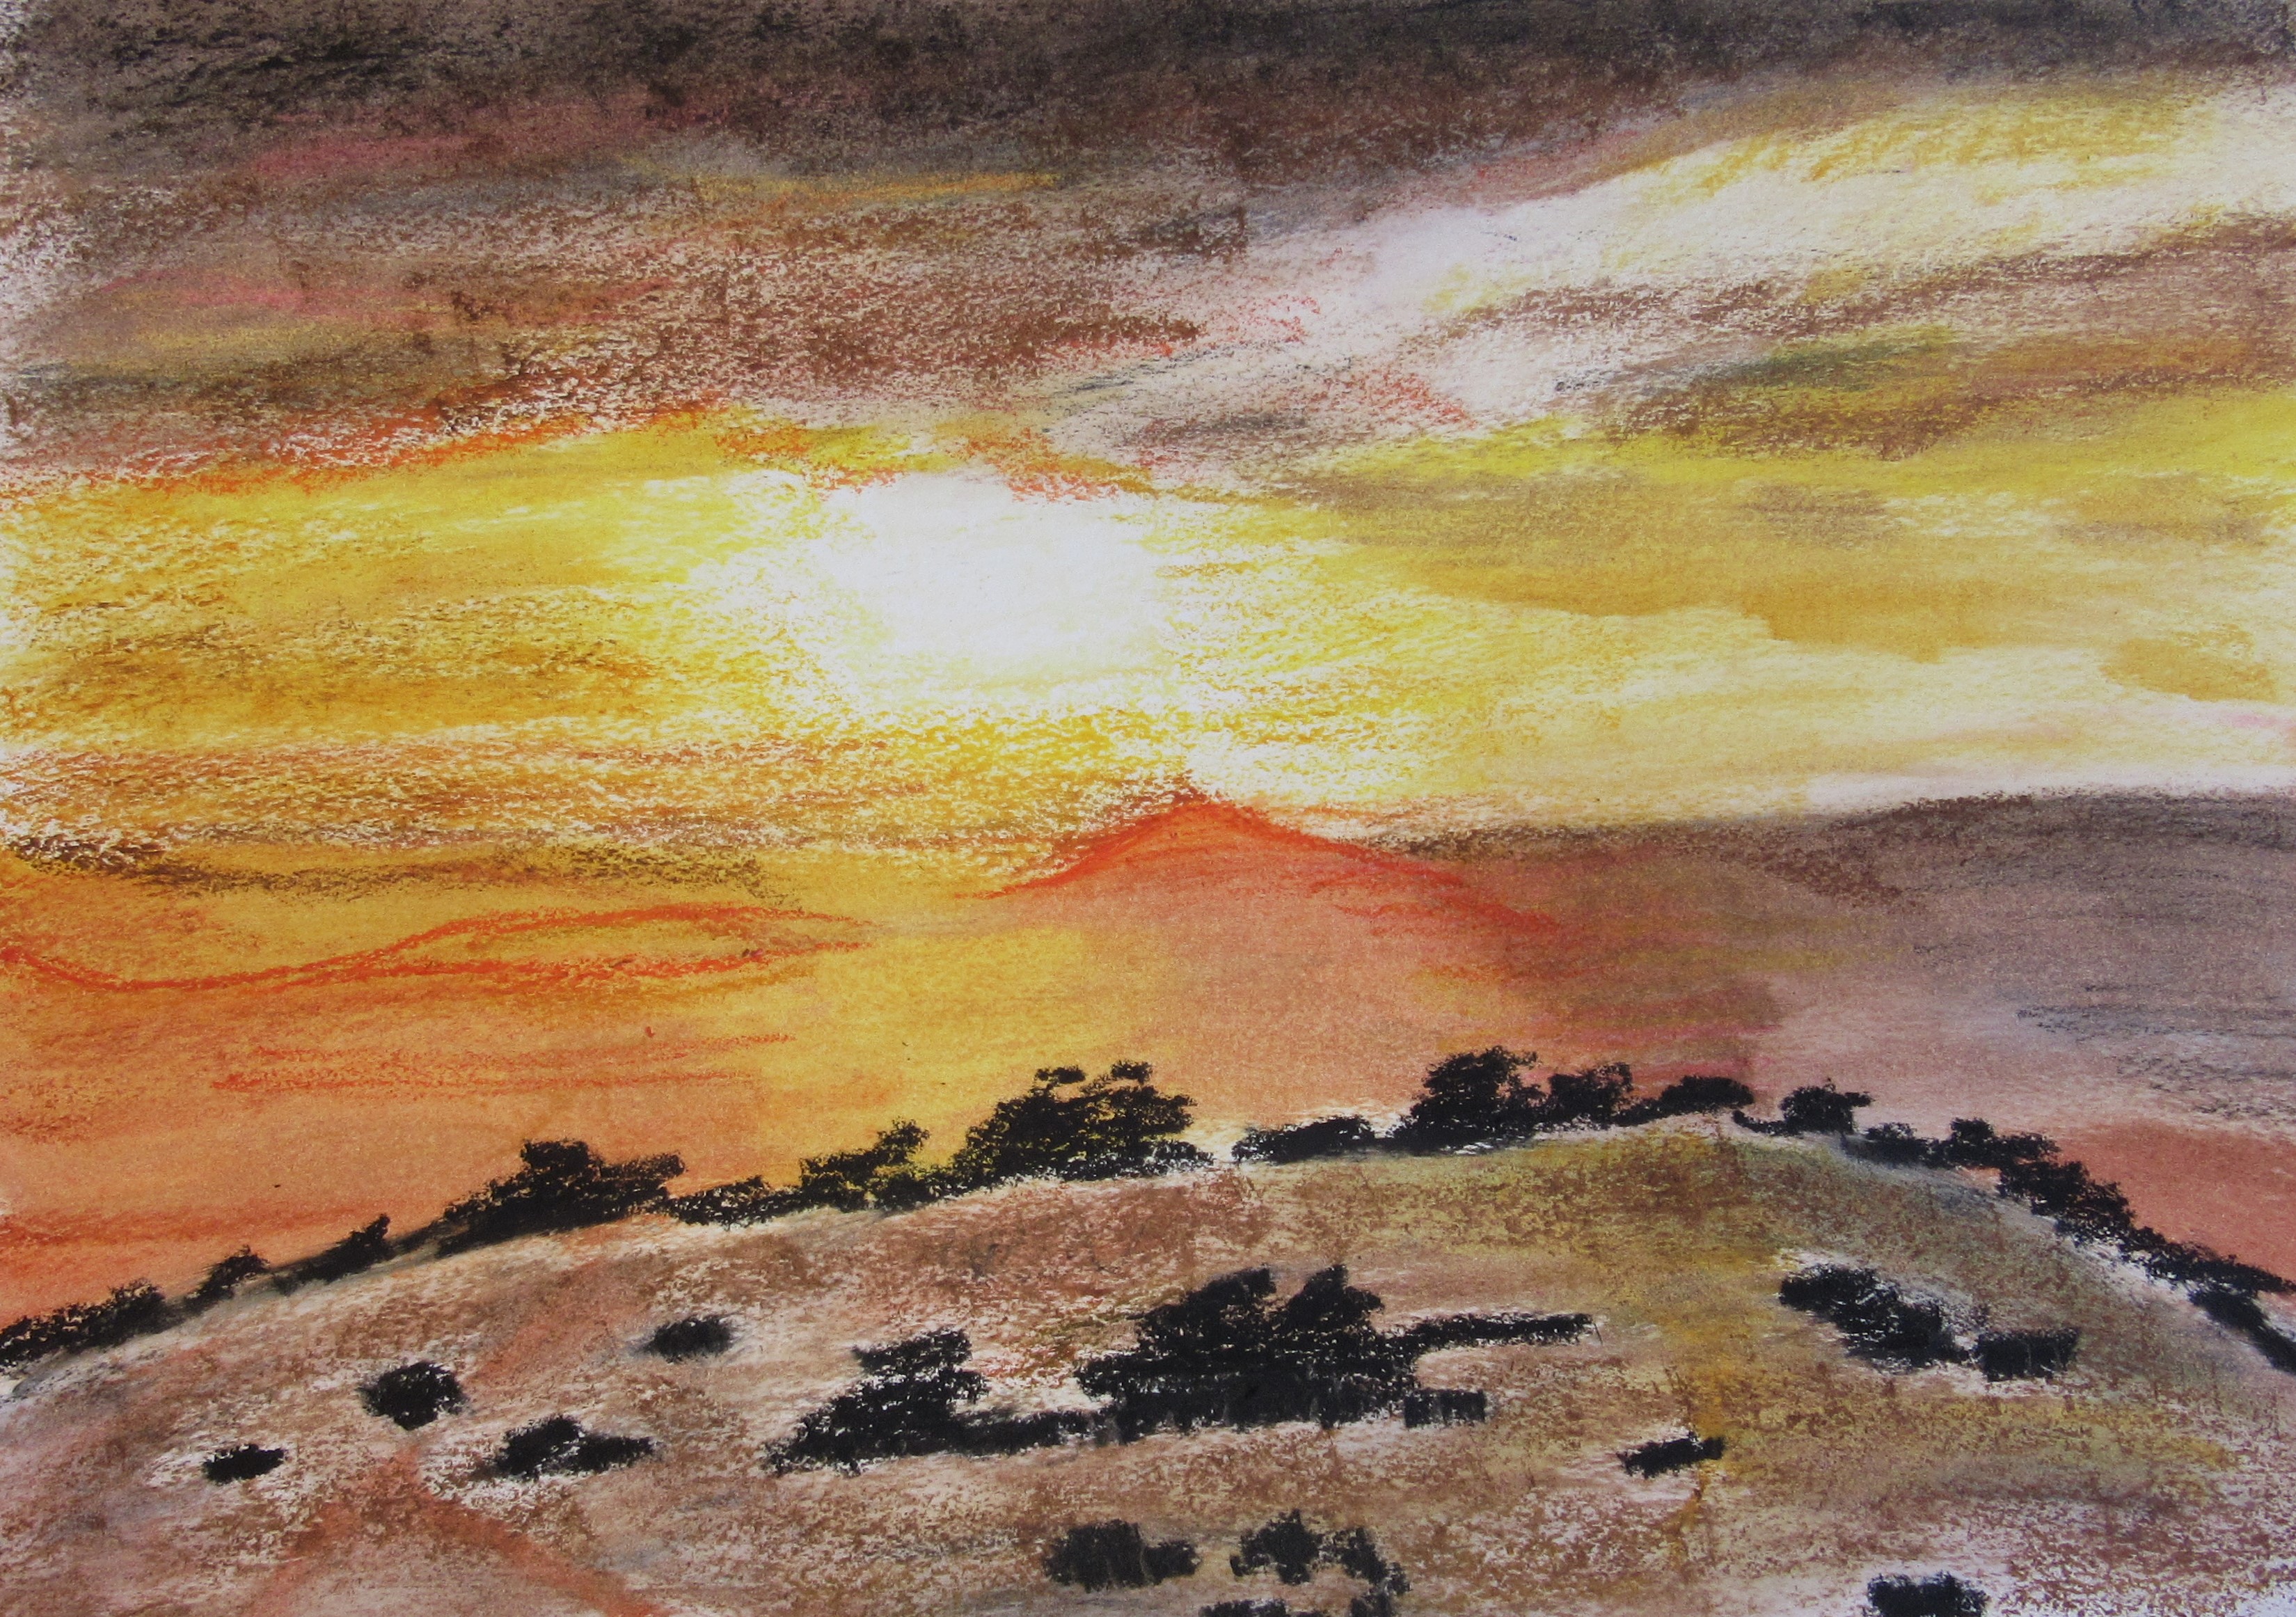
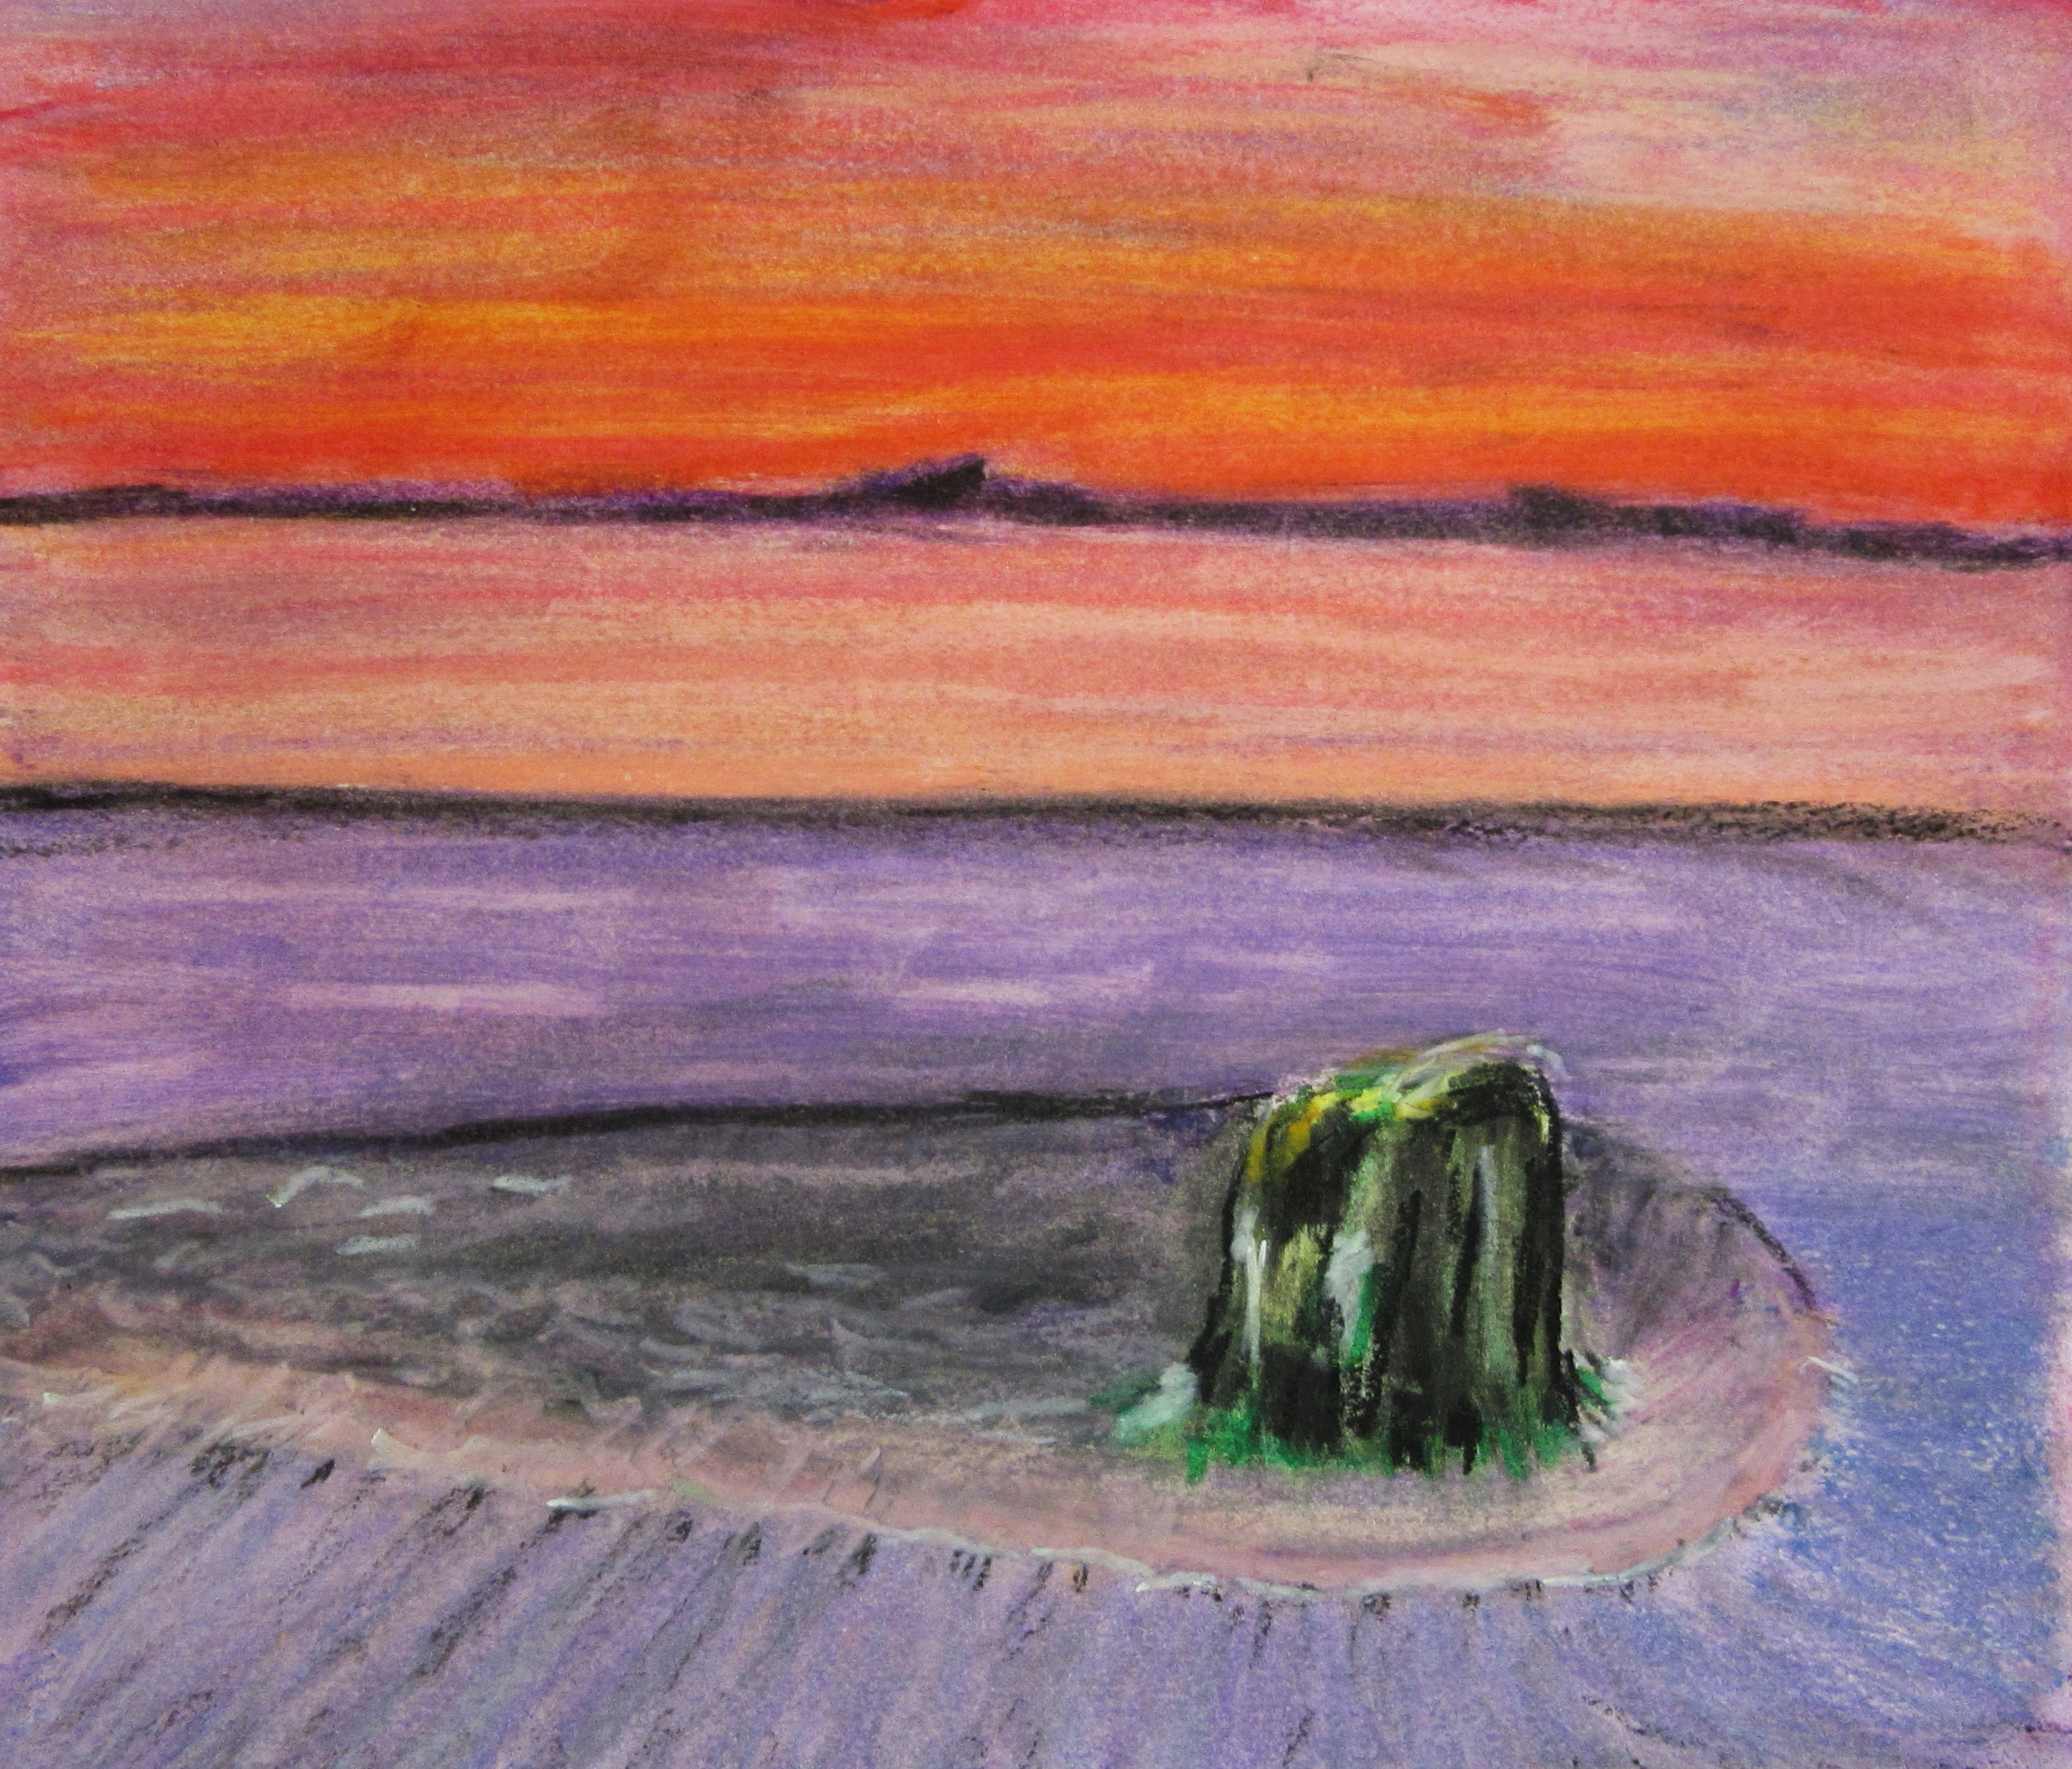
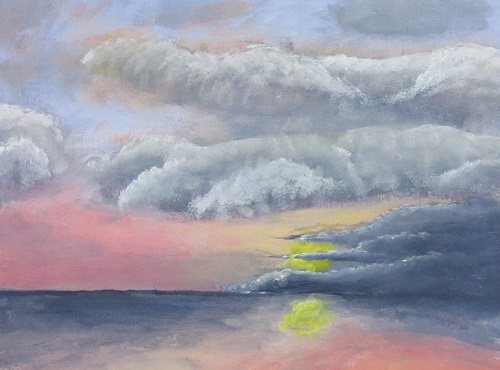
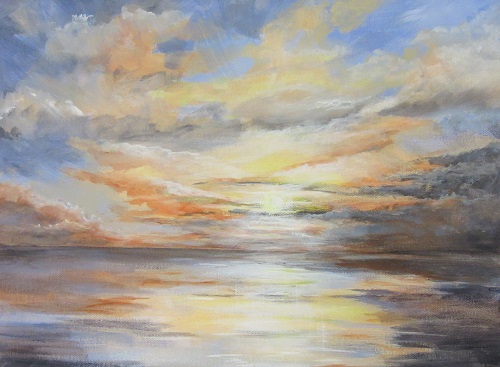
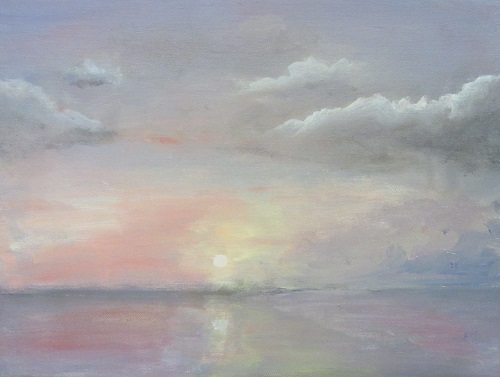
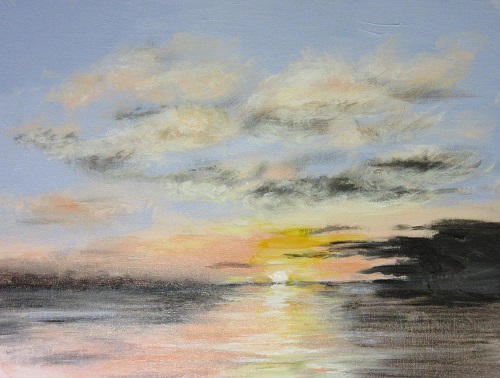
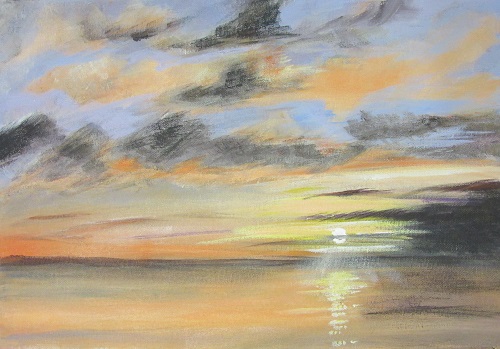
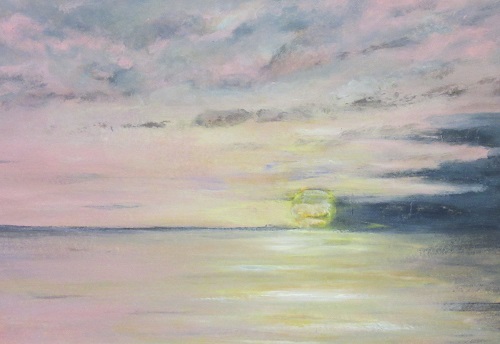
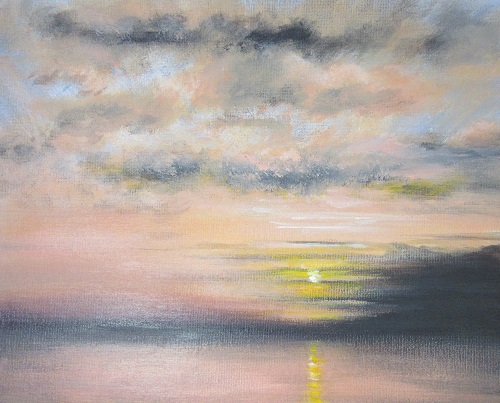
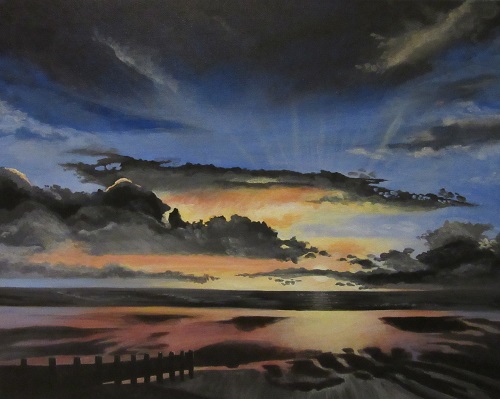
 Miriam Sheppard – Sunset skies in acrylics


Claire Western – Bleached out


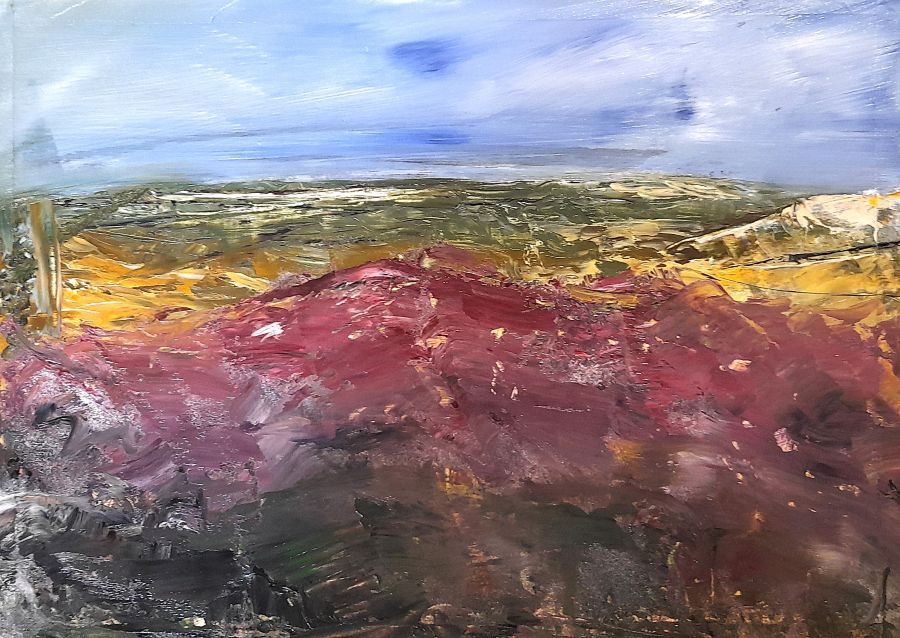
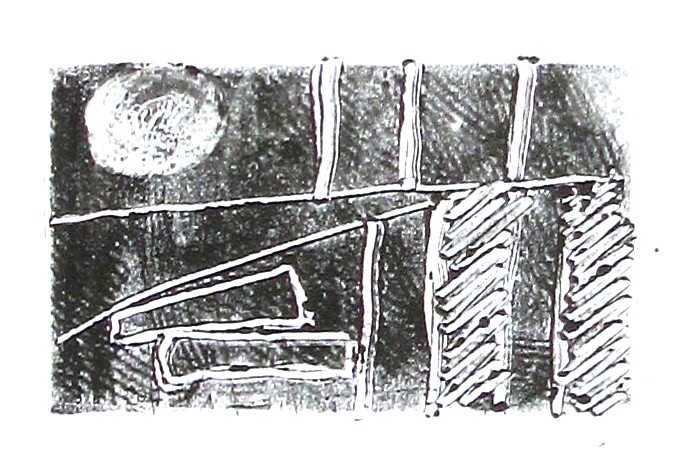
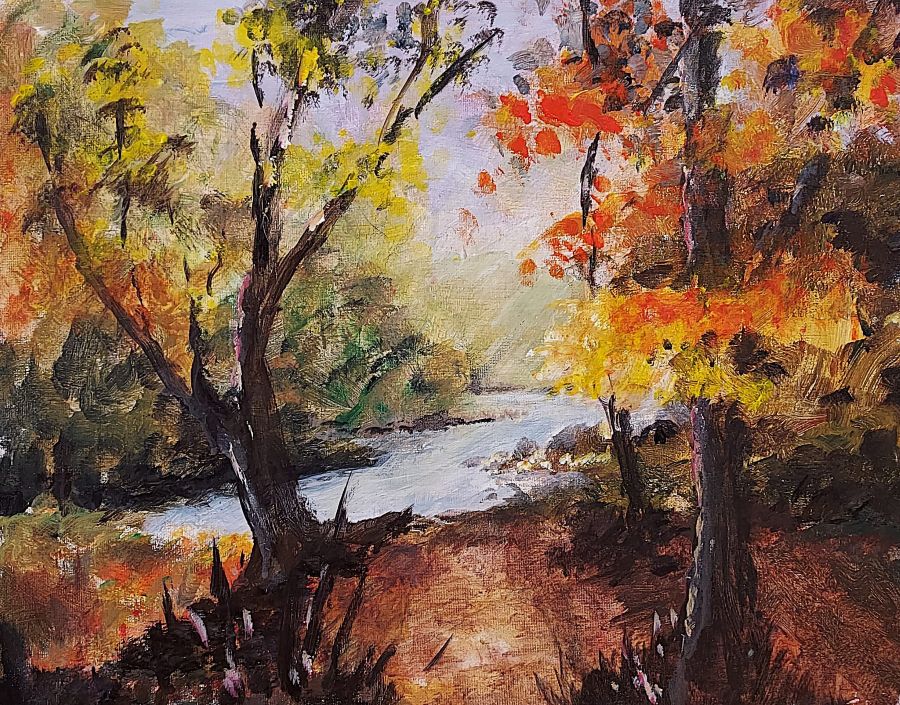
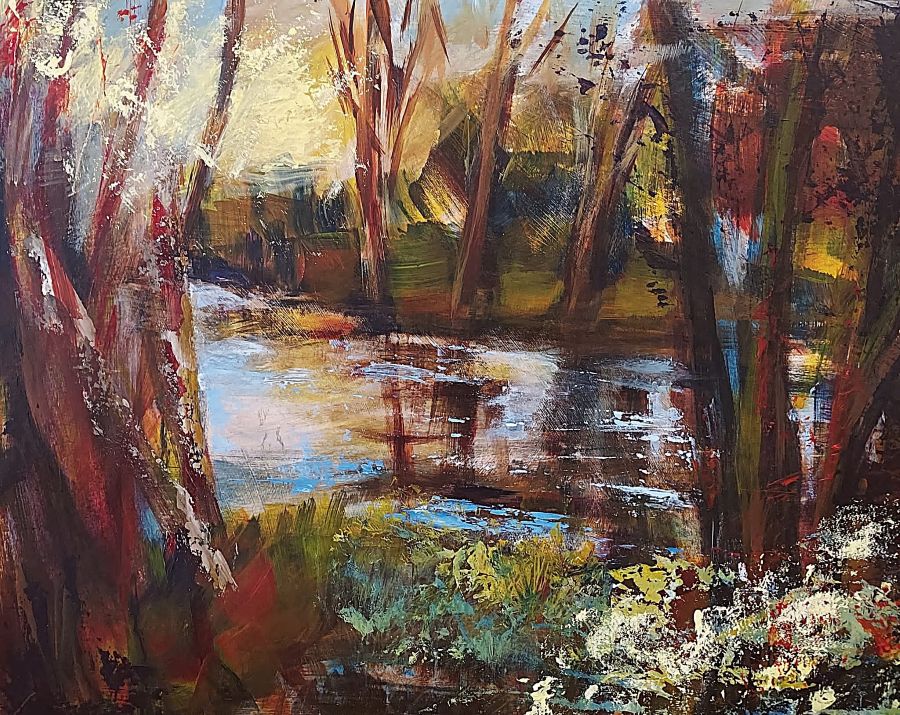
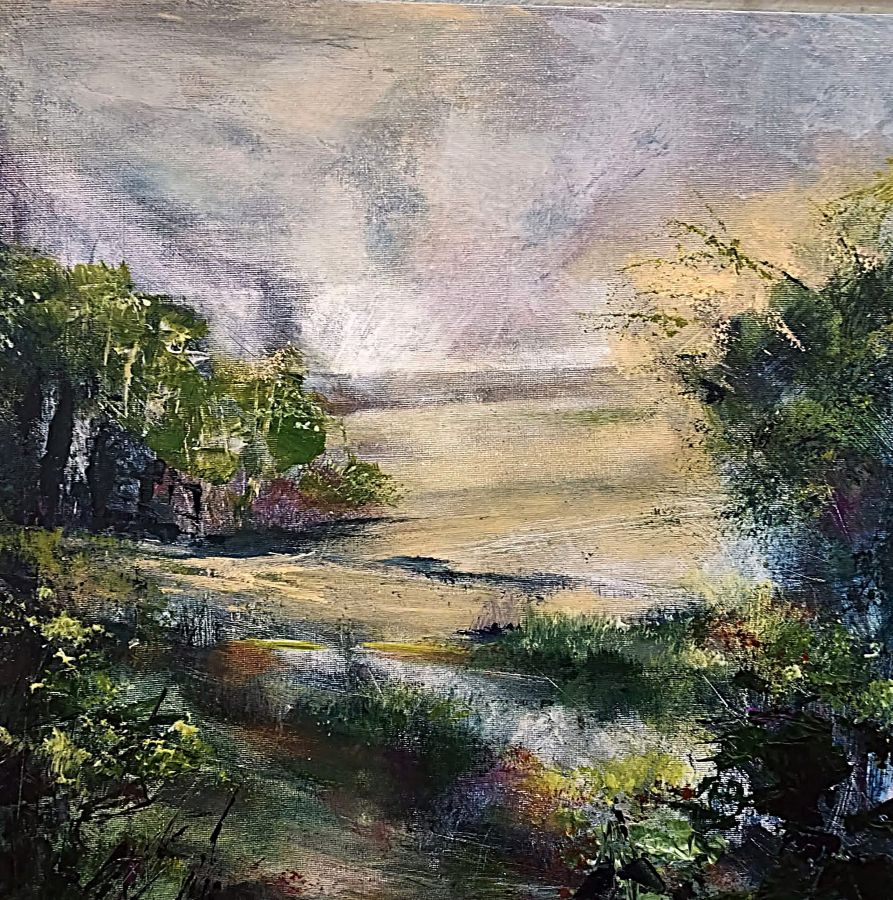
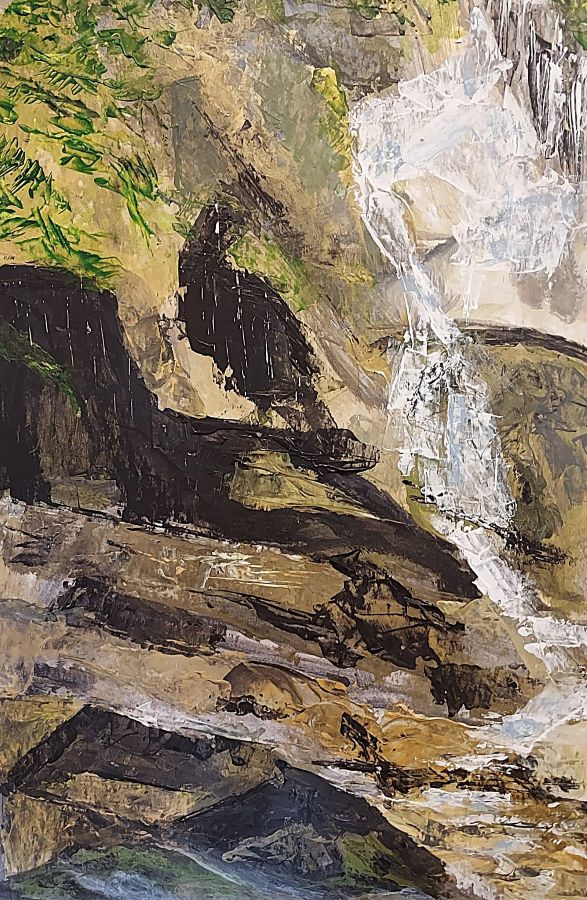
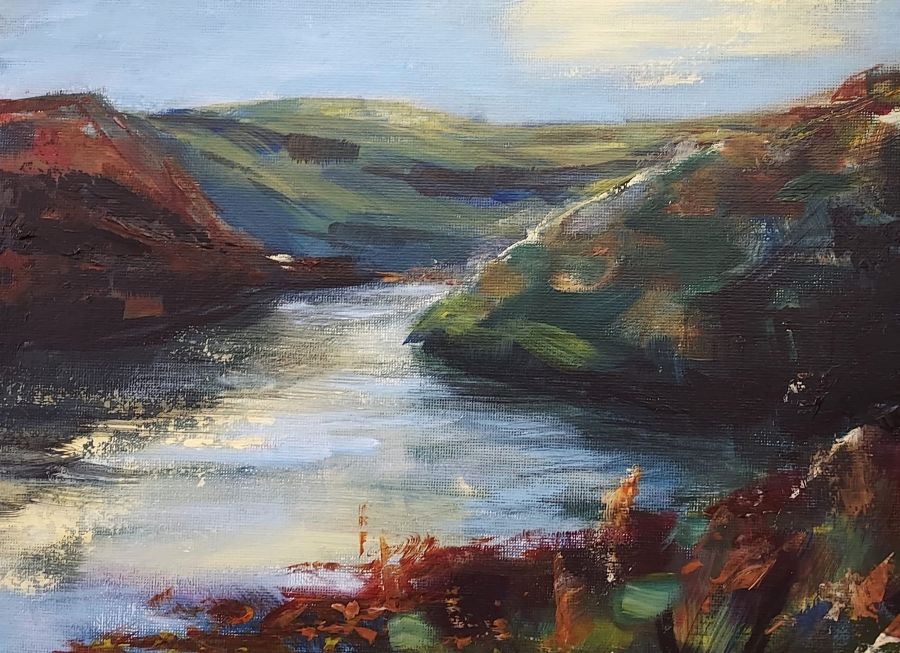
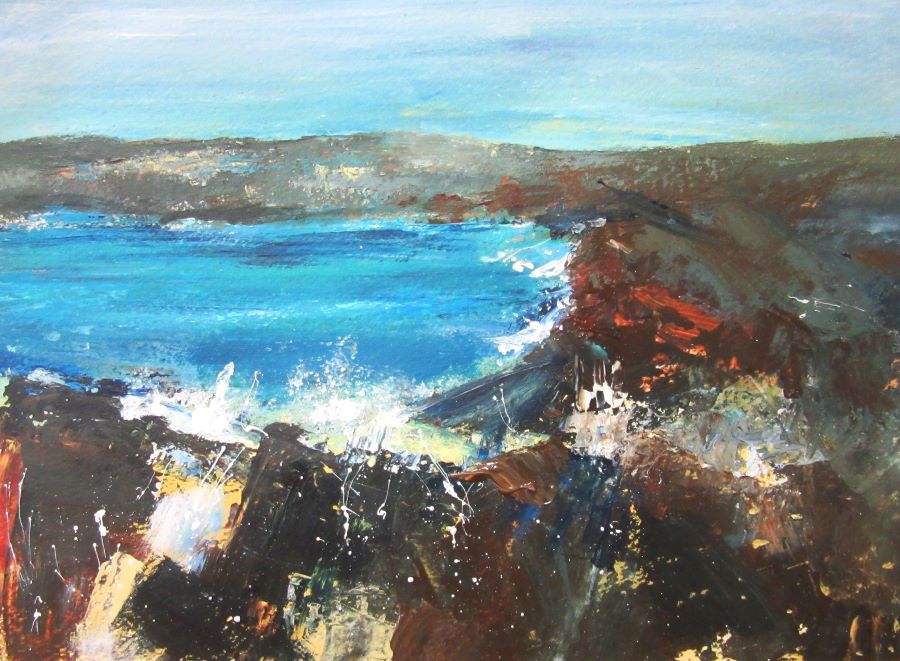
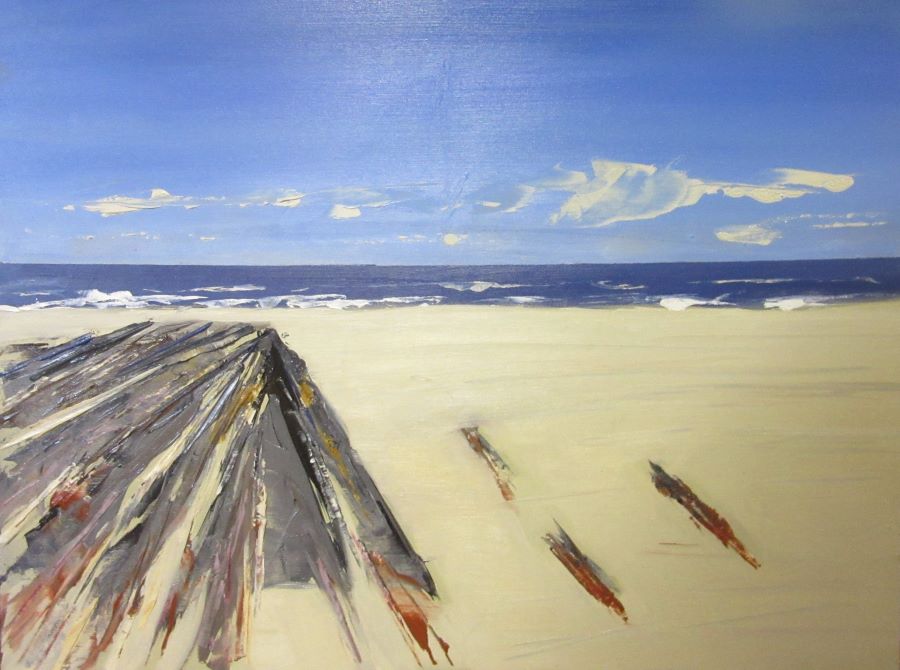
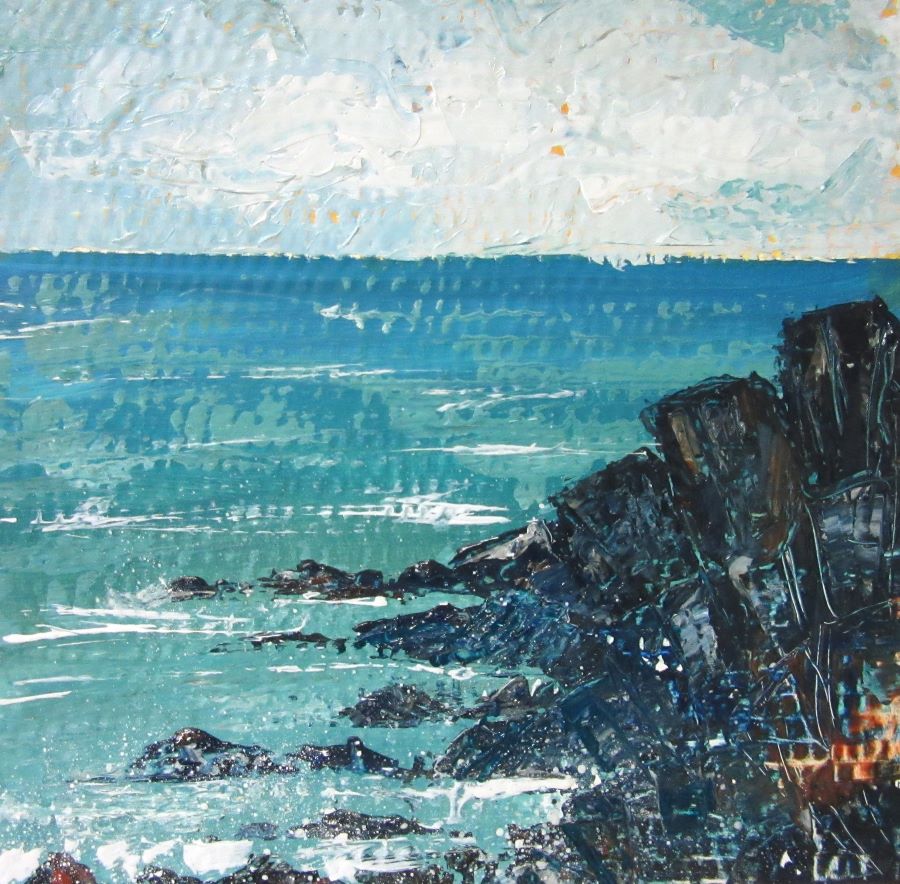
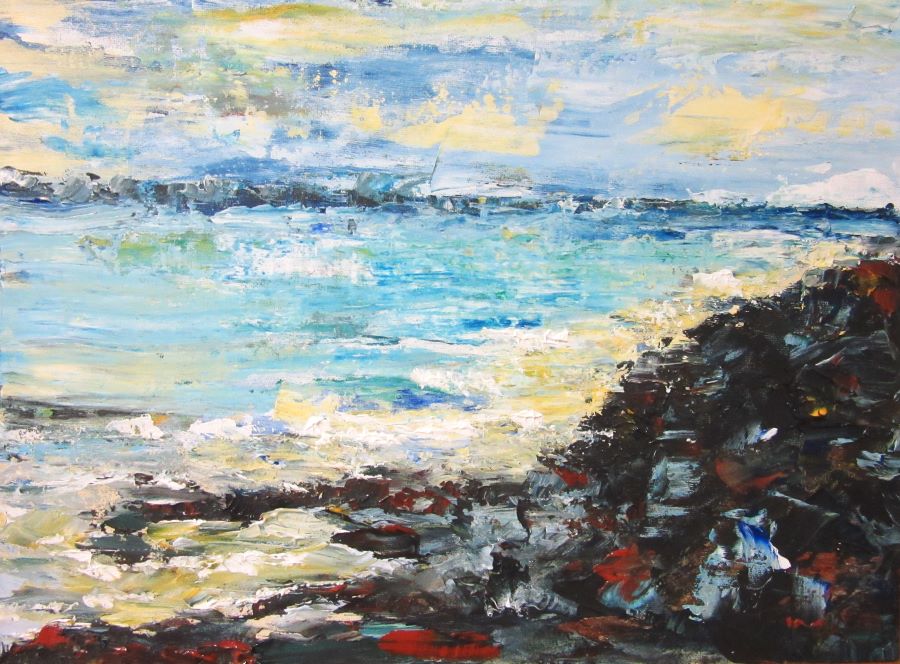
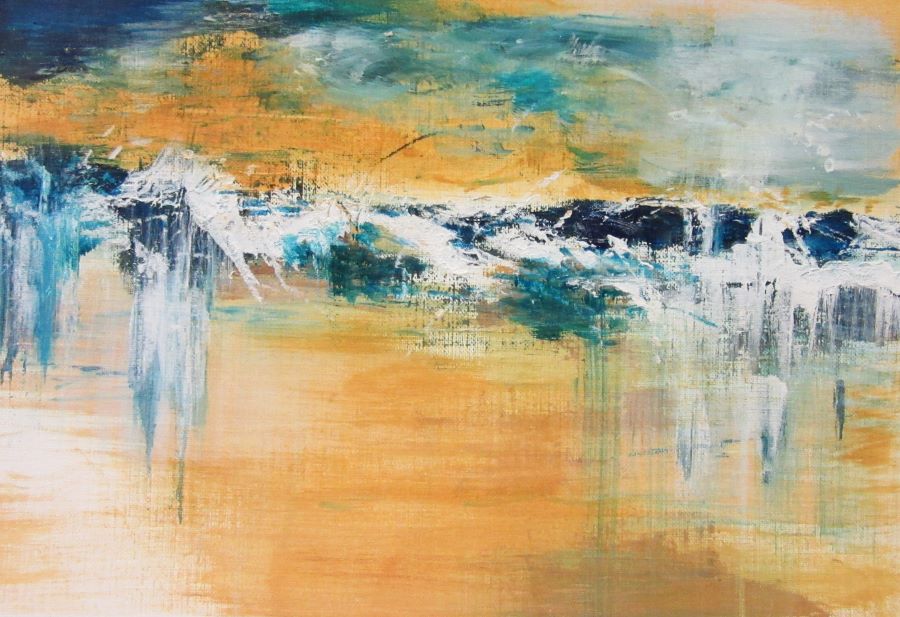
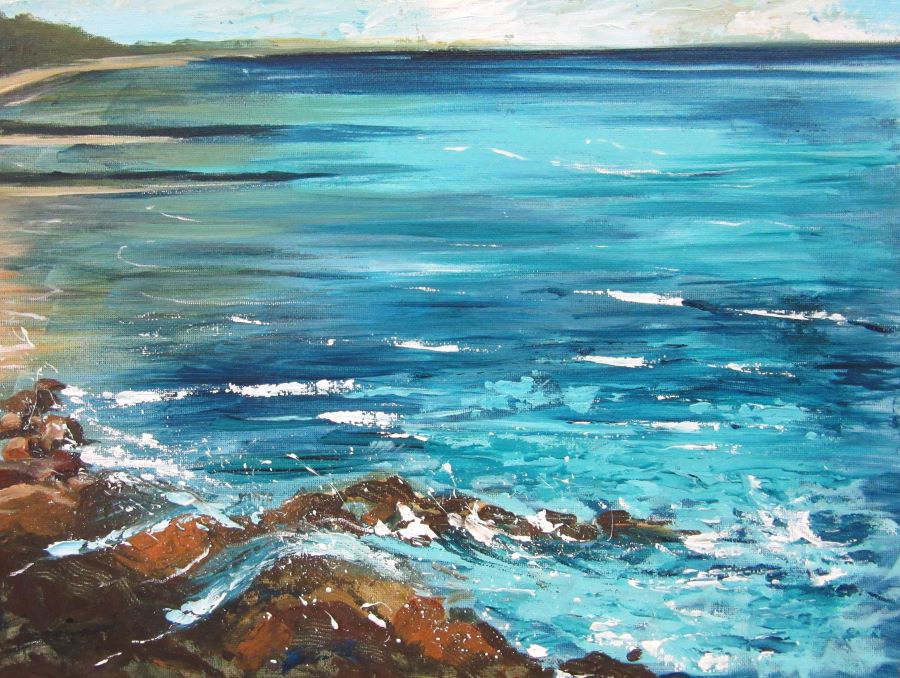
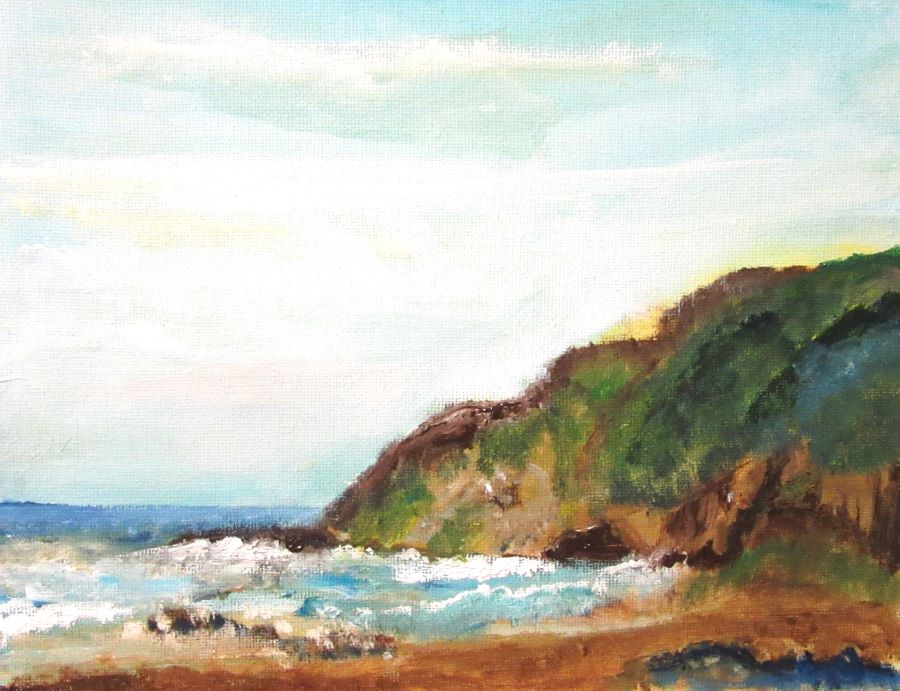
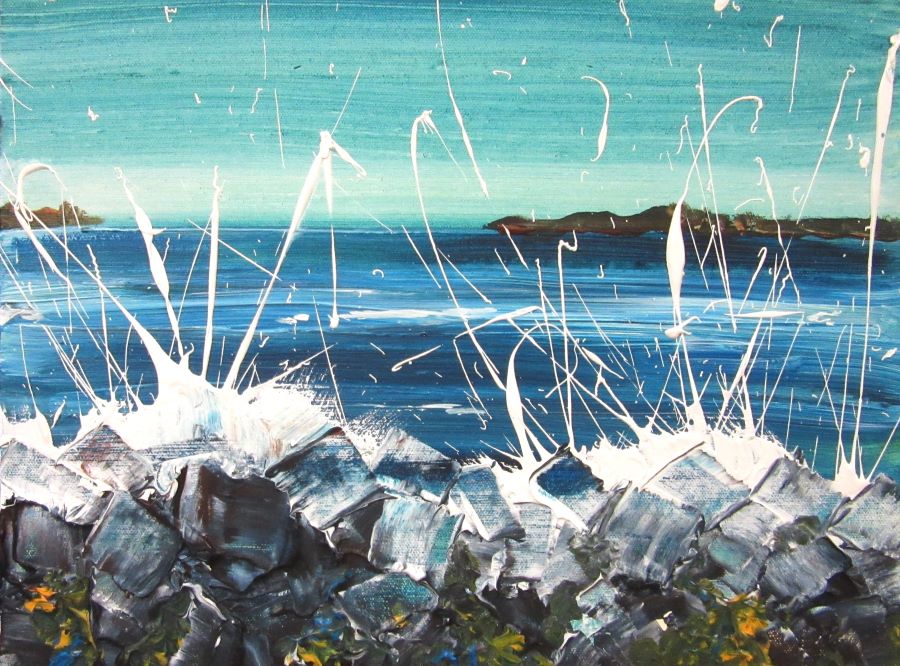
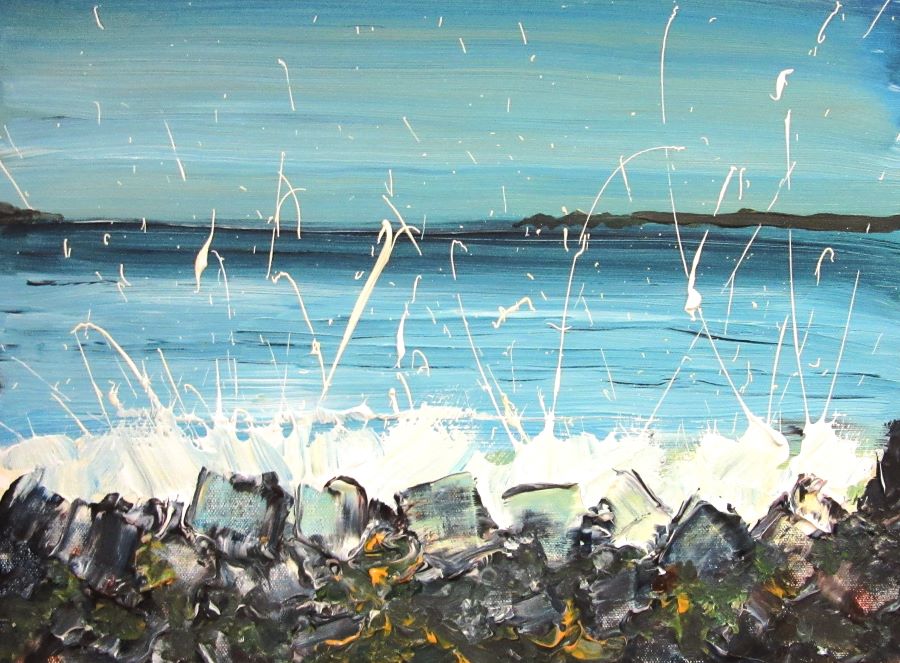
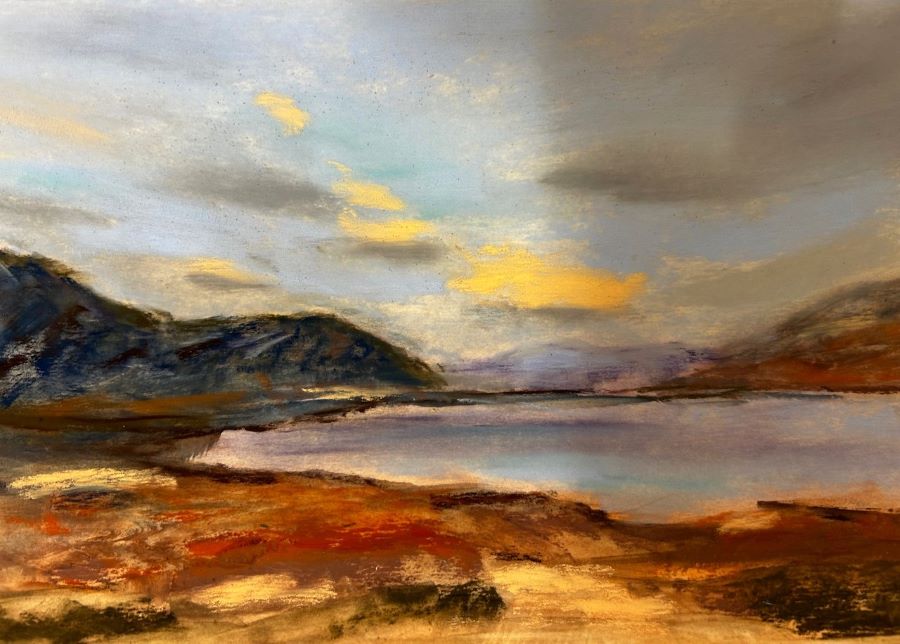
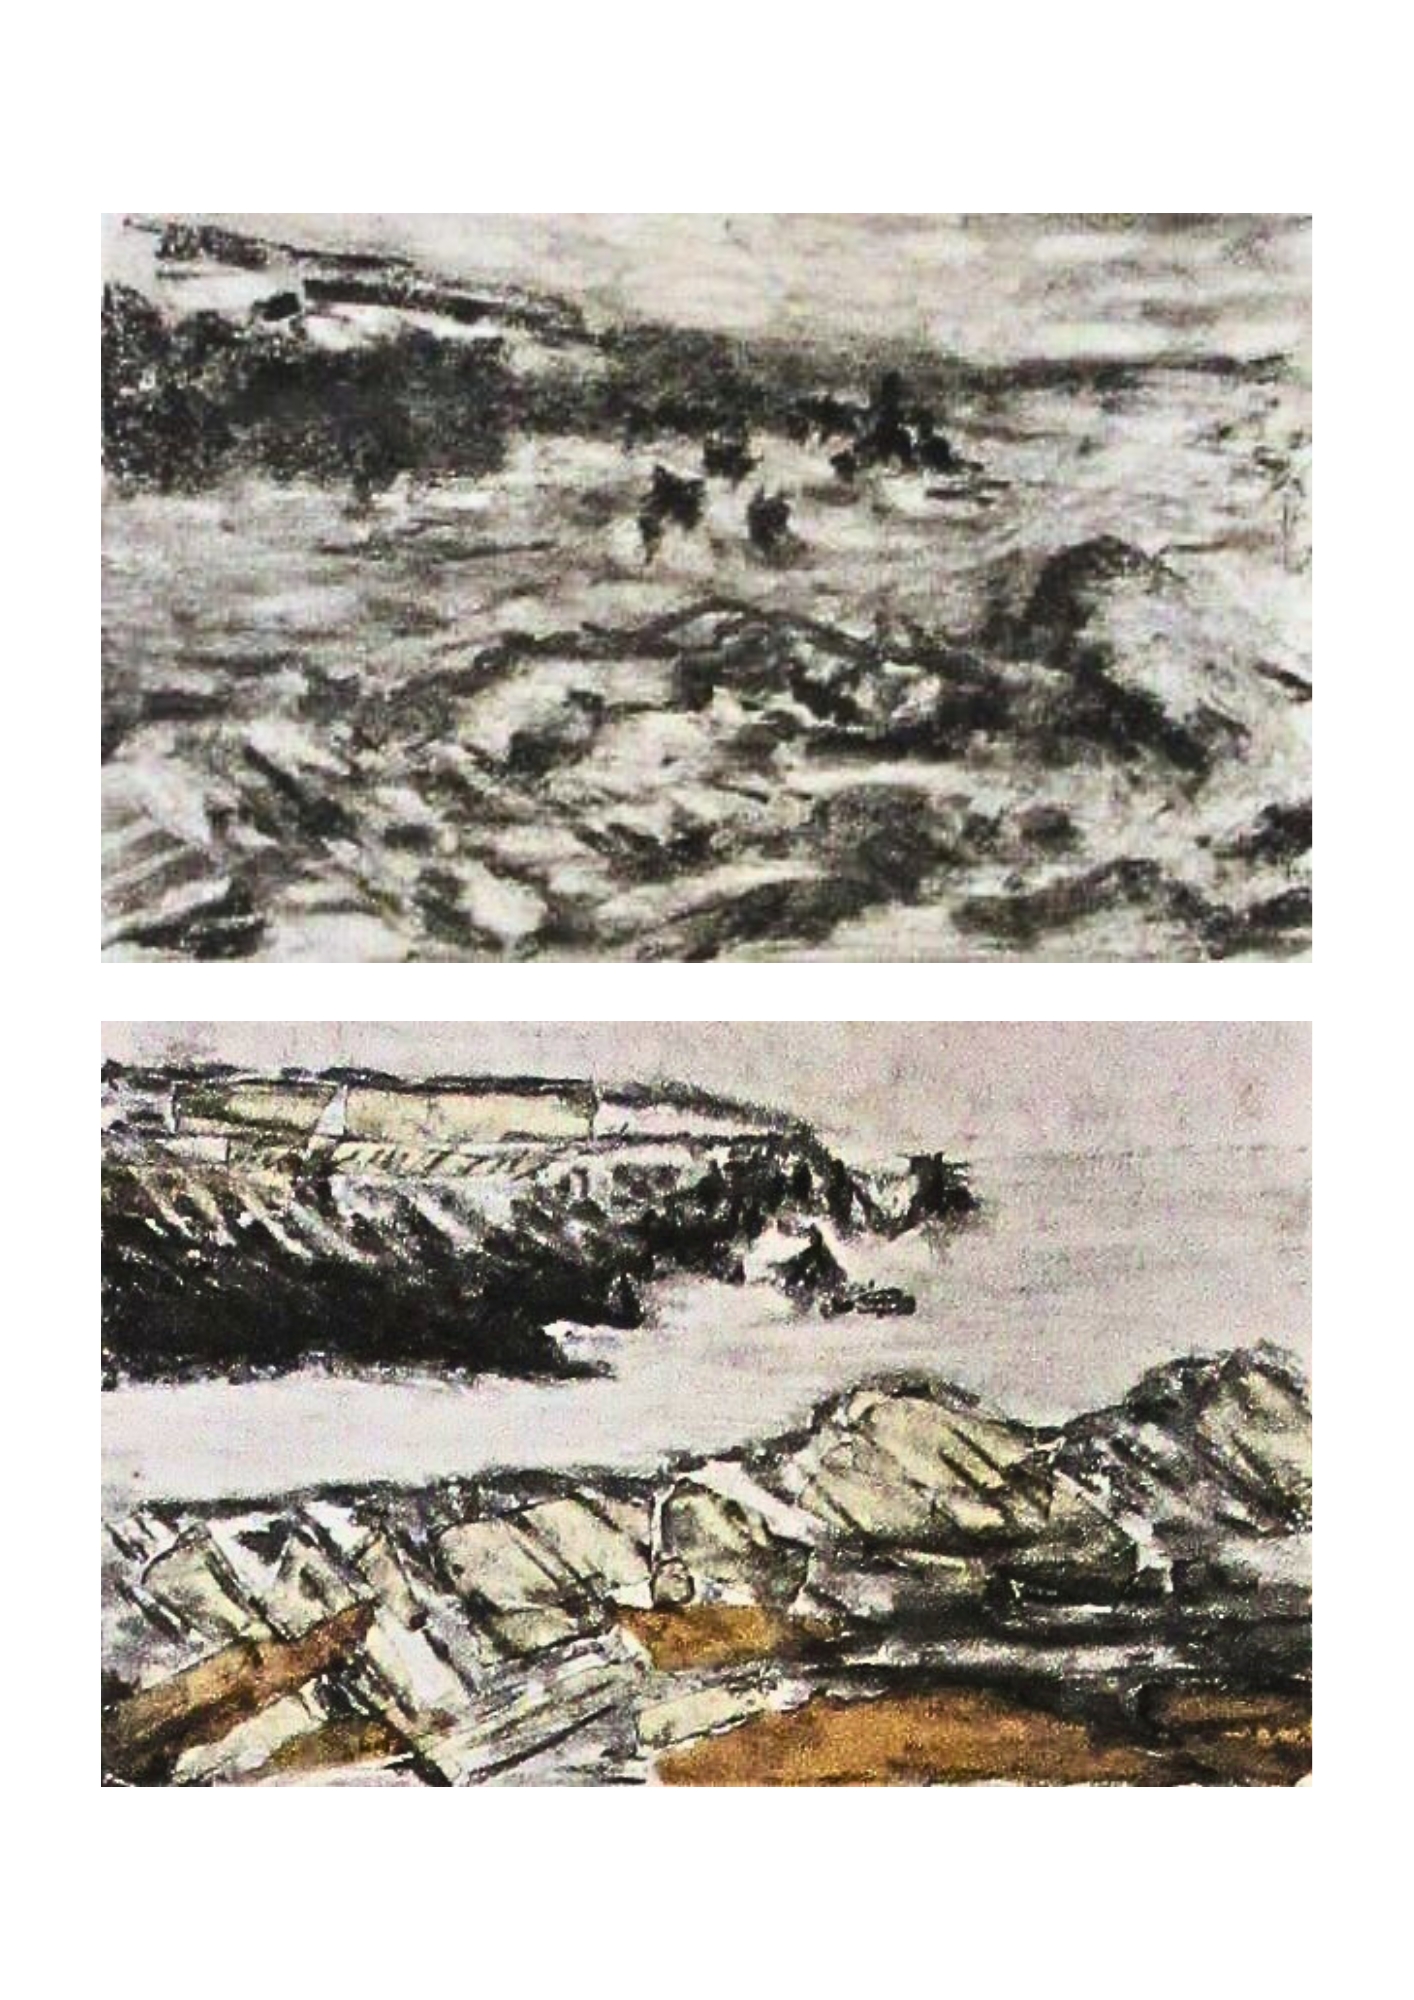
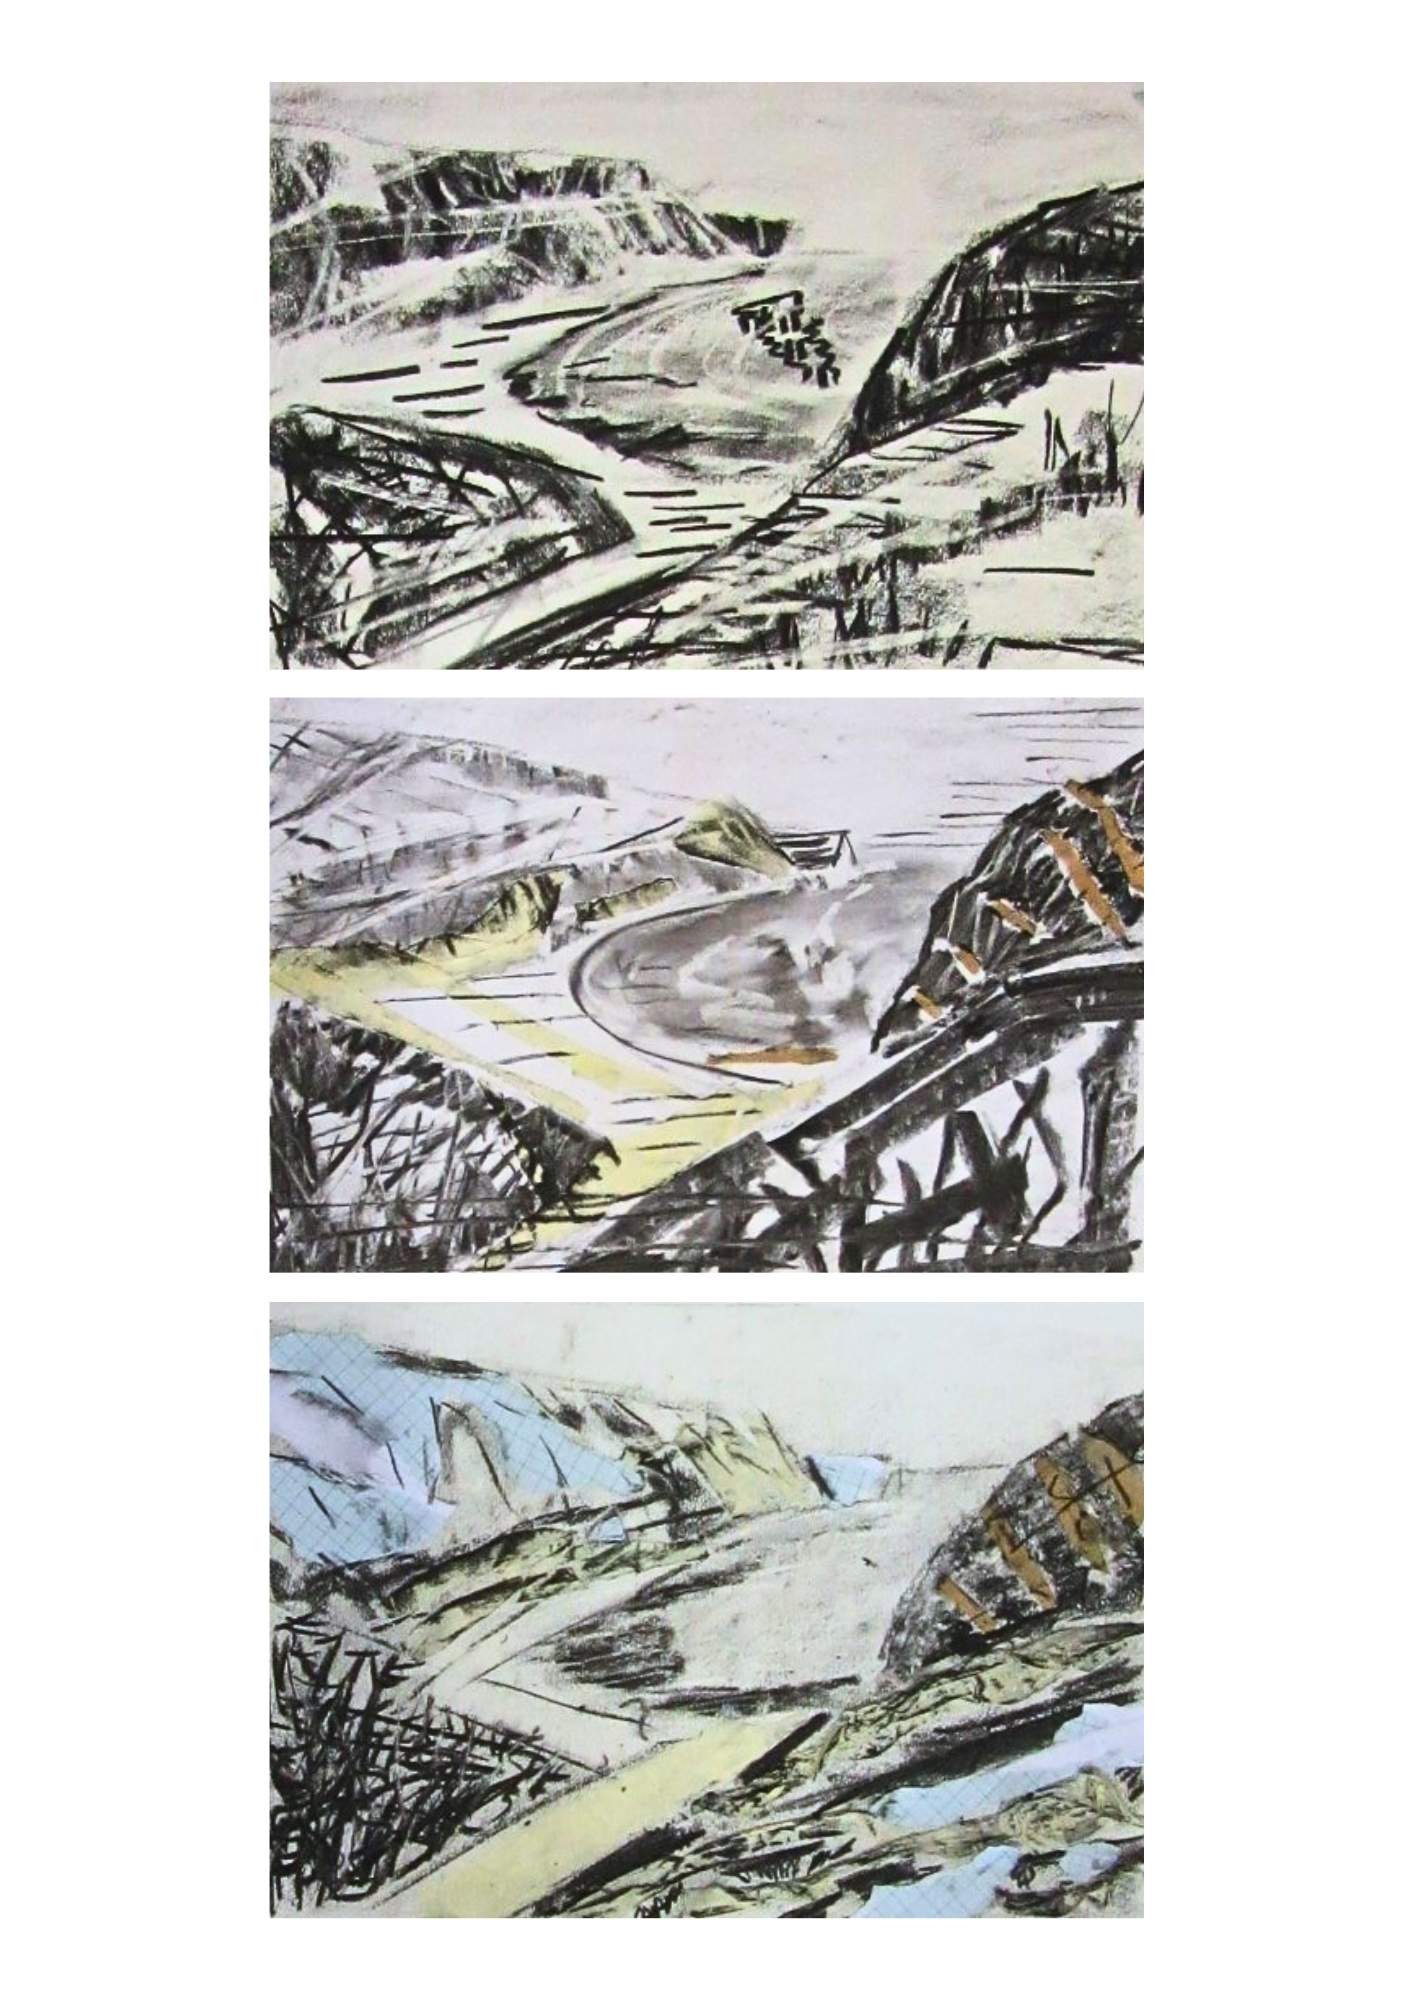
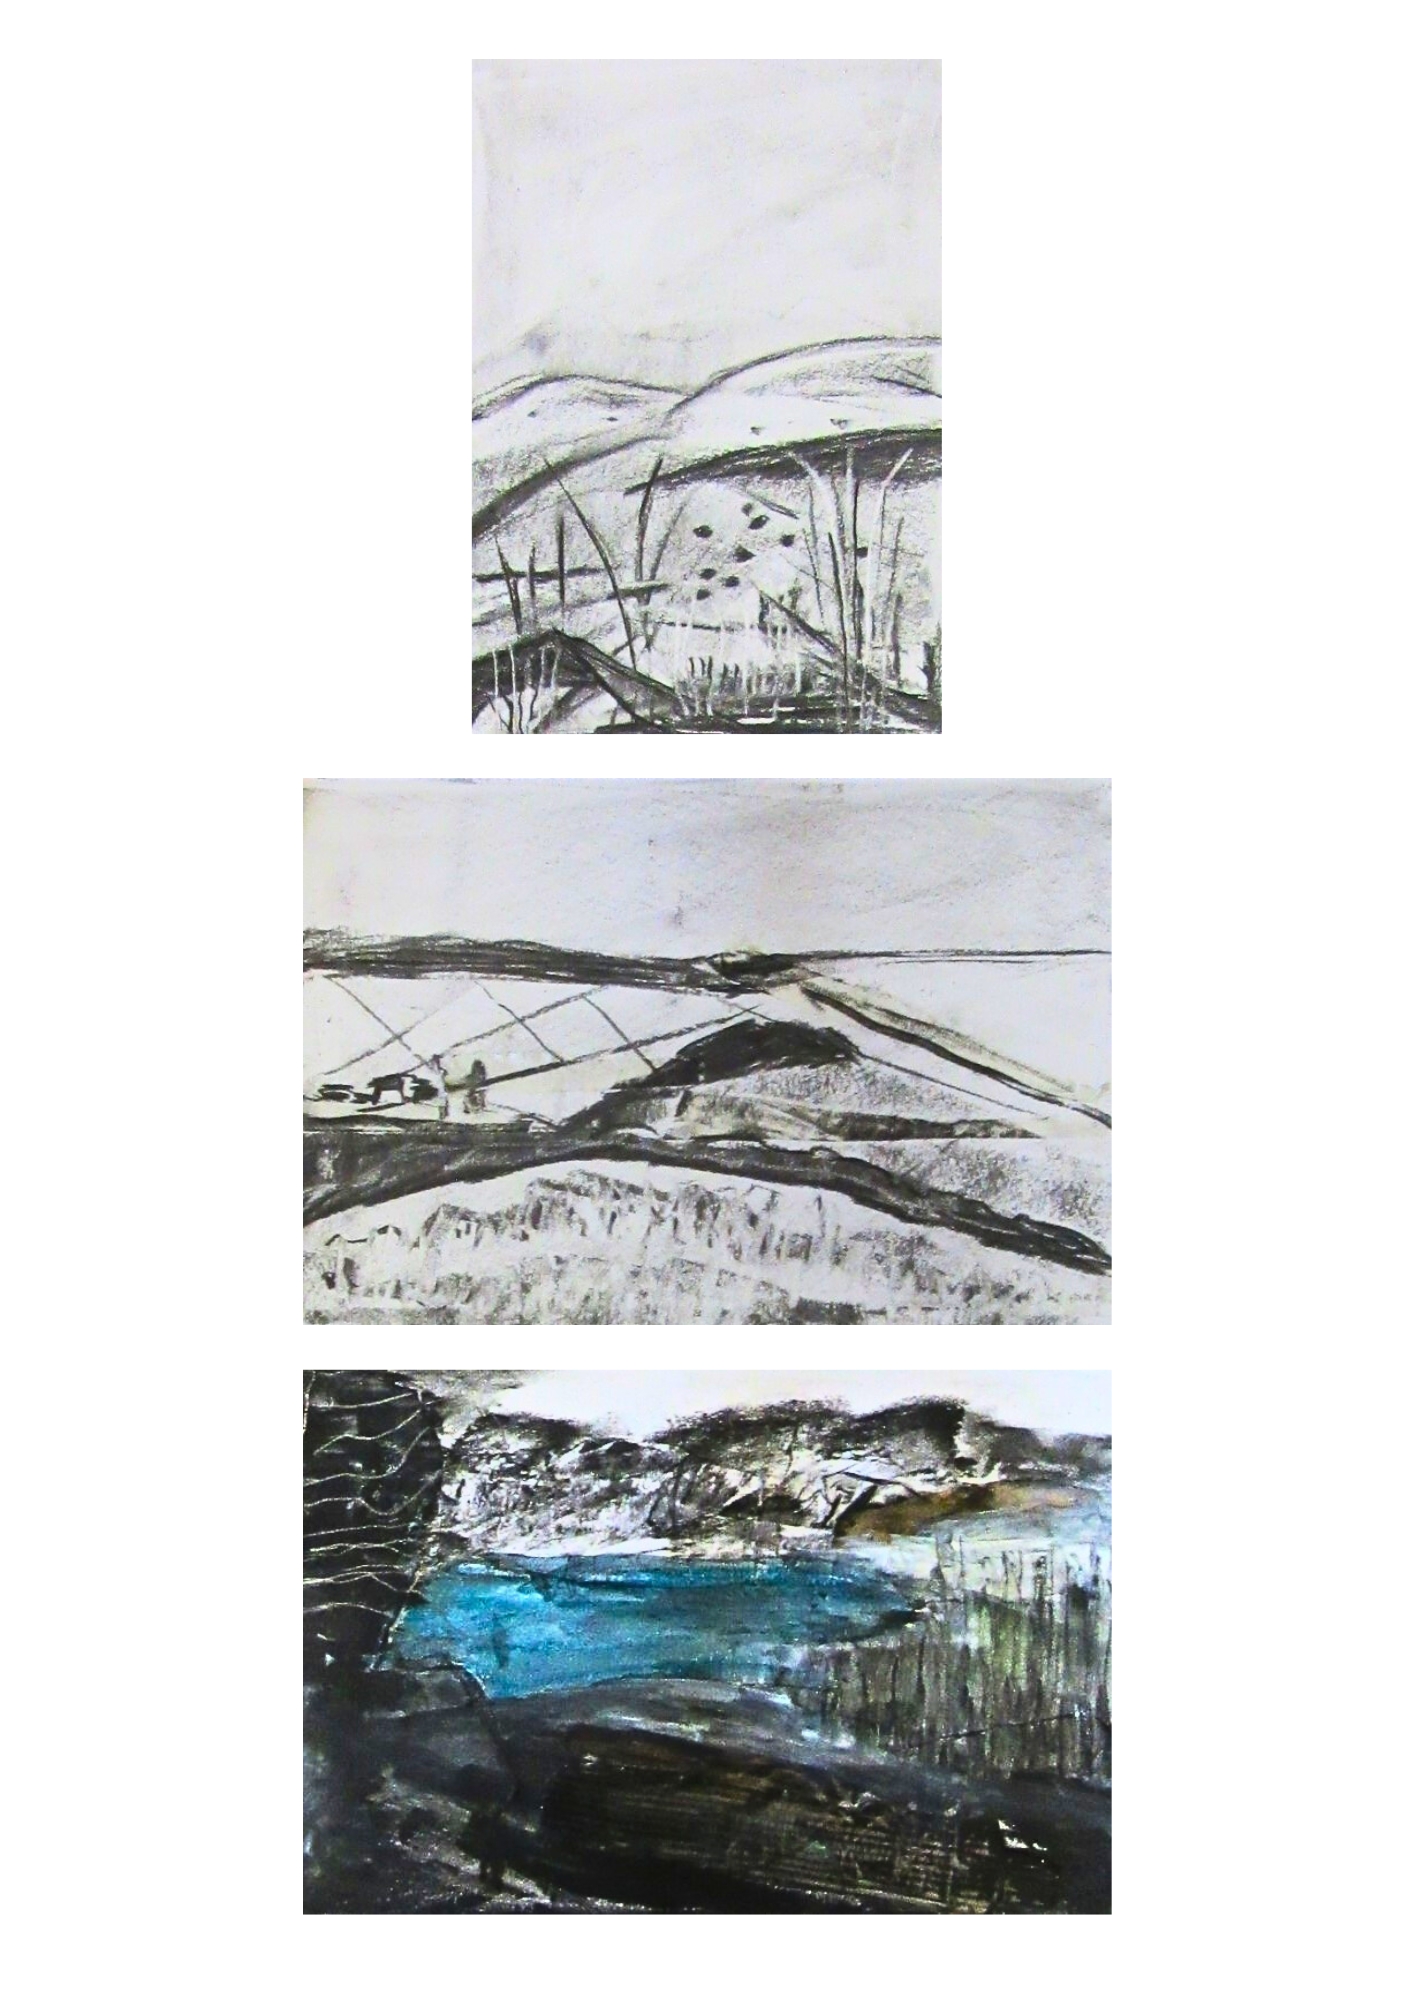
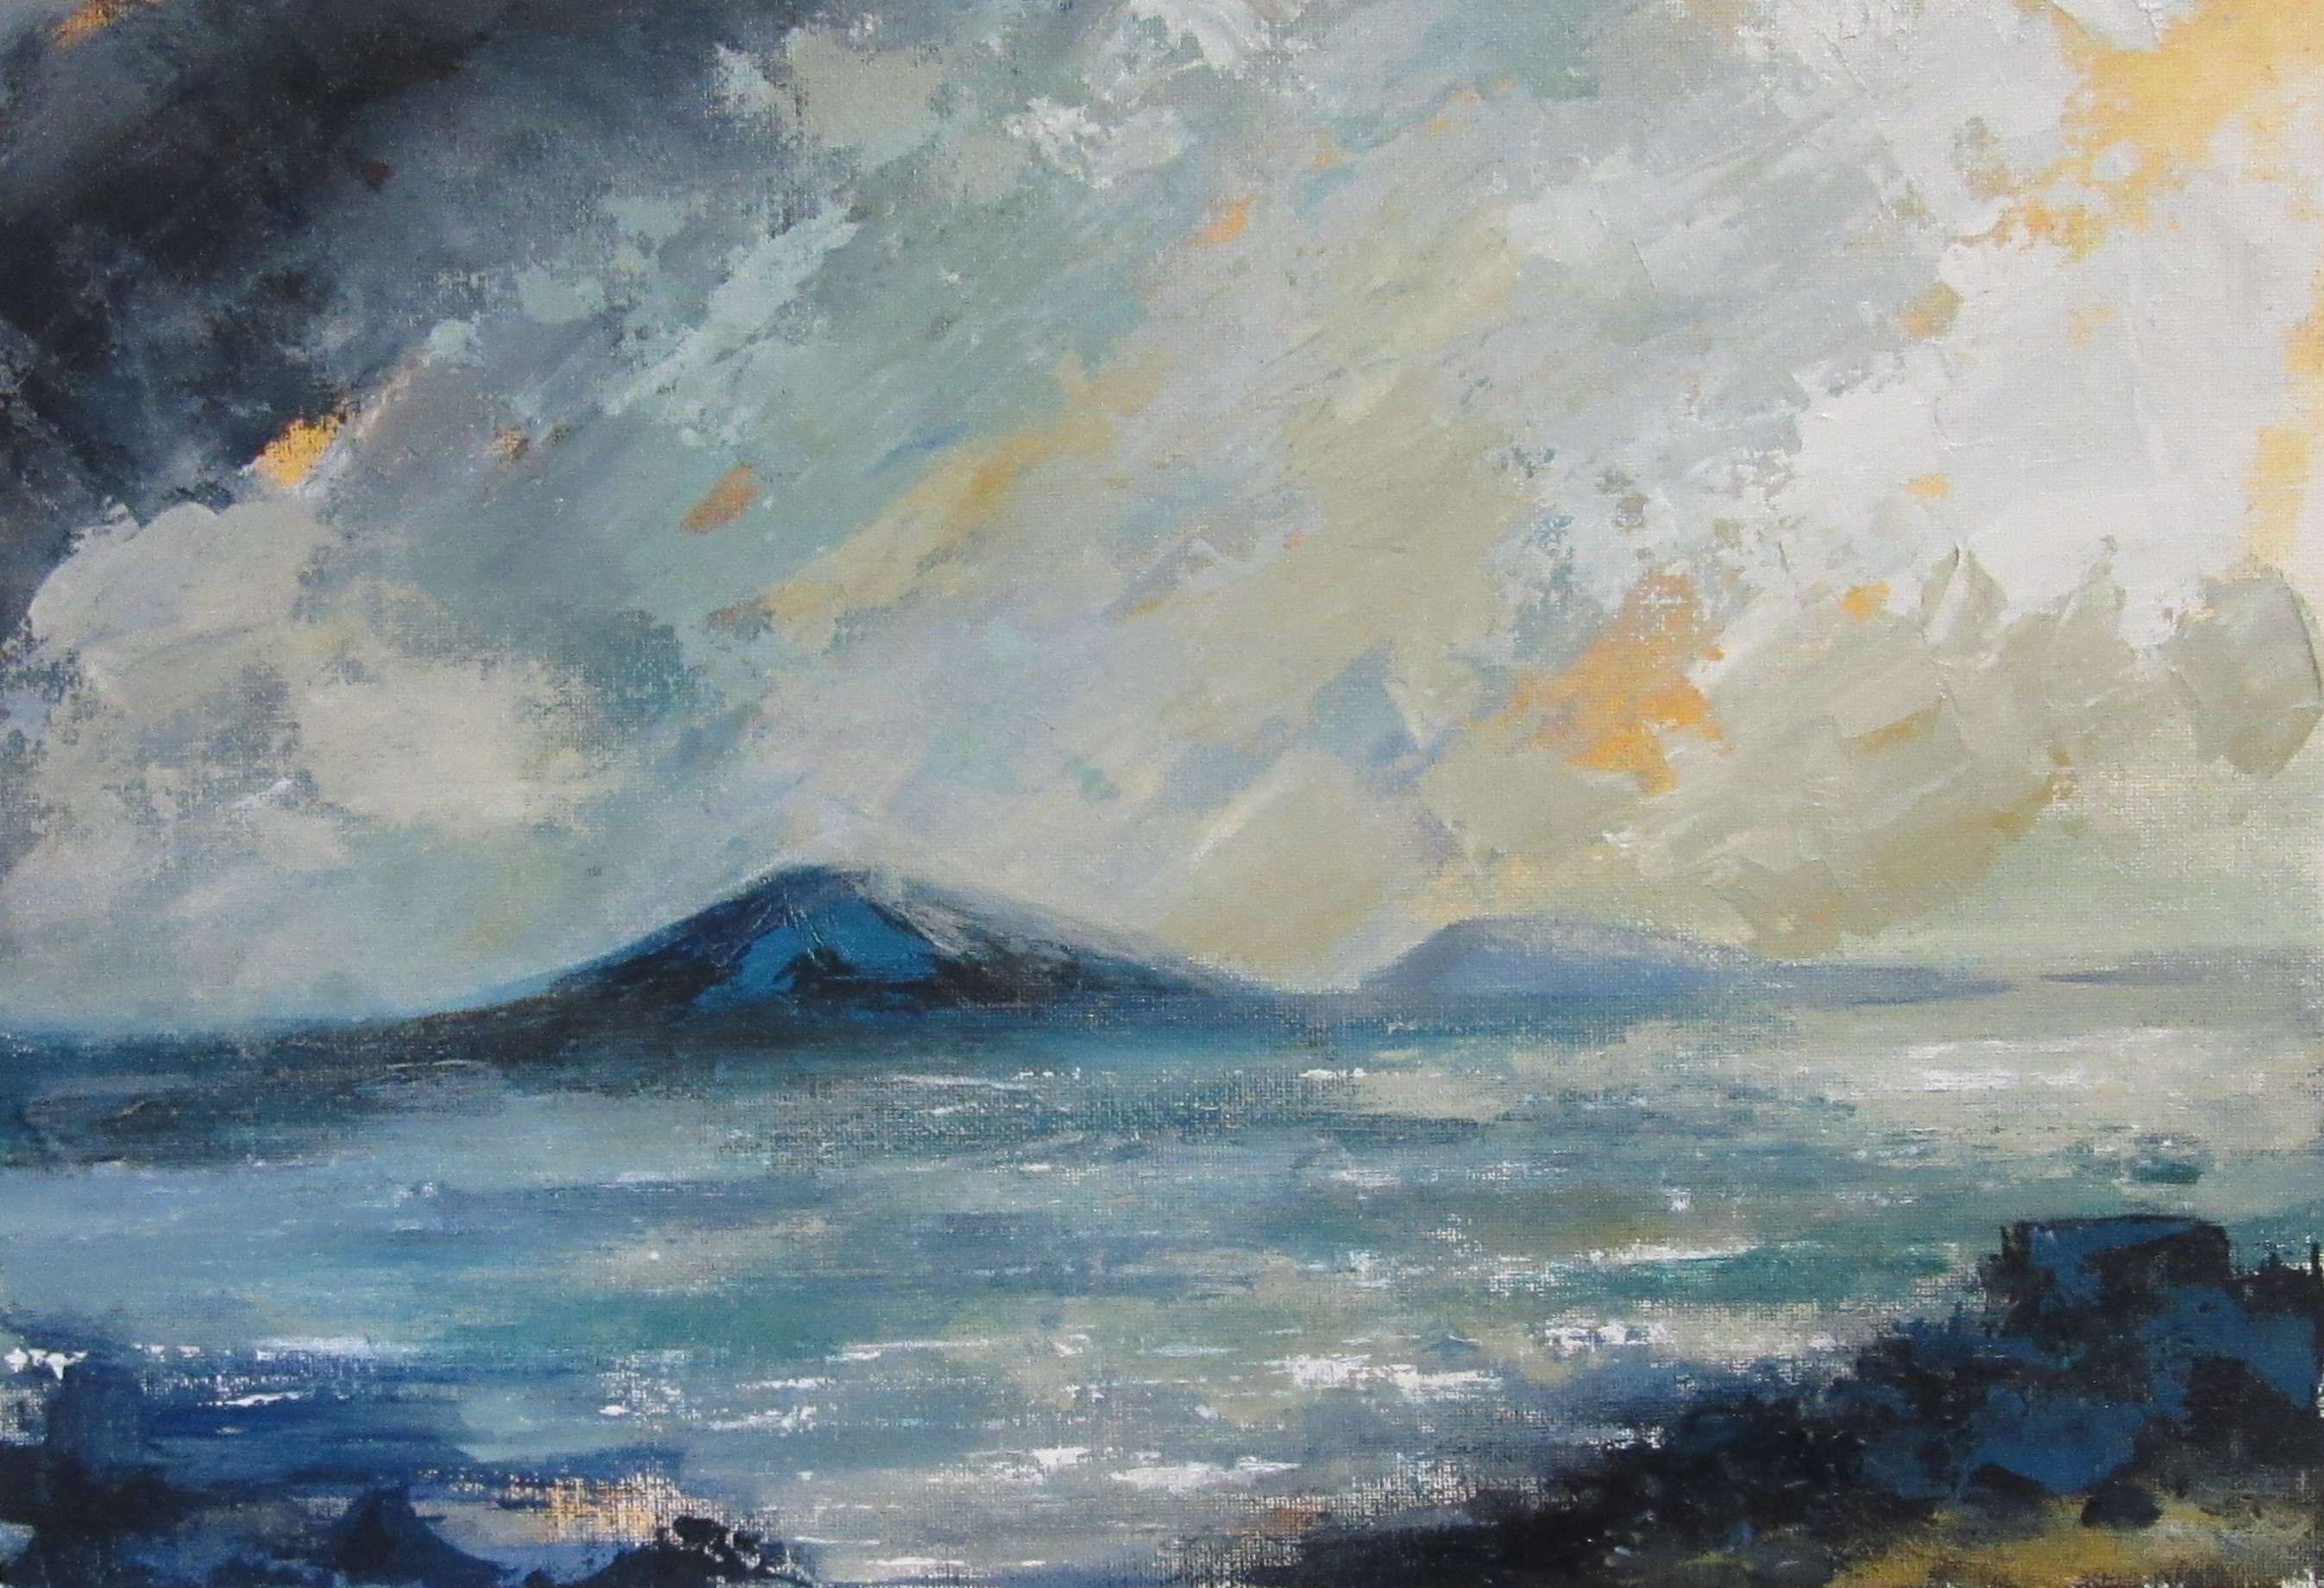
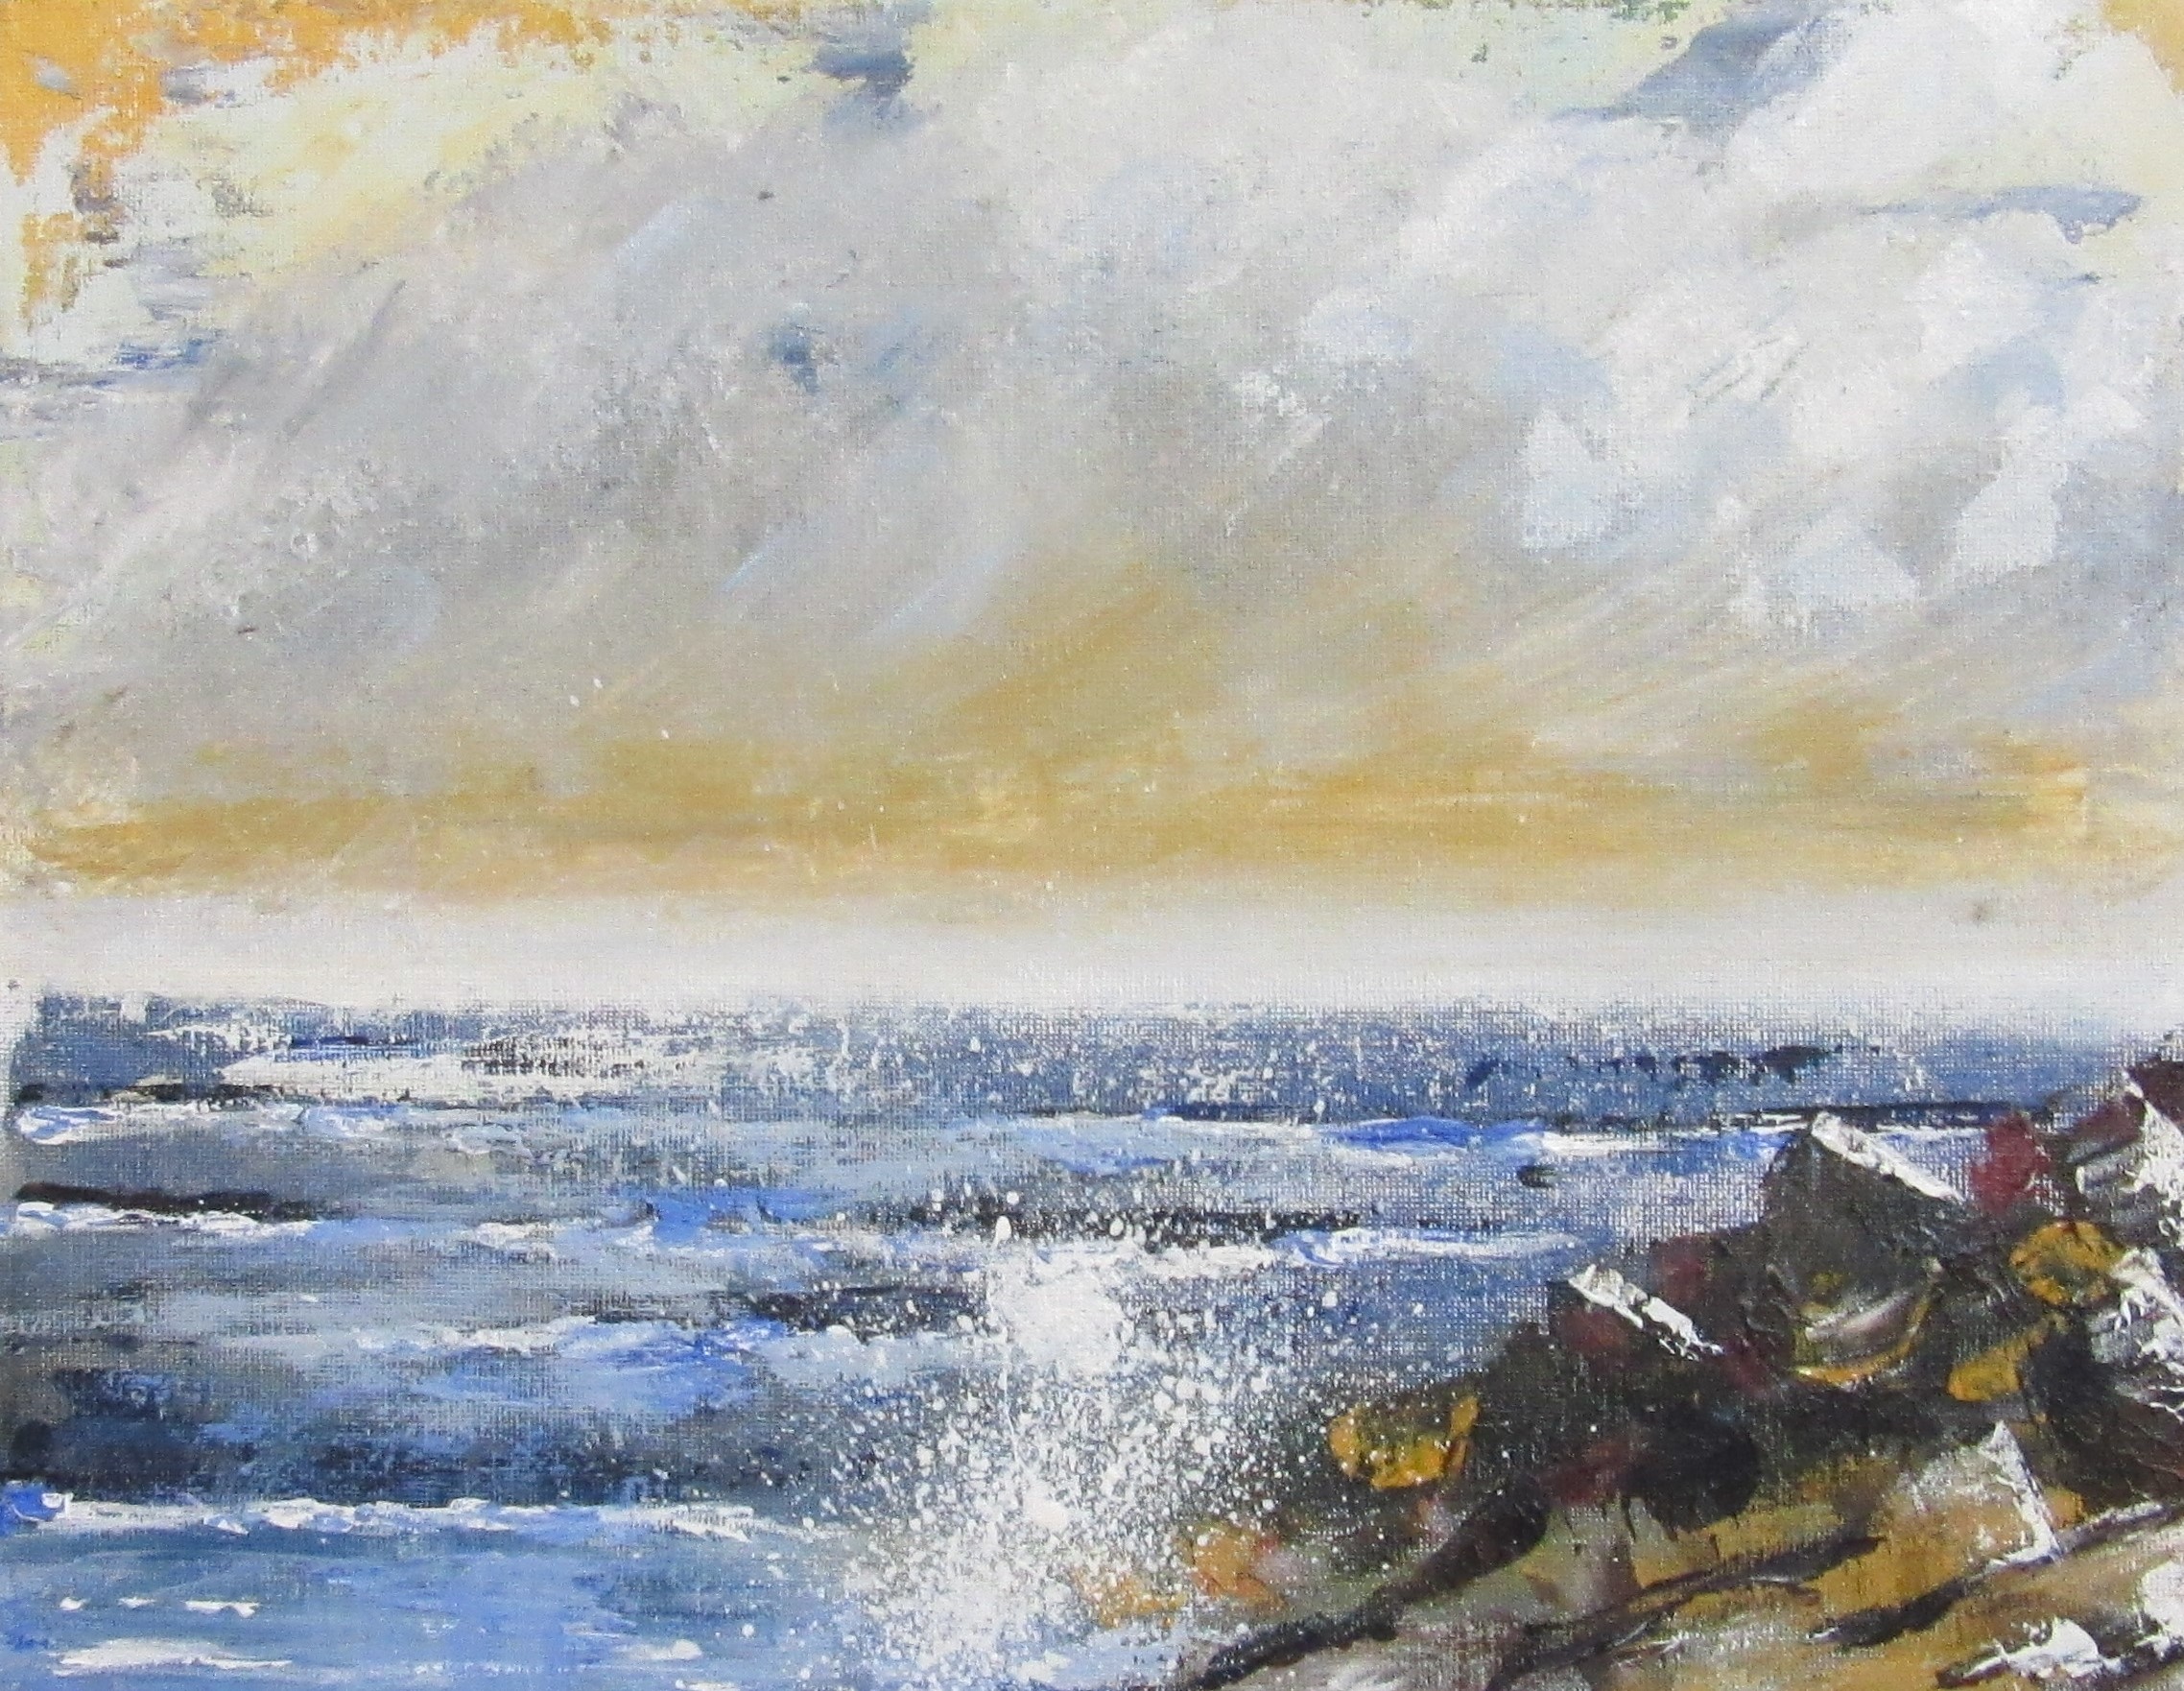
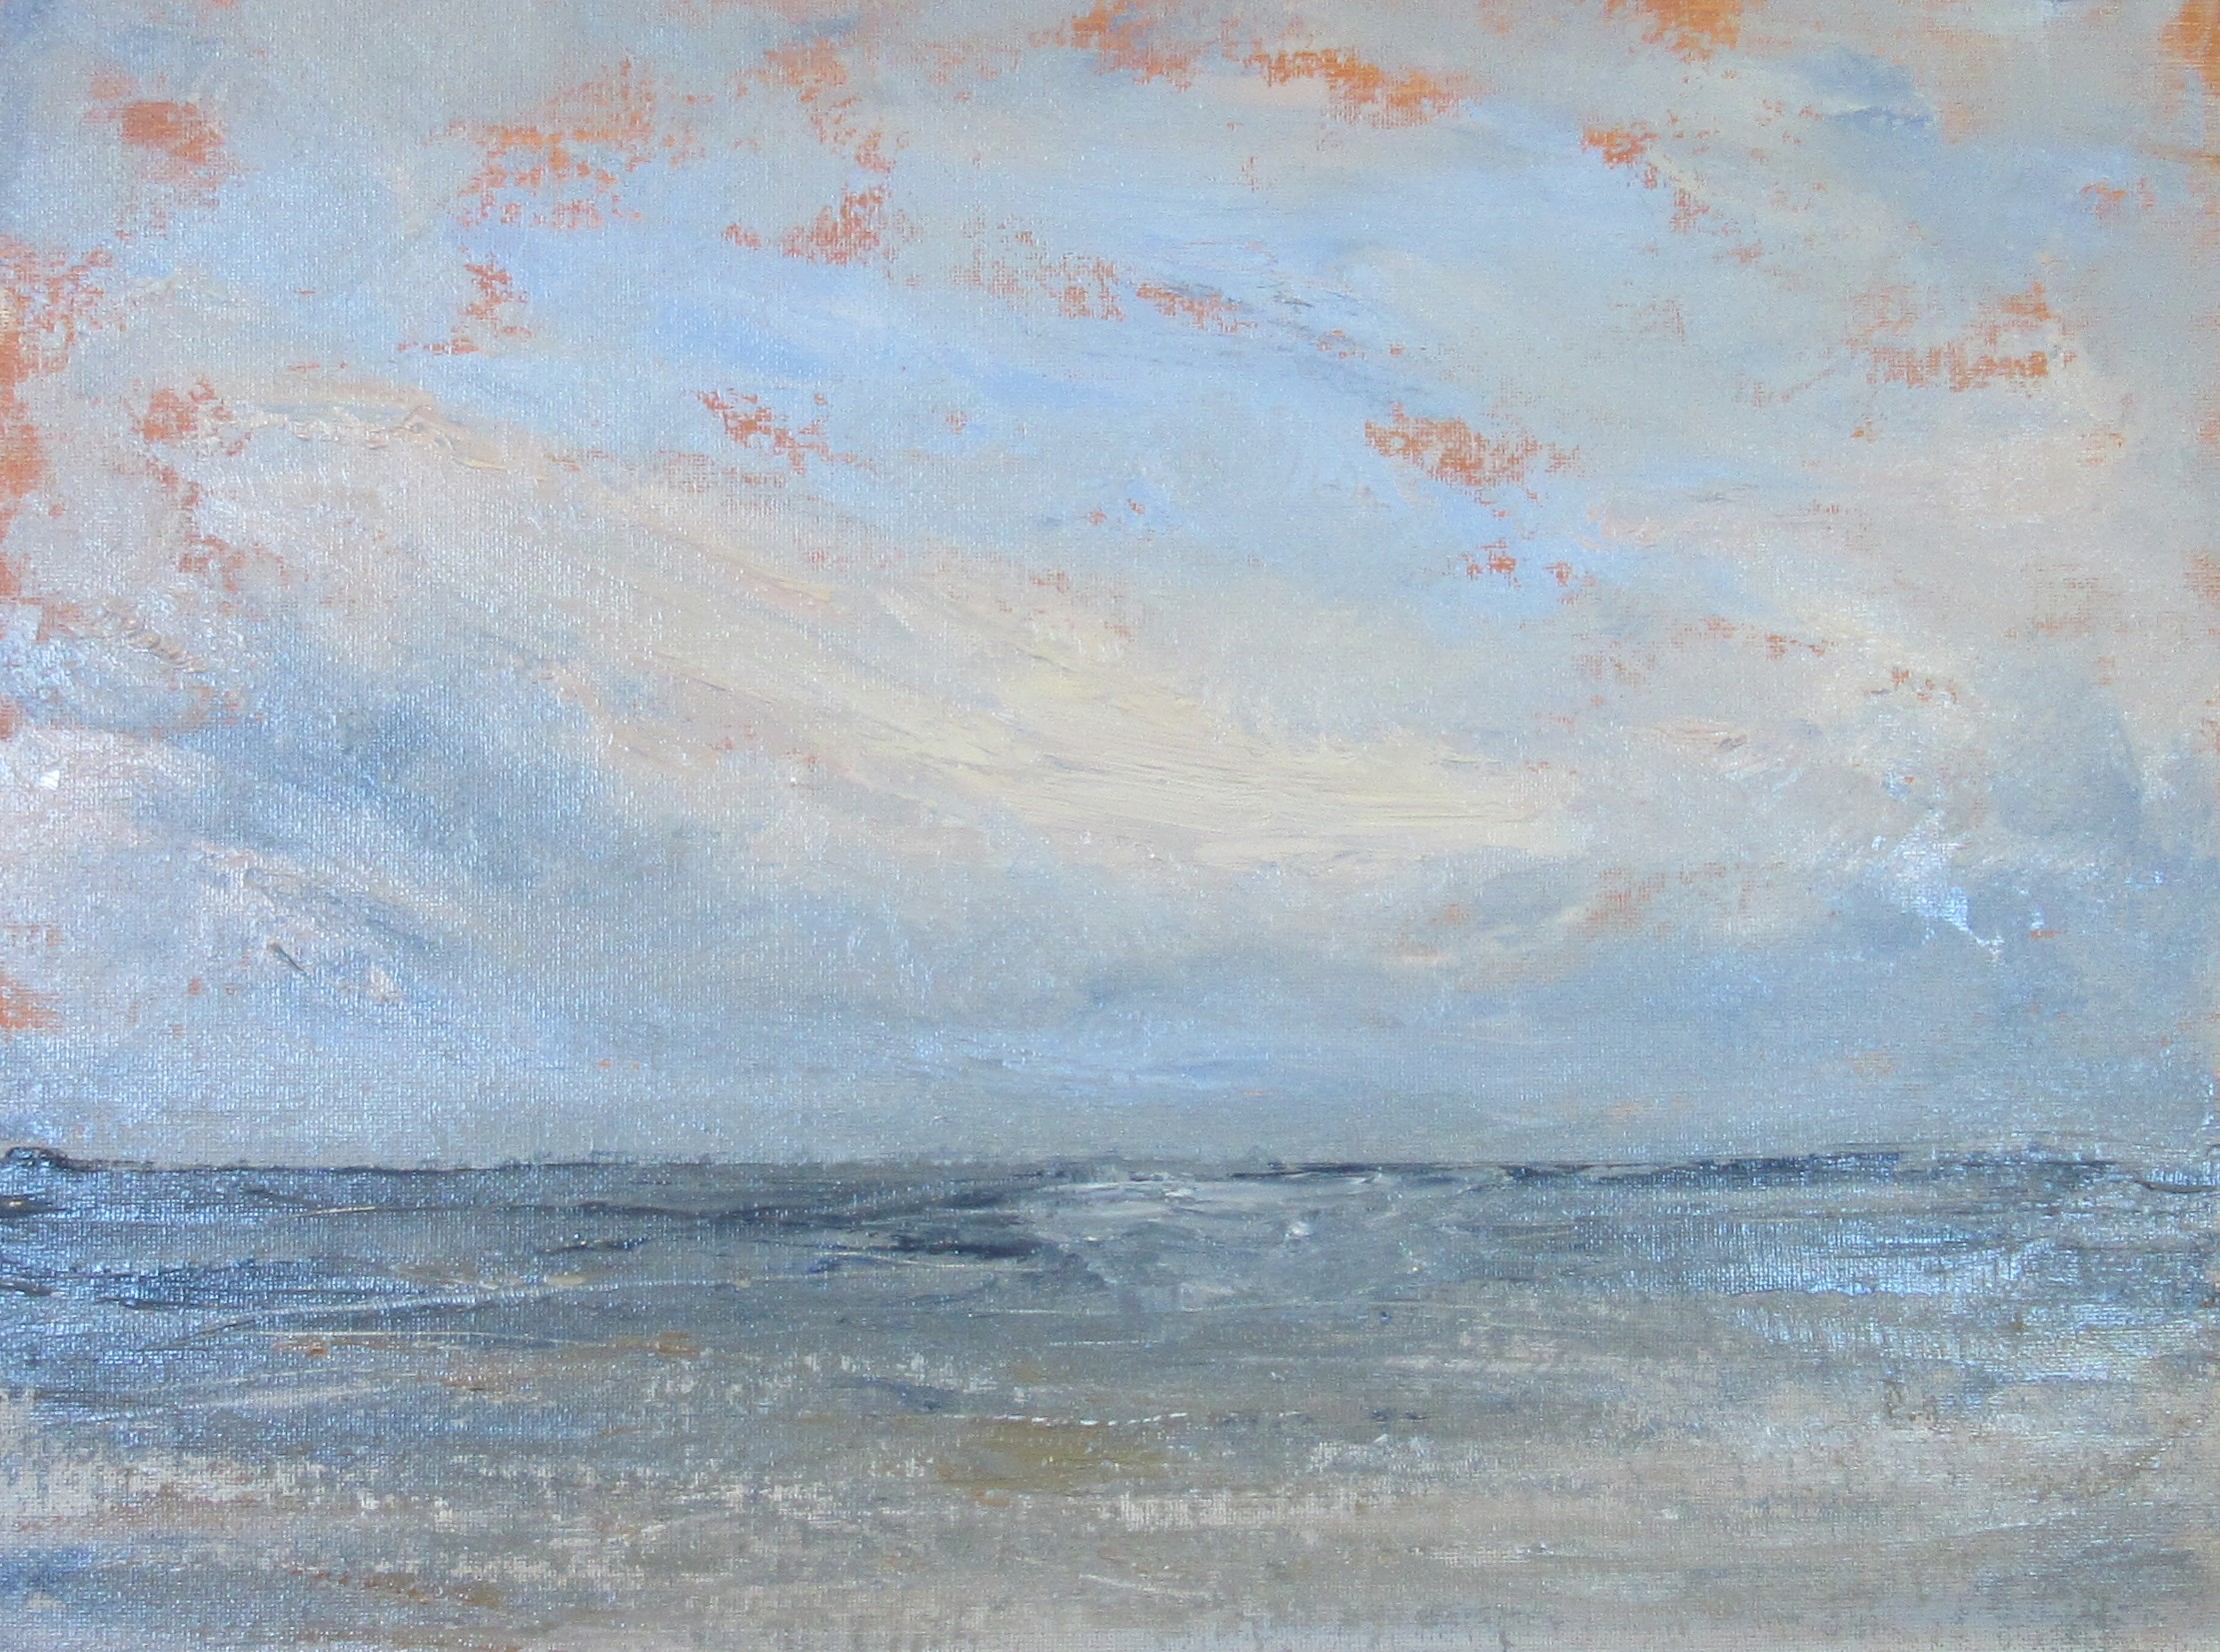
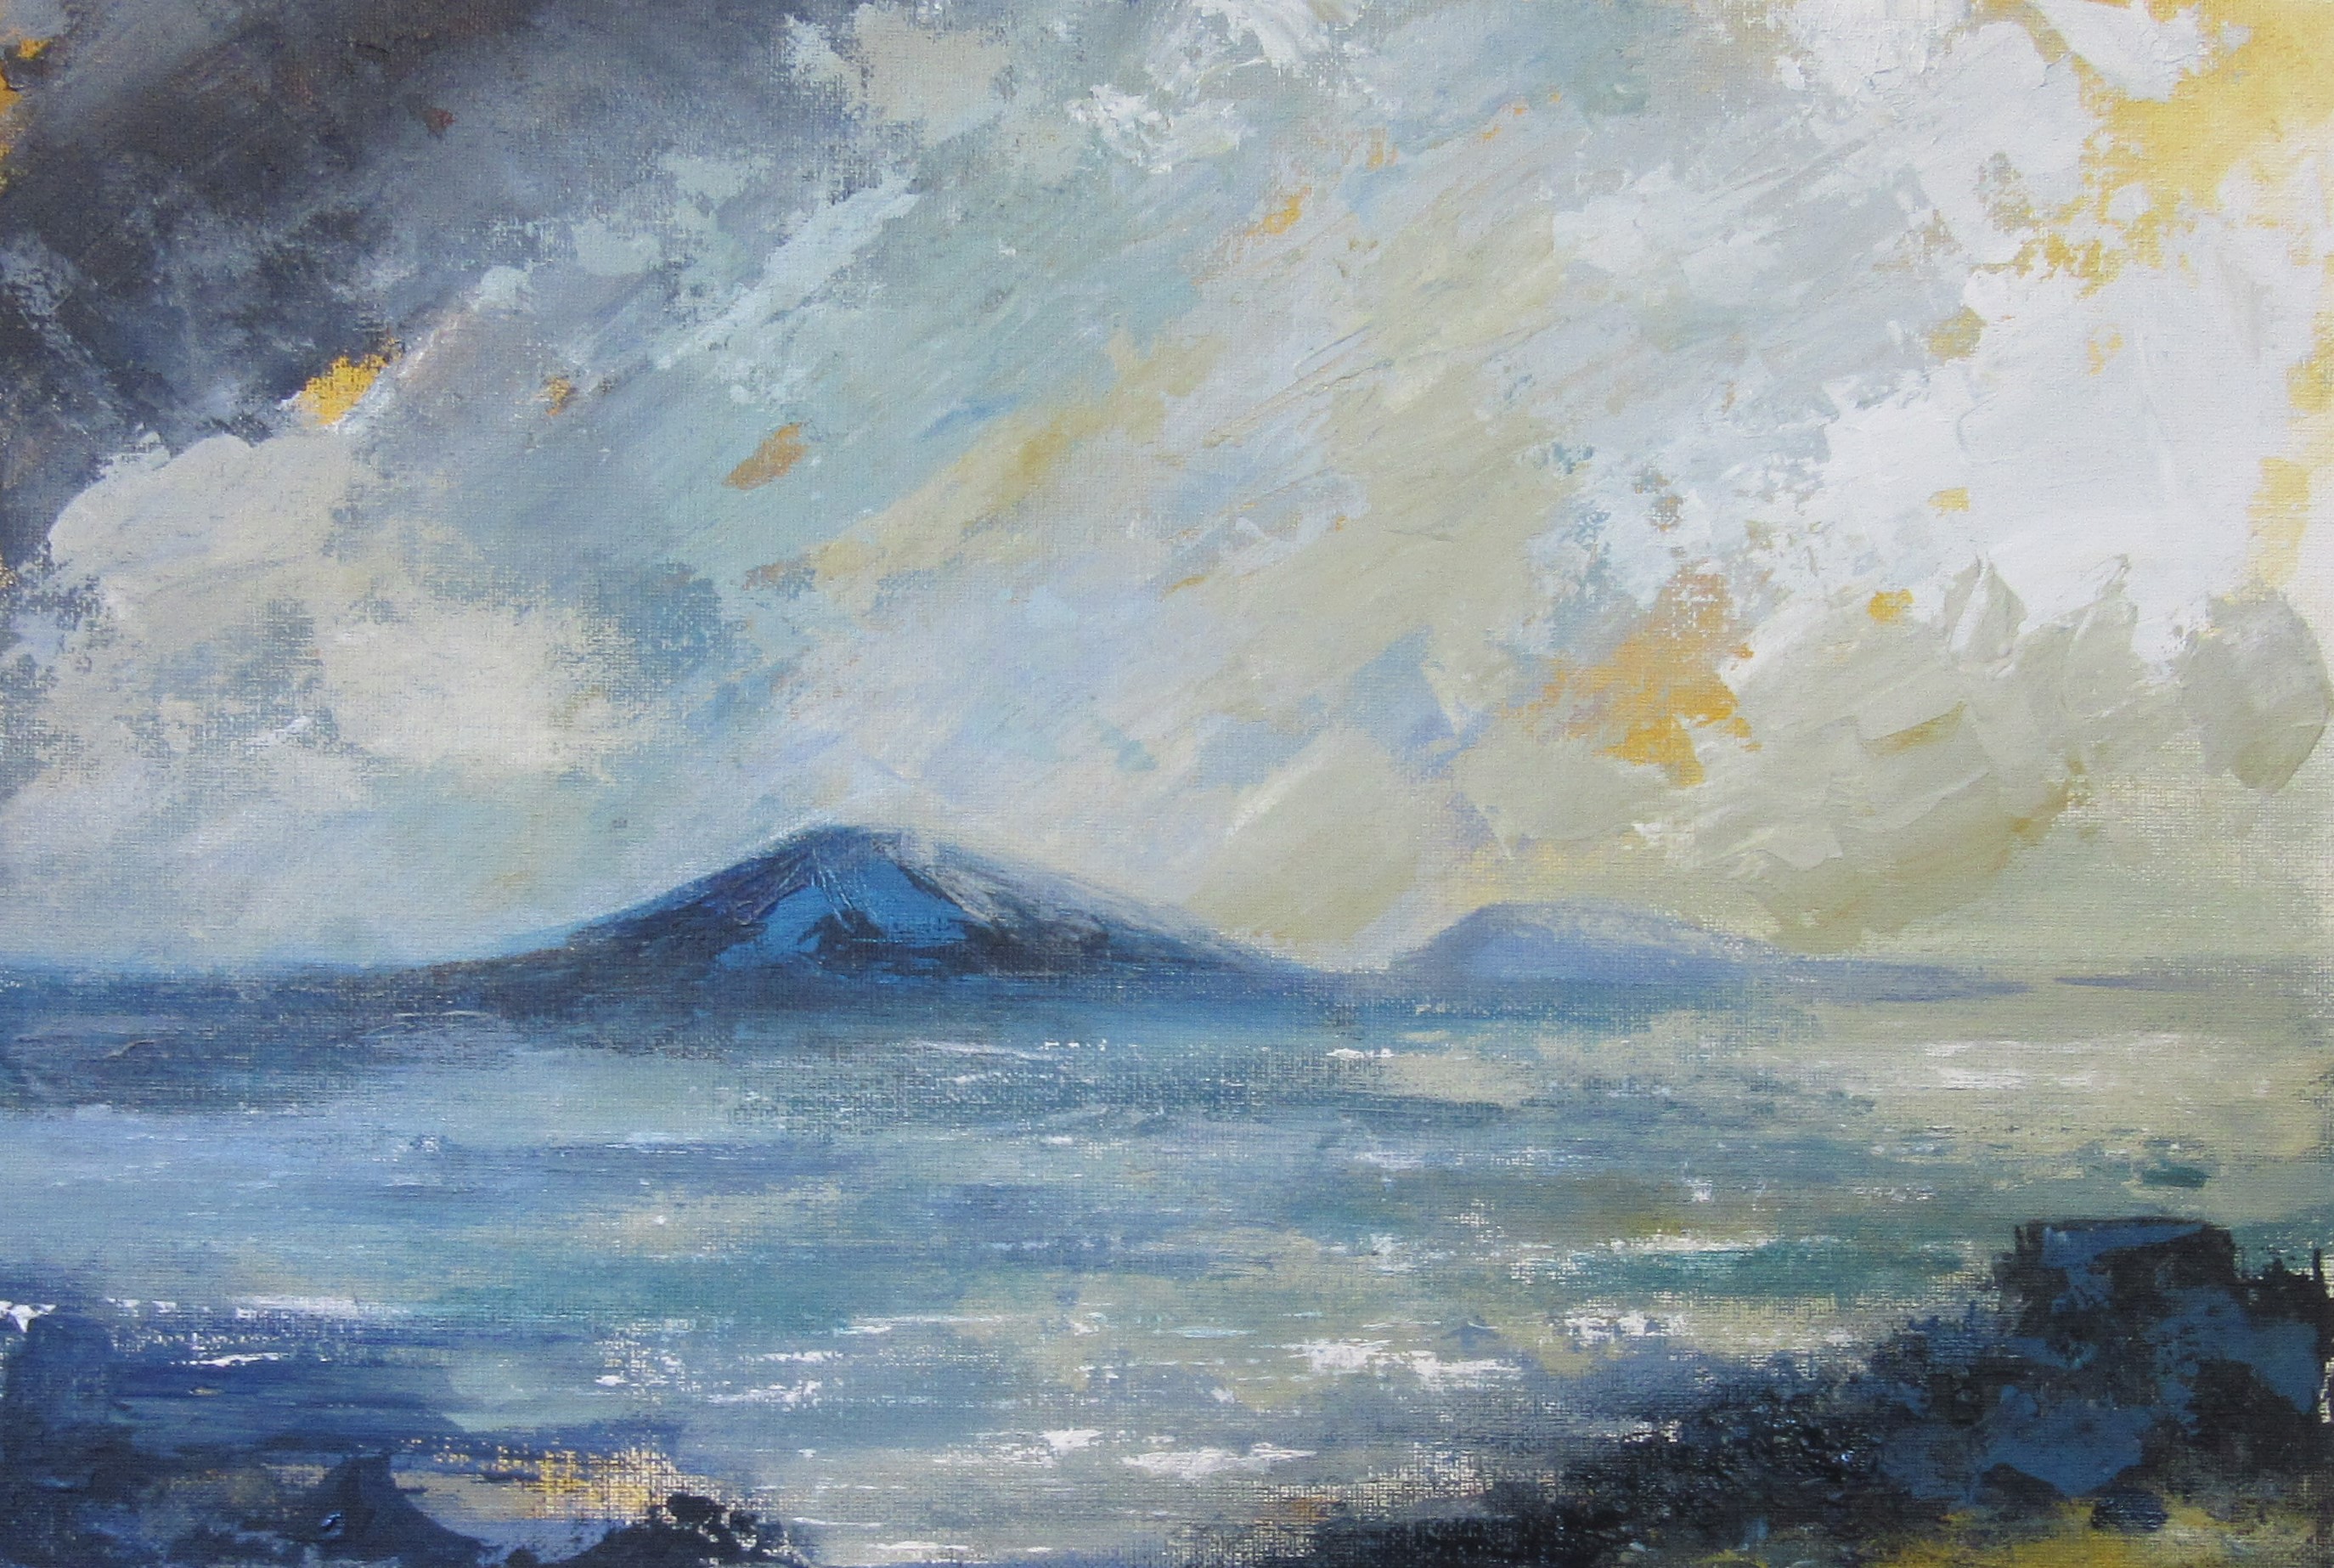
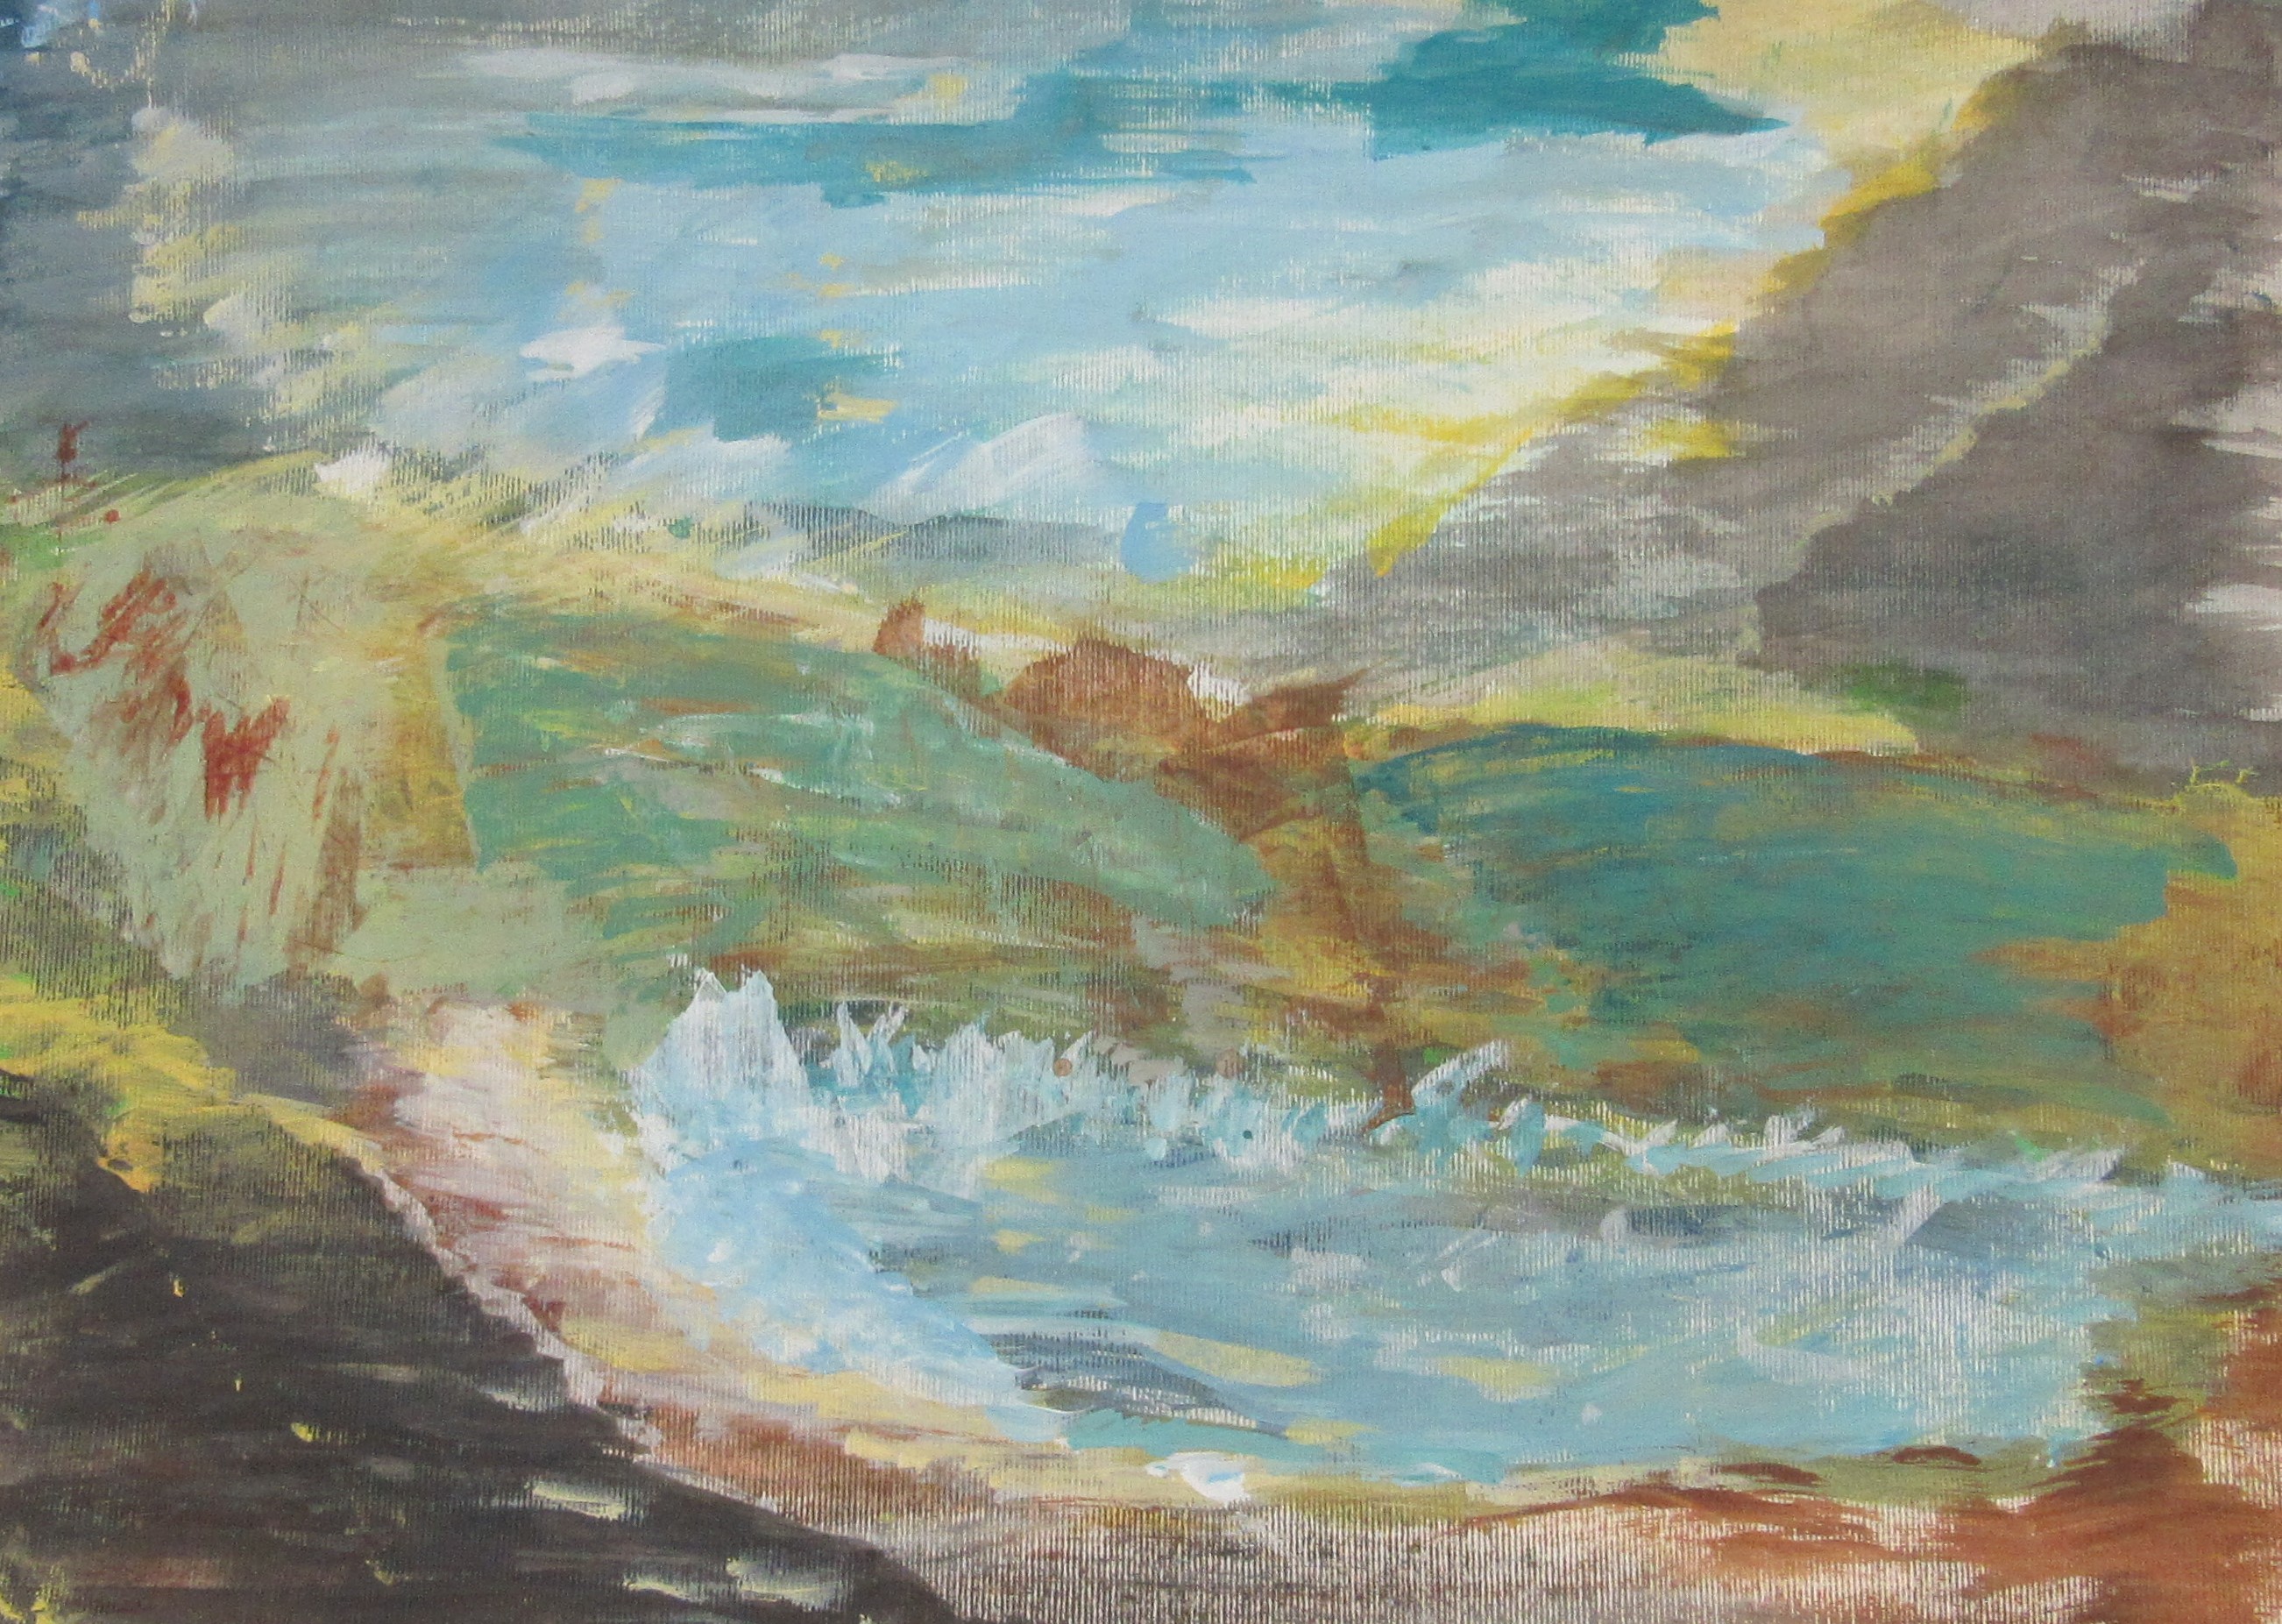
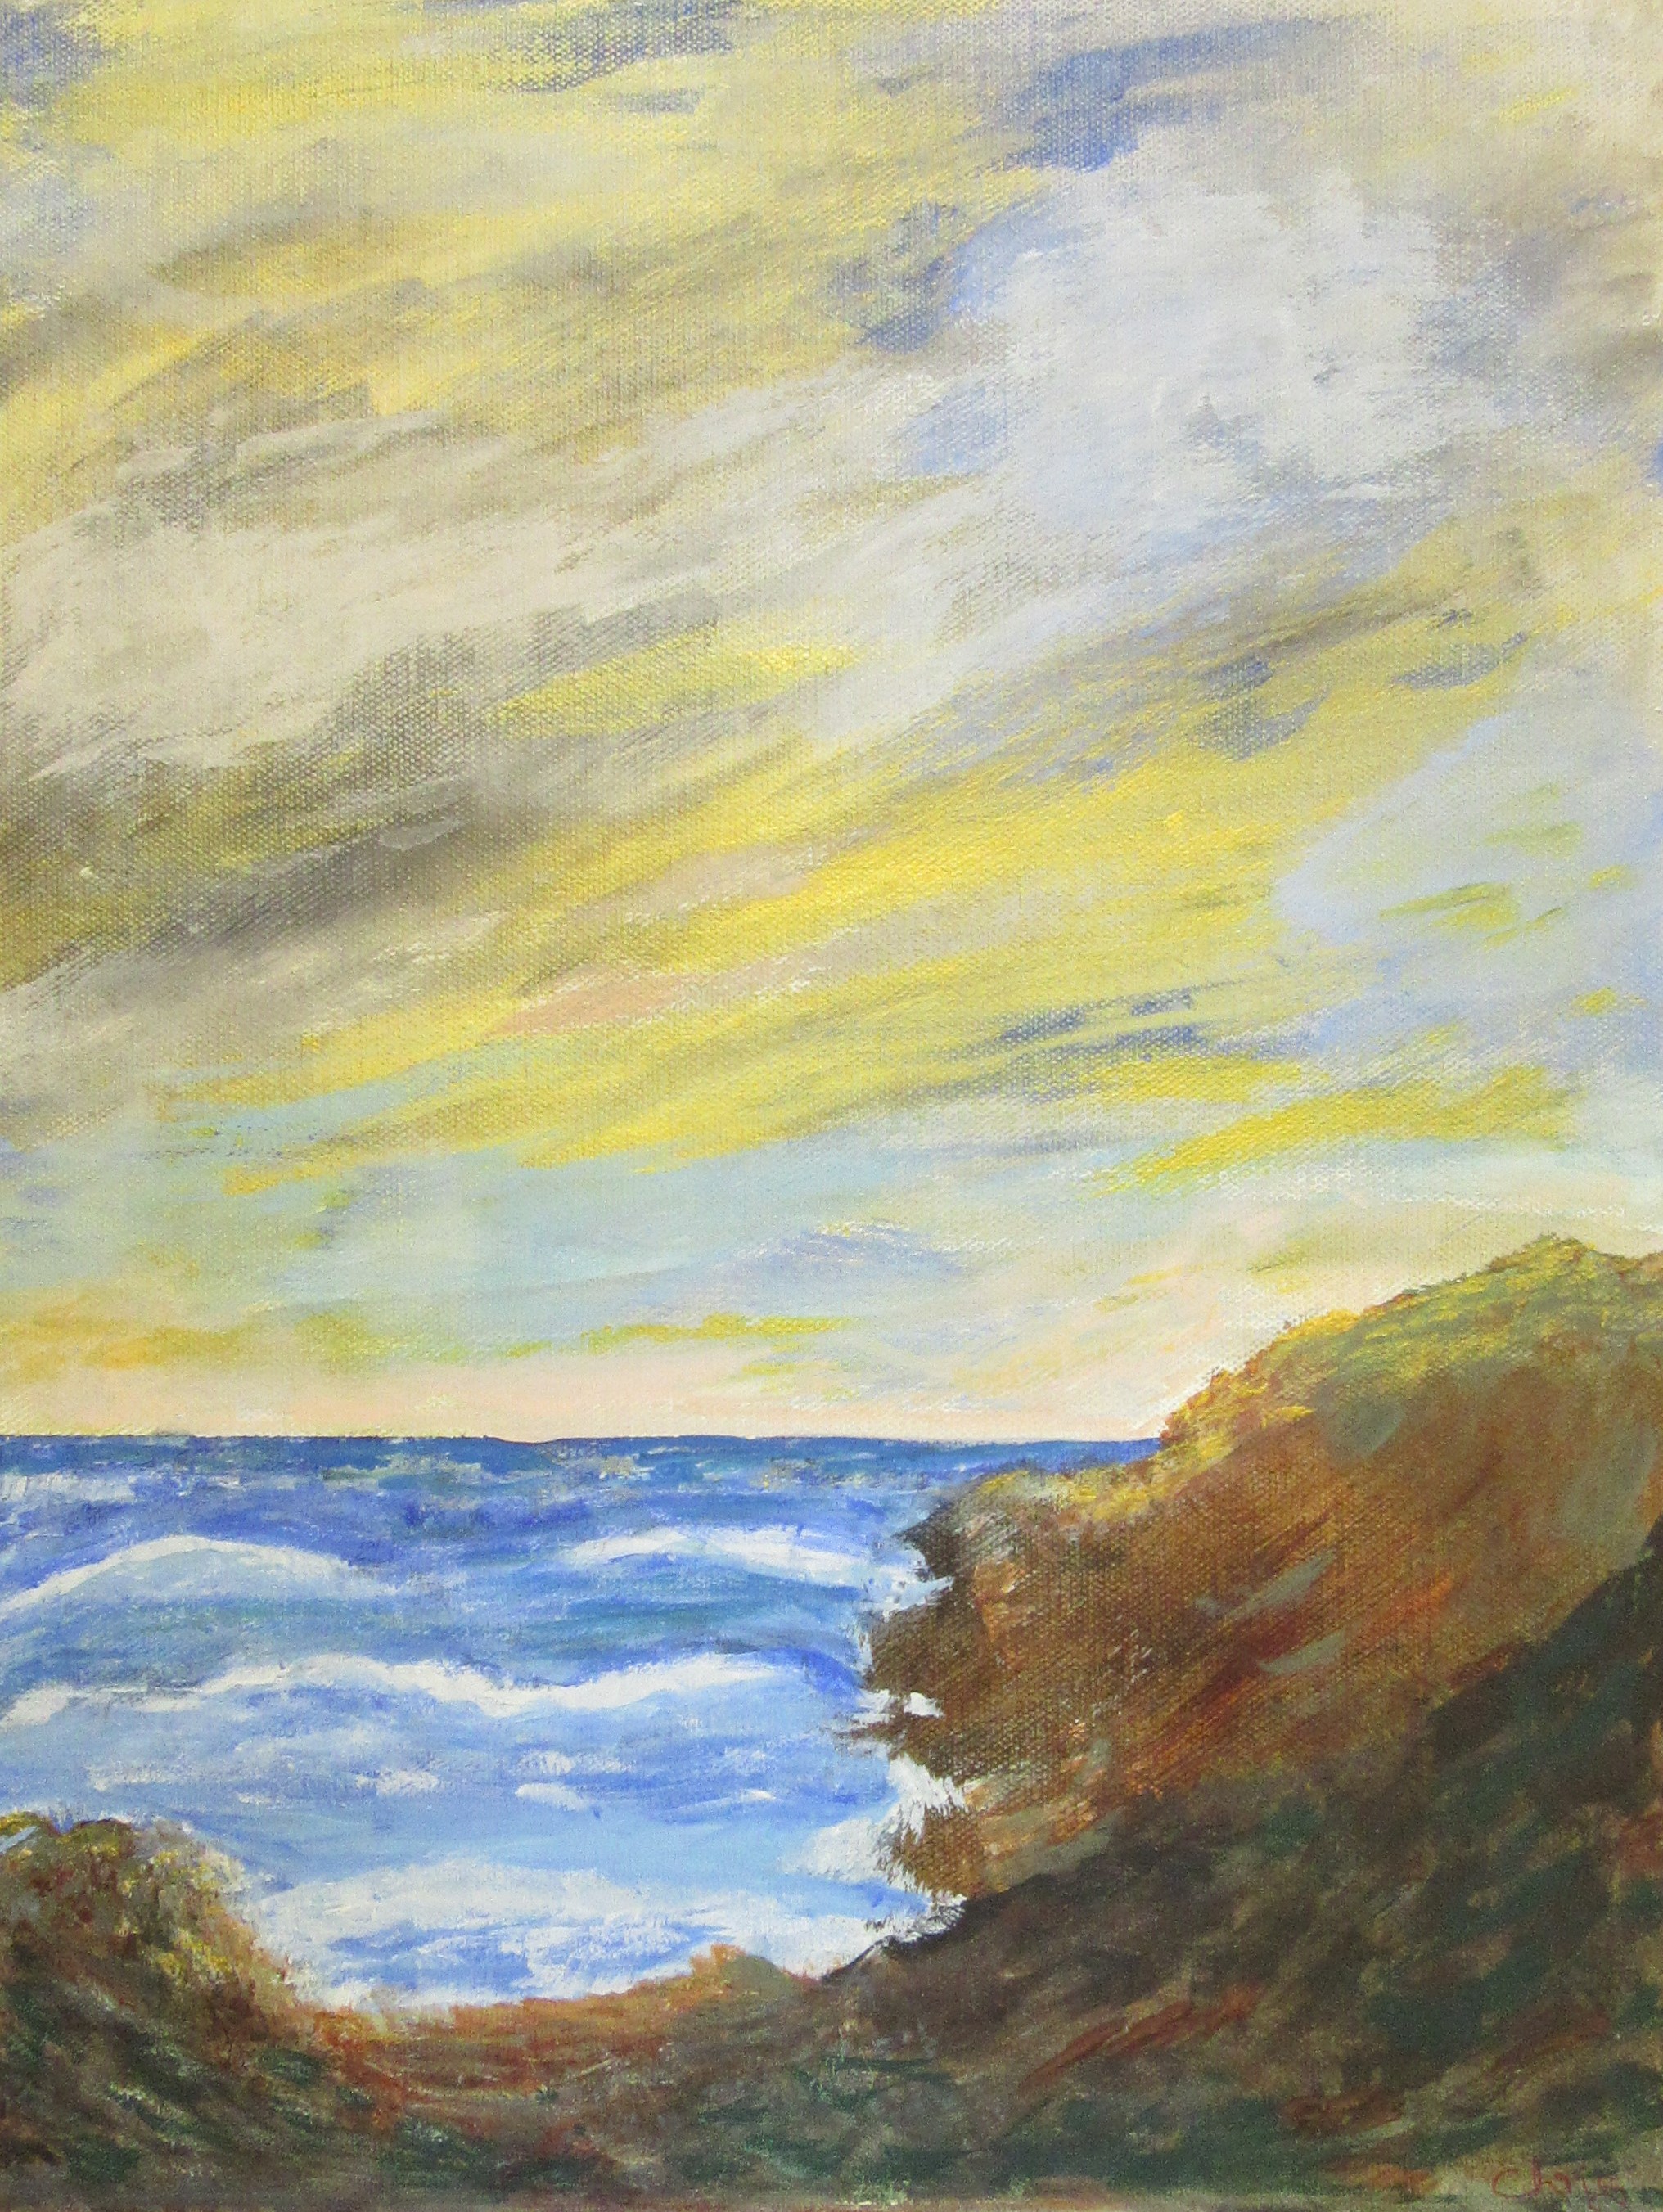
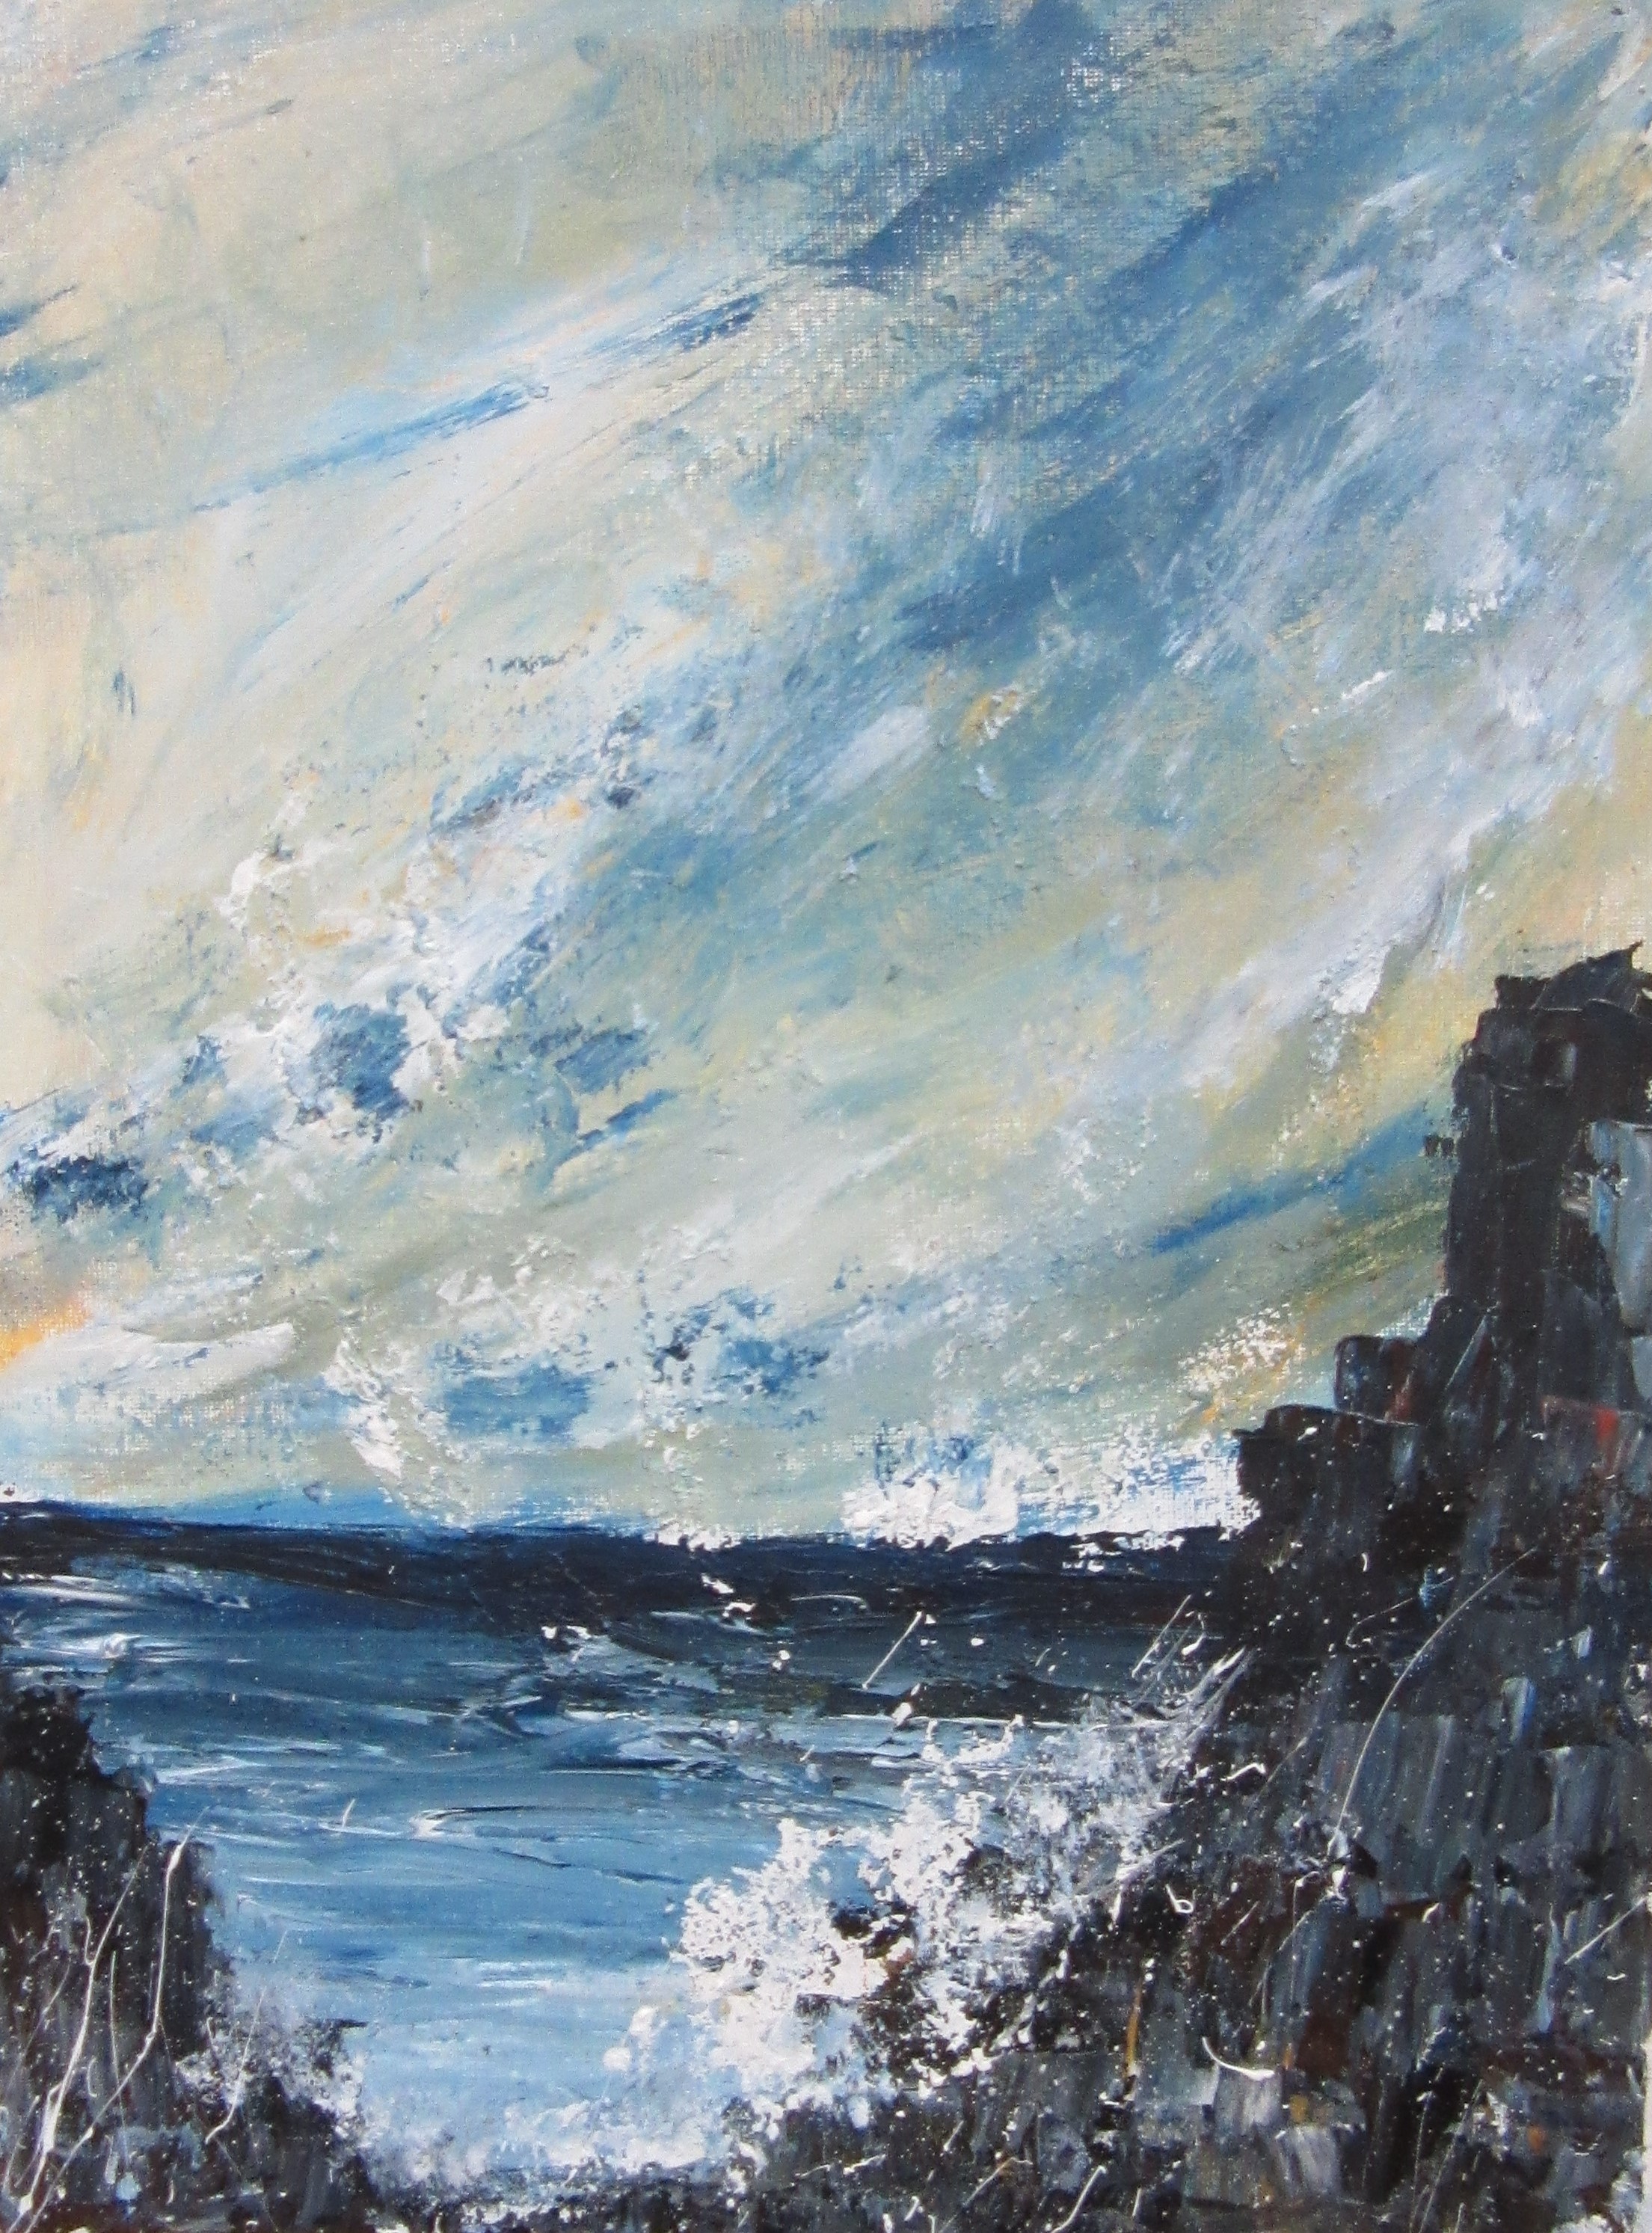
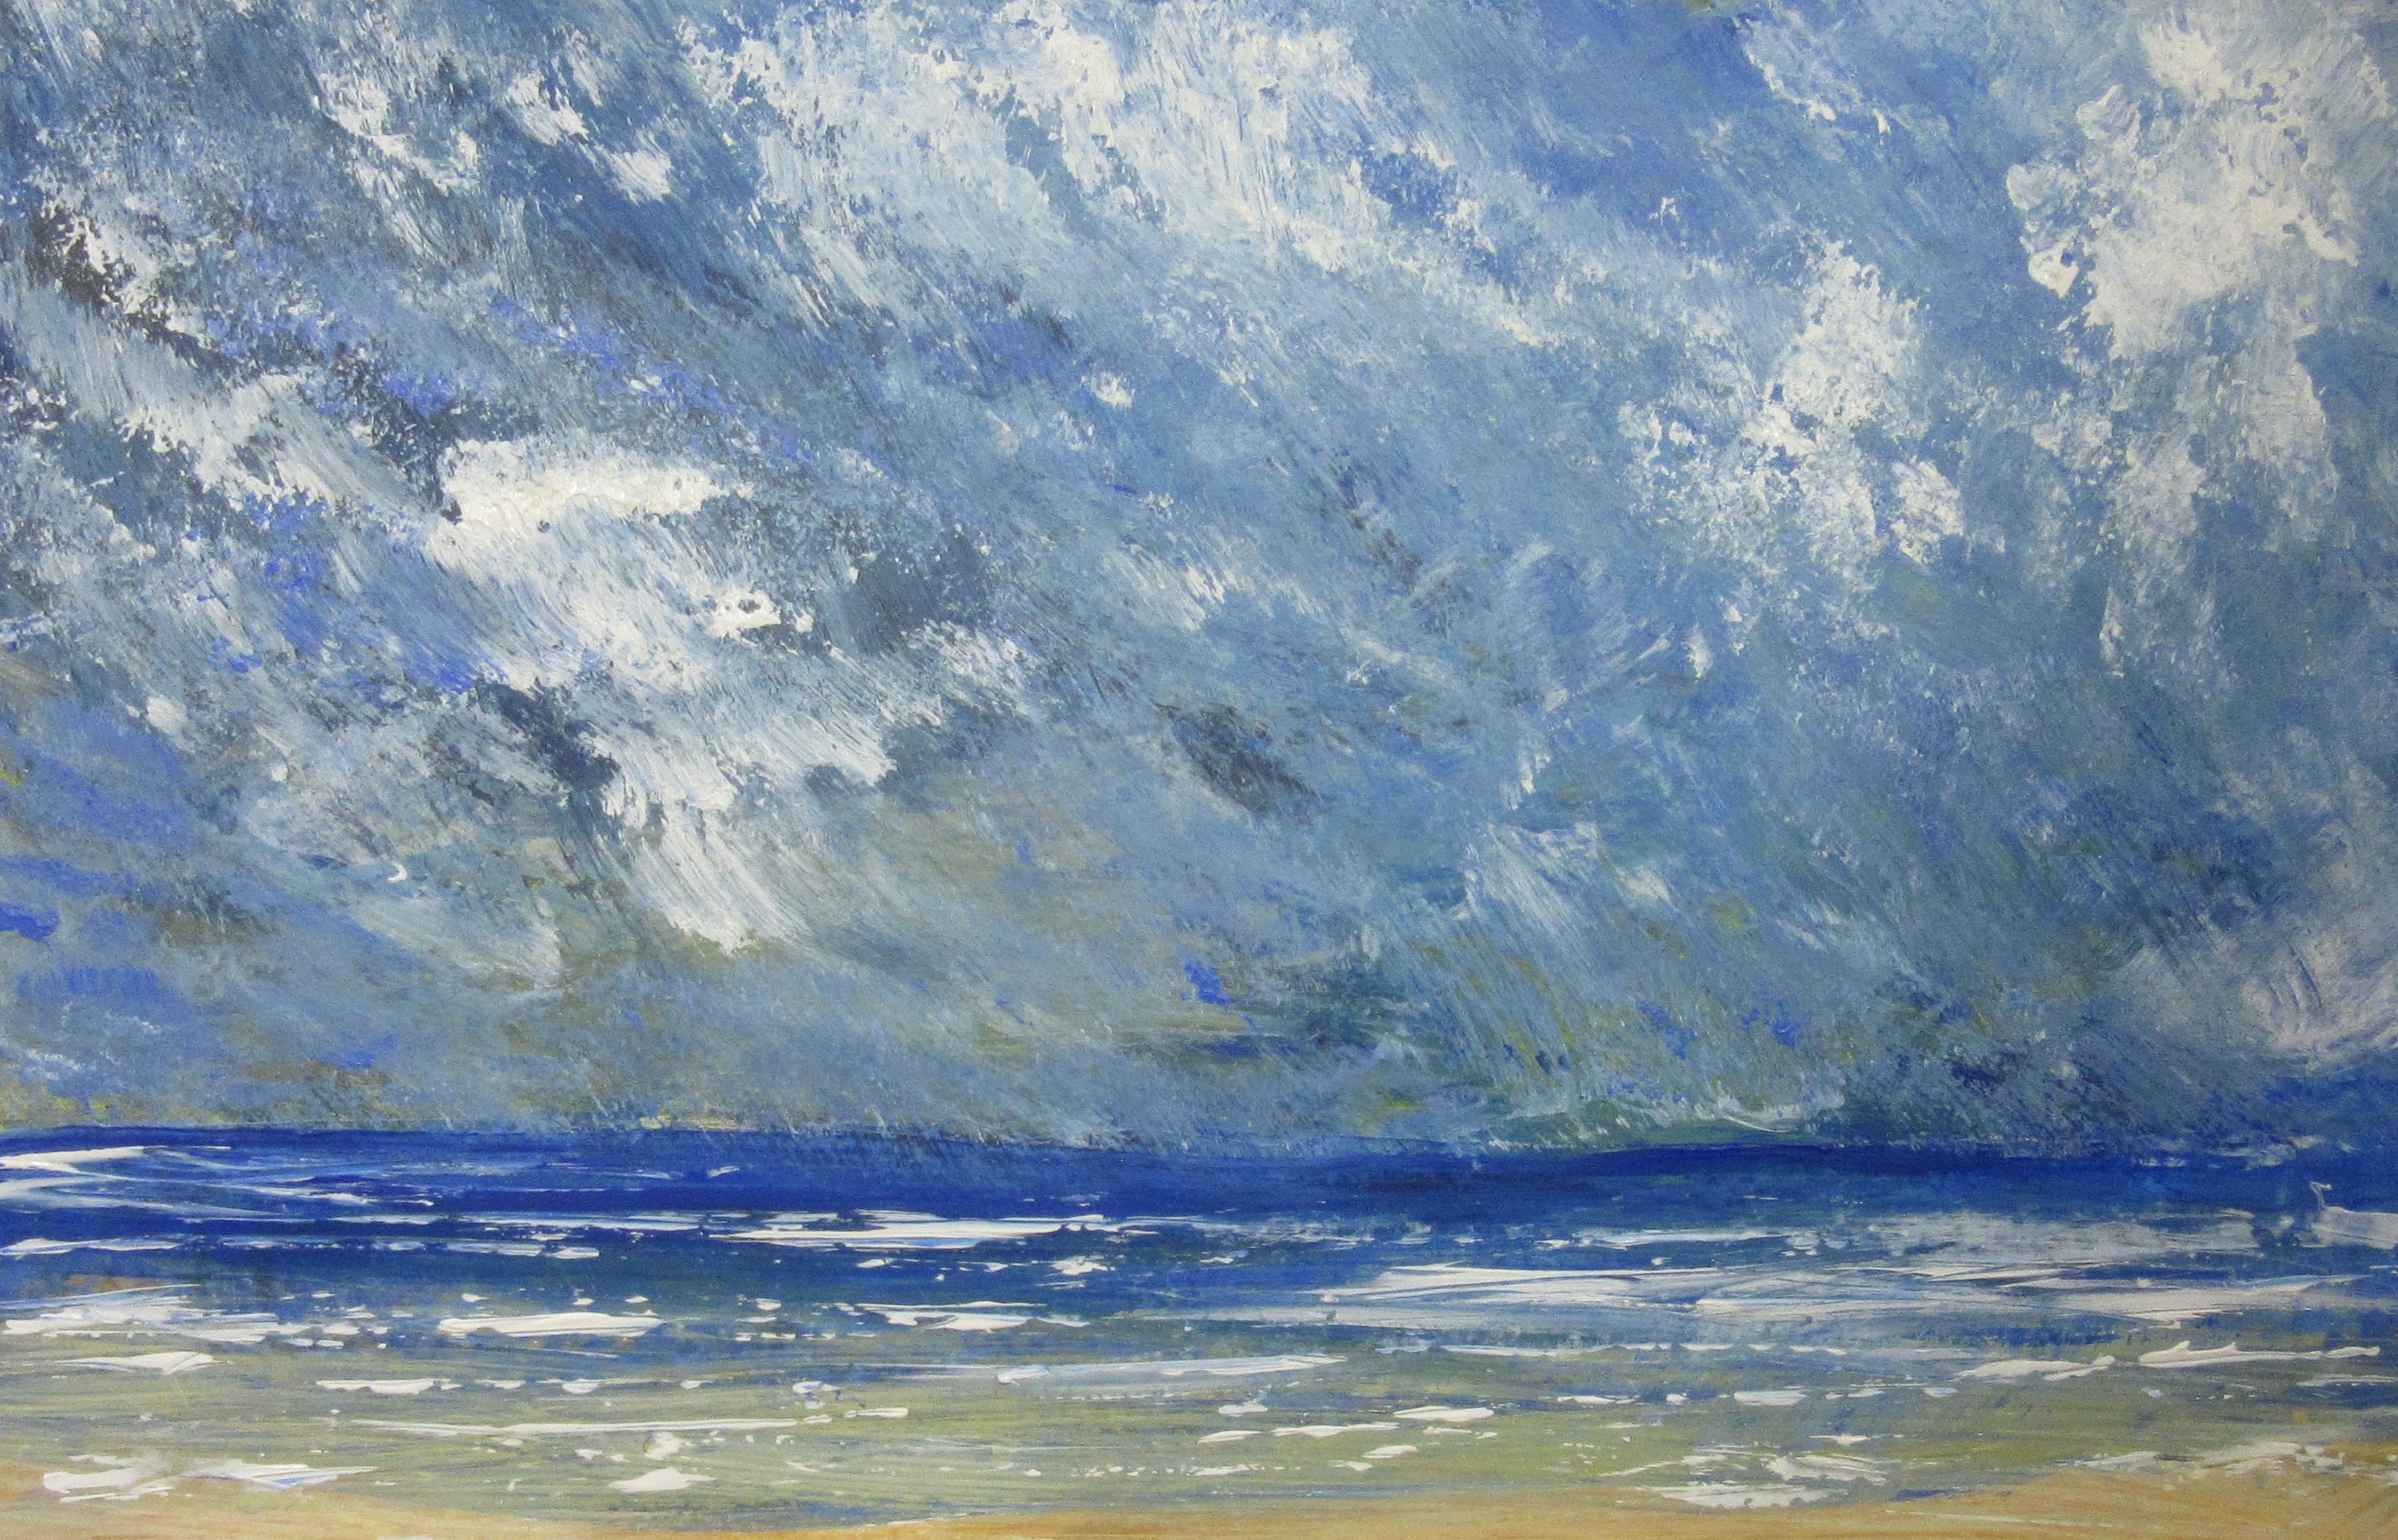
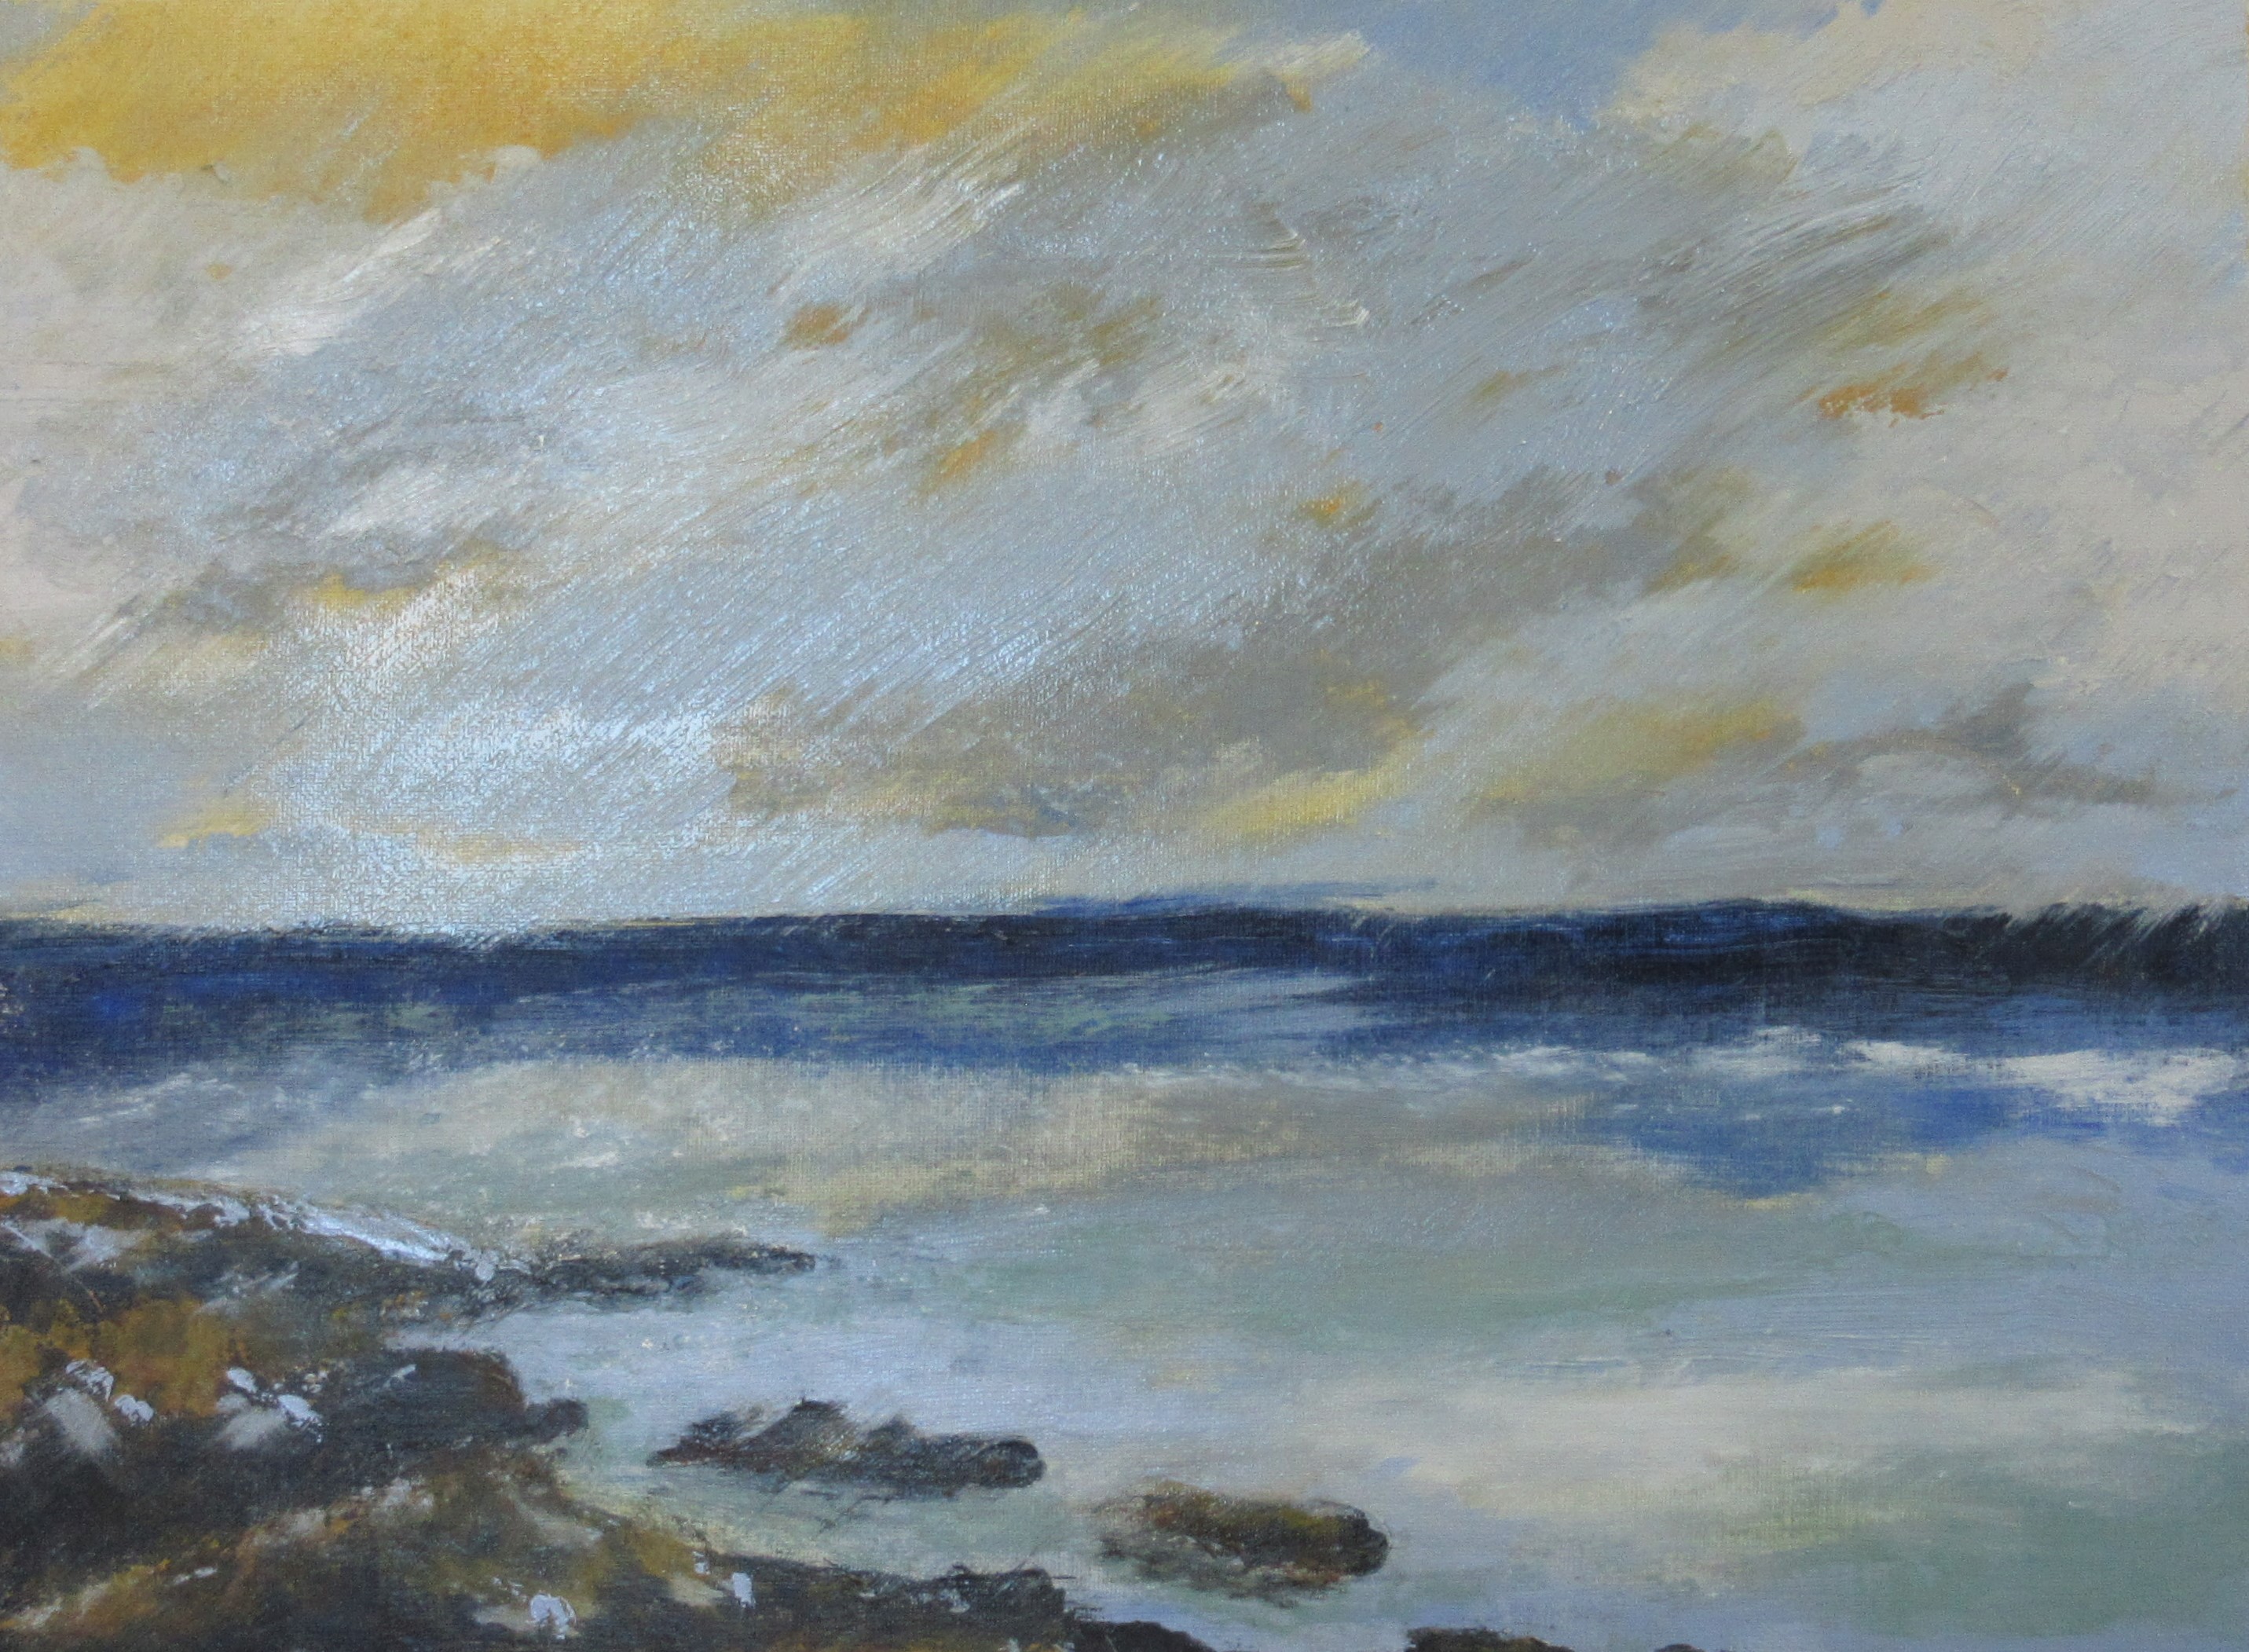
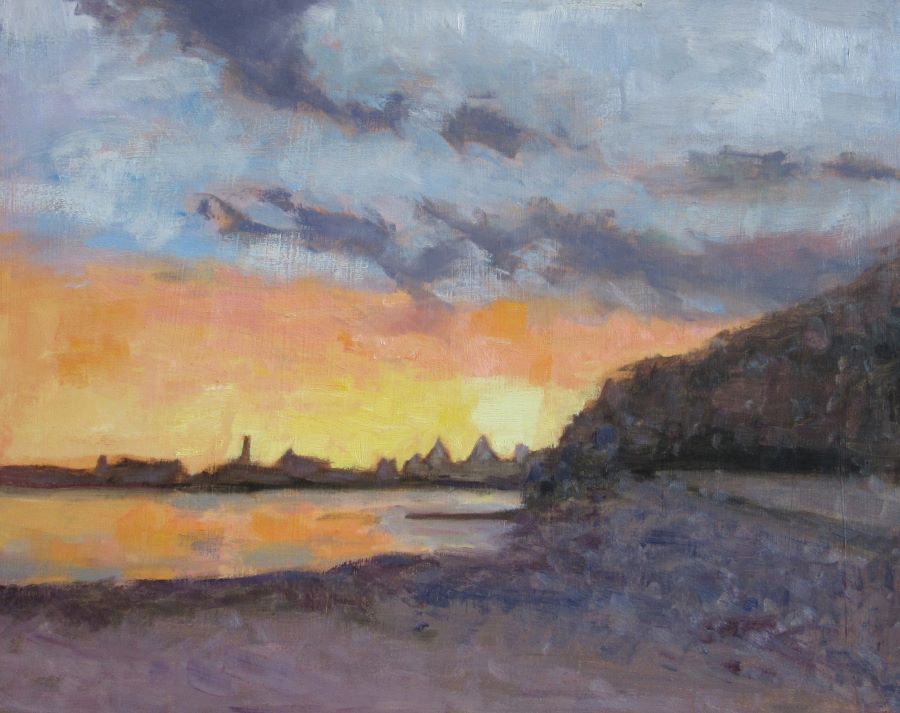
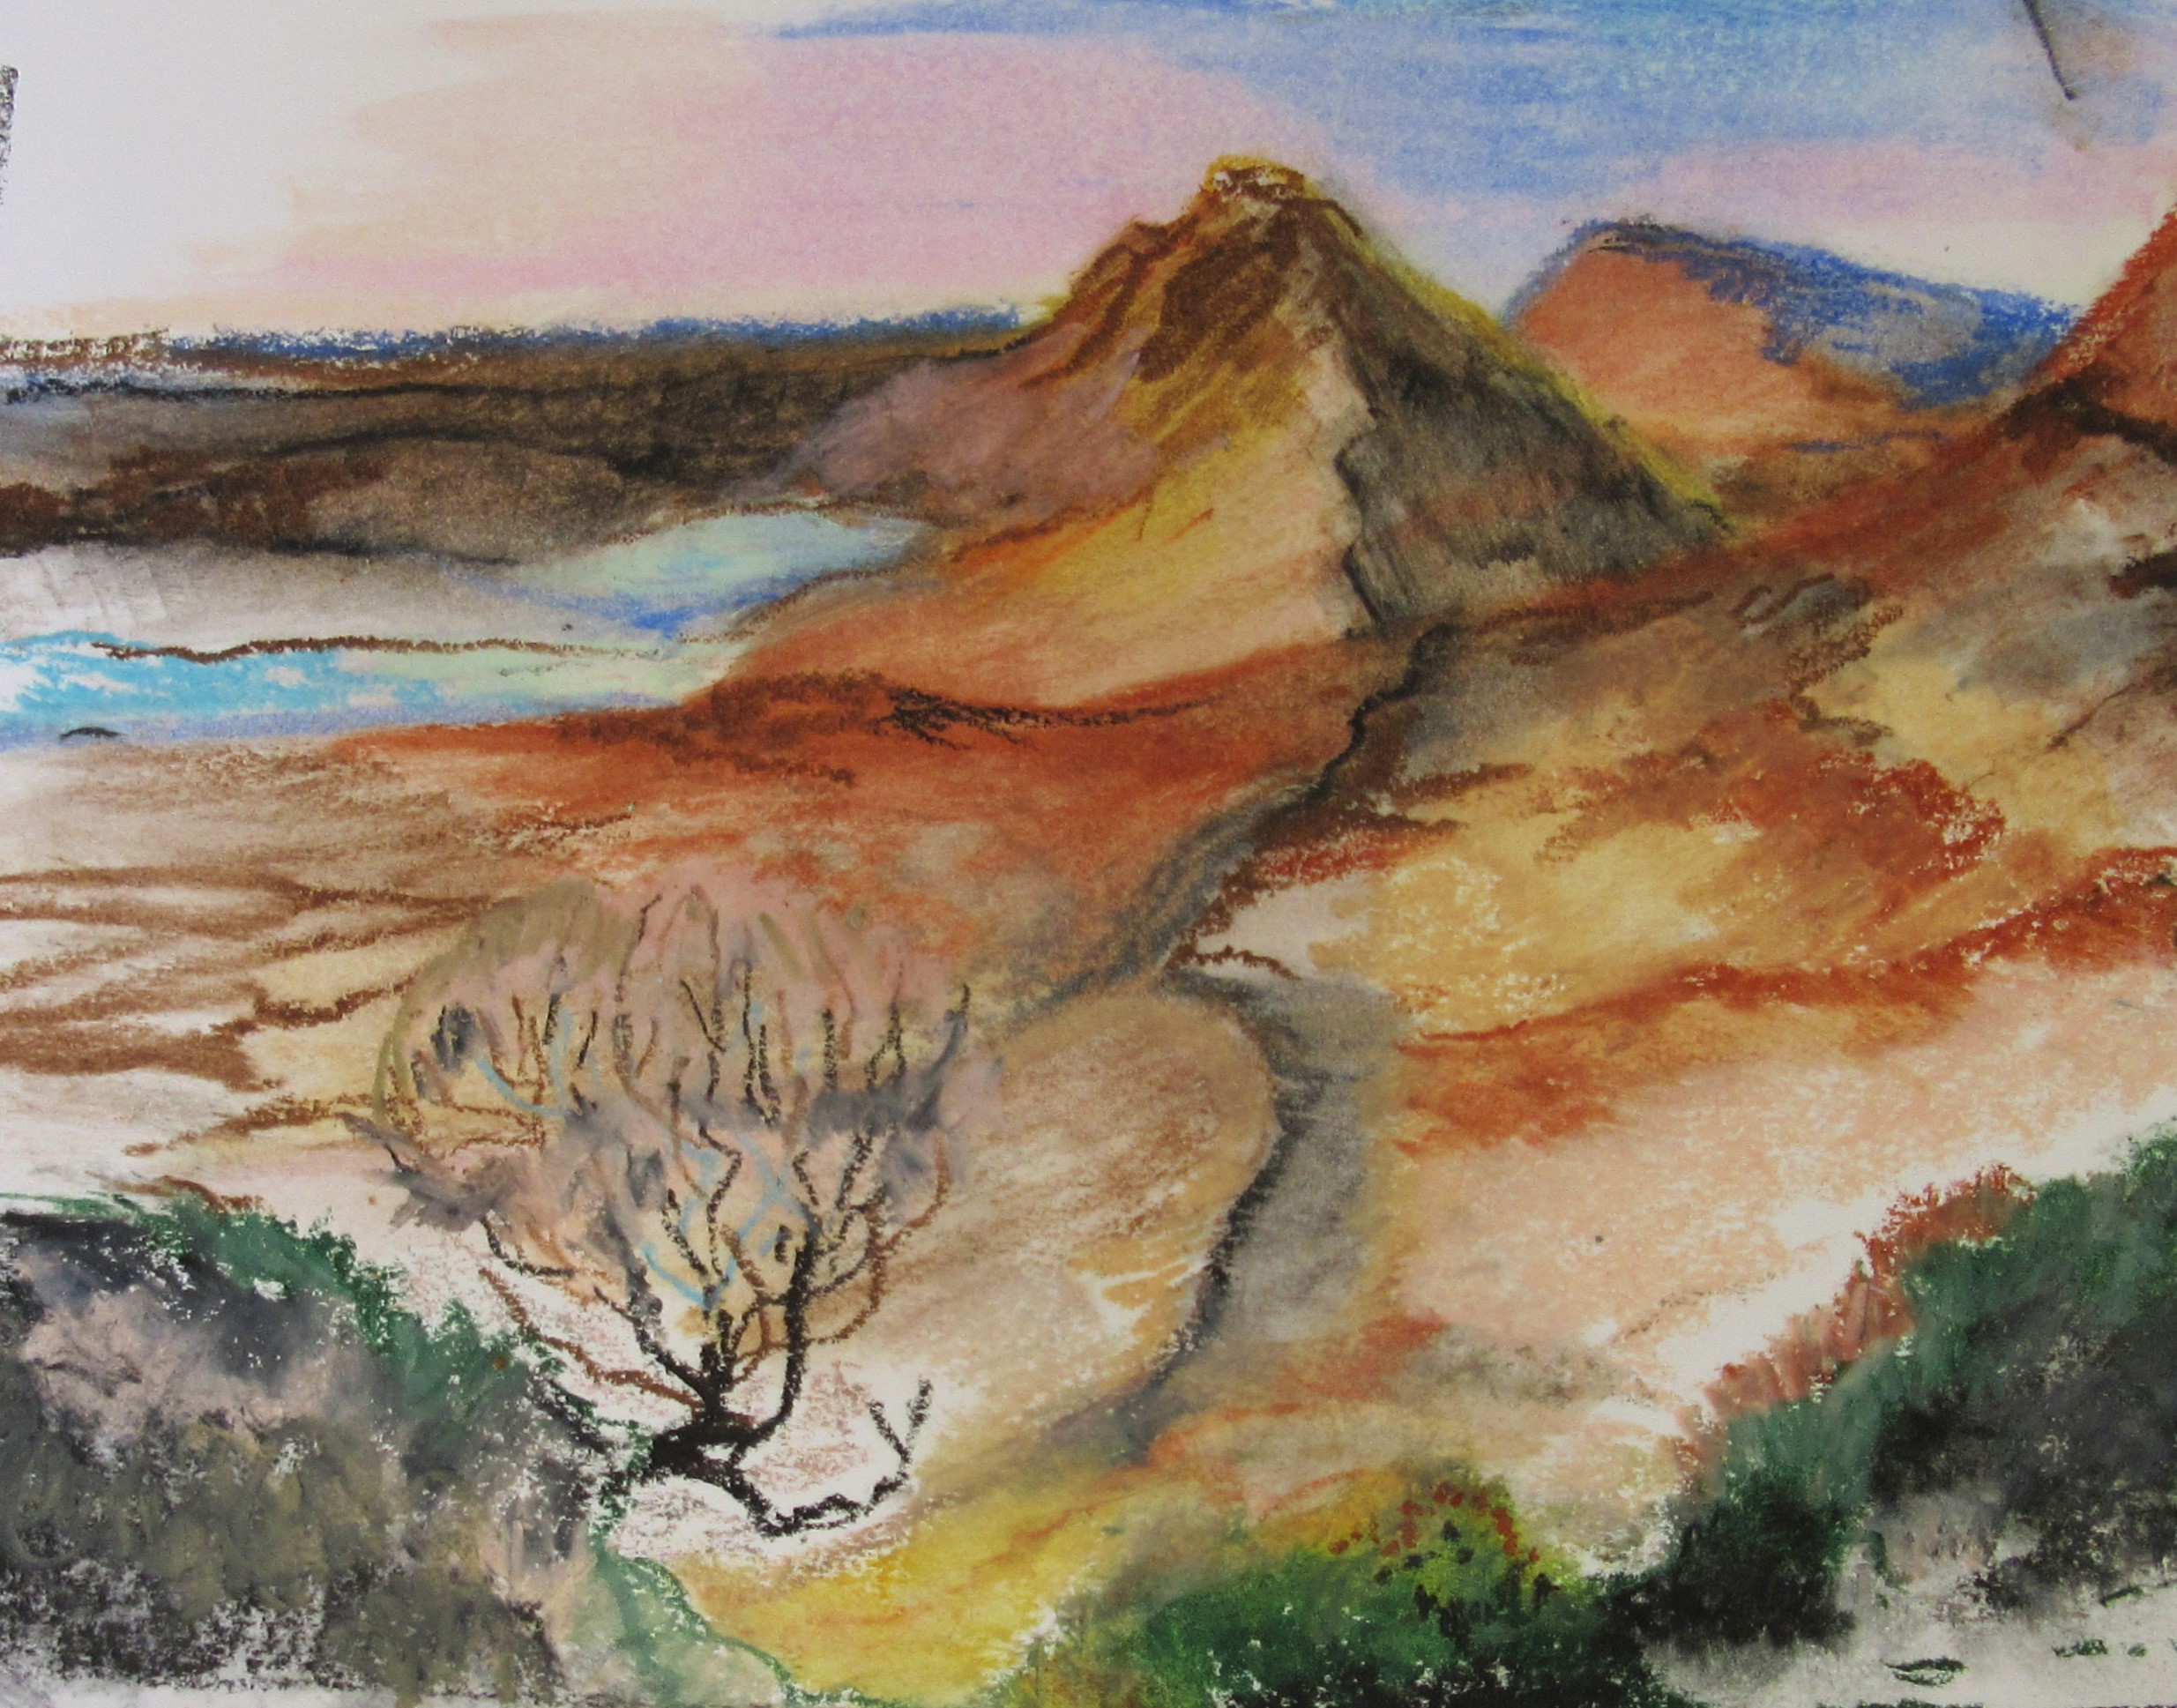
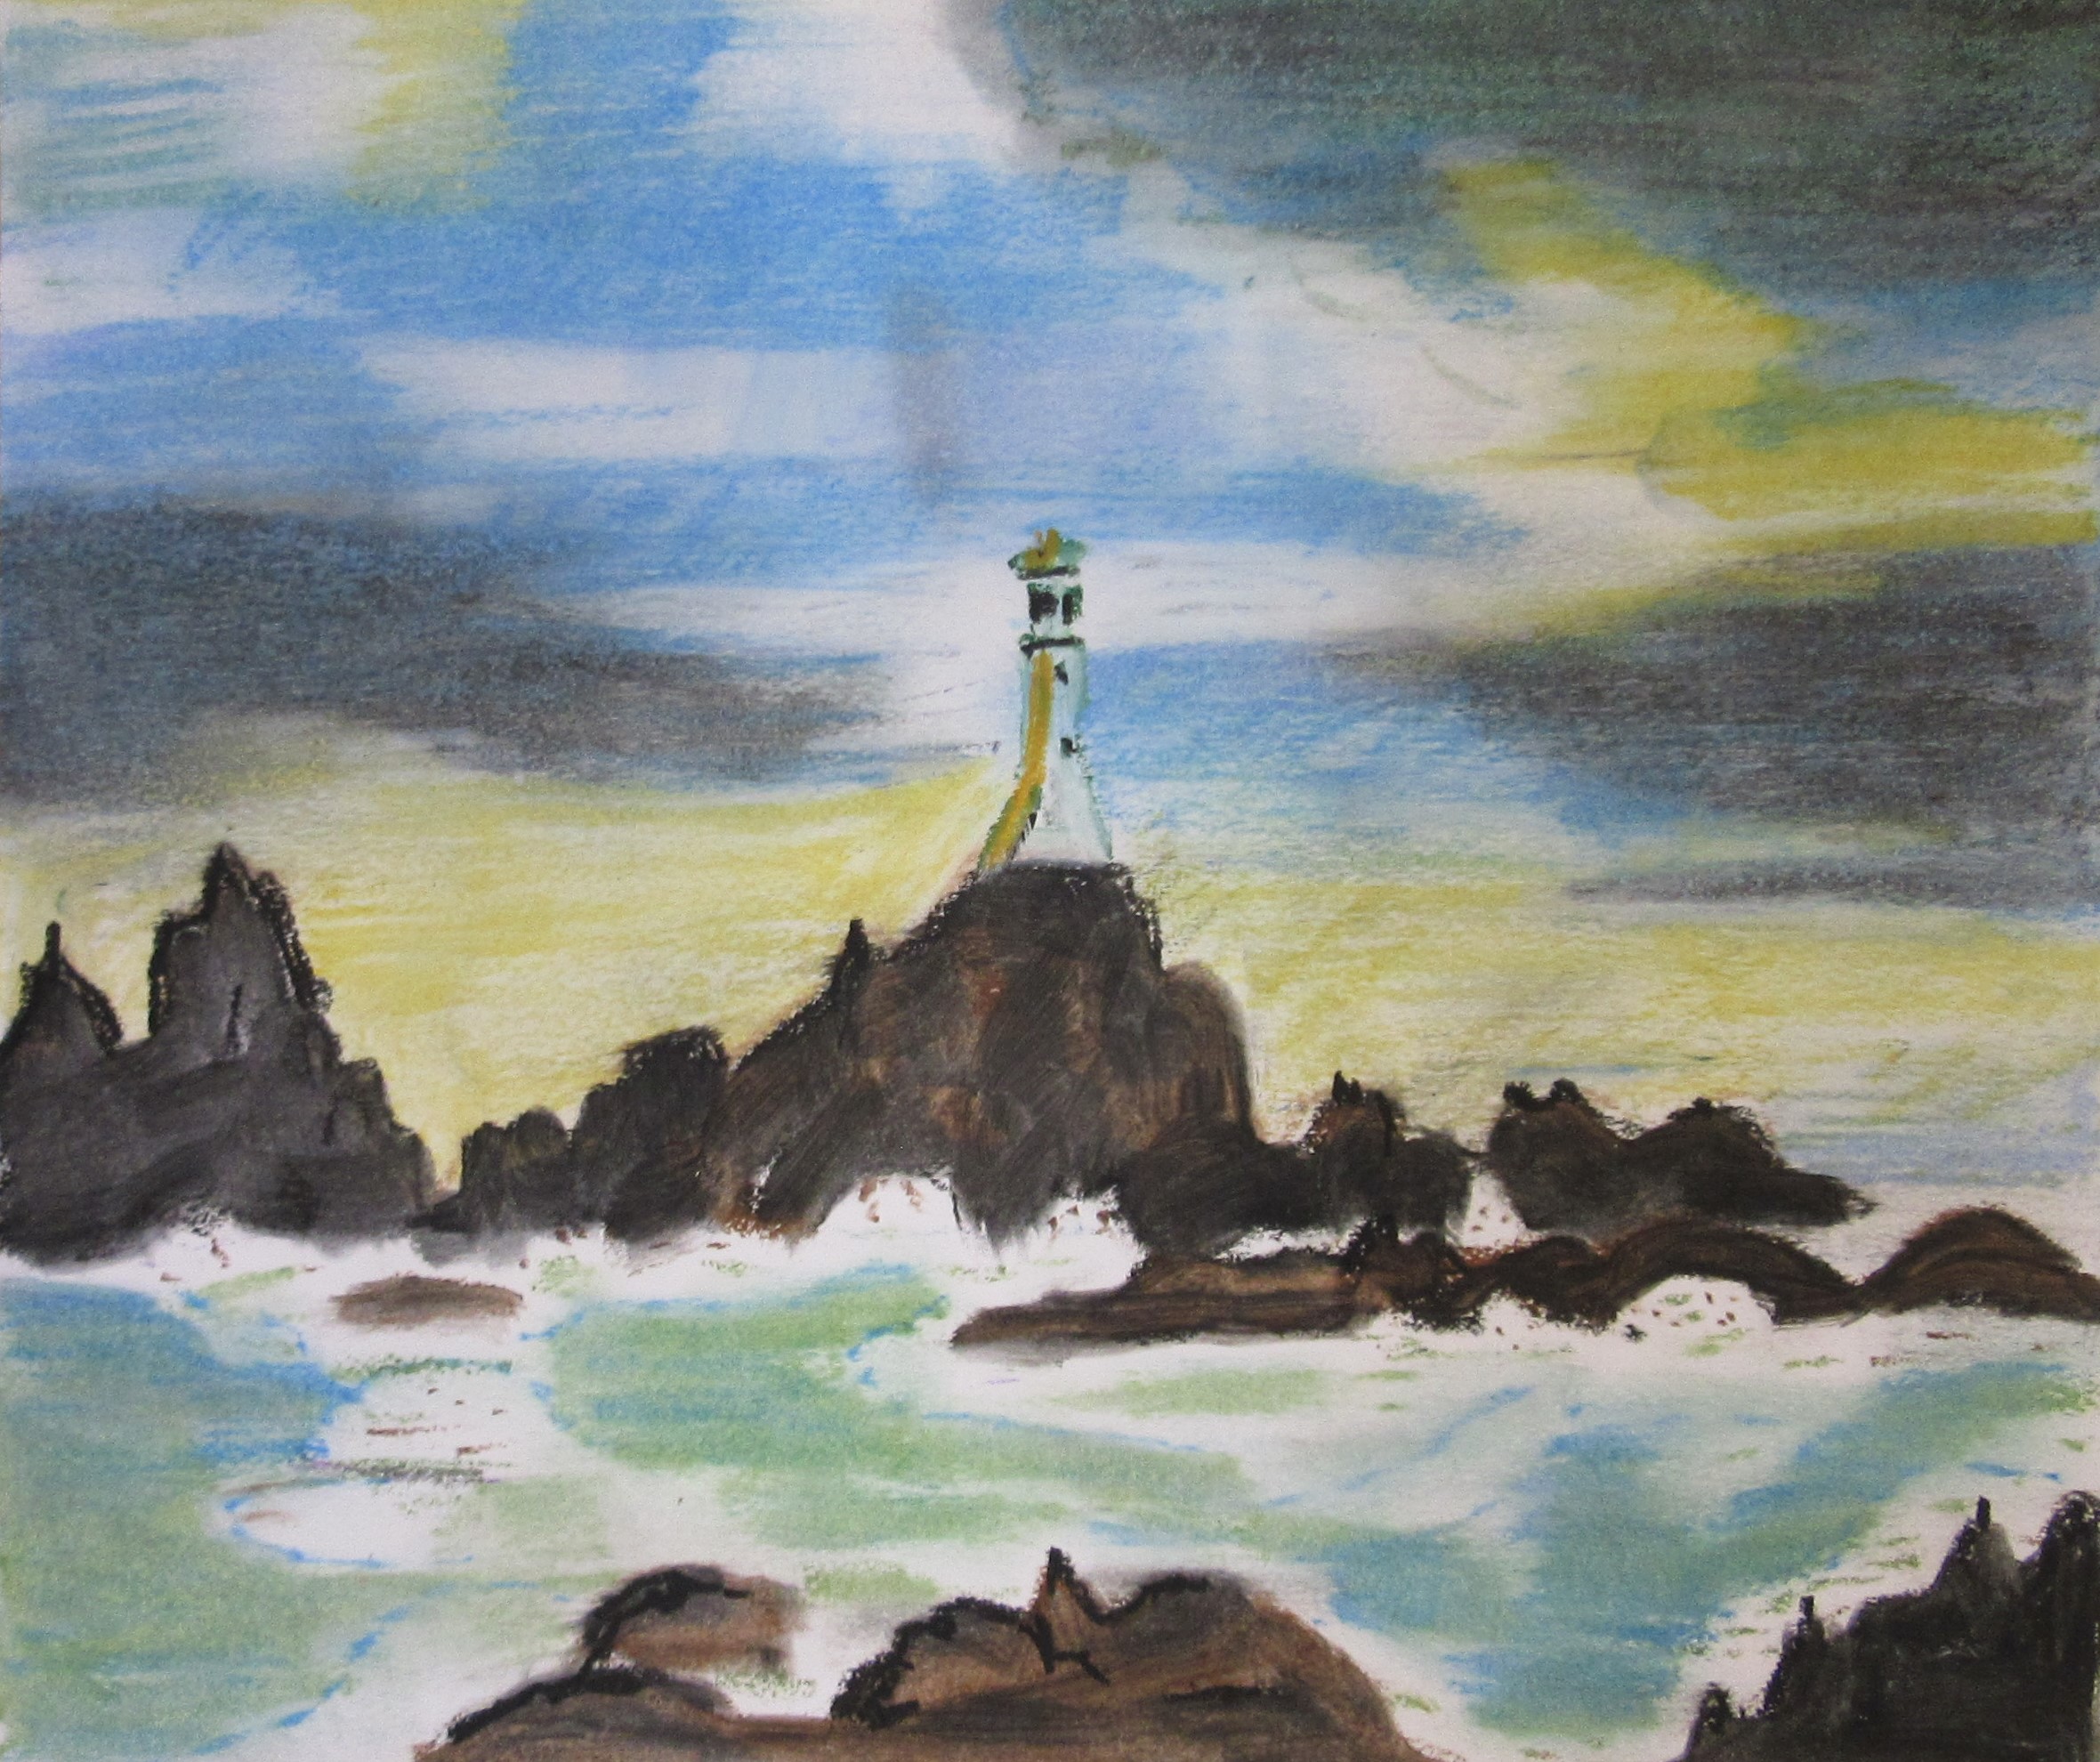
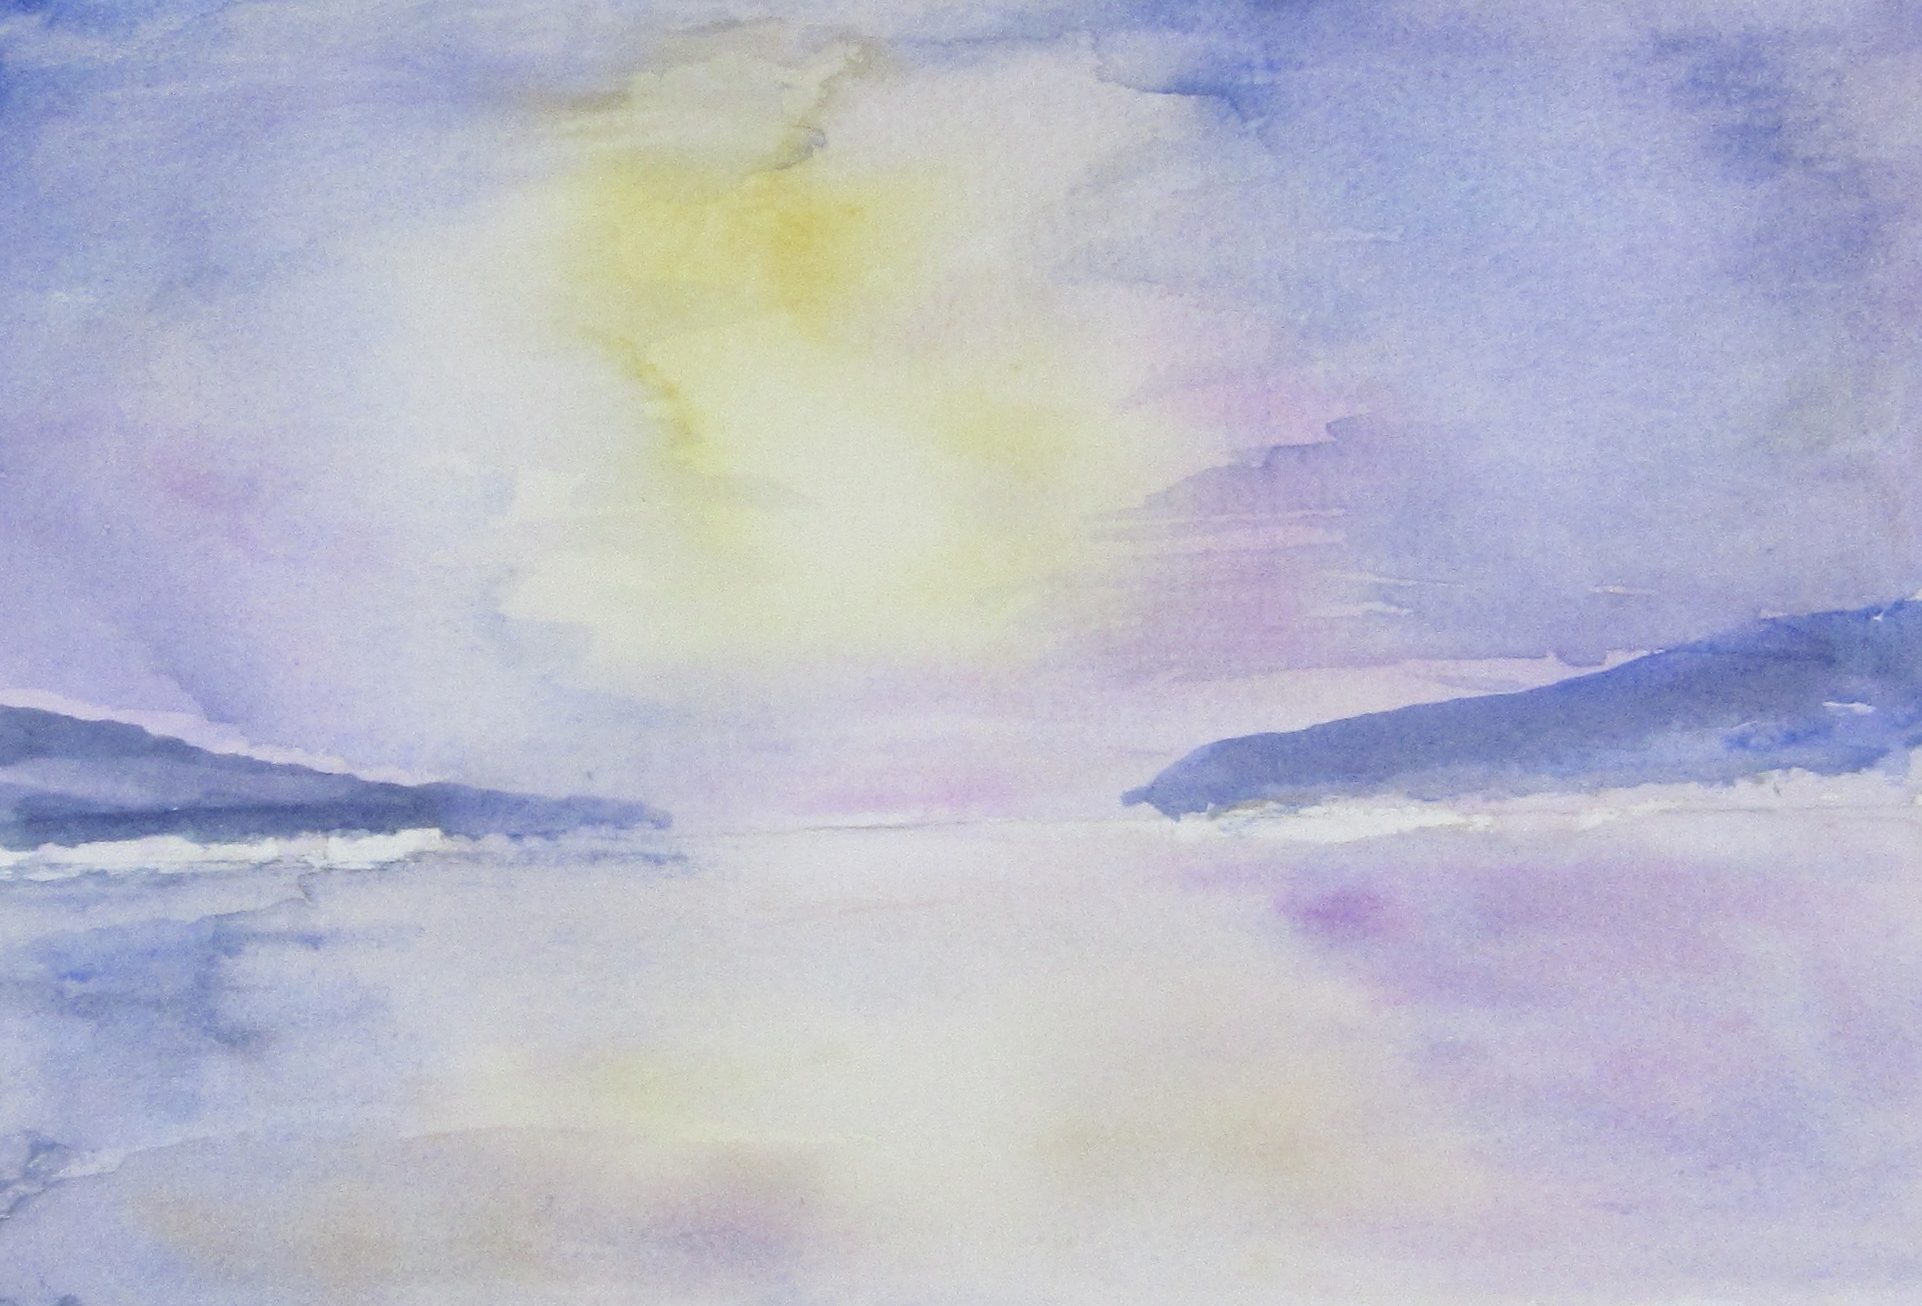
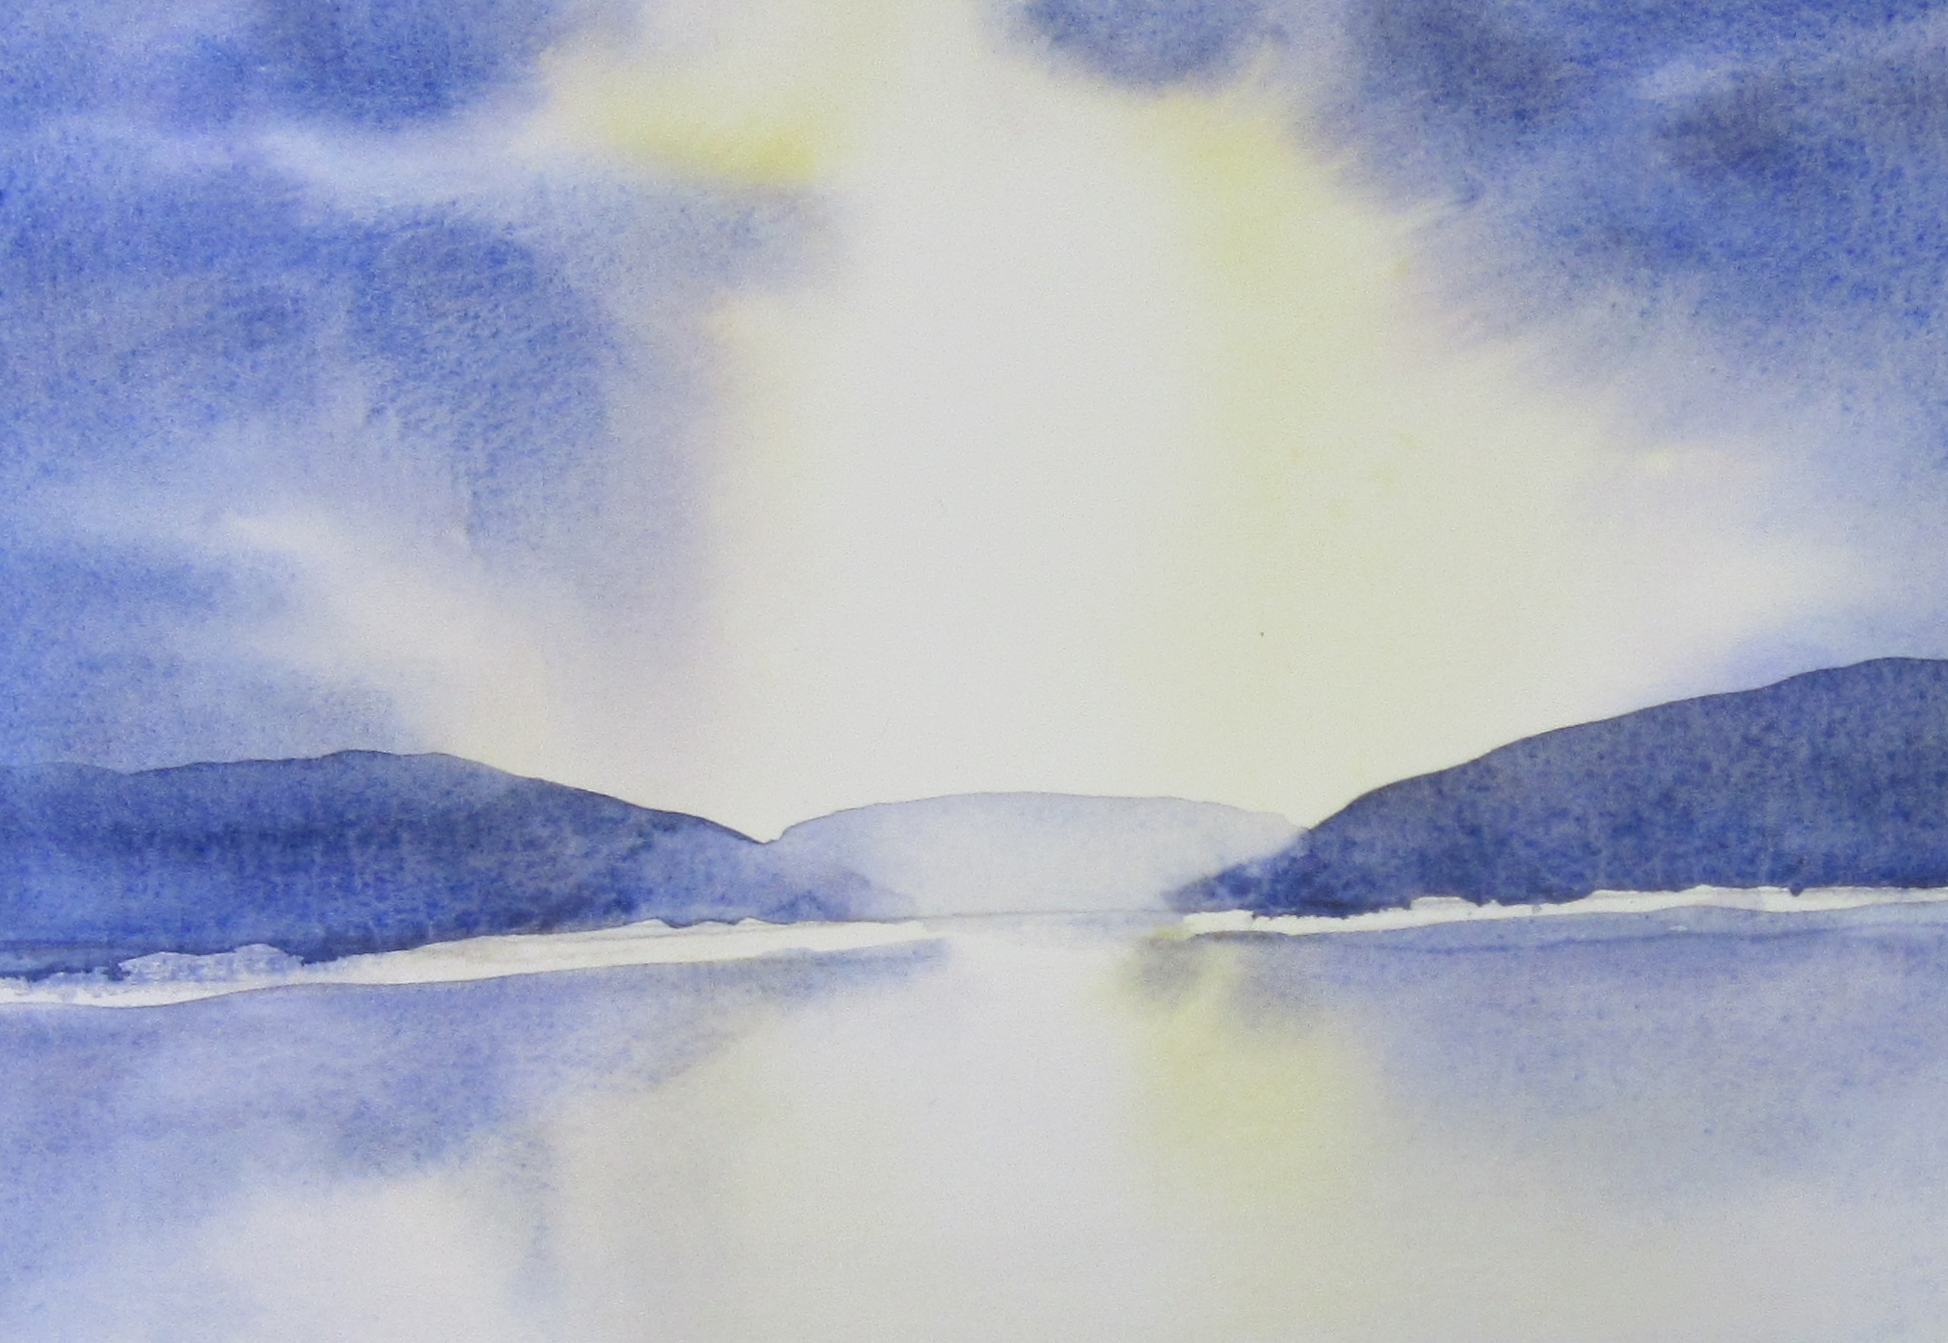
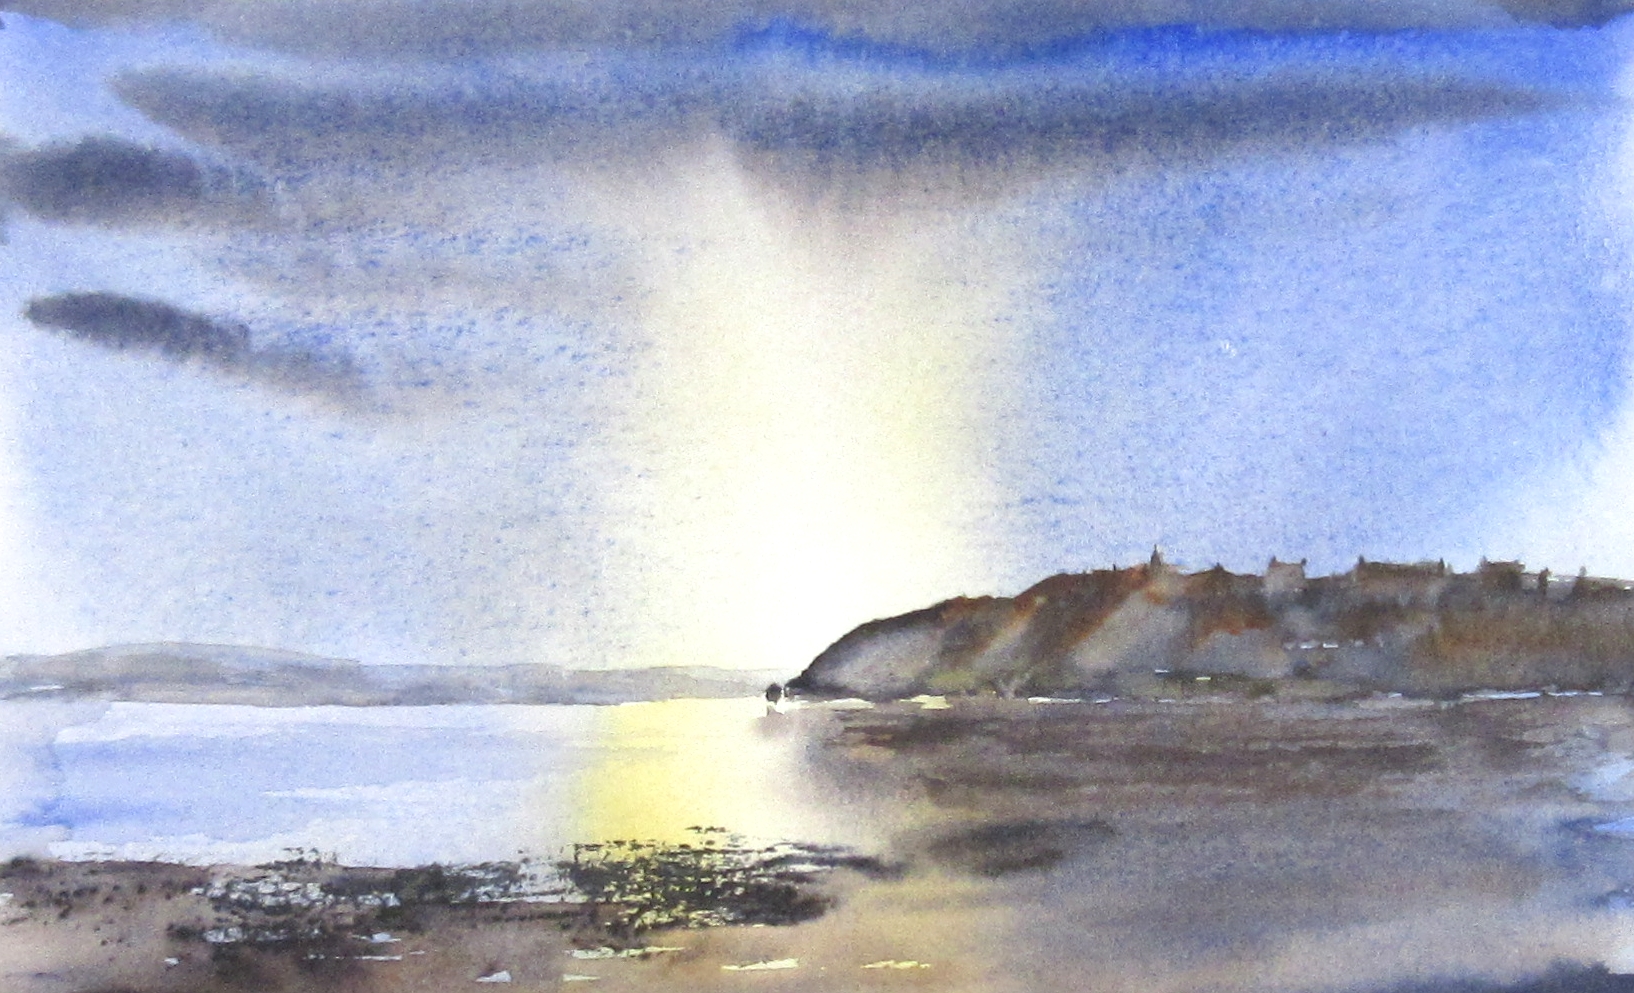
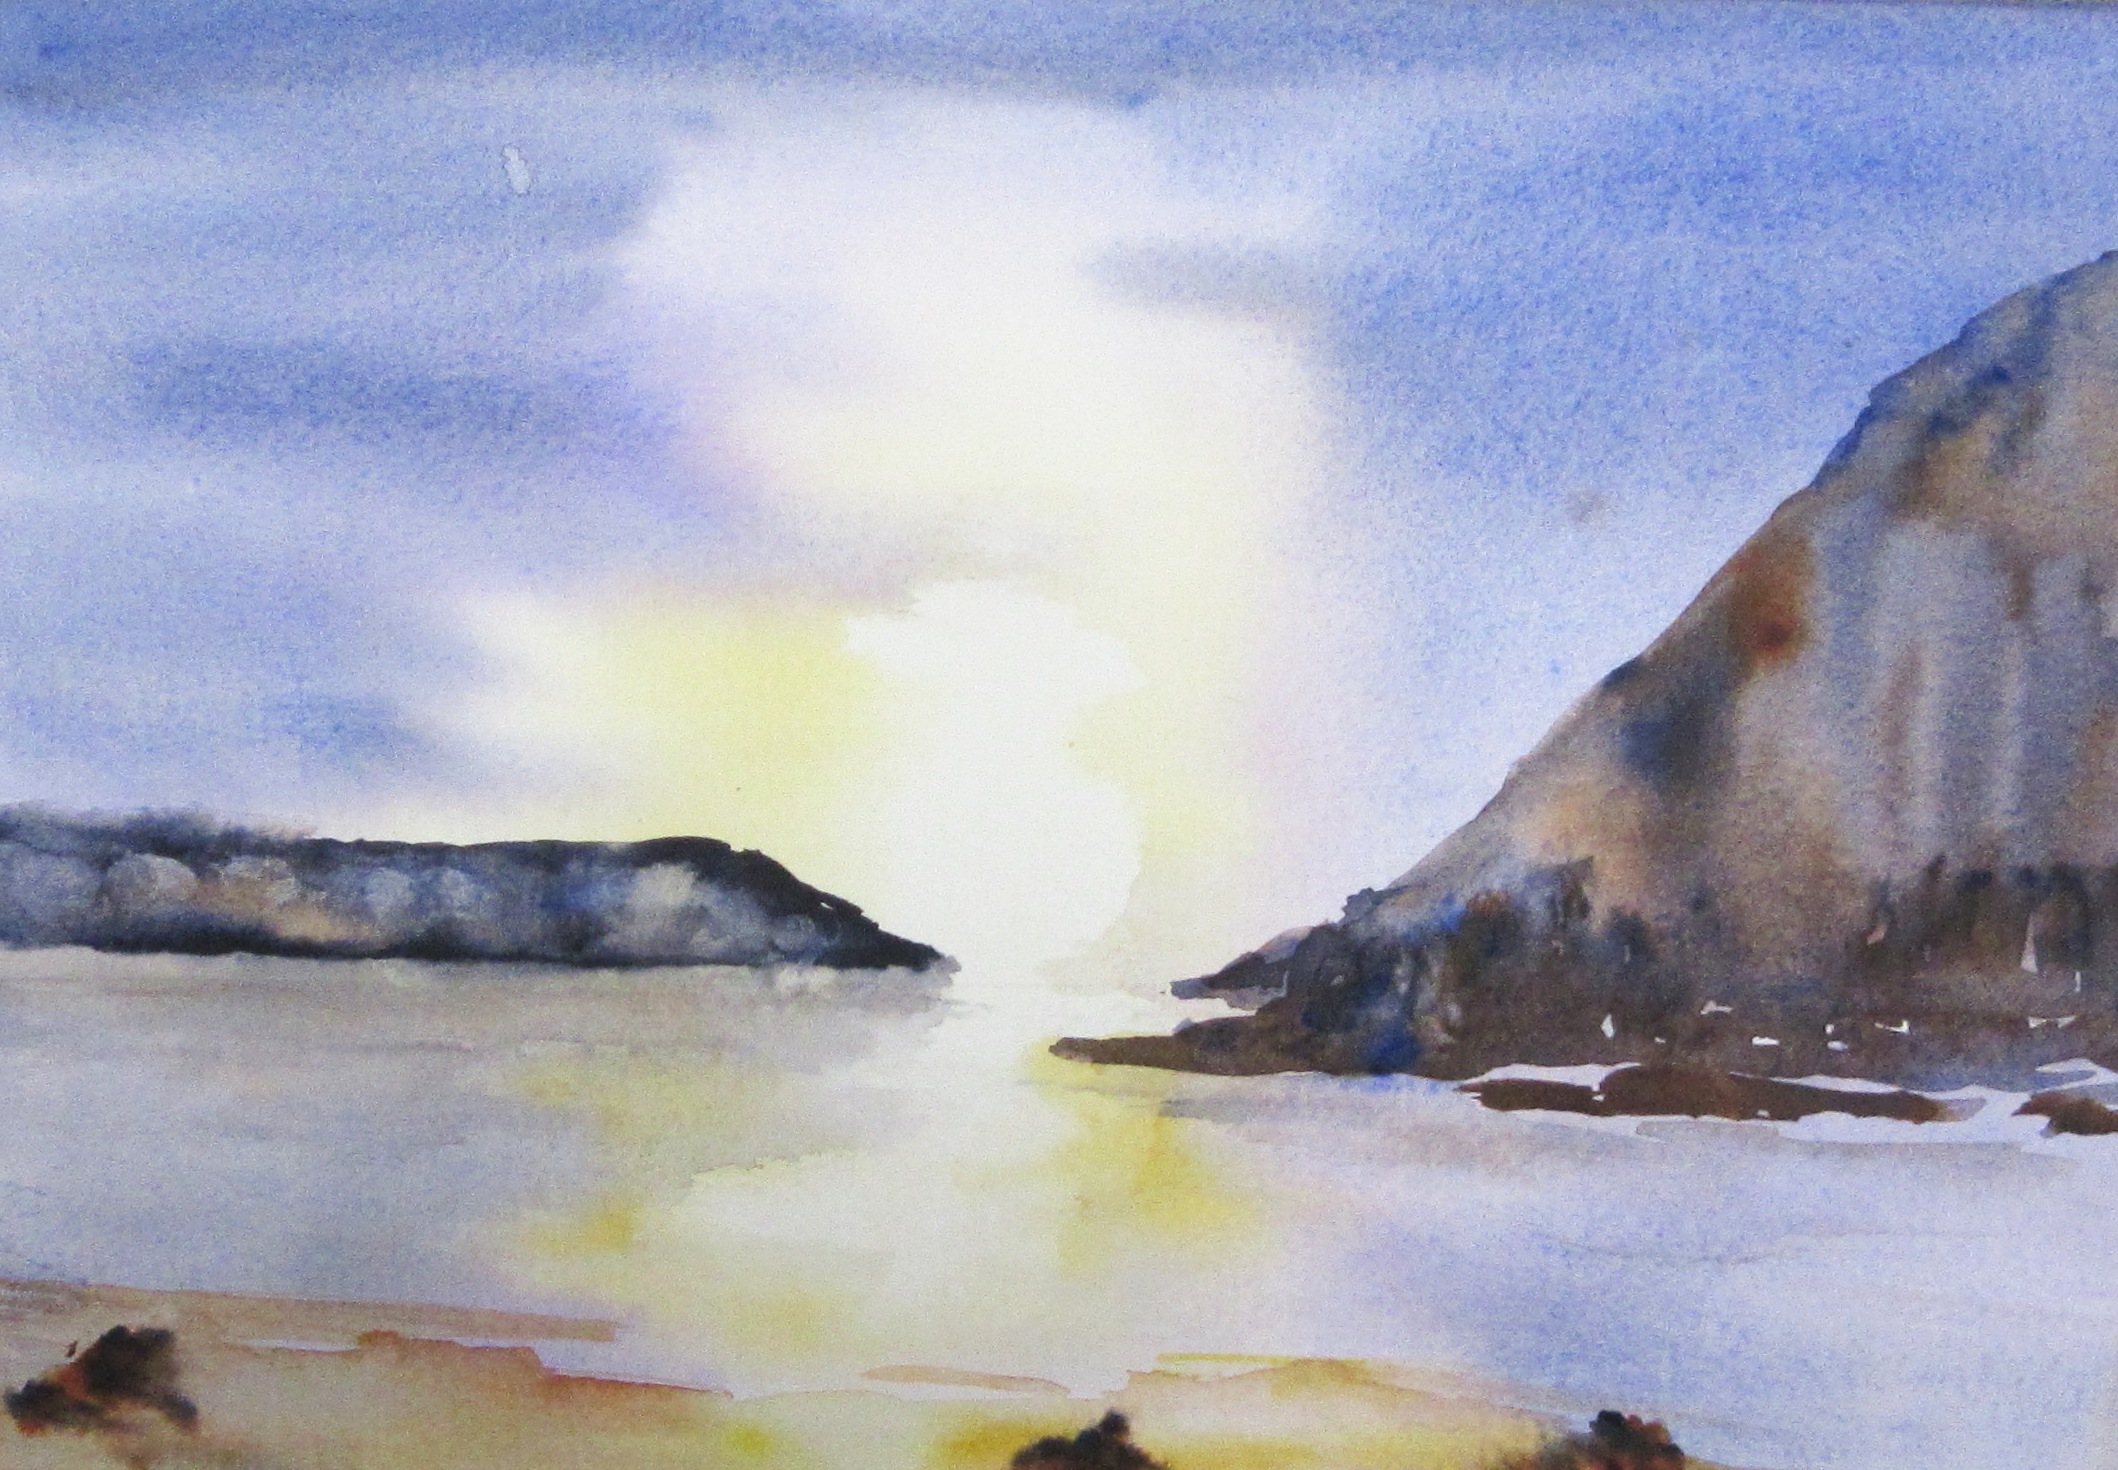
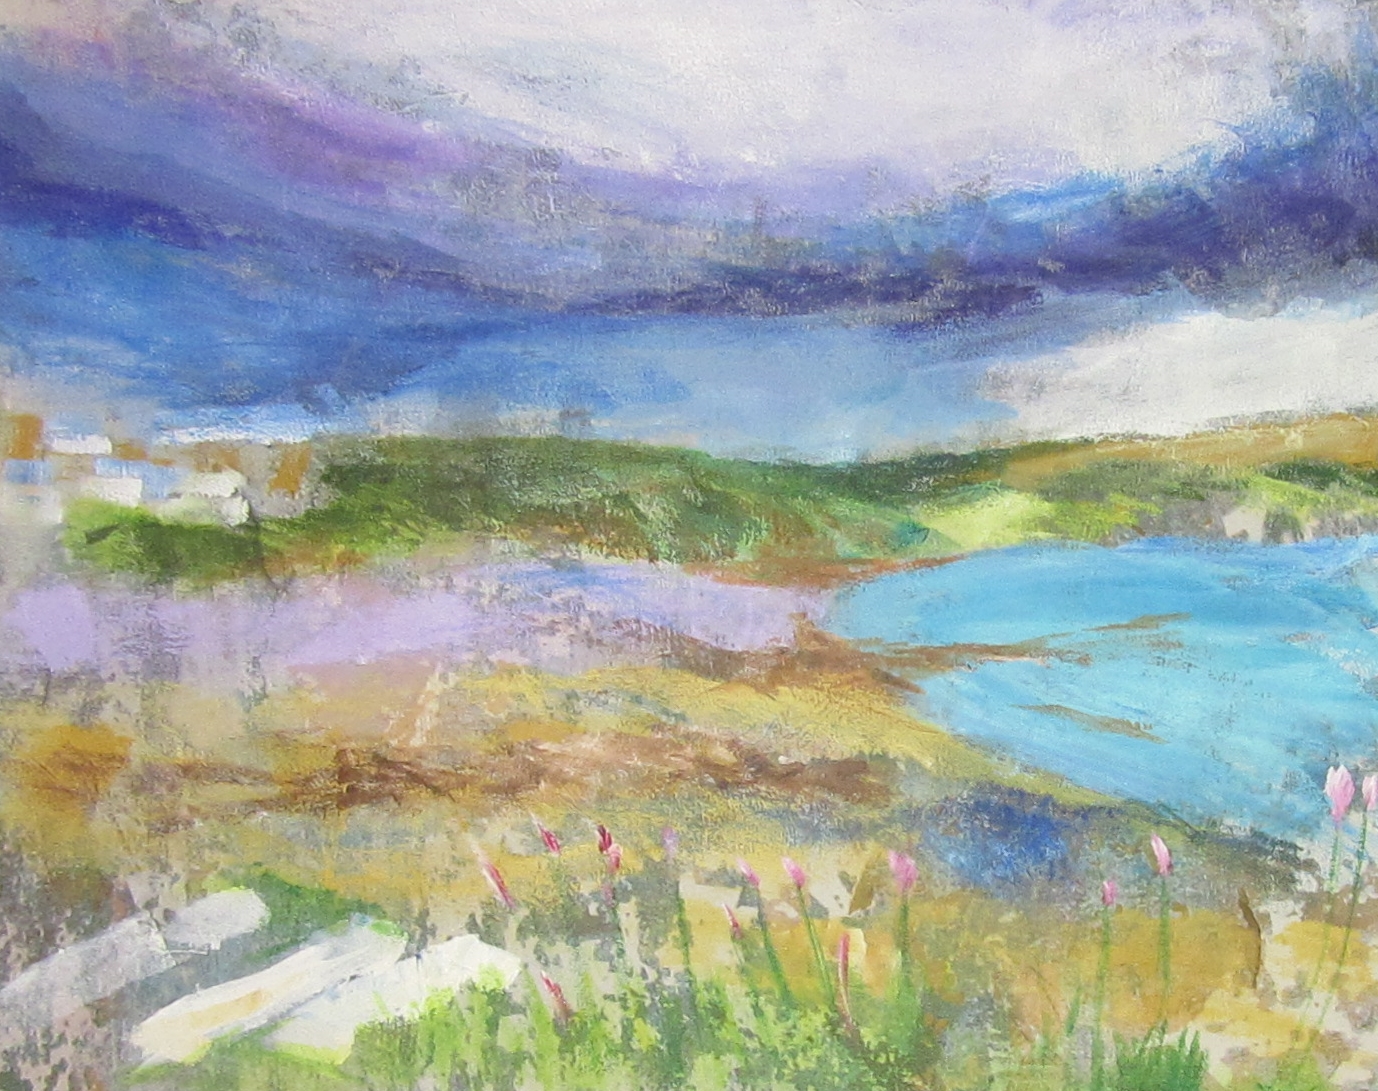
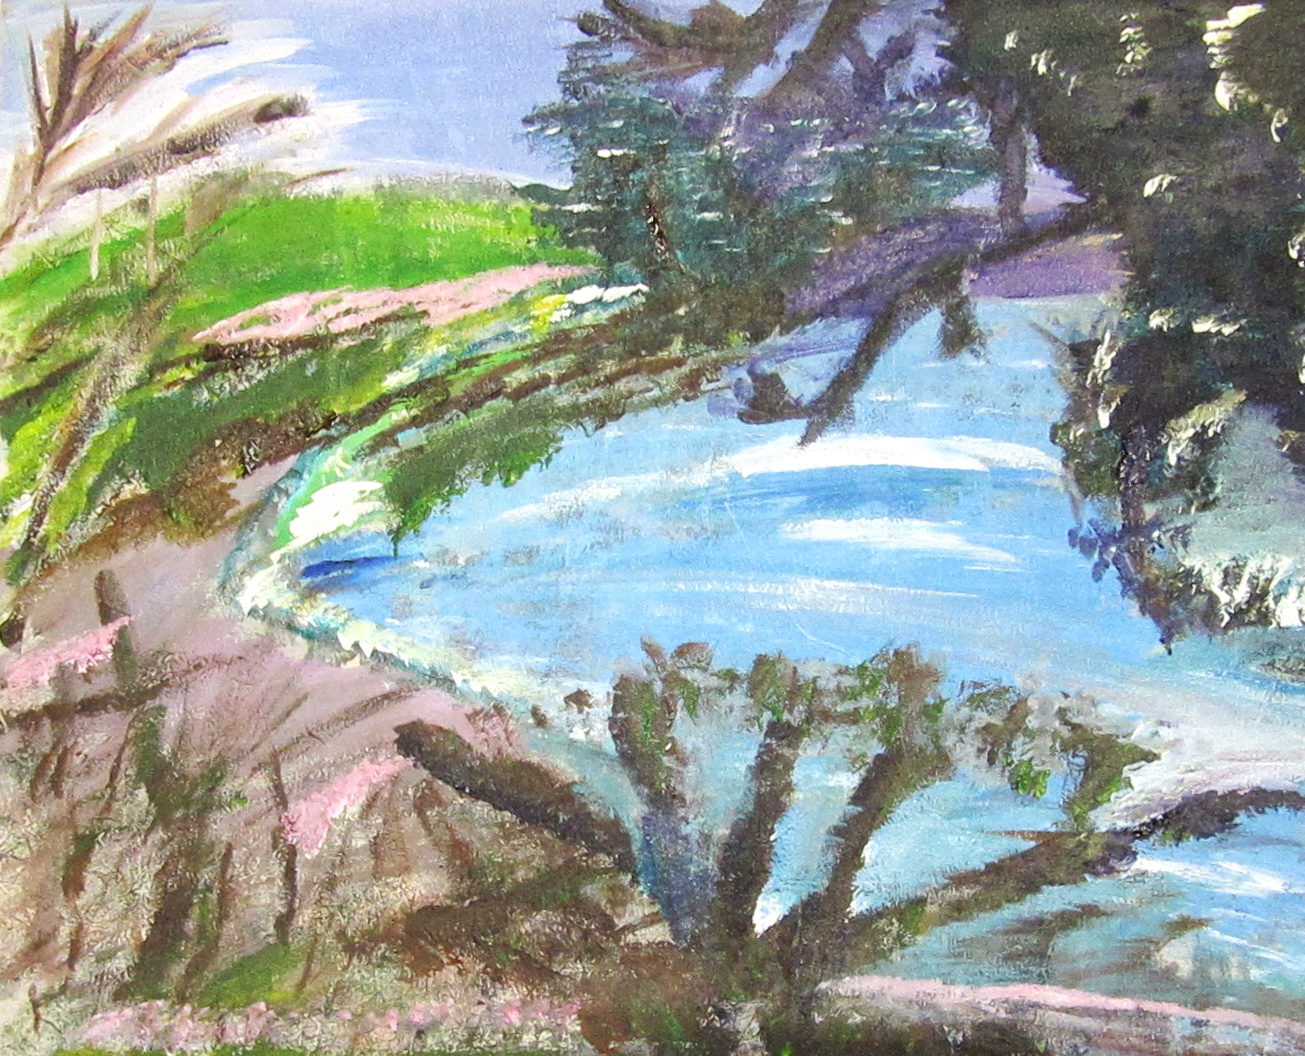
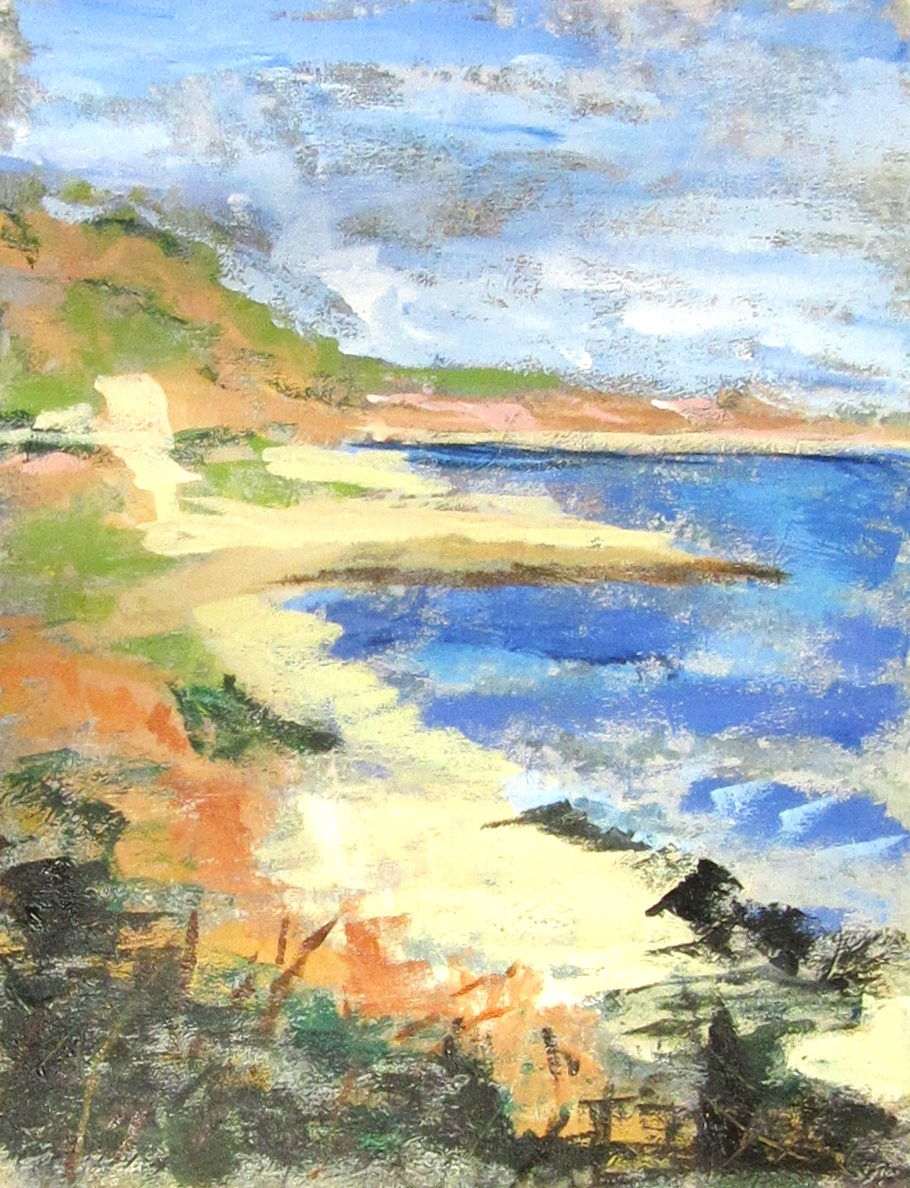
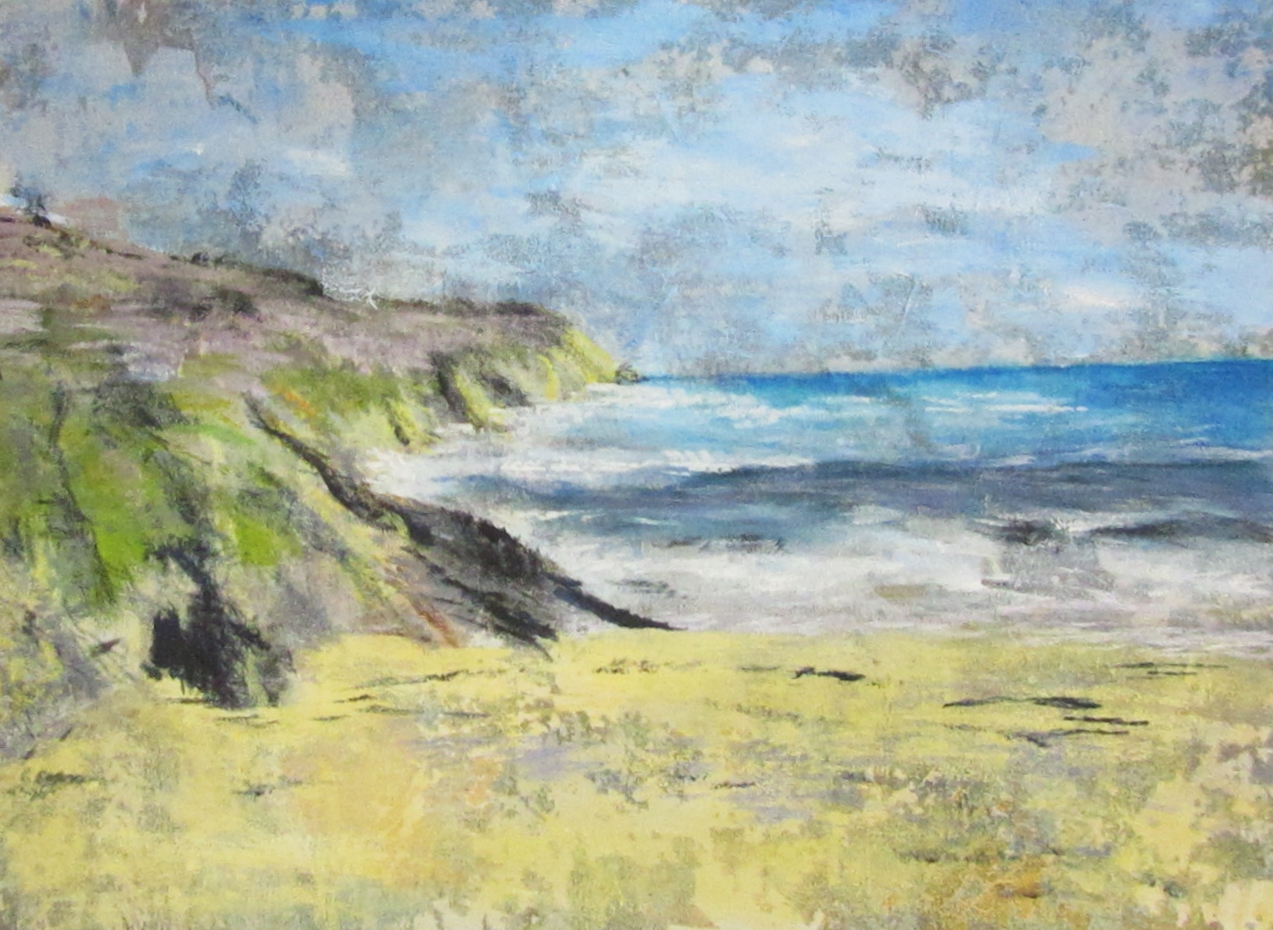
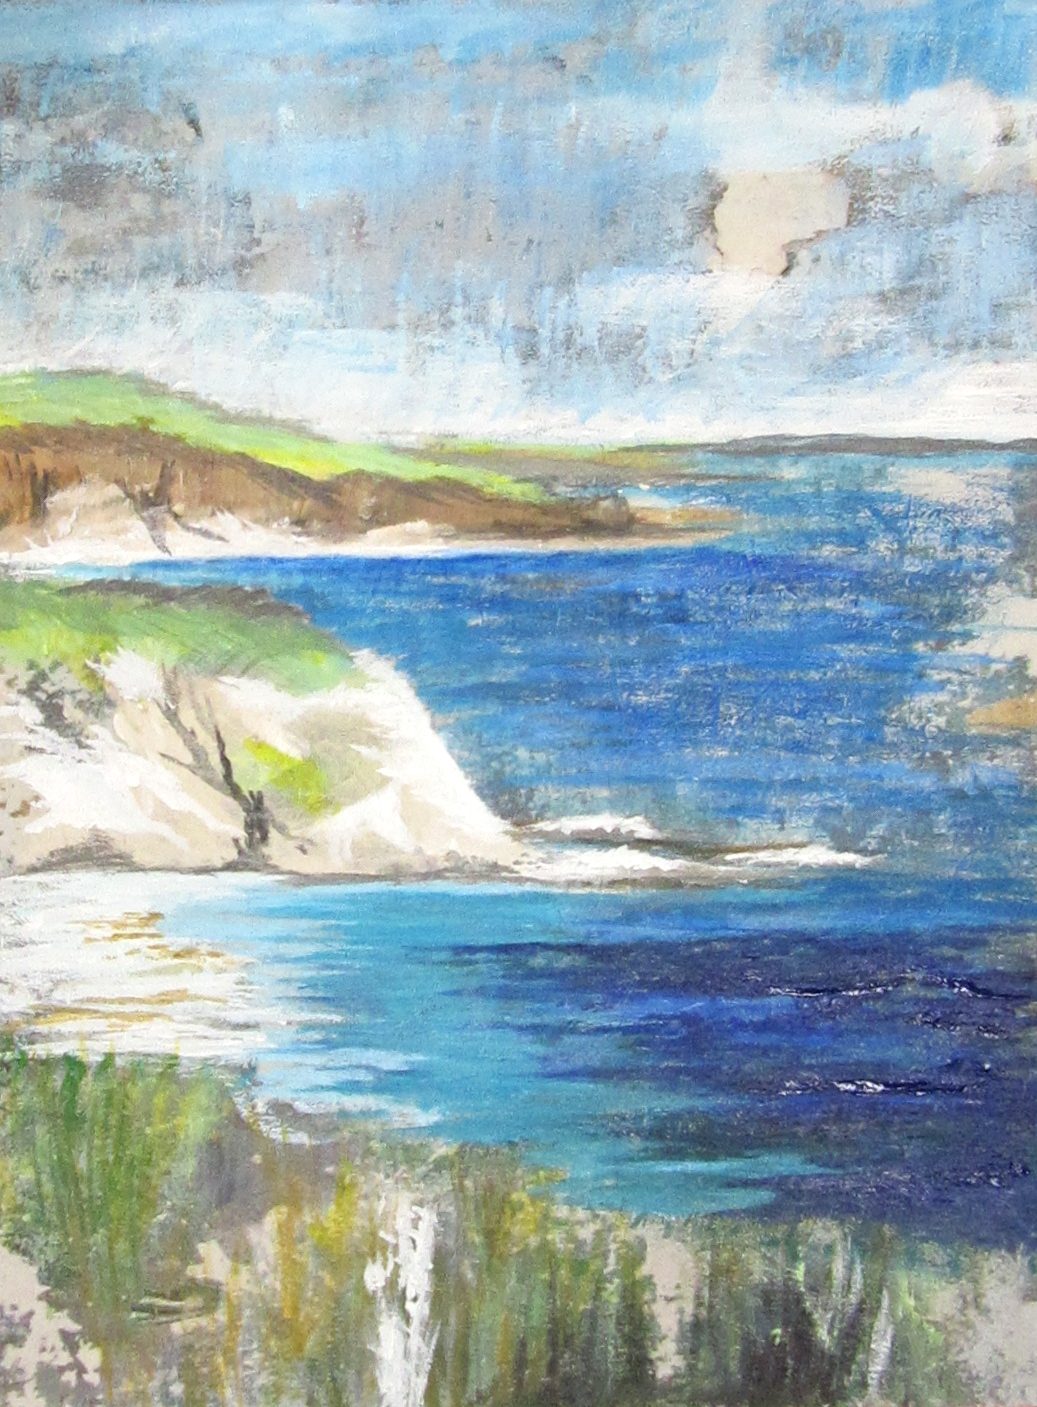
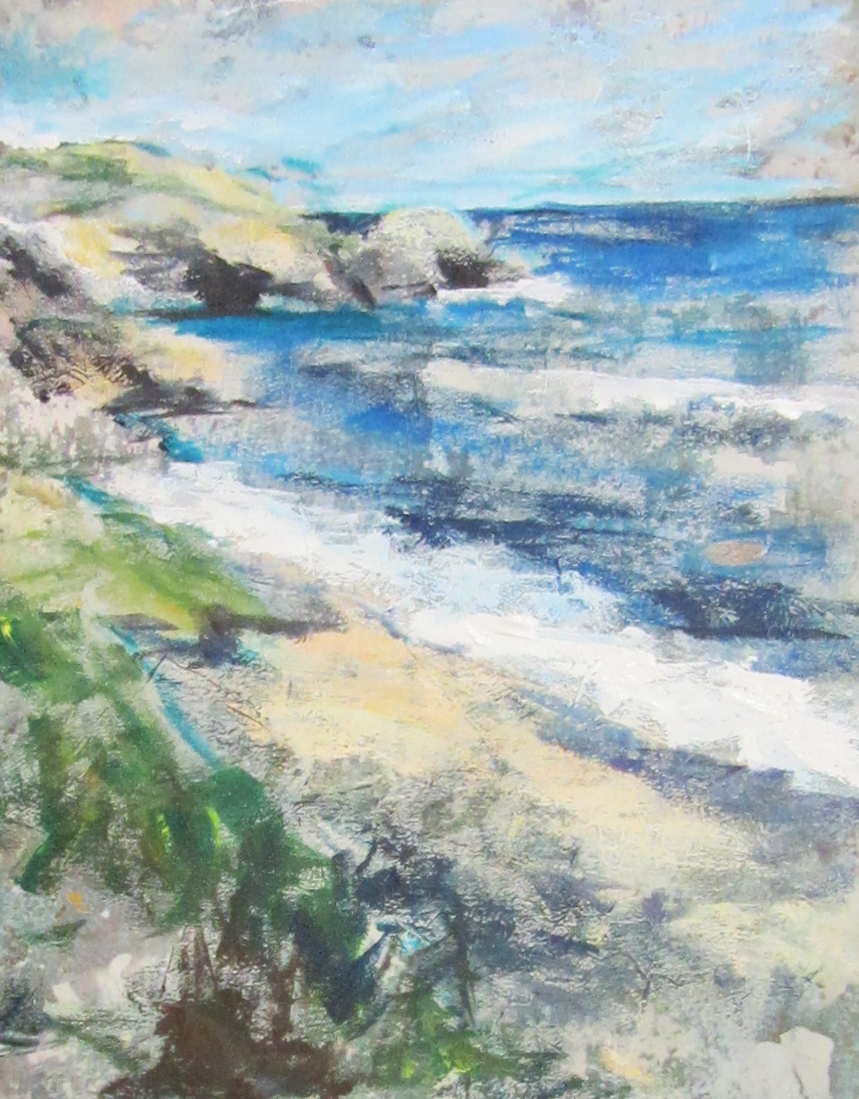
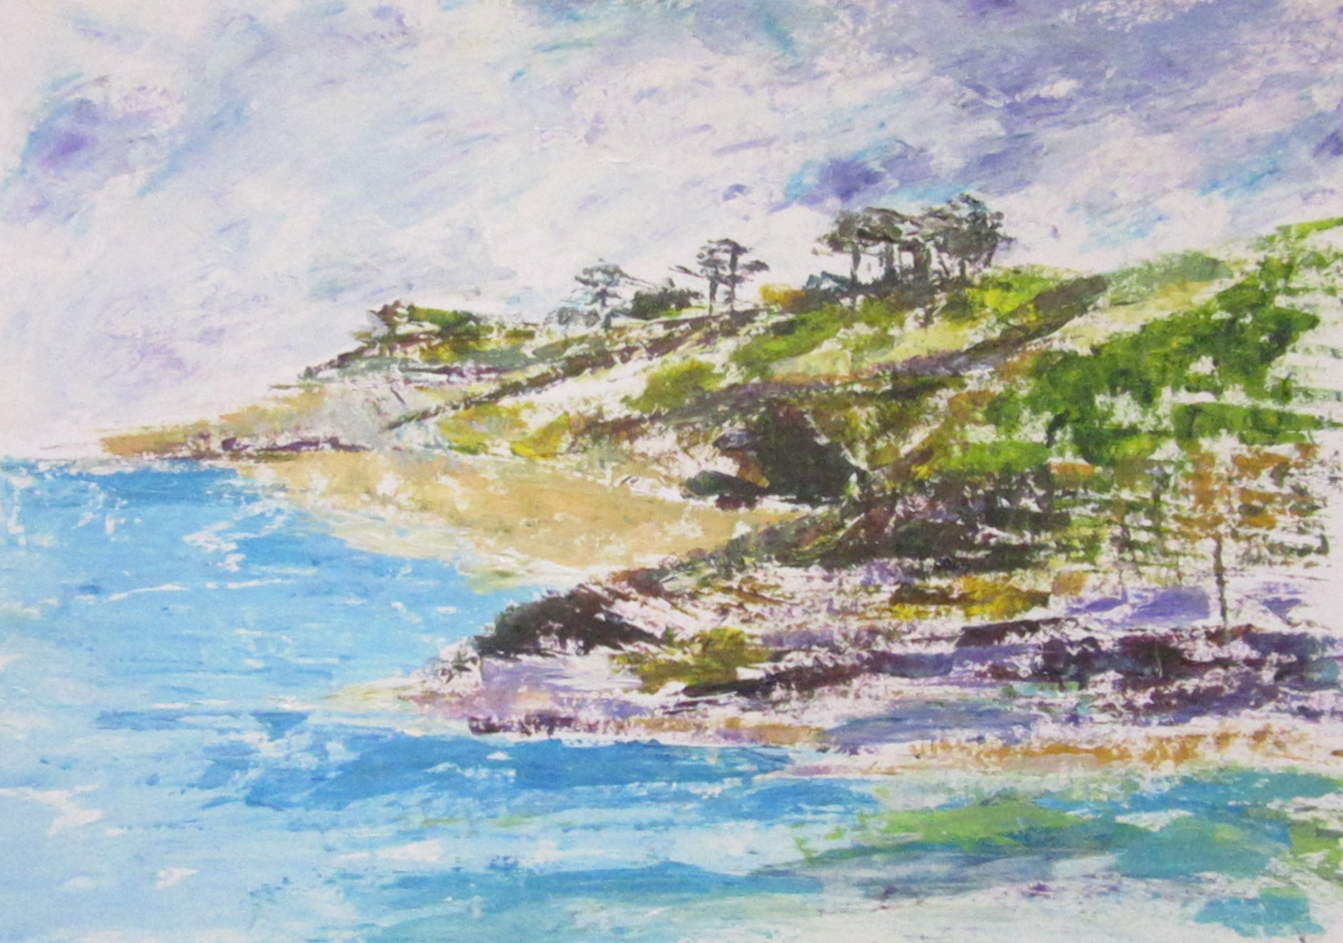
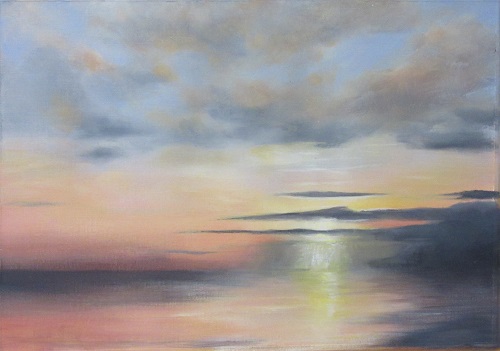
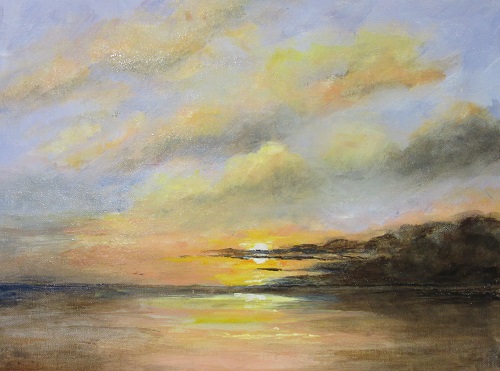
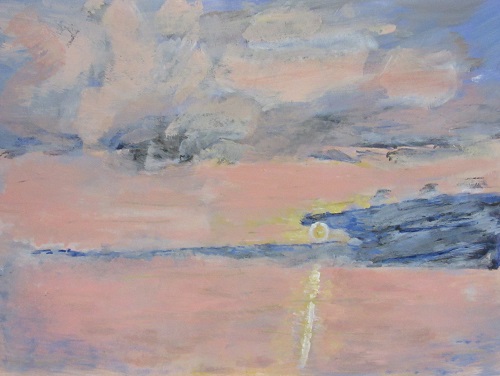
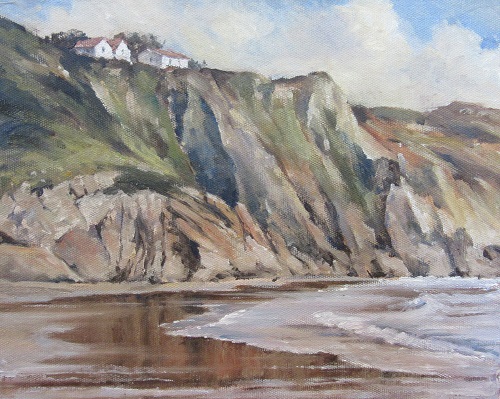
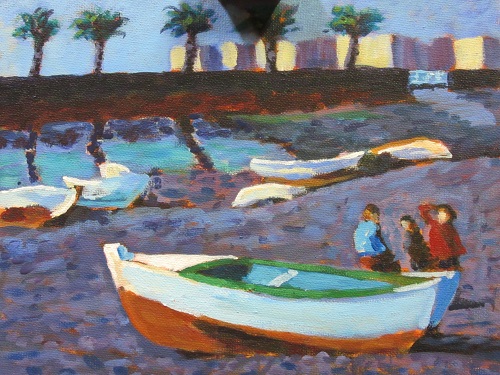
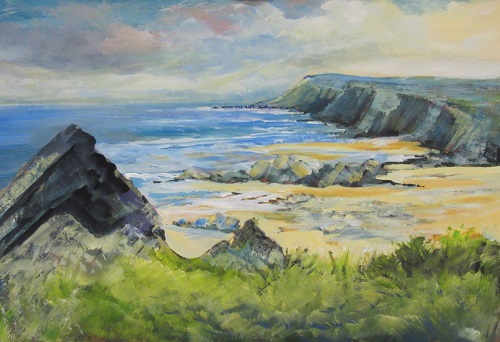
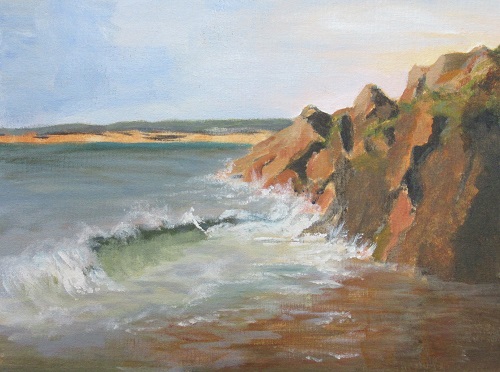
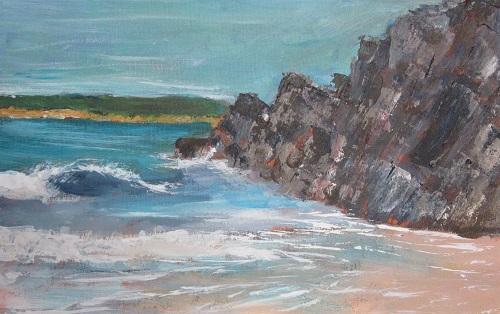
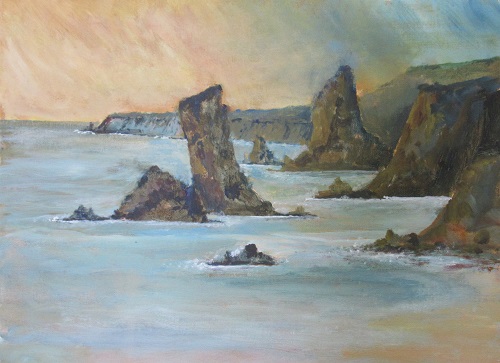
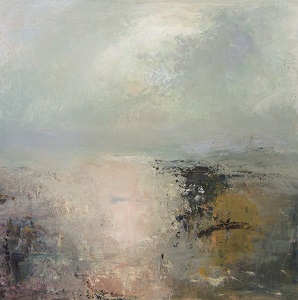
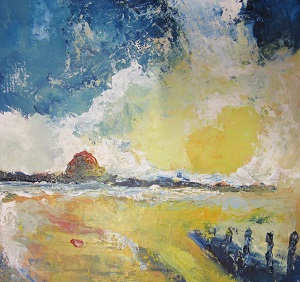
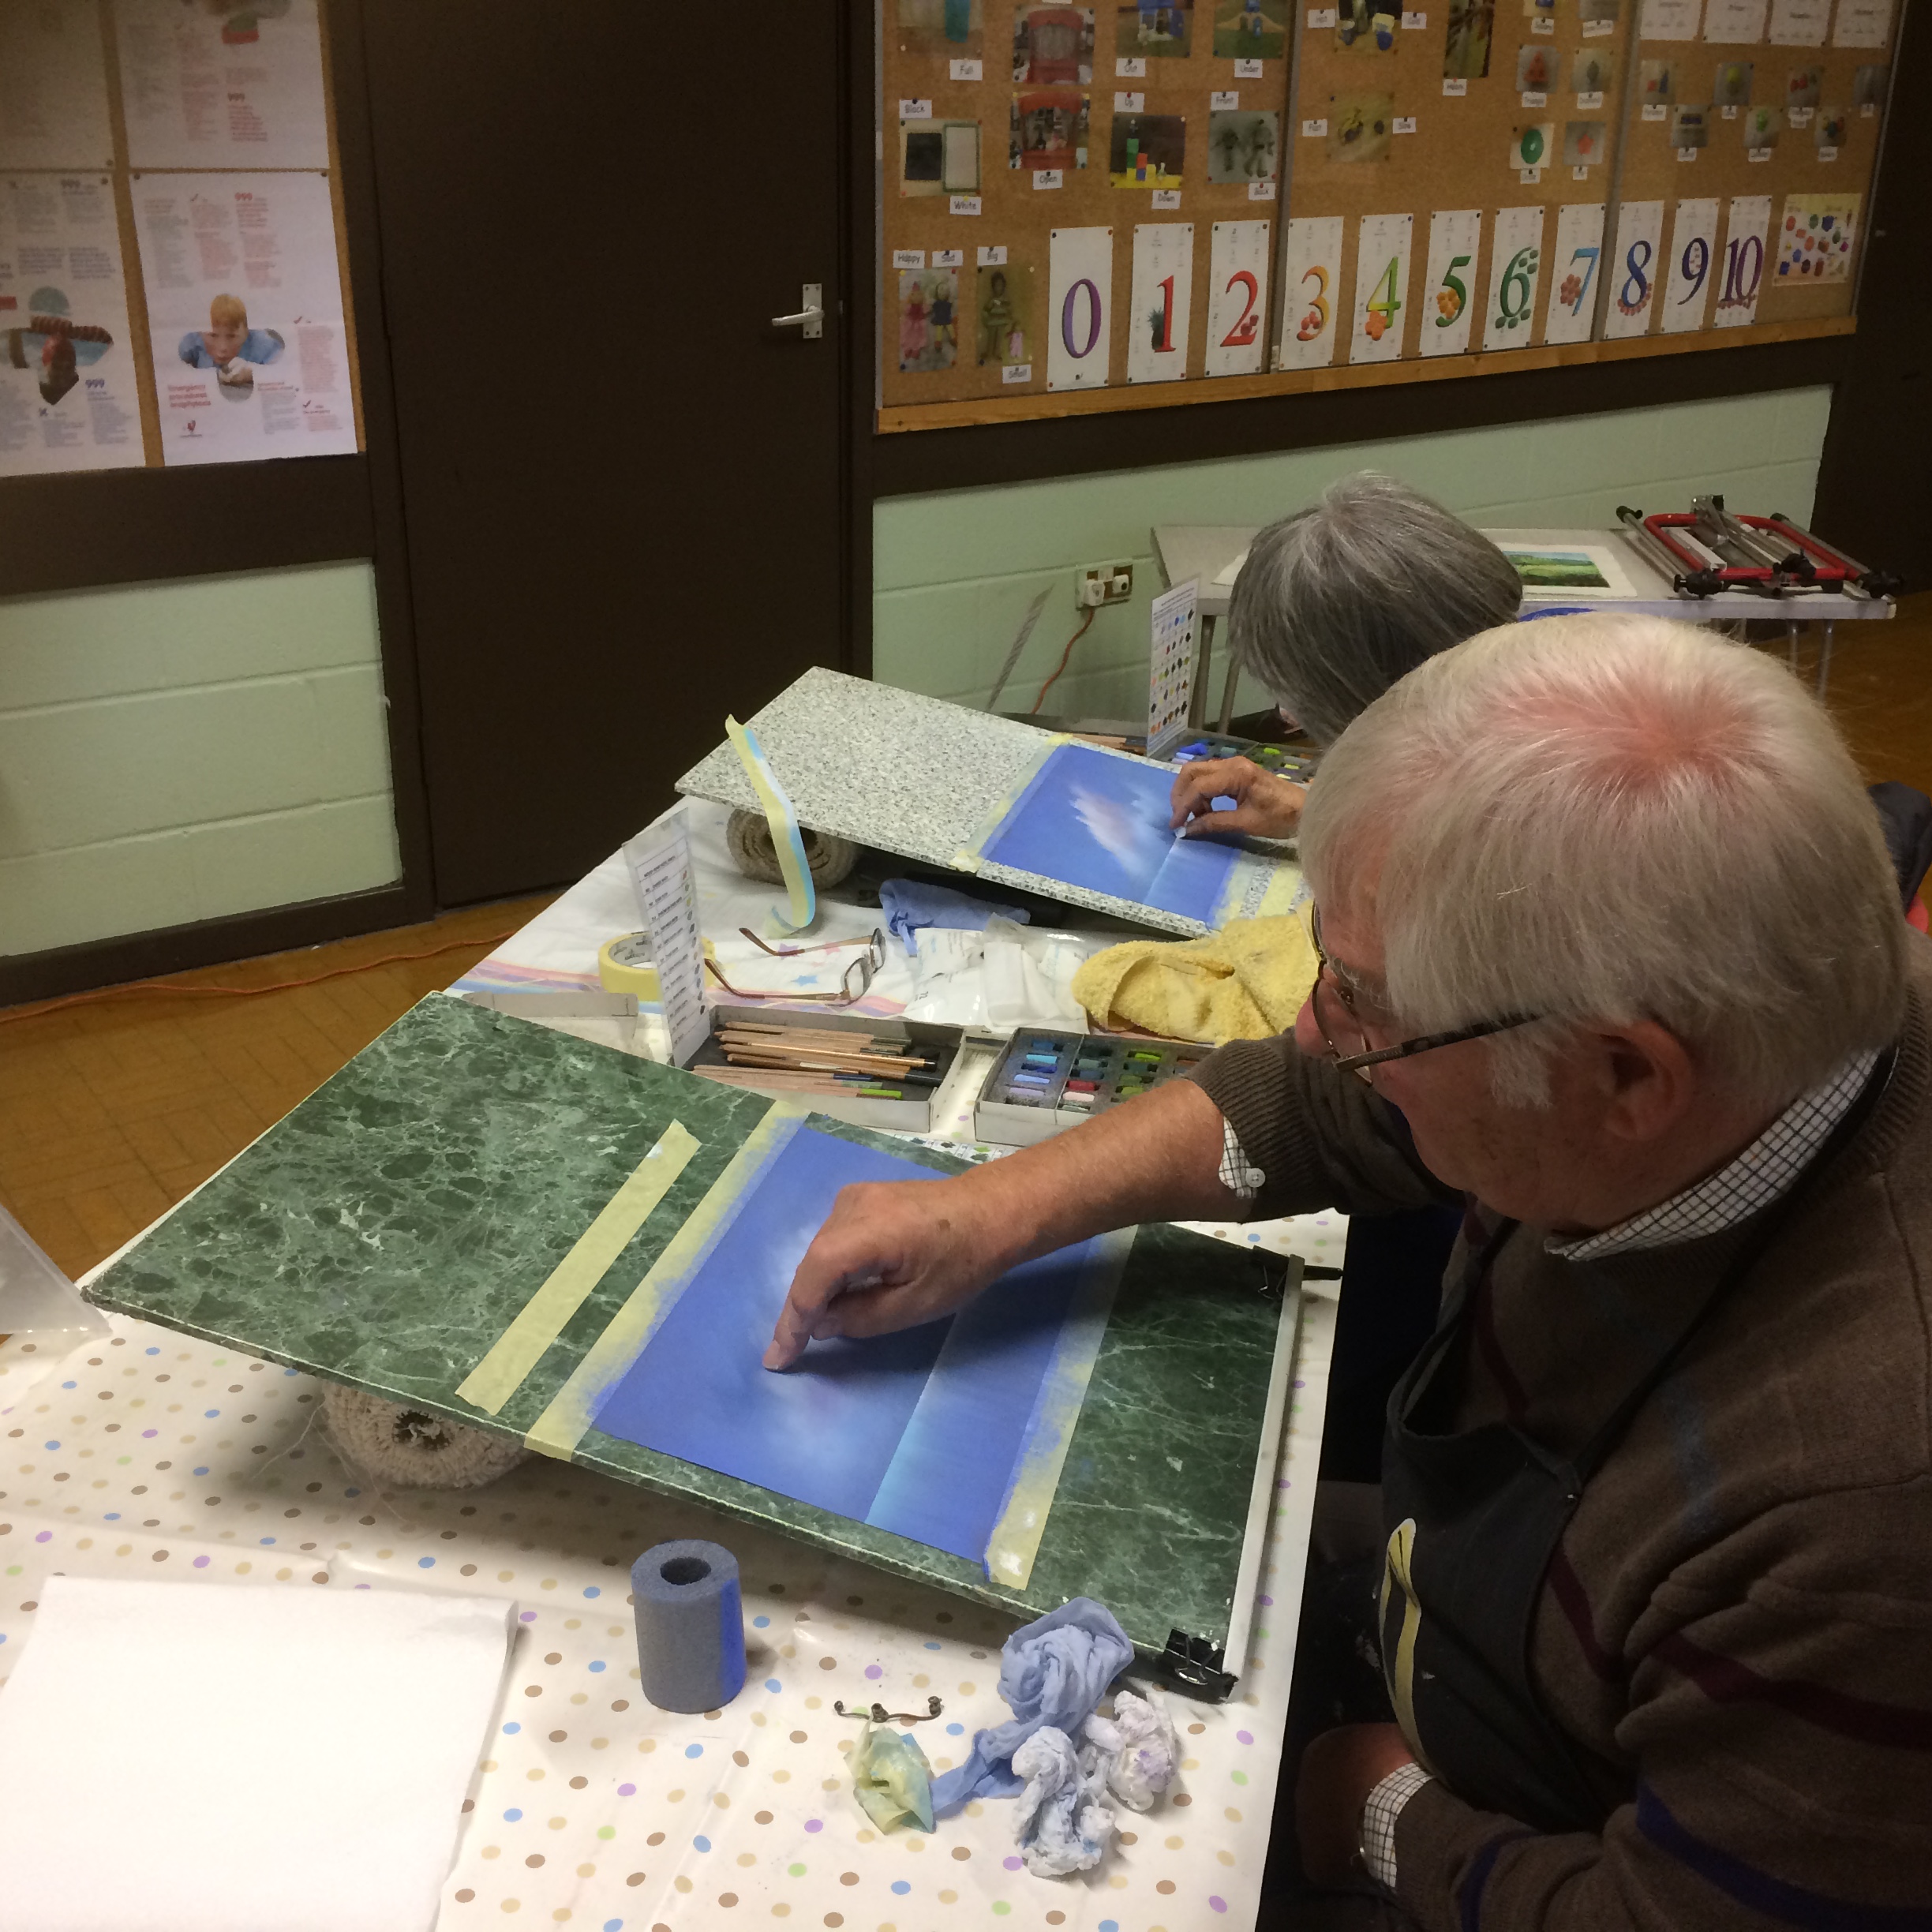
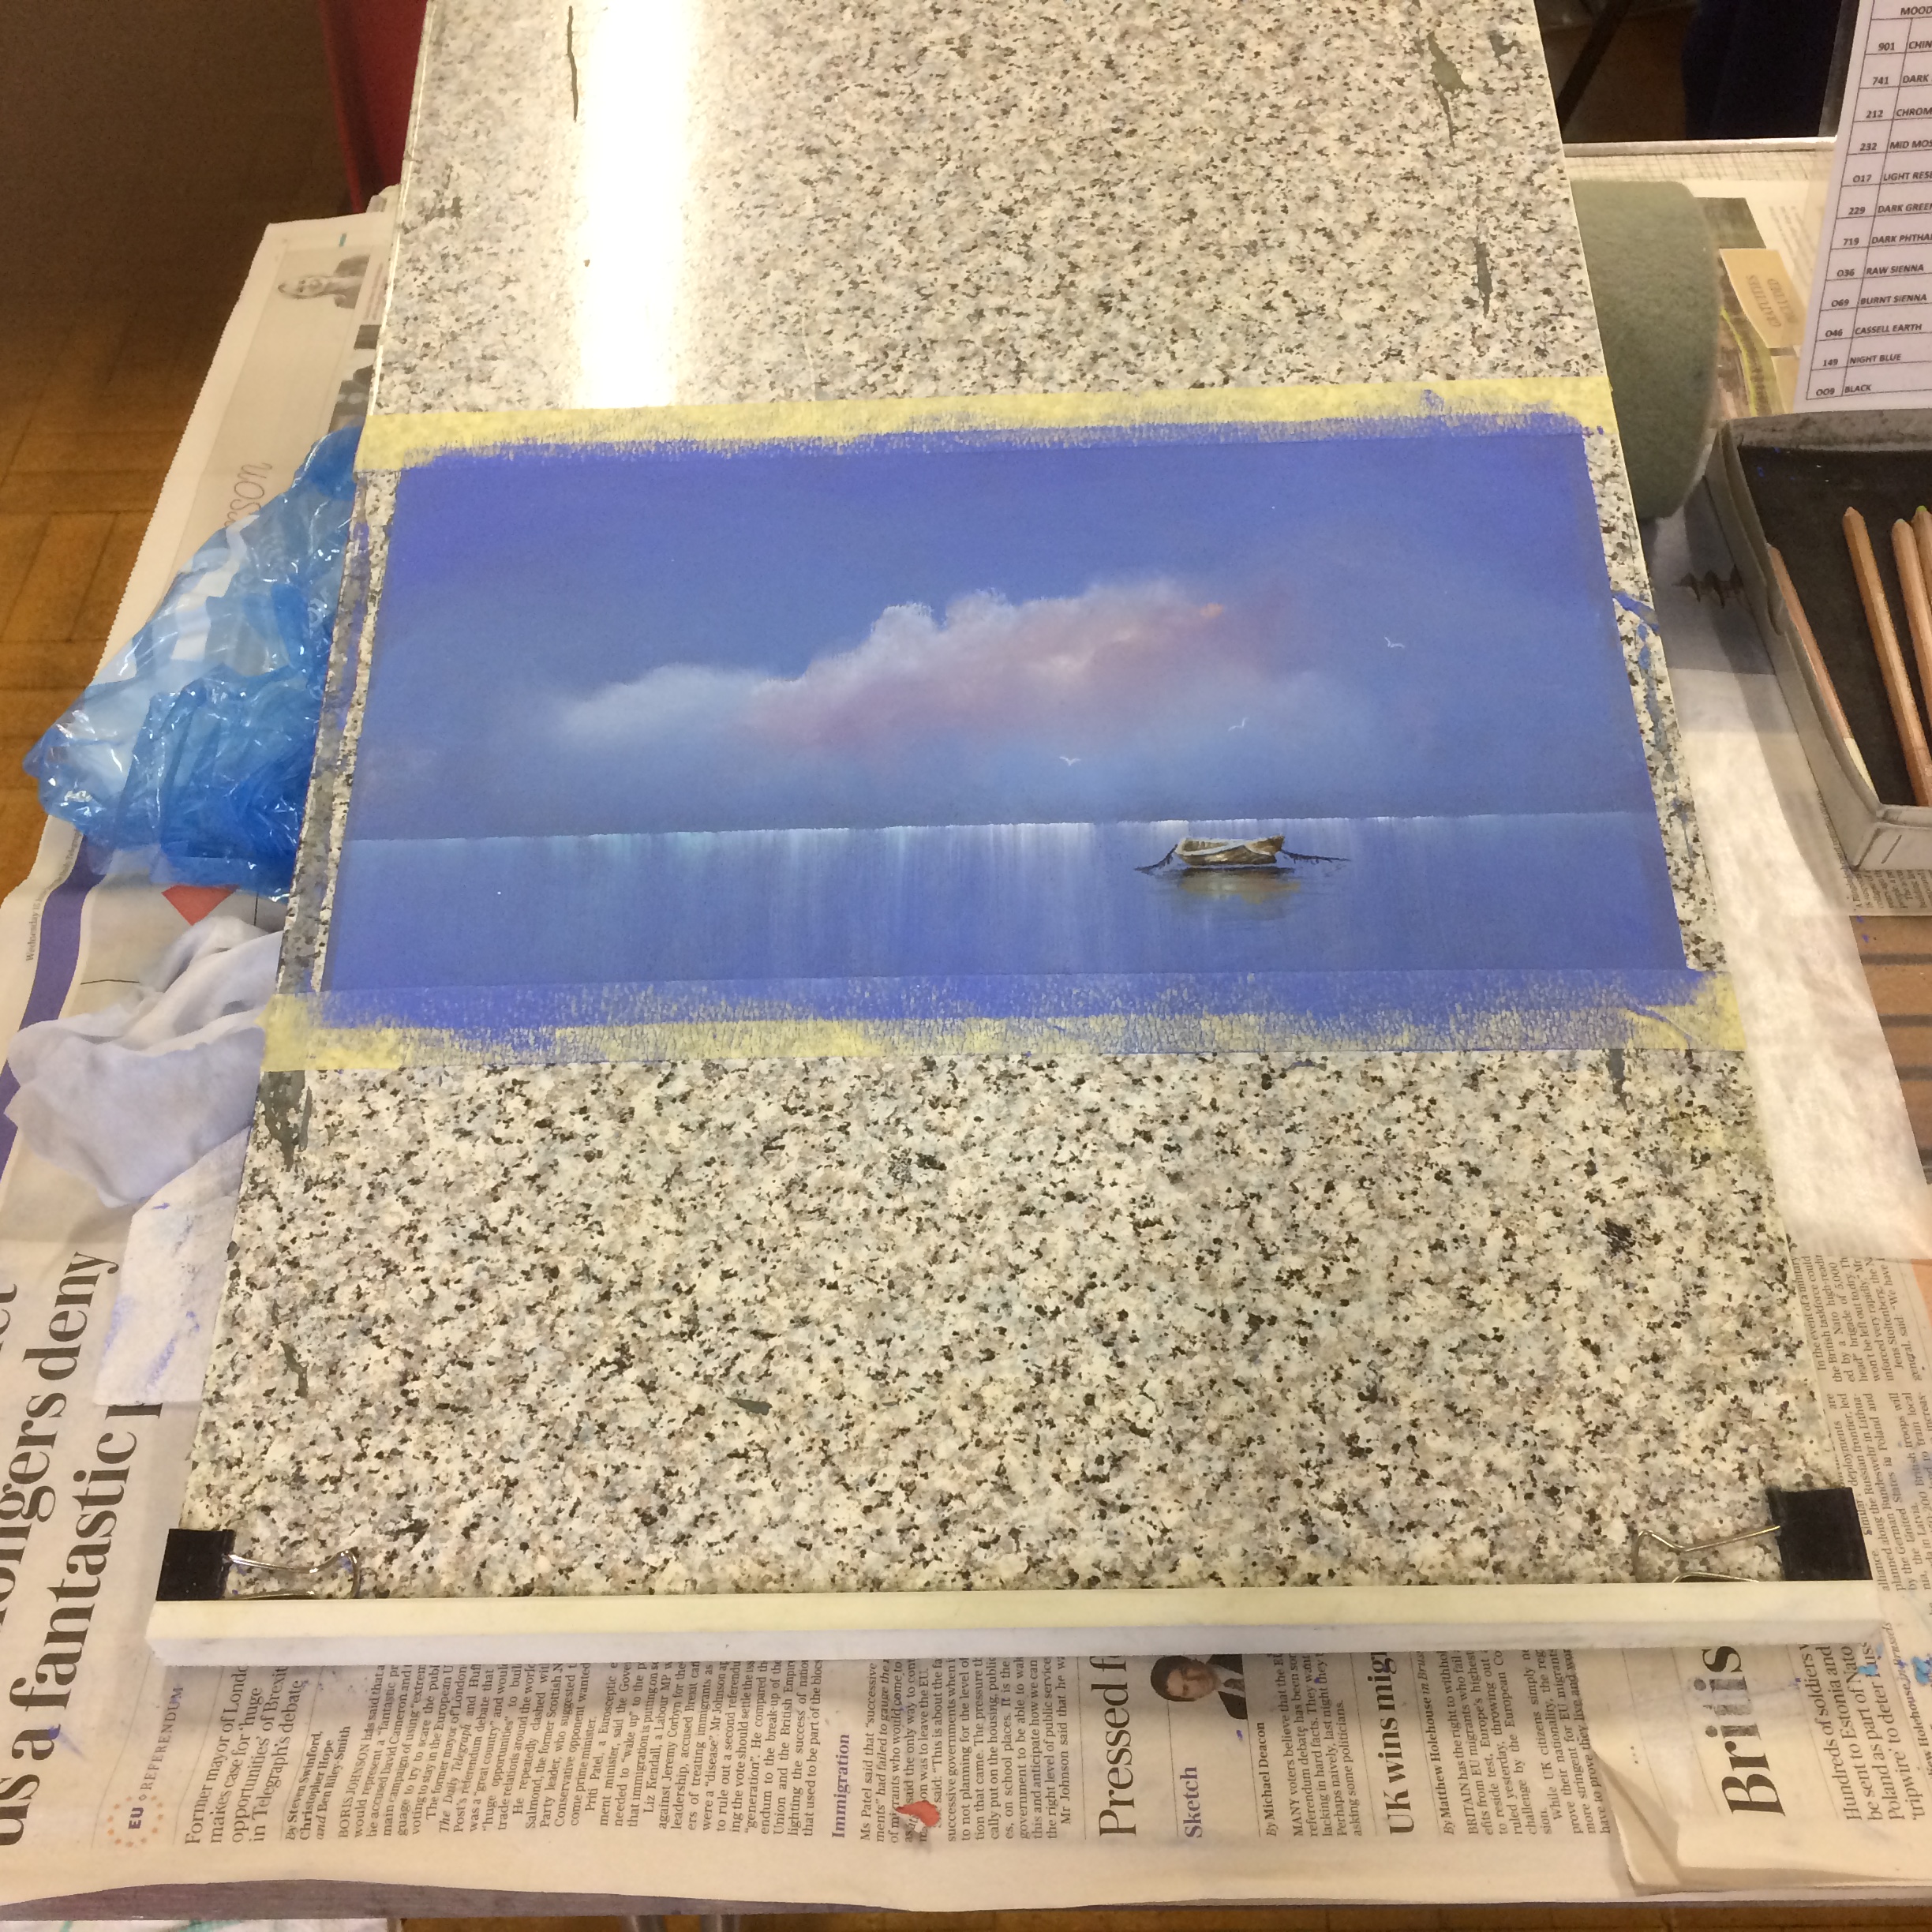
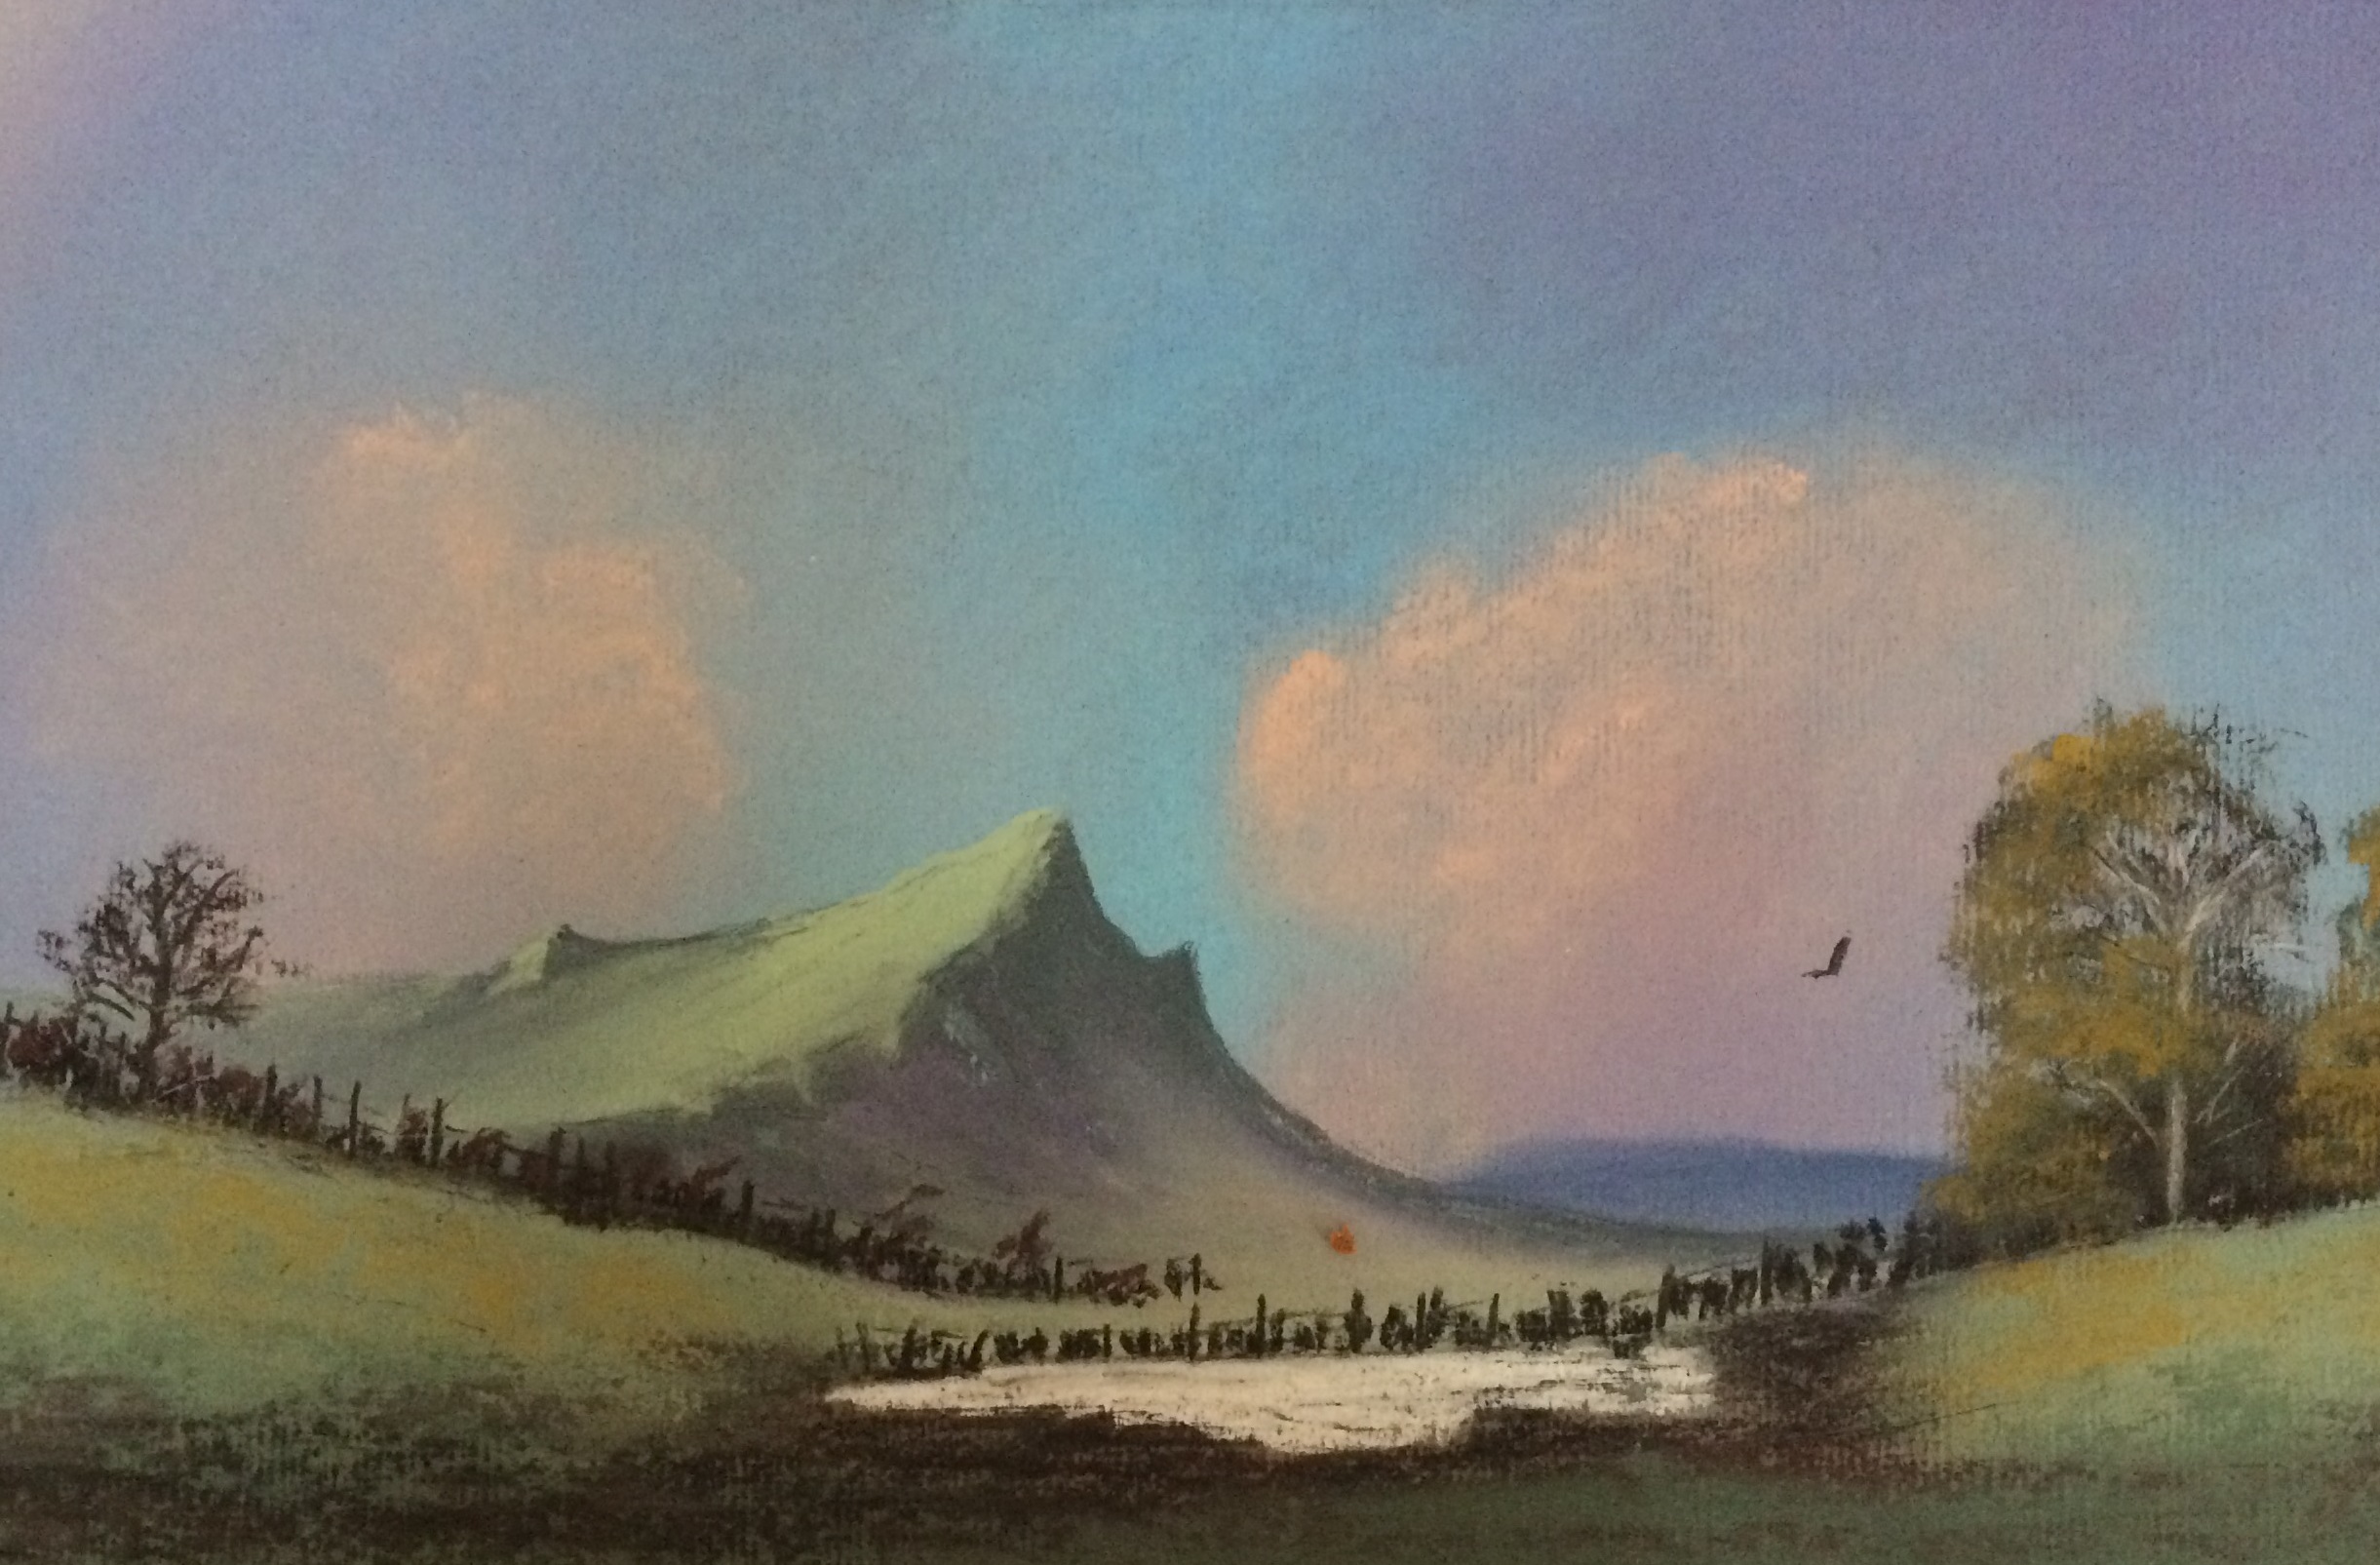
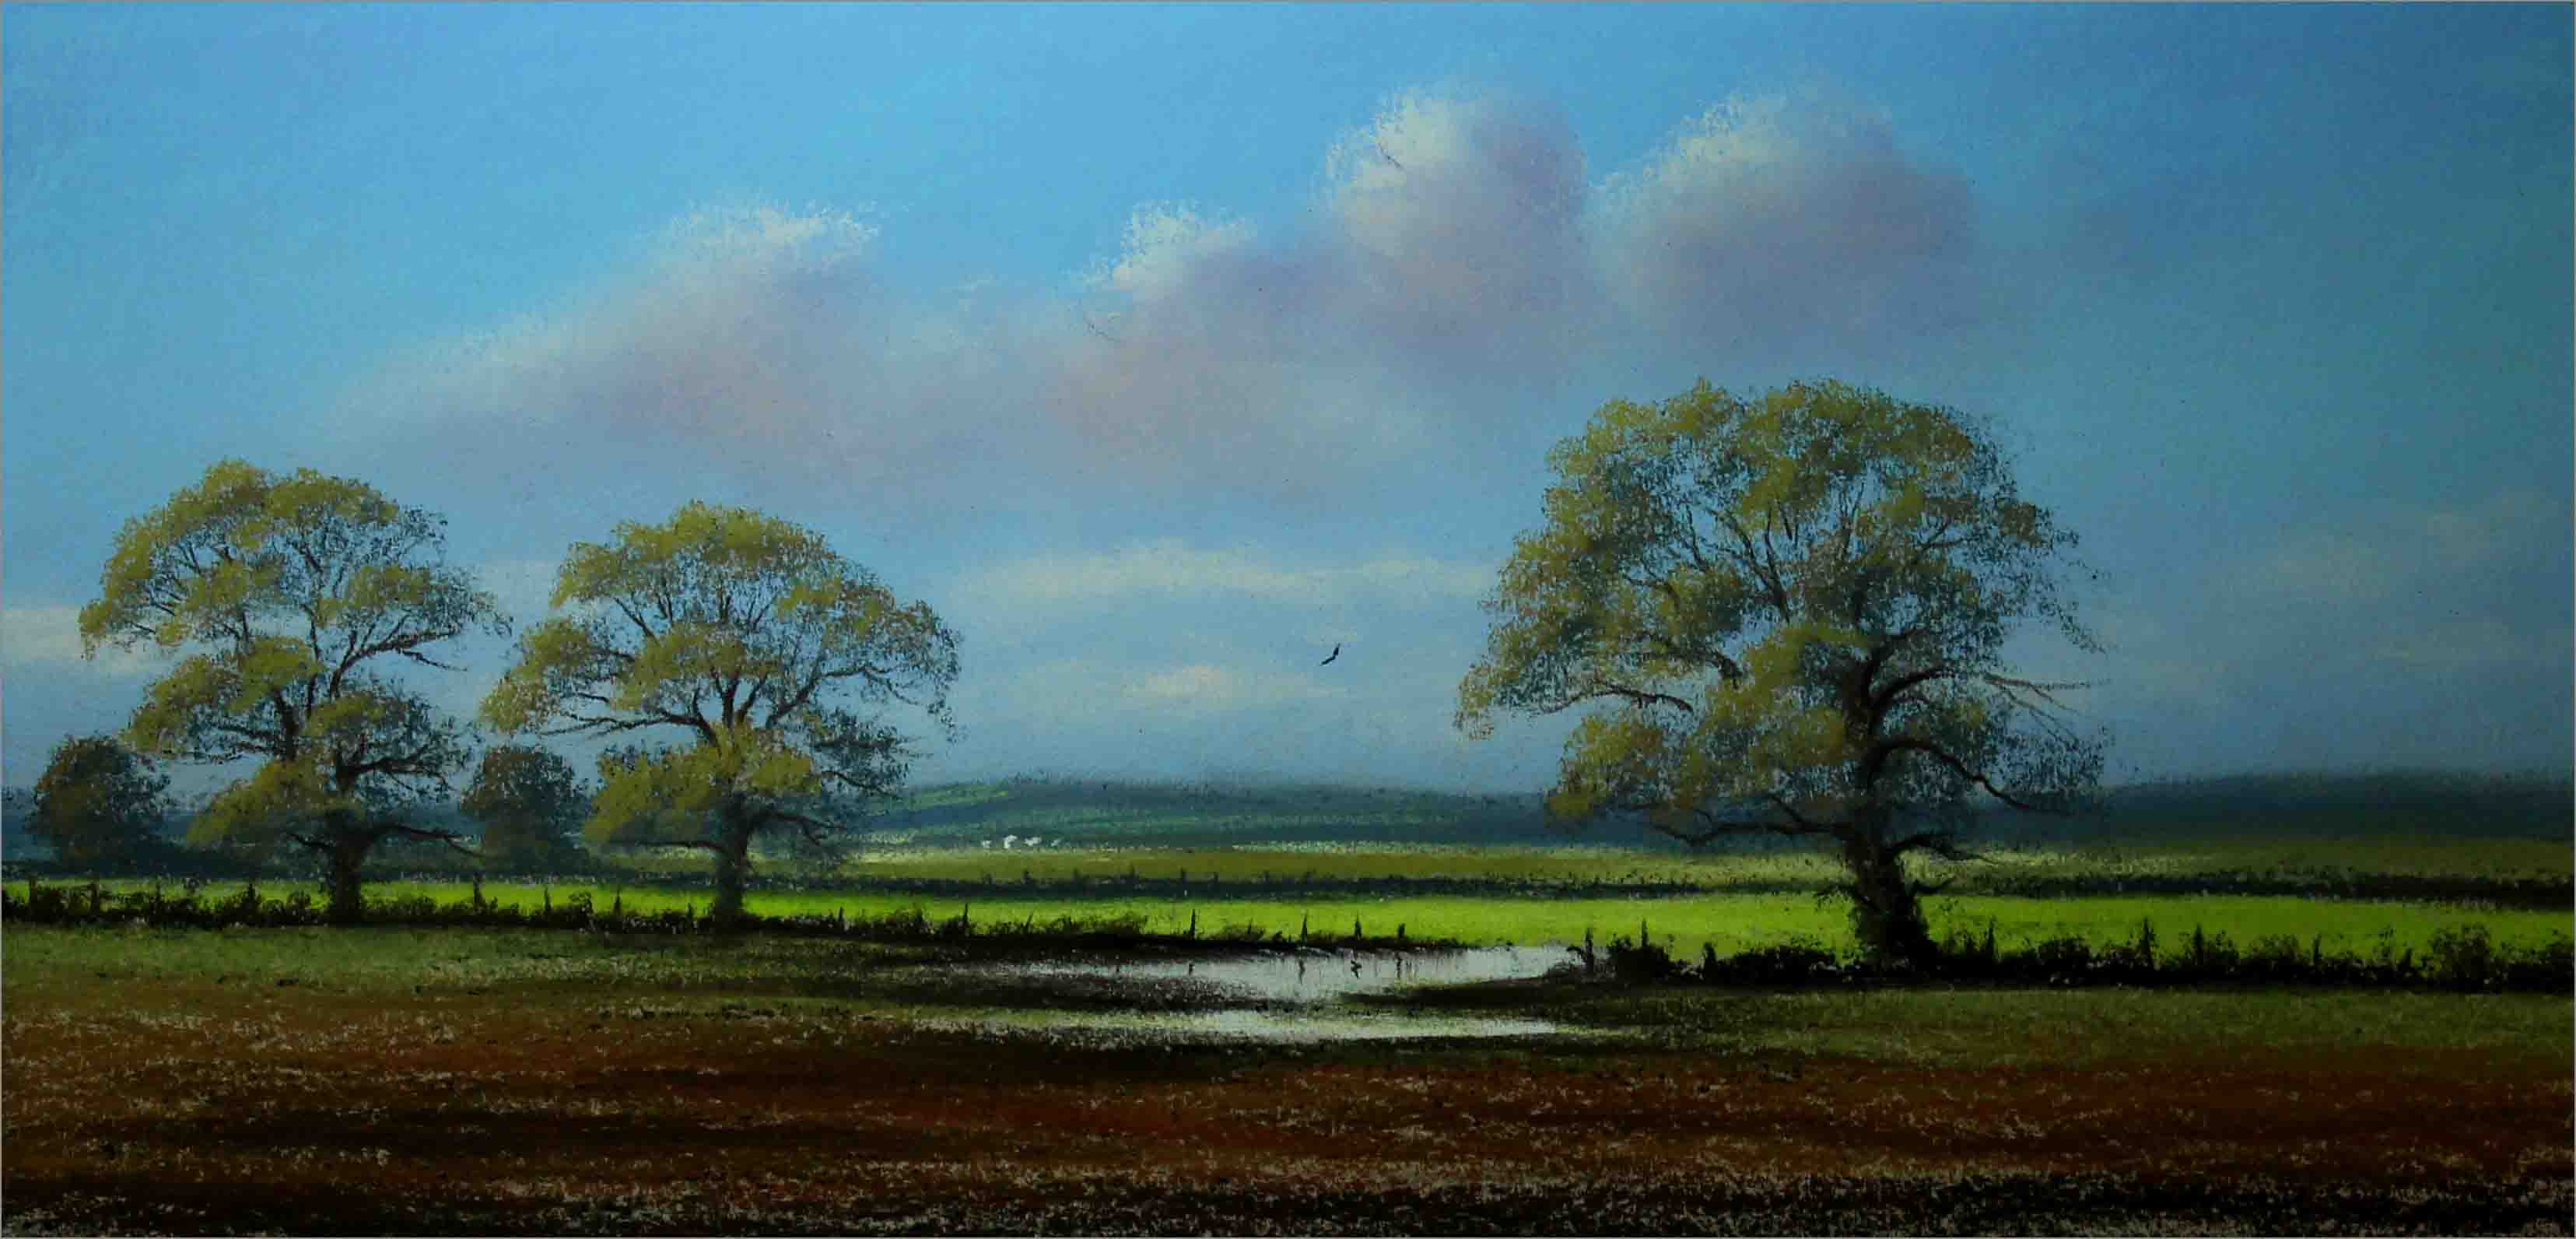
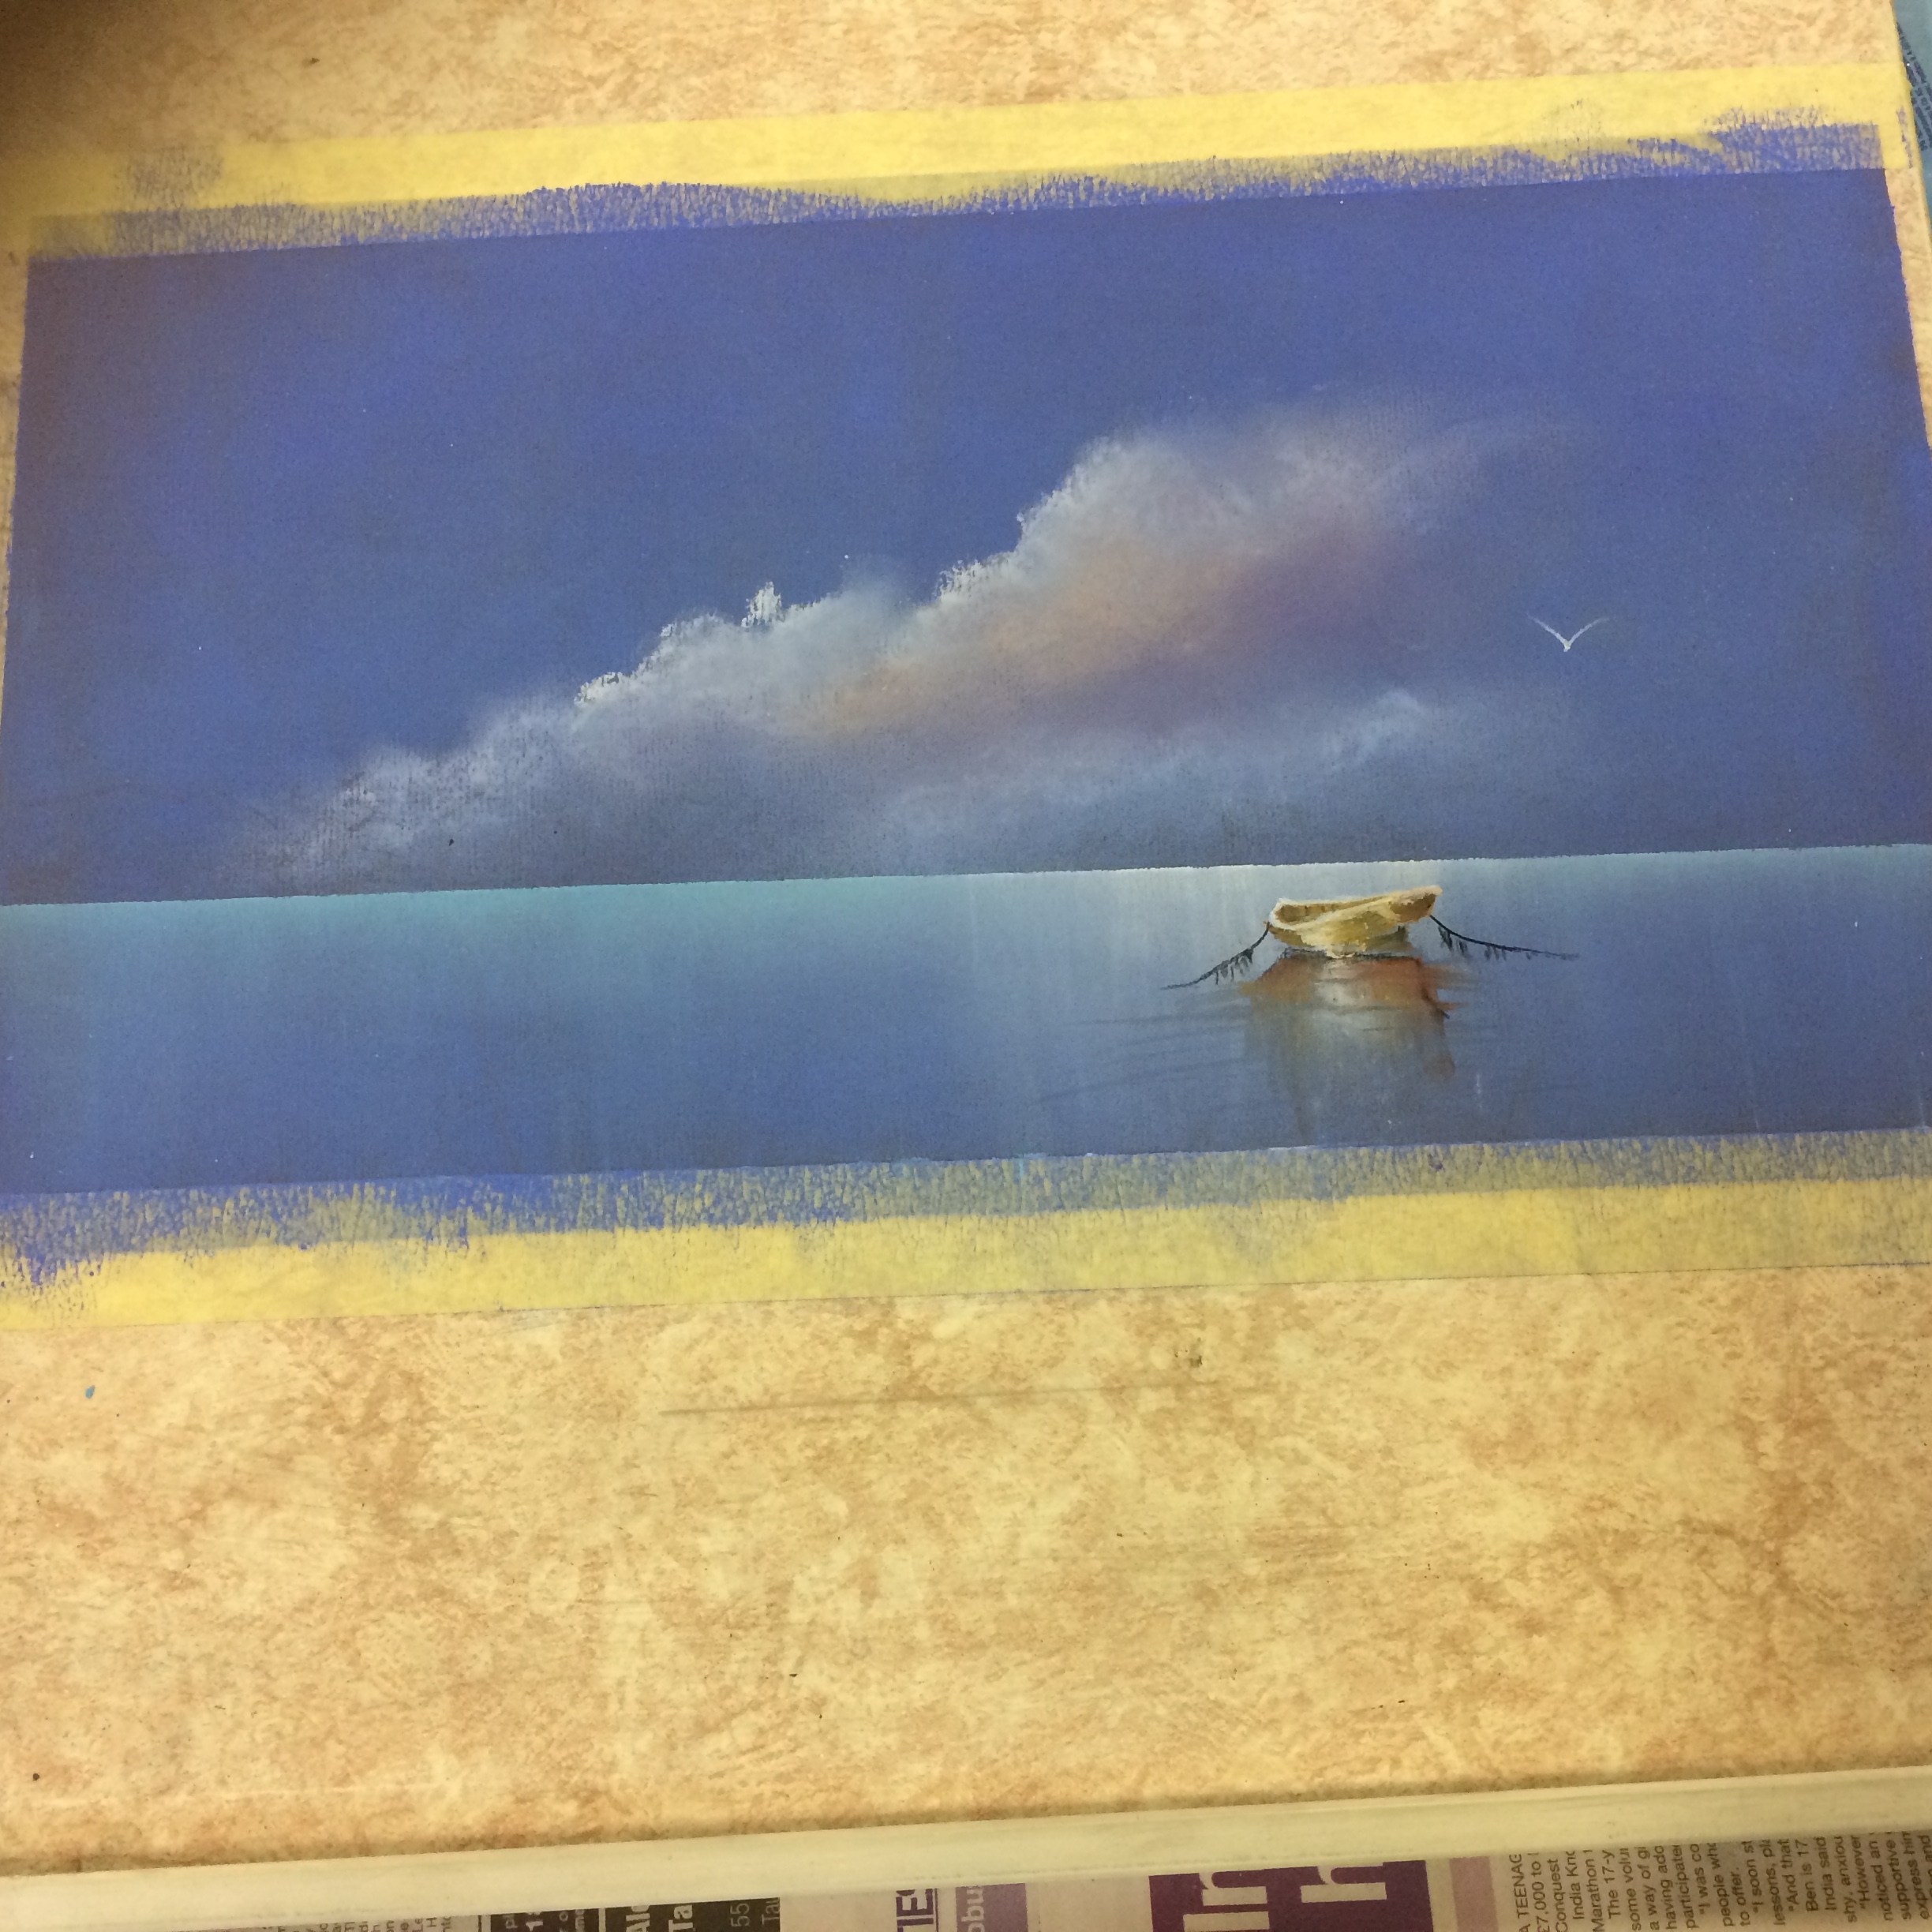
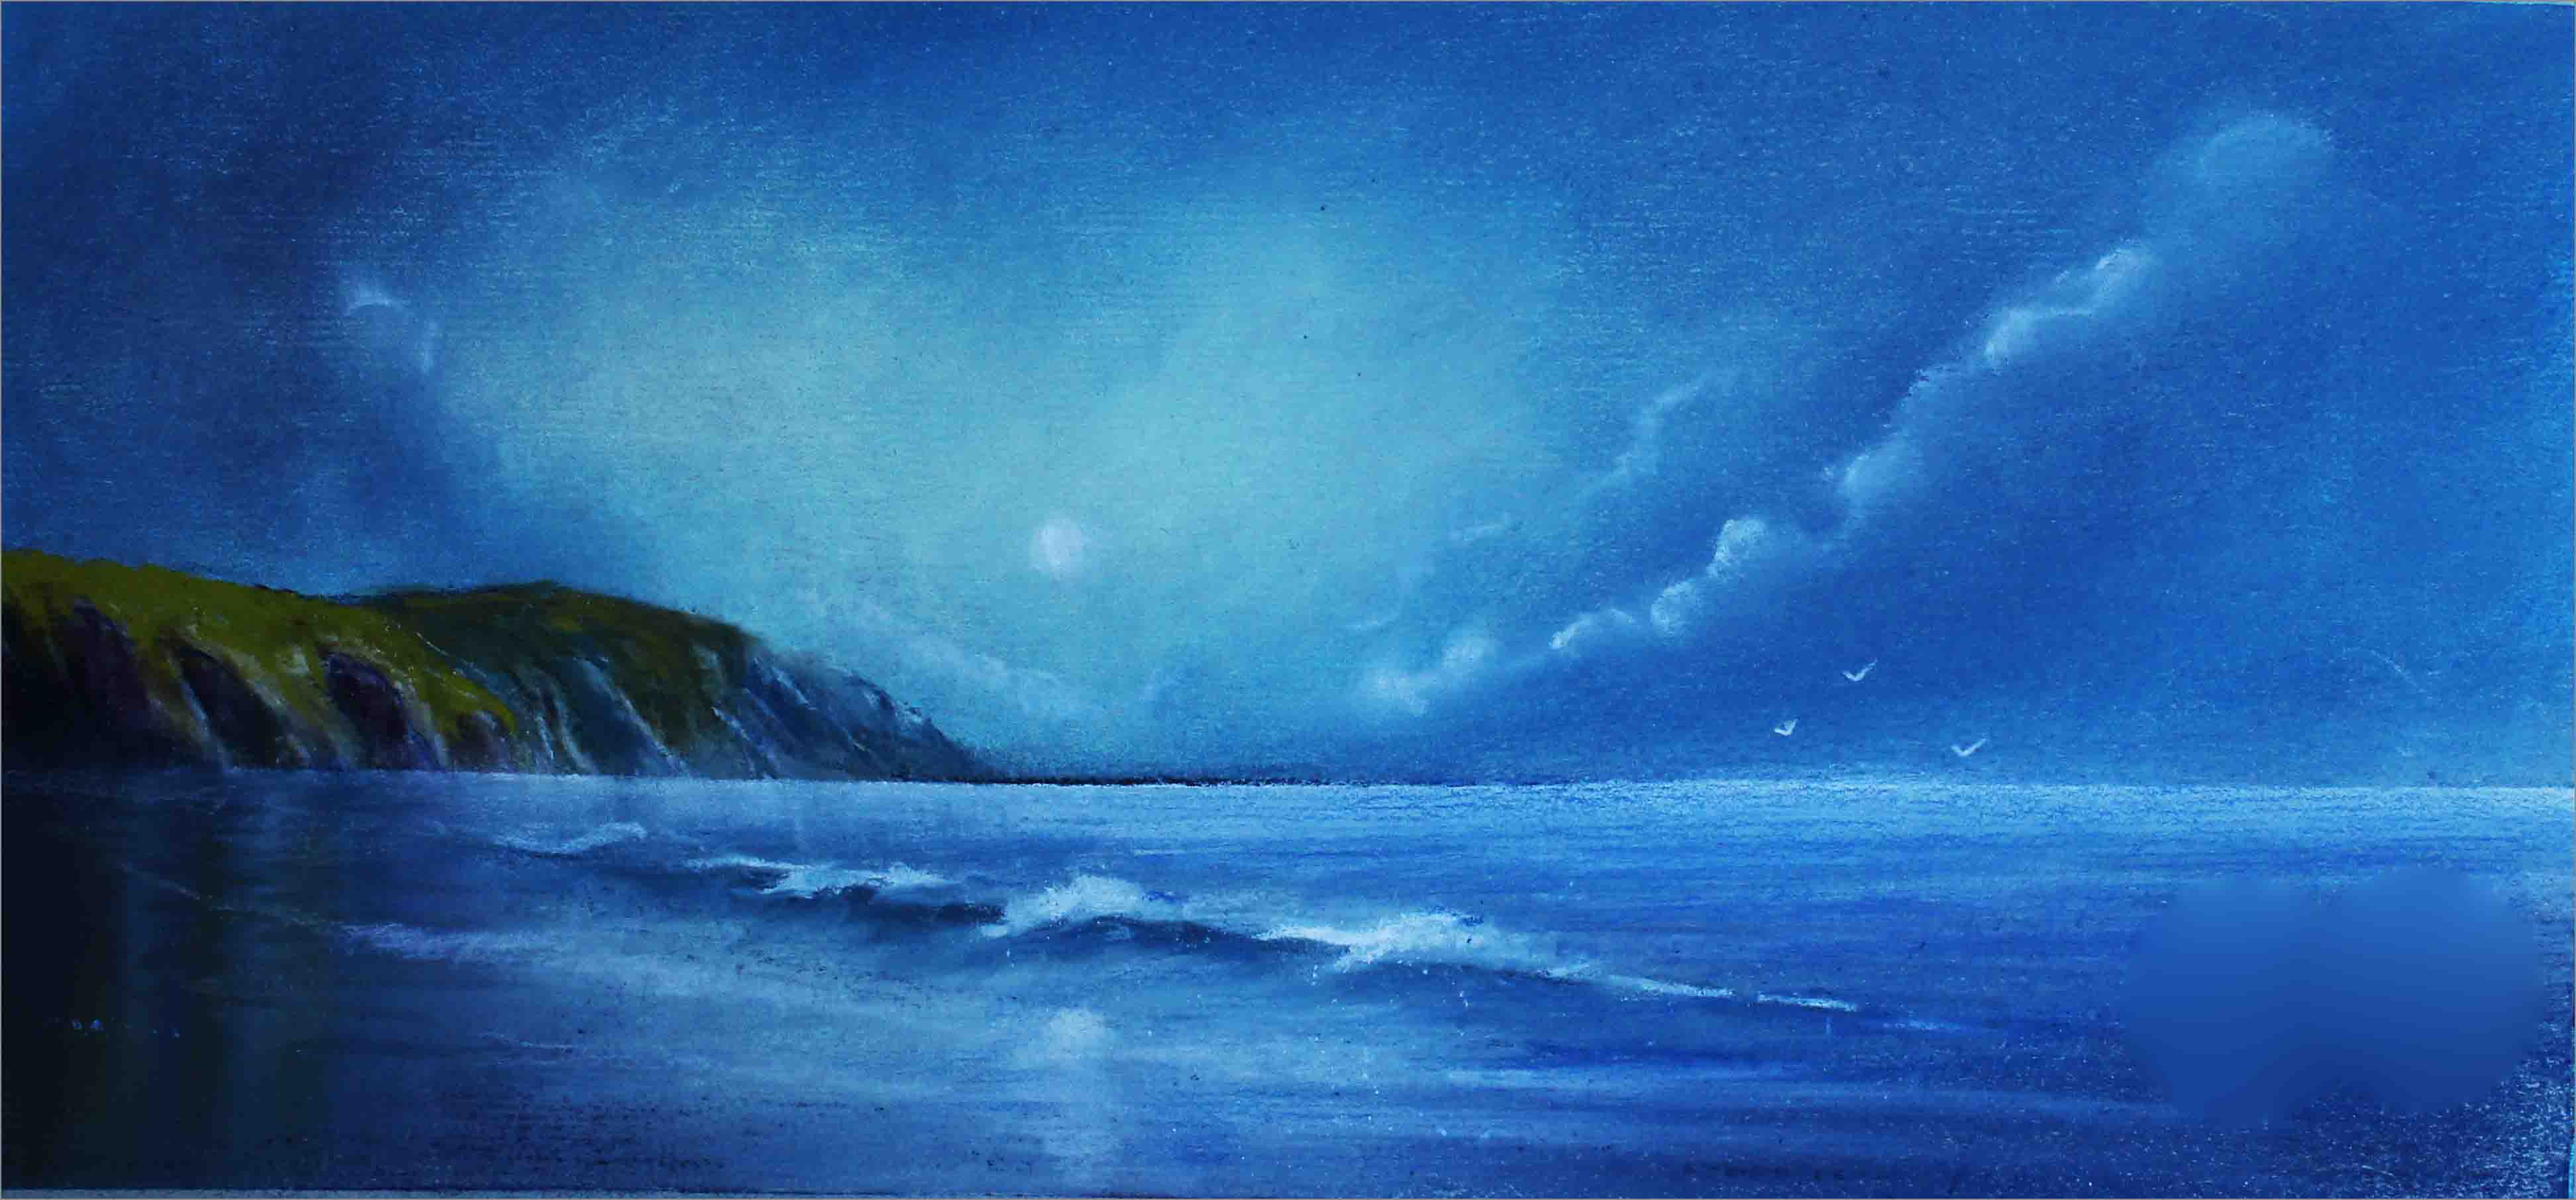
Paul Weaver – Coastal coves and corners
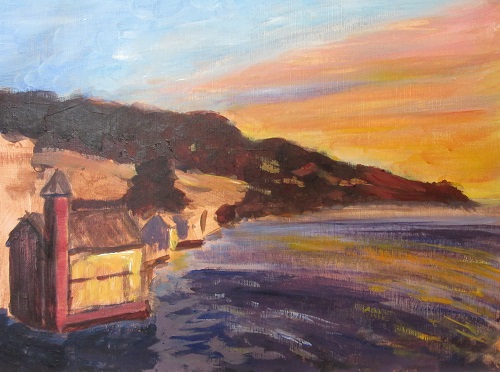
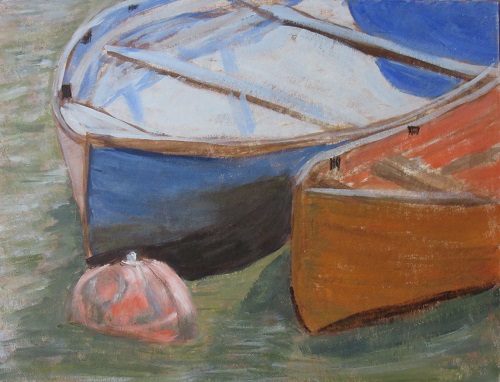

Paul’s demo at workshop: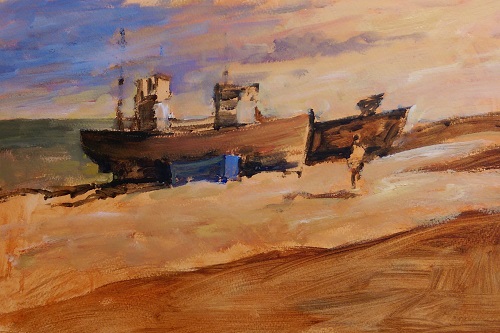 Half way
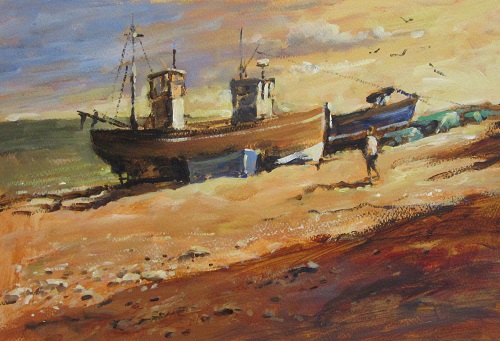 Final painting
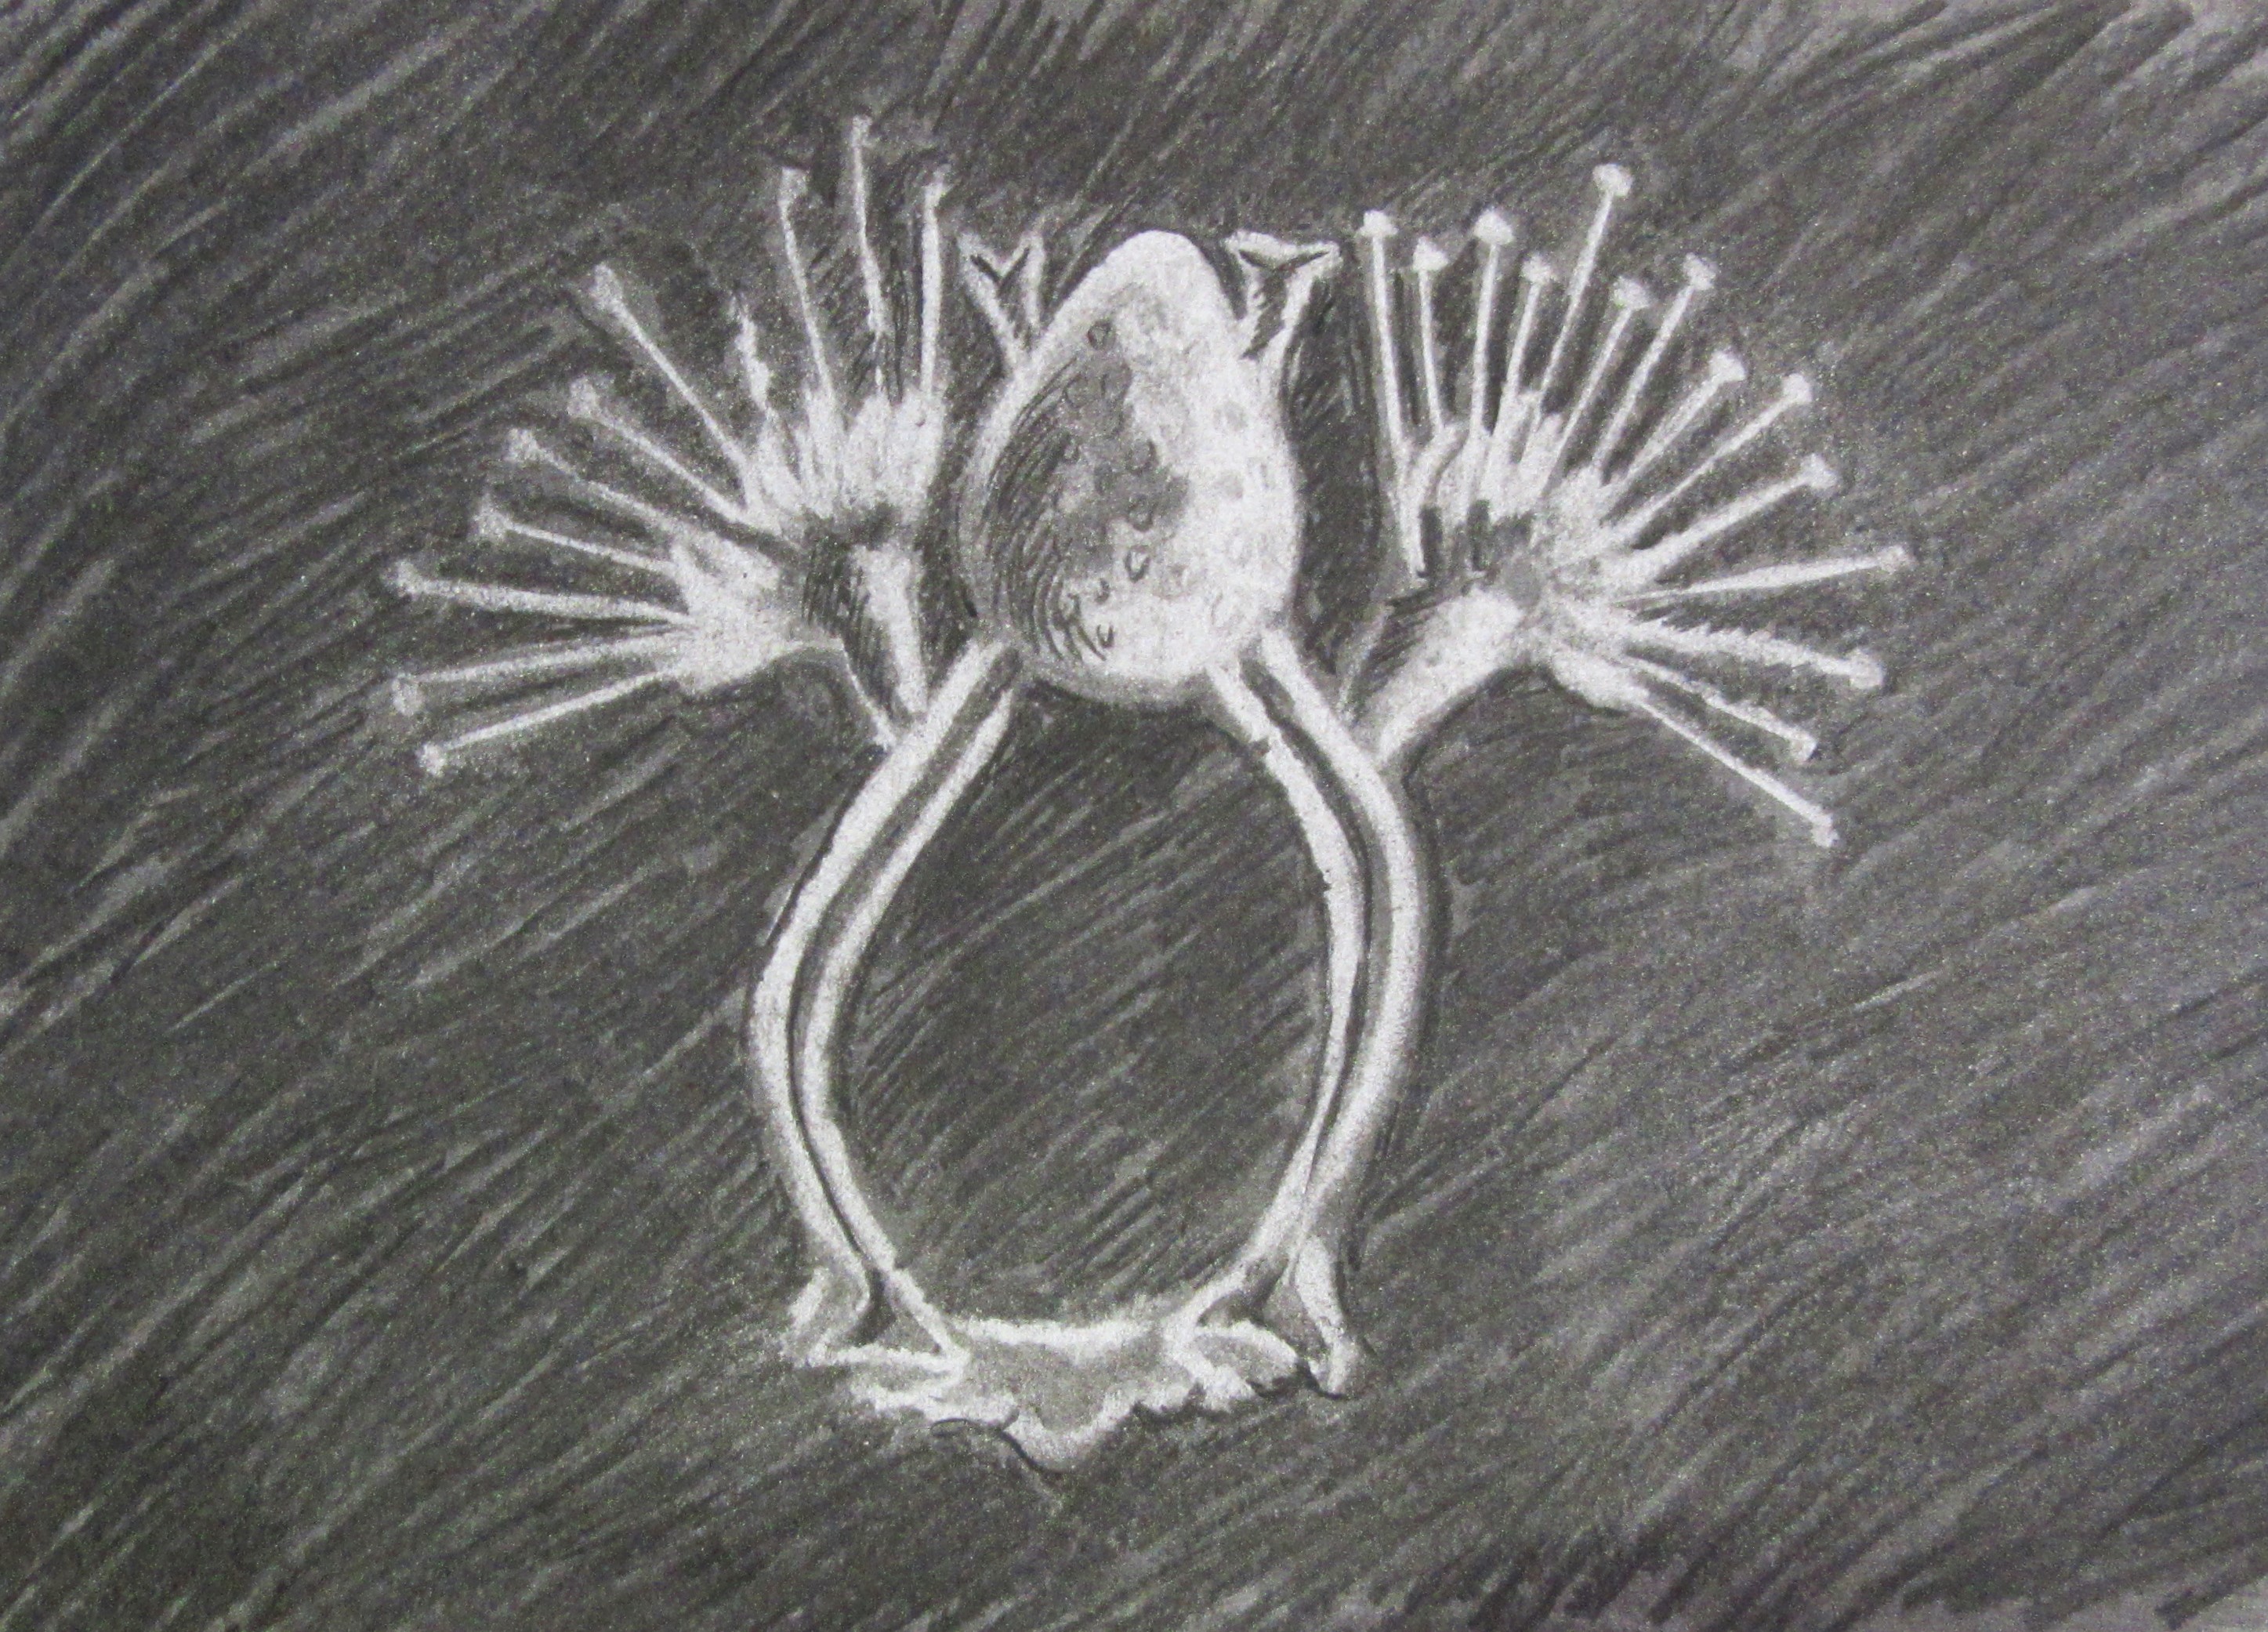
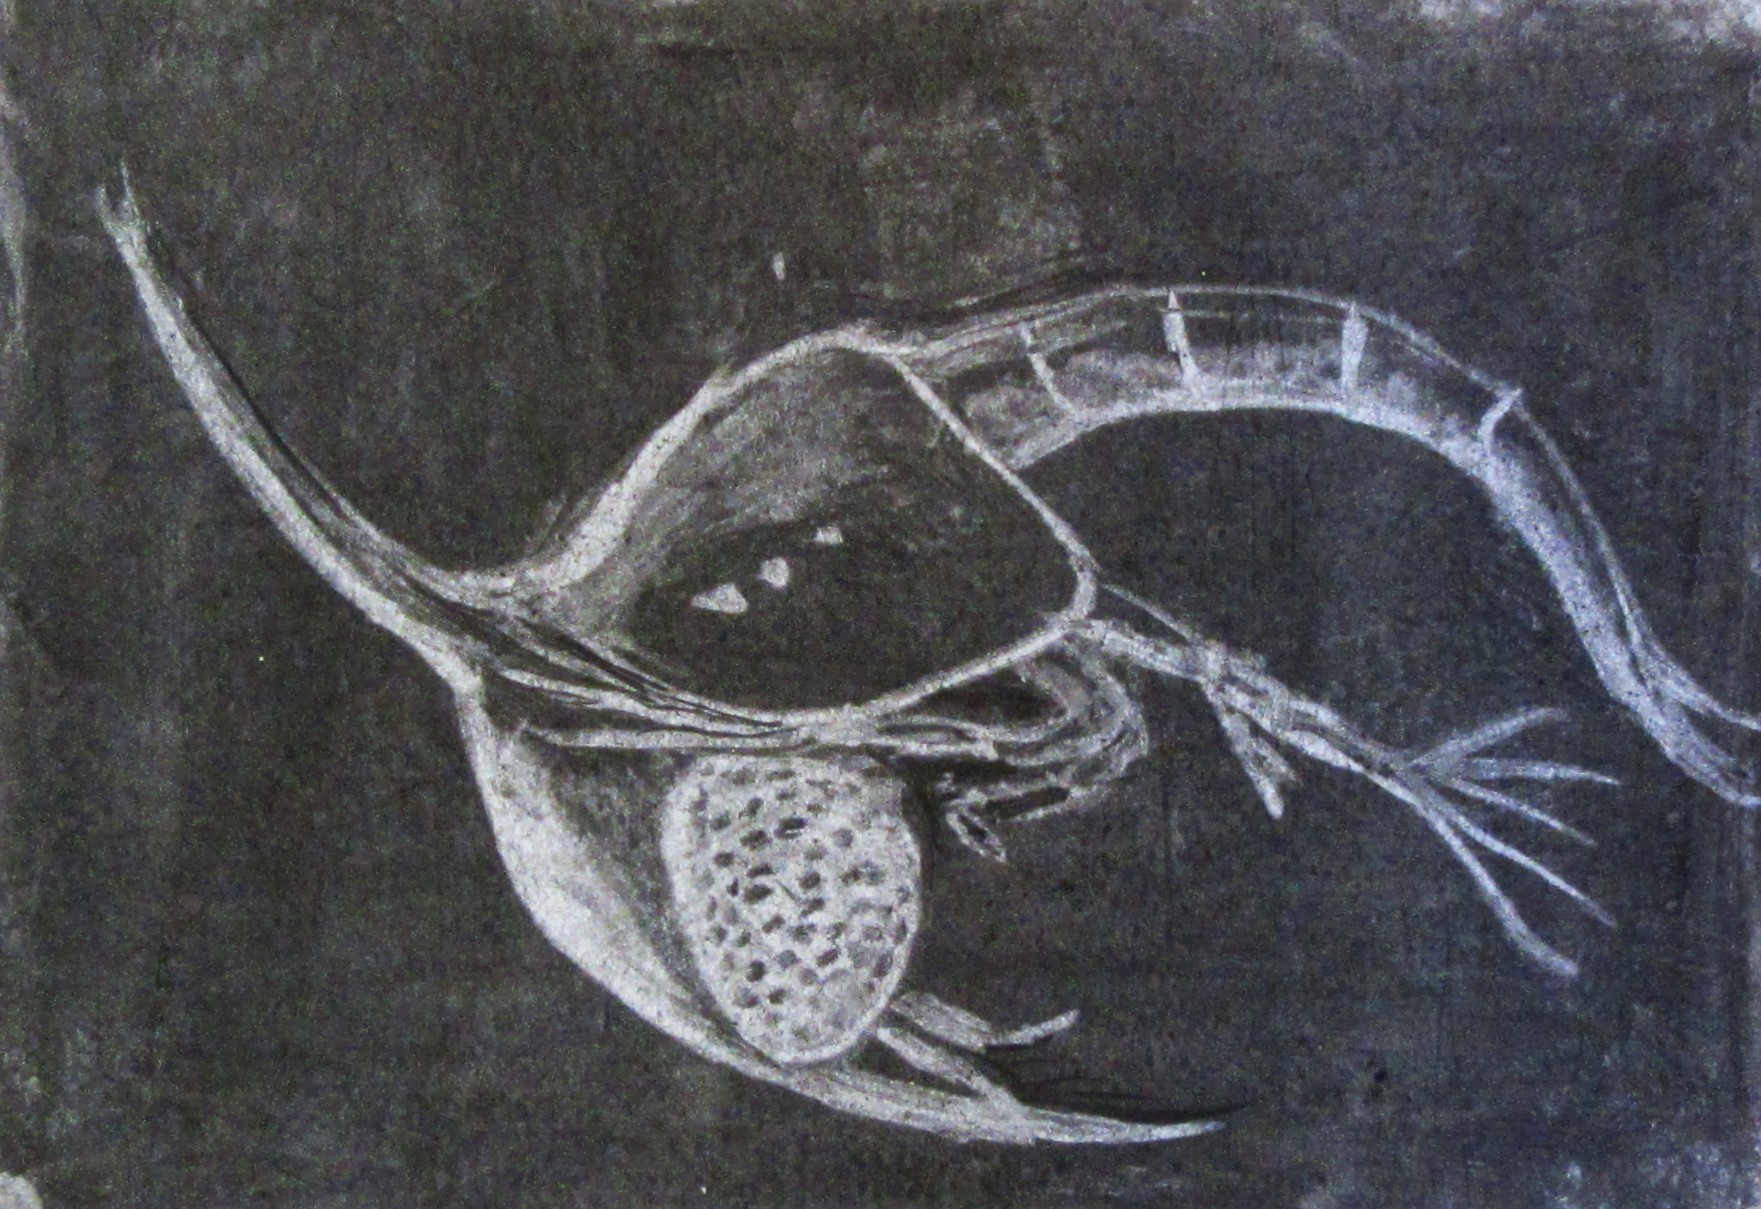
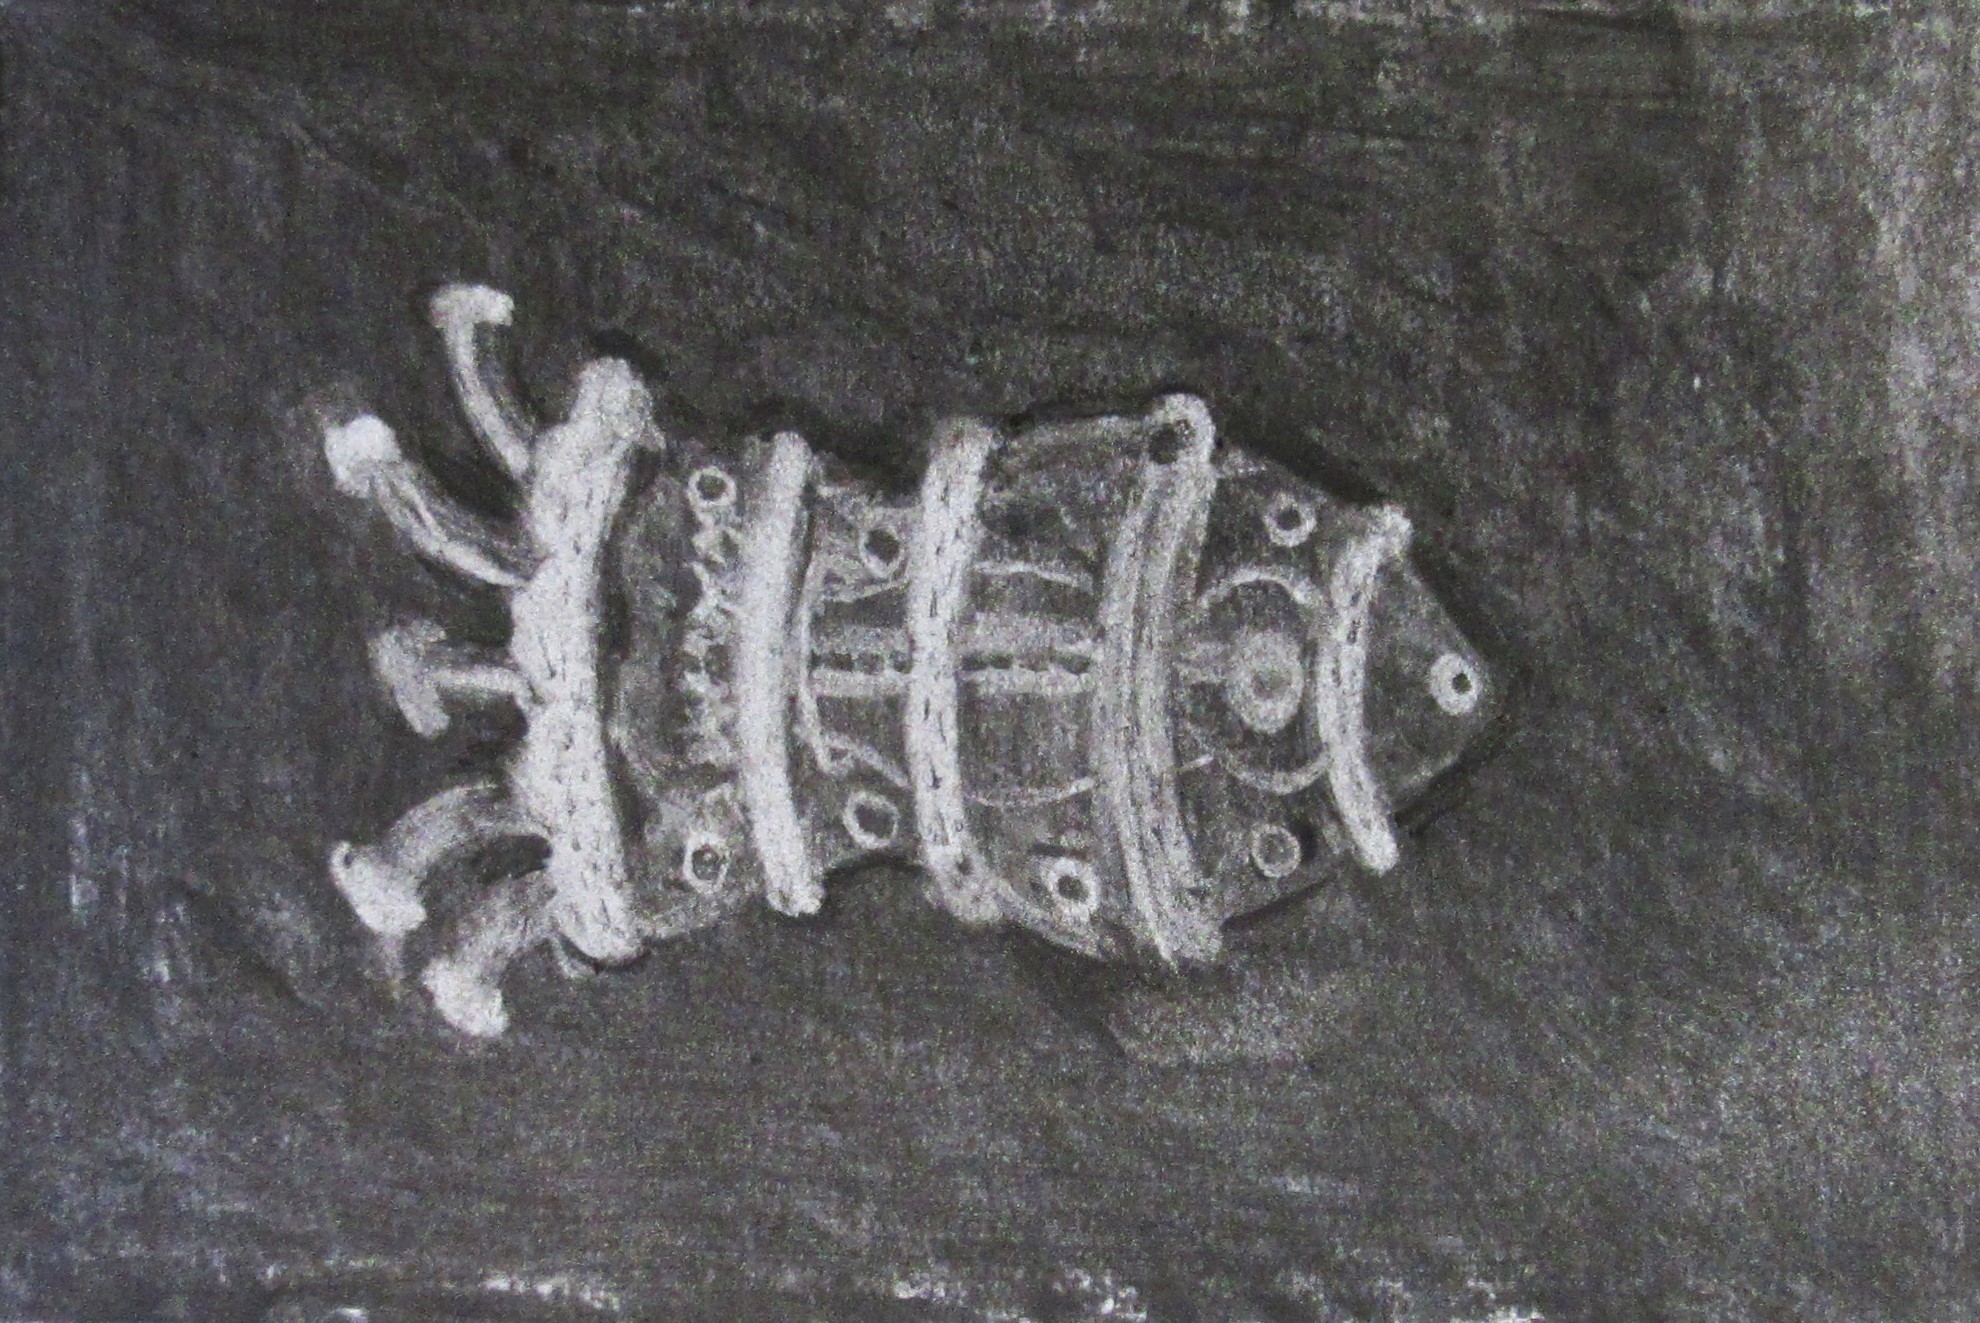
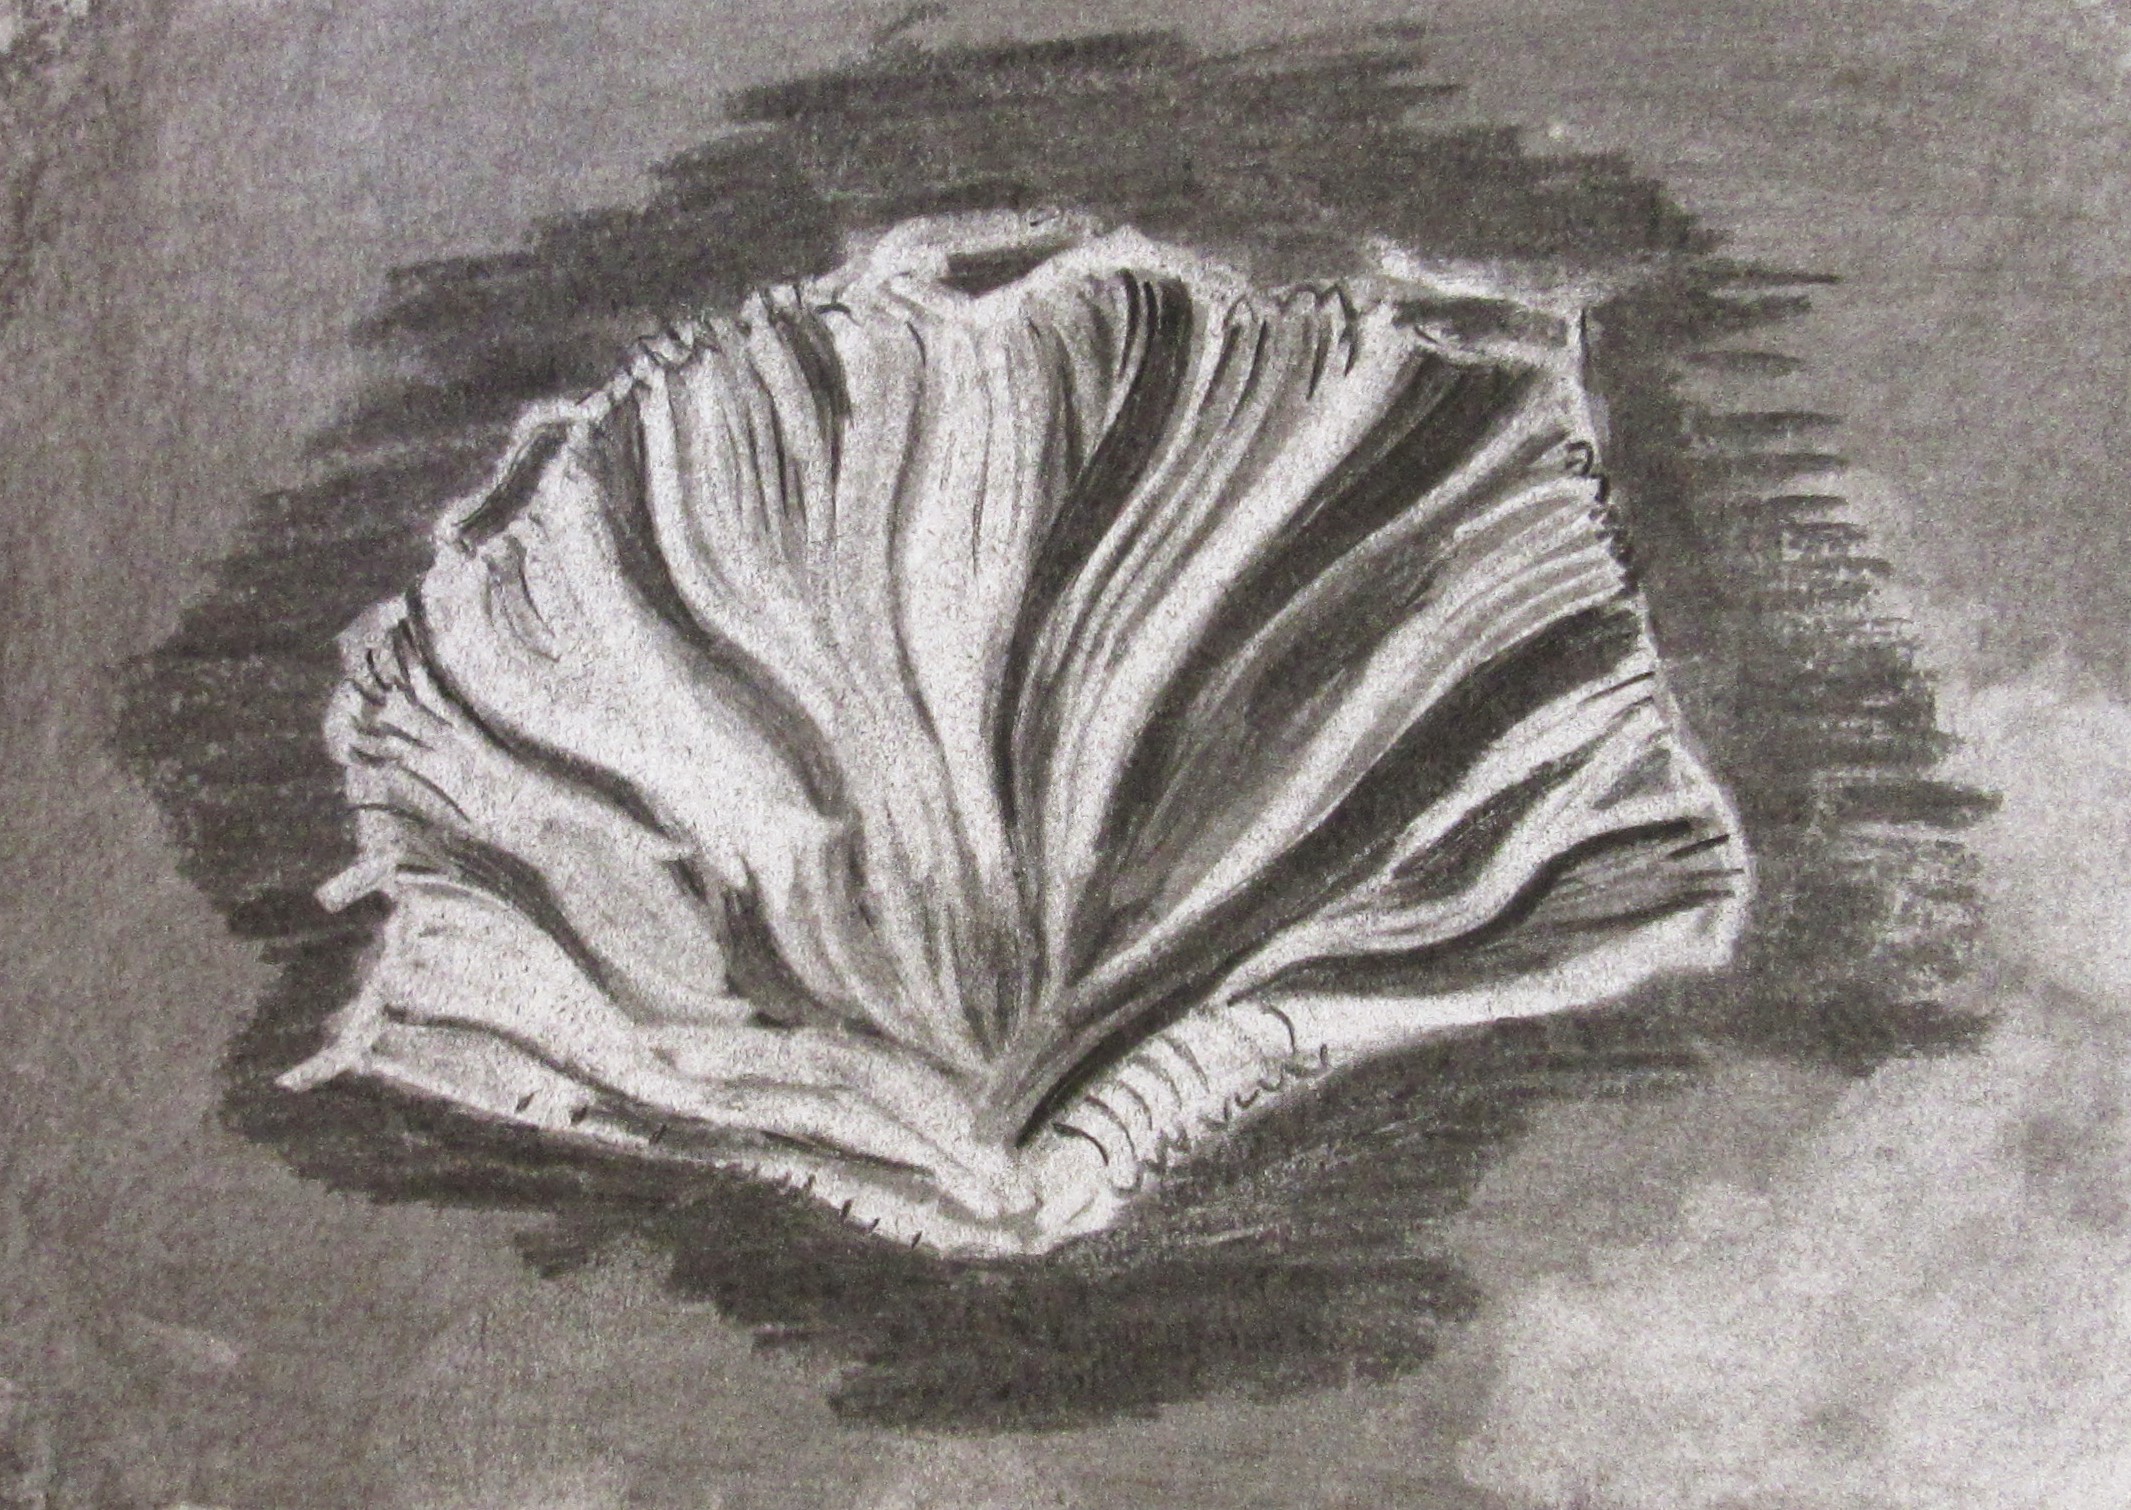
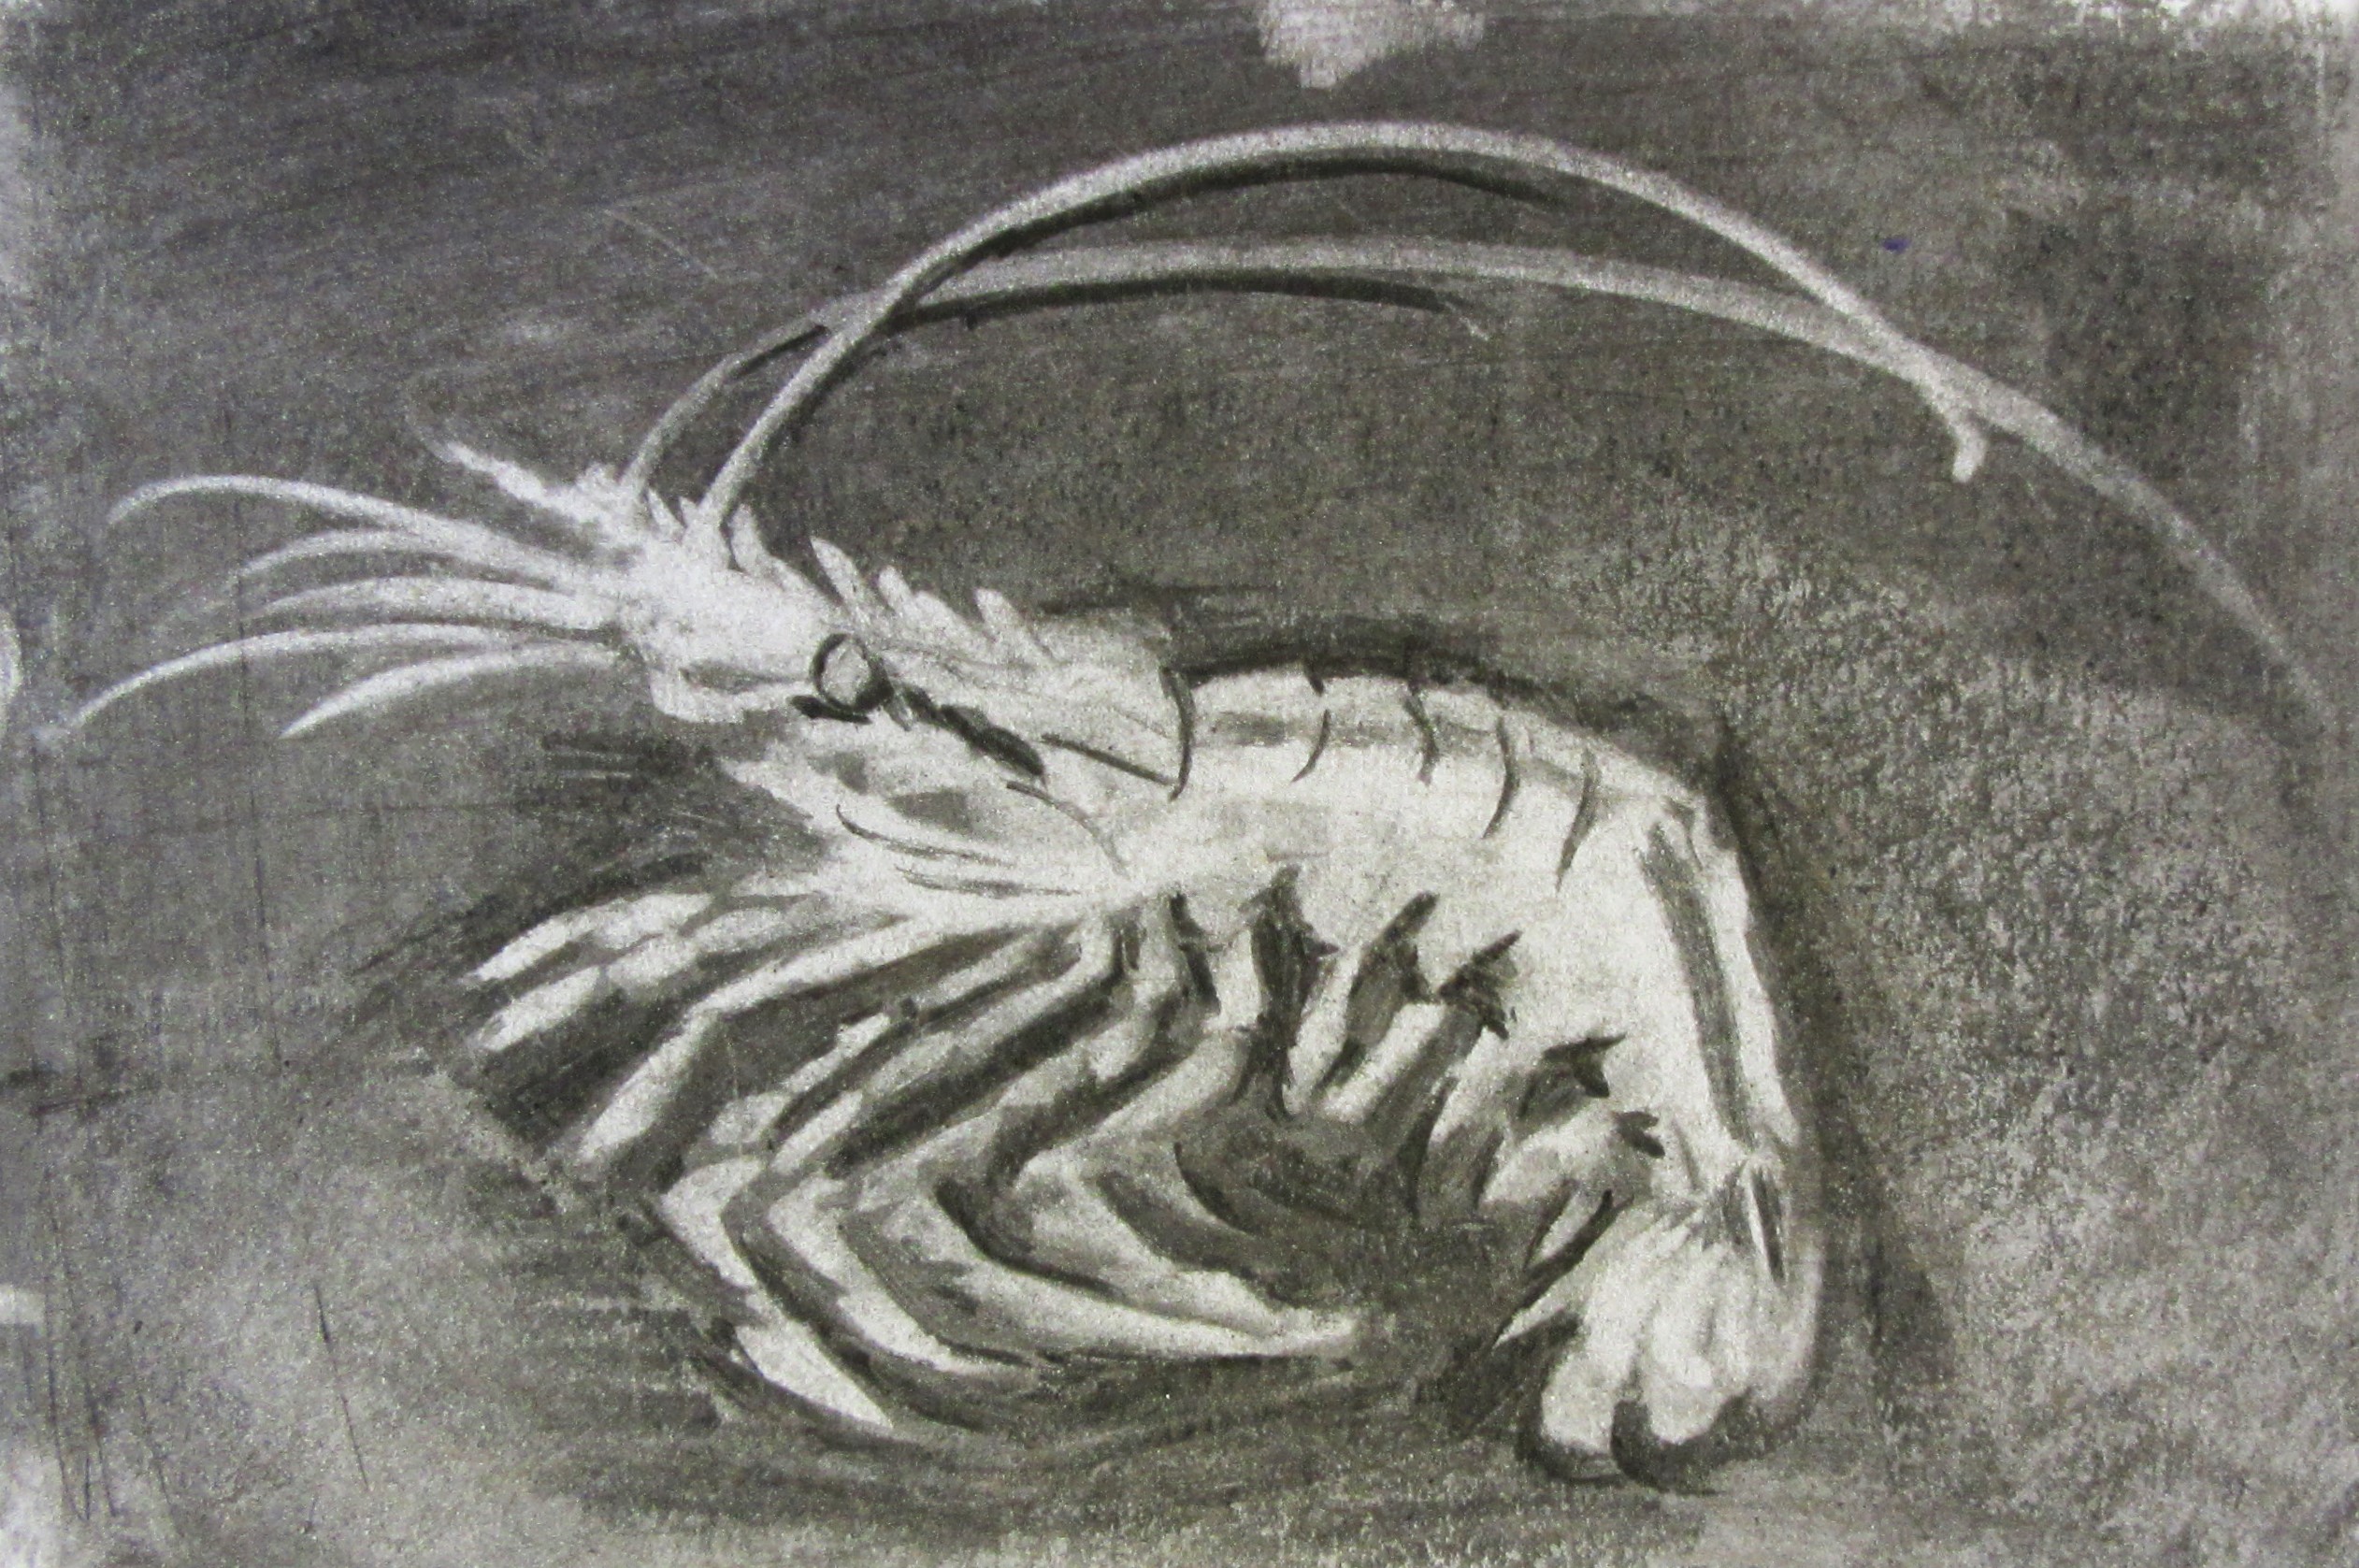
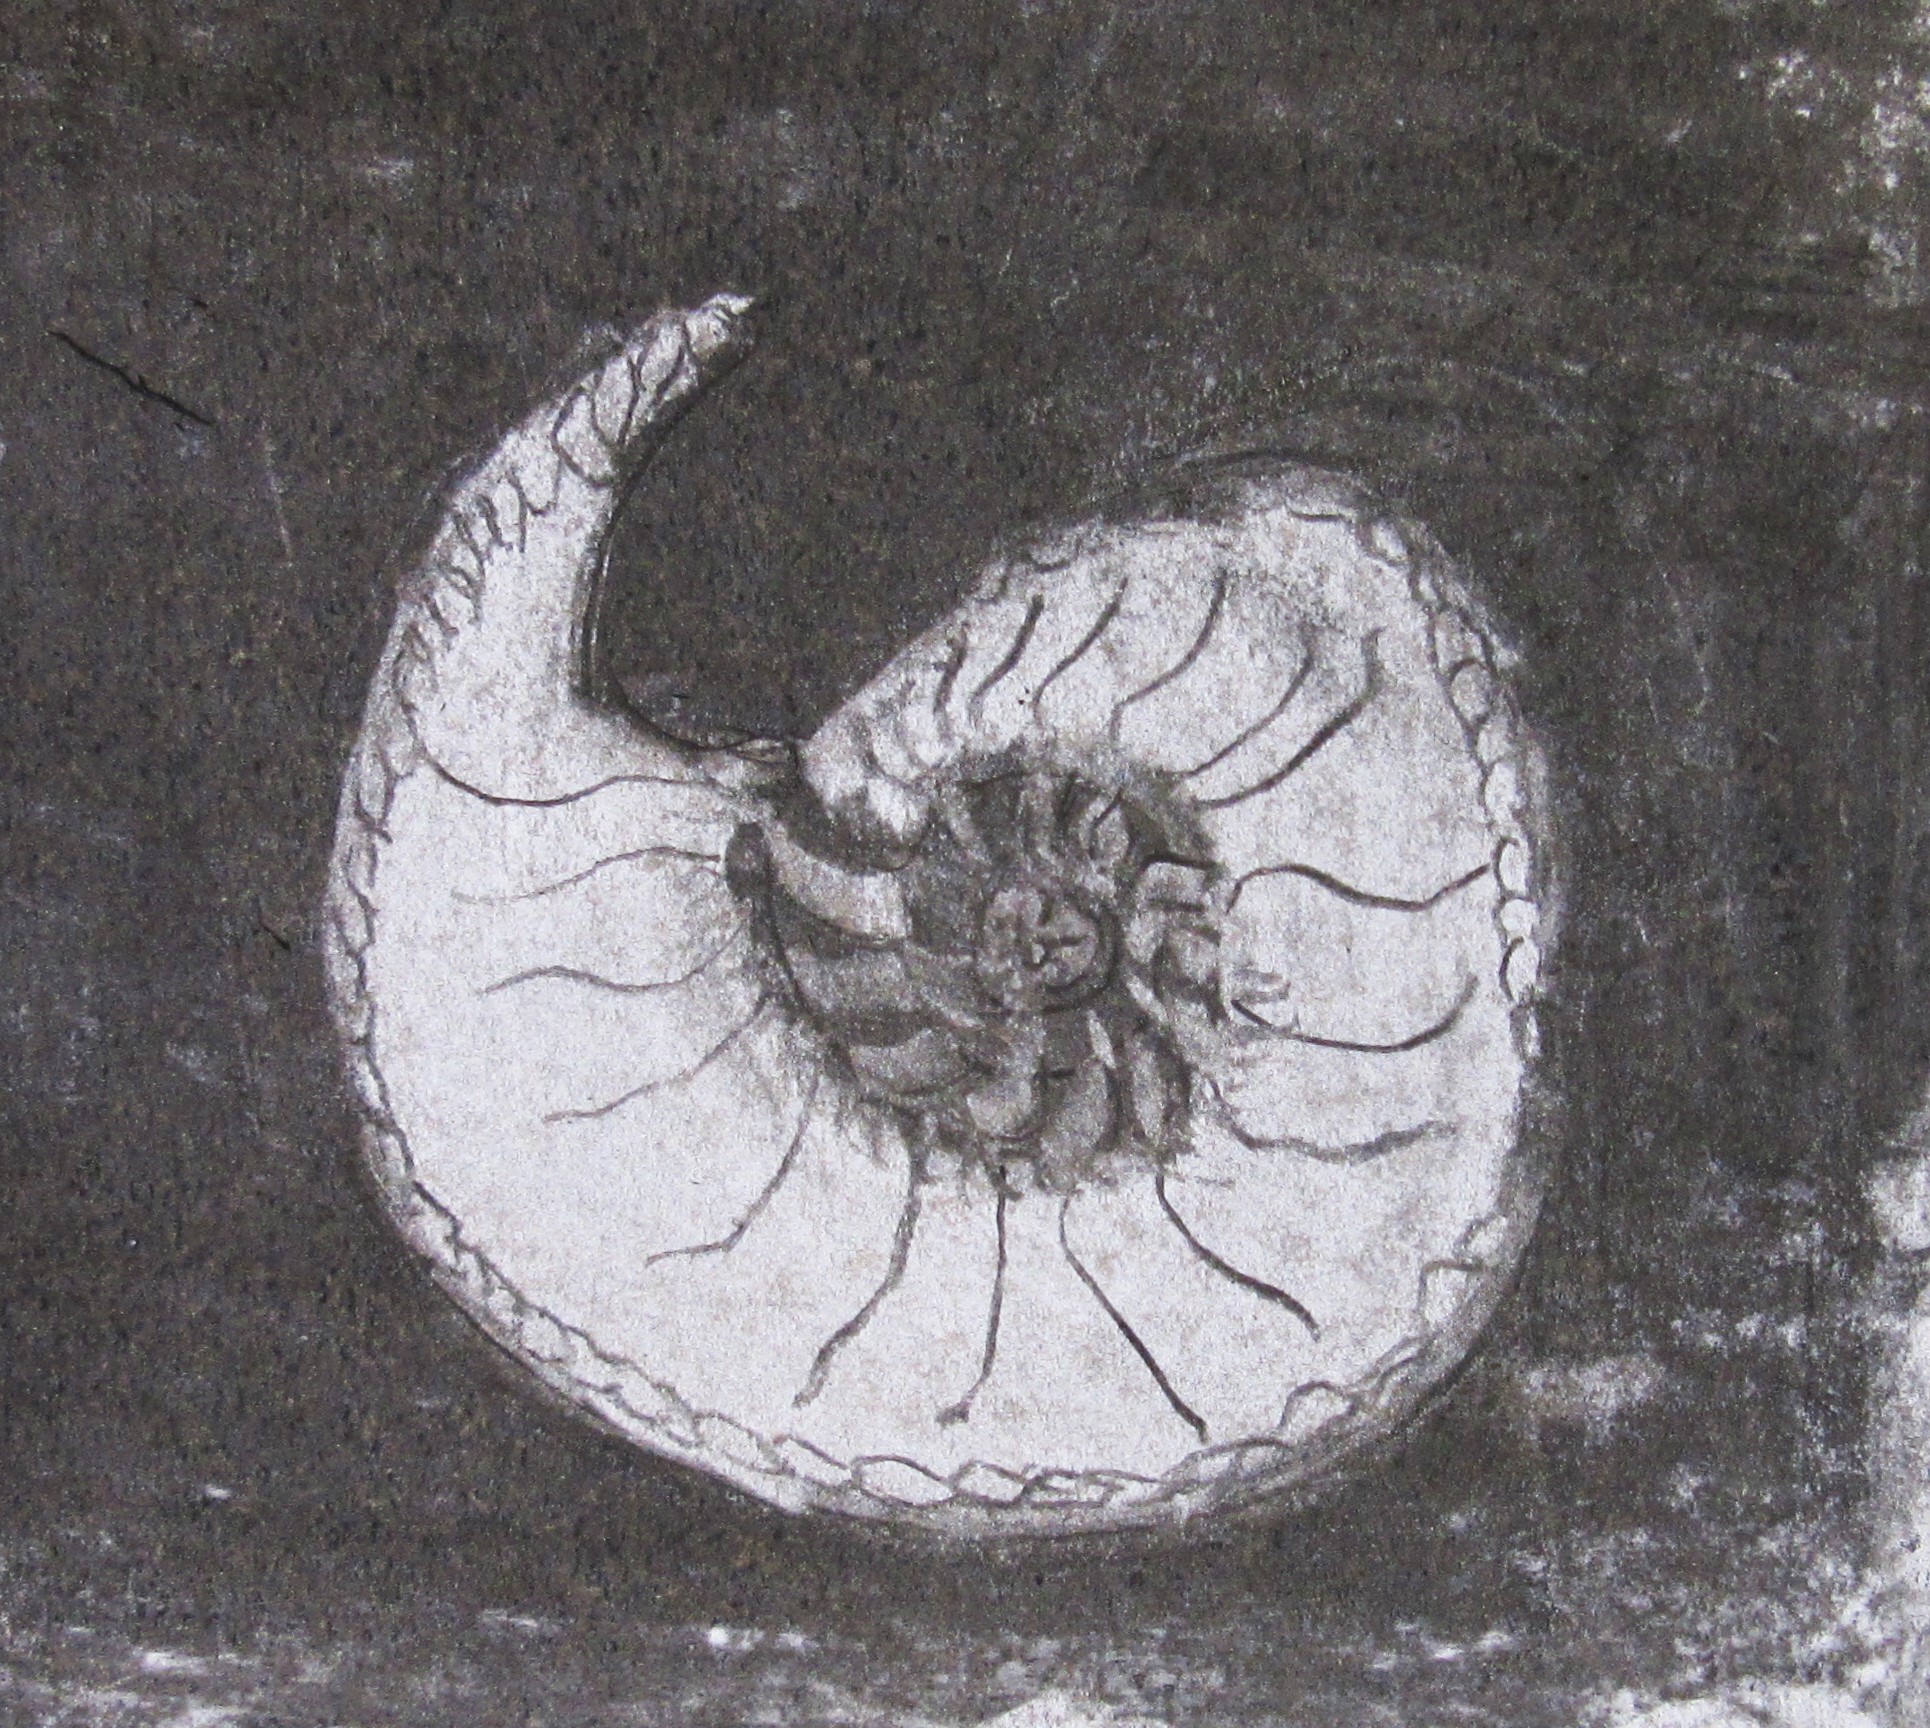
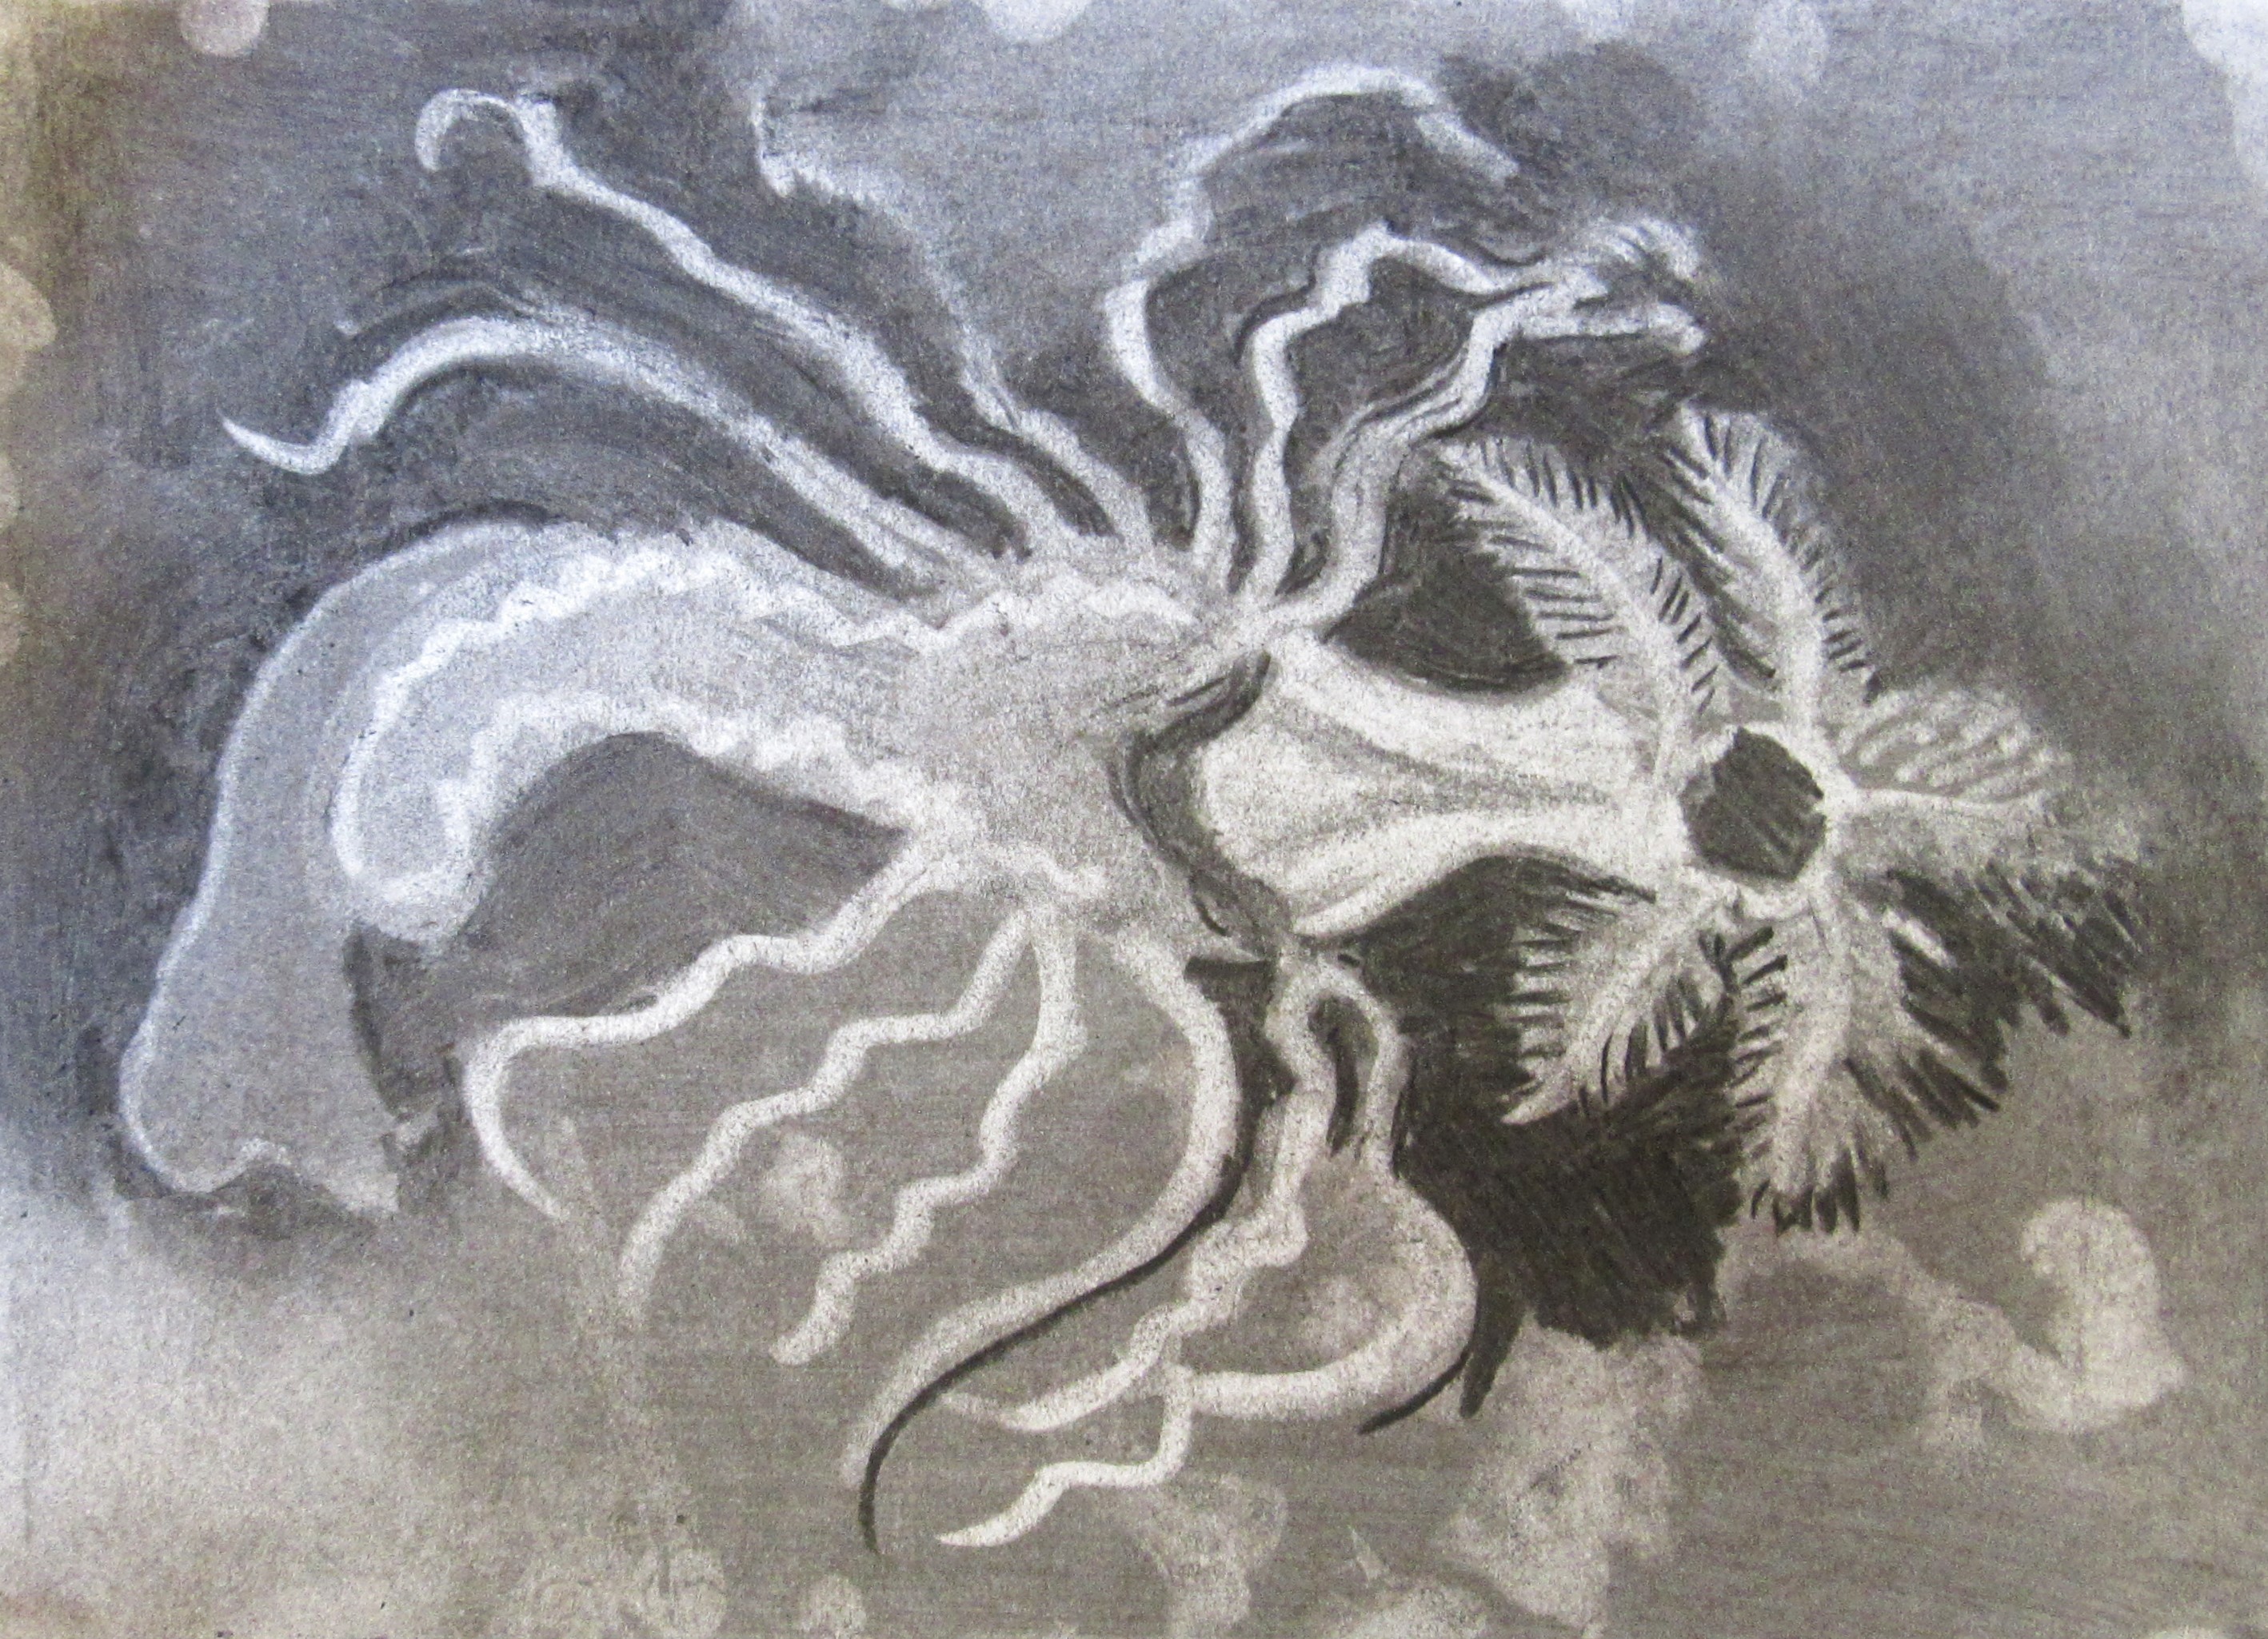
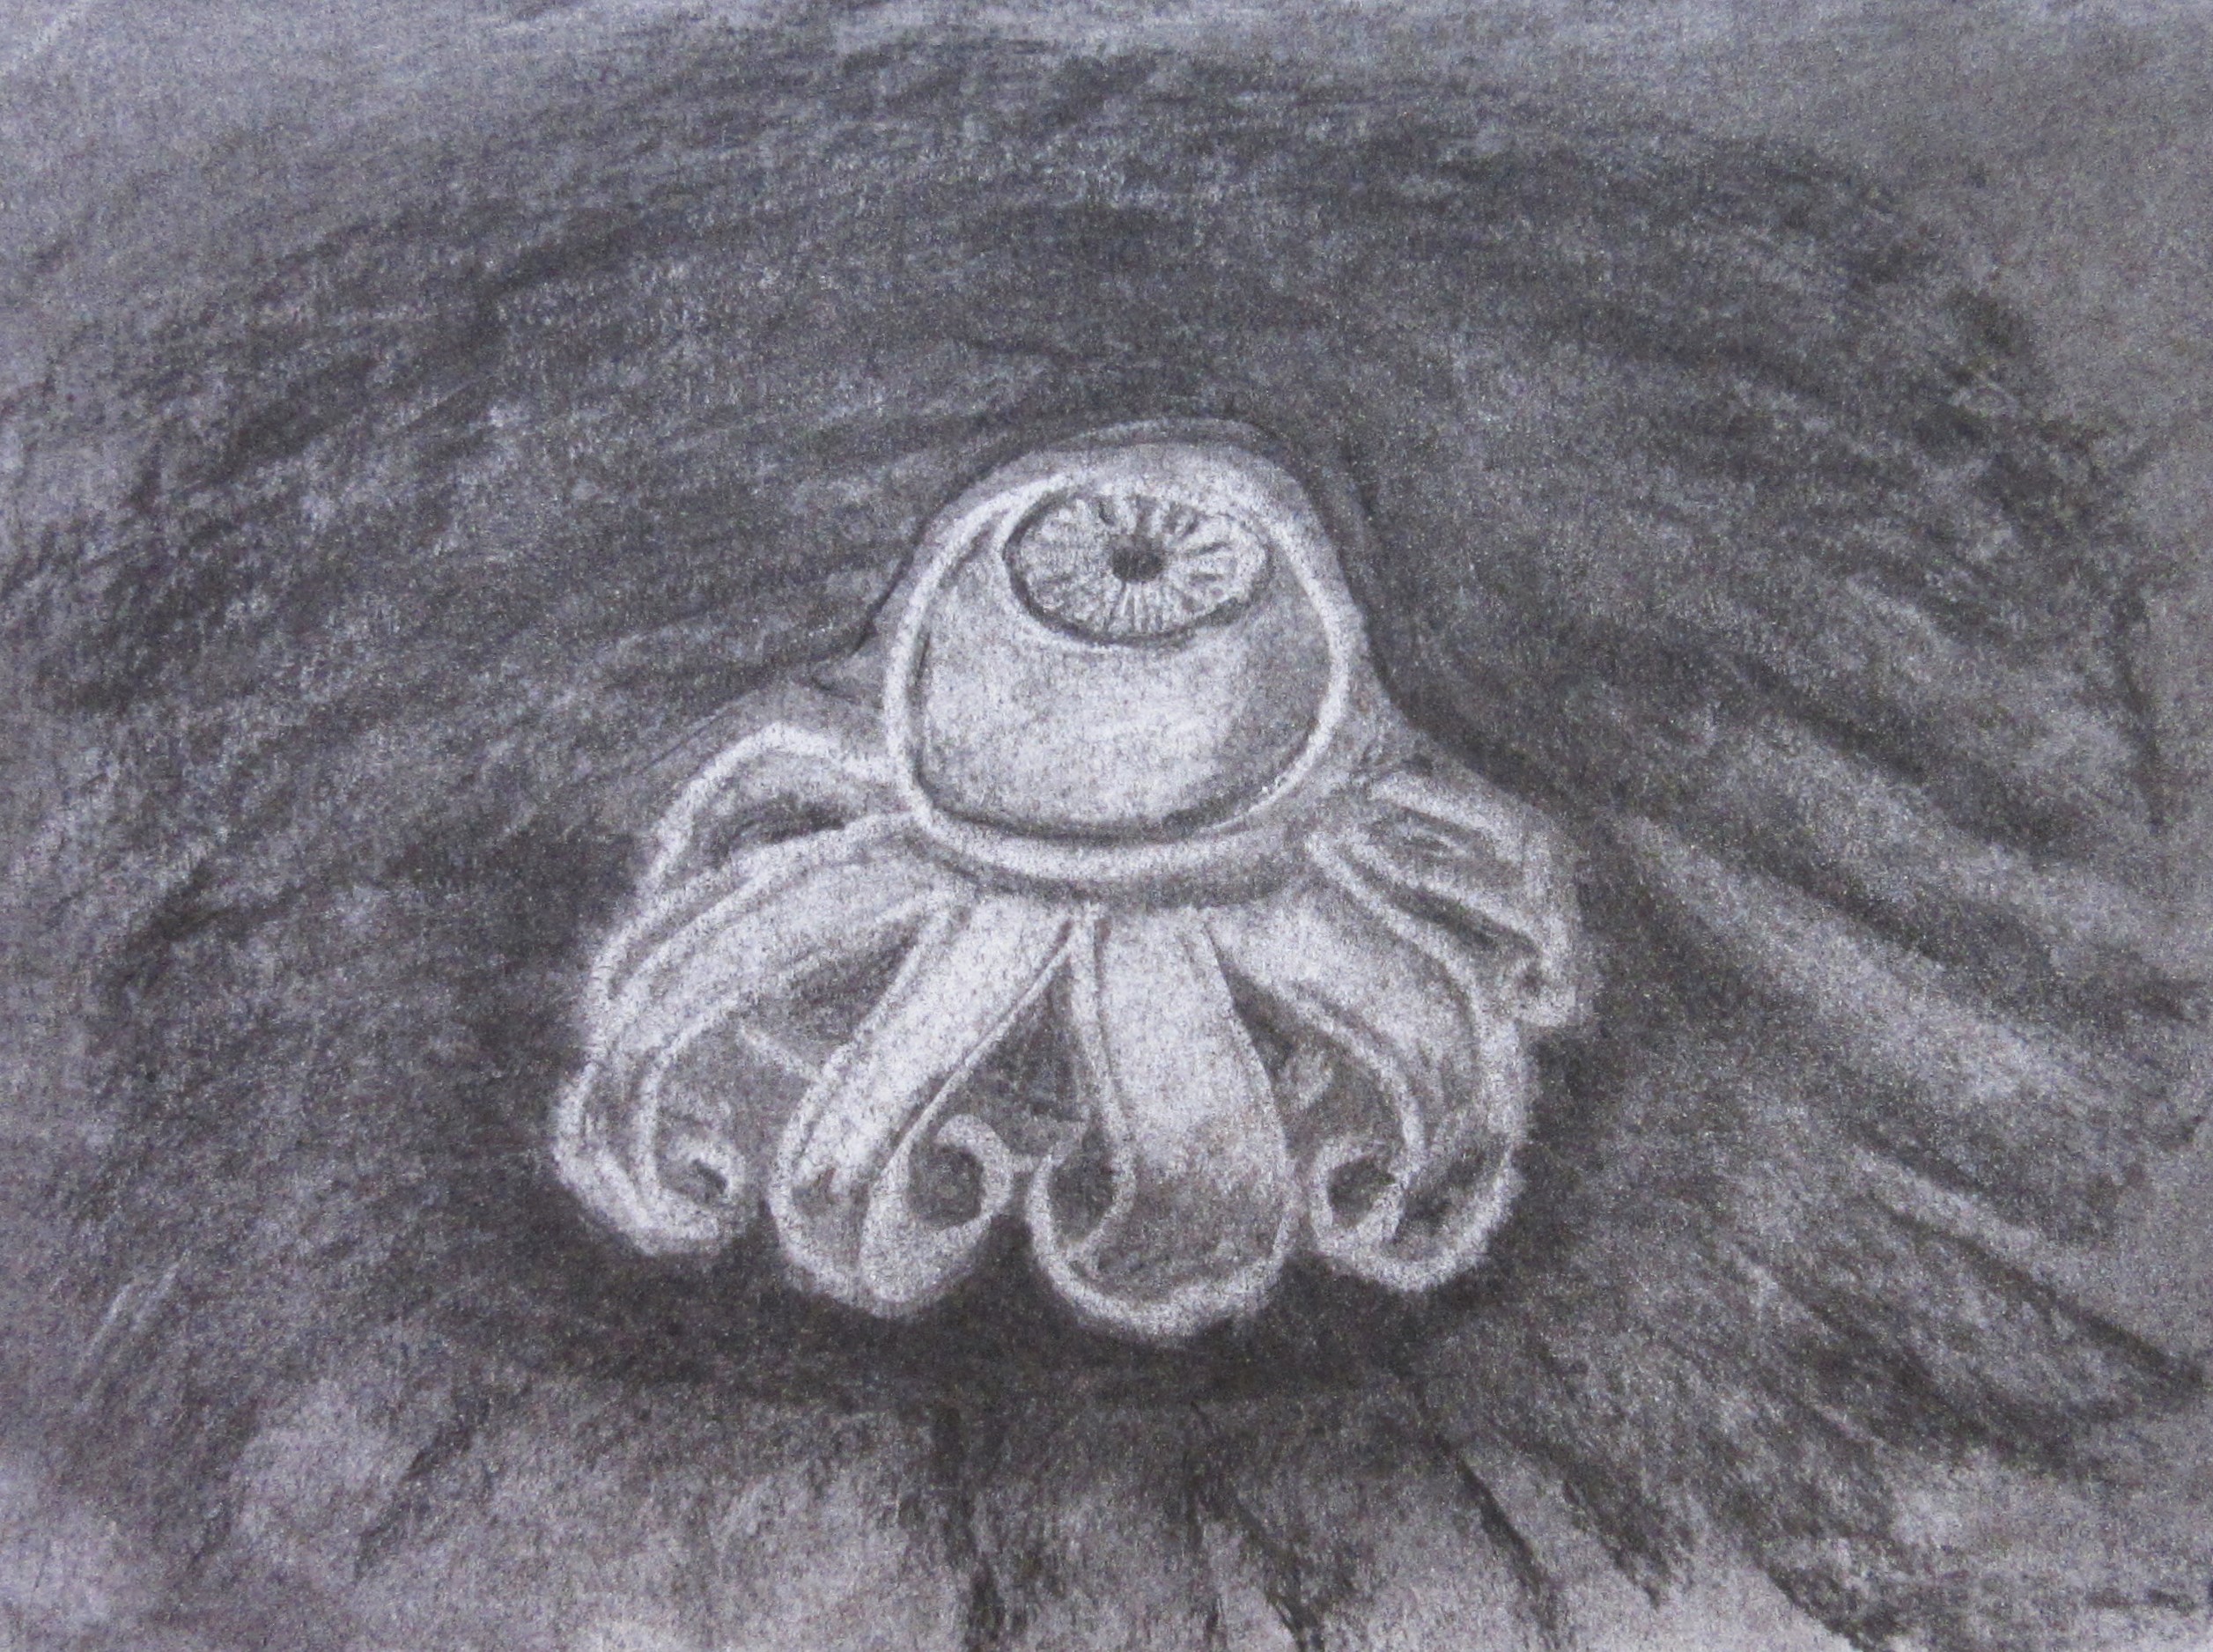
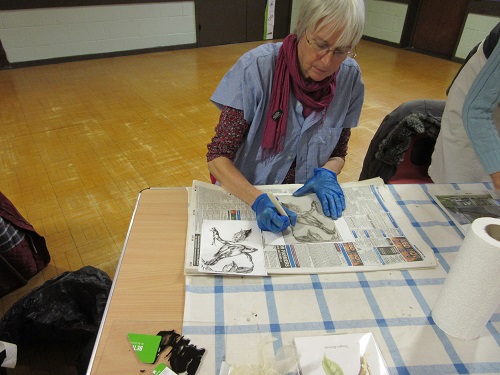
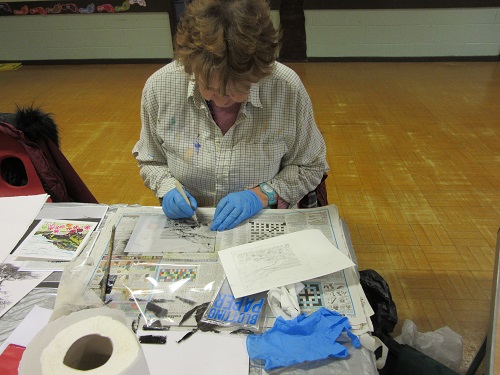
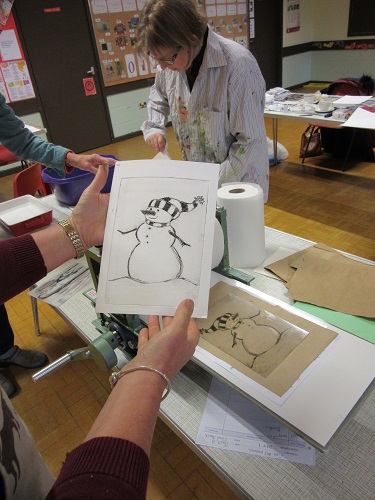
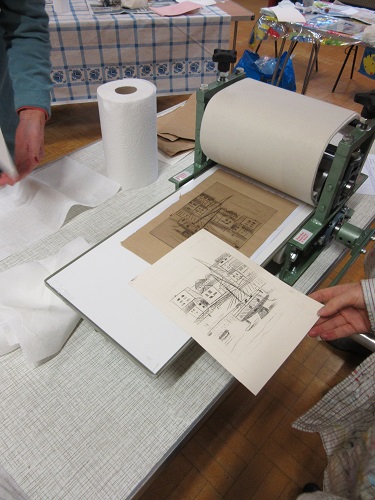
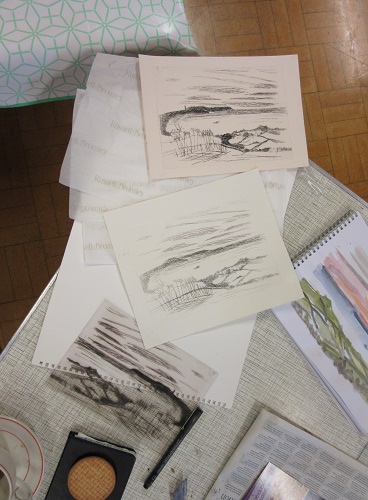
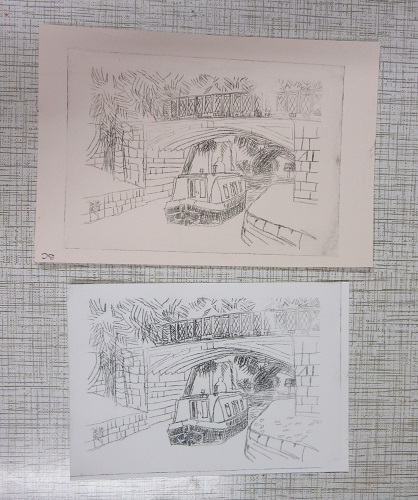
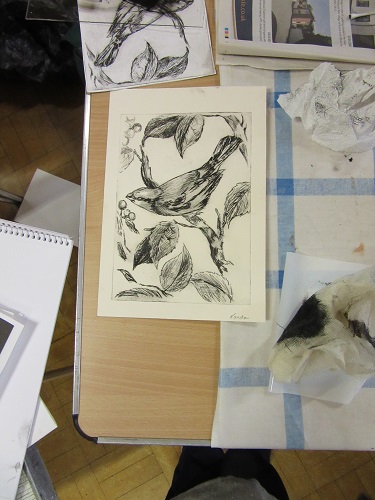
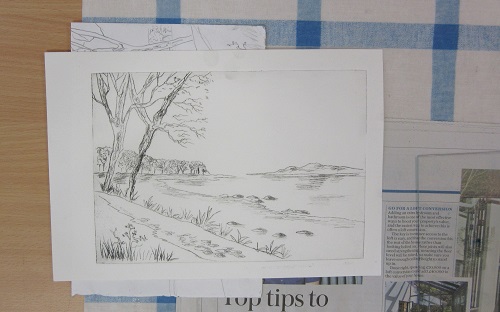
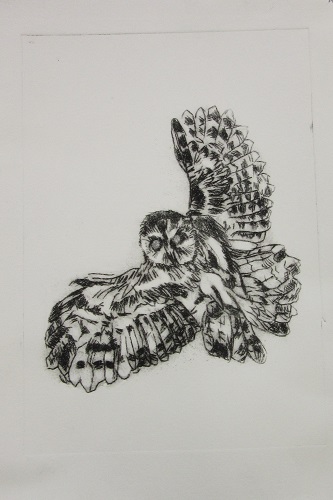
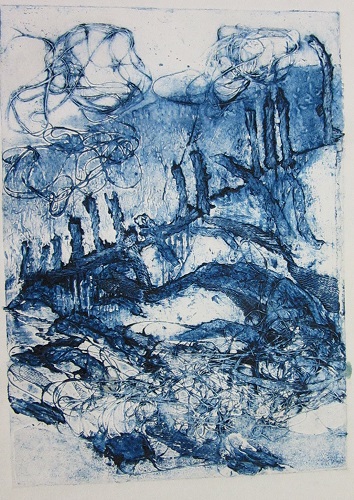
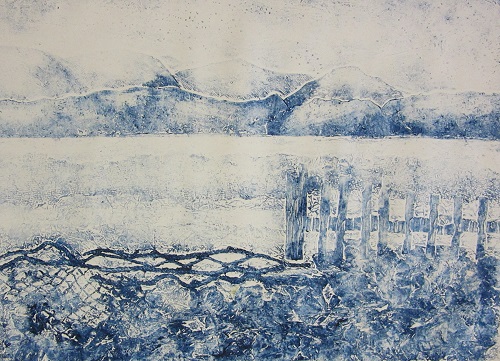
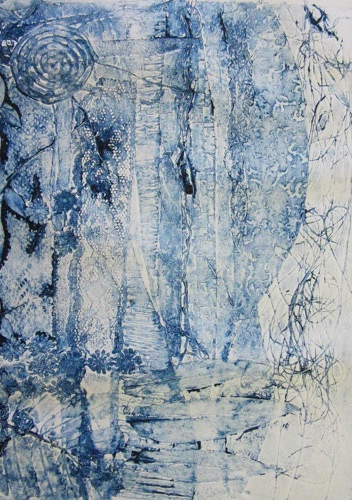
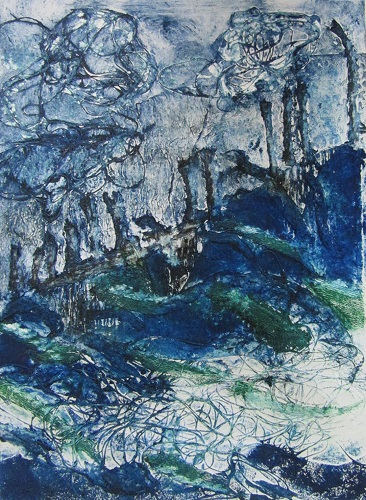
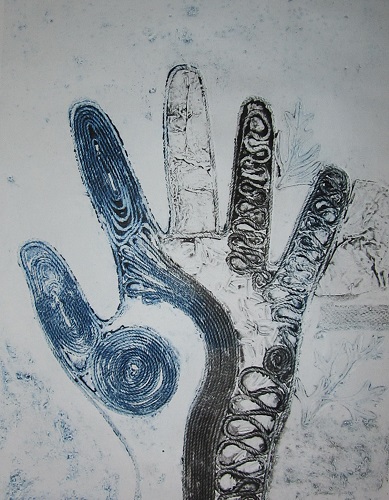
 Vanessa Crocker – Dry point etching and printing

 Stephen Foster – Using a palette knife


 Rob Leckey – Painting without brushes


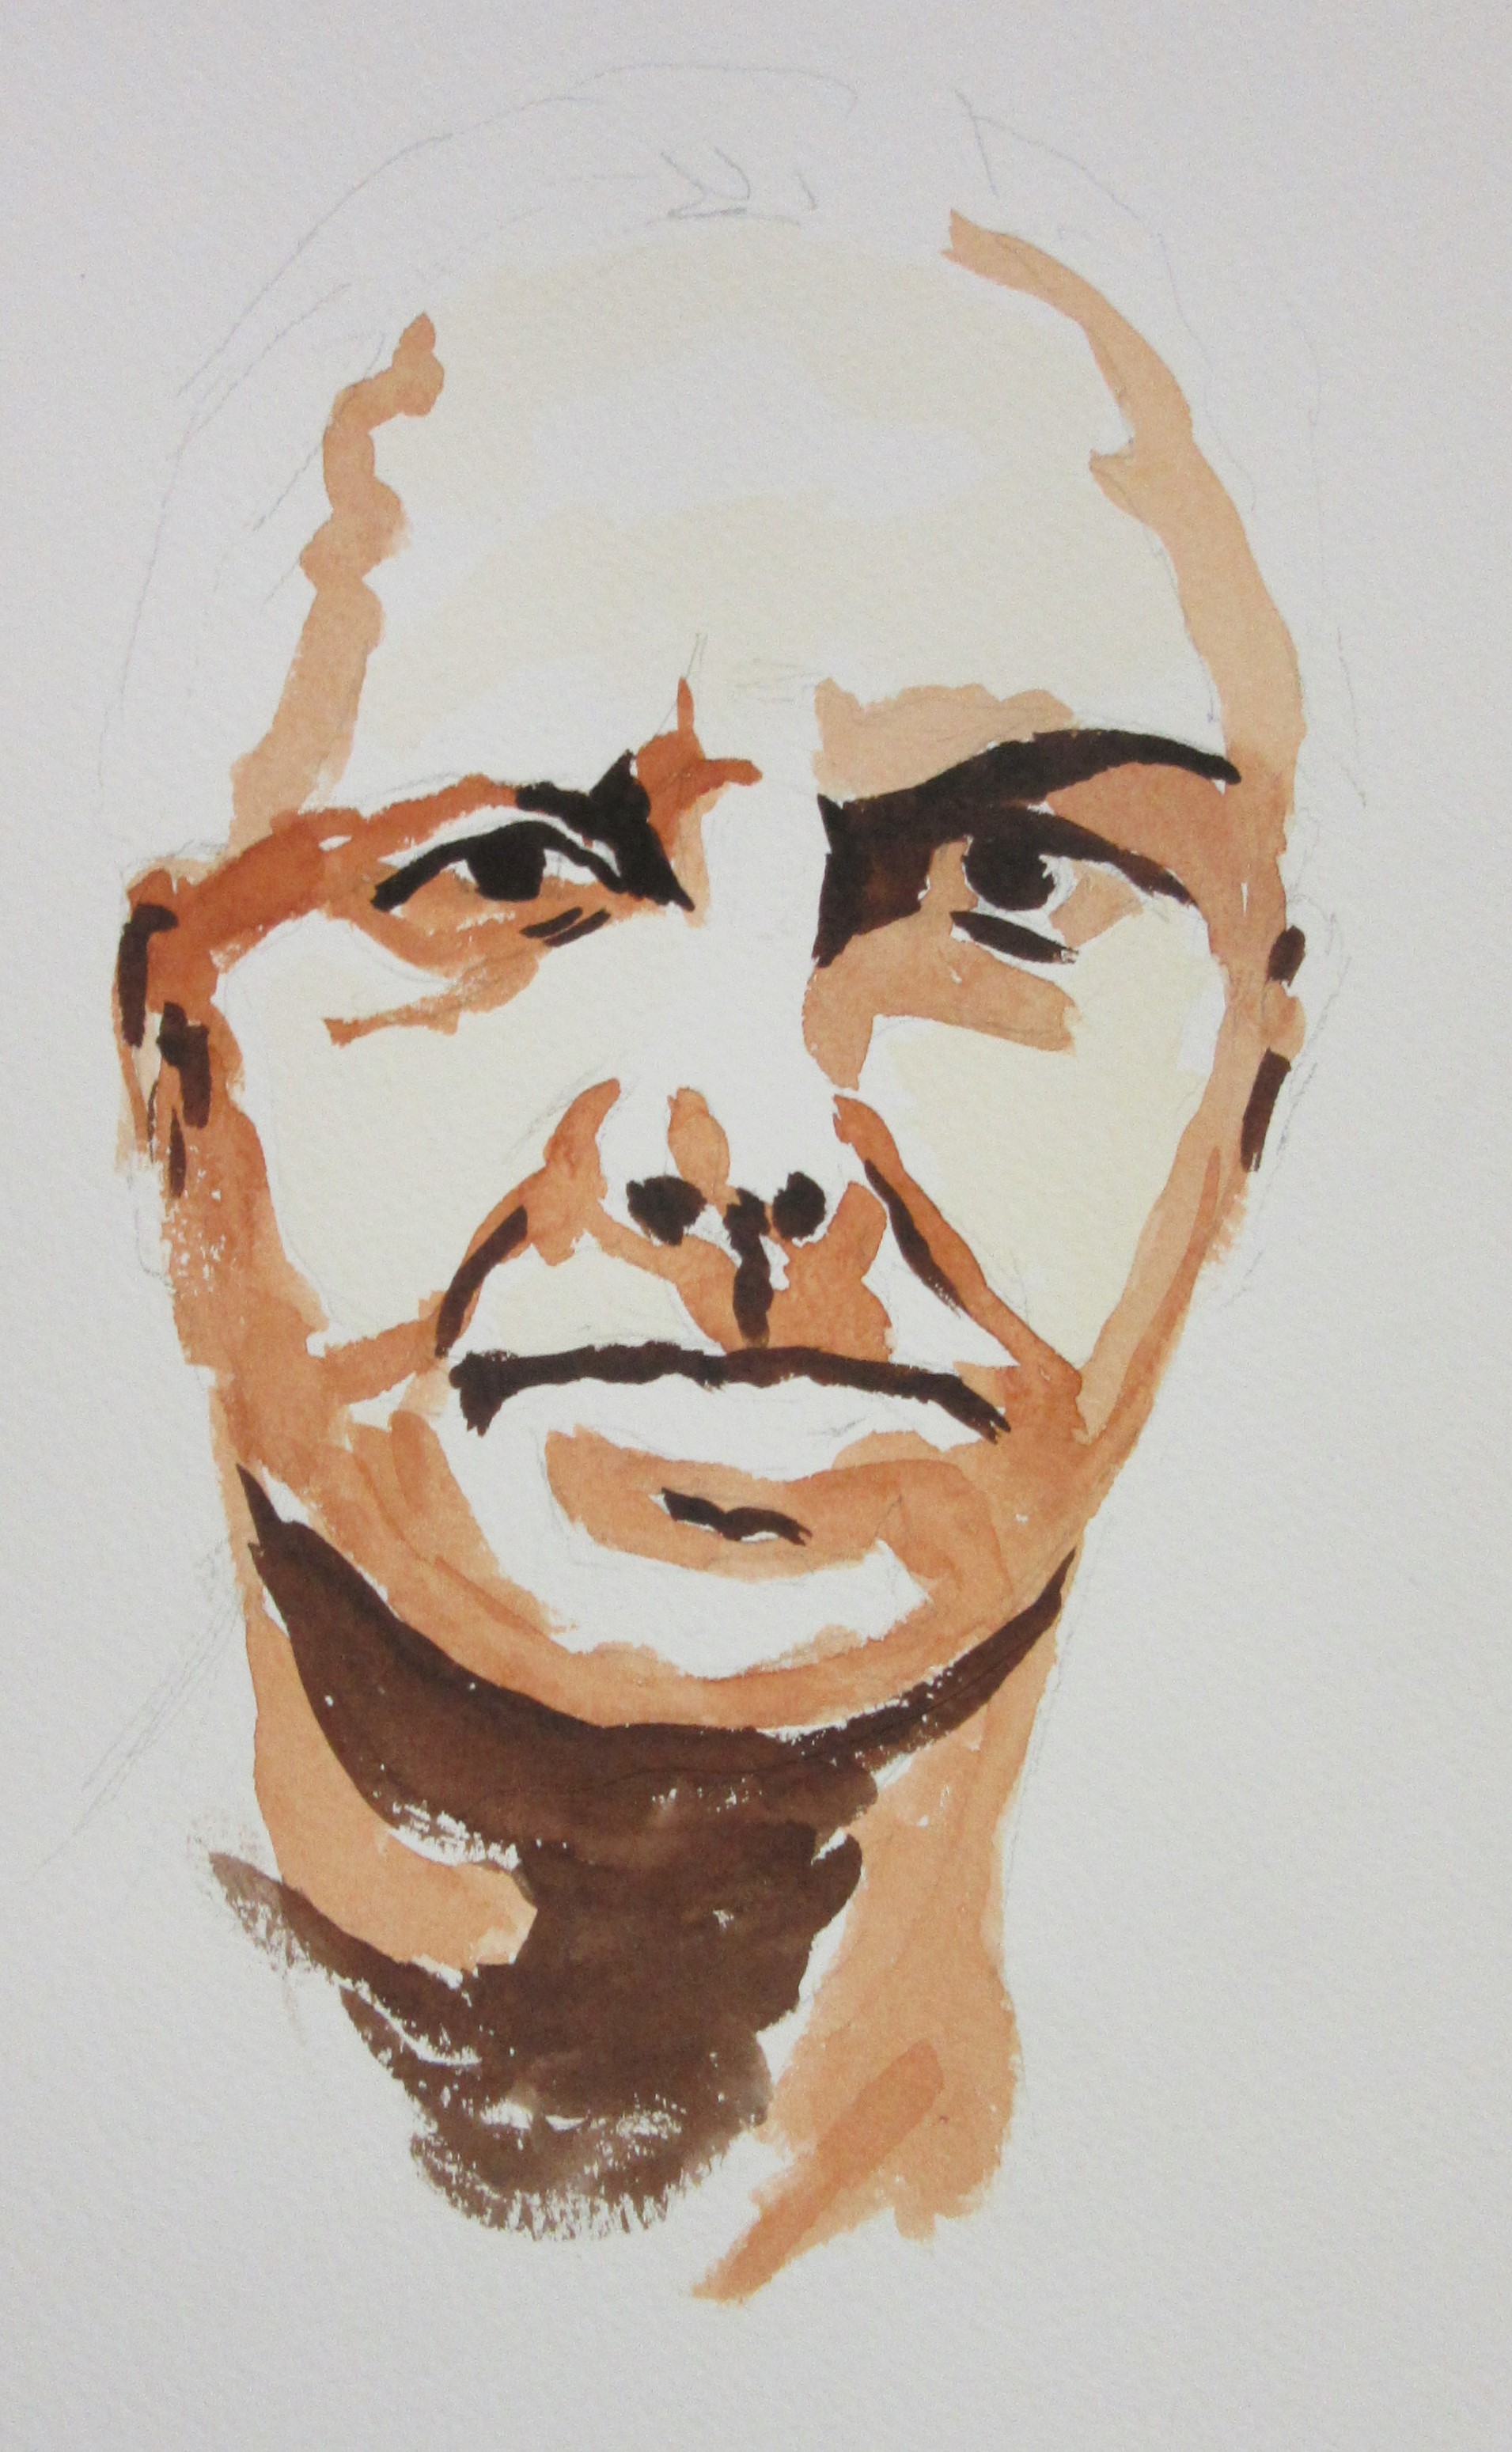
 Joanna Commings – Portraits
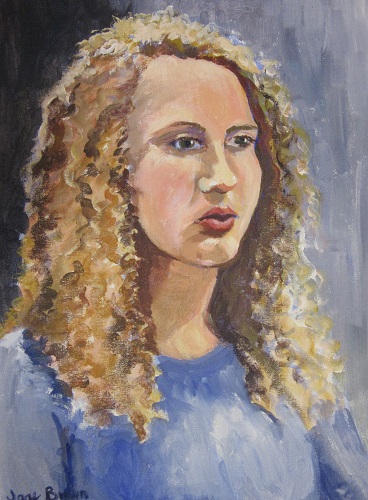
 Linda Hollingshead – Watercolours with inks


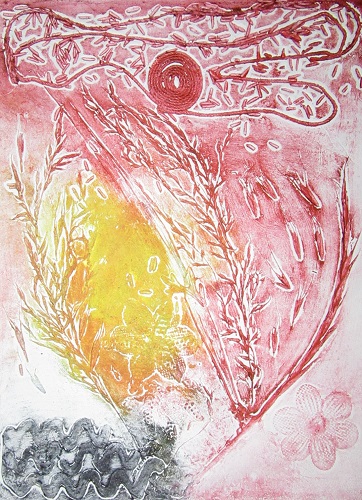
Vanessa Crocker – Collagraphs


Hayley Webb – Portrait Sculpture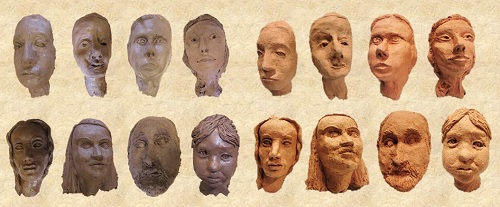
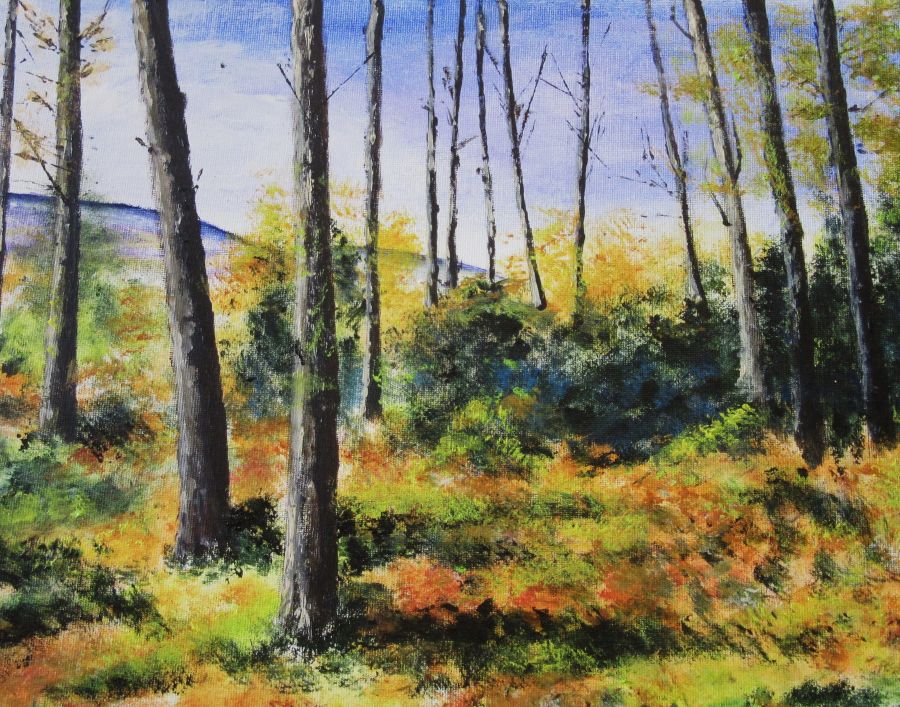
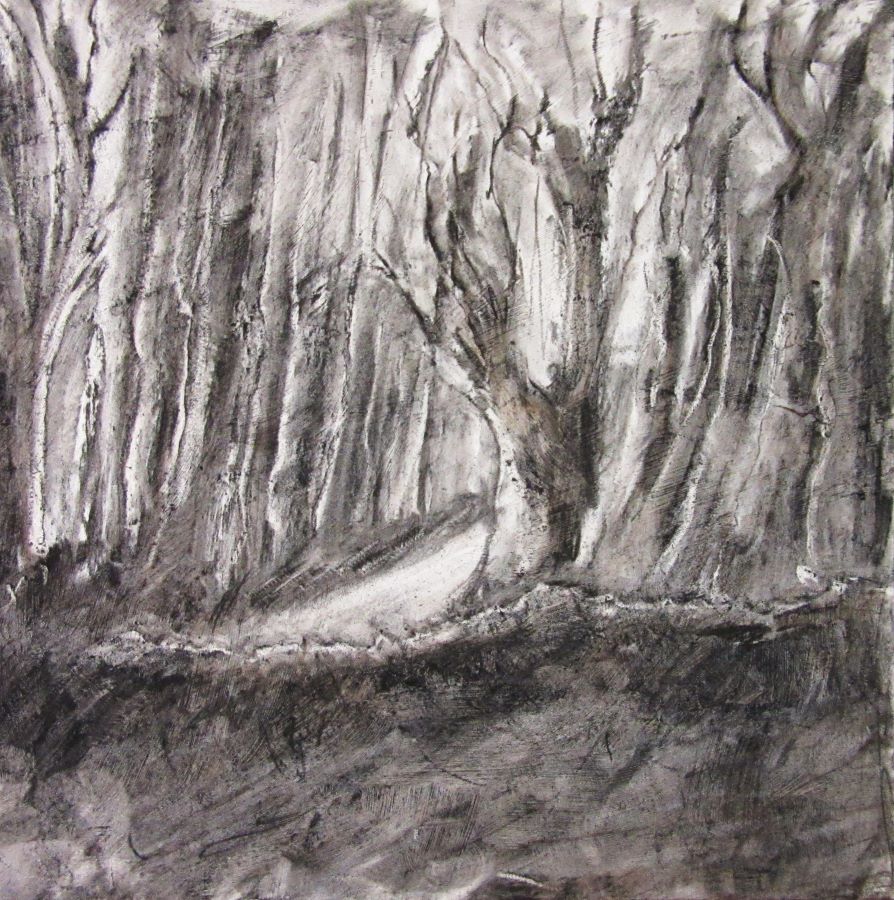
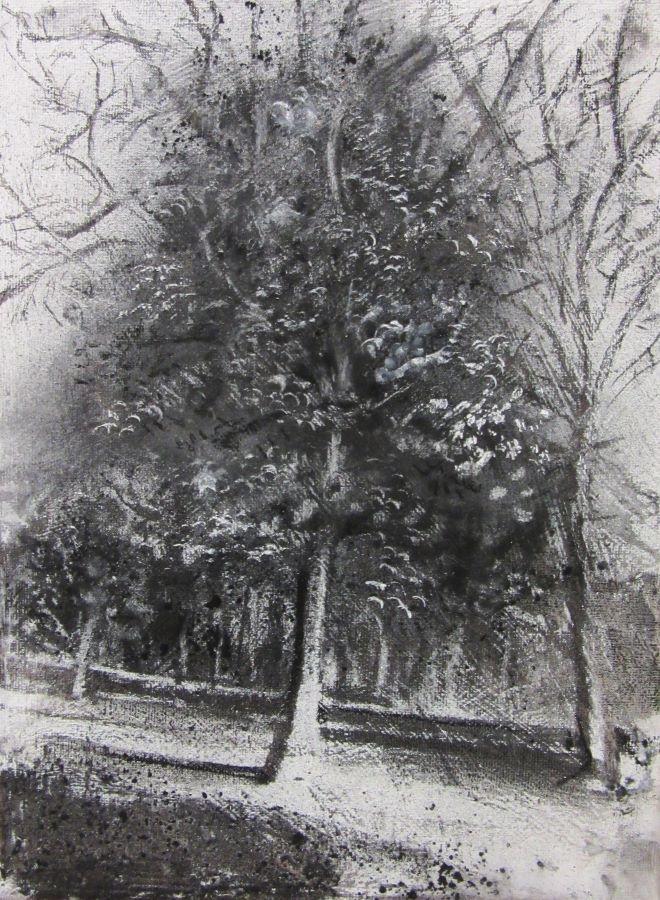
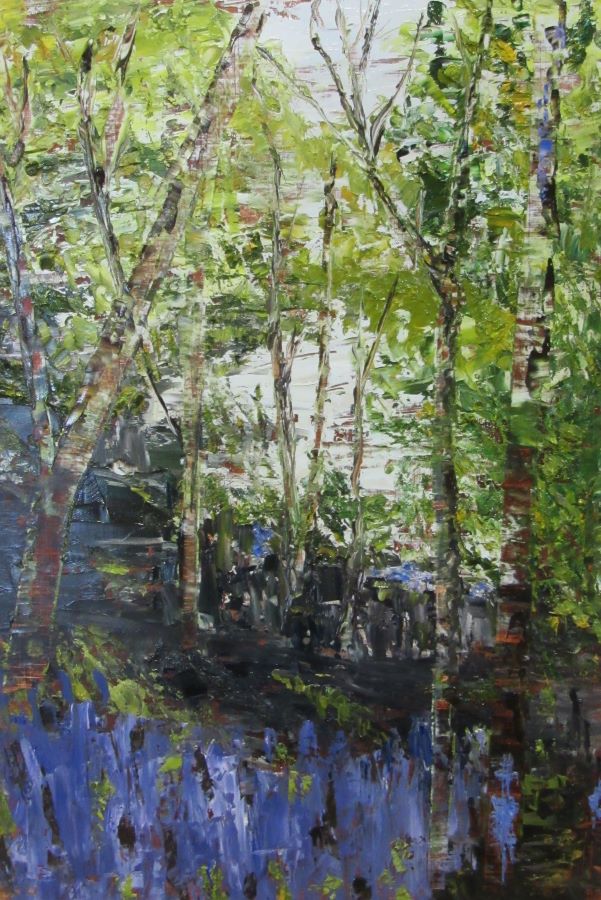
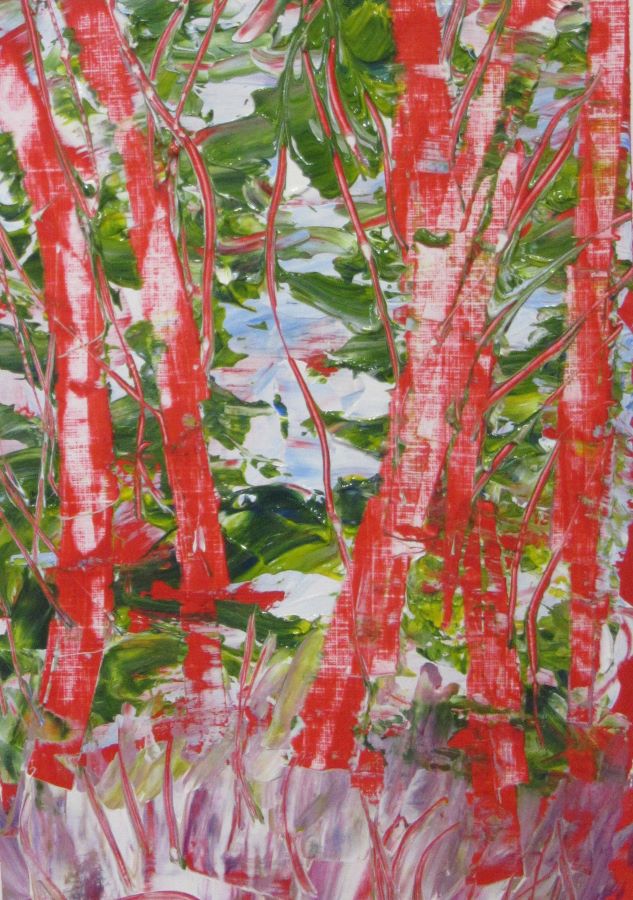
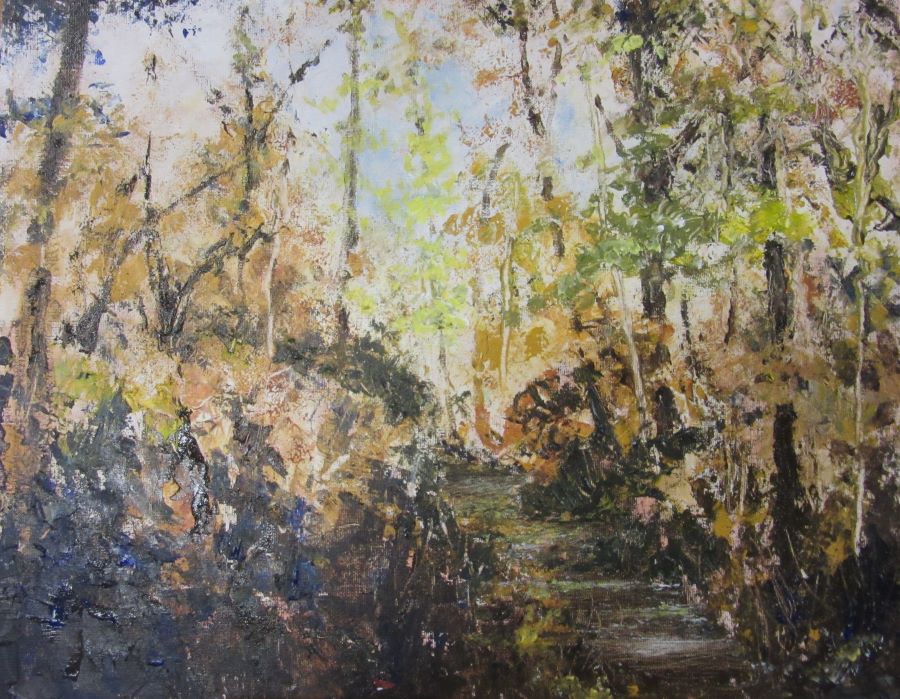
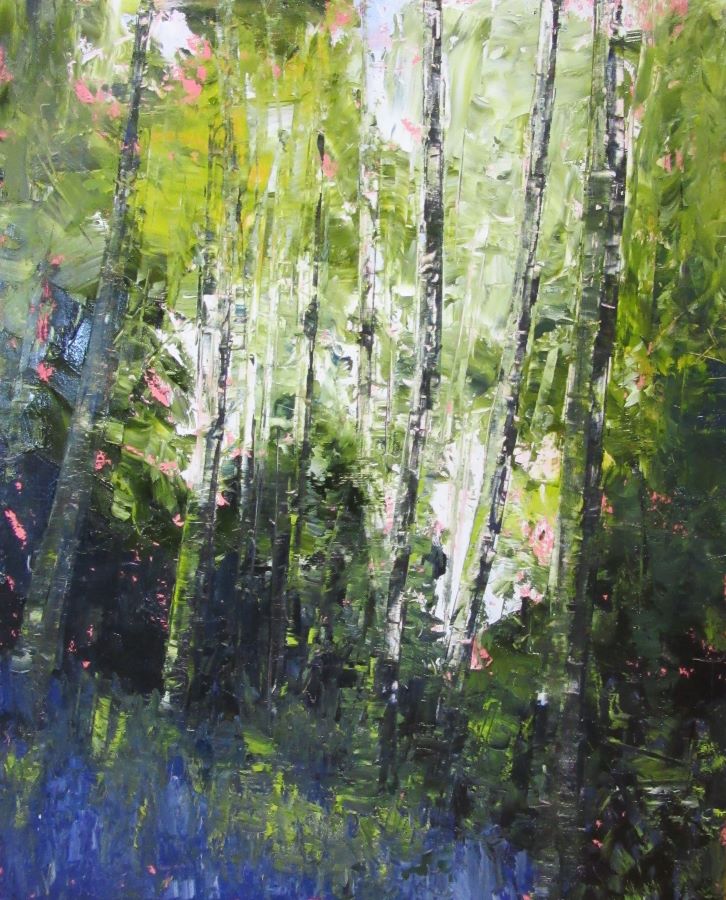
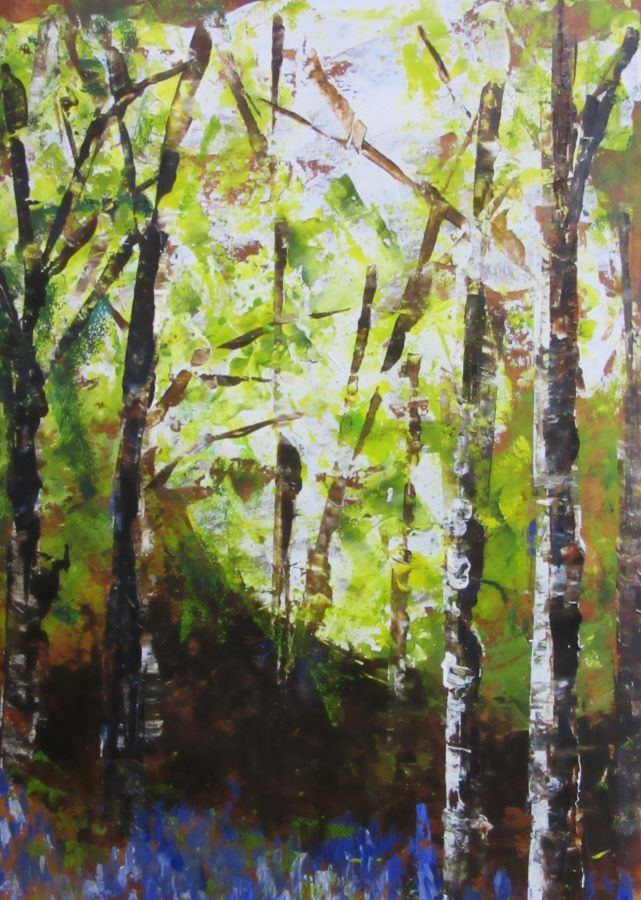
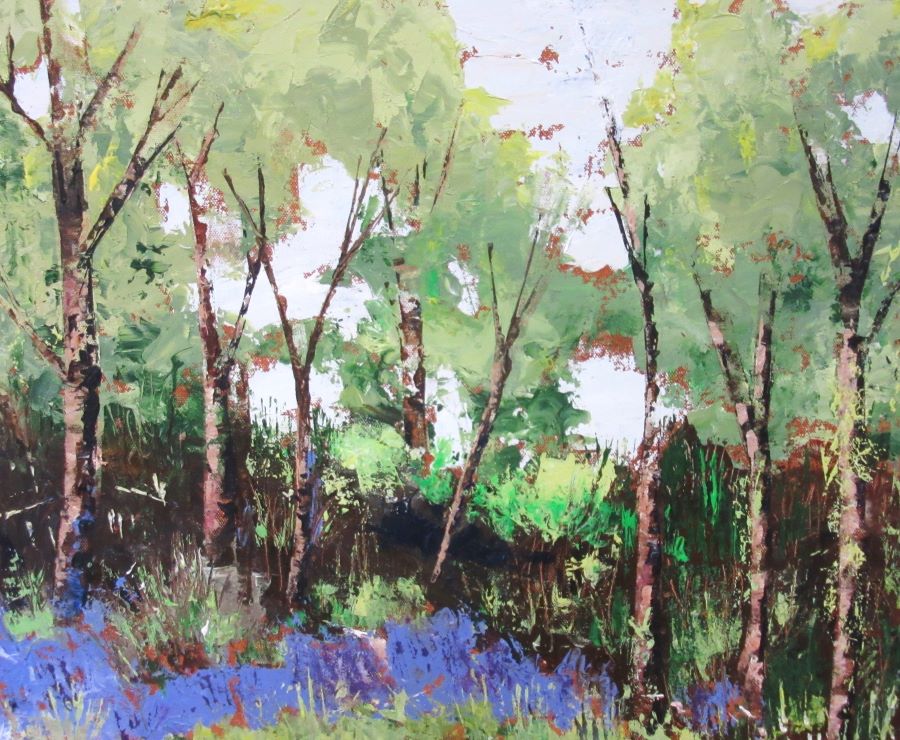
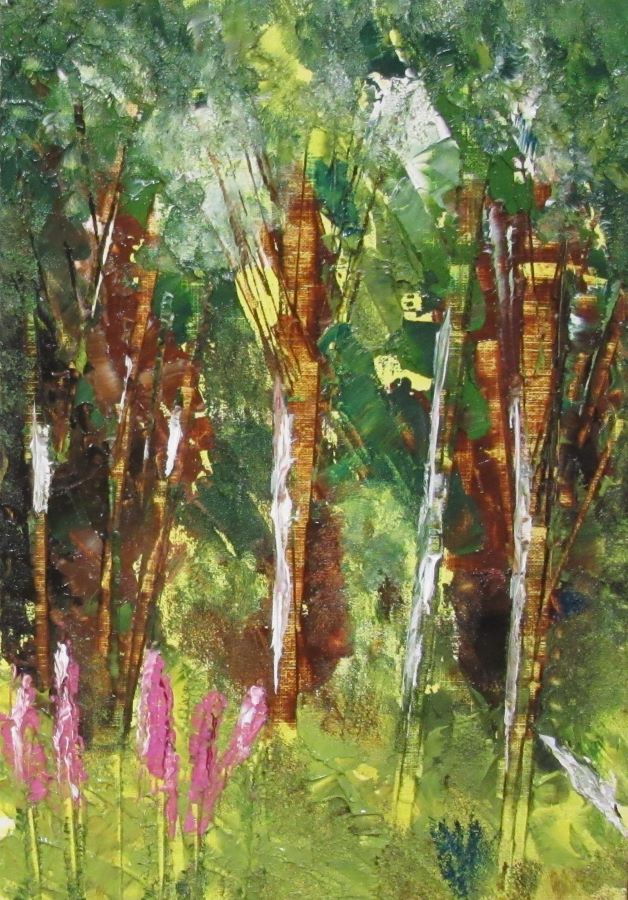
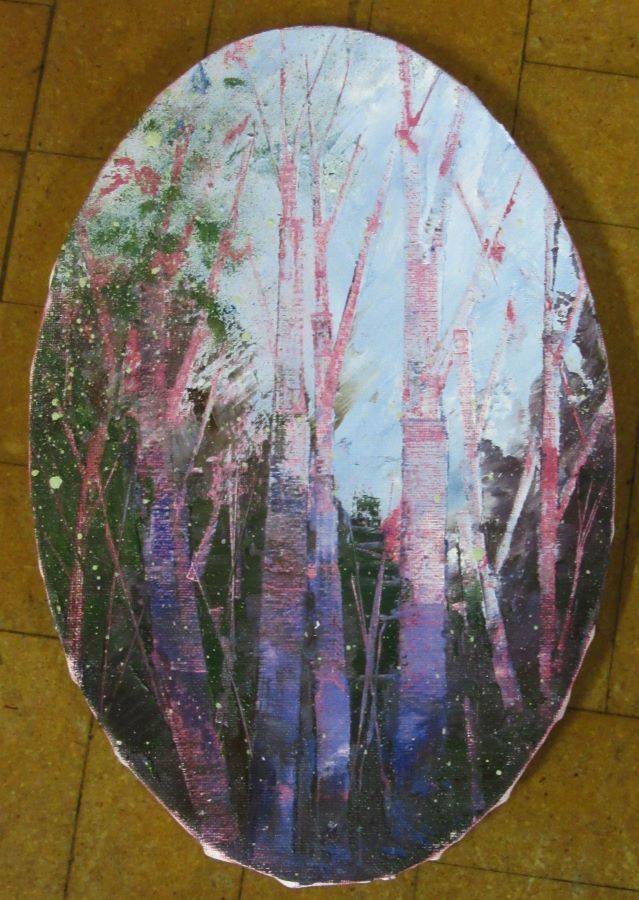
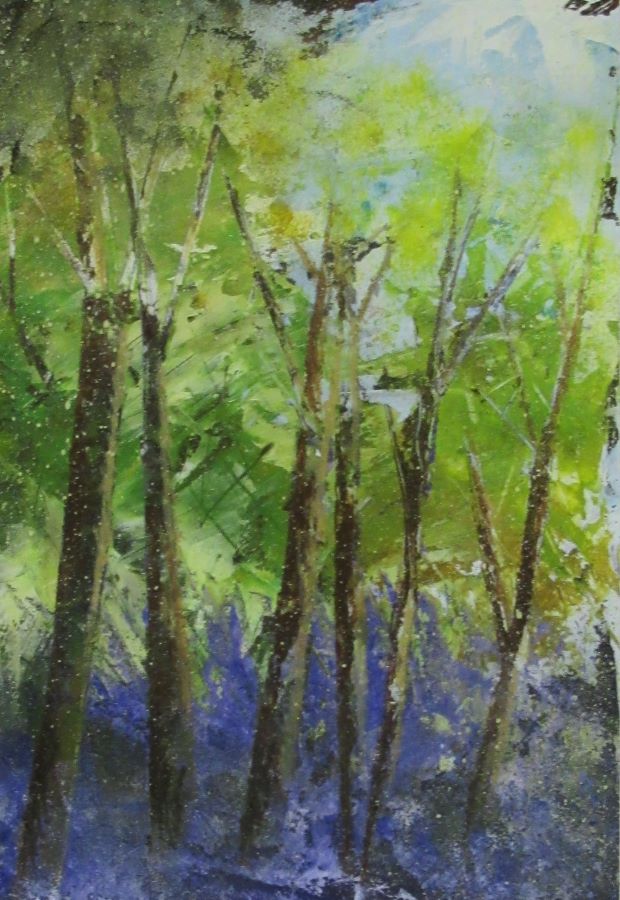
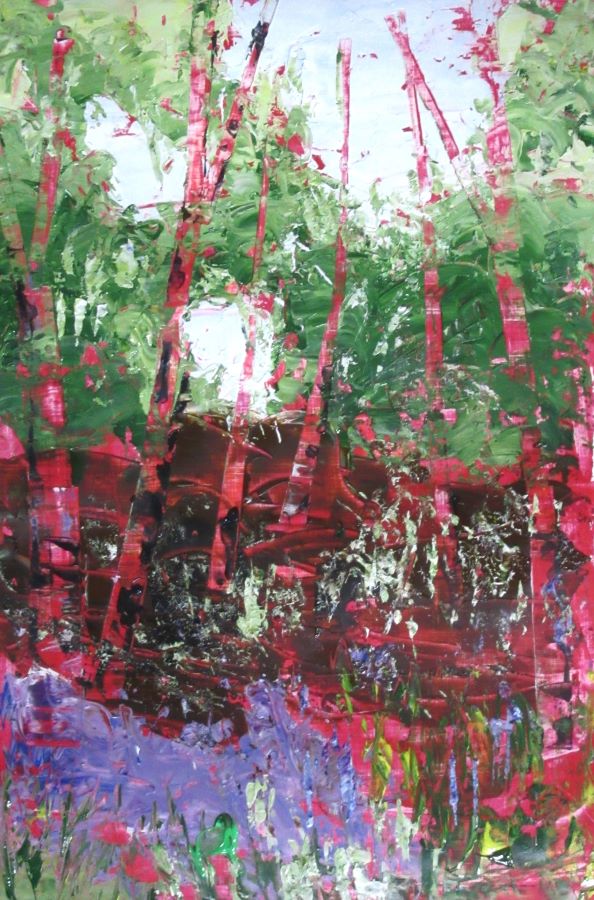
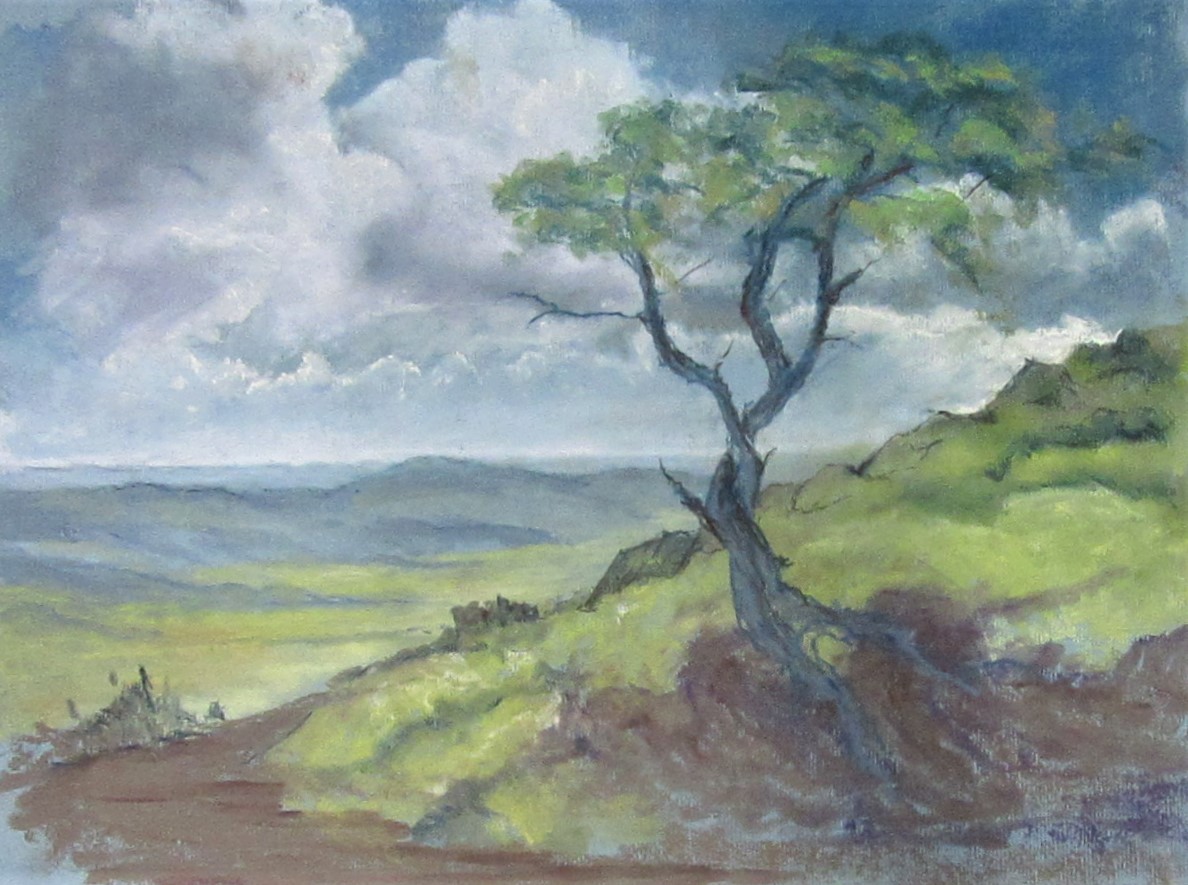
 Trees in Summer in pastels with Graham Cox

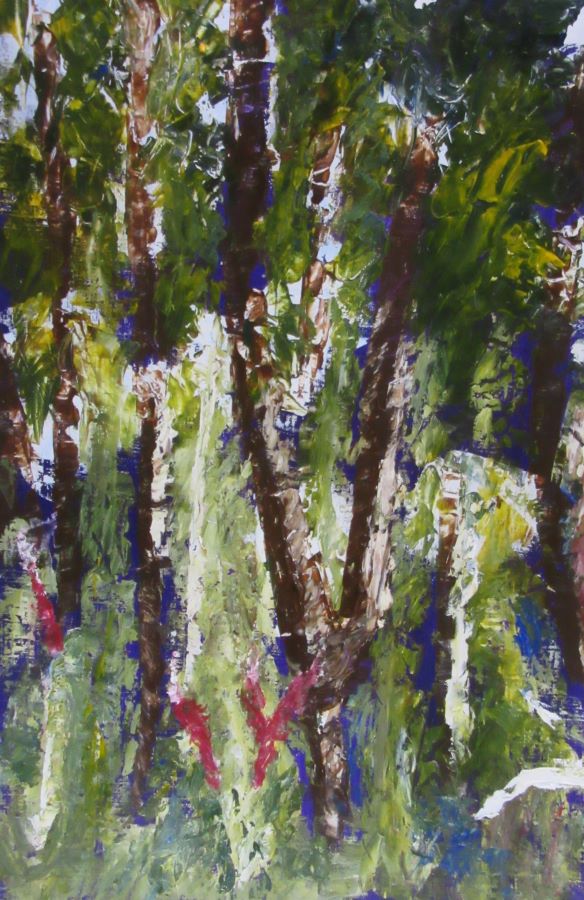
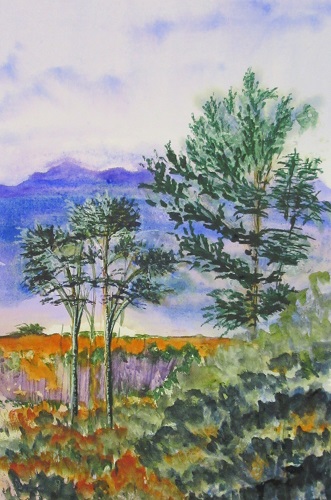
Watercolour with Jake Winkle
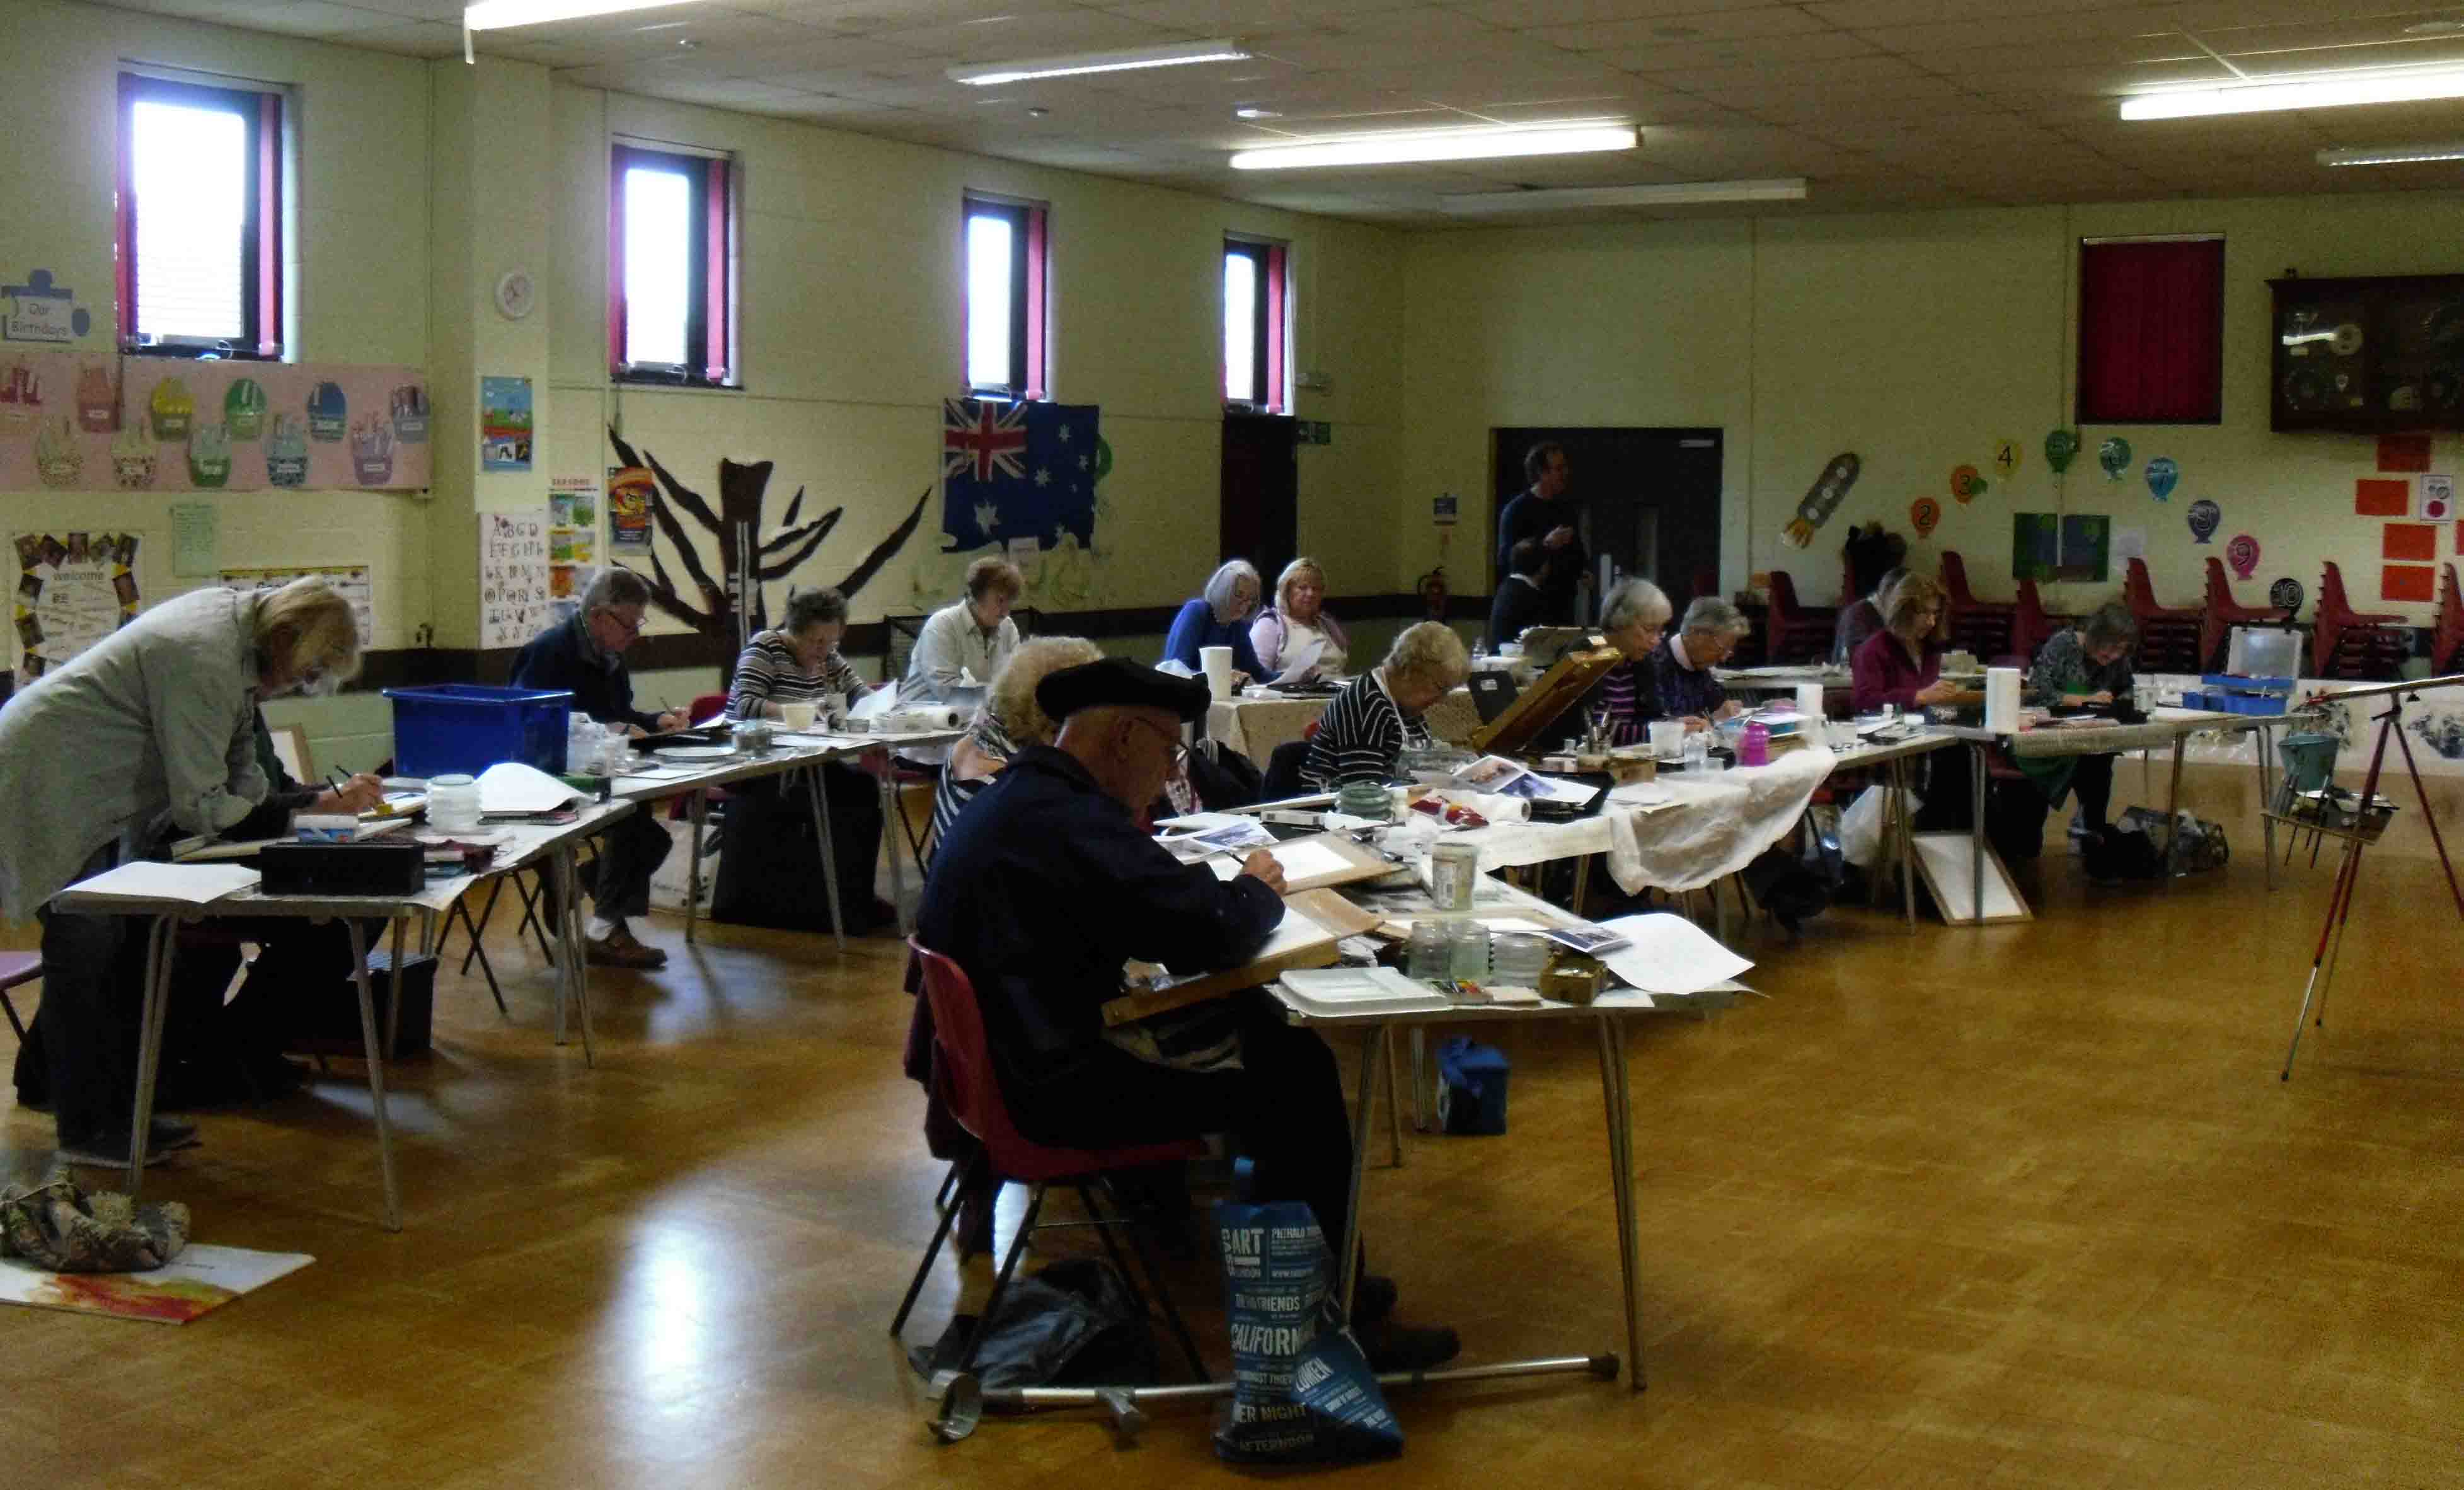
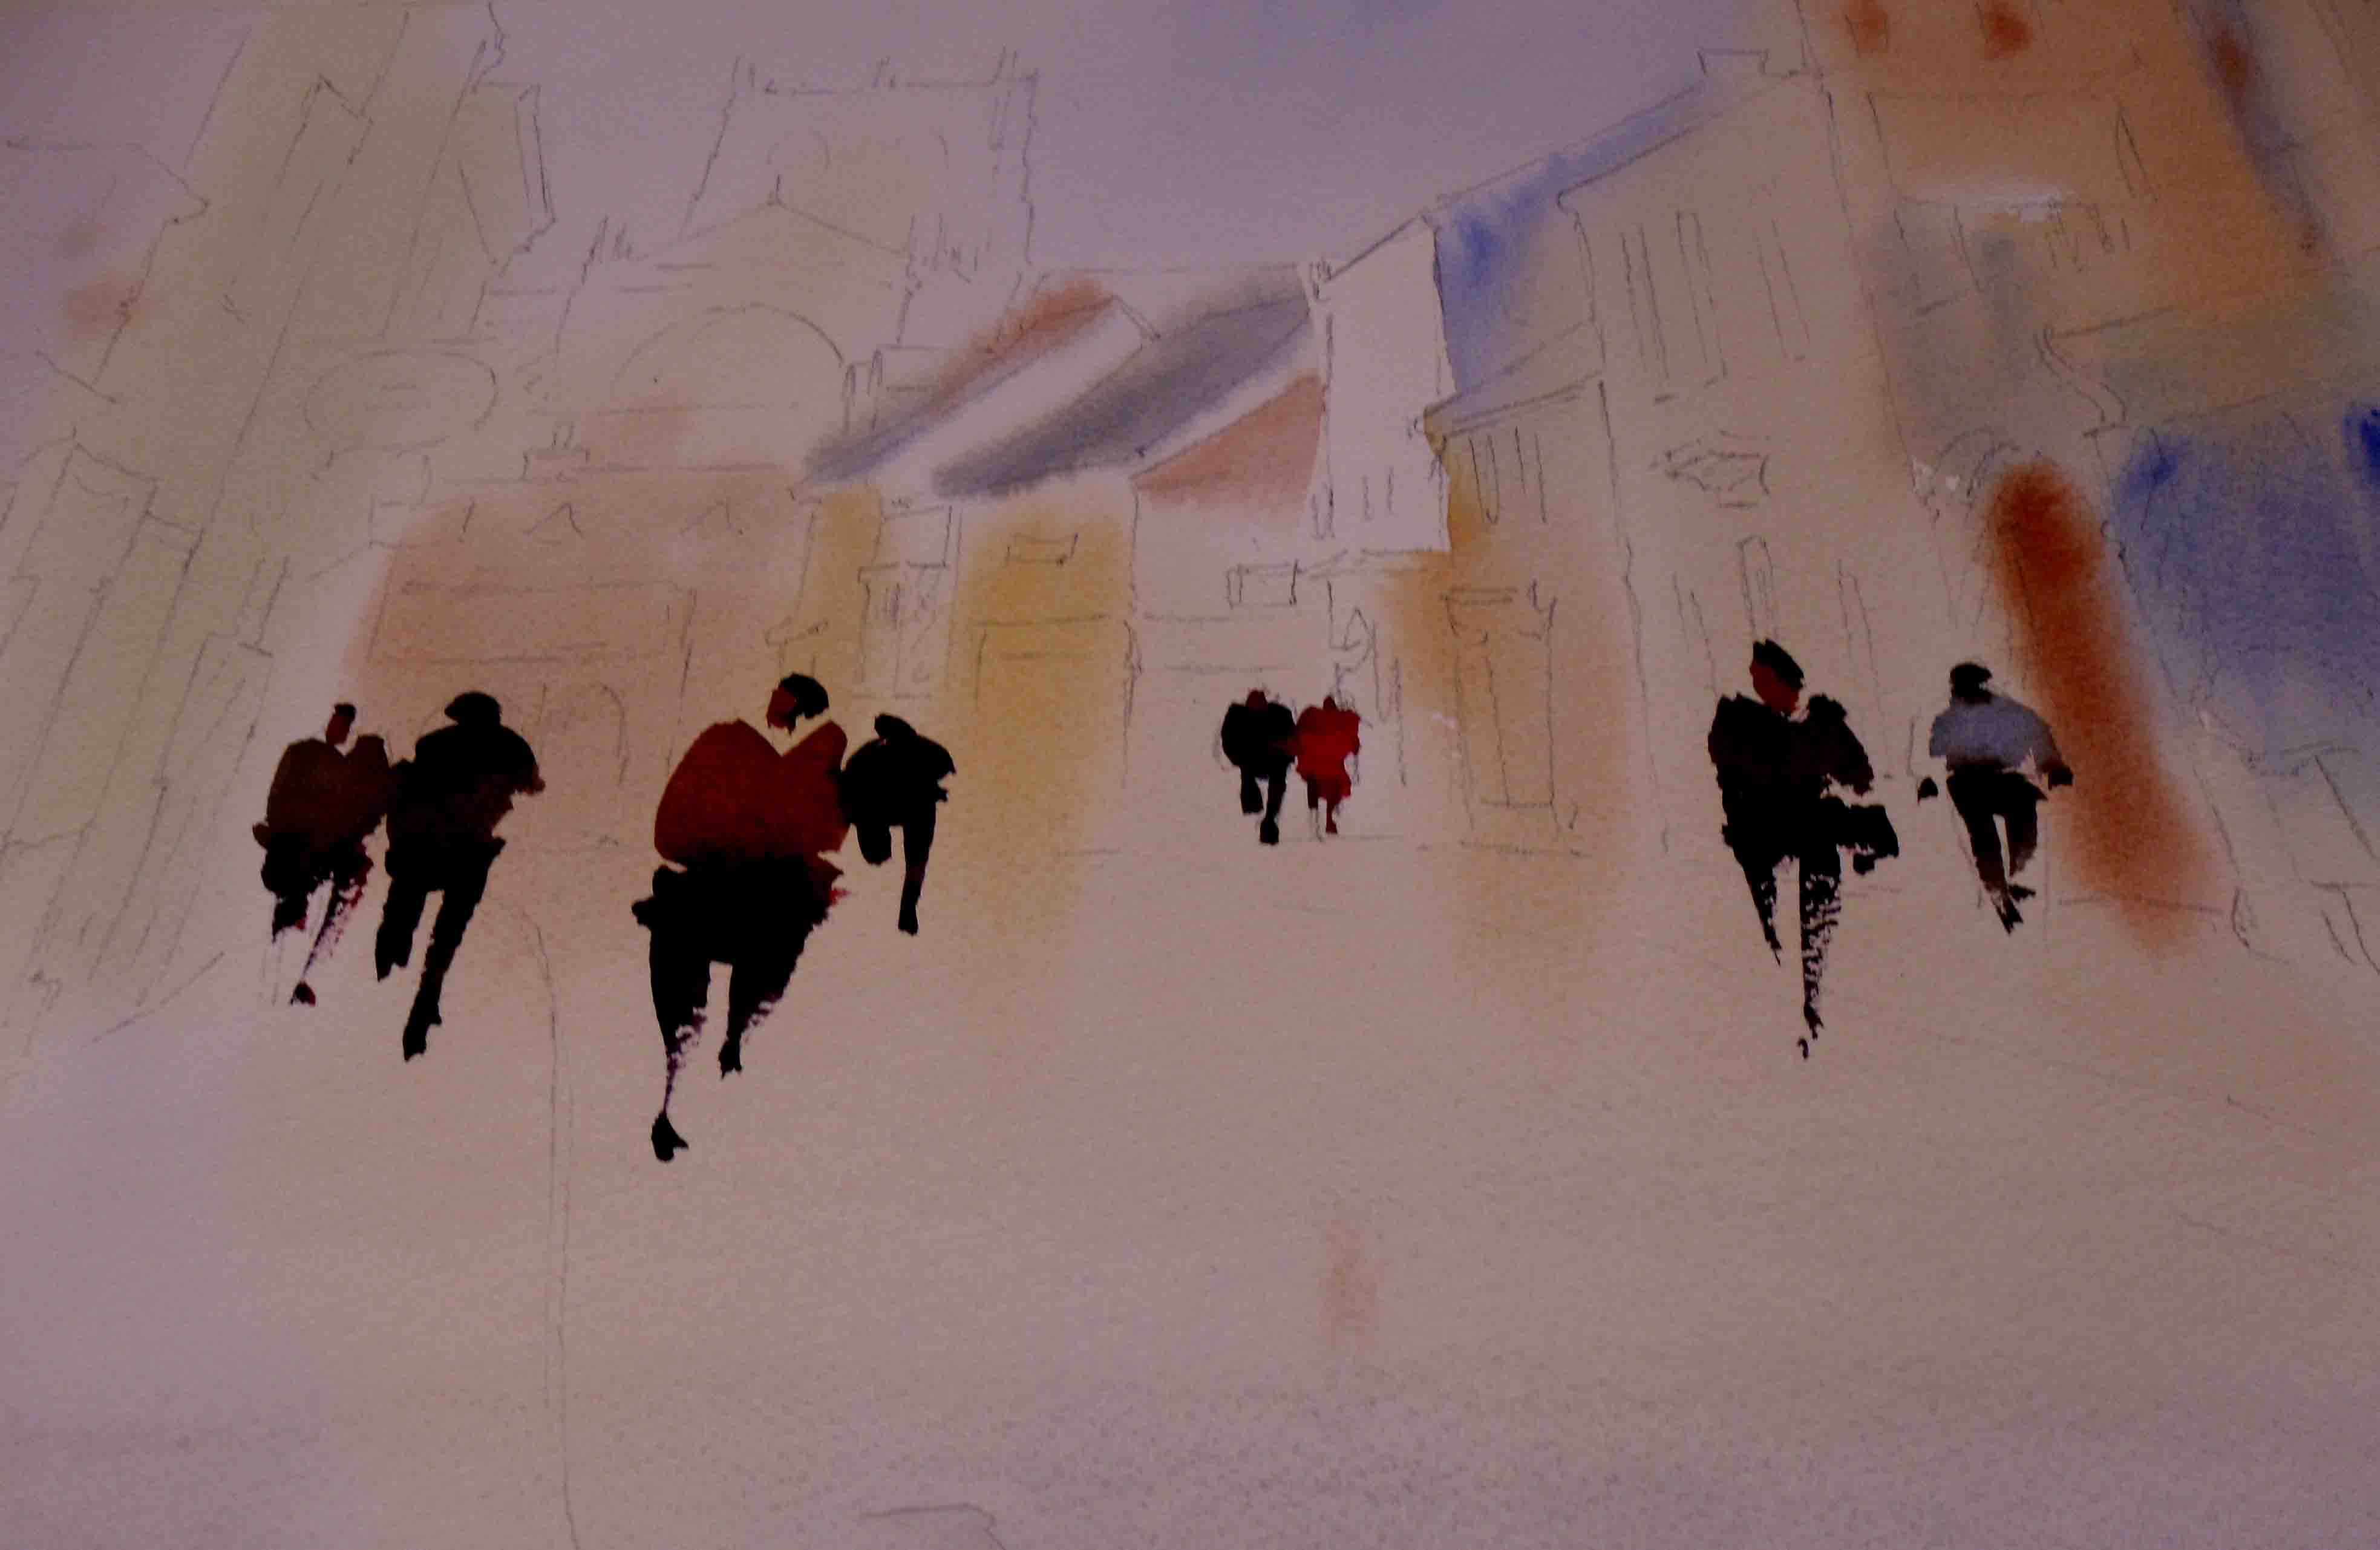
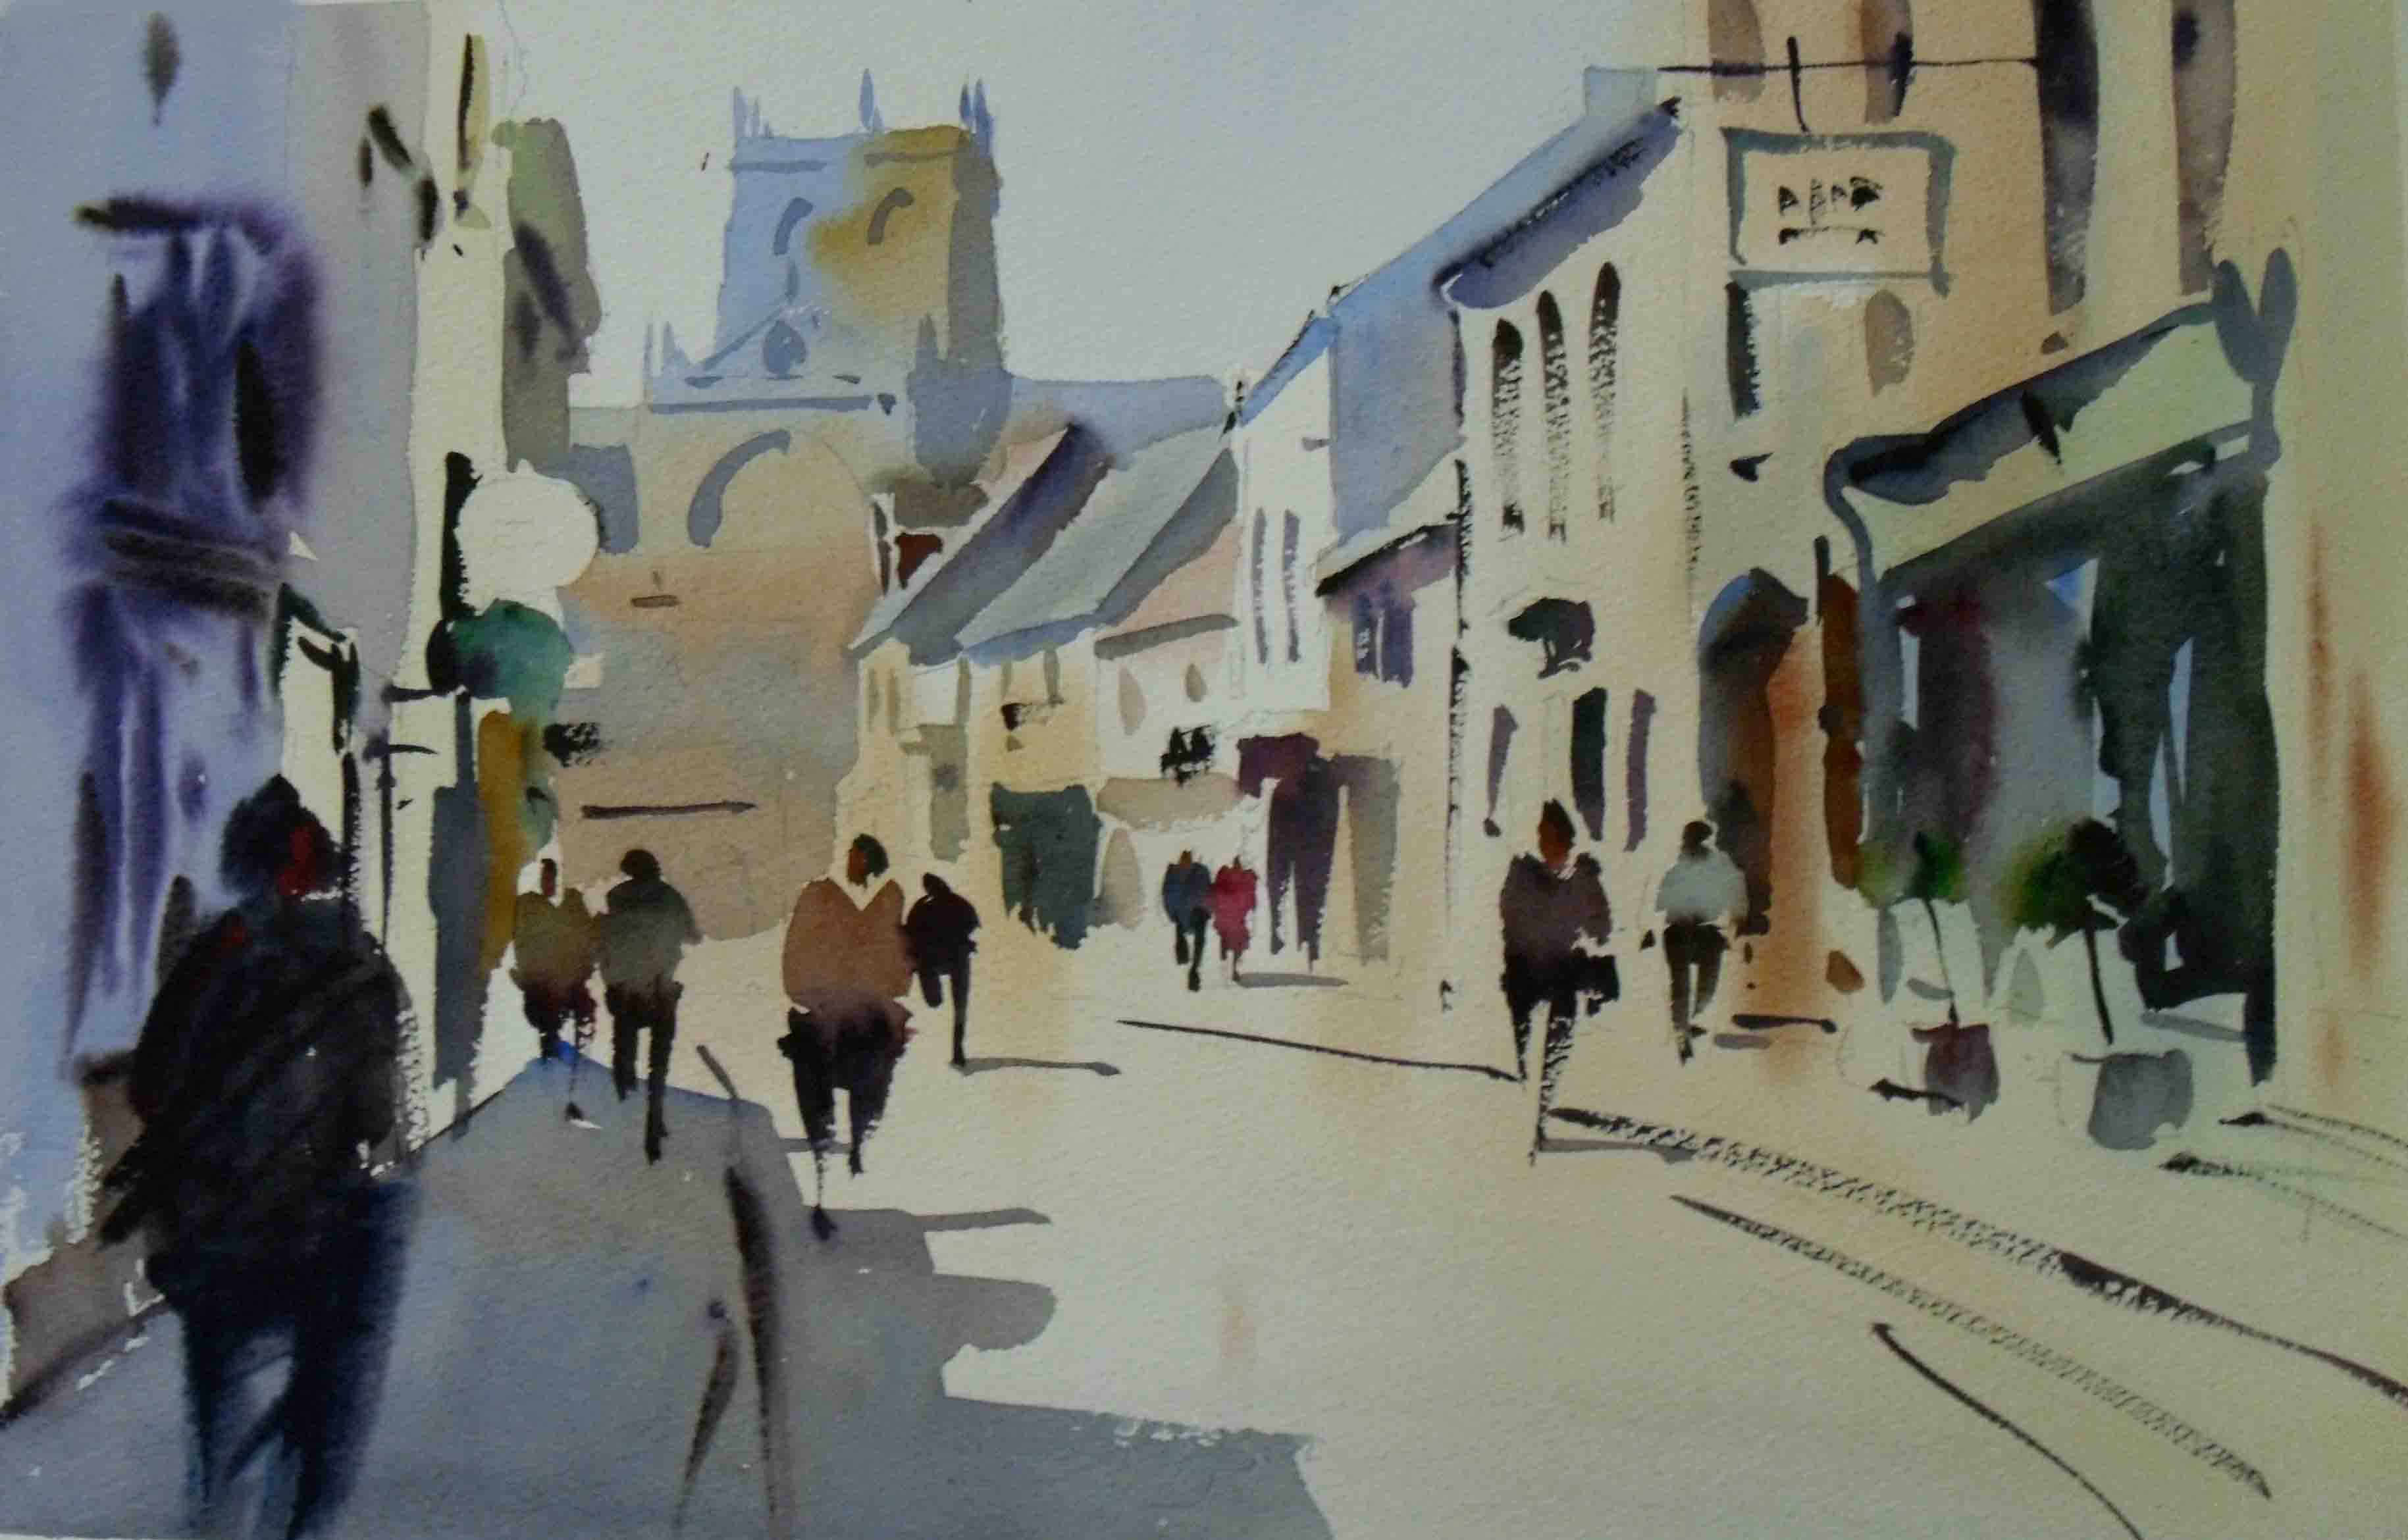
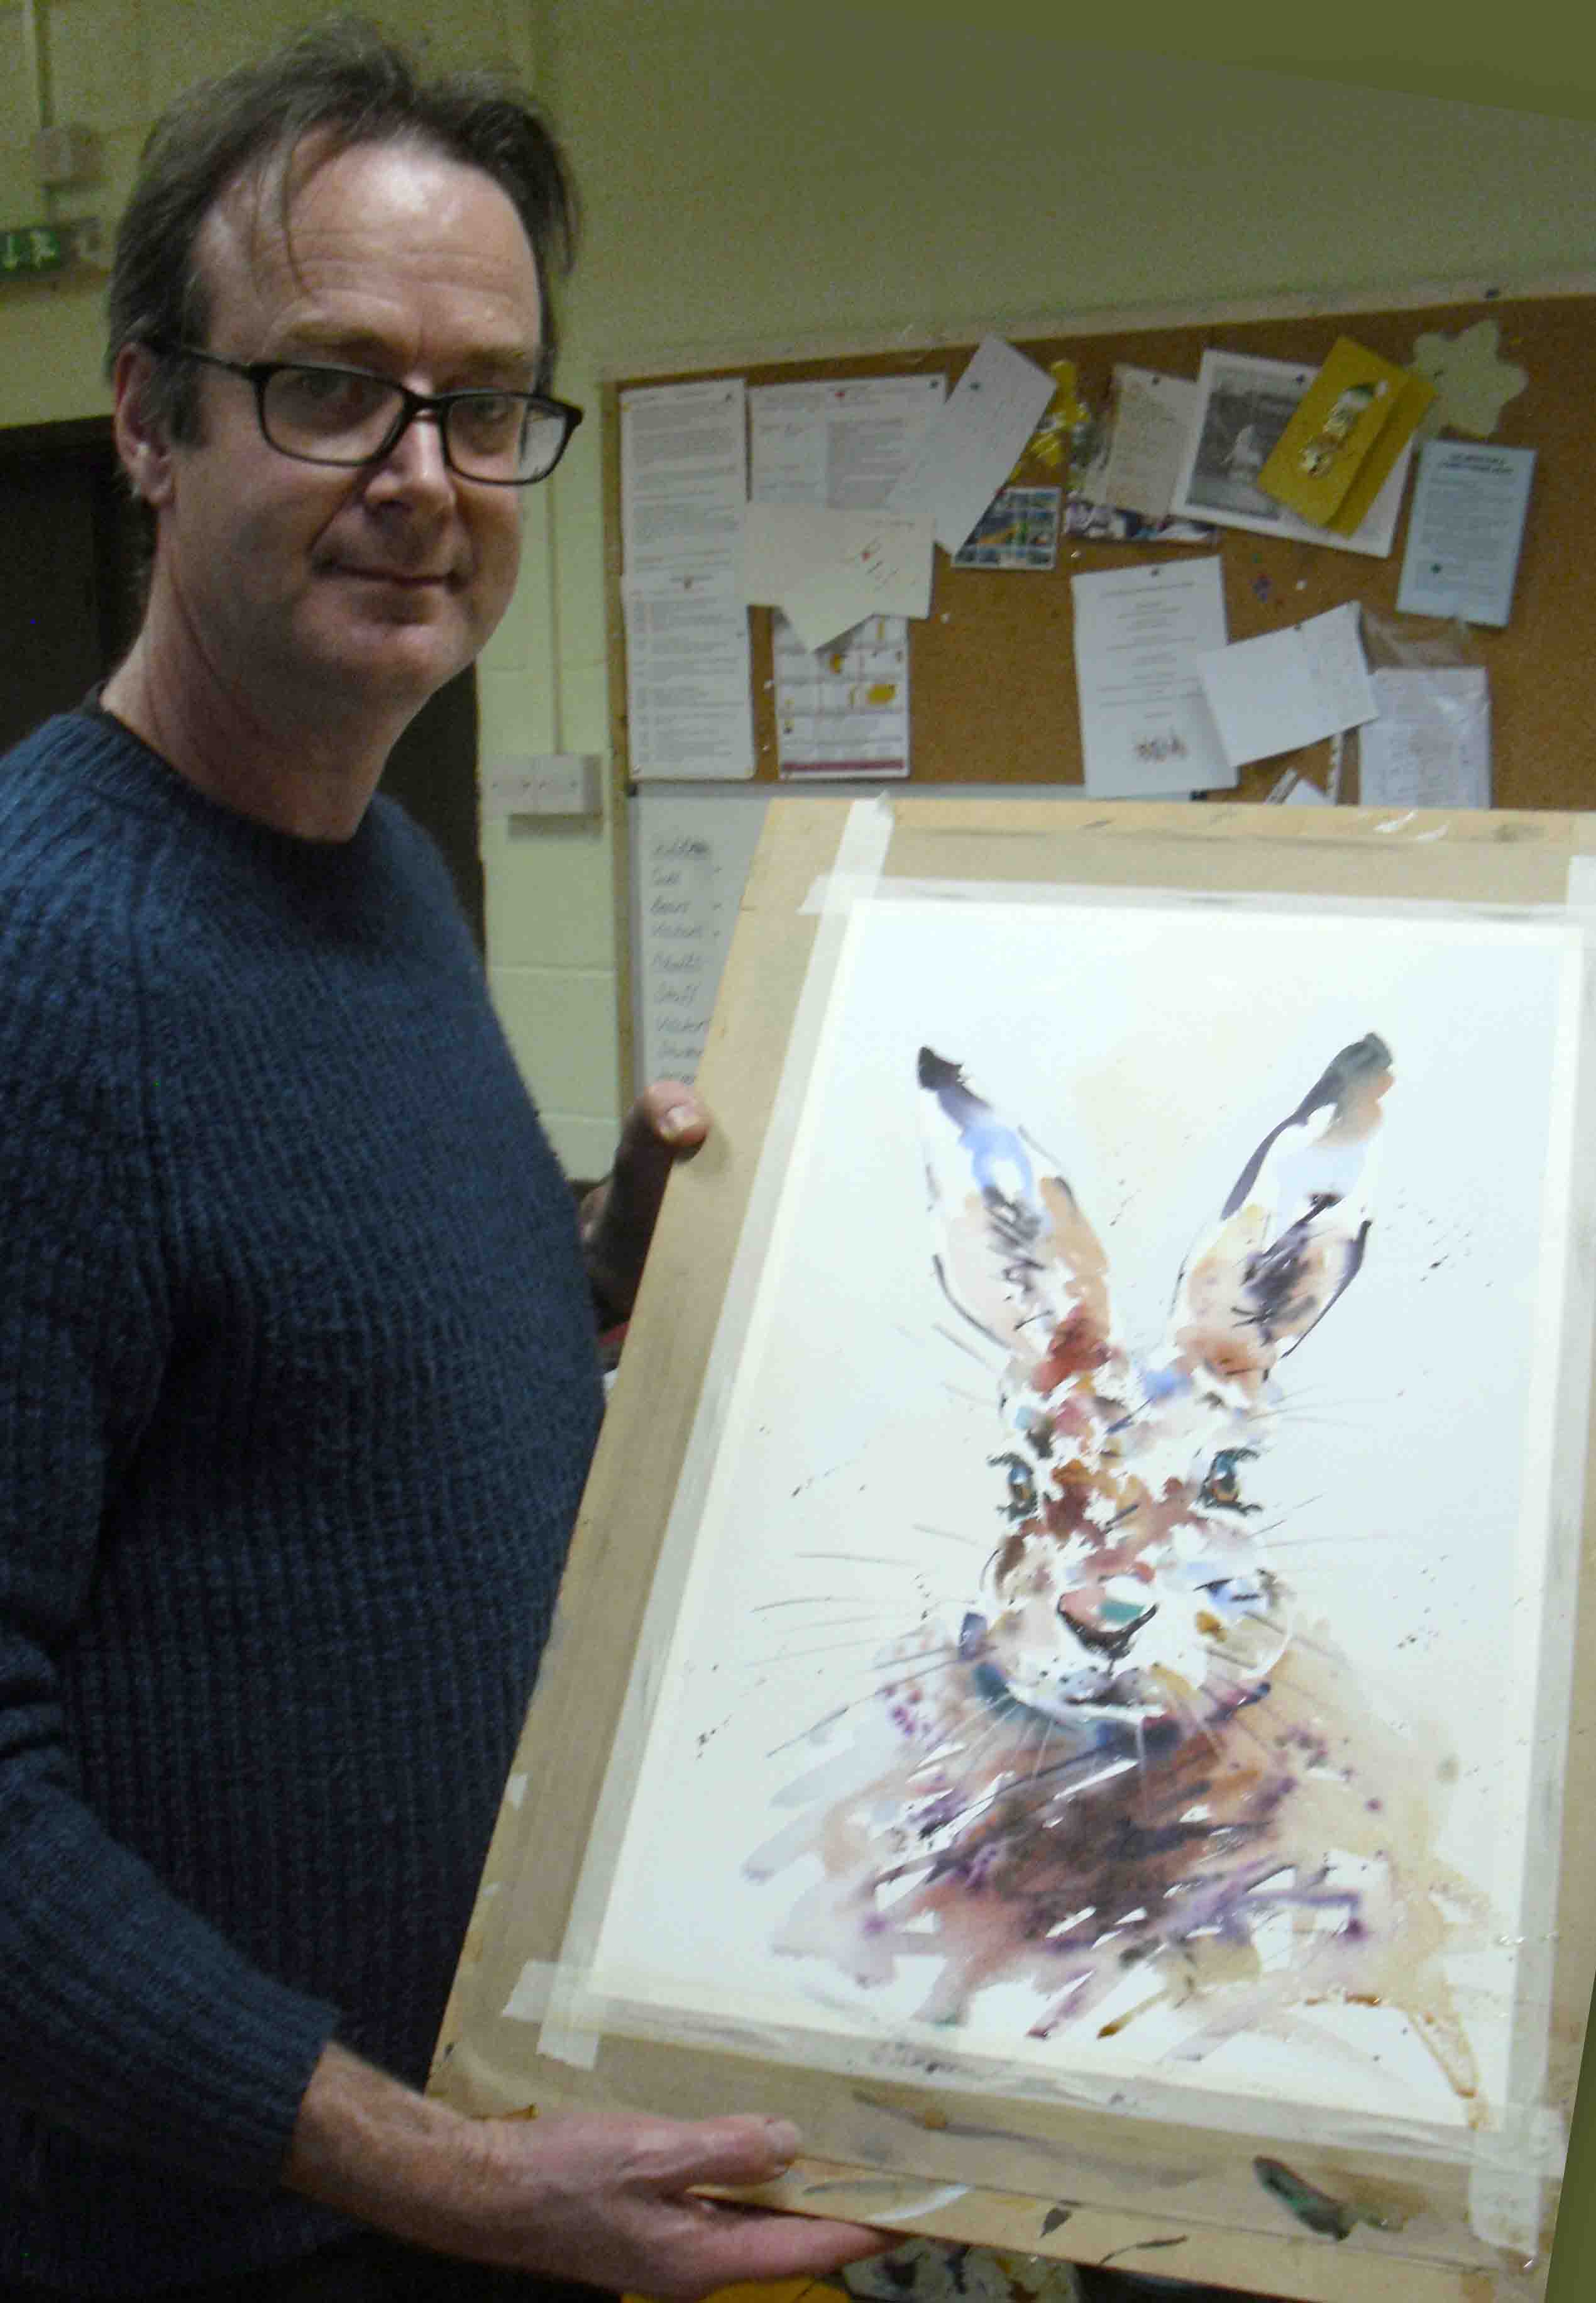
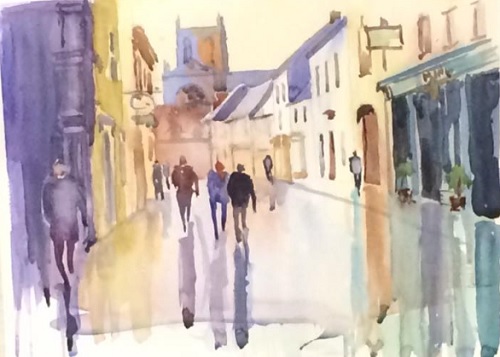
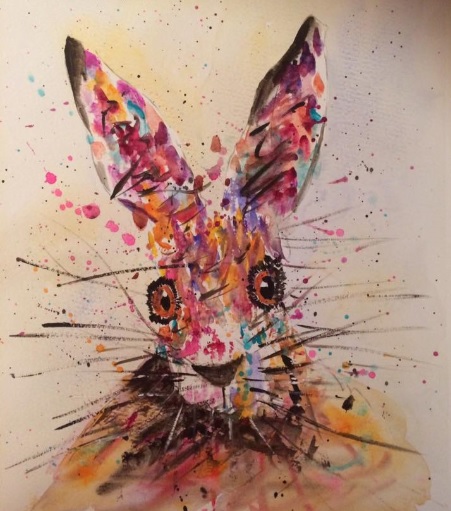
 Photo Collage with Pat Hibberd

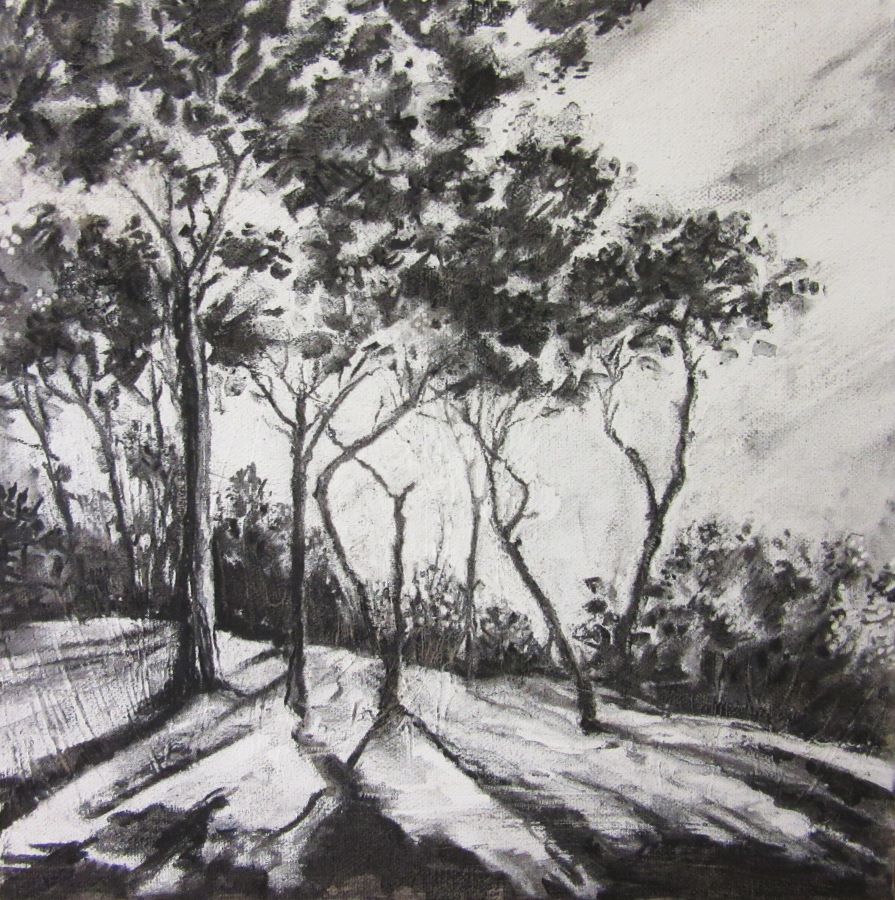
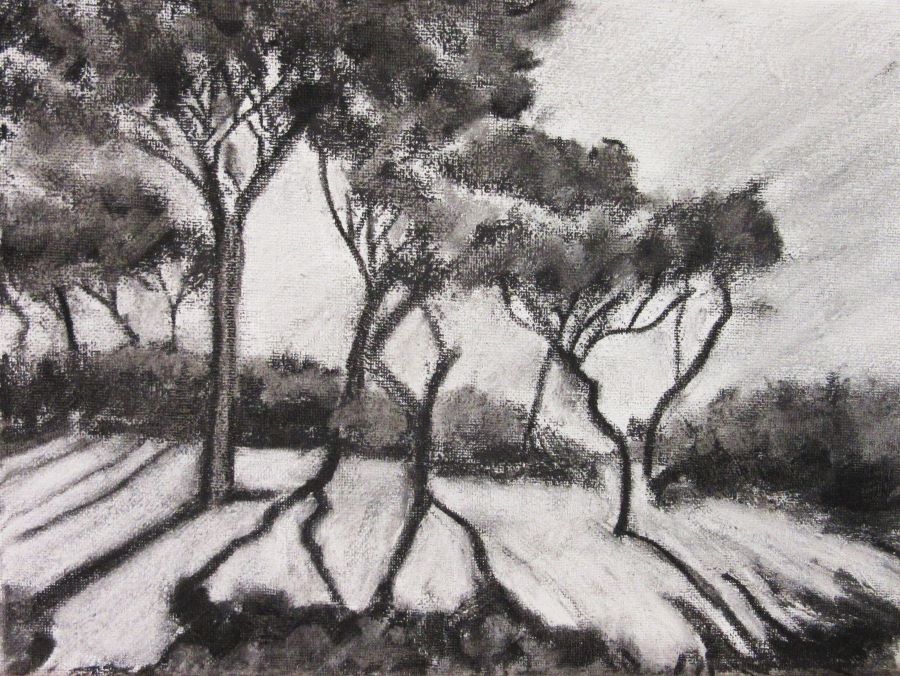
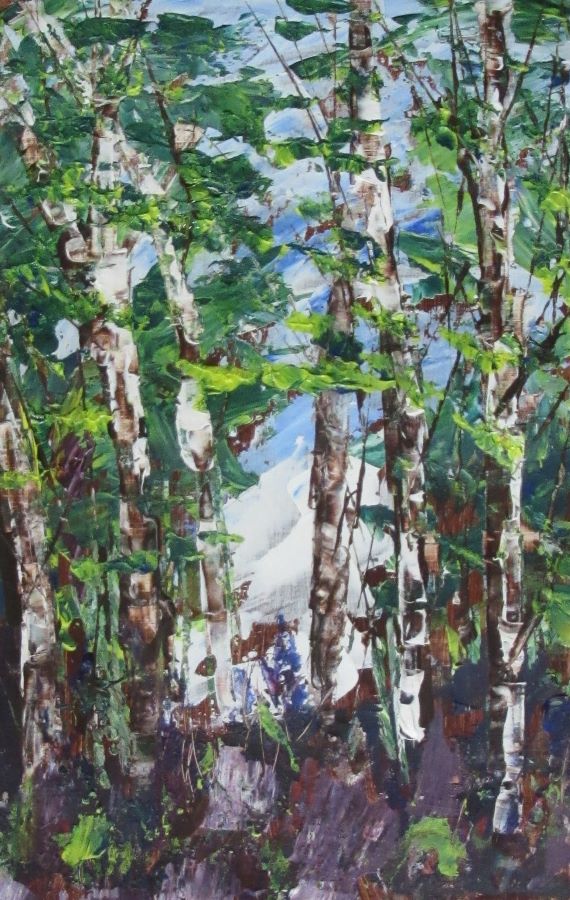
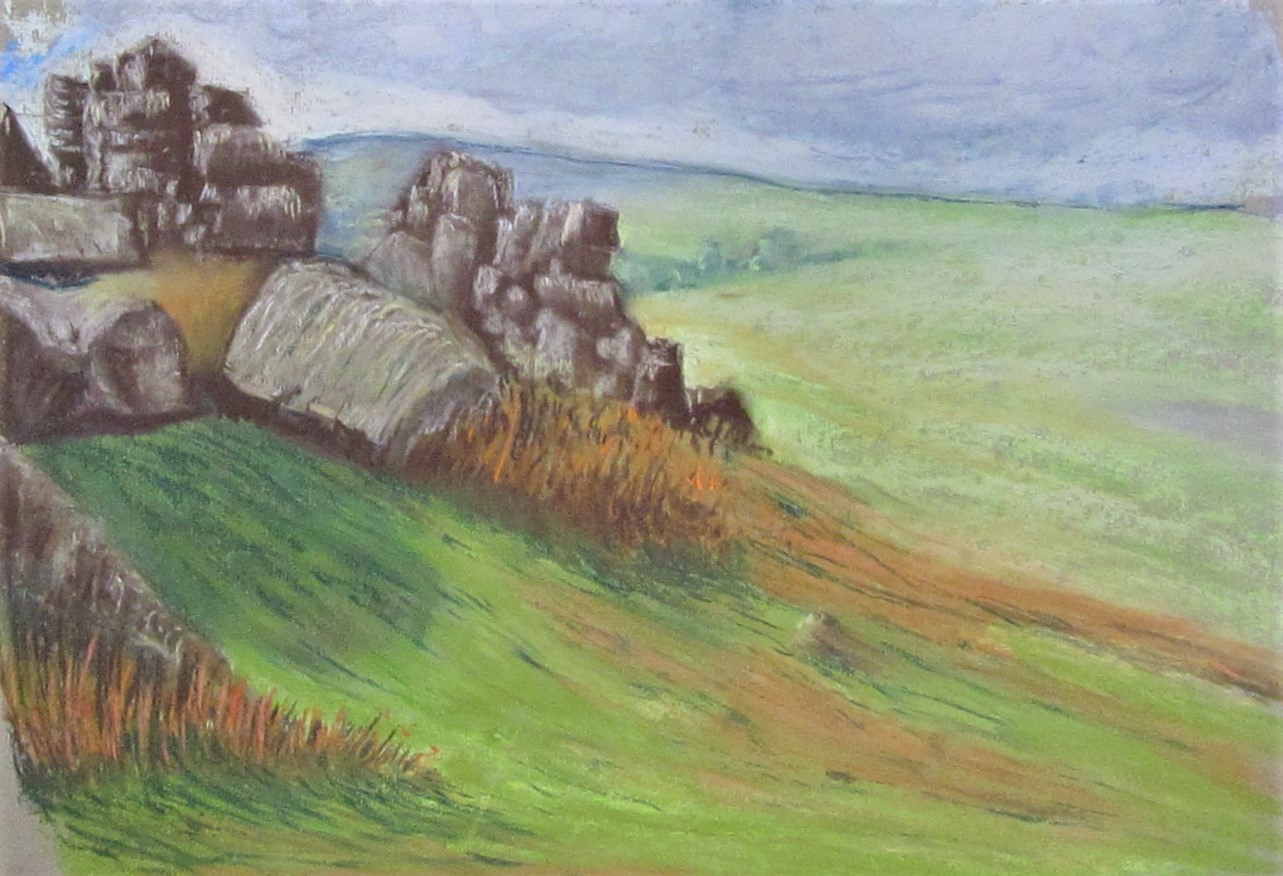
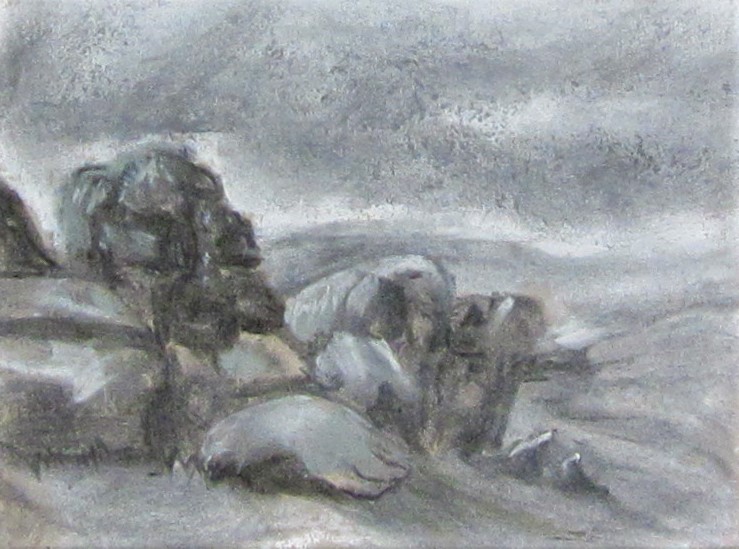
 Landscapes in Pastels with Graham Cox


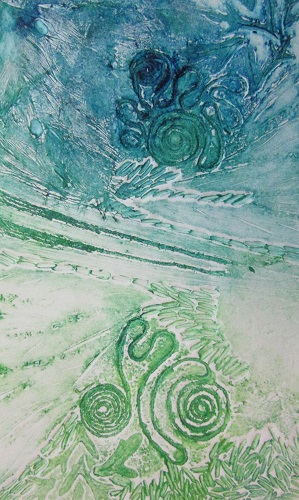
Monoprint with Vanessa Crocker